


![TerrainFest 2024! Build Terrain With OnTableTop & Win A £300 Prize [Extended!]](https://images.beastsofwar.com/2024/10/TerrainFEST-2024-Social-Media-Post-Square-225-127.jpg)


House Morrigan Marches too War


Painting the armour!
So since the last update there’s been a lot of progress but I’ve taken pictures to keep everyone updated.
The first thing I did was paint the green panels of the armour, I decided to do this as I thought that if there was any spill over from the cream over to the green it would be slightly less noticeable than the other way round. The green is really simple to achieve and only require 3 steps:
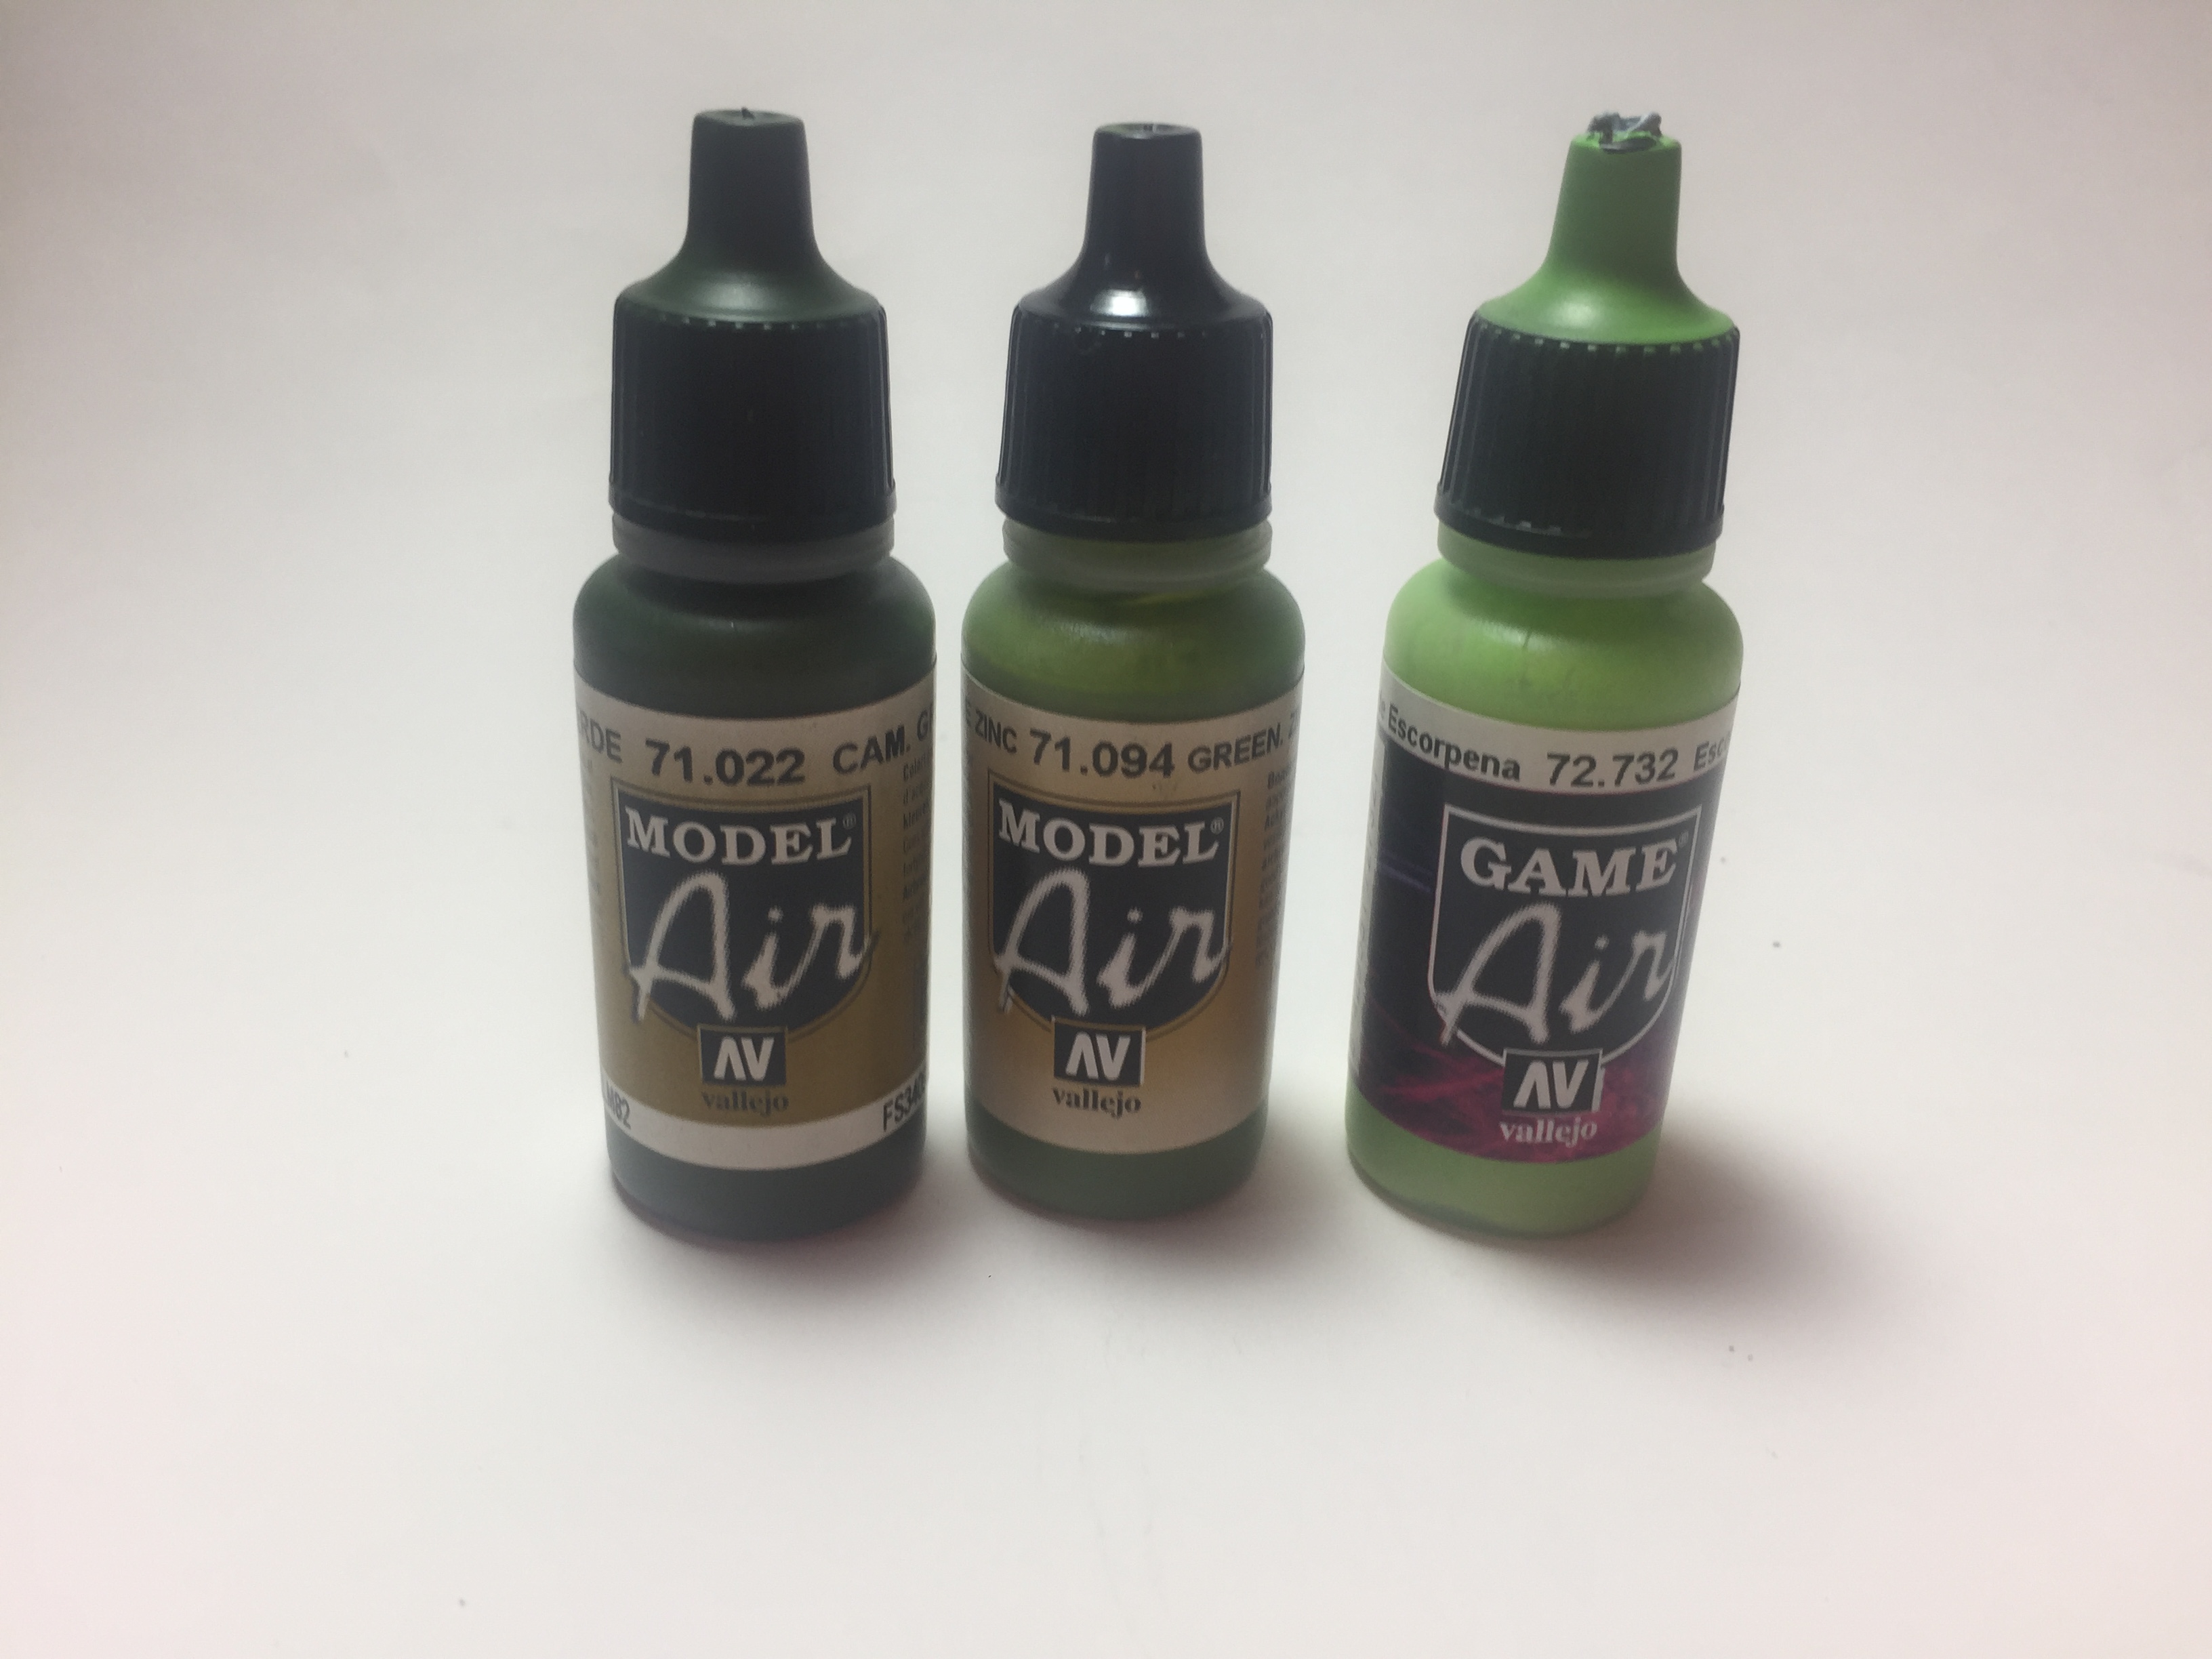
- From the black undercoat I give the chosen armour panels a coat of Models Air’s Cam Green covering about 99% of the panel.
- Next I covered just over half of panel in Model Air’s Green Zinc, making sure to blend it into the base colour.
- For the final highlight I use a 50:50 mixture of Green Zinc and Game Air’s Scorpion Green.
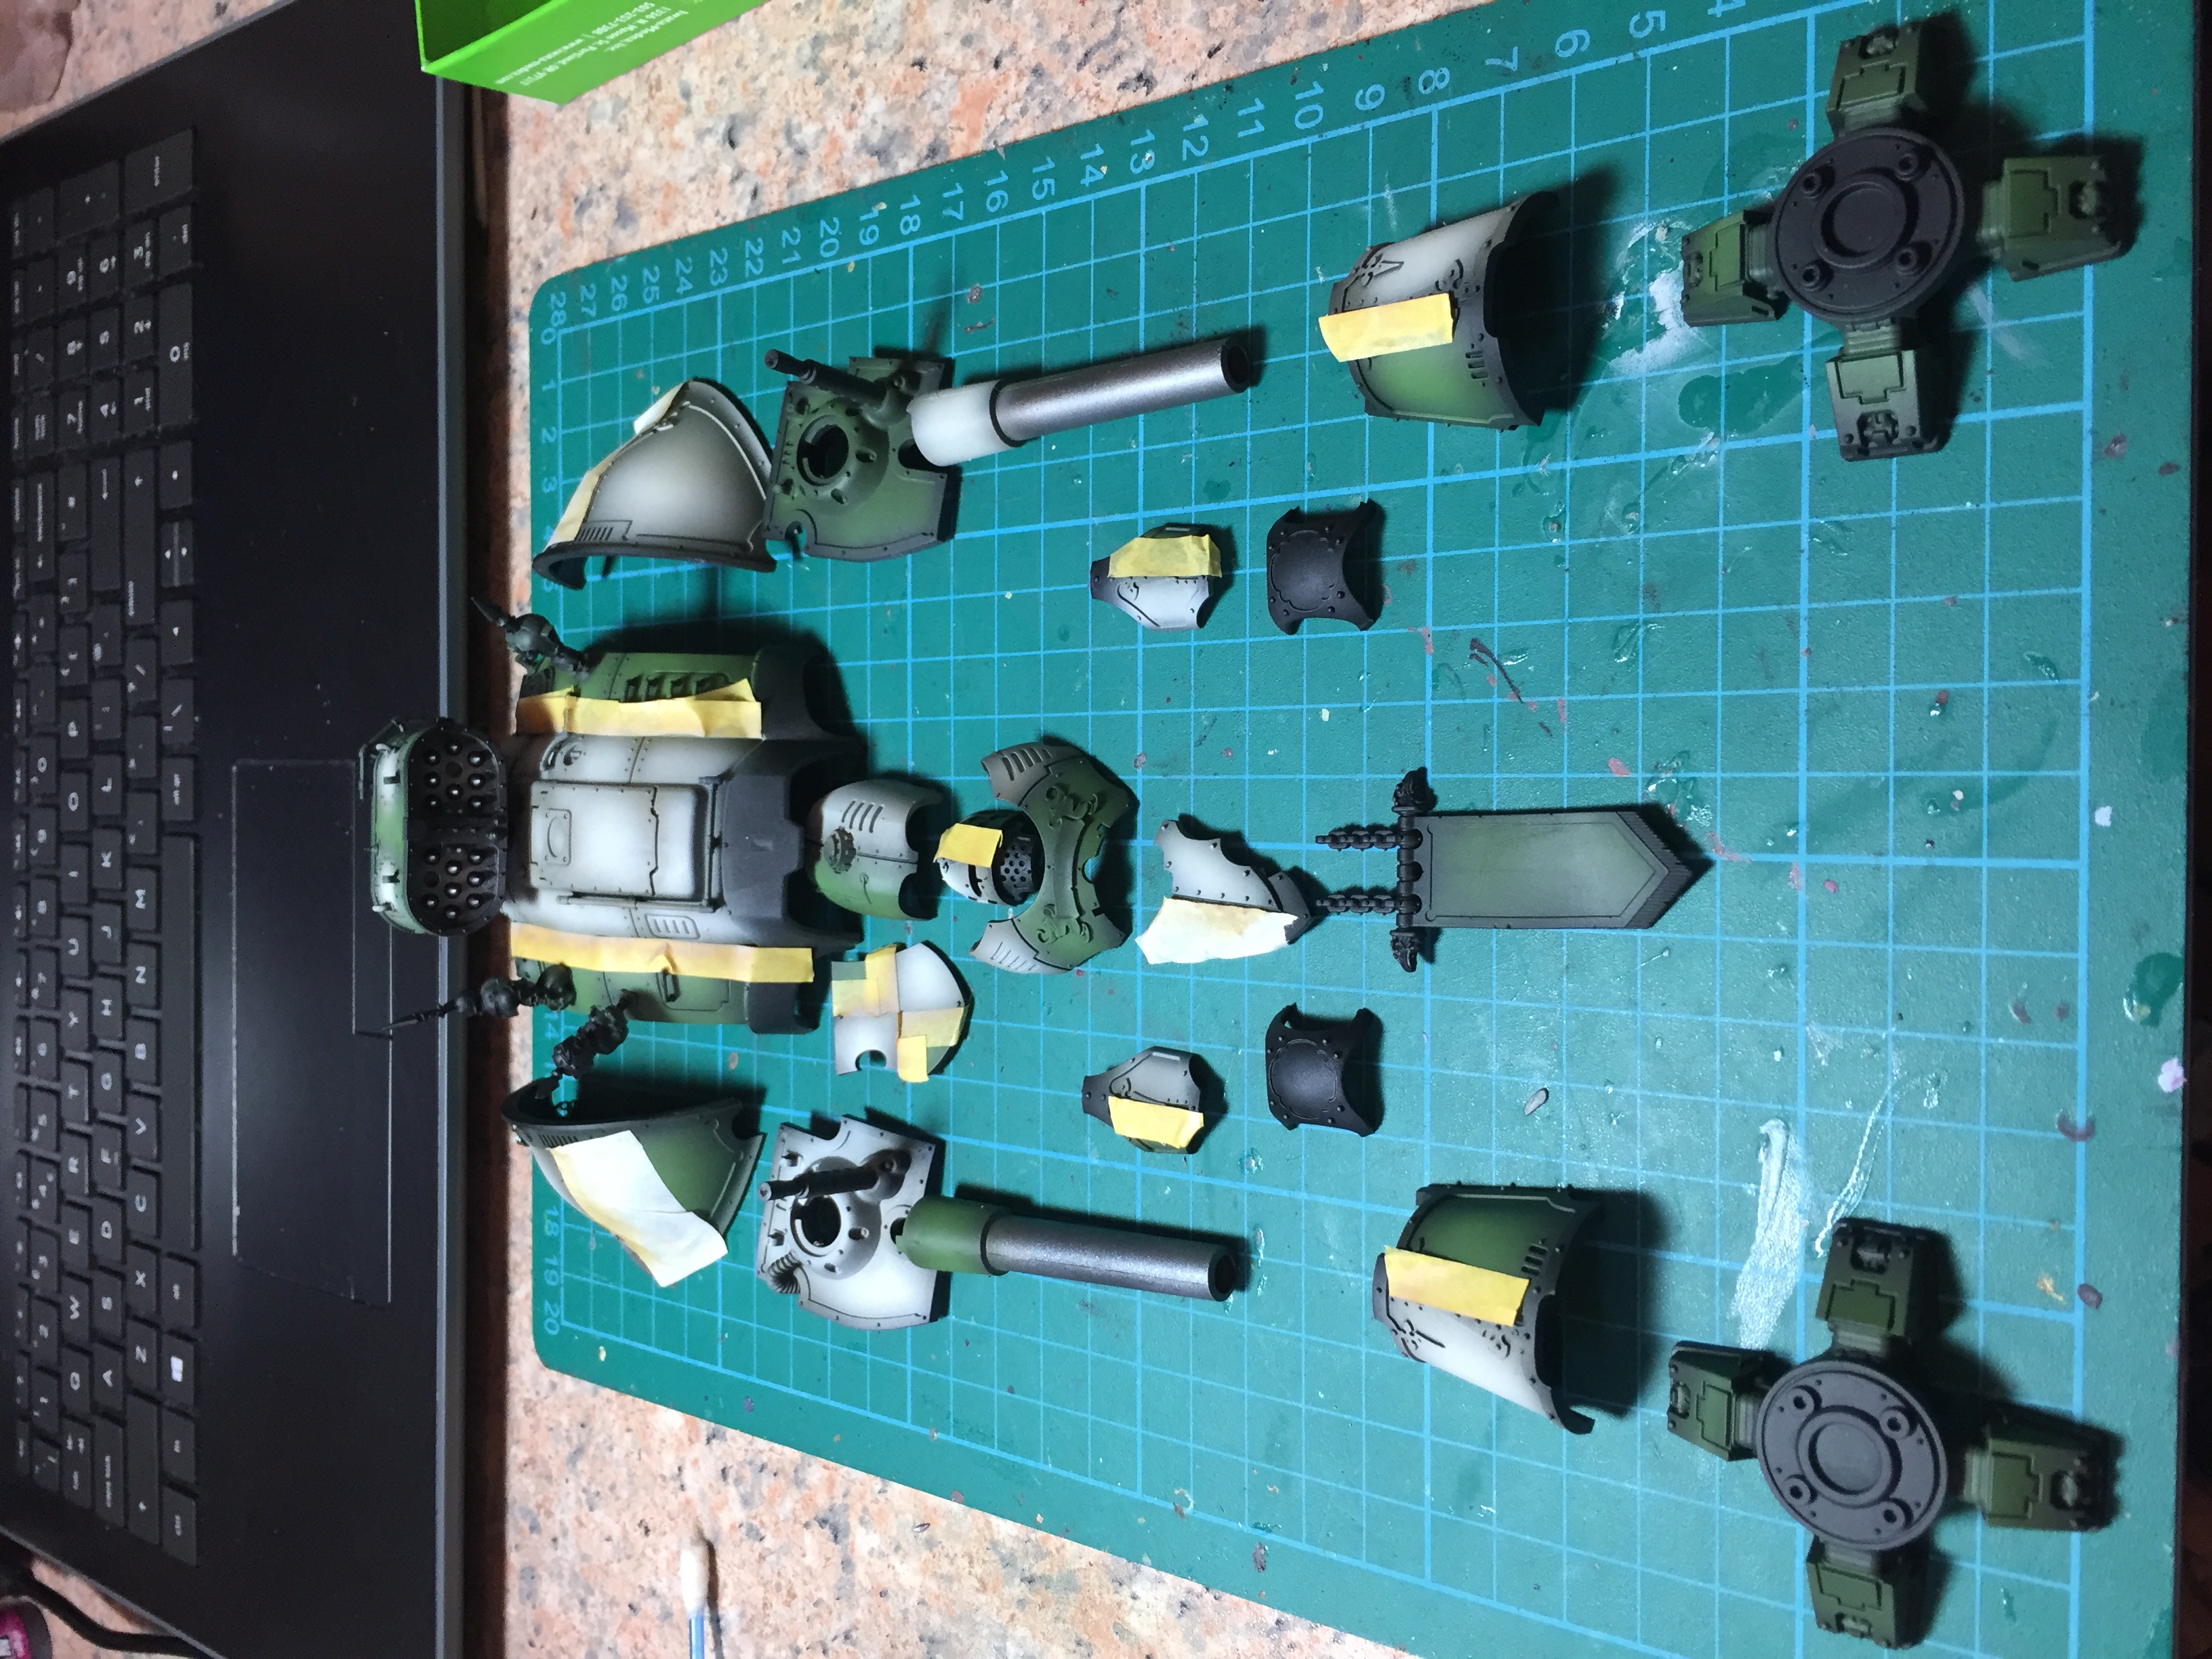
Below is an image of the paints used and how the model was looking after the green paints had been laid down.

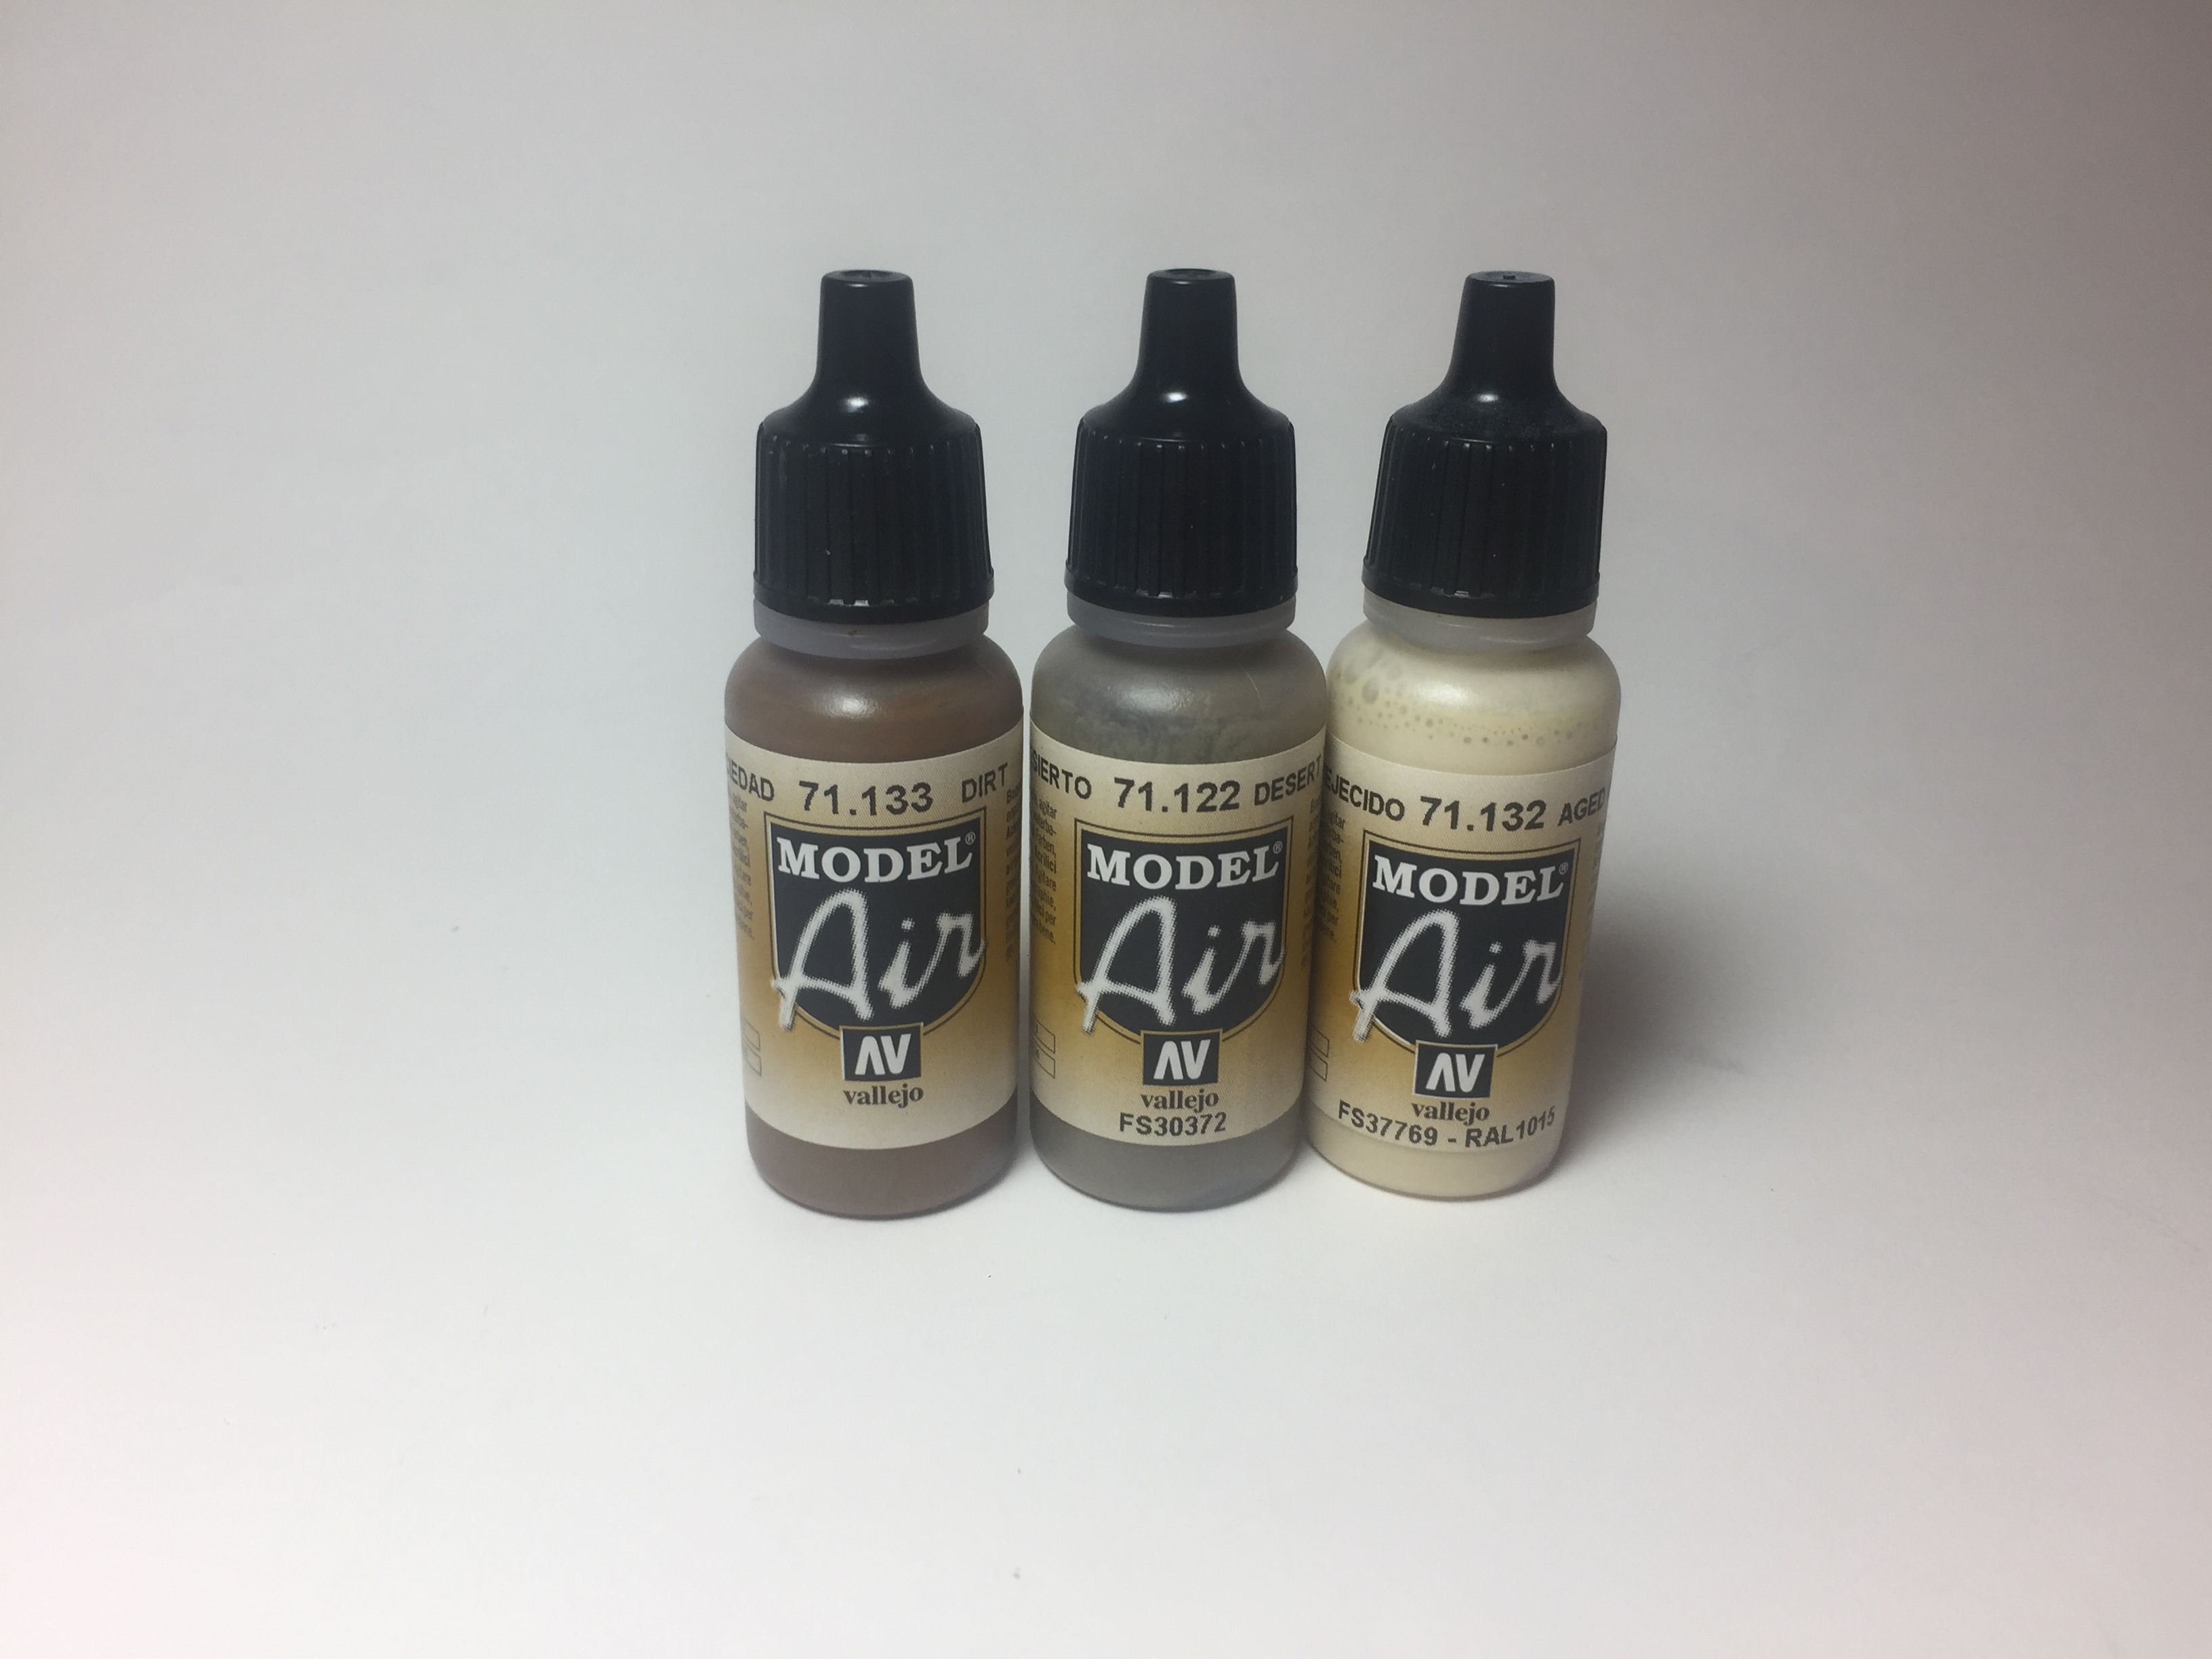
Now for doing the second colour one of the most key steps is taping off the areas already painted. The paints used were applied in the same ratios as in the green armour in the following order.
1) Model Air’s Dirt
2) Model Air’s Sand (Ivory)
3) Model Air’s Aged White
At this stage the major work on the knight is finished. The next stage is to paint the metal trim, first I based it Army Painter Gun metal gave it a wash of Devlan Mud and then reapplied the Gun Metal leaving the wash in the cavities, I also added a GW mithril silver highlight to some of the areas that were looking a flat.


Leave a Reply