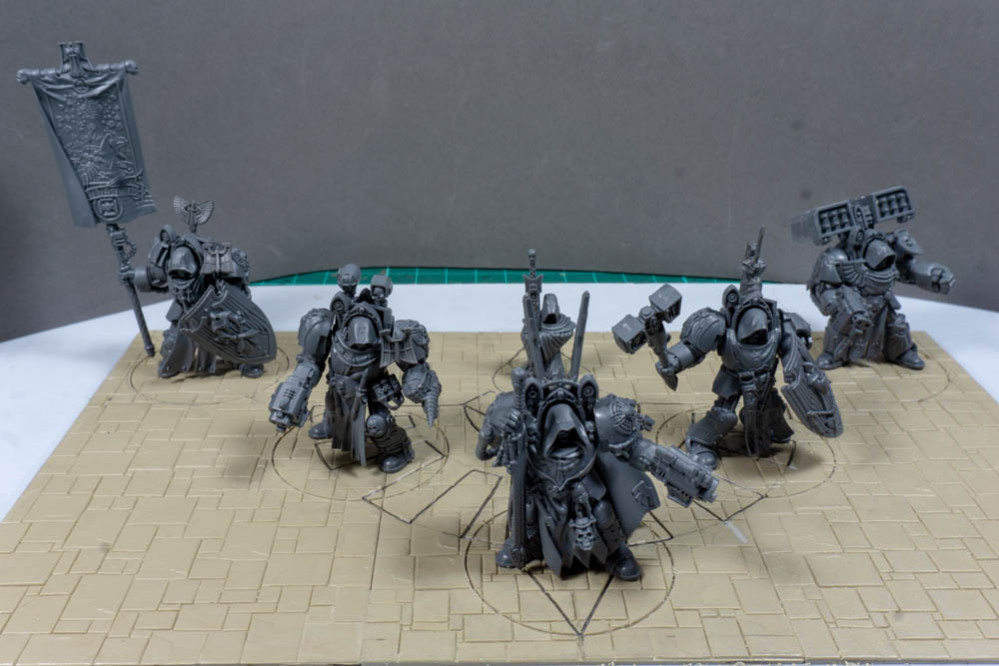
Death Wing
2: The Base:
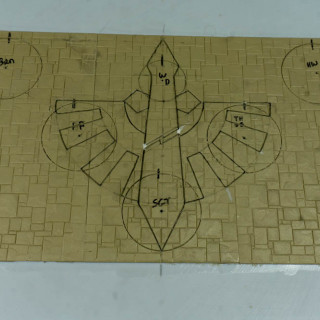
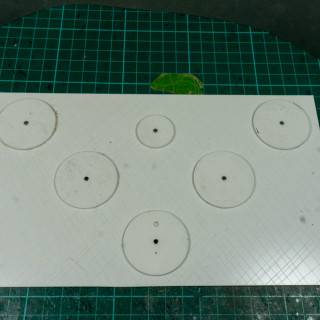
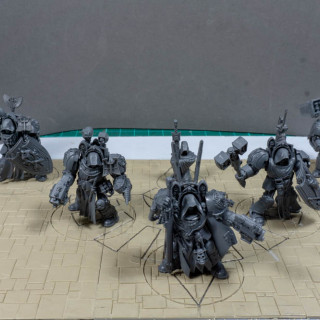
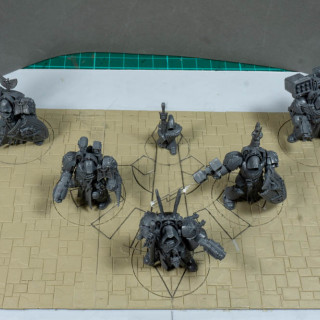
For the base I raided my collection of basing material and picked out three sheets of textured plasticard. These have the stone effect I was looking for and would make things much easier than trying to carve them out of a normal sheet of plasticard. To get everything to line up nicely and allow me cut out the sections that would go on the actual bases I glued these sheets to a thin sheet of plan plasticard. To get a good bond I used Slaters Mek pack which is a liquid plastic cement that I find works really well for this type of job. Once this was all set I marked out where I wanted to the models to stand and using a disk cutting tool I started to cut out the individual bases. I didn’t cut all the way through at this stage as I wanted to add a bit of carved design to the base to add a bit more interest.
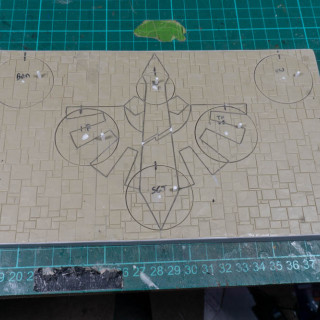
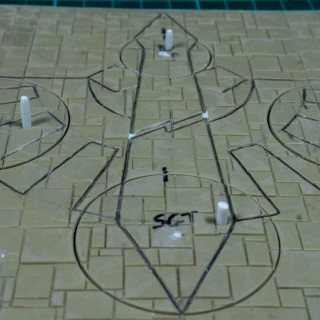
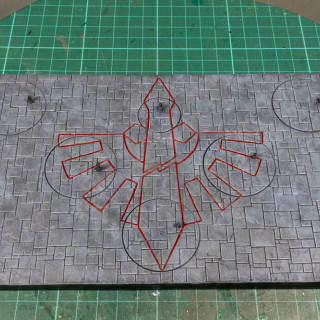
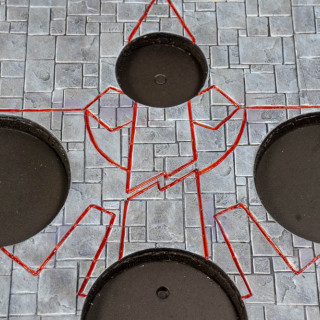
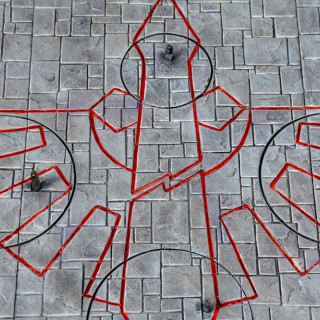
I drew out the basic Dark Angel Chapter symbol on the based and scaled it to fill as much of the base as I could. My original plan was to go with a more ornate design but this being the first time I’ve tried to do something like this I decided to be a bit more cautious. With the design drawn out is set to work carefully carving it out.
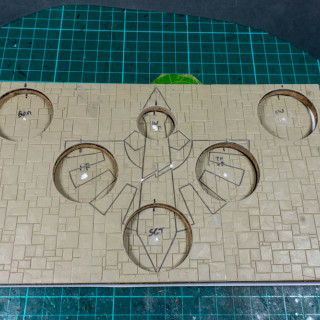
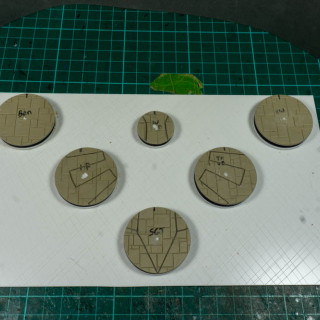
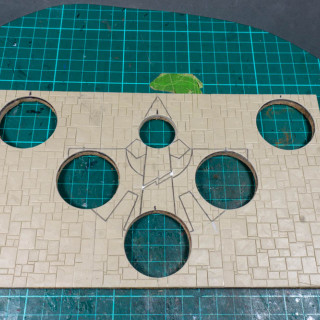
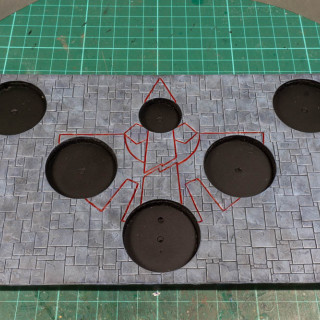
Once I was happy with the design I went back to cutting out the disks for the bases. I was happy with how these turned out and once I had sanded the sides down to smooth everything up the individual pieces would fit nicely without too big of a gap. The individual bases were a little larger than the top of a standard 40mm base but I decided that as there sitting on top of a standard base then everything would be fine.
To get some depth to the main base, which would allow the gaming base to fit flush I used some cork board, again from my basing supplies and glued the plasticard section to this. Once the PVA had fully dried I cut out the holes to line up with those in the plasticard topper. When I dropped in the gaming bases they were sitting a little bit low so I needed to add a plasticard disk to the bottom to get everything to line up. This worked out quite nicely as it allowed me to drill a hole into this piece to add a magnet that lined up with a magnet in the bottom of the gaming base.
The disks were then glued to another thicker piece of plasticard before I used PVA again to join the cork section to it. Once all of this was set I used some thin strips of Plasticard to tidy up the sides before giving it a final sanding to smooth everything off.
The painting was straight forward, if somewhat tedious. The basecoat was done with the airbrush as was just a black Vallejo surface primer. From there I used Citadel XXX for a heavy dry brush followed by another dry brush of Citadel XXX and then a final dry brush of Citadel XXX. This was then given a wash of Citadel Nuln Oil to help blend things together. For the Dark Angels symbol I used Vallejo Red surface primer follow by Badger Ghost Tint Blood Red. Then on to the really mind numbing part which was to edge highlight each of the individual stones. I’ve imagined the light coming from the front left as you look at the base and highlighted the edges accordingly. I think this last bit give a more natural feel so it’s well worth the effort.


![TerrainFest 2024 Begins! Build Terrain With OnTableTop & Win A £300 Prize! [Extended!]](https://images.beastsofwar.com/2024/10/TerrainFEST-2024-Social-Media-Post-Square-225-127.jpg)




Leave a Reply