
The End is Nigh: Deadlands
Deeper and More Interesting
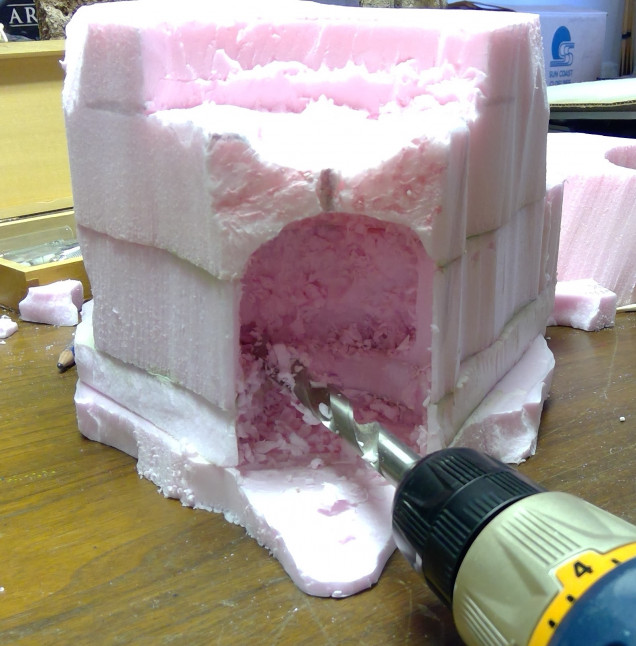
While I have decided not to make the interior of this cave “playable”, by that I mean I decided not to have the top removable to give access to the cave itself, I did feel that it would look better if I made it go deeper into the mesa.
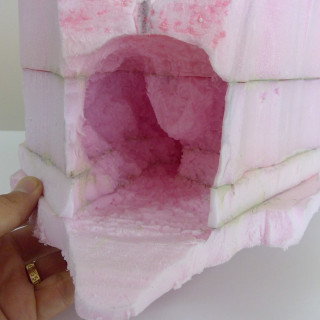
To do this I carefully employed drill bits, knives, and scraping devices to give the cave more depth and definition, and in such more visual interest. I used a large, ½”, drill bit, in an electric drill, to do the bulk of the “carving”. I did this by lightly pressing and moving the drill arround, using the tip as well as the side of the bit, as opposed to drilling deep holes. This gives much better control and less worry that I would blow through a side. If I were to make an unwanted hole, I would just hide it with one of the small skeleton bits.
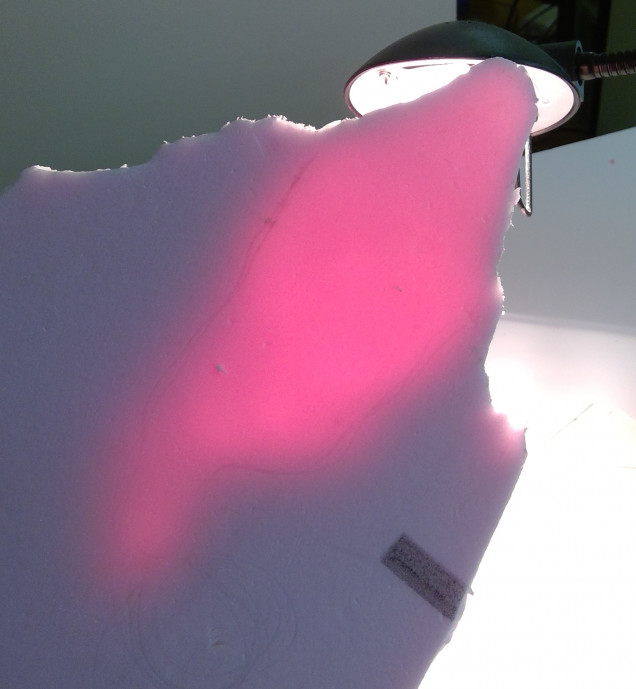
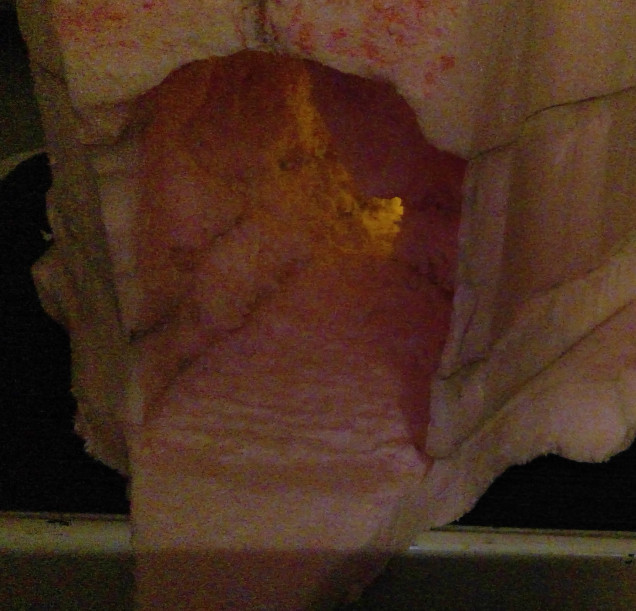
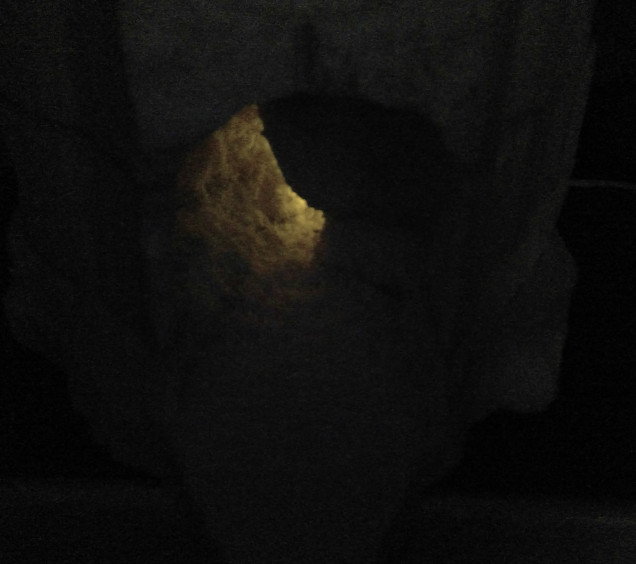
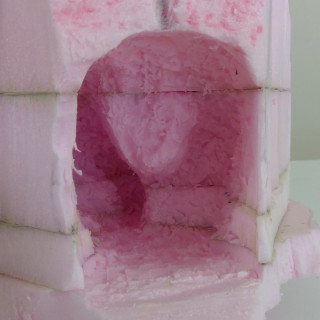
To check to see how close to the bottom or edge I was getting I stuck a lamp into the cave opening and, as you can see from the photo, it shows up very nicely.
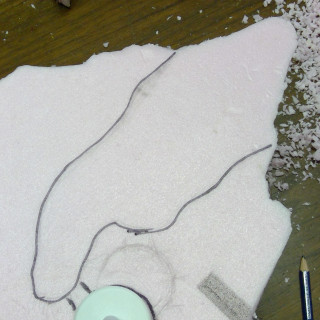
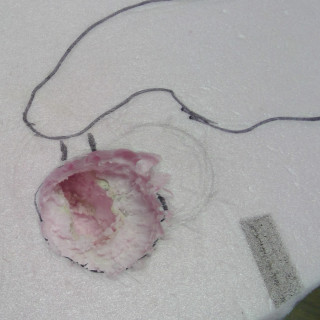
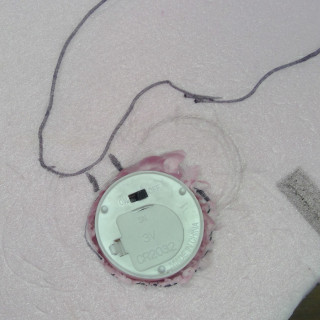
It was at this time that I decided to add a flickering tea light in the cave to give the appearance of a fire deep within. So I traced the shape of the cave, from the lamp stuck in, and found a suitable spot to place the tea light that would be out of site. I carved the hole for it with the drill and a hobby knife. I will also need to add a hole in the MDF base when I come to that.
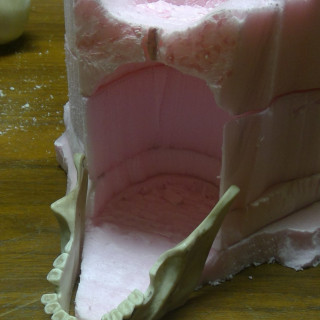
Comparison of the original boring cave entrance with the new more interesting and lifelike cave.
Smooth out the interior?
If I had wished I could have used a heat gun to smooth out the interior of the cave a bit, but rough texture will make less work for me later. If I were to use the heat gun, to avoid melting the exterior of the mesa I would have wrapped the area around the outside of the cave opening with dampened paper towels and newspaper to protect it from the heat.




Leave a Reply