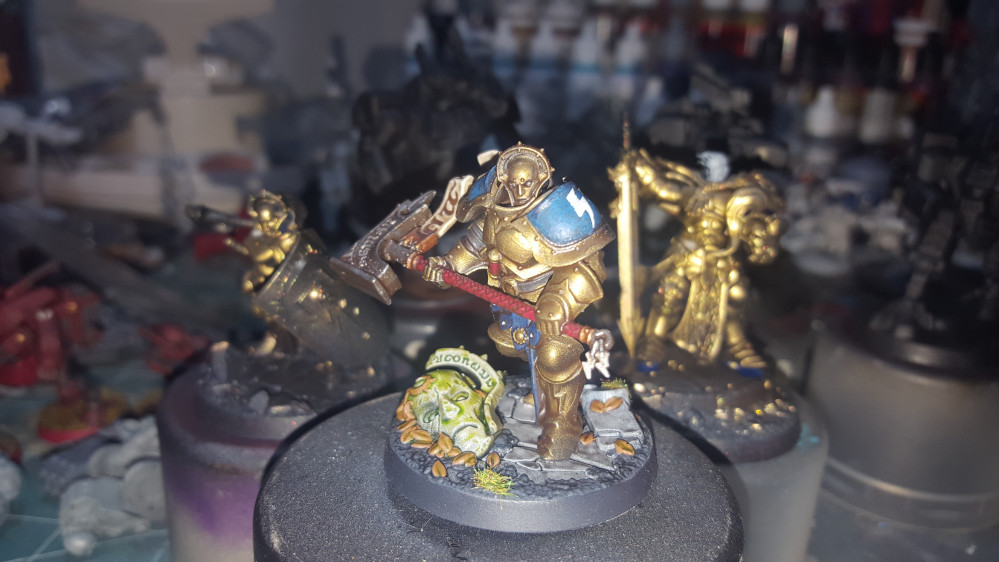
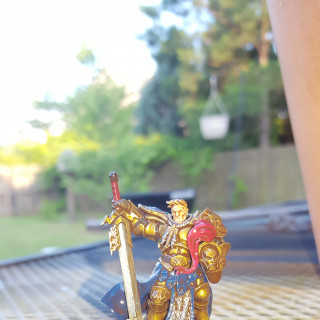
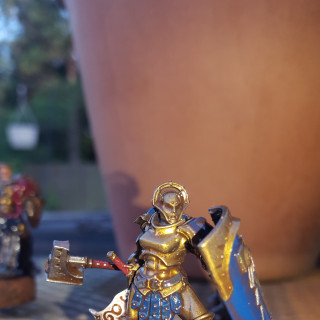
Steelheart's Champions for Shadespire
Finished
Well let’s see if this saves this time….
I have had this done for awhile now but just getting around to uploading ready for a tournament this weekend.
With the basics done I proceeded to dip and flick the minis using Army Painter strong shade. I find this looks really good on gold as opposed to black.
After flicking (and retrieving a mini from the grass that got loose) I proceeded to let them dry and moved onto the bases.
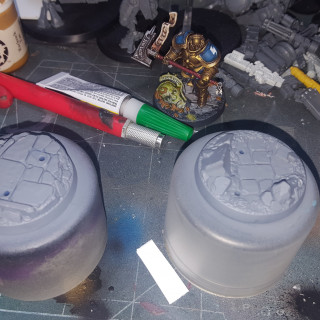
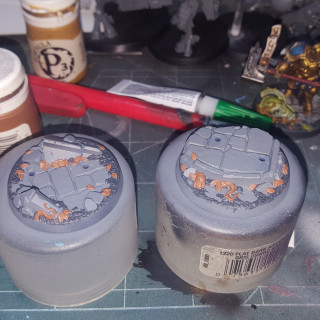
With the bases I started with a medium gray, picked out the veins, leaves, and skull details, then applied a dark gray under the medium with some light stones on top. After washing I then applied some static grass to the bases as lichen, I like the texture this grants it.
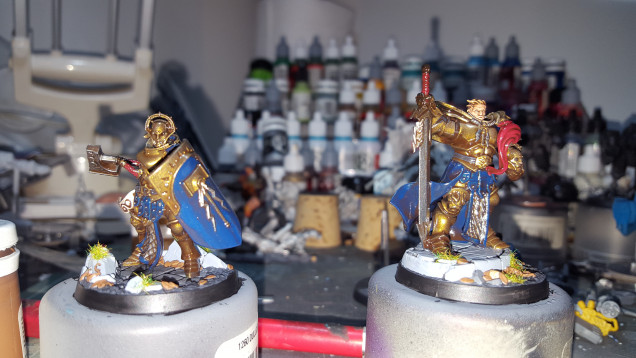
I now attached the model and proceeded to pick out final details and bring up some of the areas the shade had to dark.
With them completed the final step I do is sealing and transfers. For sealing I prefer Testors gloss and dull coats. I apply a gloss coat first for strong protection, then I apply any transfers. With the transfers I like to scuff them with a stiff brush first to make them looks dull/weathered. After they dry I then apply a Dull coat, this makes the transfer look seamless on the model removing any lines etc and bringing down the gloss.
This also means that if your models top seal wears off the Gloss will show and you can hit it with dull again before you wear any paint.
I had an issue with the dull coat frosting a little (rare for me with Testors) and one way to fix this is to hit it with a bit of gloss again and then dull .
As with any aerosols be sure to us light even coats and in a well ventilated area.
I am looking forward to getting these on the table!




Leave a Reply