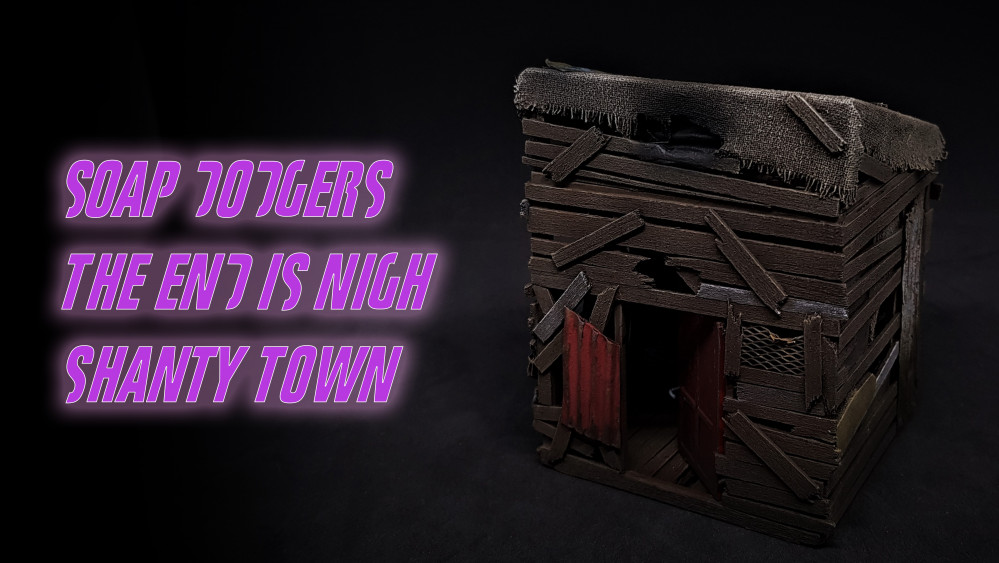
Terrain Challenge – Shanty Town
Wood glorious wood
A short tutorial on how I do wood (cant phrase this any other way) If you cant face watching an hour long video, I don’t blame you! This may be for you.
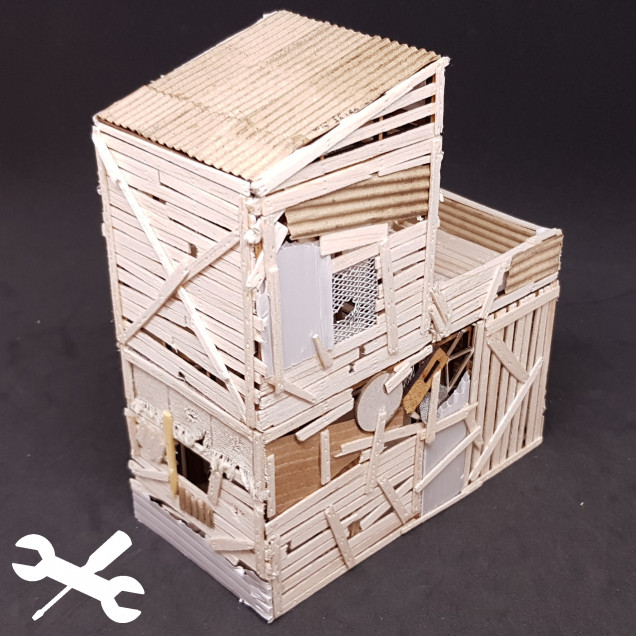 You need to make or buy something wooden to paint. If like me you use thin balsa wood then this effect works great as it gets all the detail.
 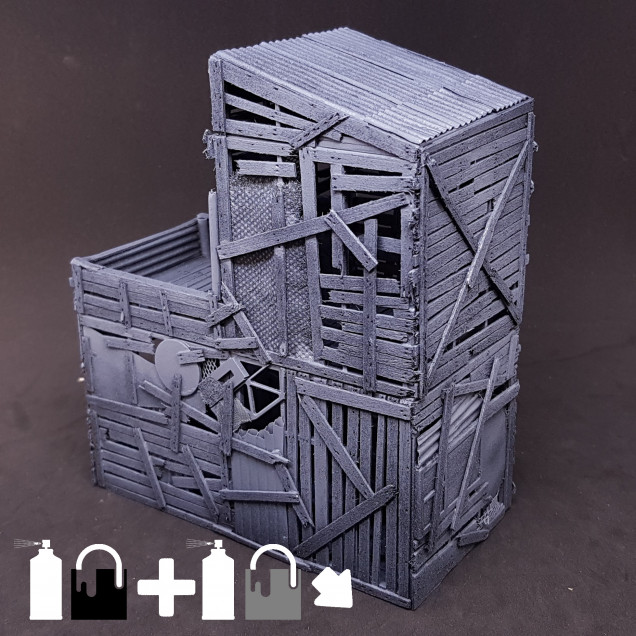 I spray everything black and then at 45degrees grey. I Zenith spray to protect the wood and to give me an idea of shading that I want to try and preserve, though less drastic.
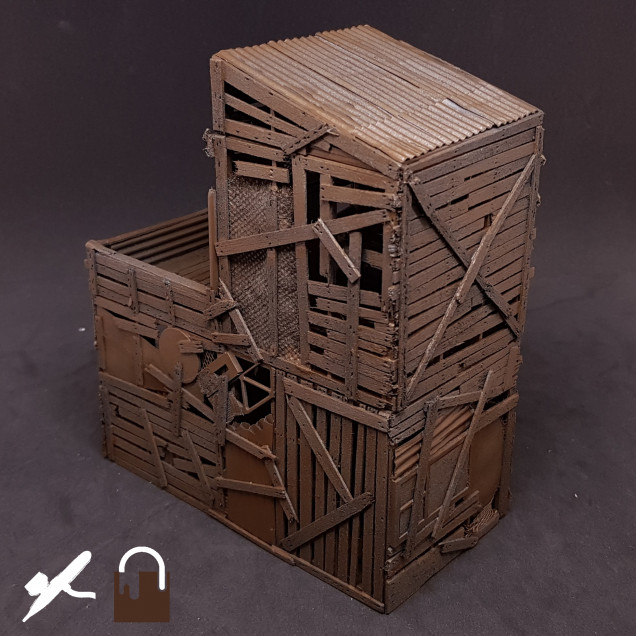 I airbrush Vallejo chocolate brown, but you can use any brown paint or even thing the paint and hand paint it. Just remember to keep this a thin coat to preserve detail. The thinner this coat and the more grey you let show though can give this a different effect.
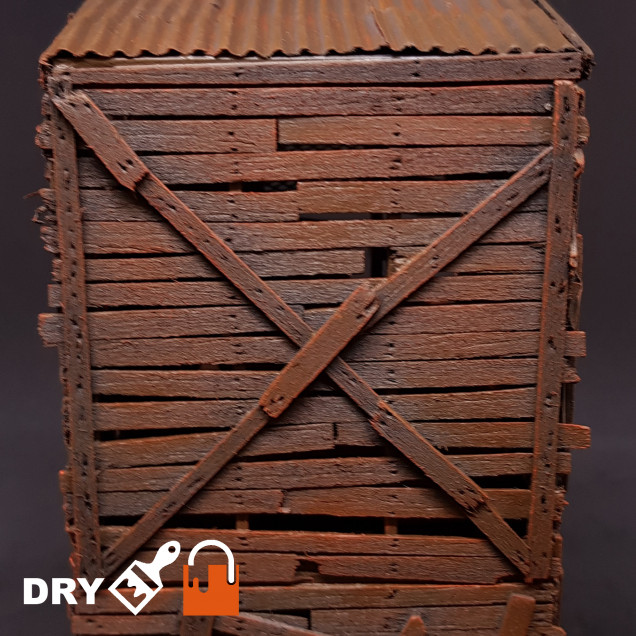 I drybrush with Vallejo Orange red. I do this as the next colours I use are quite cold this helps me preserve some heat. This always appear to be controversial but it's just a filter layer. You can use anything from blues to purples depending on what you wish to end up with.
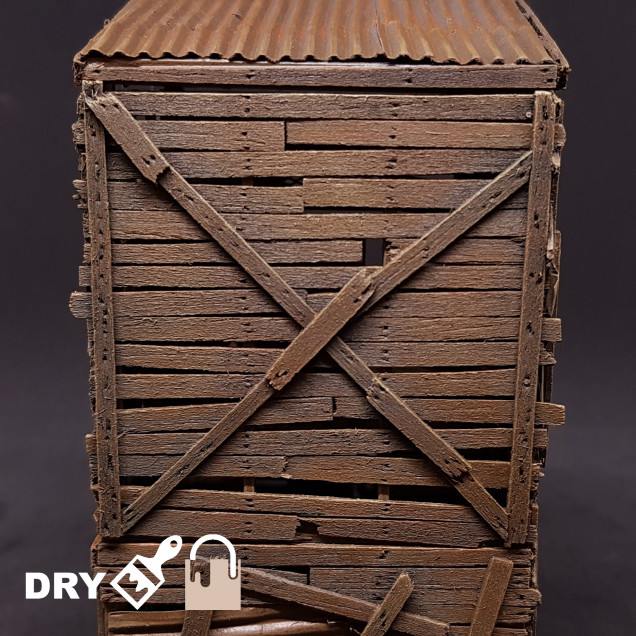 I drybrush with Vallejo khaki, I like adding a tinge of green into the mix. This is also the base layer. It also covers most of the orange filter layer.
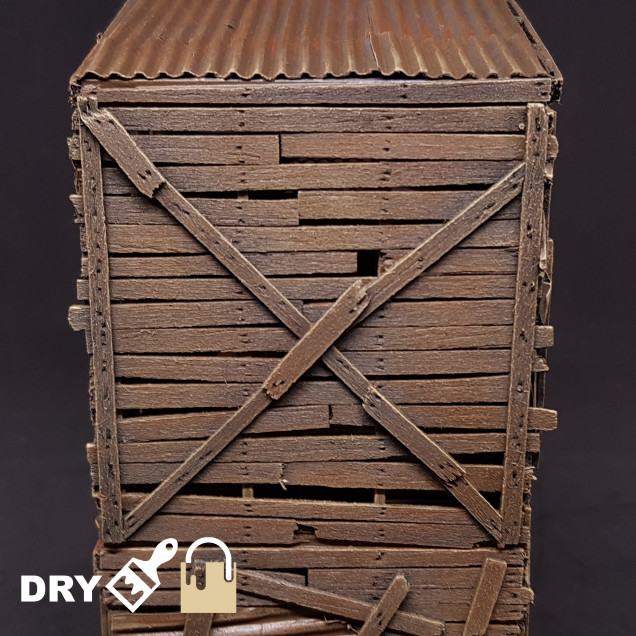 I then use Vallejo dark sand to drybrush further. This is like the first highlight. This is done lightly and in areas of interest I want your eyes to be drawn to. I think it makes it look more dynamic.
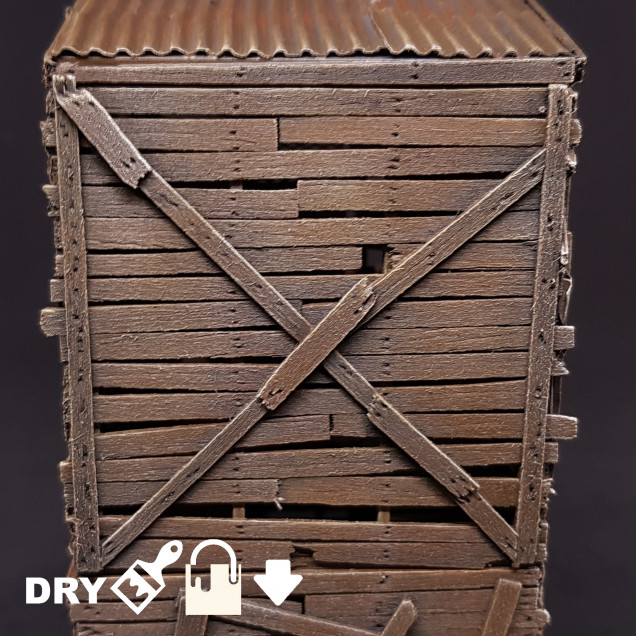 Lastly, I go in with a vertical drybrush only going in one direction down of Vallejo off white. this is to make it look like the light is just coming down and hitting the edges. I don’t do this step on the interior as it would be too much. It doesn’t add a lot but i like the look. This is a very light drybrush.
That’s how I paint wood. It’s not a natural looking wood but if you look at railway sleepers this is more like that effect but a bit brighter and warmer. I do this so I can knock it back later with washes but still keep the lighter spots.
I use balsa wood as I like the fibres from it they pick up the paint and drybrush very well. I think it’s impossible to get this effect from any other material. it’s also quite cheap from where I get it from (£1.90 a sheet) but I am sure you could find much better value if you didn’t just walk into your local craft shop.
Coffee stirrers are a close second but depending which ones you end up with they can be too smooth unless that’s the effect your looking for I would say get some 1 – 2mm balsa sheets.
I also try where possible to drybrush cross grain but also drybrush in a circular motion and focus on a spot for a light effect.
I am not a fan of dry brushing overall but if you are going to overuse this technique anywhere it should be on terrain. as you are painting large objects and need to get a good result quick for your own sanity. Also you don’t want to use a lot of paint especially if you are using model paints this didn’t take much at all apart from the base layer of brown.
I am thinking of doing the same thing as the above for the rusted corrugated panels. I made one panel all wood and the woof all metal to do these tutorials as both things are key to the painting of this project.
Any feedback on the icons on the pictures would be good, but I think people read this asking for feedback may not be the people it was aimed at. Just trying something different.
I hope to have more today.
Keep up the great work everyone and start a challenge project and show us your stuff if you haven’t already!















Leave a Reply