Learning to paint Non-metallic Metals (NMM)
Time for some highlights
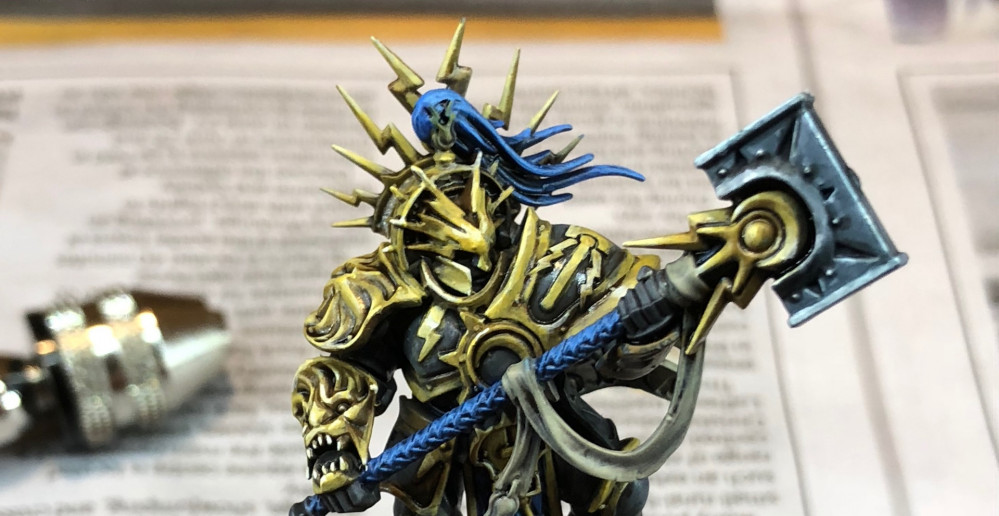
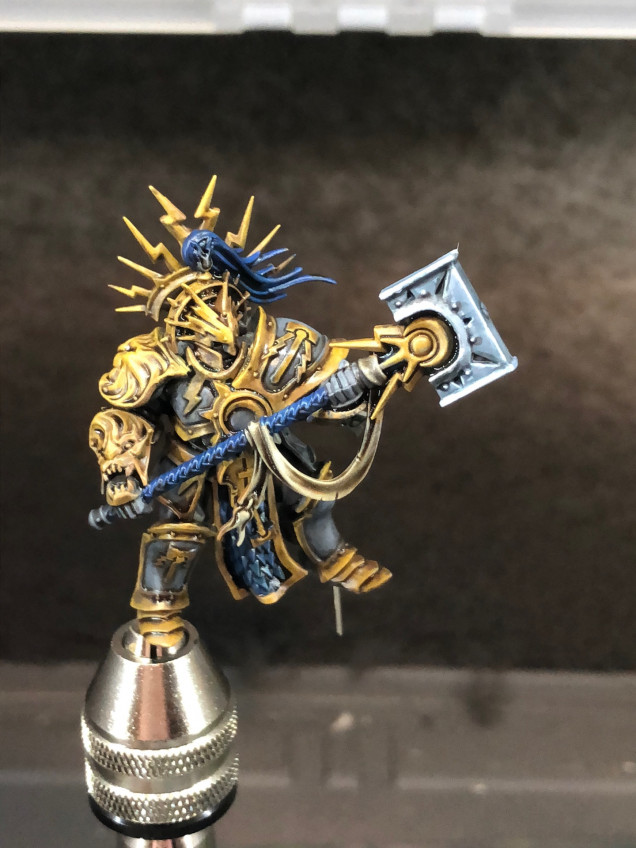
Now comes the hard part, getting some highlights onto the model. I thought this might be a case where starting on a smaller area might be a good plan. So I began with the iron / silver look on the hammer. I tend to use Vallejo paints, both for the range and the dropper bottles, which are so convenient. I’m using Intermediate Blue and white as my two colours, mixing up blends of the two as needed on a palette. I use cheap pads of palette paper from a dollar / pound store and they’re great.
It’s not bad, but not great either. At this stage I was struggling a bit, so I resorted to my favourite part of the painting, adding washes. You can see this in the photo above. It’s such a simple stage, and adds so much detail. I was also hoping it would clarify where the highlights should go.
I used a variety of washes – Agrax and Sepia for the browns, and black / blue for the grey parts on the armour.
When this dried, I started on the gold for the gauntlet and one leg of the model. This is definitely a time for a smaller brush – I think I was using a size 1 at this stage. While the size of the brush is a factor, I tend to find the quality of the point on the brush is even more essential.
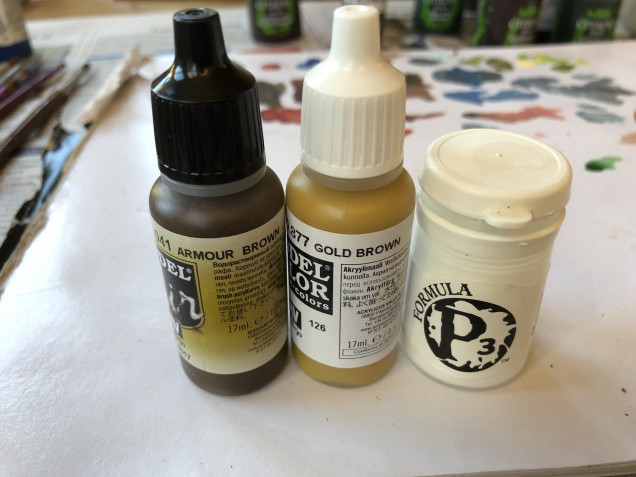
For these highlights, I started by placing a small almost white highlight where I thought it was needed, then blending down to the basic “gold” colour. There’s a lot of back and forth here as you go between too much and not enough. Being able to quickly mix up variations of your colours on a palette is a big help here. For reference, I’m only using 3 colours at this stage.
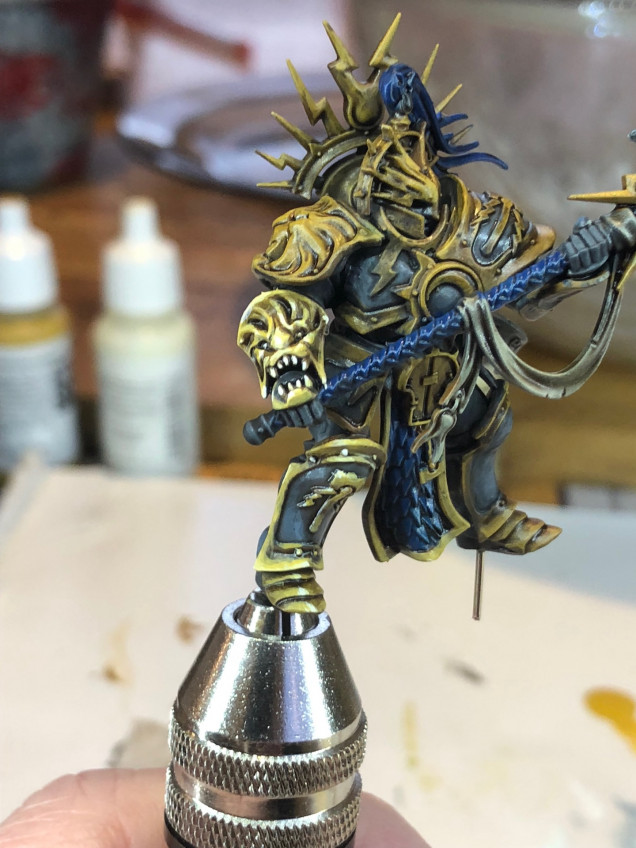
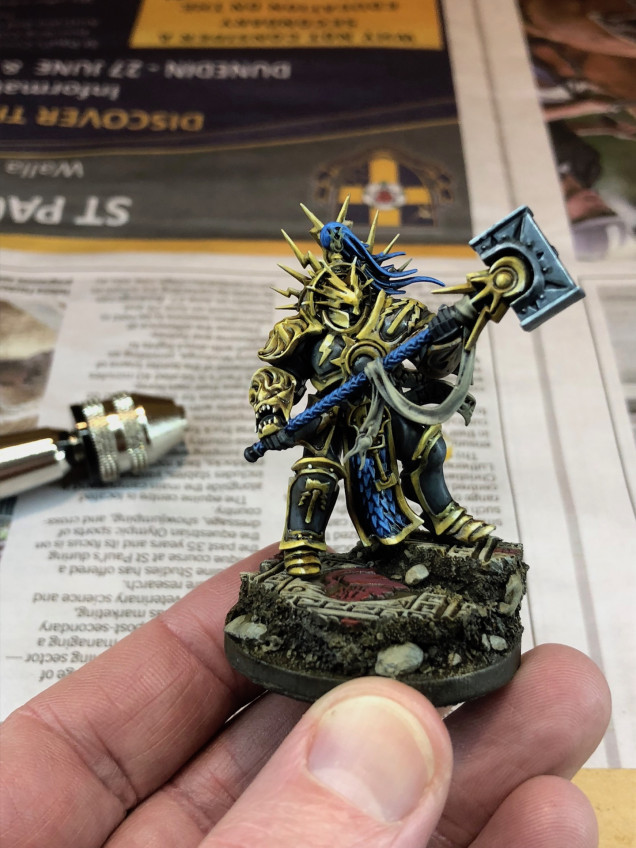
It’s a slow, careful process. I’m certainly no expert, but it’s starting to get there. In the last photo below, you can see where I’m up to. I try not to get bogged down, and move from area to area when I need a break. It’s a good way to ensure you keep the big picture in your head.
Also, when I got frustrated its nice to be able to switch over to something a bit simpler, like the blue tabard (loin cloth?). The photo below shows how some areas are getting closed to finished with highlights, while others haven’t even been started. It may seem a bit chaotic, but I find it a low stress way to work.
Once this stage is finished up, I think I’ll start to work on some of the shading, using the armour brown to accentuate the highlights, as it’s this contrast that is essential to NMM. Watch this space 🙂


![TerrainFest 2024 Begins! Build Terrain With OnTableTop & Win A £300 Prize! [Extended!]](https://images.beastsofwar.com/2024/10/TerrainFEST-2024-Social-Media-Post-Square-225-127.jpg)




the NMM are looking crisp so far 🙂 looking forward to seeing more 🙂
Thanks! So am I! ?
Love how this model is turning out, the bases, in particular, are fantastic.
Cheers! In the next post you’ll see that the base is the part I’m currently happiest with 😀