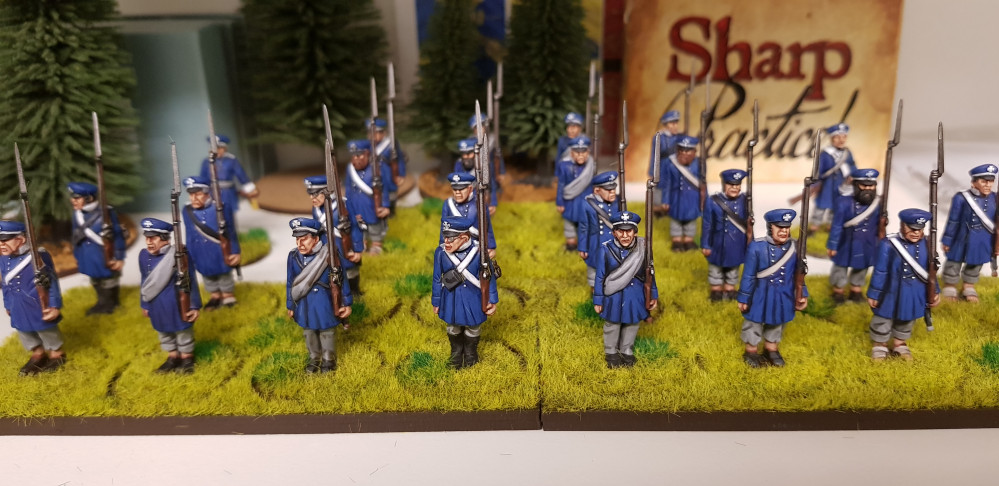
Civs Foray into Sharp Practice
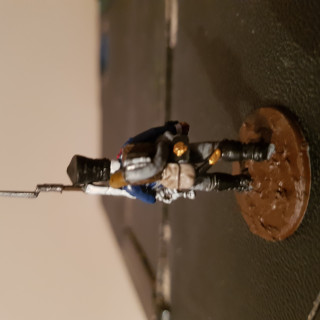
Painting Prussian Line Troops (Weird pic orientation and all!)
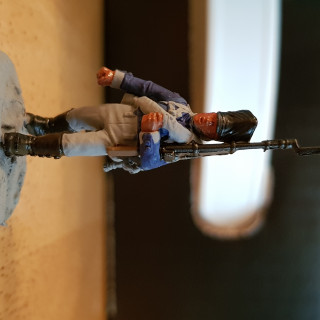
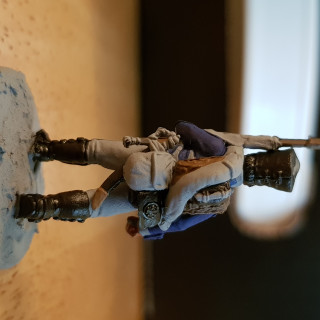
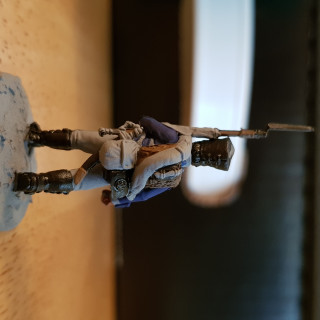
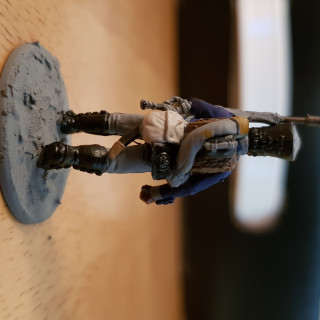
I have painted a few of these guys now so thought it worth putting together a how to (just in case i need to paint more and forget how i did it) but it might be useful for anyone looking to get a Prussian force going.
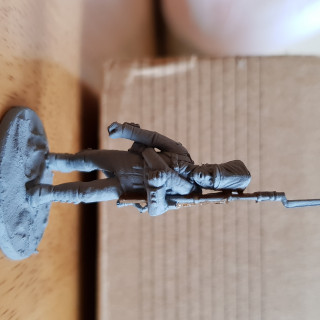
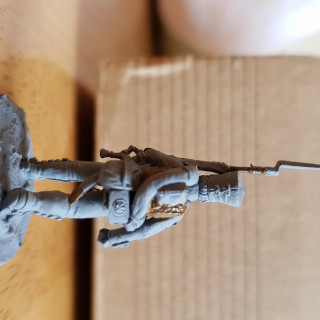
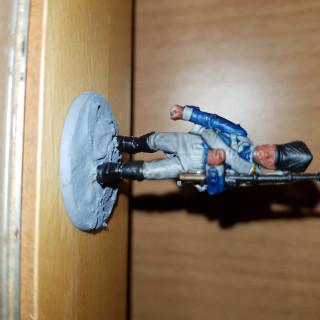
- I based the models and sprayed them with halfords (Uk) grey primer, its much cheaper than undercoat and as much of the prussian is grey it gets a majority of the figure painted from the off.
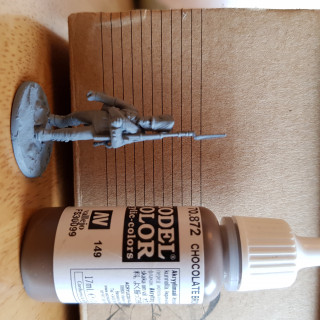
- I used chocolate brown to colour the gun, backpack and any bits that will be painted gold (gold looks better over a brown undercoat). The main bits were the emblem on the catridge case and the bottom of the short sword they carry. You can paint some of the hair here too, dont forget the impressive sideburns!
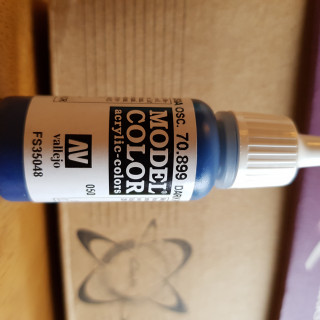
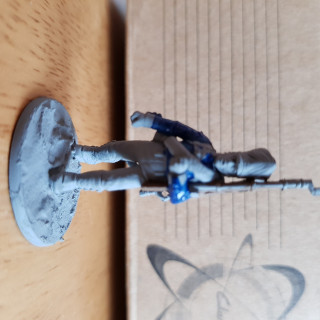
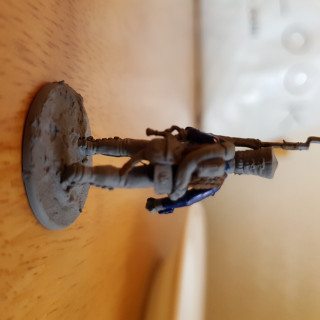
- Next step was painting the uniform. I used dark prussian blue to colour the jacket, dont worry about being too tidy here, just the the blue in all the small areas we will be painting over anything the blue isnt meant to be on.
- I then paint all the black, this is anything that is actually black and anything to be painted silver metallic later like the gun stock. Mainly its the shako, cartridge box, short sword scabbard, rifle barrel and boots. You can paint the hair at this stage too.
- Its worth painting all the white piping at this point (i didnt on the example but changed my process a bit as it was easier).
- The face was painted using a vallejo paint (need to add what exactly it was)
- I then used gw dheneb stone to paint the bread bag they all carry, any light beige colour will do here.
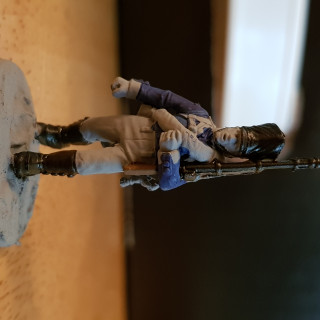
- Depending on what regiment you are doing you can paint the cuffs, collars and epaulettes your colour of choice. Mine are from colberg and happen the have white cuffs and collars and red epaulettes so i paint these.
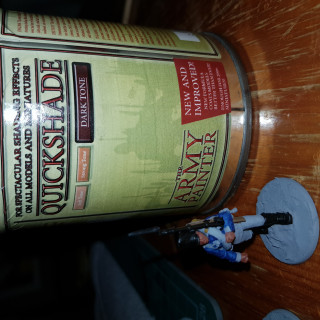
- Then comes the army painter strong tone dip. Now i actually paint this on so it doesnt pool in weird places. I dont cover the face, boots or shako as the face is already shaded and the boots/shako being black dont need it either. Try and get it in all the creases and deep areas as this is where is really shines. Its a gloss so be careful not to get it on anything as it really doesnt come off again. Have some white spirit ready to ‘clean’ your brush, the brush will be ruined so use an old/cheap one.
Leave the dip application to dry at least overnight and whatever you dont dont varnish it until you are 100% sure its dried, if not it cracks and looks awful, trust me my FOW british armoured company is testament (that was a sad day).
Once dry i found given the model a spray of matt varnish makes it easier to paint and really takes the shine from the gloss off which you need to do at some point. I use army painter matt varnish as its what my FLGS stock and it seems to work fine.
Next is the highlights.
The black is covered using a very dark grey (eschin grey?) Leaving the actual black colour only in the recesses.
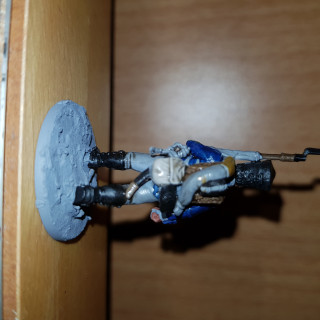
The metal on the musket is painted gw boltgun metal making sure to leave the black in the recesses. It might be easier to do this before the dip if you arent the neatest of painters as the dip will then pool in the recesses so you can be less careful in painting the metal. The buttons on the side of the boots and the water can on their back is also painted the same metallic colour.
The jacket buttons, bottom of the short sword and emblem on the cartridge pouch are all painted with vj gold.
The skin is painted with gw tallarn flesh being careful not to get it in the recesses. Its then highlighted using vj elf flesh only on the highest points of the face.
The jacket gets highlighted with vj prussian blue.
Gw codex grey is used to cover the trousers and blanket across the shouler leaving the dip in the recesses and covering up any mistakes, it matches really well with the halfords undercoat.
This is then highlighted using gw fortress grey.
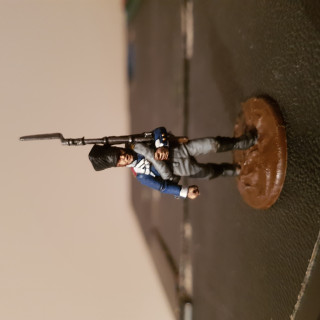
This is the mini pretty much done, just the base to finish.
Basing
I paint the base using some cheap dark brown acrylic paint from craft shop.
I then use the static flock applicator to create dark green flowers/tufts which need to dry before applying (using 4mm flock, 6mm is too long and falls flat).
The bases are covered in pva and the tufts/flowers are then applied in a (hopefully) random pattern so when they get ranked up it doesnt look to artificial. 2mm spring flock mix from dorspring models is used to cover the rest of the base.
I am going to try and add some patches of yellow and white to the top of the 2mm flock on the overall bases to see if it breaks them up some more, the idea is they look like dandilion and other smaller flowers. Will do a test and see.




Great start on these new troops! 😀 I’m always afraid to start 28mm, especially black powder era.
I was the same, luckily sharp practice being a skirmish type of game means i dont have to paint too many. Still its about 60 models so far and its definitely not a quick job, should be worth it when im done though!