Foehammer’s Konflikted Painting Table
Busy Weekend, Big Monday Update
Ok, days until house move…9 and counting. This is both good and bad for my hobby progress. The bad…I’m spending large amounts of my weekend packing. The good… we no longer have a couch (old one got sold) so there is no place for me to just lounge and be lazy. As a result, more progress gets made on my hobby projects.
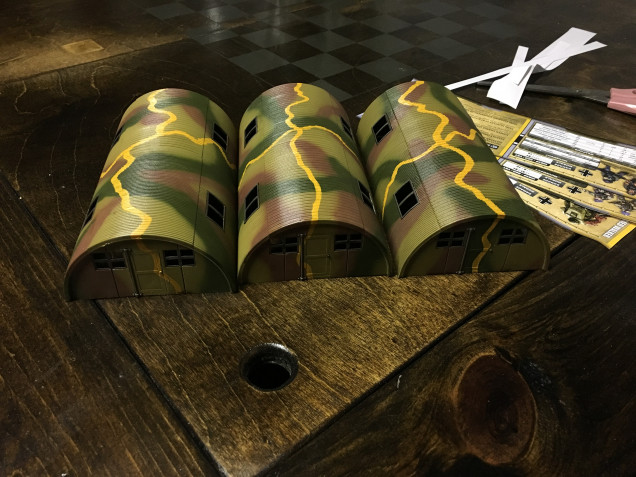
First up, the Base Quonset Huts are mostly painted. Just need to hit them with some matt varnish to kill the shine from the Army Painter Strongtone dip I painted on to them to shade and add contrast. I will say, I am really liking that product for terrain projects. It shades like a wash, but also acts as a fairly strong sealer and binder to hold stuff together.
Overall I am happy with how they came out with the Japanese tank-camo color scheme, even if the use of Quonset Huts by the Japanese isn’t 100% historical. As it says on the tin, I play primarily Konflikt, so the historical part isn’t as critical.
I am really interested in finding a place to put a Japanese flag, as I think the white and red iconography be a great contrast for this hut coloration.
Next piece of this themed table project is the runway/airstrip. While many WW2 airstrips, particularly in the pacific, were just leveled dirt or plowed fields, for my table this is supposed to be a secret weapons facility for new jet-aircraft development. As a result, it deserves a little more TLC.
To make the airstrip surface I used adhesive-backed grip tape, sold online and in most home-improvement stores. Its typically used on the surfaces of exterior ramps and stairwells to allow them to be high-friction even in wet conditions. I’ve used it in the past for making roads or similar surfaces, as, with appropriate painting, it can look a lot like concrete or asphault.
See strip in image below. I cut the strips to go across the airstrip, rather than lengthwise. When painted/drybrushed seams will show, and I figure the seams will look more realistic going across the runway, making it look like the runway concrete was poured in 20ft sections.
One tip I’ll share. I wanted the strips to be 9in long (width of the airfield). As I was cutting 2-dozen of them, rather than spend the time measuring each section, I made a wood template. I cut a piece of wood 9in long. I then just laid the wood on top of the roll of material, and used it as a knife guide to cut. That way, I was able to cut 2-dozen uniform, 9in-strips very quickly.
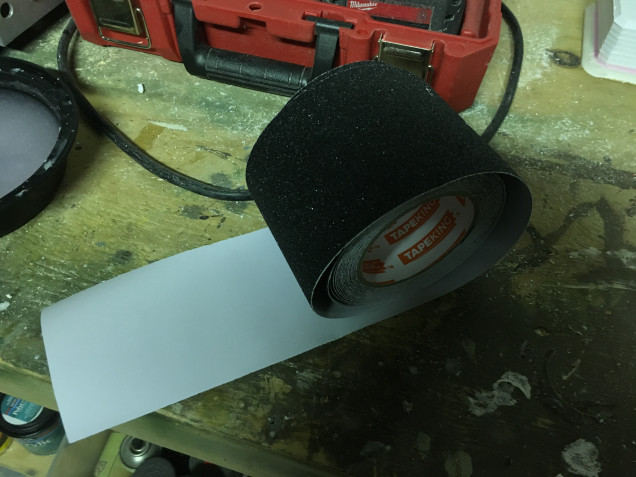 4in Grip tape. About $15 from Amazon. Used less than half the roll. Also great for thins like roads or parking lots in games like Team Yankee.
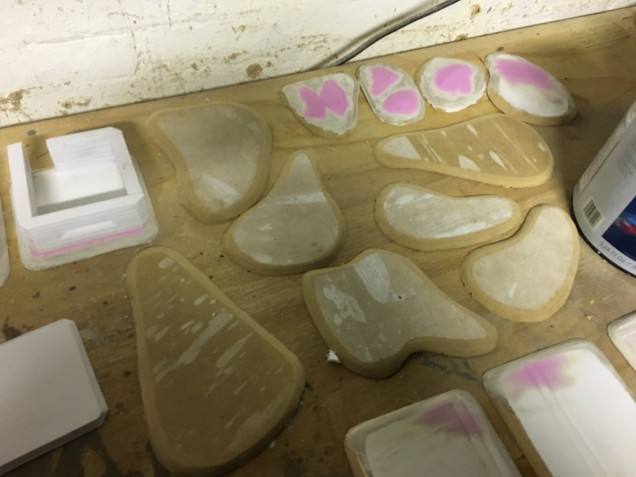
 Three airstrip pieces are below with grip-tape attached. I also applied wall spackle to the tiered edges of foam board and MDF. That’s the pink you see in the pictures, as I always buy the stuff that is pink wet, but dries white. Helps me know when projects are ready for the next step.
The spackle gives smoother edge transitions that look more natural, and also seals the foam board, allowing me to paint later steps with spray paint without worrying about the spray paint melting the foam.
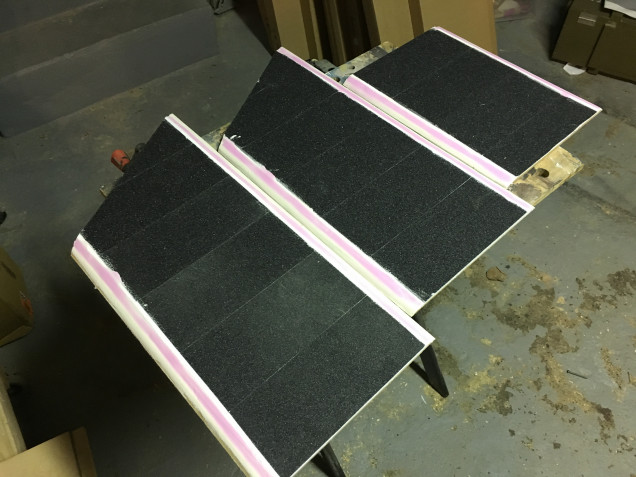 Airstrip pieces with grip-tape attached. The ends of the runway are cut at an angle because I didn't want the airstrip to go horizontally straight across the table. That would negatively affect gameplay. Instead it is made to cross the board at ~30 degree angle.
Next piece are the jungle scatter terrain pieces. I’m advancing these slowly as I don’t plan to buy the jungle plants until after my house move. Think my wife would flip if a box full of aquarium plants showed up at the house while we are trying to get things ready to leave.
Most of the progress here was just beveling the edges of the MDF with my orbit sander (could also use a dremel, but it takes longer). Always be sure to wear a mask when sanding MDF, as the dust is very fine, and is not good to breath.
I plan to add some elevation to these with scrap pieces of foam board. However a few of the smaller ones, which aren’t big enough for that, had some elevation added just with some smoothed wall spackle.
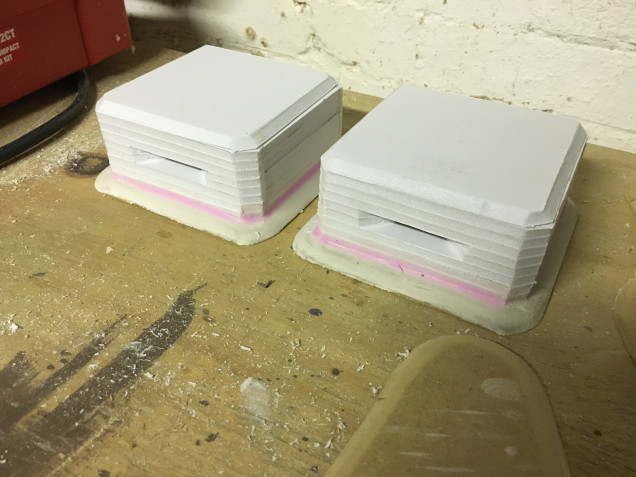
Lastly, I wanted to have a few fortification positions to defend this secret weapons-development airfield. Again, as I wanted this to be a more-permanent and well-funded facility, I went with concrete fortifications rather than the more wood-and-dirt bunkers that are more common in Japanese field fortifications.
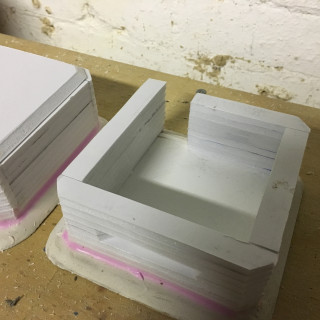
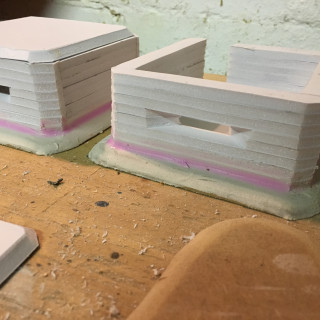
For these, I used stacks of scrap foam board left over from the airstrip construction. This is a cool technique, as it used up scrap material, and the layers are visible when painted. In WW2 concrete bunkers were poured into wooden moulds, and the concrete would often seep out through the gaps in teh boards, giving this layered appearance.
Its very difficult to cut all these walls to be exactly flat, so I cut the strips and glued them together, then sanded the walls flat with my orbit sander.
Going to give a shout-out to the Terrain Tutor Youtube channel, as it was his video that showed me this technique. Link below.


![TerrainFest 2024 Begins! Build Terrain With OnTableTop & Win A £300 Prize! [Extended!]](https://images.beastsofwar.com/2024/10/TerrainFEST-2024-Social-Media-Post-Square-225-127.jpg)




Leave a Reply