Foehammer’s Konflikted Painting Table
Keep on Truck'n
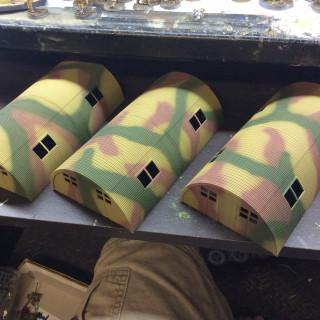
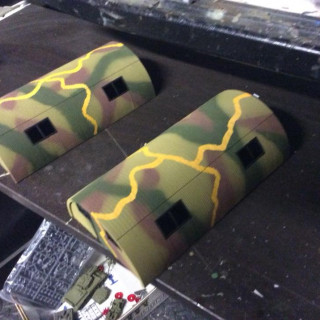
The table project continues to move along at a slow pace, given I can only contribute 1-2 hours per night. First, I’ve almost completed the painting on the Quonset Huts. They are now basecoated, have the airbrushed brown and Green Camo, and now have the yellow crossed curving lines that are common in Japanese tank camo.Let me tell you, if you thought painting yellow was a pain, try doing it on a corrugated surface. Took forever to get two smooth coats on those lines.
What remains that is partially complete is I’ve chosen to paint the window and door frames a metallic steel color. I’m basecoating them black first, then adding the silver. Now, realistically these would probably just be the same camo color as the rest of the hut, but when looking at the hut they needed some contrasting and defining features to make them pop on the tabletop, so I thought this was an easy way to do it.
I’m also thinking of adding some camo netting and palm-fronds to the tops as makeshift camo, but need to put some thought into how I’d make the actual camo netting.
Images below show the evolution of the hut painting to date, as well as the current appearance. After all the painting is done, I will be using Army-Painting Strongtone dip to shade and protect them, then hit them with some Matt Varnish.
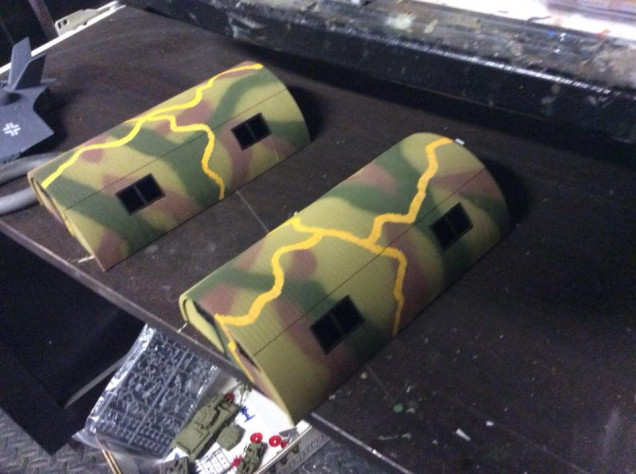 Quonset Huts with most painting complete. Just need to finish the window frames, then shade and Varnish.
Other work proceeding is on the airfield. As mentioned previously, I had some 1/2in pink insulation foam lying around, but when I tried to use that on top of the 1/4in MDF to make the airfield, the airstrip was raised far to high above table level. it basically blocked LOS to infantry on either side of the airstrip. I didn’t want something that extreme, I just wanted enough of a lip so that infantry could choose to gain some soft cover using the airfield embankment if they were adjacent to it.
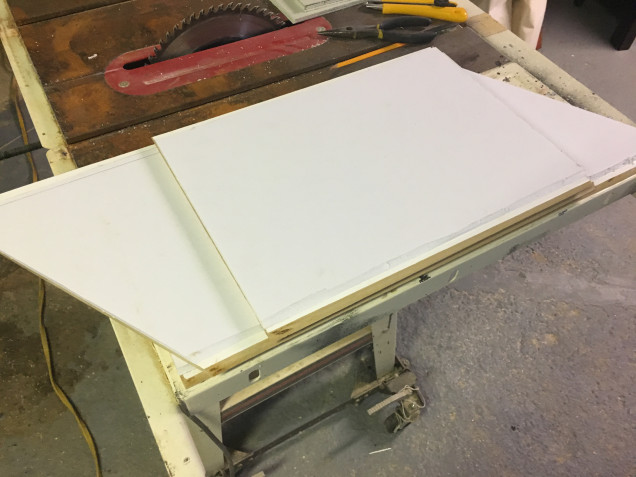
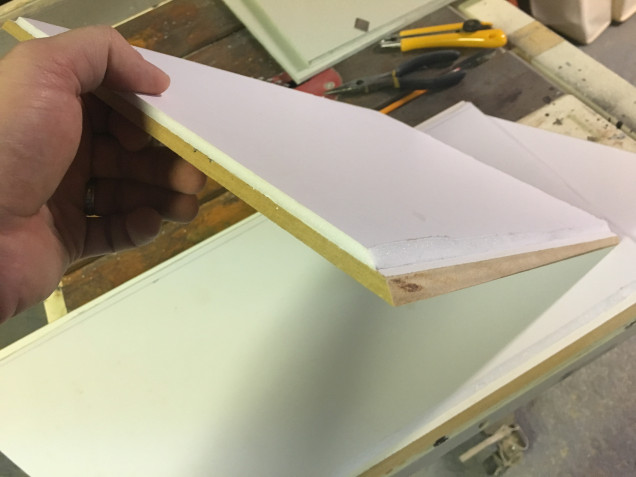
So, for a few $ I picked up some sheets of 1/4 foam board and used that to raise the airstrip surface. The airstrip pieces are 11in wide, with a 1/4 chamfer on the edge. This results in a flat surface on the top of 10.5 inches. AS I want to make a gradual rise up to the airfield surface, I cut strips of foam board 10in wide, and gave them a 45 degree chamfer before gluing them to the pieces of MDF. This made a 2-step transition, which I’ll further smooth later by adding some spackle/wood putty.
As both are essentially paper products, I glued the MDF and foam board together with PVA glue. I didn’t cut the foam board to the exact length of the MDF before gluing, allowing some to overhang until after the glue dried. I commonly do this so I can be sure the foam board/foam extends all the way to the edge of the MDF.
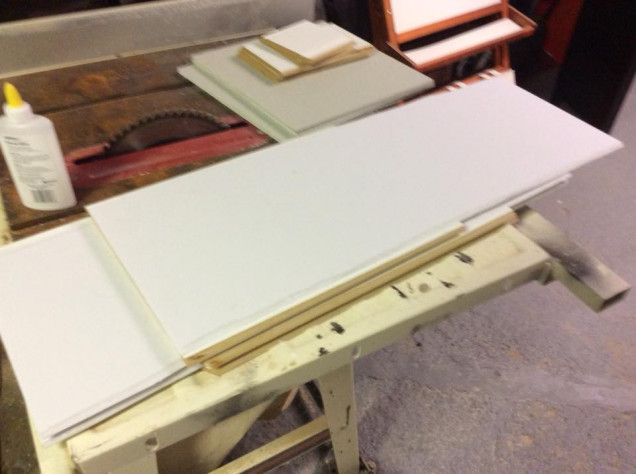 Foam board being glued to the MDF. As the MDF is actually fairly heavy, I stacked them on top of each other to flatten them and ensure good adhesion.
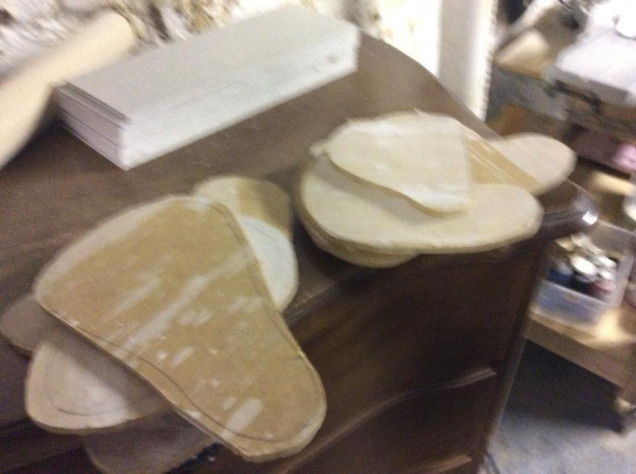
 Last but not least, I used my jigsaw to do some shaping of the MDF off-cuts into bases for my jungle scatter terrain. If the rain holds off, i’ll be using my sander to put a bevel on these today.


![TerrainFest 2024 Begins! Build Terrain With OnTableTop & Win A £300 Prize! [Extended!]](https://images.beastsofwar.com/2024/10/TerrainFEST-2024-Social-Media-Post-Square-225-127.jpg)


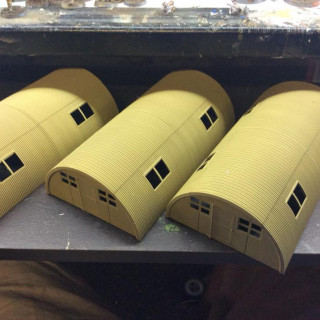


Love how the huts are turning out!