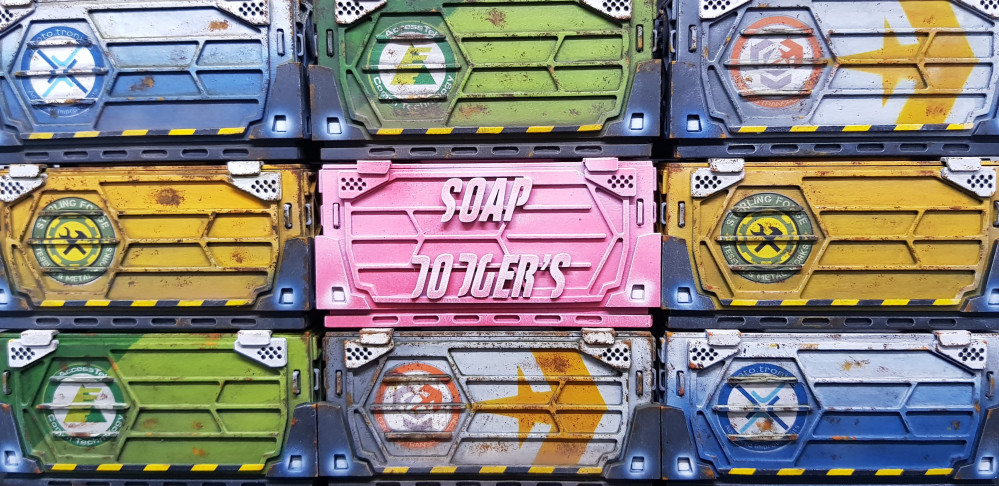
Infinity Terrain
Photo base board
I am happy with my terrain and miniatures but it doesn’t tell a story. I am limited by my camera as good as my smartphone is so my finished pictures can only be so good. I am also not that creative when it comes to photography. Though I know what looks good.
This is a little side tangent I done in a day (i thought 3 – 4 hours). Don’t worry there will be more to come in terms of terrain but I may take another tangent before I finish up Ice Storm with the Main Management Module.
I started by looking to see what materials I had. I had a A3 3mm MDF board from another finished project. I placed this in my pop up photo booth and this was a good fit as my photo booth bulges at the sides.
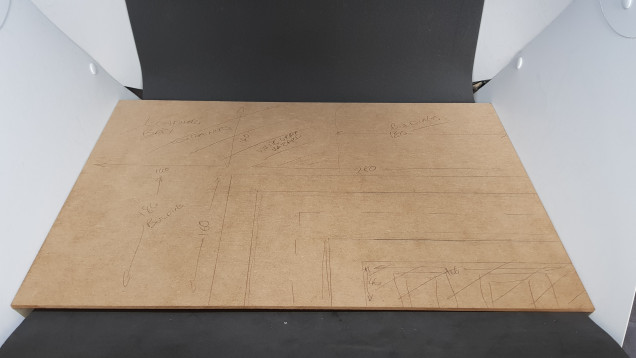
I sketched out what I wanted. Namely a place for two buildings and a place for containers and a road to make my bases bake sense as I have had mixed feedback on these.
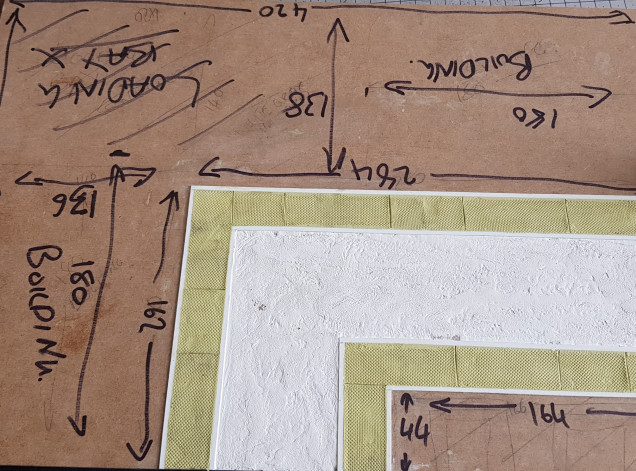 I pushed on and done the kerbs first out of strips of plastic cut. I then filled the joins. I then filled in the pavement area with Milliput let it half dry then went over with the bottom of a tool to put a texture on it and then put in pavement spacers randomly as this is how it is done outside my house. After this I put in filler into the road and texturized this with a cloth and made some parts crack.
 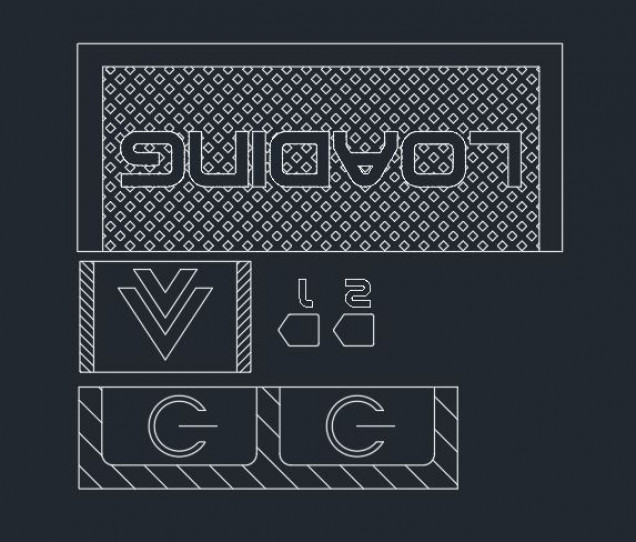 I went ahead and drew this and laser cut some card on hindsight I should have made the hatch on the back loading bay larger.
 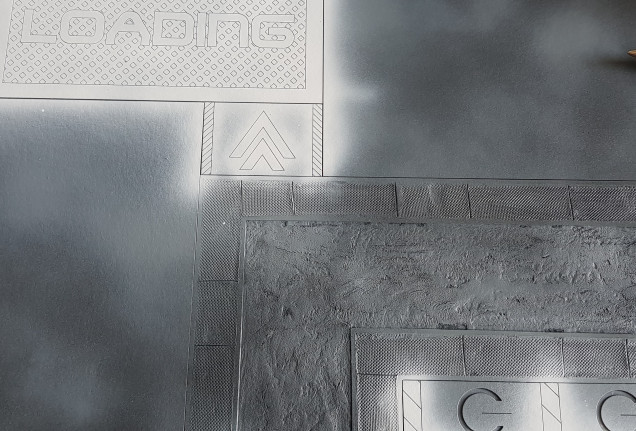 I primed everything in matt black and then went over in grey lightly. After this I used white to ill out all the sections that were to be white / light.
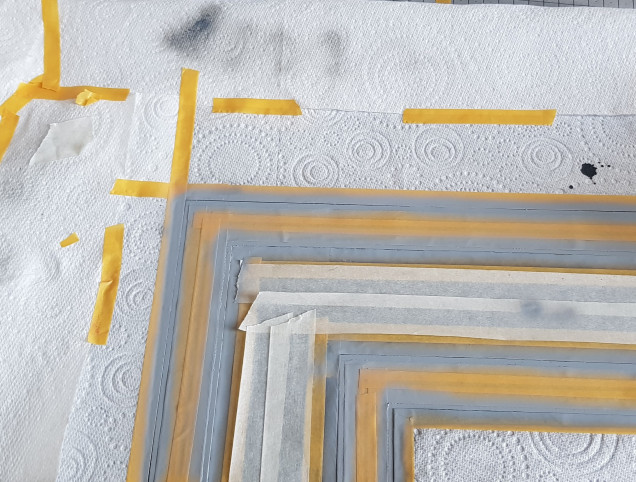
 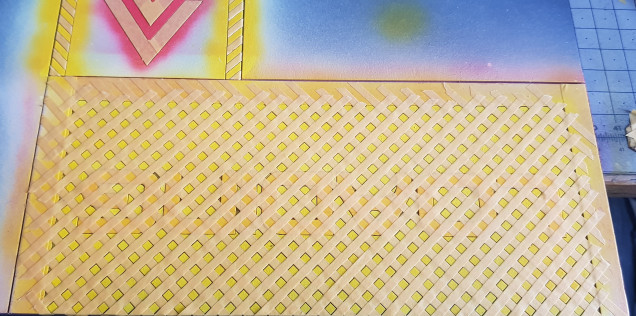 After spraying a final colour I masked off a piece, then sprayed the next colour then masked this off and sprayed the next layer. This was a little more time consuming than I wished.
 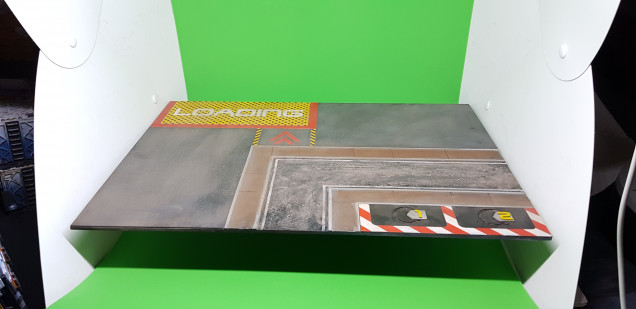 After this was unmasked I added some weathering powders to match the bases and my scenery this looks very much over the top here but in the pictures it looks ok. Also the green screen didnt work out. The green relects on the white sceanery and it looks very off in a picure when you cut out the green.
 After all that It was done. Sadly this took all day I wish it had been quicker (a case of should have, would have, could have)
I can however take photo’s that show everything the best it can be This shot is a little side but it gets this idea over.
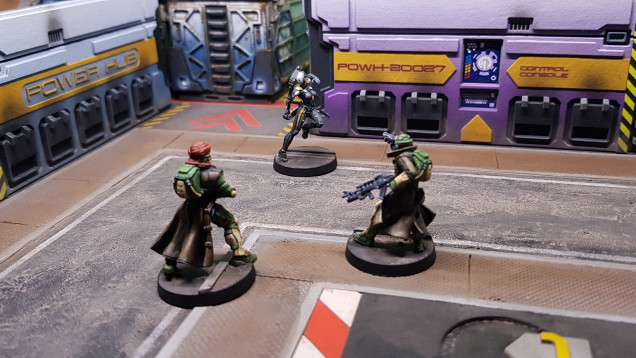 Khawarij is caught unawares by an Ninja assasin on his way to restart the power hub. Luckily his boadyguard Zhaydan is no slouch.
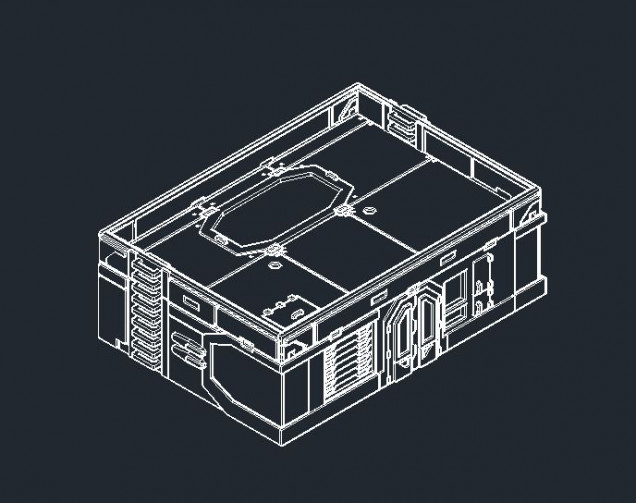
That’s an end to this very short part of the project. I think I may just go onto something of my own creation next before continuing with the management module. this is drawn and below there is a sneak peek. I am in the process of rediscovering how I build it and making it flat to laser cut.




Well, you’ve gone and done the impossible and made some already incredible terrain look even better. Fantastic to see some in-situ as well. Honestly some of the best terrain work I’ve seen, beautiful stuff.
Glad you liked this. I wish I could say this is the end but I fear it’s only the beginning. Hope you like the more origional content coming next!