Infinity Terrain
Weathering and detailing the Power Hubs.
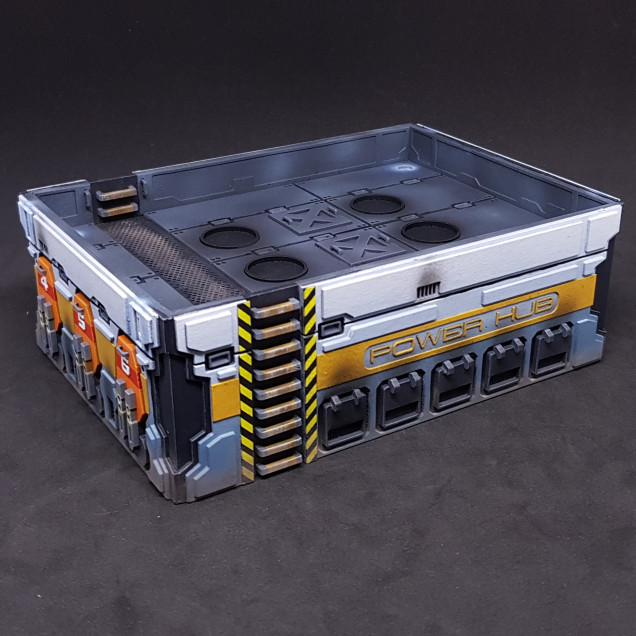
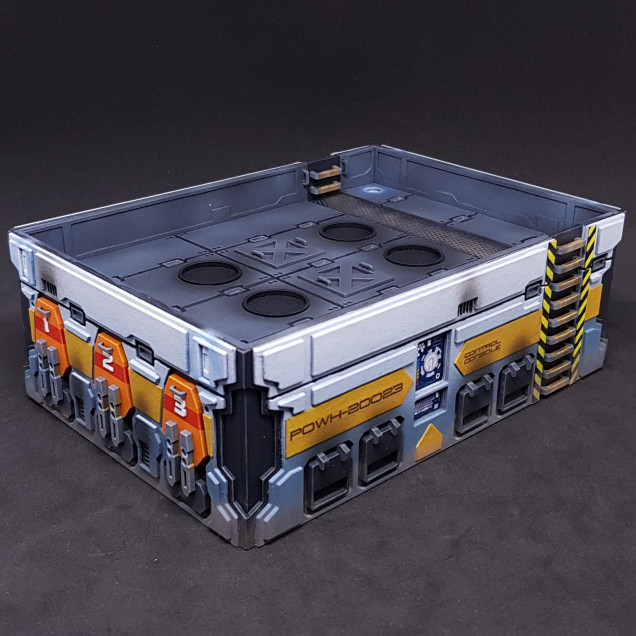
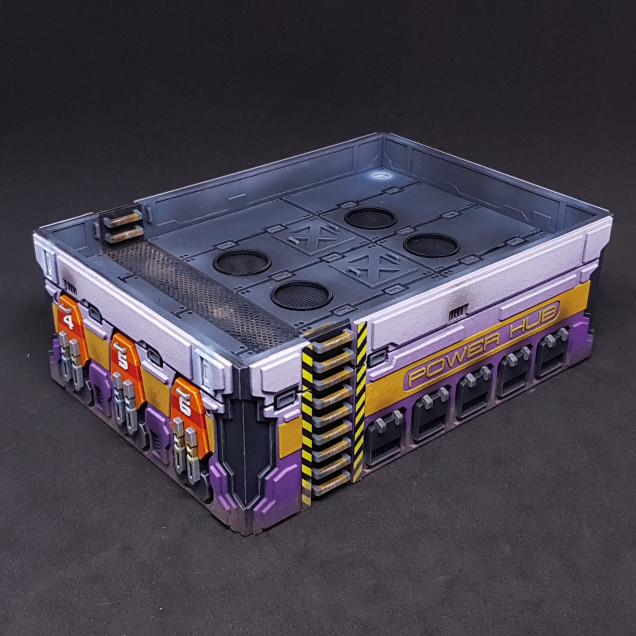
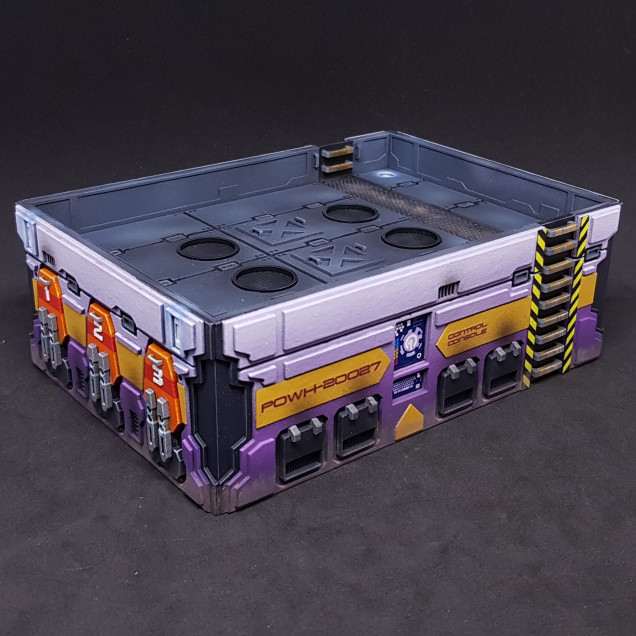
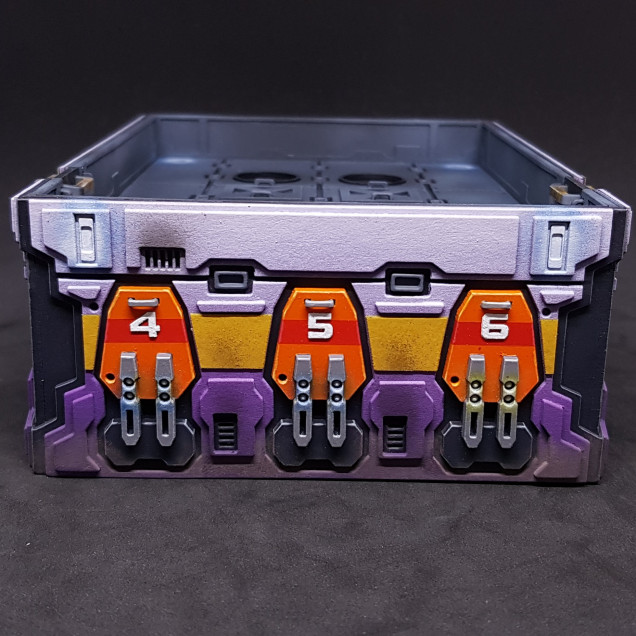
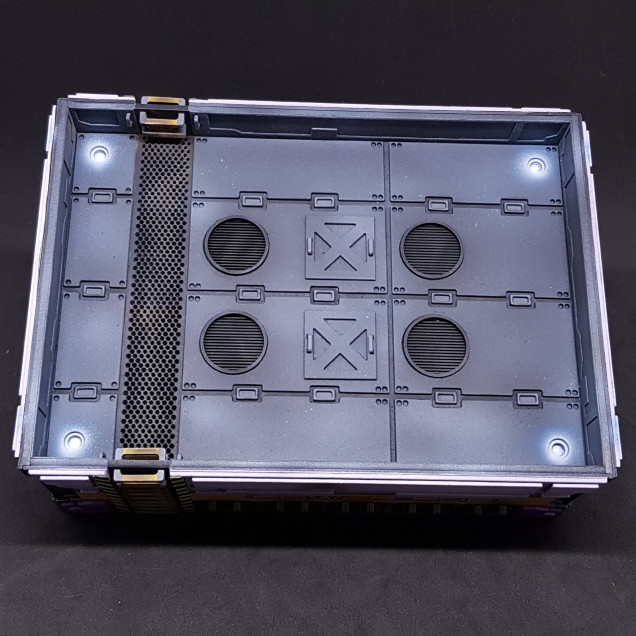
So it’s been a while (probably not but feels that way) but I have not been idle. I have officially finished all 3 power hubs. I still think the purple one is my favourite which is strange because I like the original artwork so much.
How did I get here from my last post? Glad you asked…
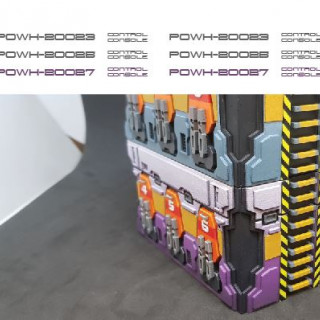
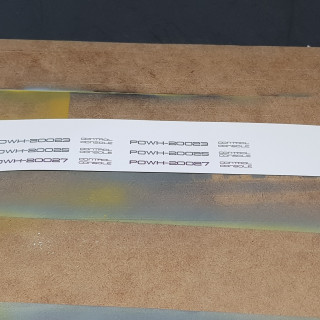
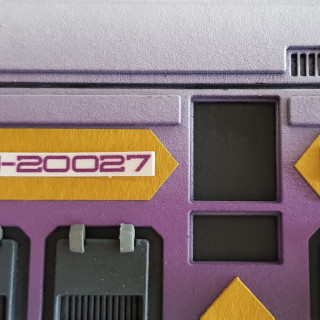
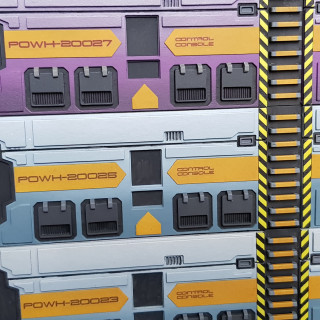
I started by getting the transfers I required down. These were simple however I did use a little trick. I typed out what I needed POWH-20023, 5 and 7. POWH-20020 is the original art POWH-200231 was my first prototype so the numbers keep counting. The font I was using didn’t look good when i done a 4 so decided to move up in odd numbers.
I tried to use the same colour as the background making the text blue and purple. I couldn’t get the correct colour. I brought this into photo editing software and used the eye dropper tool to select the correct colour for both. Handy tip if you cant find the right colour.
I could have taken this a step further and removed the yellow background colour from my selection and when i put the transparency on top it would have looked right. But I didn’t take it this far.
I then printed this off and masked it down while I gloss coated it with my airbrush. I cut these out and checked scale and then applied the waterslide transfers. After this was done I gloss coated again then matt coated the transfers and surrounding area.
Also note that I only used the top part of the printer paper that means I can feed it back through for more transfers and waste less, I also printed spares in case I messed up.
I done this now so that any weathering could go over them and not look out of place.
I moved onto making the control panels for the Power Hubs. I didn’t like the look I got last time from trying to photograph the original and pasting it in. The angles were not right and the quality of the print shows in the photo and not on the original buildings.
I though about transfers but I didn’t feel this would add anything plus I wanted them glossy and to pop out of the models as focal points as they may be used as objectives during the games.
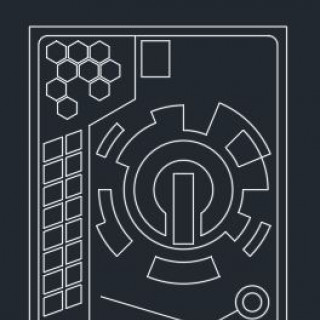
I tried to draw them this didn’t work out to well as I couldn’t get this to work the way I wanted. So I done them in CAD as this made my life easier.
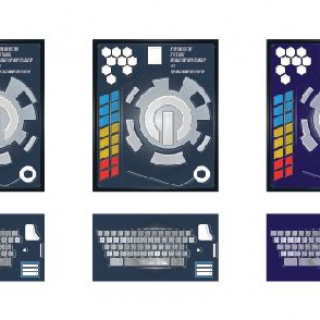
I then put this in my photo editing software and filled in the spaces and changed the colours I added a filter to try and break them up and make them pop a little more. I think this worked on the models the do stand out.
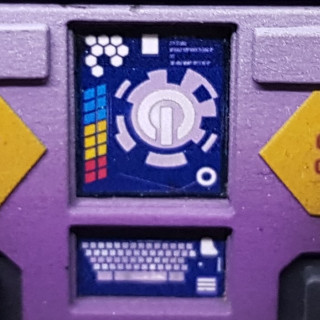
I then prepped these the same as the transfers but left them gloss painted the sides black and glued down with PVA at the end so not to get any weathering on them.
I edge highlighted all of the barker faces and the sides but deliberately didn’t do the elevations. I felt the blend had enough of a natural highlight to it. It just needed some details picking out.
I didn’t take any progress shots of the weathering but to explain my actions…
I knew these needed to be weathered but i didn’t want to go down the rust look of the containers. I wanted these to look used but not forgotten. I missed the rust off of these completely.
I mixed up some black ink, matt medium, flow aid and water to make a soot spray. I then used this on all the vents to make these look a little used.
I used weathering power around the bottom to ground the terrain I also used this on the steps and used paint to wear the trends before applying the powder. I liked this simple effect rather than rusting the thing to death. I think this approach is far more realistic than anything else I done. I looked out of my window to look at the roads and buildings around and they were mostly dusty at the bottom and soot stained at the top.
After this i glued in the control panels and done the lighting effects on the sides and top by spraying Prussian blue down followed by white. These looked better with a darker background but how much light do you see in the day 🙂
I was then done at last! (well this part)
So that’s that then. Overall happy with this. It has been a long time coming. Can’t help feel they look very sad sat out there on their own in the pictures…
Despite the ups and downs I am glad I done this and finished it when I gave up a while back and started painting models. This is why you may notice when I am not updating this project I am in my other project painting. It’s whatever floats my boat. If a project gets you down move away but definitely come back.
This was from 2 days ago, what have I been up too since? Glad you asked…




Leave a Reply