


![TerrainFest 2024 Begins! Build Terrain With OnTableTop & Win A £300 Prize! [Extended!]](https://images.beastsofwar.com/2024/10/TerrainFEST-2024-Social-Media-Post-Square-225-127.jpg)


Adventures in Airbrushing


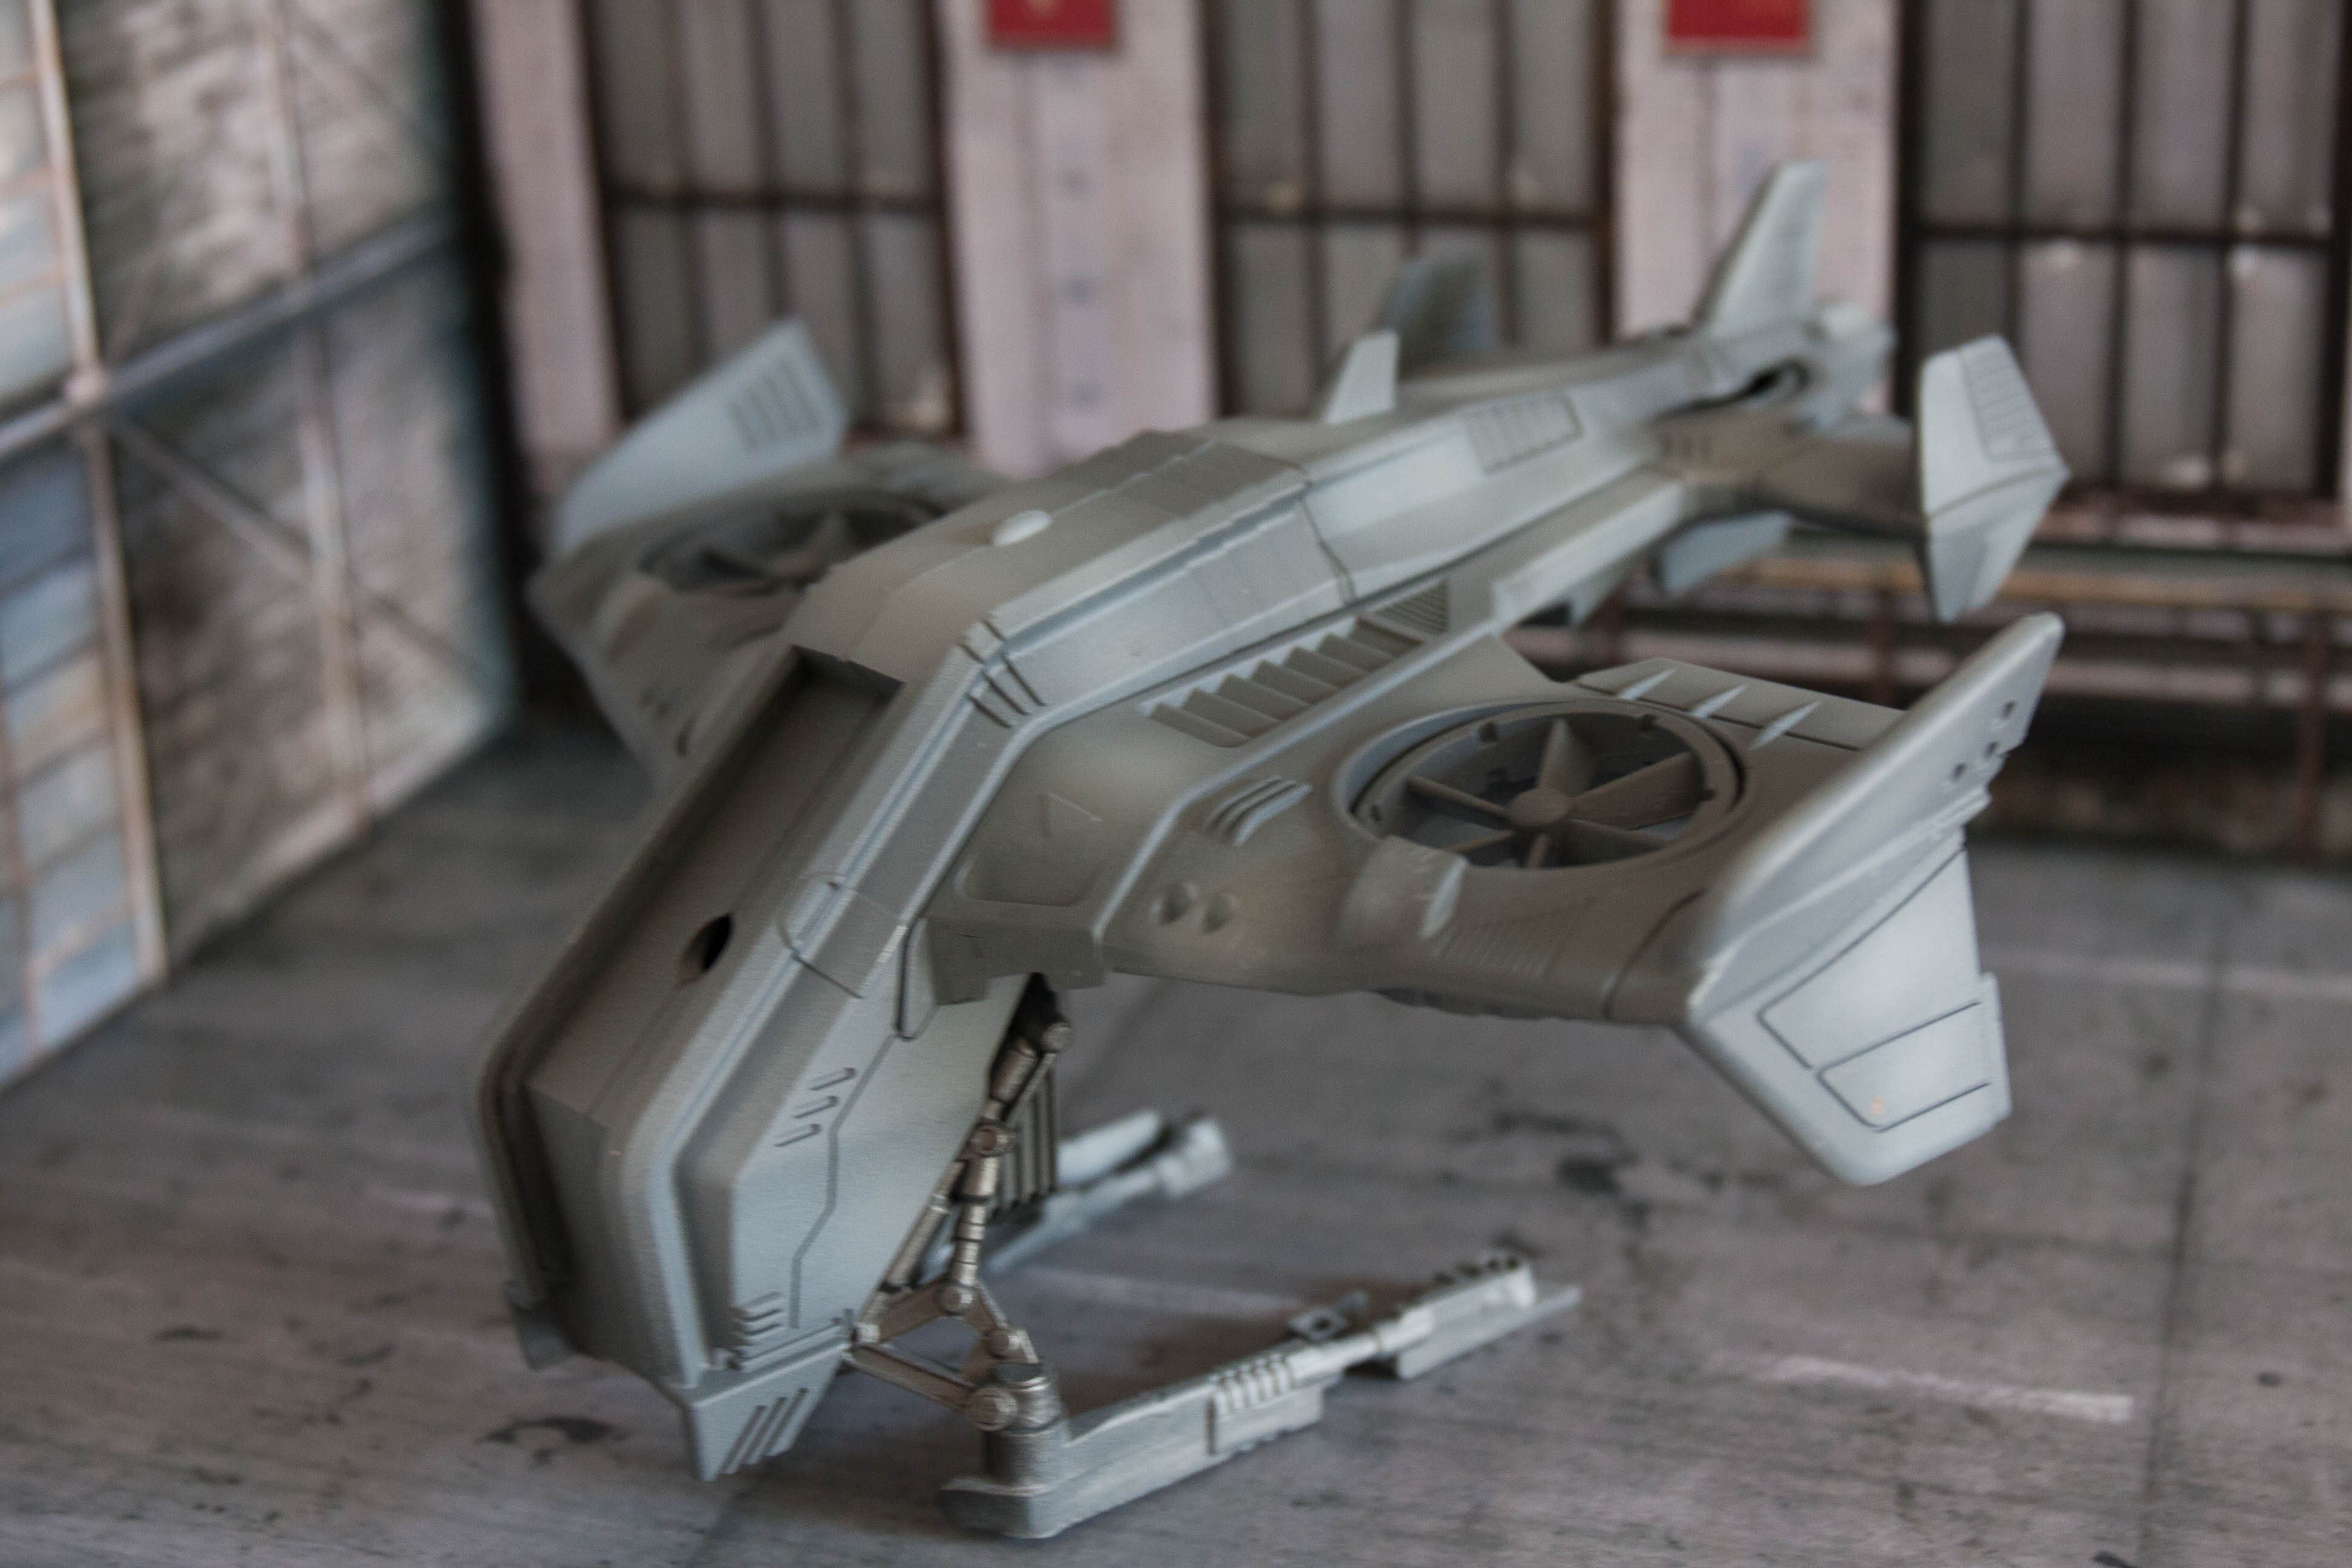
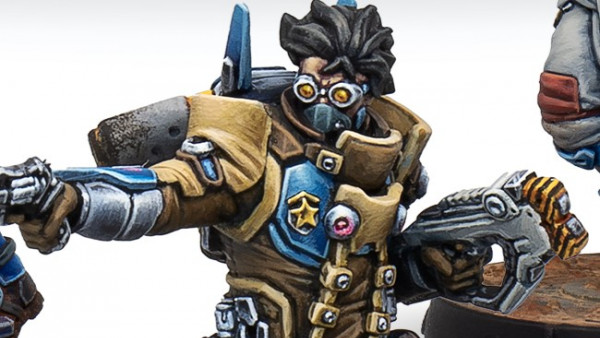
Mantic Hornet Step by Step
So, the first step is obviously to put the model together, which we have all done a hundred times before. A word on these new Mantic kits though, they really are very good. Not as detailed as some of the new GW models perhaps, but as gaming pieces, they are easy to build, fit well and use a nice plastic that works with Tamiya glue very well.
Once put together, I prime it, and then use my favourite metal colour, Vallejo metal range Magnesium, to just spray on a little metal where I want to have paint flaking off, so pick out areas that would likely wear.
Then, I add chipping medium in random spots on the metallic for uncovering later.
Airbrushing is no different to anything else in modelling, try it and you get a feel for things, I use an airbrush with a 0.2mm need for all this, and around 18 – 20 PSI pressure.
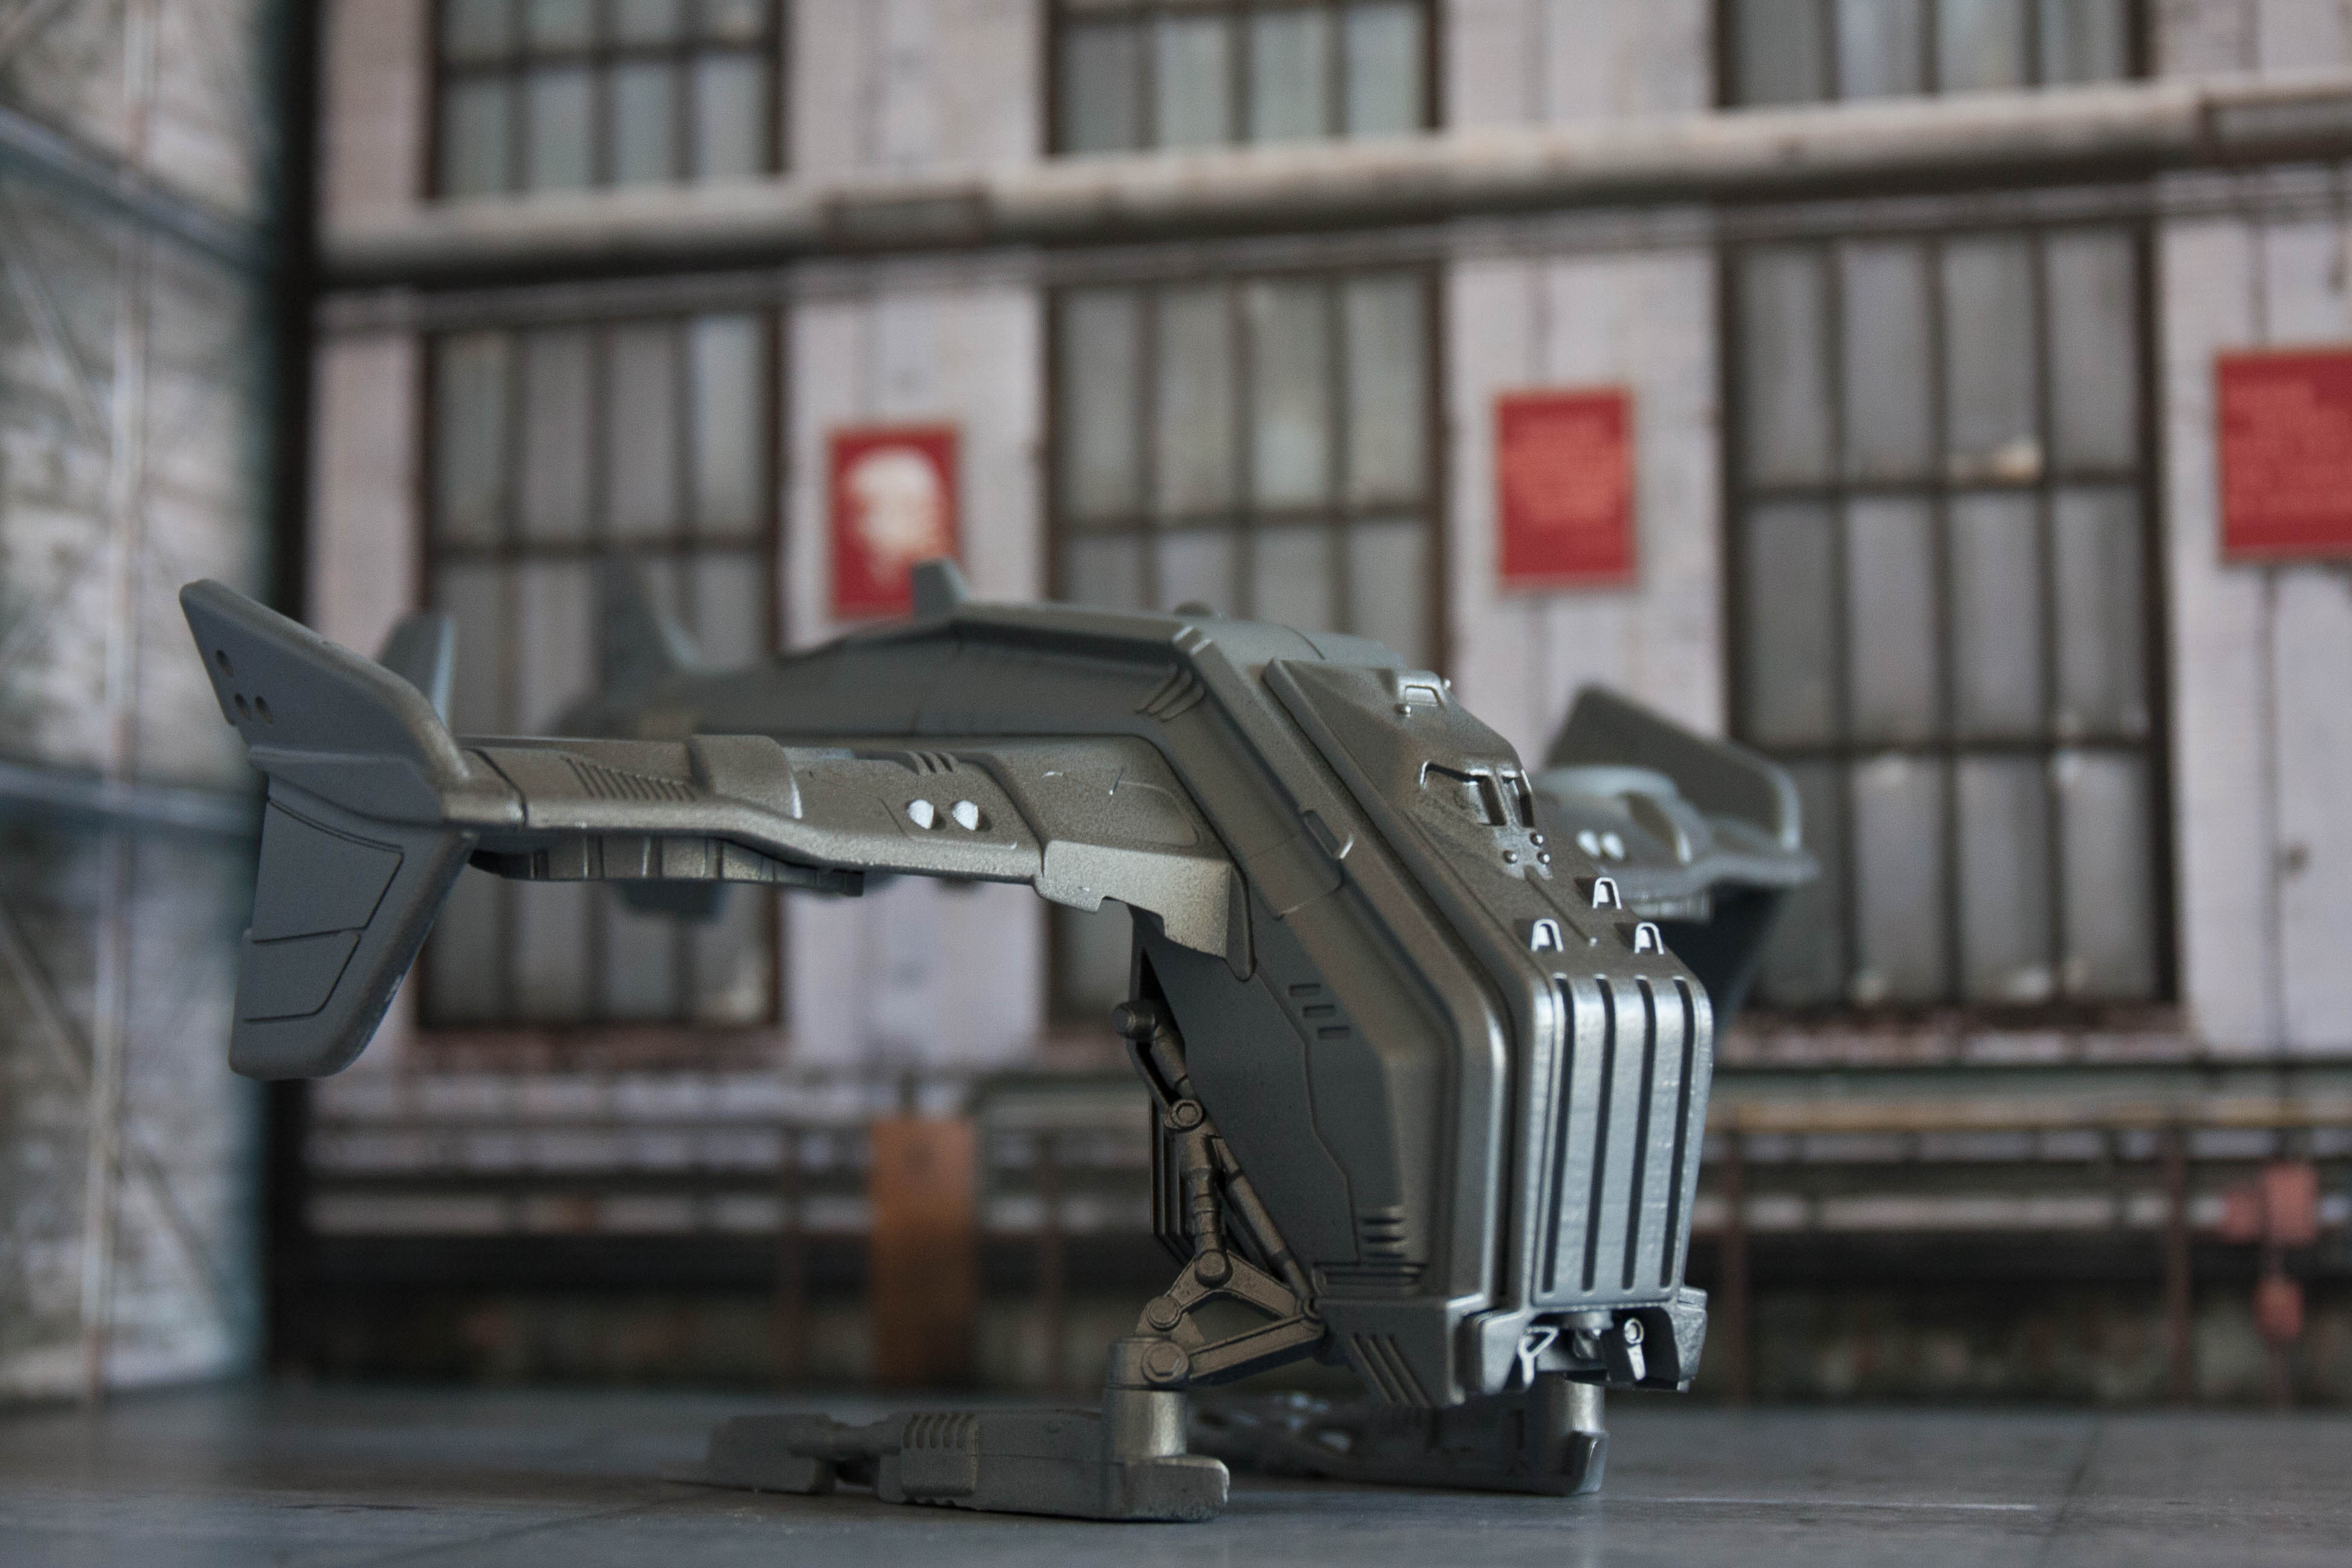

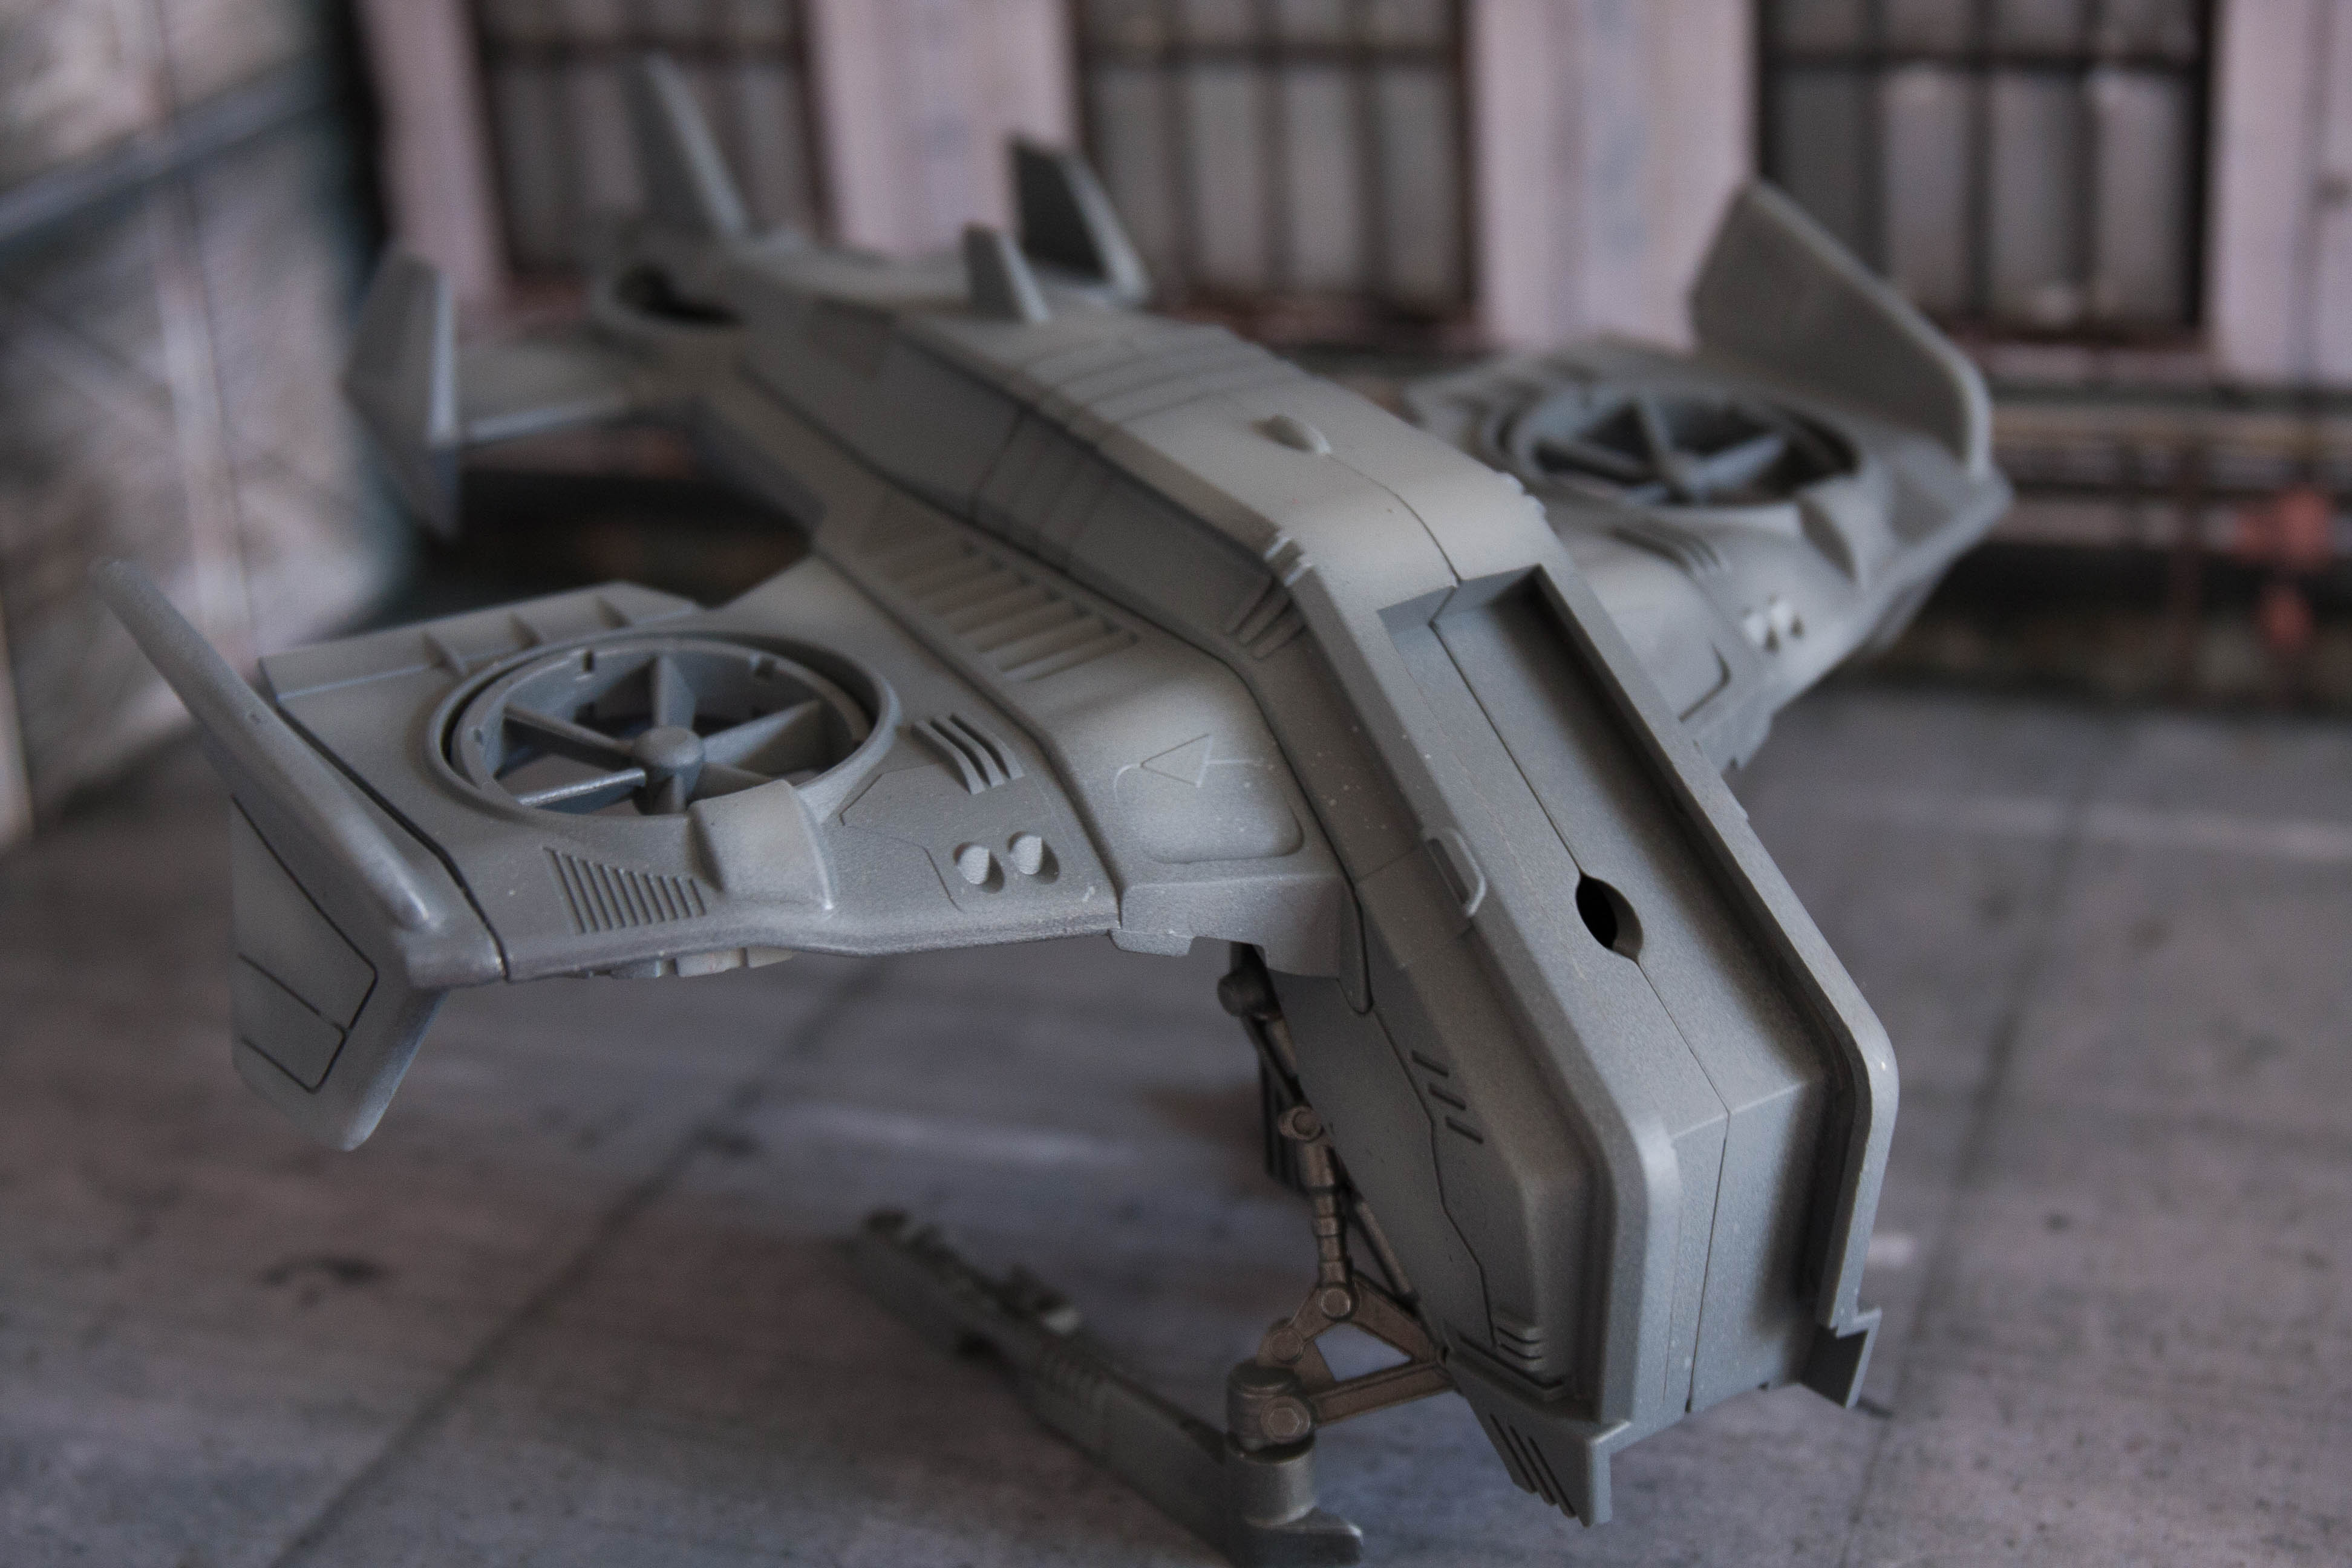
Next is the colours. I use two shades of grey, they happen to be Meng paint designed for Royal Navy ships, but for the most part, paint is paint.
I start with the darker colour all over the model. Once that is done, I then switch to the lighter colour, and spray that in areas to give some texture. In scale modelling circles, they talk of doing figure 8 shapes randomly all over the model to get the worn effect on planes, but I tend to target edges, such as on the wings, and the center of panels.
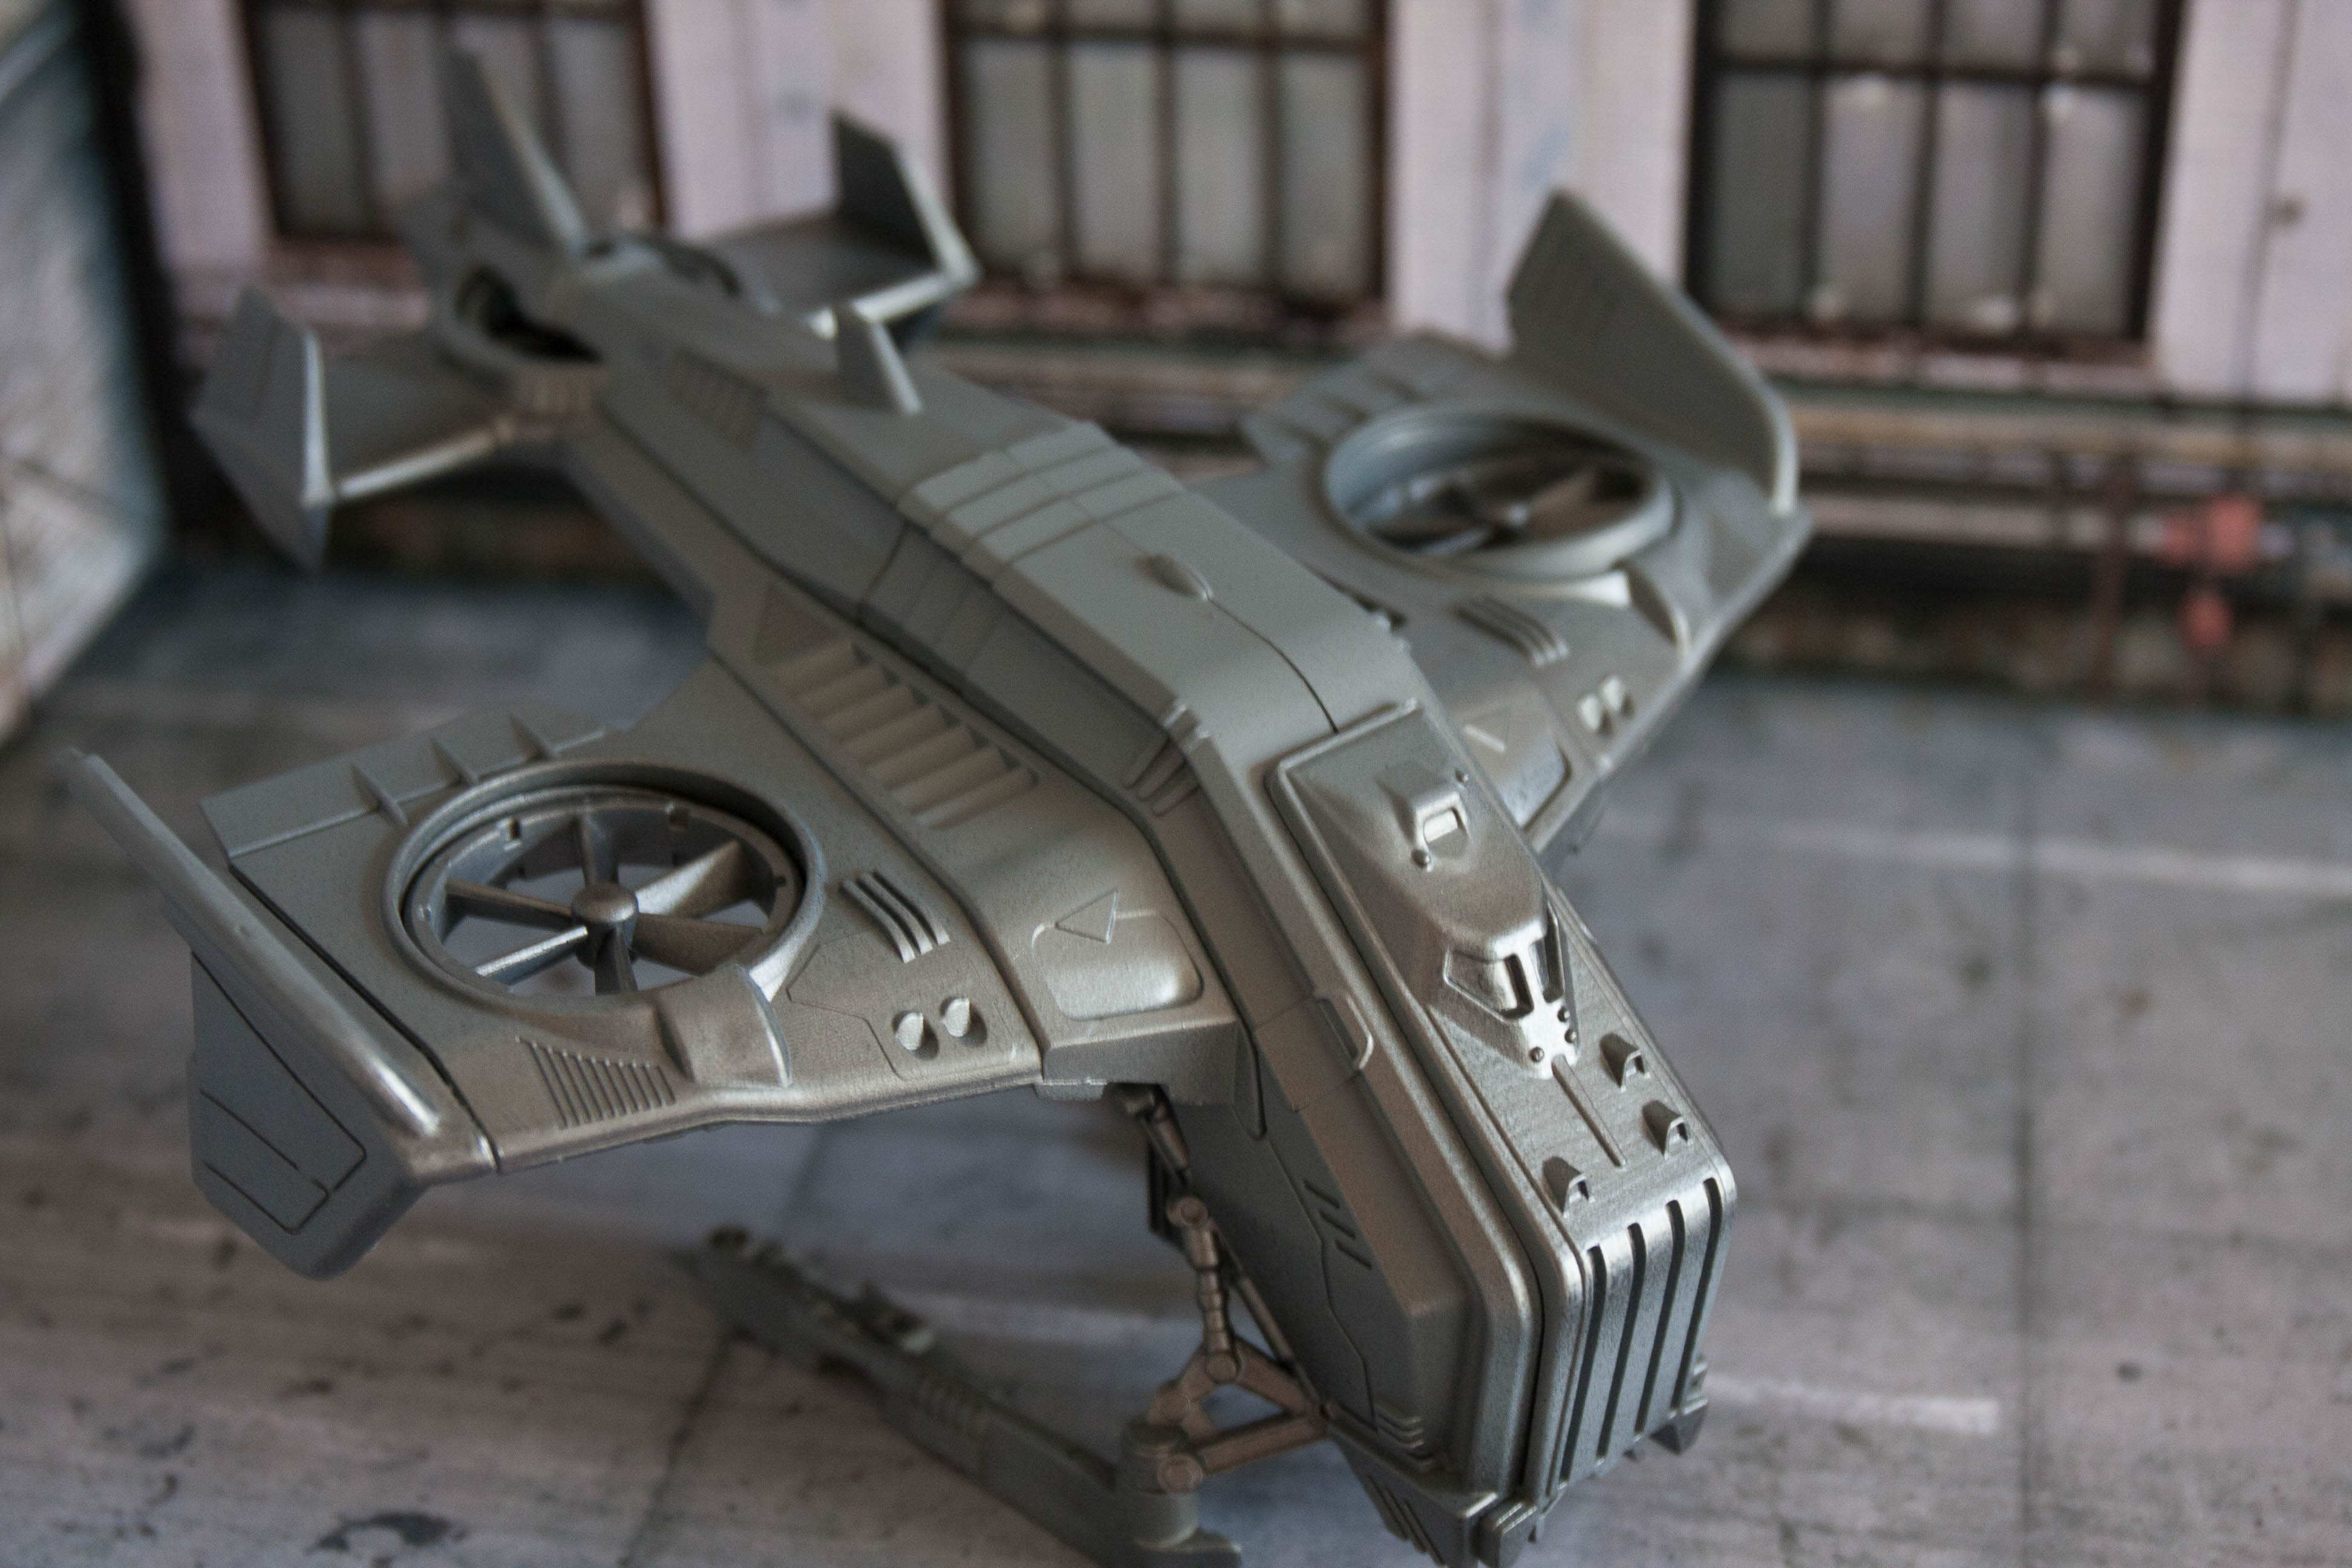
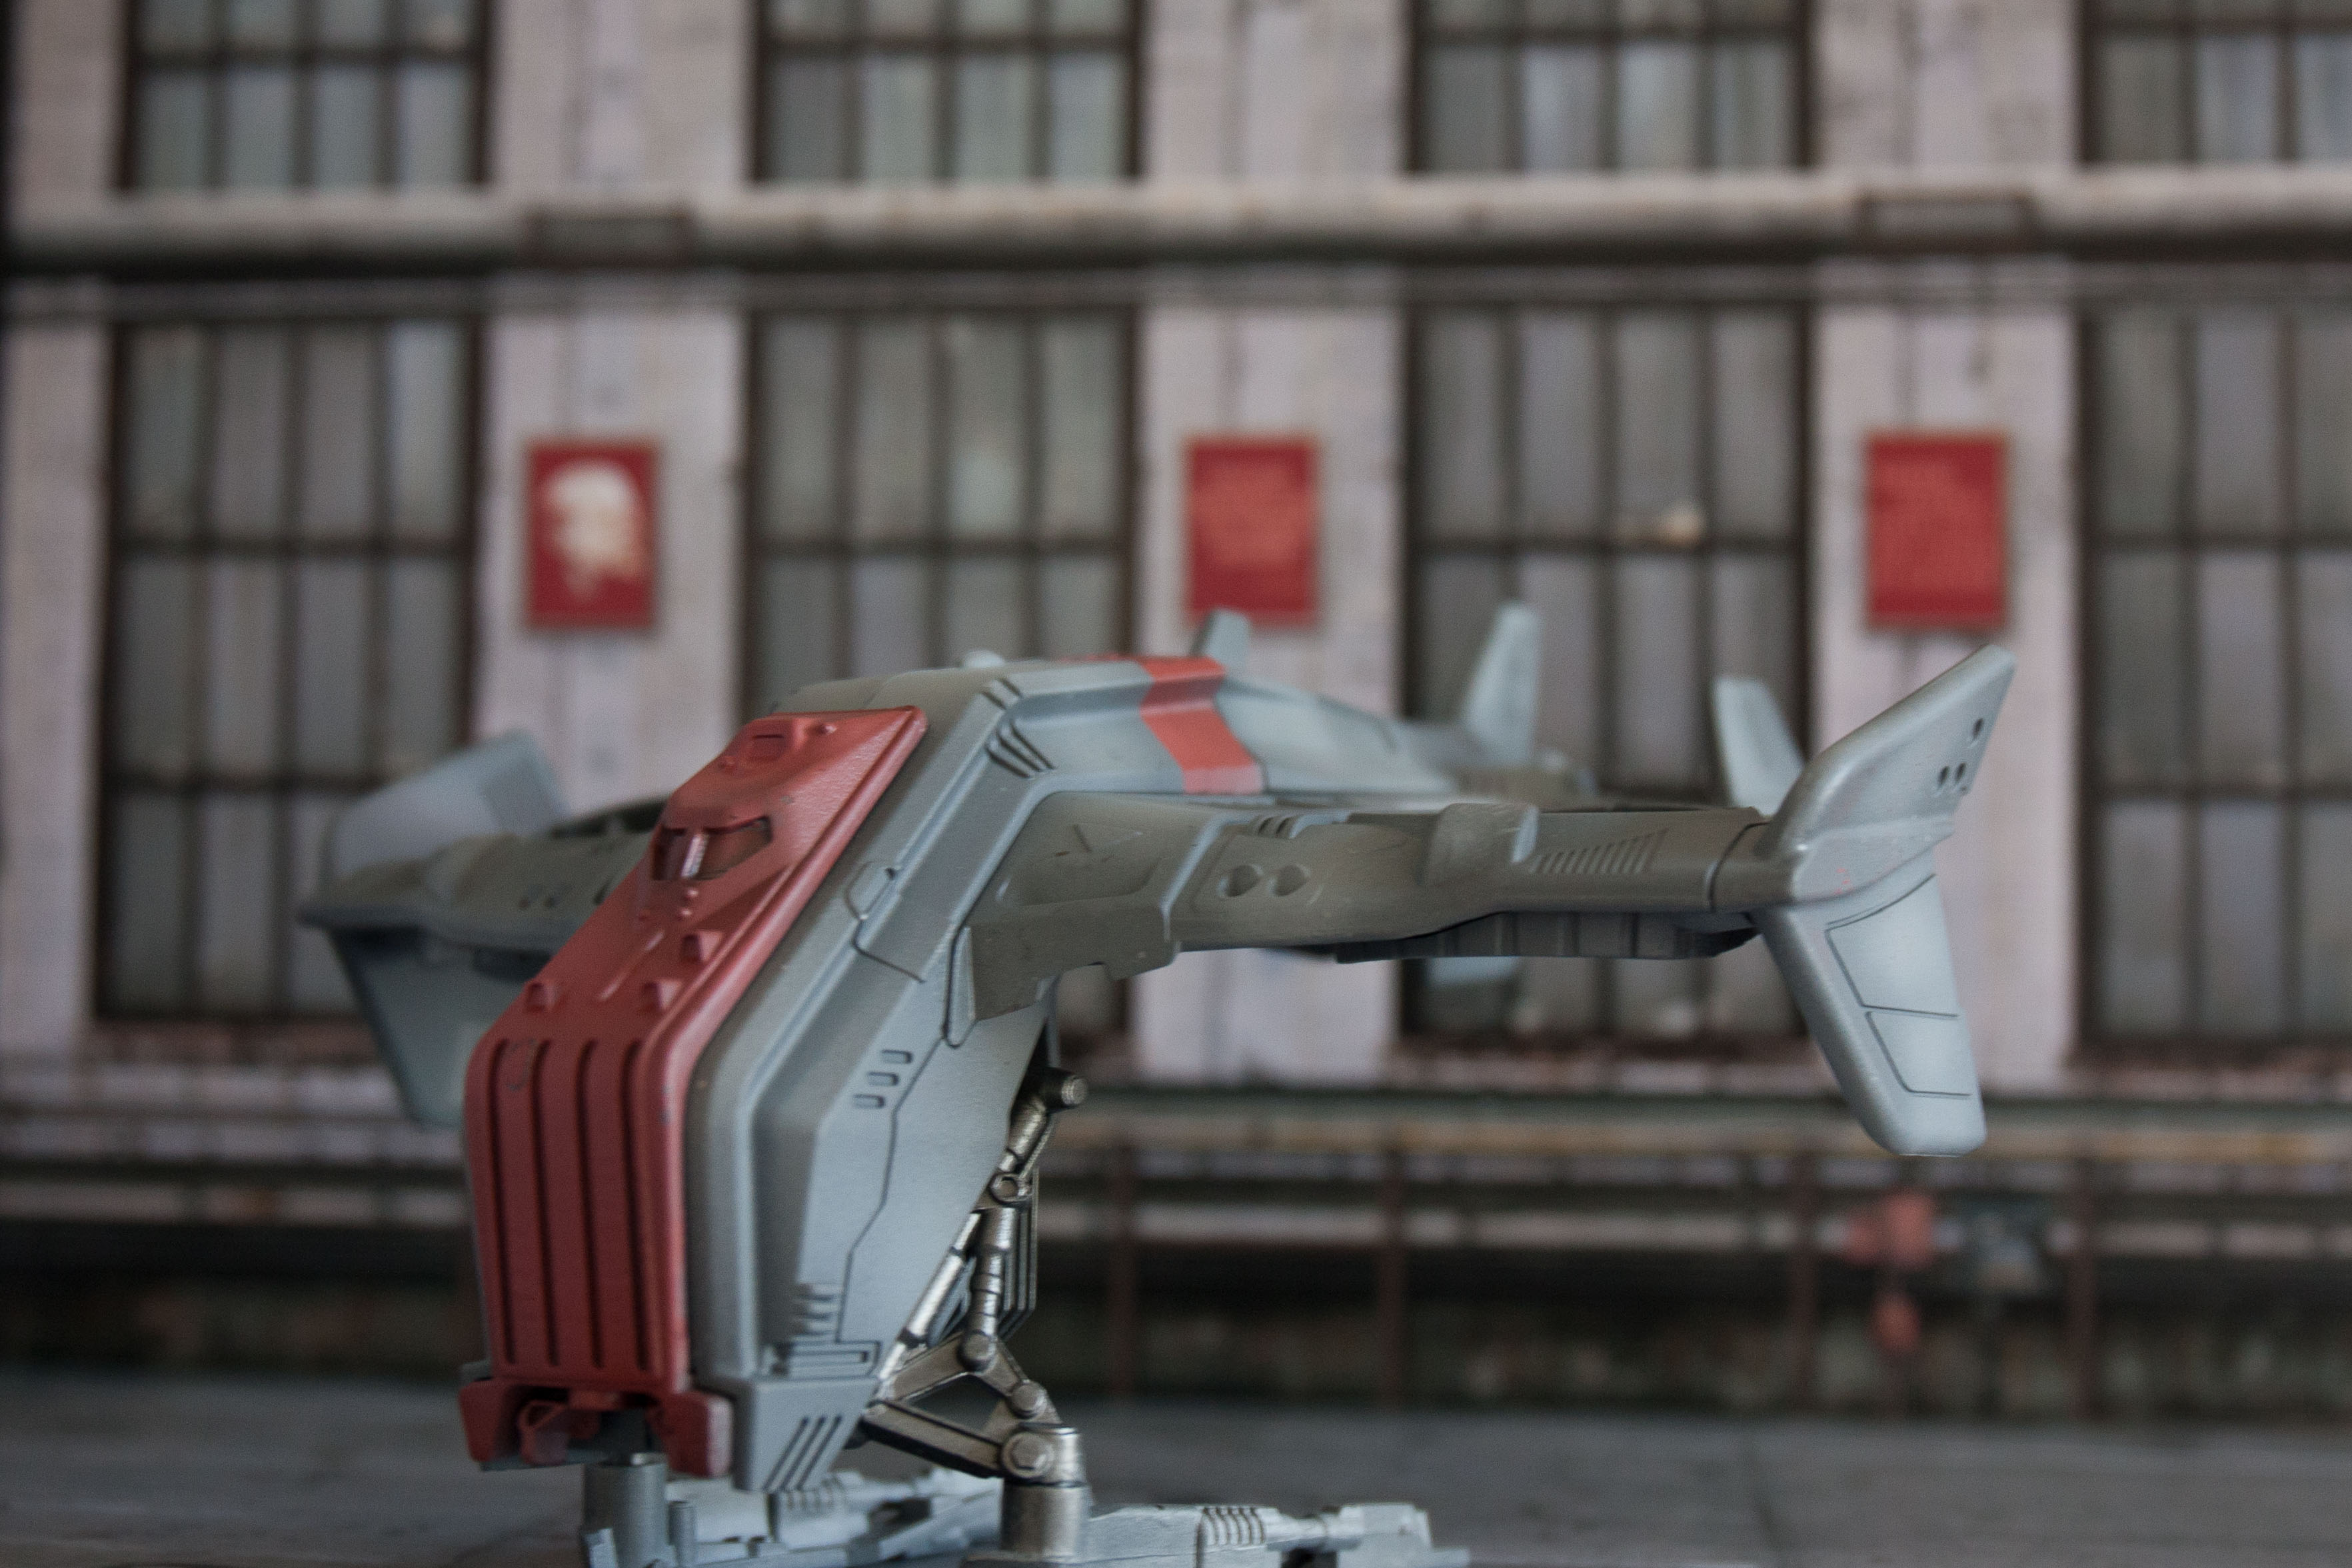
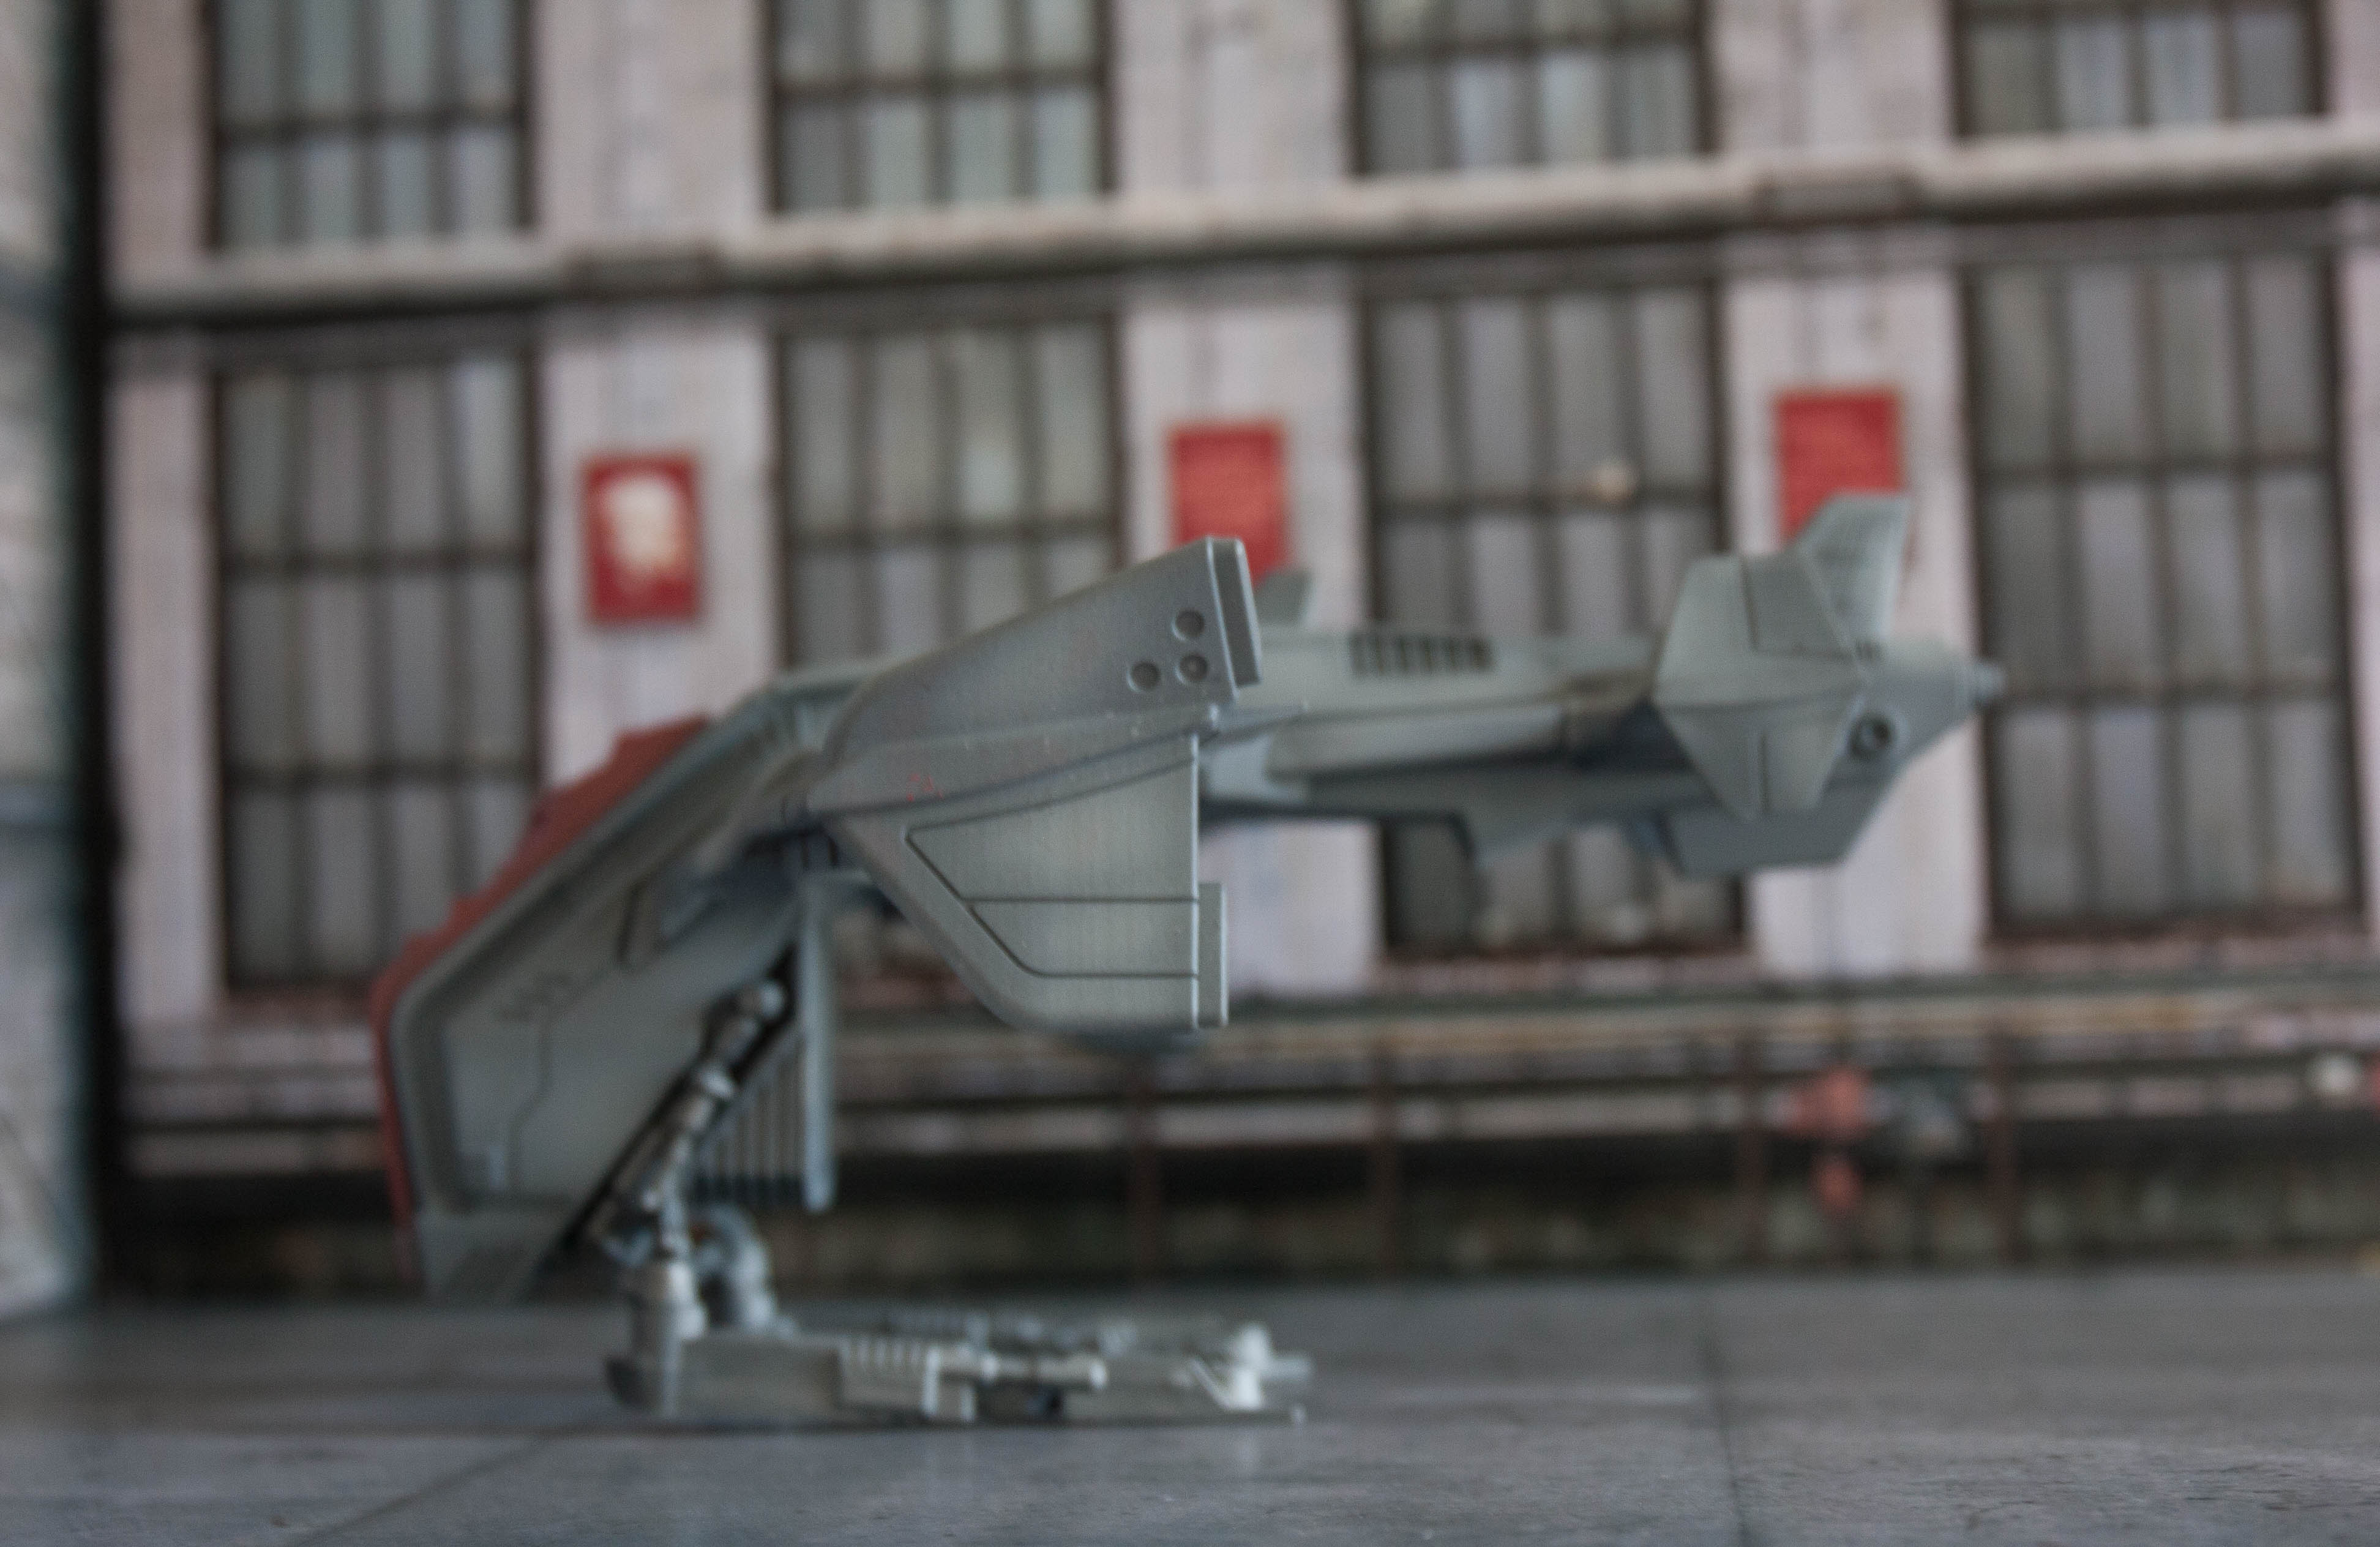
Once you do that, 10 minutes or so actual painting, you end up with this:
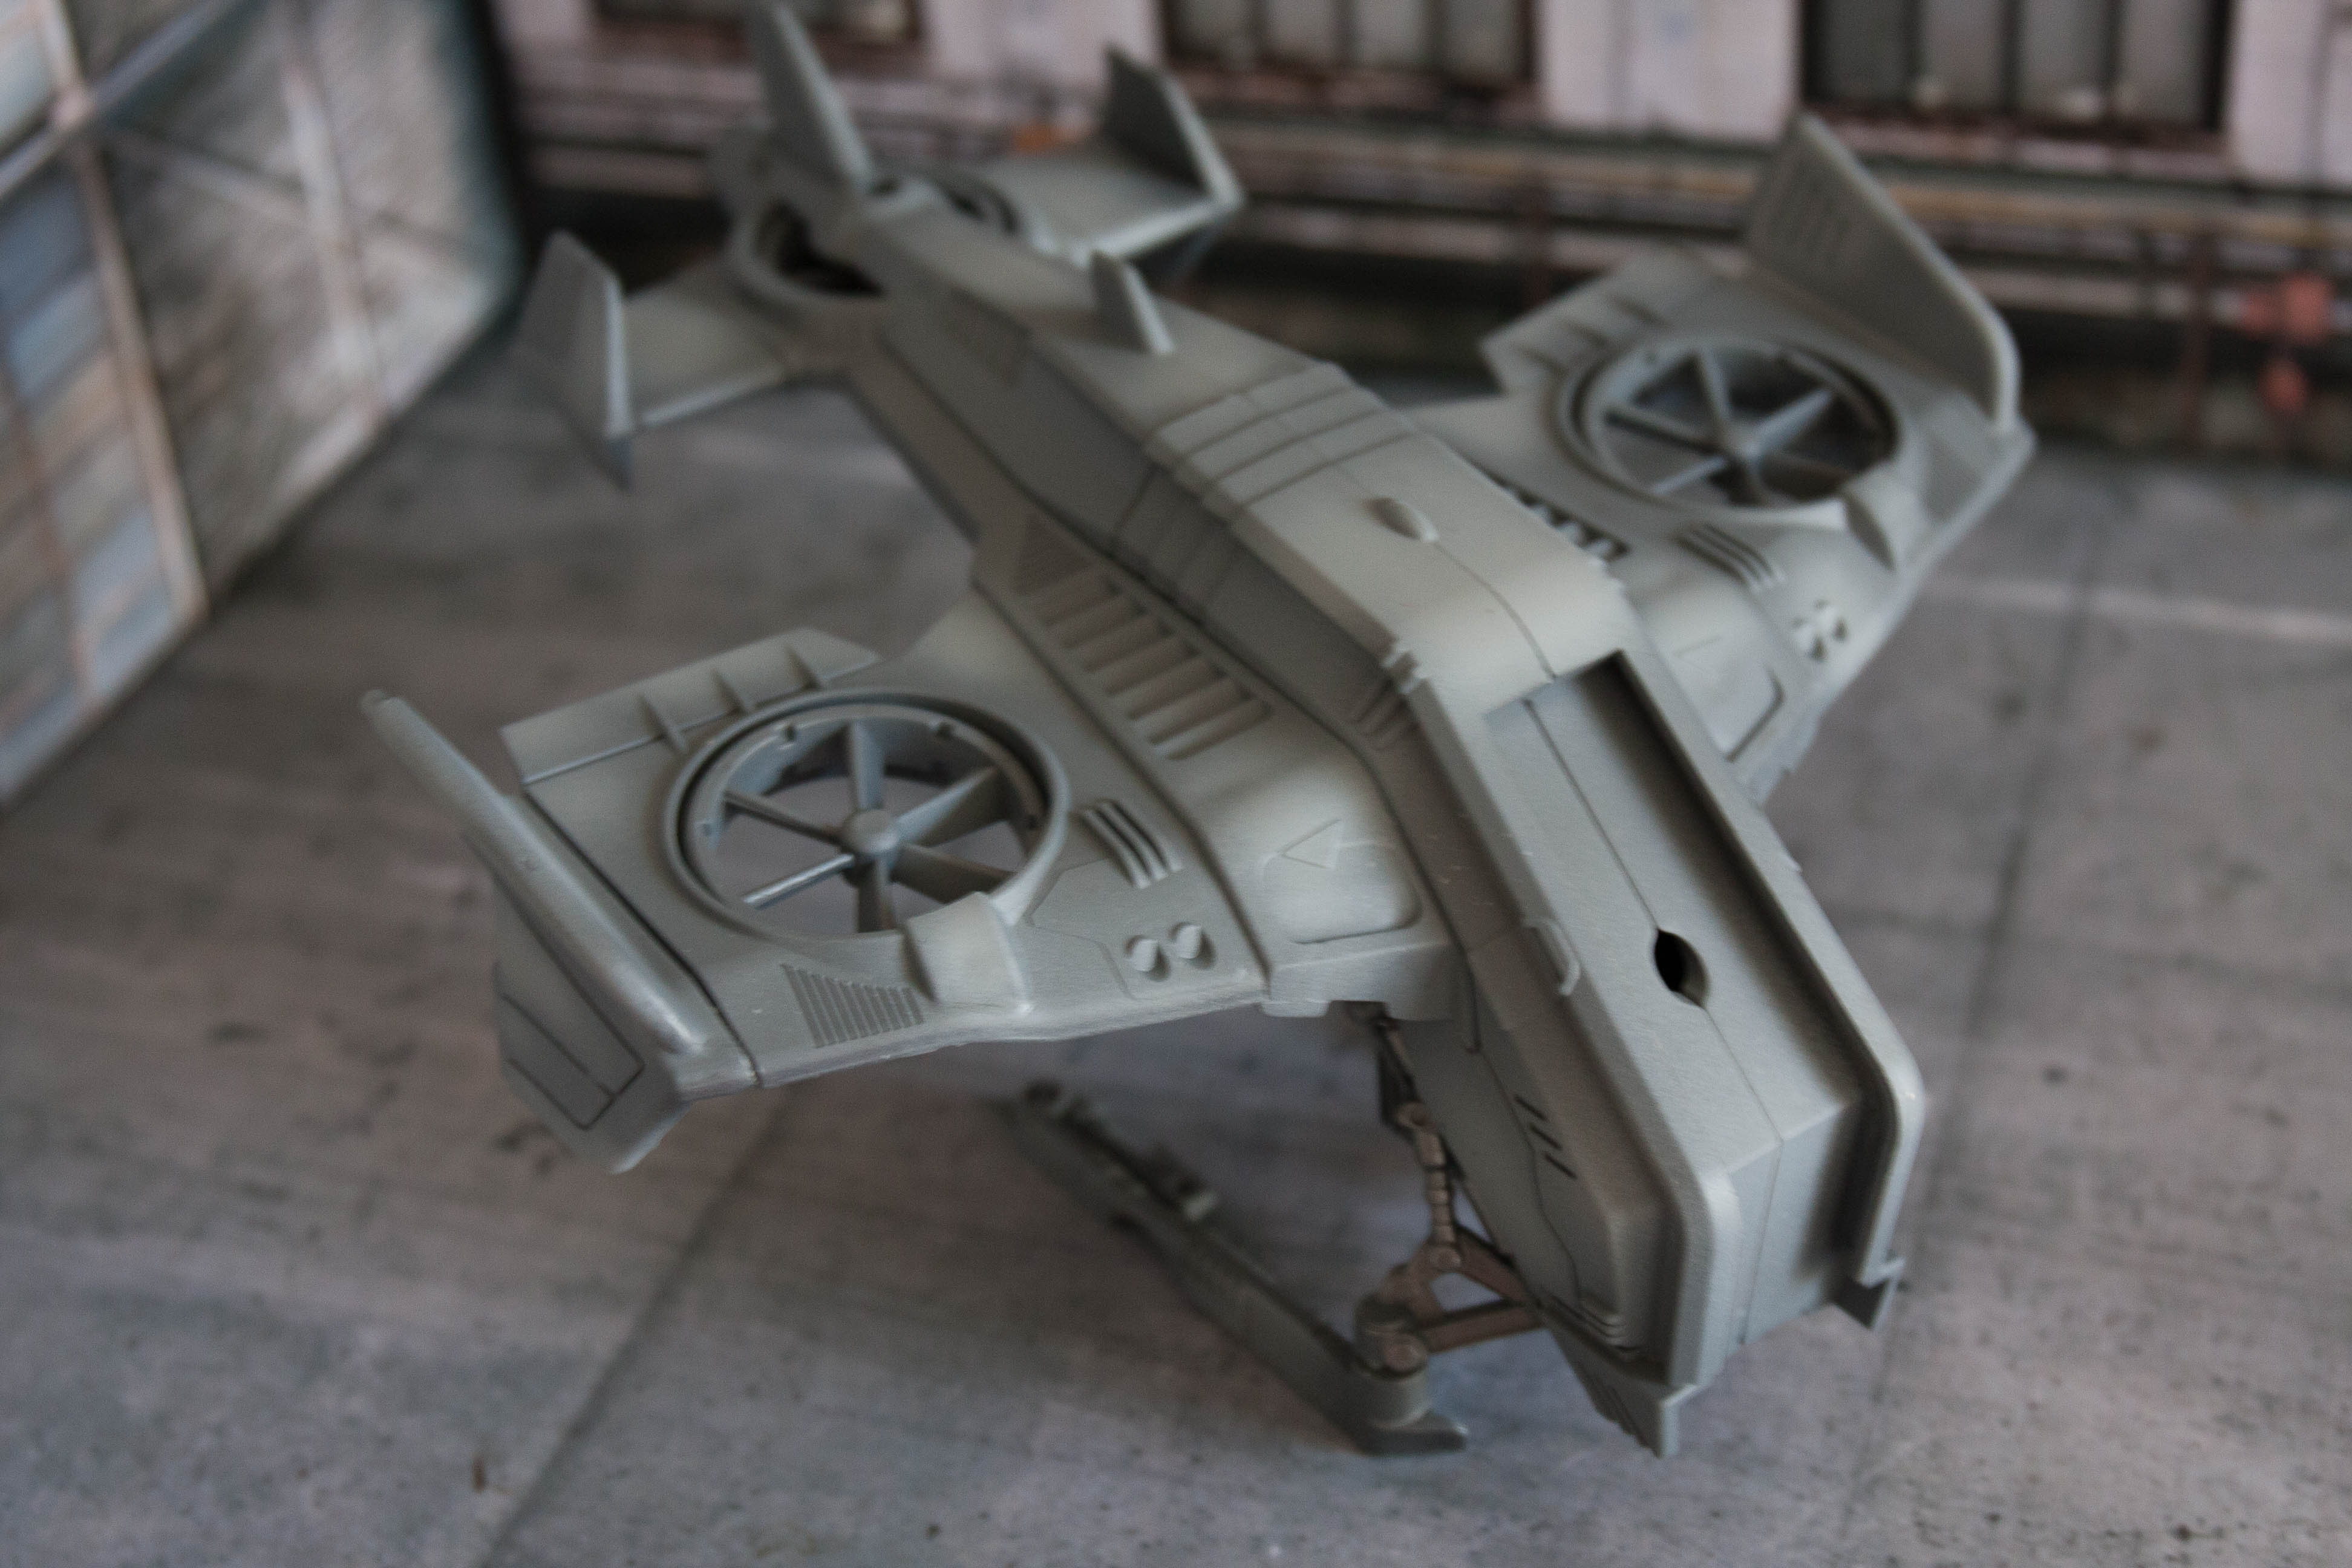
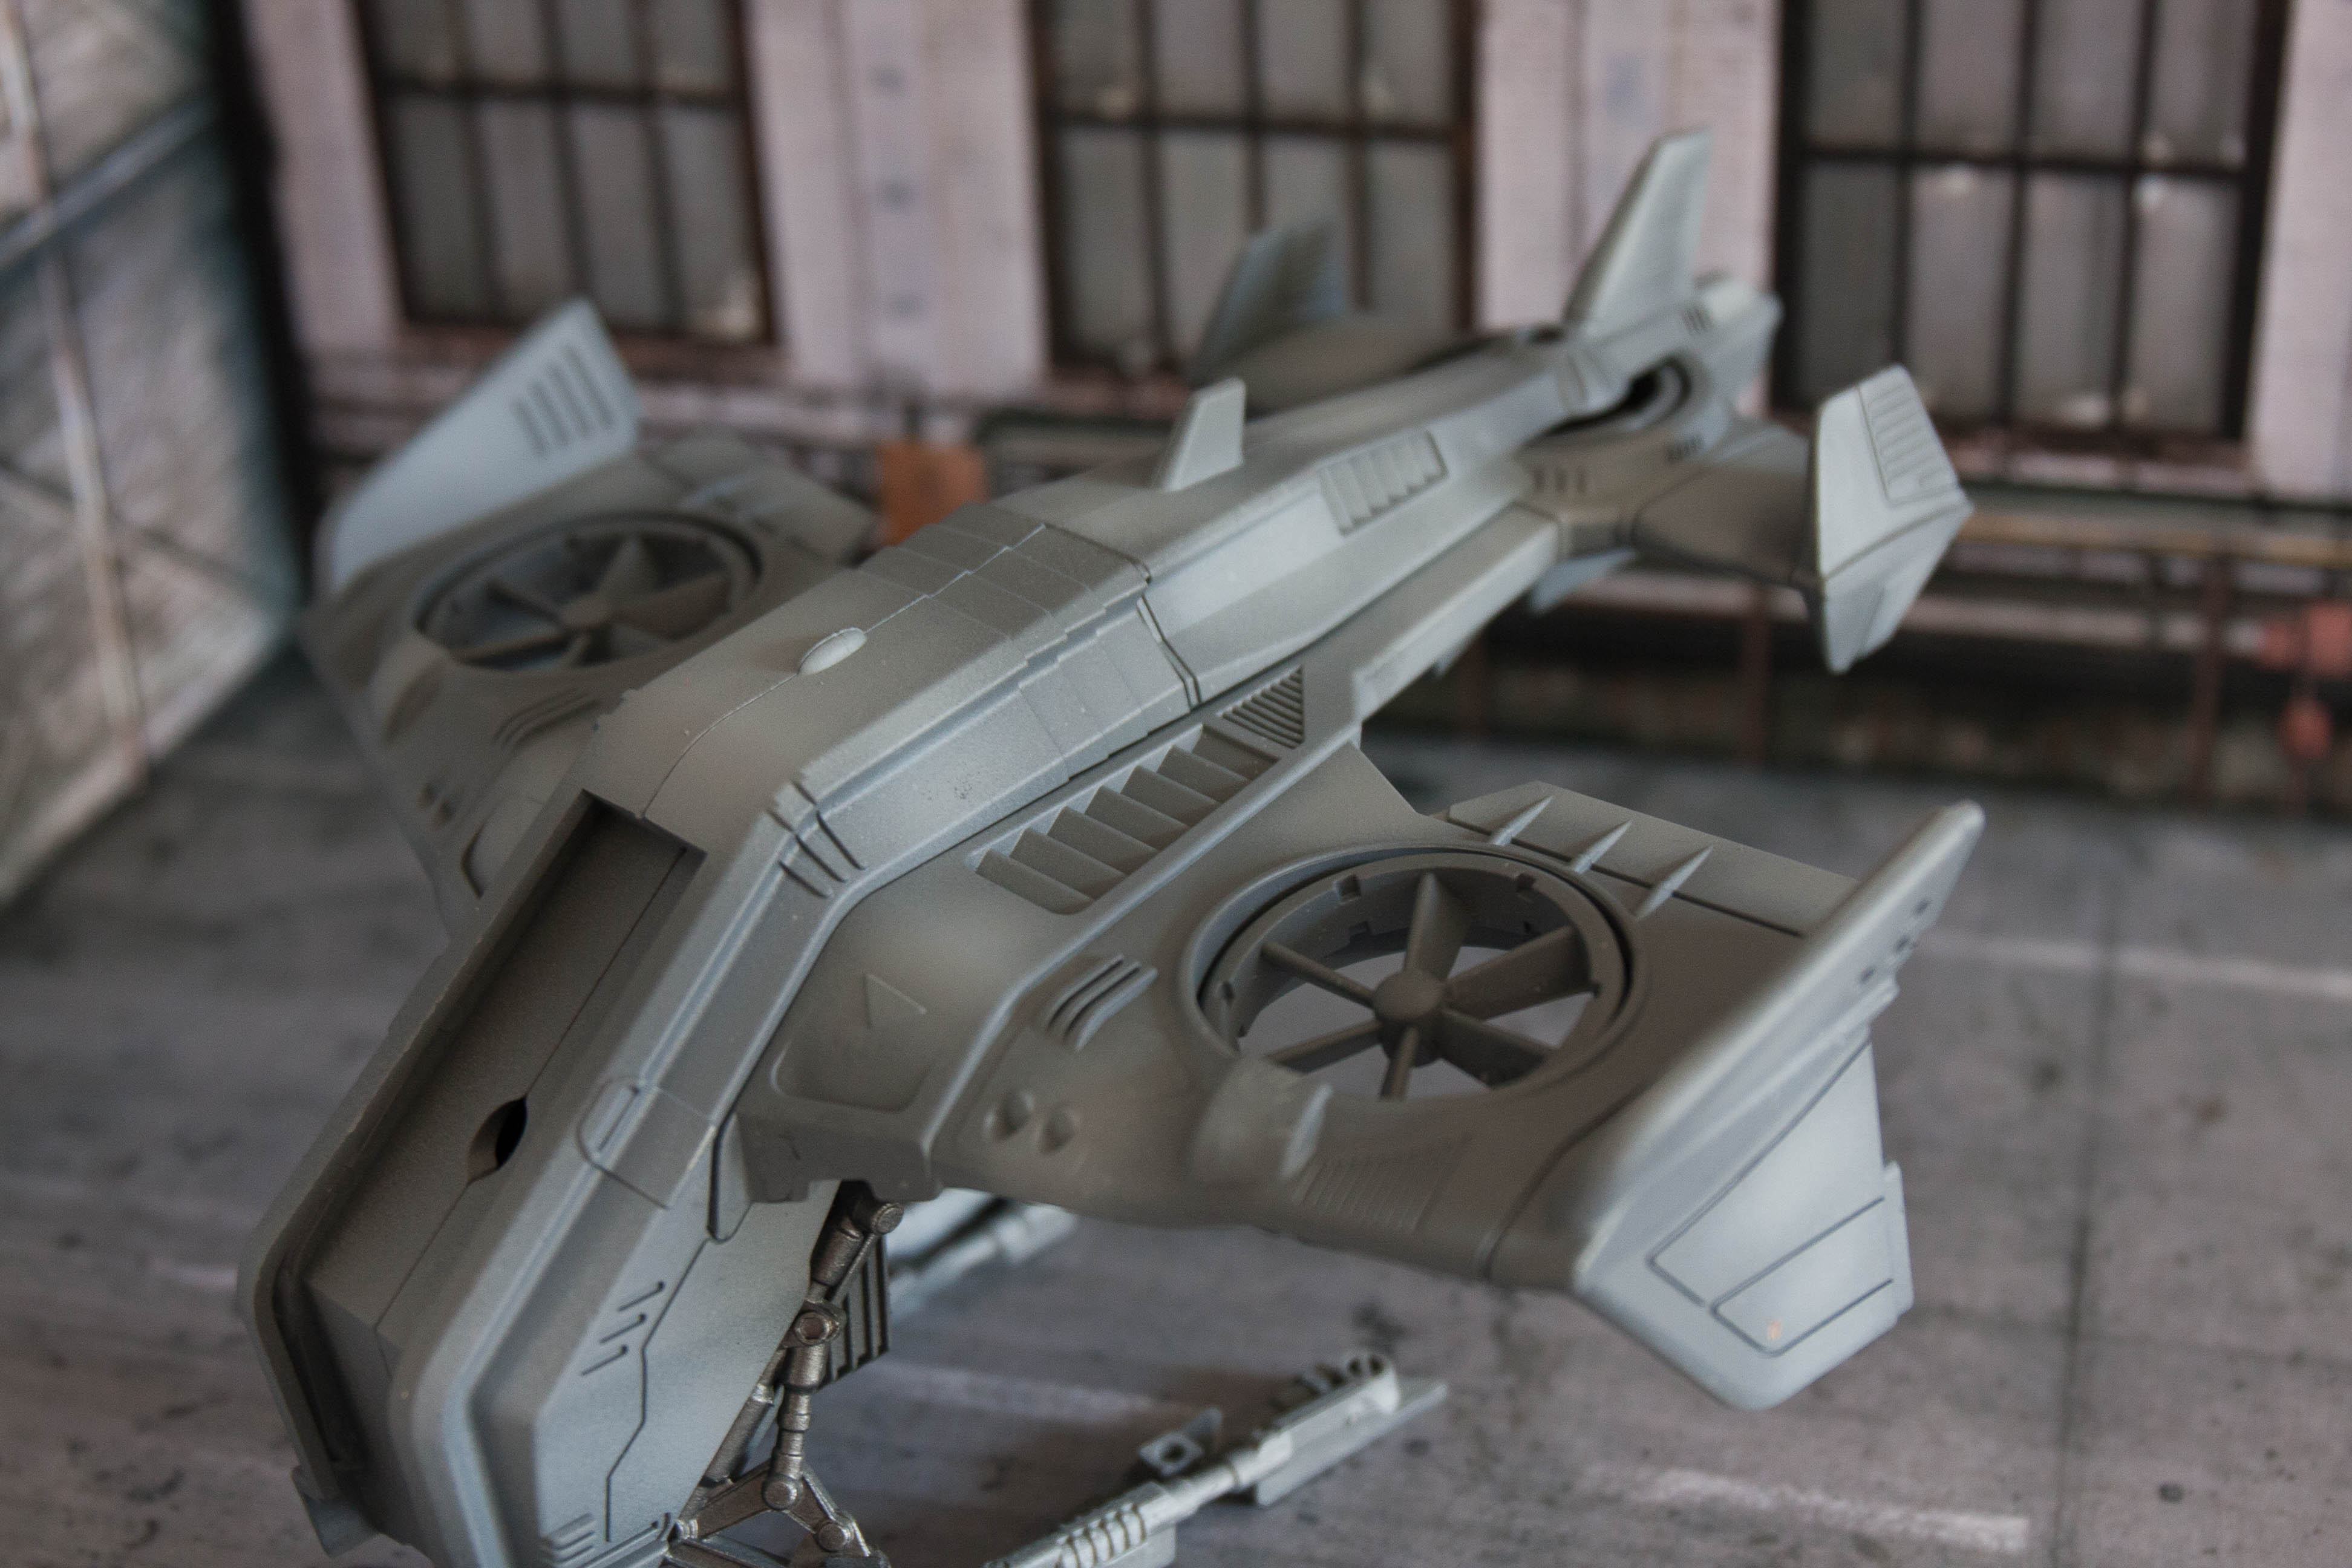
As you can see, you have tonal variations now that give the whole model a different look from just a flat single colour, and its so quick and easy to do. You may have noticed the front missing, because in my paint scheme I am covering that in red, along with the ribbed part of the main fuselage, So, I masked up the fuselage piece and painted the red bit.
Again, base colour first, then a lighter version to add variation. In this case, I added some of the lighter grey I used on the main model to lighten the red, tying the two parts together. Then you get this:
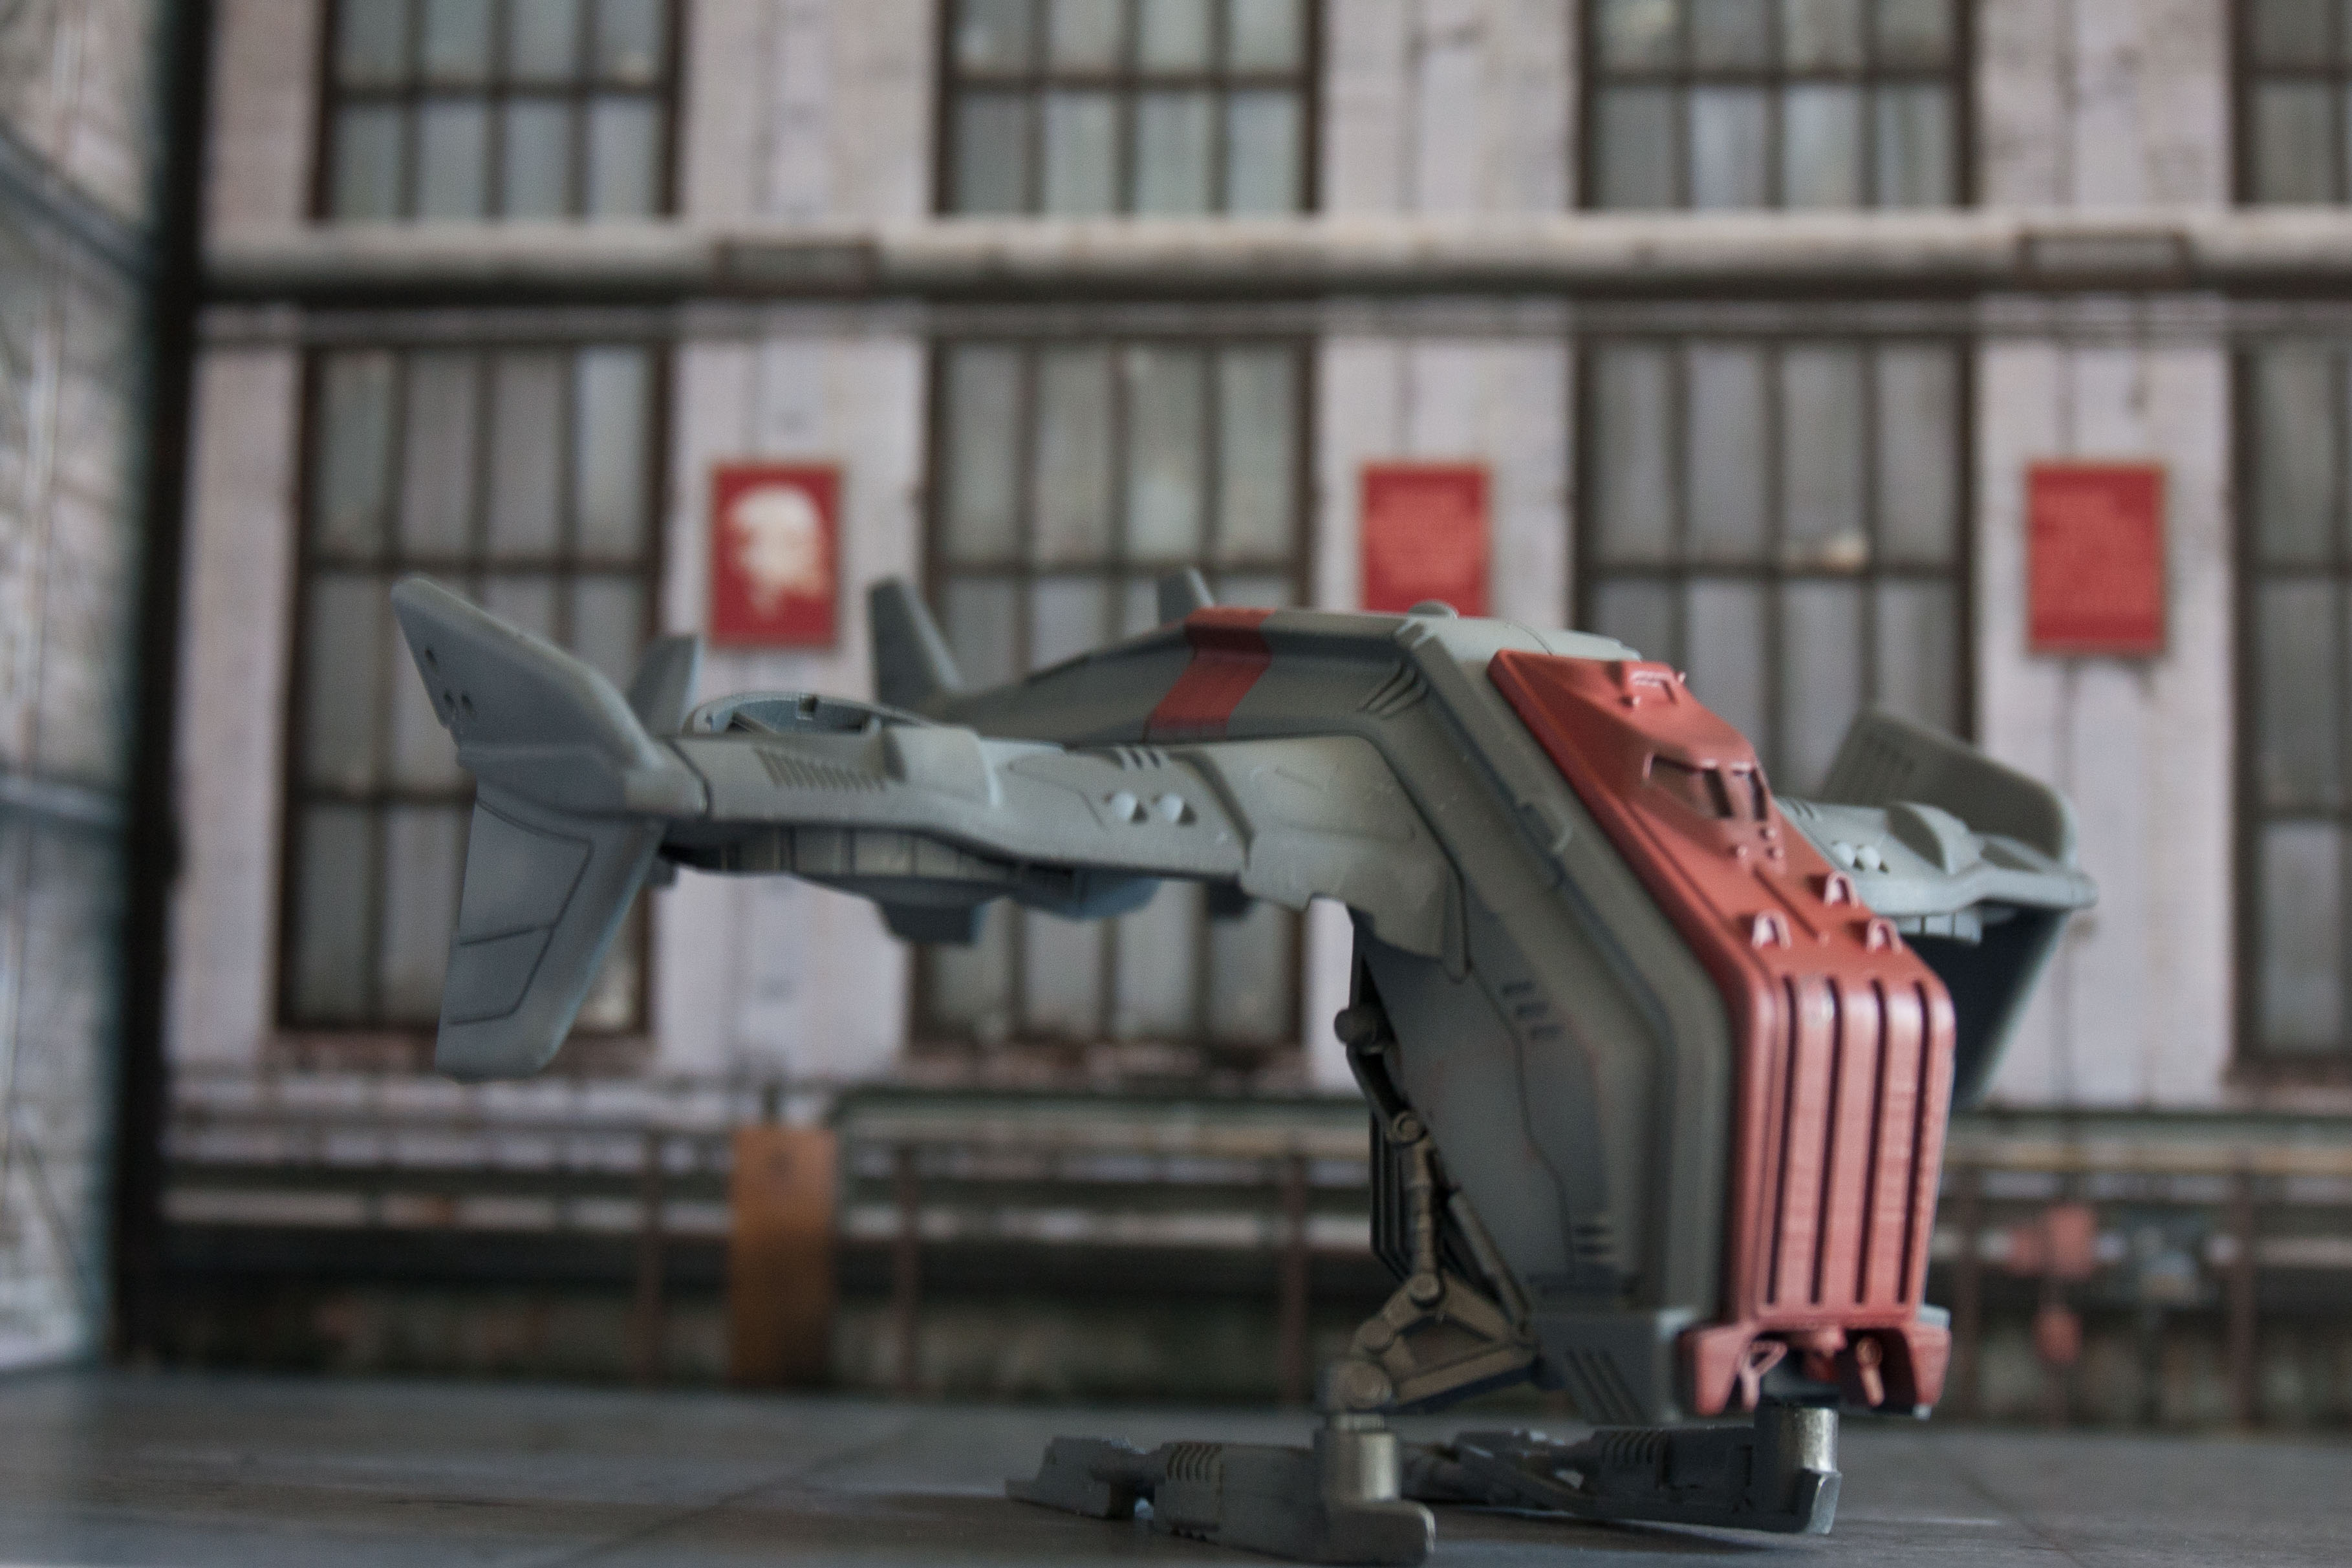
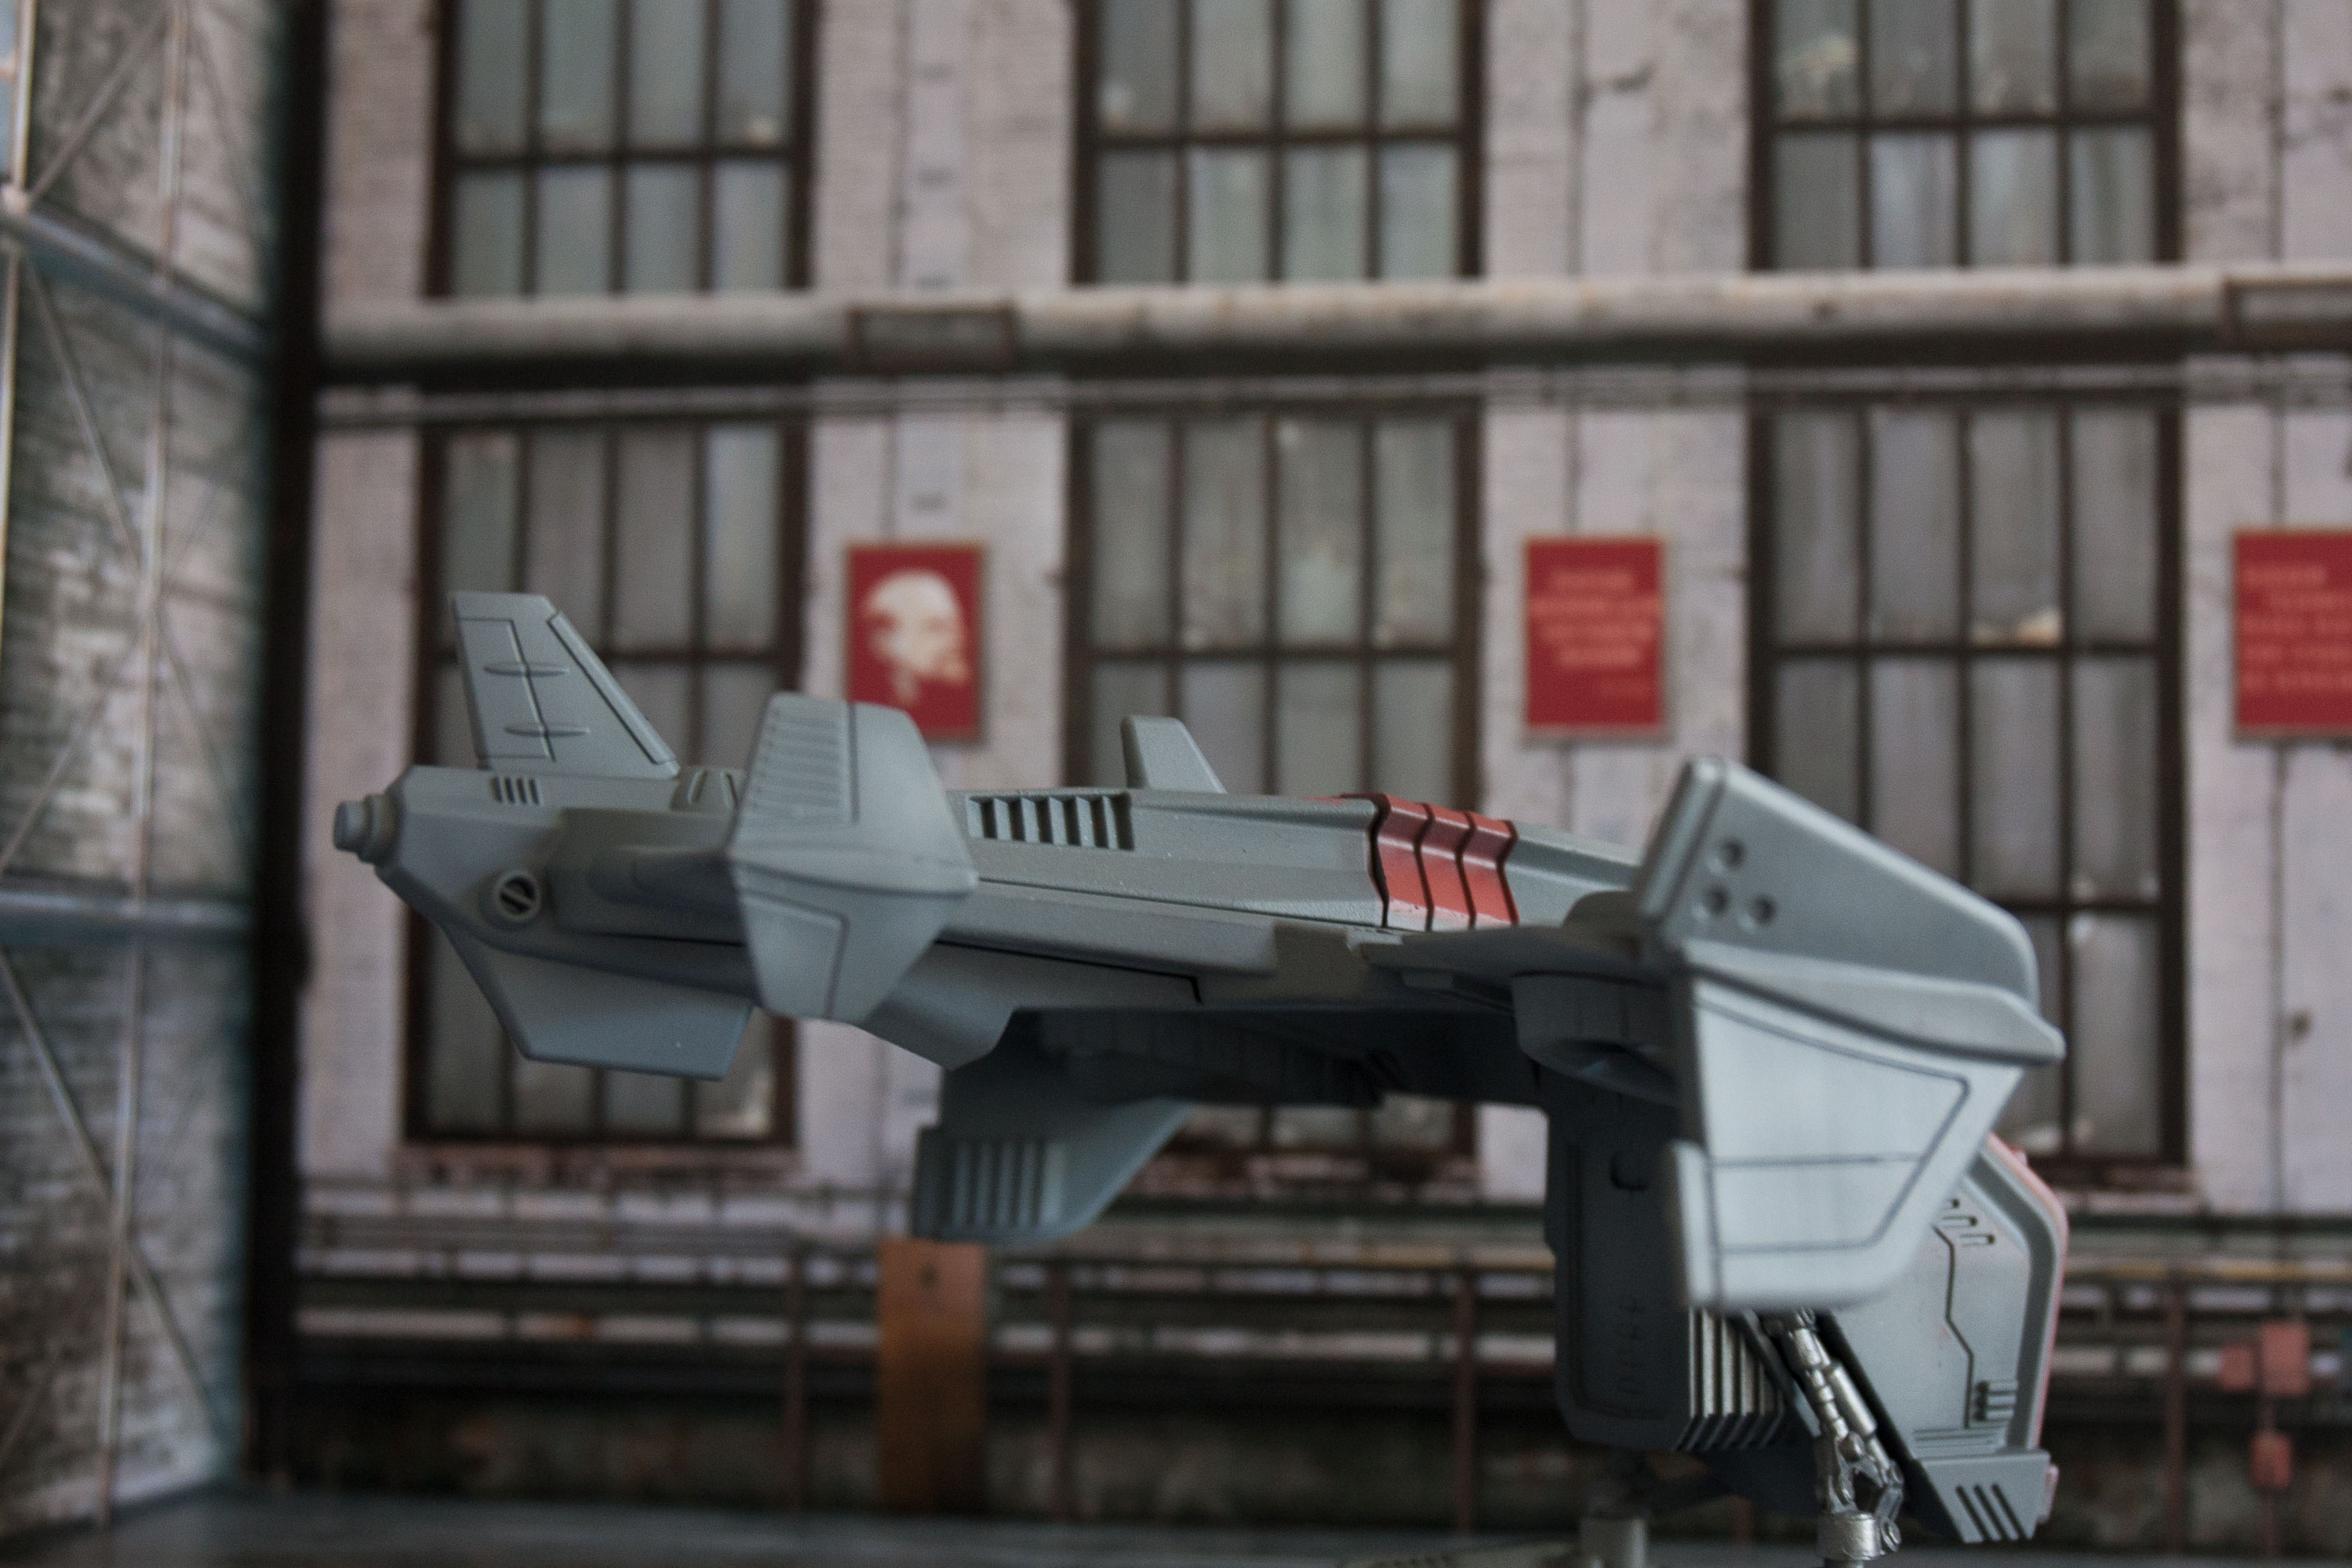
It really is that simple.
I have one more stage I do, and that is to use a clay wash. You can see the dirty, grimy effect on the other finished hornet in the last entry, however, the paint has to properly harden off before I sue that, as it involves a bit of scrubbing at the model.
So, I will post about that final part after the model has dried for a day or so.
In all, there is maybe an hour total in painting gone into this model, including waiting for paint to dry. Its such a simple process and it can help you get models onto the table quickly.


Leave a Reply