Osbad's got gas(lands)
Going the whole hog, part the second
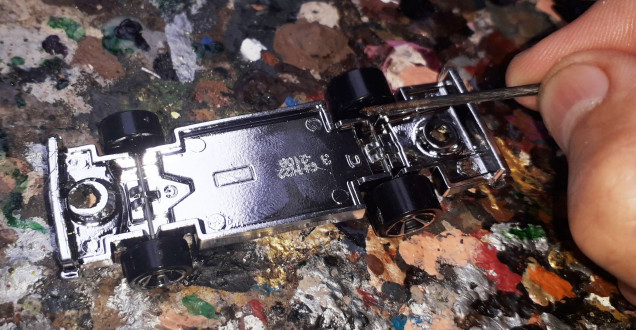
So next for attention was the “chassis”. This was a shiney chrome, which obviously isn’t “post apocalyptic” enough really and is probably one of the most “toy-like” and least “model-like” element of the vehicle, so needed some attention.
It is usually possible to remove the chrome effect by soaking the part in bleach for a while. I have tried this and it works, but bleach is nasty stuff as it smells and can easily cause damage to clothes and fingers, so I tend to avoid it personally. But YMMV. Incidentally the paintstripper I use is relatively benign. I use plastic gloves, but that is really just a precaution, as it hasn’t caused any irritation on my skin when I have touched it, and it dries up to a very faint inert residue if left to dry.
Anyhoo, for this chassis, all I did was glue the wheels in place and then spray it with matt black undercoat.
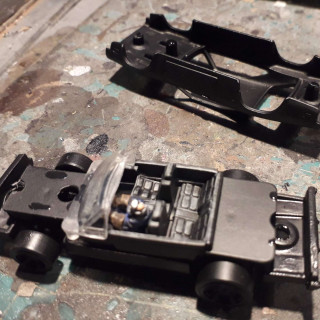
The next part was the internal cockpit. This was sprayed matt black (it was originally a shiney black plastic), the steering wheel snipped off, and a Ramshackle Games driver inserted. Ramshackle Games models are in a very high relief casting, so they take paint very well. A quick base coat and a wash with Nuln Oil, wiping off the excess, brought out the detail very well at this scale.
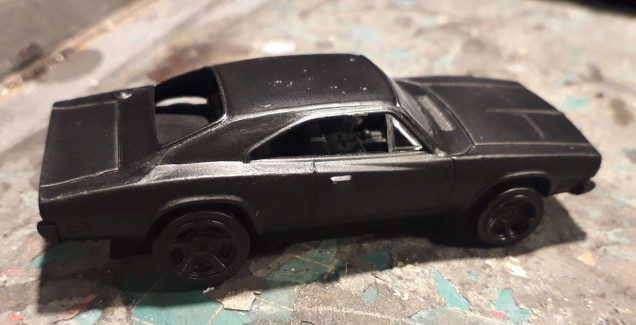
As you can see, I sprayed the body shell matt black, and then reassembled with a couple of dabs of superglue.
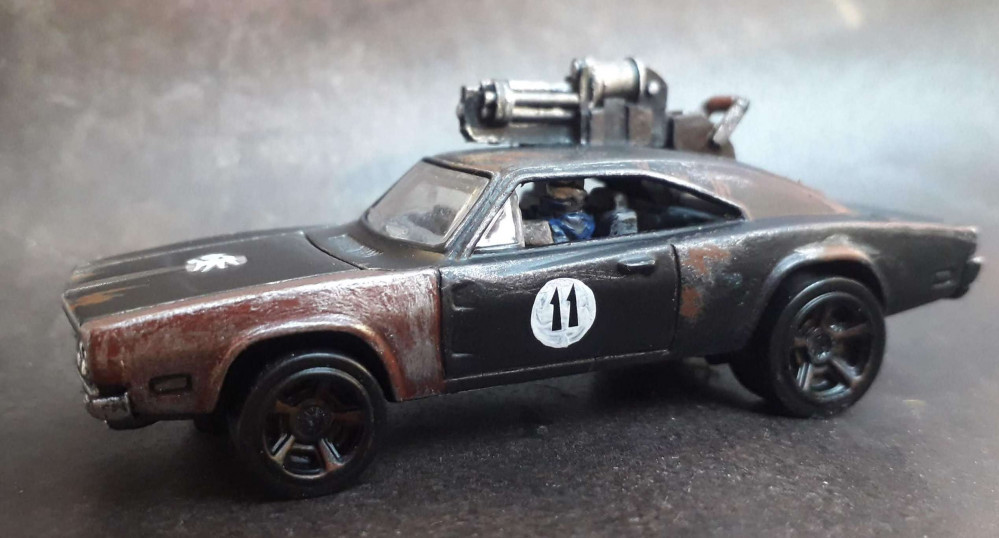
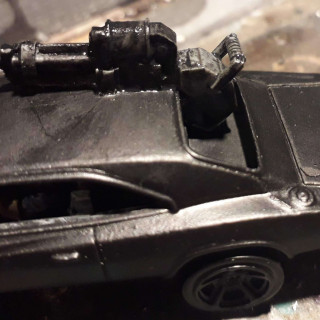
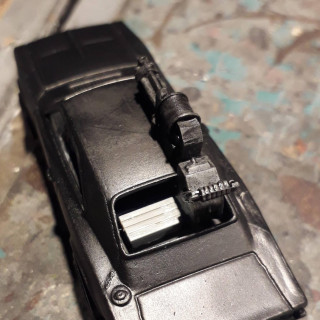
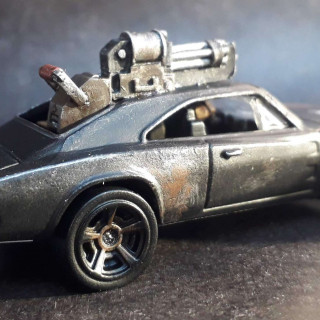
The final thing was to add a weapon. Went for a gatling gun. It seemed appropriate and to fit the style of the car well. I used a Ramshackle Games one with a couple of added bits – some handle gubbins from some old 40k kit, and an ammo box from some old 1:72 WWII model kit. Don’t ask me which.
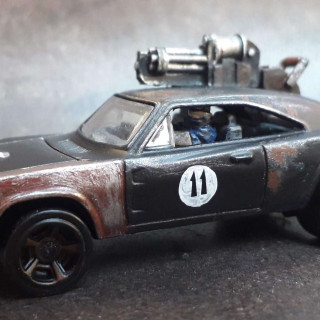
Final stage was to add decals and weathering/highlighting. I went for a rusty metal look. Pretty easy to pull off and minimal work. What you can’t see from the photo is that I highlighted the grill and picked out the head and tail lights. All pretty simple stuff.






Leave a Reply