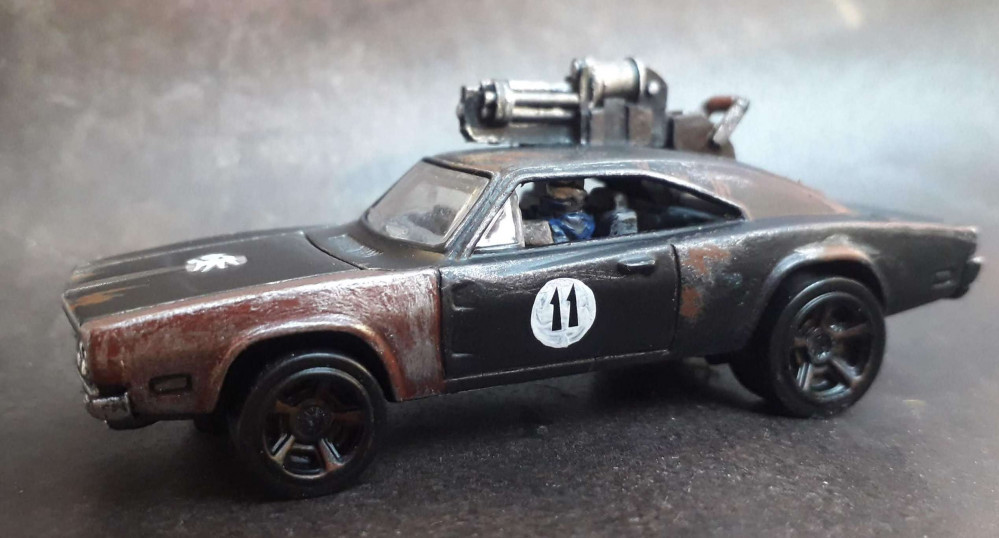
Osbad's got gas(lands)
Getting all technical
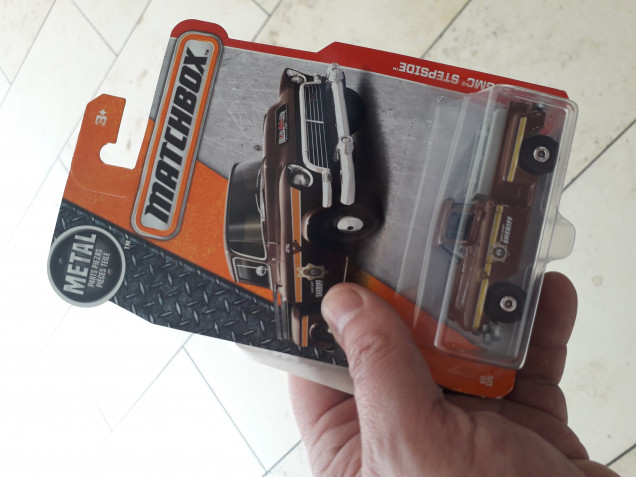
So, encouraged by the bus, I started looking around cheap shops for what else I could gussy up for Gaslands. I popped into a different, larger, branch of Poundland on my way home from work and found they had a slightly larger range of toy cars on offer, including a wonderful 1950’s style pickup that was crying out to be taken home and given some love.
Now, having joined the Gaslands Facebook group (which has got to be one of THE most active wargaming FB groups out there! It is phenomenal!) I found that a lot of folks were stripping the car bodies before repainting them as the original paint used is rather thick (after all it does have to cope with a lot of abuse from little boys and girls!!) and obscures detail. I wasn’t really that bothered myself but I thought I’d give it a go for experimental purposes, so along with the car I bought some cheap paintstripping gel.
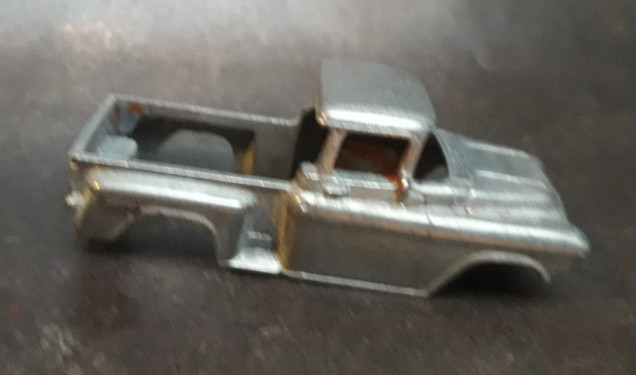
After popping the rivets, removing the innards, slathering the shell with the gel, leaving it overnight and then giving it a quick brush up with a wire brush, this is the result.
It wasn’t much hassle and did give a blank canvas to work from, so I guess its probably worth it. Depends how much you want to change the model I suppose. This model was in brown (I hate brown!) so I was happy to lose the colour. However, if I was happy with the base colour I probably wouldn’t bother with this step in future, and just run with the existing one and weather it. Of course, painting over the colour with another is also an option as I did with the Warbus. Each has their merits and drawbacks. The great thing with Post Apocalypse gaming is that it doesn’t matter as the grungier the paintjob the better! Wheeeee! Artistic Licence!!
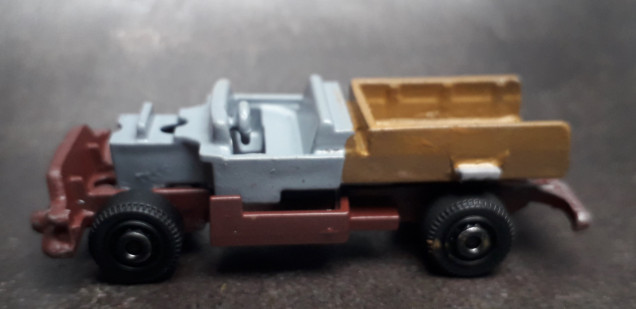
Having removed the innards I gave them a basic paint job, and ended up with this:
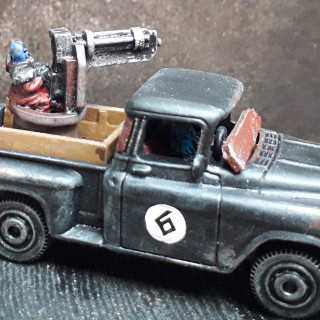
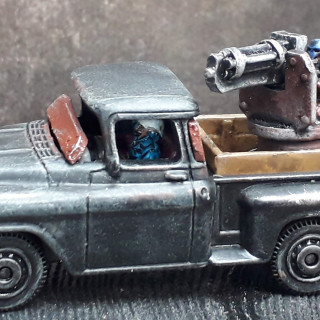
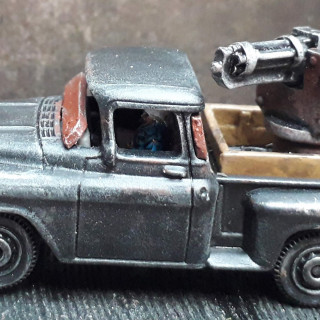
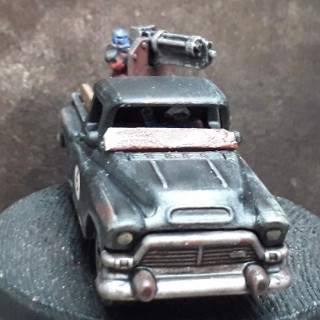
So, I sprayed the body matt black, re-assembled the model and decided to add a bit of plasticard “armour” over the windshield area, a Ramshackle Games turret gunner in the bed and leave it at that. Drybrushing and weathering, and the obligatory Nuln Oil wash and a spritz of matt varnish completed the job.
Ladies and gentlemen, I give you “The Hillbilly Technical”!




Leave a Reply