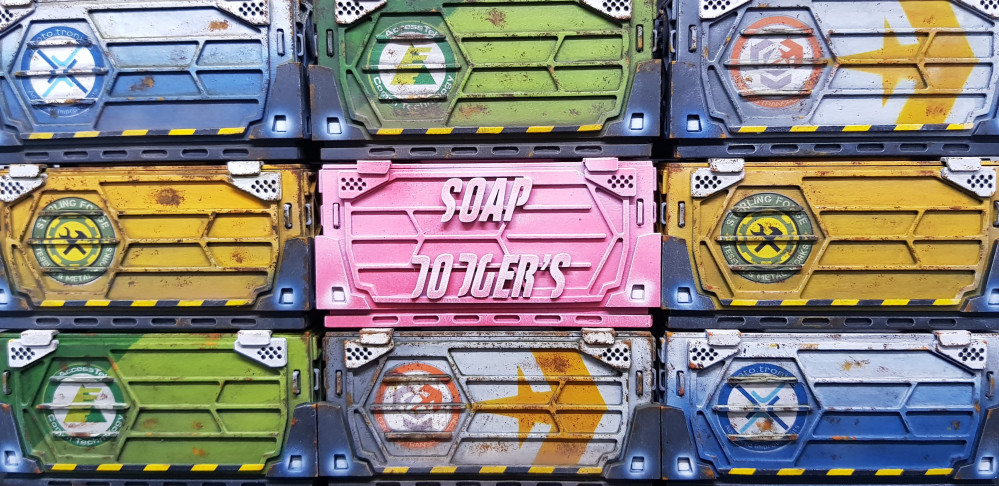
Infinity Terrain
Building the container
So I am at the point of building the thing… AGAIN for the 11th time but for the sake of continuity this could be the first one.
I decided to do a couple of videos, my first time and I cant say I enjoyed the experience. I have sped this up 4x so not to bore you but it still takes it ‘s time. the setup just to record this is crazy i think i may need some equipment if I were to do this again. So excuse the reflections it was rather sunny today and I put a box over the full thing to remove the reflections but… it kept on making the tripod fall. It is what it is.
At least if you have not seen one working this is a chance.
I setup my material in my laser cutter and go!
I am not making anymore videos on watching a laser go around I promise! It’s dull enough when you are in the room and that’s even with the chance of death.
I got all my bits cut and now it was time to assemble. I had calls to sell these and you can see why I would never do this next. Again this is sped up 4x times and this was the quickest assembly I have done on one.
There you have it! This is what it takes to build. I made lots of mistakes on building this and I kept on hitting my balanced tripod. The one I built here is the soap one from the project banner.
A few things to note:
- I used thick superglue, If you use too much it slides around, if you use too little it dries right away. You need to use the just right amount and don’t do what I done for half this video.
- I have tried PVA but it tends to require about 10 times the time. It is much neater though.
- Any taking off of parts and fitting them leaves a fur from the inside of the card. It looks terrible unless you make it into rust then it looks great!
- The steps / hand rails are better if you do what I done with the last 2 in the video and chamfer them with a blade. I couldn’t really be bothered but I done this with all the others.
- The handrails get harder with the primer on them they are very porous and absorb the paint. I have had no damage to them since making the first one.
- You can clean the parts before assembly like I showed at the start and then did not take my own advise and ended up with weathered fingers.
- I used very cheap spray-paint for this I wouldn’t use anything that cost more than £1 it does the job and is mainly only used to seal the MDF and card and provide a uniform finish when painted fully.
Here are a few pictures of the original test
That’s it all ready for painting which will be up next!
Don’t worry I am not going to show how I painted the Pink one.


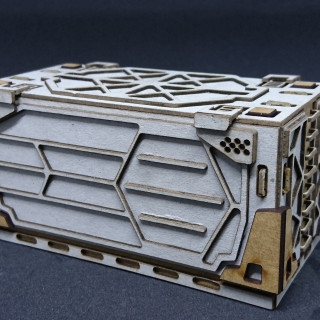
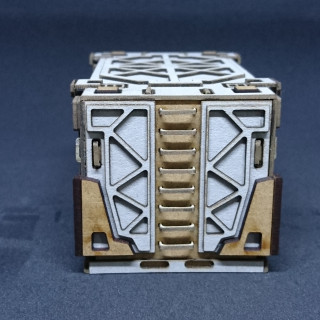
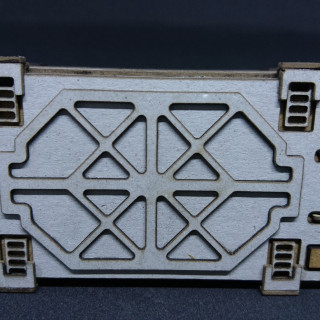
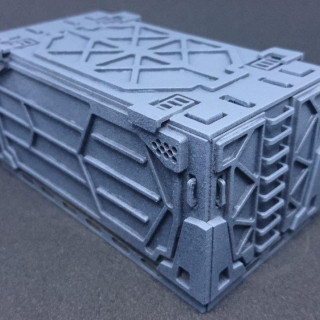


The level of effort here is just astonishing. It is a super cool idea though, and the result of bringing such a cool design to life is really impressive.
It is alot of effort, thats why i put up the video. Looking at the end result makes it look simple. I am glad you feel it’s worth it!
Given how fingers and thumbs I am with this sort of thing, I think I’d go mad doing those individual rungs! But they really do look the part. Must be great to actually play with them on the tabletop.
are you able to attach the files used so community members can use them with their own kit or take to a fablab?
I am swithering about this. I will do this when I get home, I do have to say if someone wants it taken down if I manage to do it. Please let me know and I will do so. It’s not my design only my drawing which is what is making me apprehensive. So full credit to Corvus Belli for such great card terrain. This does feel like playing with fire. And if you build it and paint one I want to see.
@warzan is there anyway you could run this by carlos an the team to see if its ok? as soapdodger has said really wouldn’t want anyone getting into trouble or treading on toes over this
Very true, Also the guys at BOW must have also seen this potential issue and only allow PDF’s to be uploaded as files. At the moment I would not be comfortable putting this anyplace other than on BOW or Corvus belli’s forums as they are/know the people involved. I am definitely open to giving this away for free as the work is done. I would never sell someone else’s design even through fan art. If this does not work out I can send you my prototypes for free @toshkien , changes have been made since then. At least this may… Read more »
This looks great!
I really hope you will upload the files somewhere to download or sell. I don’t have a cutter but I hope I will figure something out.
How long does it take to cut a container and what is the size of the MDF you cut from?
cheers!
It’s A4 MDF, a container to cut takes about 30 minutes a bit difficult to work out as a couple of parts are on a single piece of MDF. Think this would go faster with a better laser cutter.
Another note to make on this is that a laser cutters power and speed is a sliding scale. I have my power low and my speed slow to conserve the life of my laser tube. I cut 2mm MDF at 8.5mm/sec but I could increase the power by about 50% which in theory would allow me to cut twice as fast. I cut 0.5mm card at 25mm/sec at the same power level anything faster and my laser head does not cut accurately.