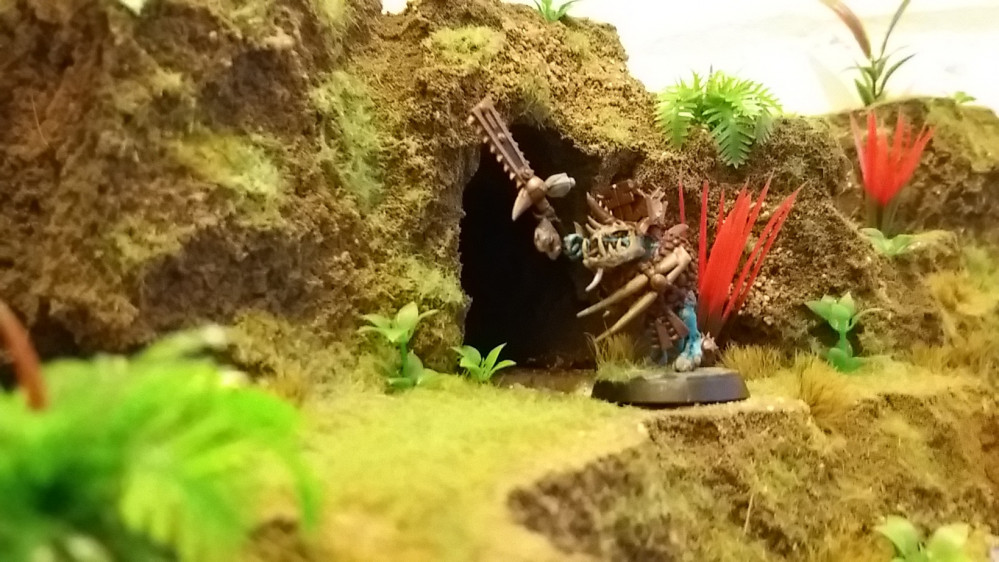
My Foam Journey 2.0
In the beginning.......
I’ll quickly take you through the work I did preciously so you’ve got an idea of the process I used before talking about the more recent updates.
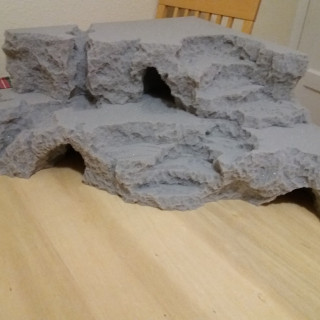
One of the first things the board needed was some height so the easiest thing I could do was to create a stepped hill. I grabbed some of the foam and started ripping. It comes apart really easily, the more you rip the more natural the rock faces started to look. Even with the bare foam, I added a few caves to to add a little more the the back of the board.
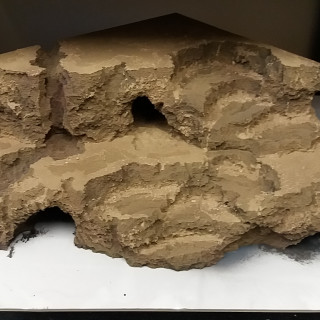
I then got on to painting, giving the whole thing a black basecoat first. This made the rest of the paint stick easily and made sure no bare foam would show through. Following on from that I glued down some fine sand on the areas I panned to leave clear of vegetation. Finally spraying with Zandri dust, concentrating on the higher areas so some of the black showed through on the rock faces. This gave it a more natural look.
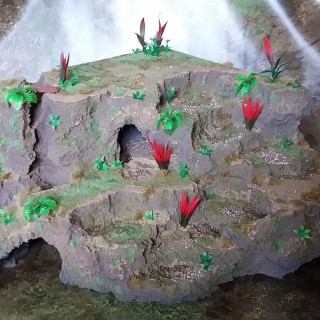
The plants were then added, two colours of static grass giving a more natural look to it, the plants are simply cut up aquarium plants, I found these were really effective after a little tidying up.
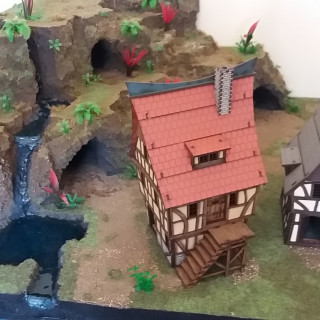
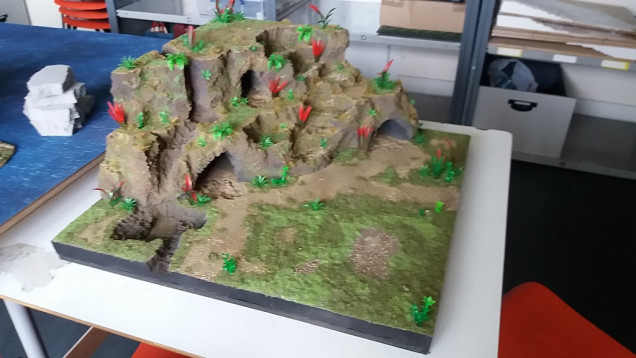 Being happy with what I'd got so far I still thought it was missing something. What does any tropical piece of terrain need? Water, I'd already made an indent where this could naturally fall. The problem was it needed to go somewhere, just dropping onto a base board didn't sit well with me. I therefore decided to add a base with some depth. This came in the form of another 1' foam board. I used all the same techniques as the mountain and got this:
Now was the time to add the water. I’d never used Resin before so it was a bit of a risk, I’d be lying if I said I wasn’t very worried about the pour. As expected it went a little wrong, I didn’t consider the fact that the foam would pretty much soak up all the resin. At first I thought this was a complete disaster, once it dried though it sealed the foam so a second pour worked perfectly.
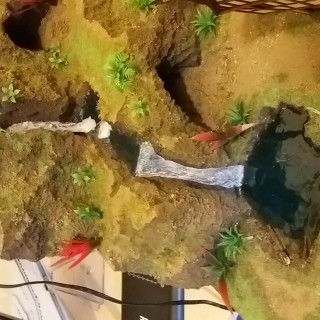
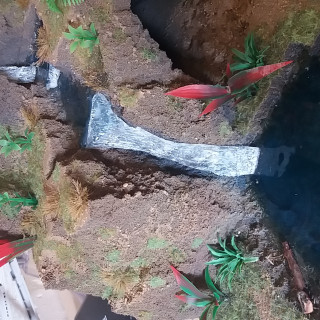
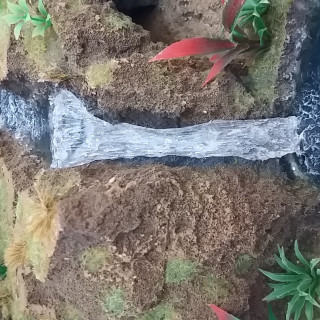
The waterfalls were a little more difficult. I got a piece of cling film and drew our an outline the size of the waterfalls with resin, filling in the middle once dry. Adding resin every few hours in lines so it didn’t dry completely flat. Once a quick drybrush of white was added it looked great. Getting them to stick in place was a bit of a pain as you can see by the picks below, I essentially used everything at hand to weigh it down.
Once the were all dry I added a little of woodland scenic’s water waves to make it look a little more realistic. Then adding some cotton wool to give the effect of spray form the falls themselves.
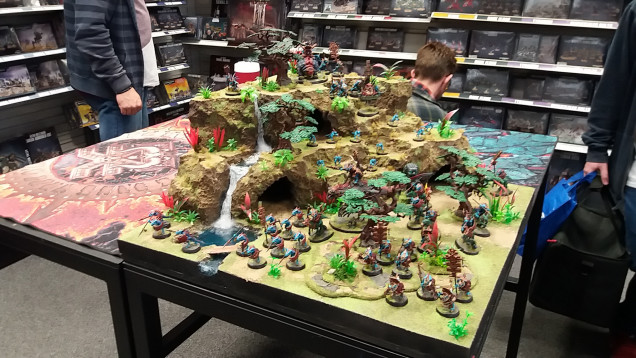 Adding my Seraphon and a couple of GW trees and that was the board finished for Armies on Parade. I was very pleased with how the whole process went and I learnt a lot of new techniques on the way. I therefore decided that I was going to continue the board into a full table.......
The Expansion......
So, now onto expanding the display board into a bigger gaming table.
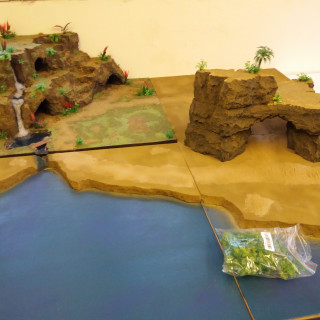
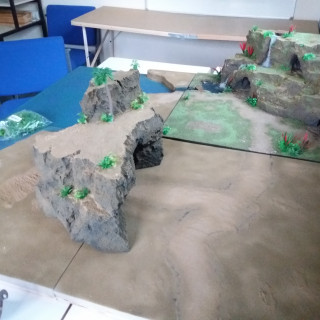
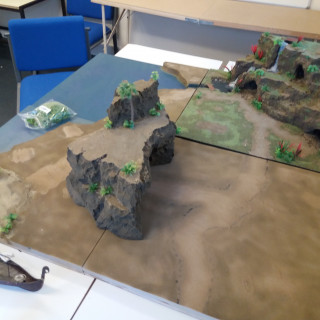
The first step was simple, MDF boards and a couple of 24×24 inch foam pieces. The river needed somewhere to go so I decided a coastline was the best move. This way I could get a tall ship in there to make it look like a dock or some smaller jetty’s with fishing boats to go down a lake feel.
First job was the water, I used an old turquoise tin of fence paint I found in the shed and then drybrushed a few patches with ultramarine blue. I will, be using resin on this at a later date but this gets a good colour in place before.
The foam was painted the same way as the original board with a black basecoat and a spray of zandri dust.
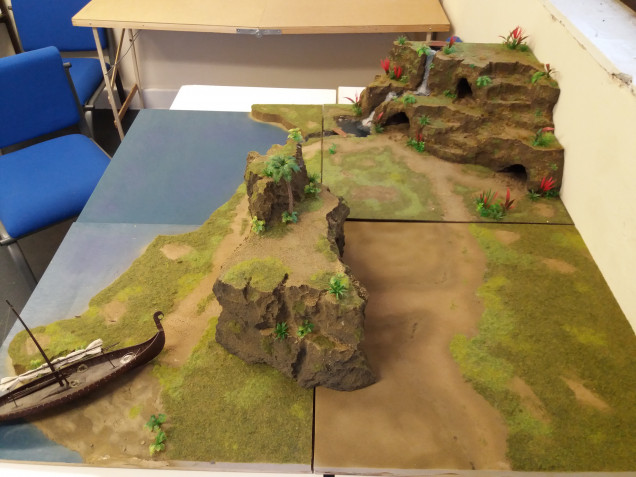 The static grass was then added, using the same three colours as the original board. This gave a continued natural feel to the board and carried on the theme so it all matched. Unfortunately, as you can see, I ran out of PVA so didn't get all the grass down. I'm picking more up this weekend though so will update you again with the progress soon.




Leave a Reply