Painting Mythic Battles titans
The Fun begins.
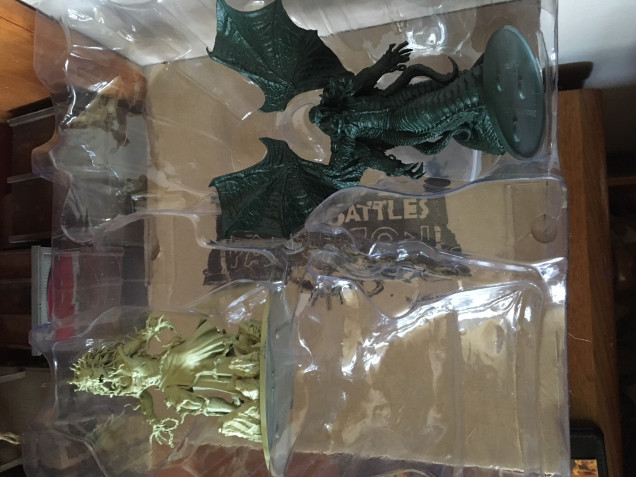
first of all the miniatures were nice and crisp with minimal mold lines so cleanup prior to the start was an endeavor short on effort.
I decided against a black or white priming coat deciding to prime instead using colours from the army painter spray range. My thinking for this was first to save time but also to get a nice flat even finish. these figures are pretty big so any untidy brushwork will show up like a pigs ear and trust me your eye will always be drawn to any errors driving you crazy.
Kronos – Dragon Red
Enceladus – Dragon red
Typhon – Angel green
Gaia – Necrotic flesh
once dry it was simple starting with the ones i was unsure of the most namely Kronos and Enceladus with all the lava and flame effect id never done before. I would like to say i had the brass dodahs to go straight at it but no it was homework time.
I would recommend this to any newbie or if your uncertain, put a pot of coffee on the go and sit with a google image search of your chosen game, figure or scenery on PC or tablet and save the ones you like. If you are really sad and dont get out much like me, go old school and print them off and put them together in an ideas scrap book.
Now for a slight jump forward in time >>>>>>>>>>>>
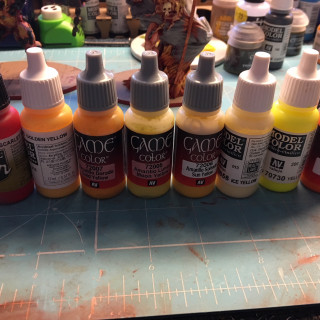
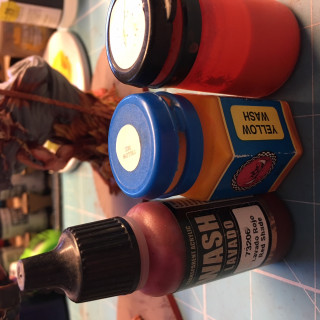
so with the nice even primer coat its time to get messy and the photos show above the paints used for the next step.
In an ideal world id give you photos stage by stage but as you know our world is not ideal and Beast of war 2.0 was not operational last night when the urge to paint was strong. so your gonna have to bear with me and learn from my first mistake…write stuff down! i didn’t and now will have to fill in the missing bits from last night with the general processes and saves for when your a tad heavy handed. But hey its my first project and can only get better right?
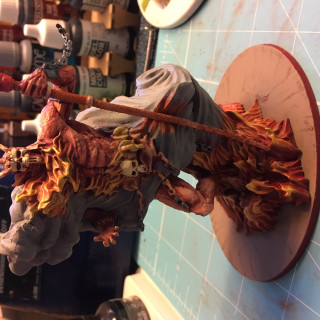
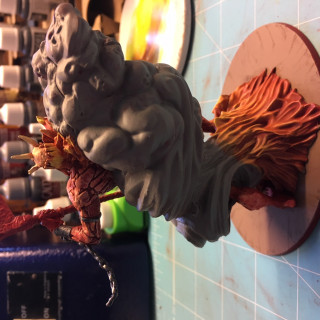
with the model red all over i start dry brushing with a lighter red or the base colour red with a touch of orange added. I start fairly light at the base leaving some red of the original colour showing gradually getting heavier towards the tip of the flame. This process is repeated numerous times by gradually lightening the dry brush colour a little each time finally ending up with the bright yellow at the tip.
if you are too heavy handed at any stage simply give the model a uniform wash with red ink which can be watered down as desired then start the dry brushing again taking your time. Once happy its time for a watered down orange ink applied like a glaze and bobs your auntie the highlights are muted with an overall orange undertone.
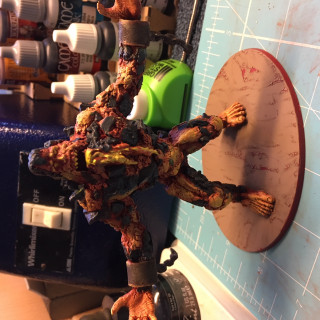
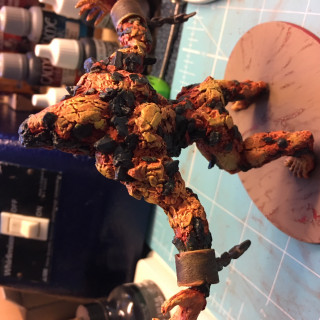
Now i have caught up with where the models are currently at i can start adding detail cataloguing the steps as i go




Leave a Reply