Home › Forums › News, Rumours & General Discussion › Sitrep Podcast: Historical Gaming (and Register for Upcoming Gaming Event)!
Related Games:
Tagged: Modern Warfare, SITREP
This topic contains 484 replies, has 35 voices, and was last updated by ![]() madman1960 5 years, 9 months ago.
madman1960 5 years, 9 months ago.
-
AuthorPosts
-
April 23, 2019 at 5:39 pm #1381391
@oriskany oh, with no figures we can make it done. 🙂 I think we could do some games concentraiting either on the Bzura or maybe Kock? Mlawa could be a no brainer since the Gross Beutschland mod for Steel Panthers has a mission or two in Poland.
April 23, 2019 at 7:57 pm #1381442
Good idea, @yavasa – I don’t have the WW2 mods for Steel Panthers anymore – just the post-war SP/MBT version.
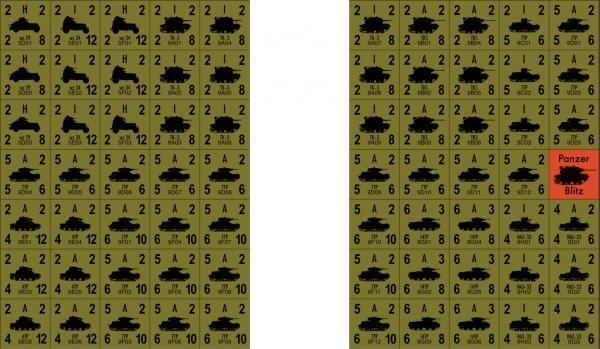
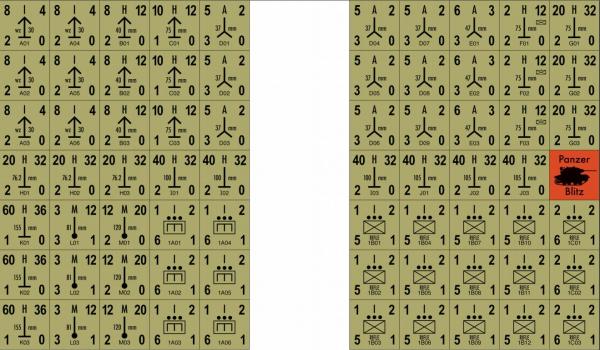
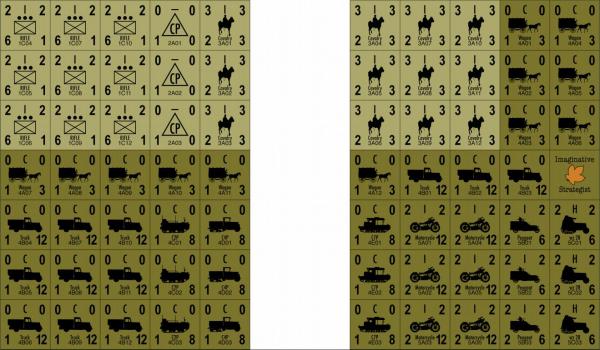
There’s always PanzerBlitz / Leader however … ImaginativeStrategist.com has counters we could start with.

 April 24, 2019 at 4:45 pm #1381916
@oriskany wow great site and the counters look awesome 🙂 We need to figure this out. I will PM you after the weekend since the next three days I’m spending at Pyrkon convention (Hope to play some decent games of Full Thrust) 😀
April 24, 2019 at 5:54 pm #1381960Thanks for the reply, @yavasa – Panzer Leader is a lot less complicated than it looks. All we really need for remote games is an internet connection and to agree on a time.
I have early war German counters already made up. I can use these Polish ones as a base and start research on the campaign (I have an Osprey book on it) specifically on the battles you mention. Maps will just be some work in Photoshop.
No real rush yet, but I would like to do something before September 1, so we’re ready to commemorate the 80th anniversary of the start of World War II.
Have a great time at the convention! 😀
April 24, 2019 at 5:57 pm #1381961The Battle of Mokra would be good. You get to play with armoured trains as well
As a spoiler the Germans get their arses kicked
April 24, 2019 at 8:07 pm #1382004April 28, 2019 at 10:56 am #1383435I was at Briscon this weekend and saw a really cool Kickstarter that’s coming out soon called Delta One Zero that looks cool
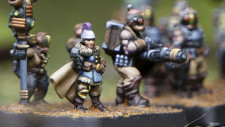
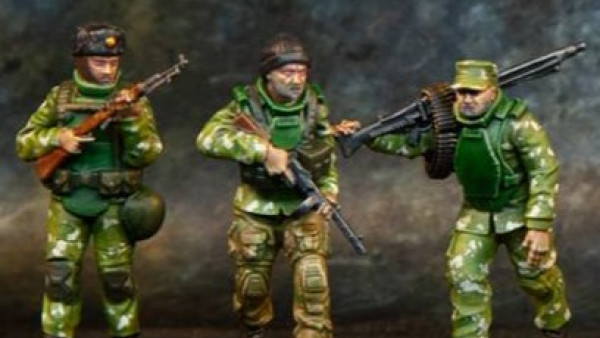
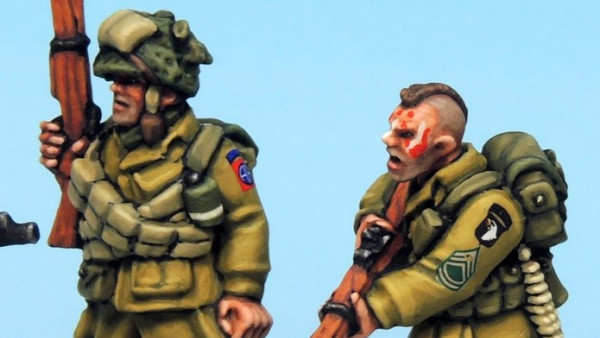
I also picked up all these 1980’s Soviets for $50 Australian which was an absolute bargain. My friend has just picked up some Chechnya’s so this worked out perfectly.
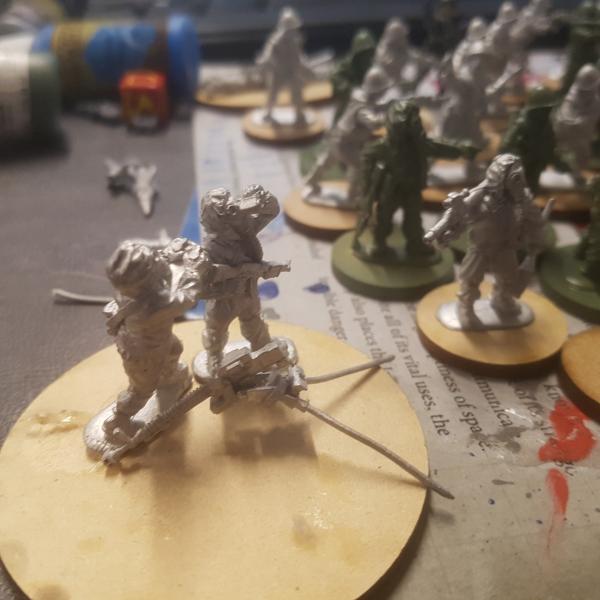
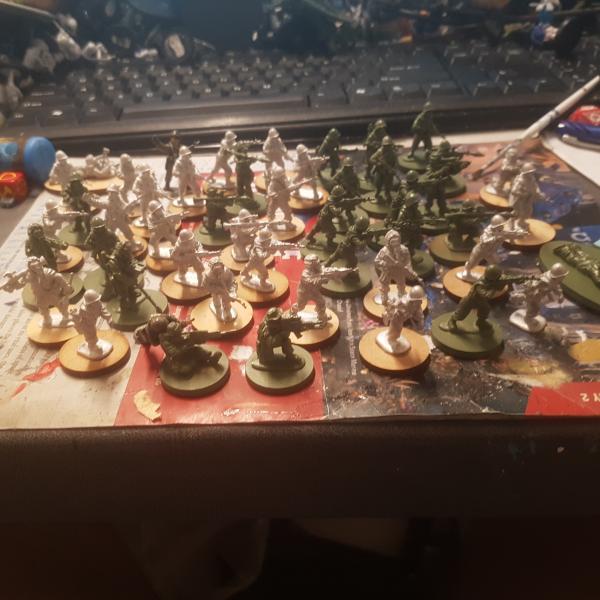
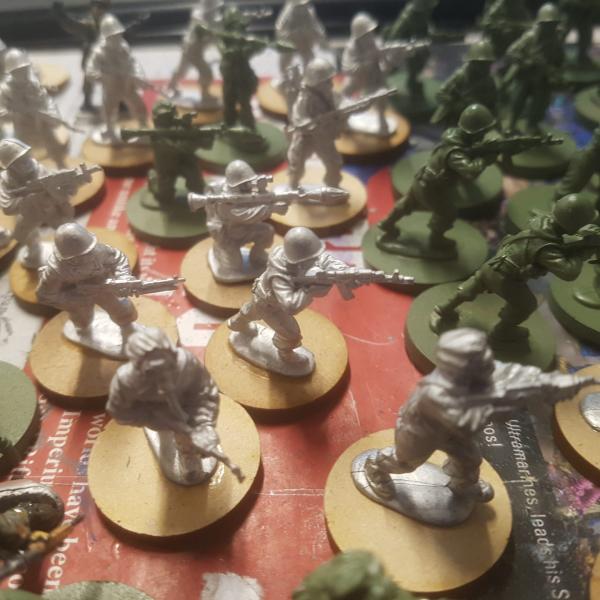
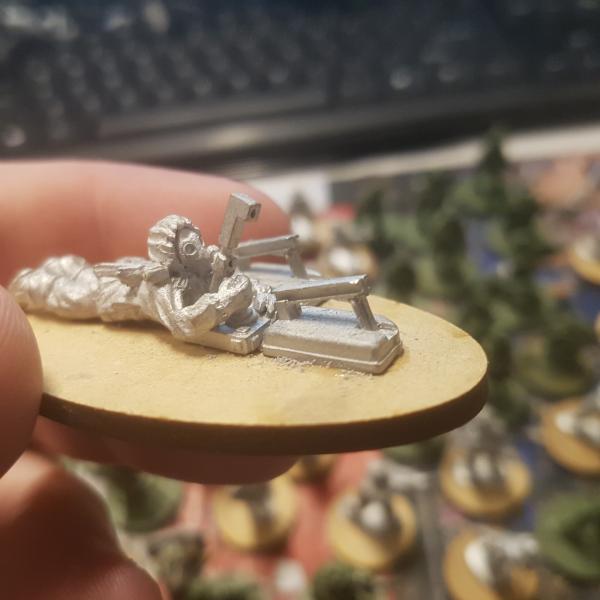
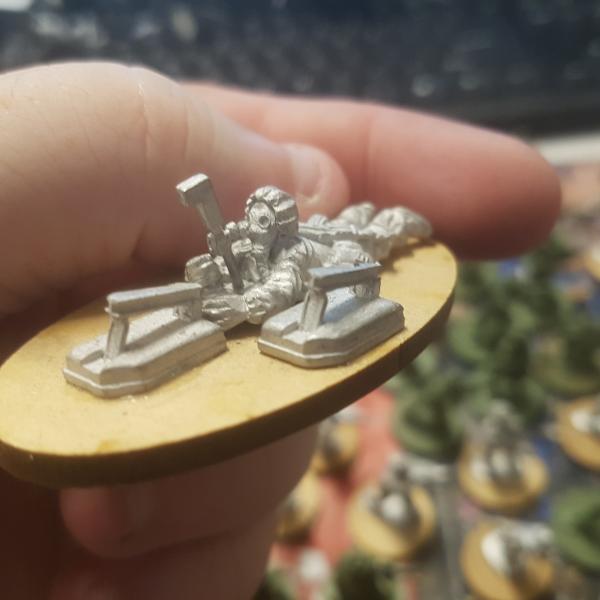
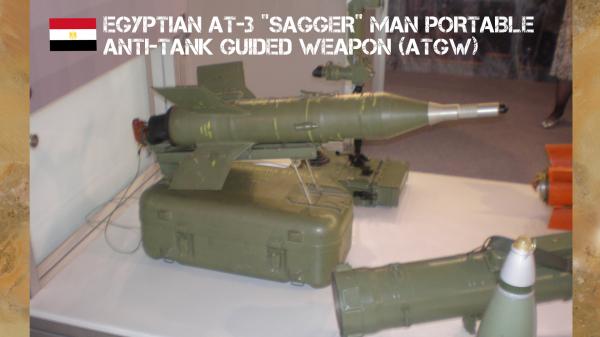
Anyone know what this is?
 April 28, 2019 at 11:30 am #1383446
Looks like a Sagger missile operator, but the missiles are missing from the launchers.
Also the launchers would be spread out away from the operator, otherwise he will get a face full of back blast.
April 28, 2019 at 11:49 am #1383447Thanks @damon there are a few missiles in the spare bits so I’ll put them on.
The back blast is what made me think it couldn’t be some kind of missile system but thanks for confirming.
April 28, 2019 at 6:01 pm #1383576
Good afternoon, OTT! We have a live stream going on the Sitrep Twitch Channel at 9:00 PM UK time, where we’ll see if @elessar2590 can lead his Australians in a successful “seek and destroy” patrol against my National Liberation Front Viet Cong (Phuoc Tuy Province, summer, 1968).
The game system, will be Valor & Victory, adopted and expanded to Vietnam. Vietnam-specific rules will include civilians, POWs, casualty evacuation, booby traps, helicopters, and obscured / hidden movement for the Viet Cong.
Check out the stream and see how we do! Hope to see some of you there!
 April 28, 2019 at 6:13 pm #1383579
Yeah, these are AT-3 ATGWs or some variation there of. They’re set up on these little “suitcase stands” (one IDF officer described a battlefield after Chinese Farm like a bomb had gone off in an airport, there were hundreds of these discarded metal suitcases lying around). But after set up, the operating crew (two man team, usually) tends to step back behind cover some distance away, though. The operator “sees” through the missile’s camera eye and manually wire-guides to target.
From a recent Ops Center:
 May 1, 2019 at 1:03 pm #1385120
Reminder folks new episode of the SITREP will be available later this week. Please note if you have a topic you would like us to discuss please drop them here.
May 3, 2019 at 2:30 pm #1386067New episode of SITREP will be dropping today, enjoy folks
May 3, 2019 at 5:16 pm #1386217
As part of our ongoing weekly web wargames, Sitrep content for modern warfare, and our small way of observing the recent ANZAC Day, @elessar2590 and I streamed another great game of Valor & Victory: Vietnam. The game pitted Elessar’s Australian infantry (“A” Coy, 7th RAR, 1st ATF) against elements of a VC / NLF main force battalion, Phuoc Tuy Province, summer 1968.
The game is available on our Sitrep Twitch Channel in its entirety (about a 3-hour game). In addition to the “modern-era” house rules for helicopters, casualties, POWs, and civilians, I also rolled out new experimental rules for obscured movement for the Viet Cong. Basically, all VC units are “masked” until they are spotted, either by moving adjacent to Australian units, Australian units moving adjacent to them, firing on Australian units, or just being in an open hex in Australian line of sight.
Let’s see how the new rules work out!
As always, consider opening images in a new tab for best viewing
Game recorded in entirety here.
>>>>
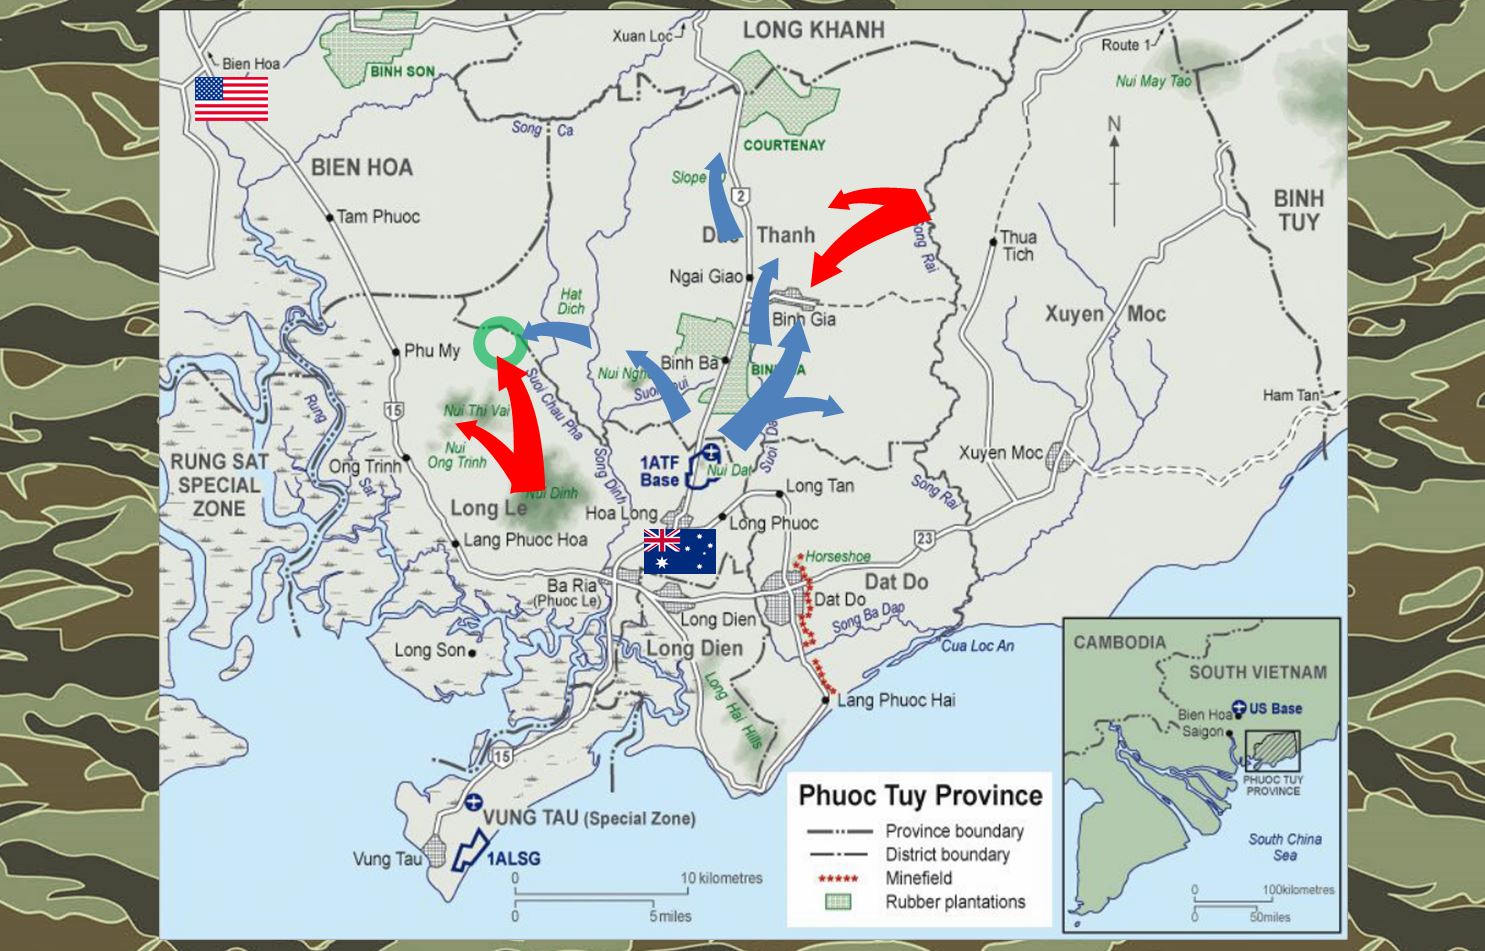
So here’s the general background. The Australian forces in Vietnam were mostly part of the 1st Australian Task Force, or ATF, which operated almost entirely in the Phuoc Tuy prince, southeast of Saigon. What we see here in the summer of 1968 is the aftermath of the Tet Offensive of January-February, where NLF and NVA / PAVN forces hit he Americans at Bien Hoa (upper left) very, very hard. This was a MAJOR battle of the Tet Offensive, as Bien Hoa and Long Binh were the HQ of II Corps. The Americans won that battle, but as Vietnamese forces tried to withdraw from the fighting, they ran across Australian blocking forces that forces some very brutal battles. Imagine a wounded animal trying to fight its way out of a trap or out of a corner. Faced with certain extinction, the NLF VC hit the Australians very, very hard here in desperate efforts to force an escape route. The Australians ensured very few made it. In today’s game we see some of the mopping up of these spring actions, with Australian airmobile companies moving into to former VC base areas to clear last embers of post-Tet resistance.
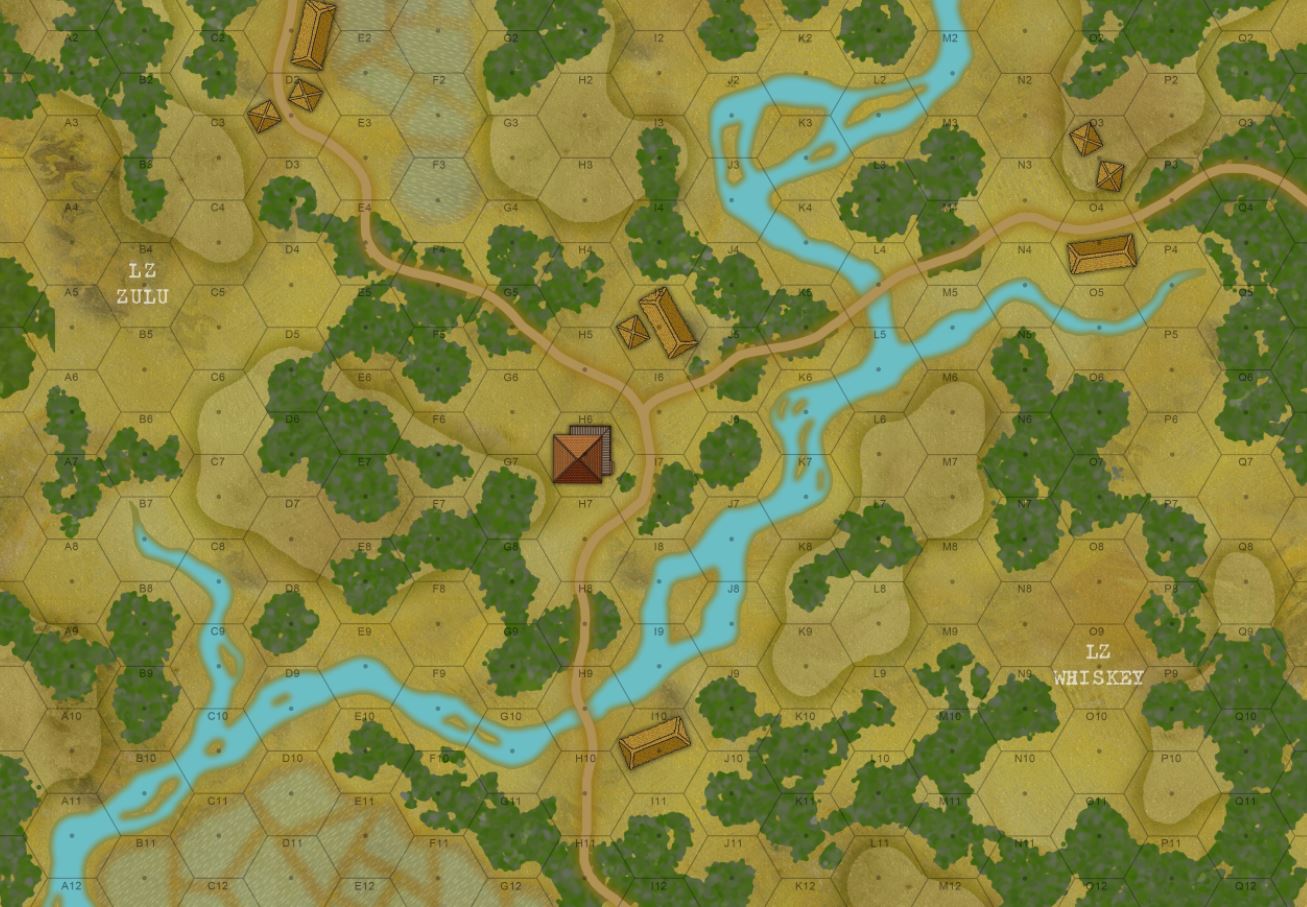
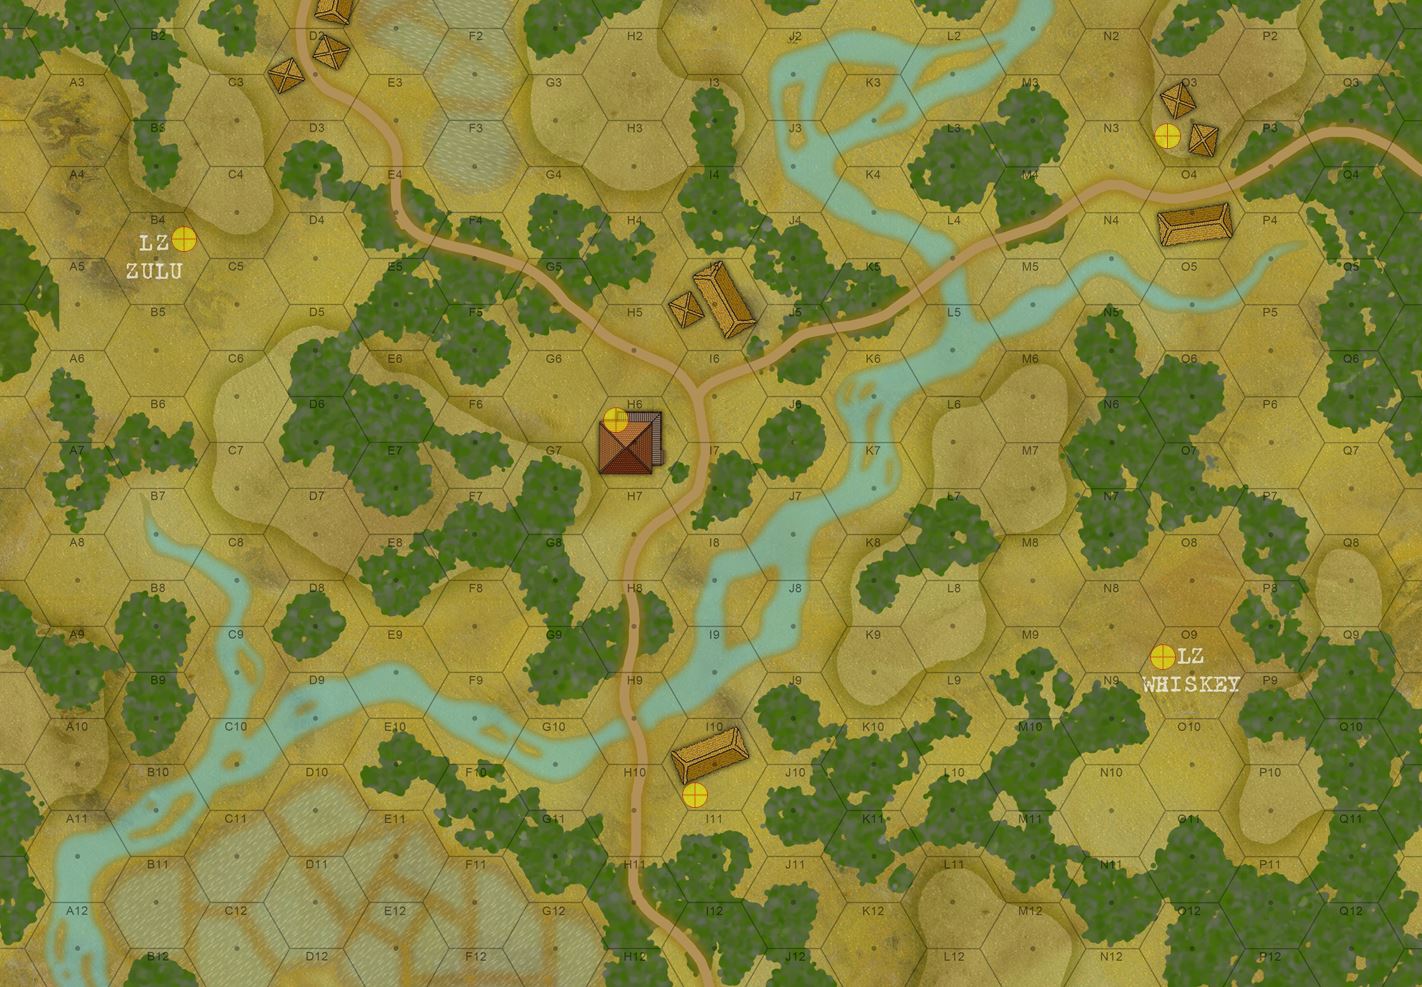
The map for today’s game. Elessar2590 is charged with taking as many of these objective hexes as he can (marked with yellow targeting symbols). Three are the usual crossroads and villages. Two more are designated LZs that battalion has earmarked for the next phase of this sweep and clear, LZ Zulu to the west and LZ Whiskey to the east. My forces set up anywhere they want on the map, ALL MASKED. Commanding a reinforced heliborne platoon, Elessar can enter the map from any side he chooses. He has six turns to get the job done. Now he WILL win the battle, Free World firepower and mobility and off-board assets (battalion 81mm mortars and even helo gunships) just make this a no-brainer. But will he win the GAME? I get a lot more victory points for every Australian casualty. I also have civilians I can hide behind, I start off masked, I get booby traps, and Elessar will never know exactly where I am until he actually hits me (and I have taken the first swing with opportunity fire). He also has to evacuate casualties, if I “capture” any of his casualties that is very, VERY bad news (and many more victory points for the VC). We’re really going for a Vietnam “sweep and clear” vibe here.
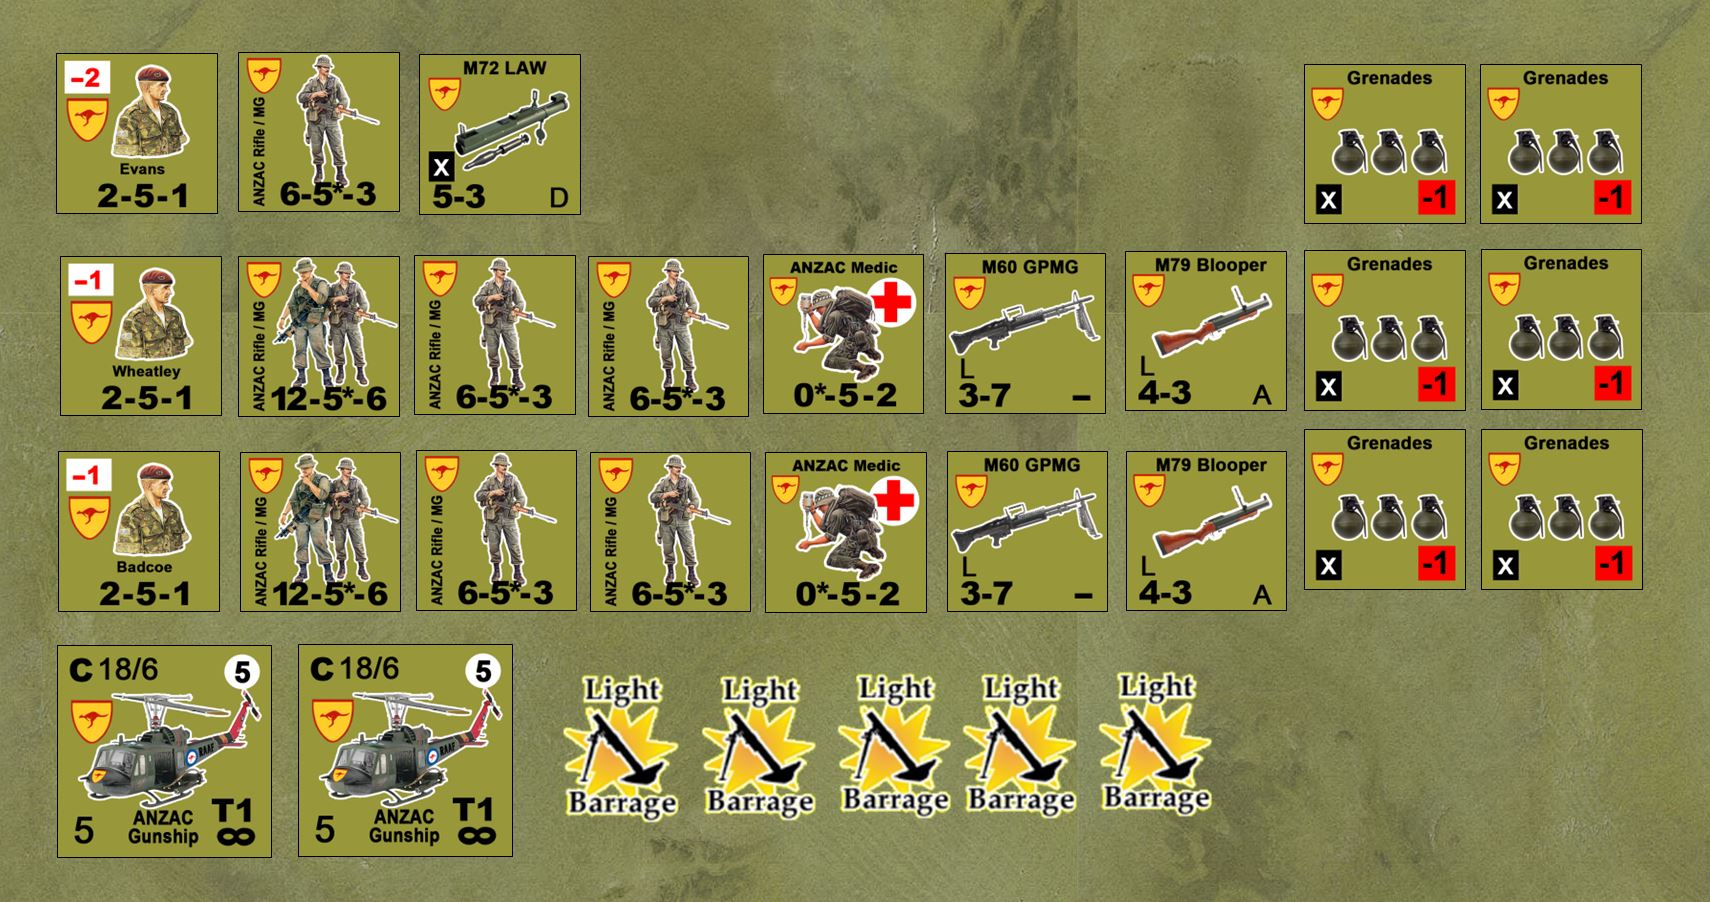
Australian forces. We have Lt. Evans commanding the force (a reinforced platoon), with two senior sergeants (Wheatley and Badcoe) leading the two major sections. 6-5-3 are four-man fireteams. 12-5-6 are full eight-man squads. Two two-man medic teams are ready to evacuate casualties. Support weapons include an M72 LAW, additional M60 GPMGs (in addition to those already “baked” into the fireteams), and M79 Blooper 40mm break-open grenade launchers. Five 81mm mortar fire missions are available from battalion, and two UH-1H gunships are available for fire support, emergency transport, and even spotting missions if required.
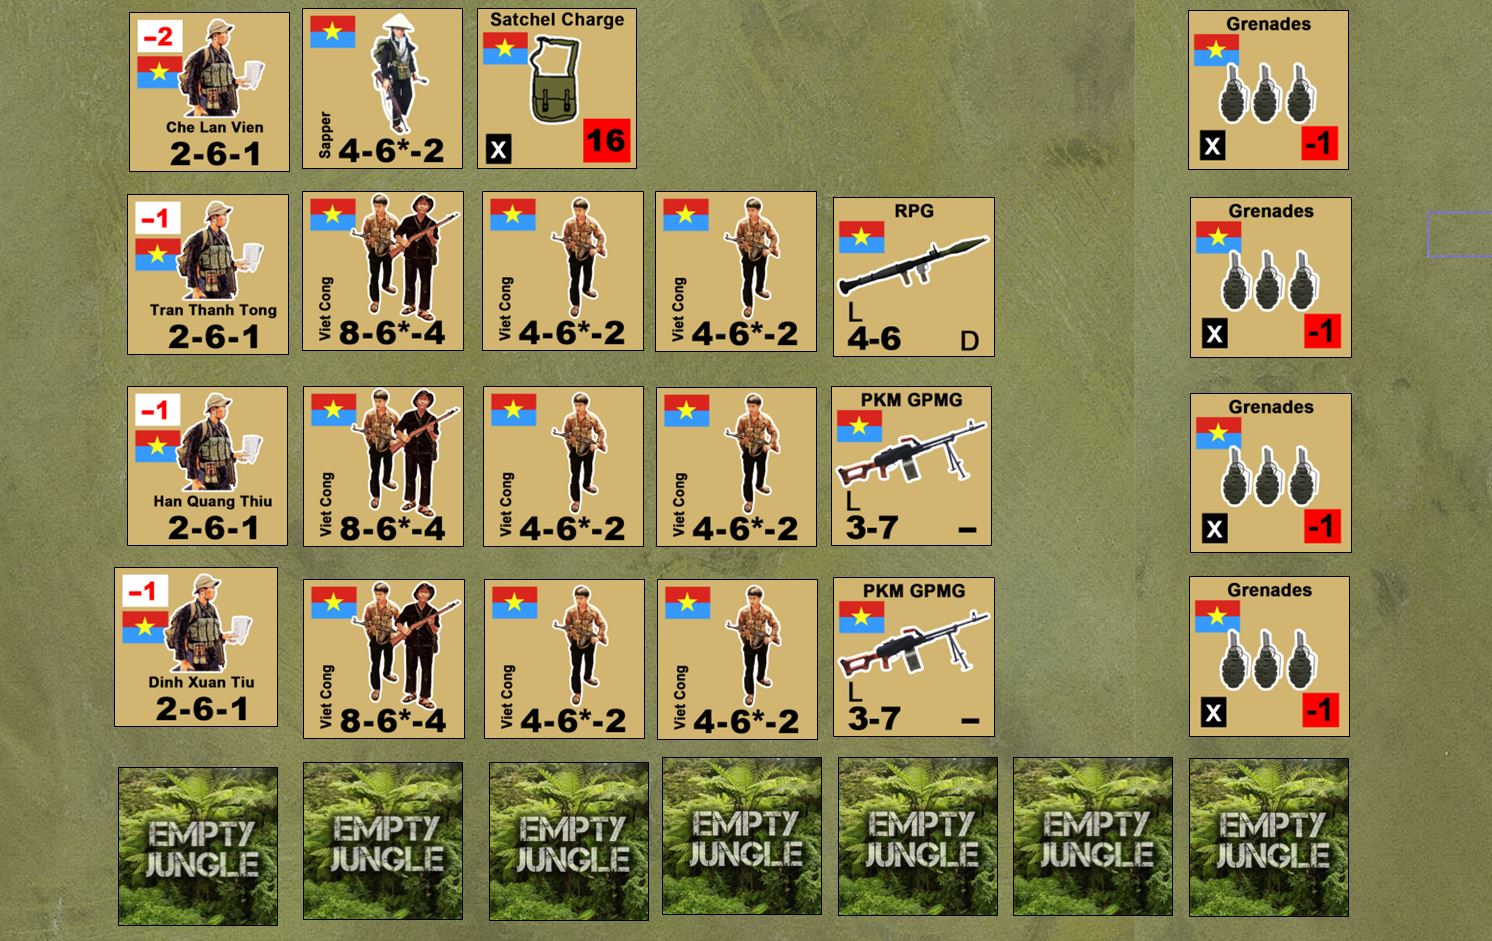
The NLF / Viet Cong force, naturally, is larger but of poorer quality. Note the lower combat values on the counters and far fewer support weapons. Secondly, I have no off-board artillery or (of course) helicopters. Again, however, booby traps are all over this map. Any time Elessar moves an infantry unit, he has to make a roll to avoid hitting one. Also, there are civilians, which will hamper his movement and fire but not mine. Finally, all my units are MASKED, and some of those masked units will be the “Empty Jungle” dummy counters along the bottom. Essentially this adds a fog of war element to the game, at least for the Australians. I always know where his units, he never knows for sure which masked counters are “real” and which are dummies, until I open fire and hopefully knock down that poor bastard on point.
Okay, so here he comes. Sgt Badcoe leads his section on from the south, heading for that first hooch. There are three masked counters in that first hooch hex. Two are dummies. Elessar would love to assault the hex, but he can’t because CIVILIANS have moved in there (neither side really controls the civilians, they move almost like zombies in The Walking Dead). So I take free point-black opp fire on him from my hooch. THEN I get to shoot at him again in my turn. All the while, Badcoe’s section HAS TOHOLD THEIR FIRE because of those civilians. Elessar also sends in Sgt Wheatley’s section to the northeast, assaulting a hooch only to find there are only EMPTY JUNGLE counters in the hex. “I swear, Sarge, I could’ve SWORN I saw something move in there!” A wasted assault, and a sobering reminder that you never really know where the VC is. In the center (from the southeast), we have Evans and his command section, supported by two Huey gunships. I decide to reveal two of my positions here by opening fire on one of the helos, and I come DAMNED CLOSE to knocking one of them down. Literally one more point of damage would have done it. Smoking and shaking, the pilot veers off for now, probably dealing with wounded crew or a fire aboard his bird.
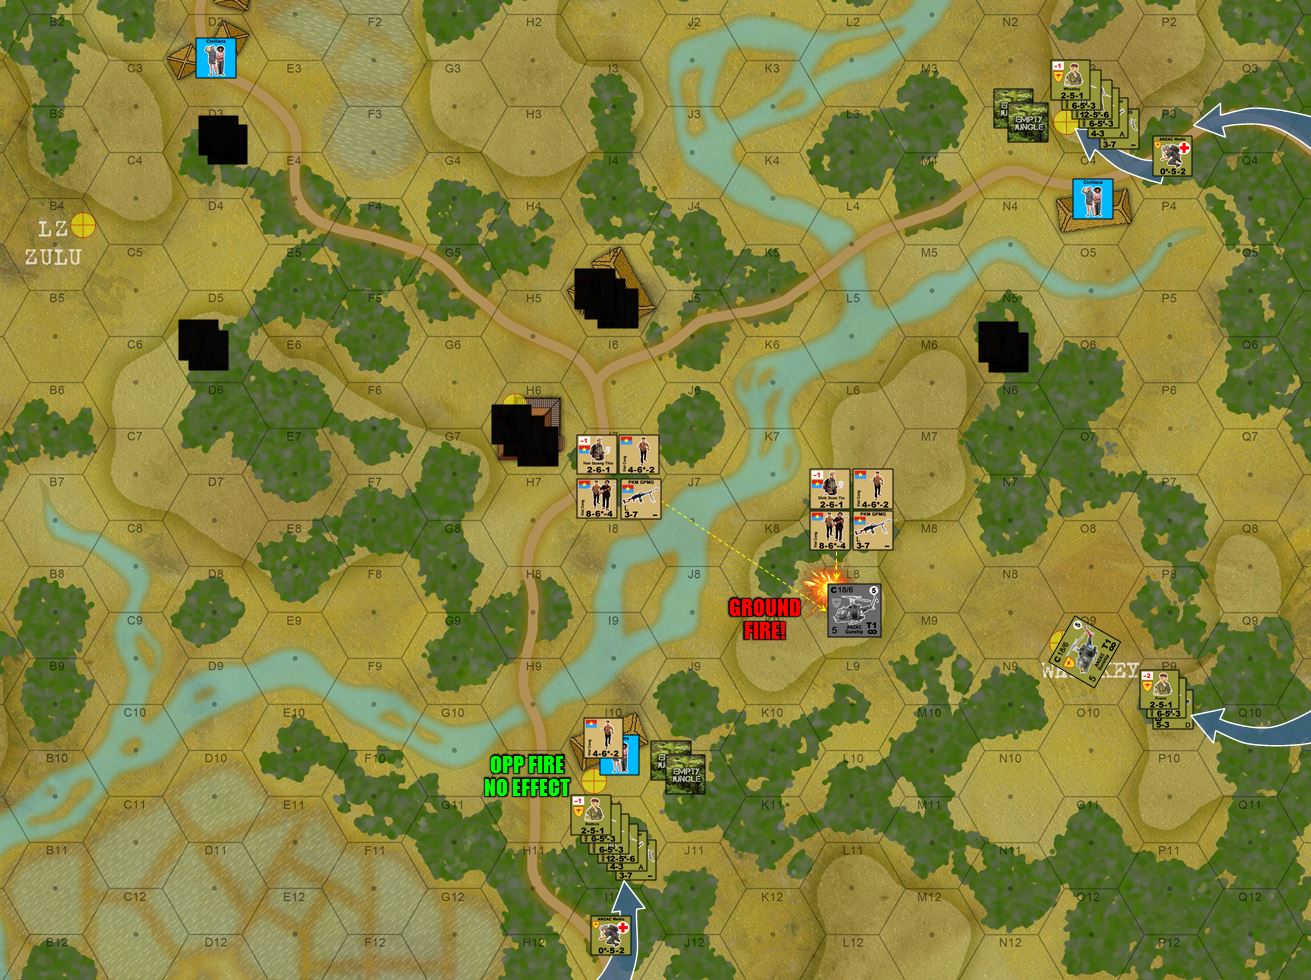
Once the helo recovers, however, it releases its frontal MGs, door MGs, and wing-mounted rocket pods. The other helo, also fires its machine guns, but reserves its rockets for now. Good call, because the firepower of these two birds is enough to all but wipe out Lt. Tiu’s 12-man section (full squad plus PKM machine gun section). But who is that to the north? Are those “real” VC units?

Let’s find out, shall we? Lt. Evans rushes up with his four-man fire team (carrying the LAW). Now if he wants to assault this hex, he has to declare it before I reveal what these counters are. Turns out ONE counter is a dummy, the other is real. The opp fire pins Evans, and the VC and Australian team basically destroy each other in the assault that follows. When Evans rallies, he will move up to the assault hex and evac the casualty.

With more VC positions spotted and fixed (at some aggravation and delay), the Australians call in battalion mortar support. Two of the missions hit on target, the third drifts. Two were enough, though, given Elessar’s dice on this throw. Thiu’s 12-man section is WASTED.

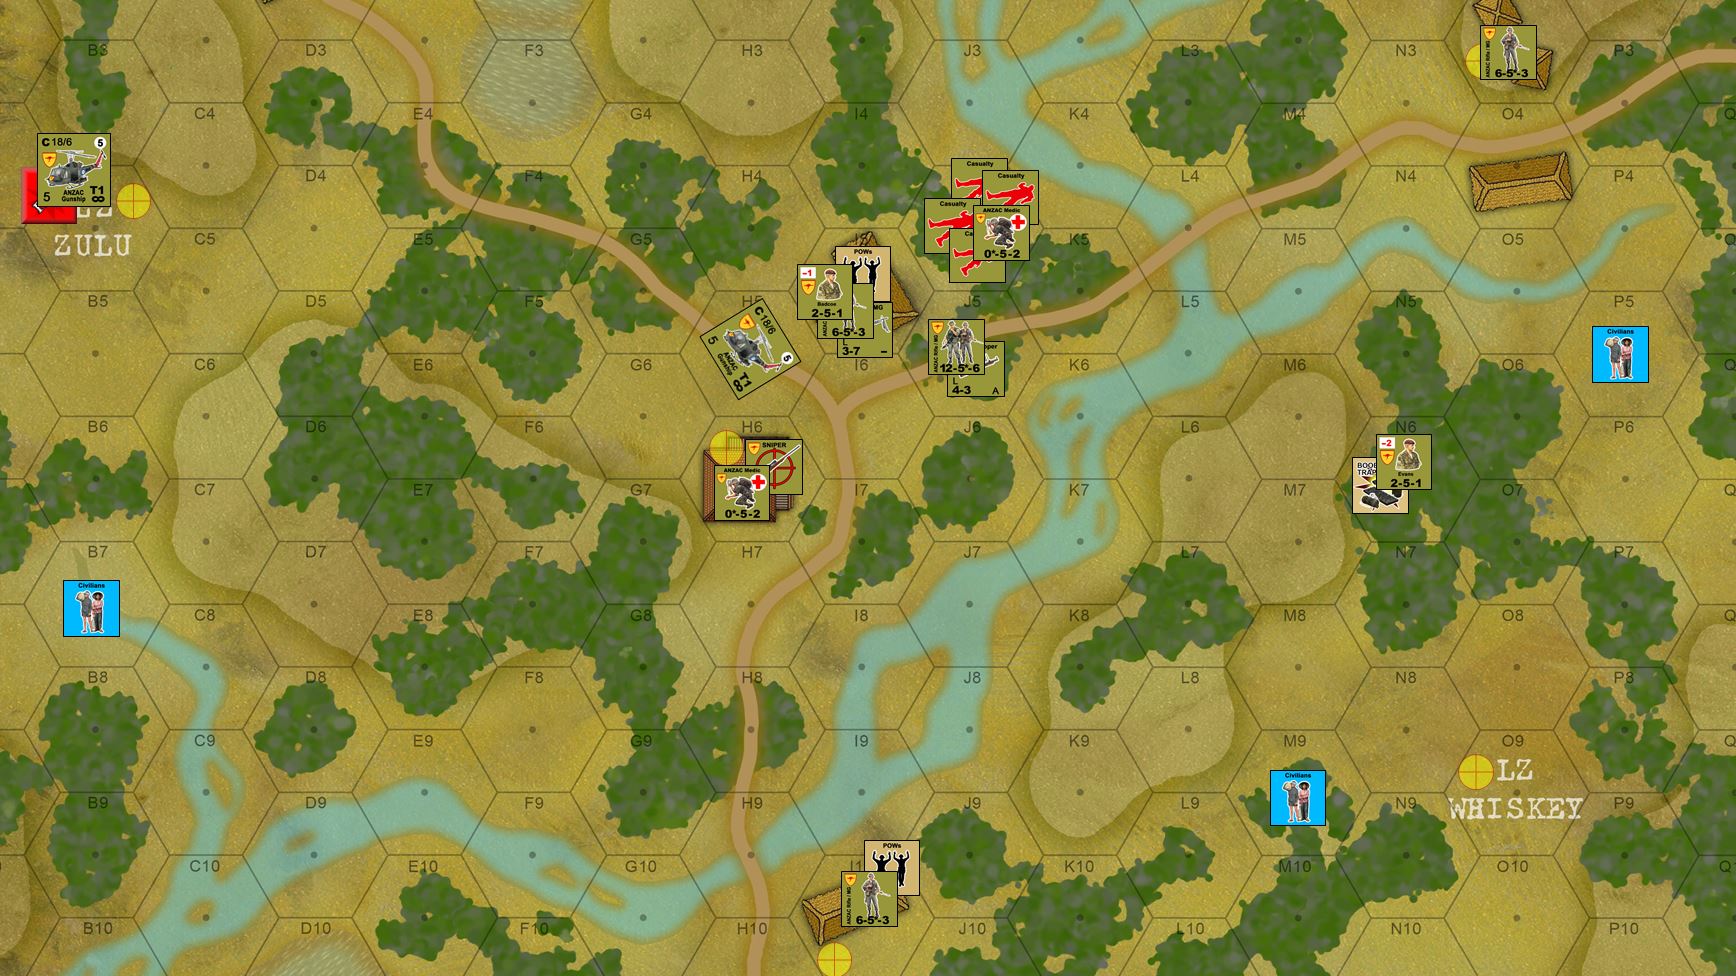
Here’s where it gets serious. So feeling the pressure of time, Elessar2590 hurls Sgt Wheatley’s section in a right hook over that northern stream, down into the hooches with three masked counters. No dummy counters here, that’s Lt. Tong and a full squad, including an RPG. Opportunity fire MAULS Wheatley’s force, putting down a full squad (two casualty markers). The assault is cancelled. On my turn, however, I flank him twice in a double envelopment! As I move up, one of those flanking assaults is revealed to be DUMMY counters (just trying to see if I can make Elessar cry for a moment here … 😀 ) Australian opportunity fire tears up Tong’s platoon. The remnants of Tong’s platoon (including two more fire teams I’m bringing up from the rear) tries to toss in some direct fire before I launch a counter-assault of my own. BUT I ROLL DOUBLE SIXES! Box Cars are the worst roll in this game, not only do I miss but an Australian sniper appears and immediately puts down the rest of Tong’s section! STILL, I have more VC forces, Captian Vien and his female sapper section, who just happens to be carrying a SATCHEL CHARGE! In goes the satchel charge as part of my assault, which yes … WIPES OUT Wheatley’s force, but my own assault is now so weak (only five people, Vien plus four women in the sapper team), is also lost. Long story short, ALMOST everything you see here is destroyed. Last VC survivors are PINNED, which means they can’t move into Wheatley’s former hex. This is big news, as it means that those four Australian casualty markers remain uncaptured. If Elessar can get help to them and evacuate them in time …

The final situation. VC losses re, as expected, total. When those civilians FINALLY moved out that southern hooch hex, Bedcoe quickly pasted the VC team in the hex and moved up to support the overall assault on the crossroads village. They assault the VC survivors (who failed to rally) and remove the threat to Wheatley as his casualties. Wheatley’s medic (not in that earlier bloodbath) moves in and starts evacuating wounded. One of the helos lands at LZ Zulu, securing it (a dangerous move to occupy objective hexes with helos, as helos are terribly vulnerable while landed … but with no VC on the table now, it’s safe enough). Bedcoe’s medic moves into the hooch to where the sniper happened to appear, not only to occupy the objective but also to get his name (you totally saved Wheatley’s section and undoubtedly the game, mate).
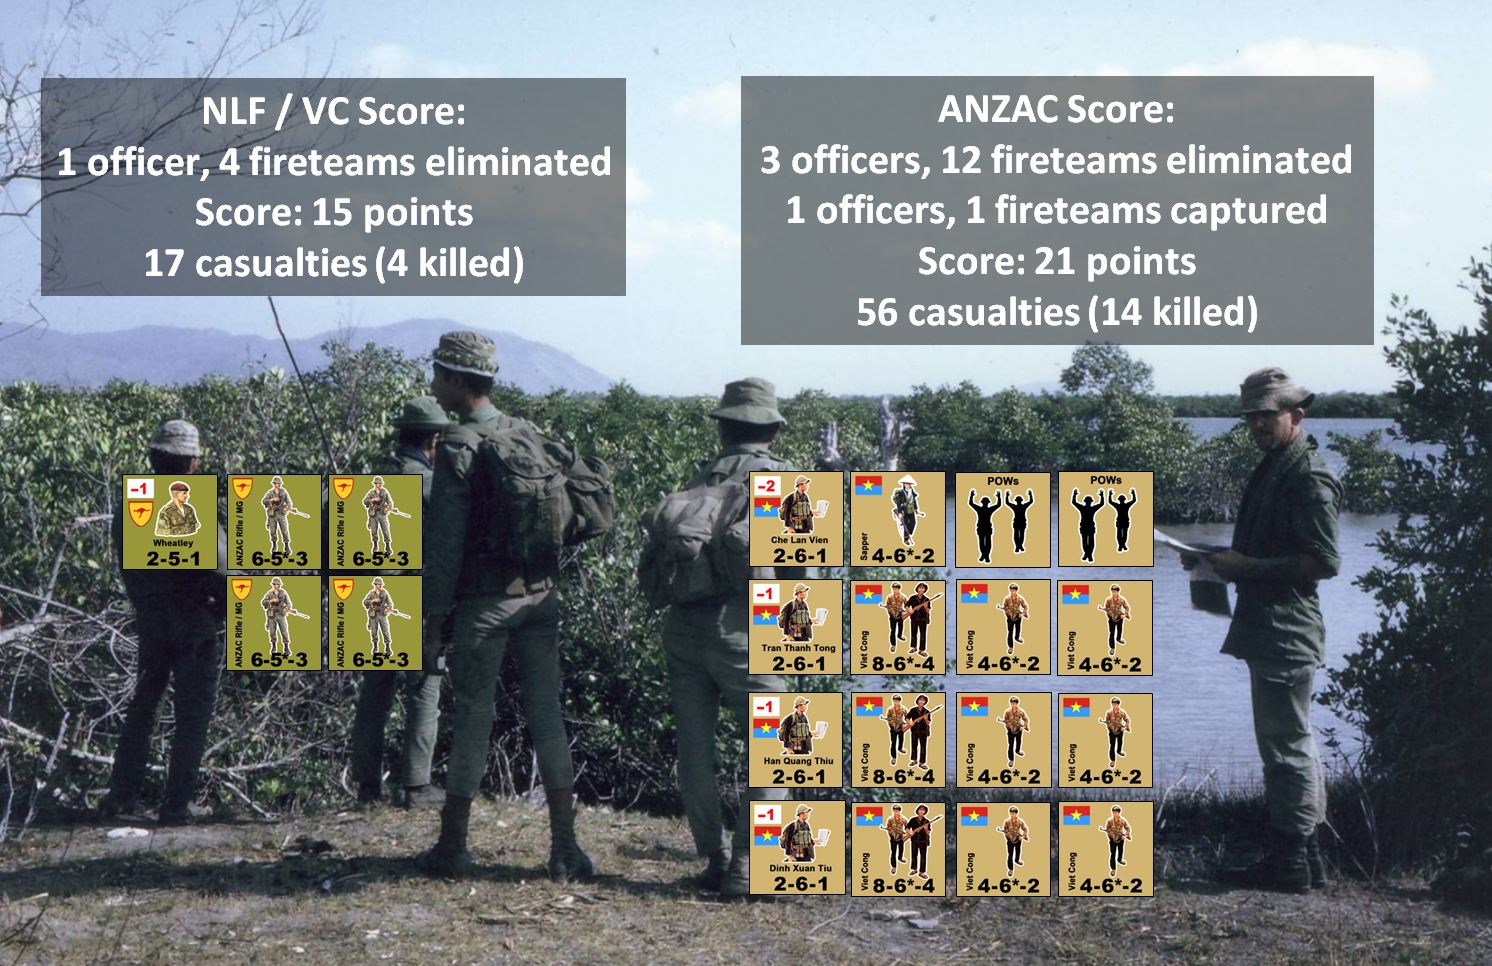
The score sheet for the game. Final score is 15 VC to 21 Australian. I have been thinking VERY hard about bumping the “Free World” casualty cost to 4, I could have sworn I did it for this game, but the victory conditions as written still has the 3 points. Even at four points, Elessar still would’ve won 21-20, but it would have been a much closer call. This is the kind of morbid, borderline excessive caution I’m trying to get into these games from the Free World forces (US, USMC, Australian, Israeli, etc.) in these modern V&V games, a real asymmetrical possibility of “winning the battle but losing the game.” For these regular armies in a counter-insurgency role, every casualty is a defeat, and a propaganda victory for the insurgent enemy. So what did you think of the game? Congrats to Elessar2590 for the win!
 May 9, 2019 at 1:26 pm #1388407
Just a quick note to say that EPISODE 06 of the OPS CENTER drops tomorrow!
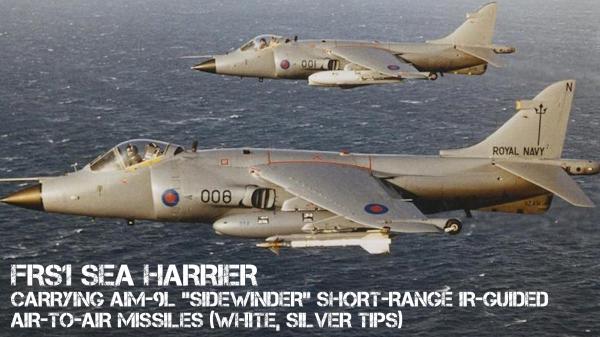
We continue our expanded coverage of the Falklands War (this will now be four parts instead of three).
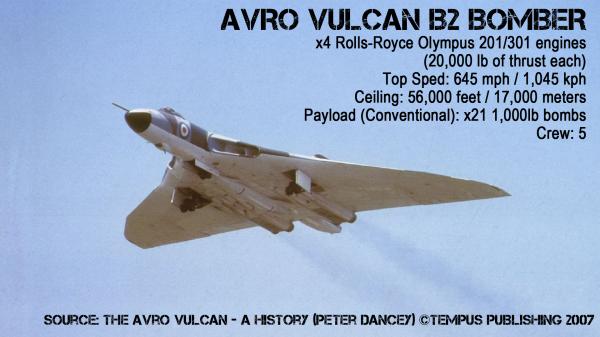
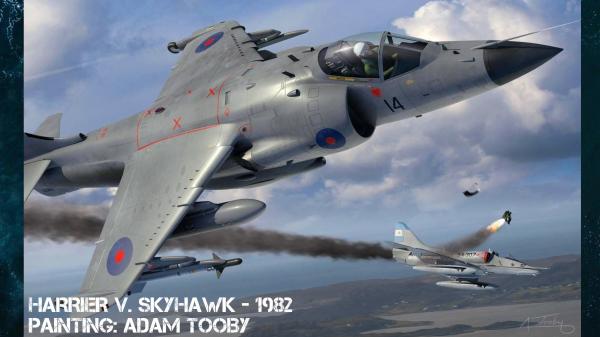
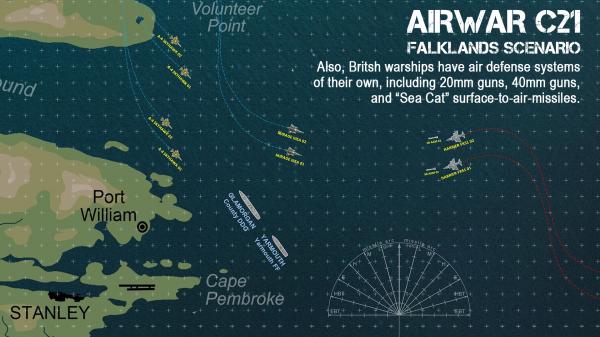
We’ll be focusing on the air operations over the Falklands. The video will be available on OnTableTop, YouTube, and Podbean.
Hope to see some of you there!
-
AuthorPosts
You must be logged in to reply to this topic.


