VLOG: D&D Display Dungeon Part #5 | Experimenting In The Test Dungeon #DungeonBuild
August 14, 2020 by warzan
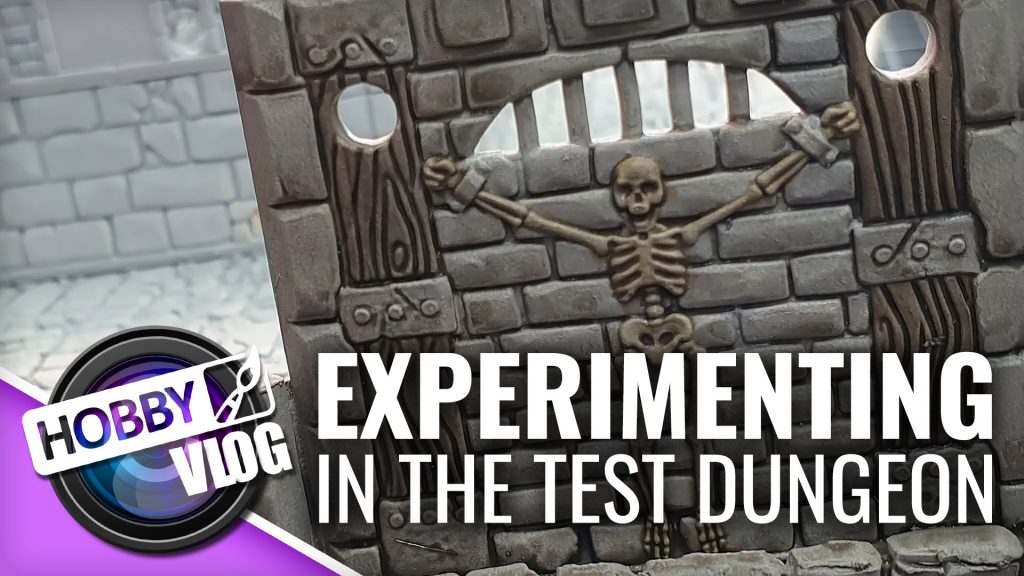
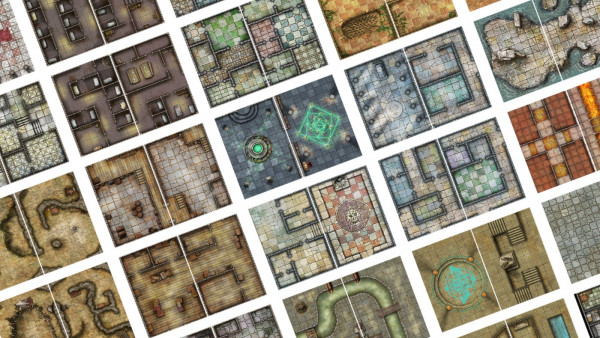
Warren is getting creative with us today and continuing his VLOG series where he tests out paints and conversions in his test dungeon for his epic 28mm D&D (Dungeons & Dragons) Display using the Archon Studio Dungeons & Lasers Dungeon Plastic Set of tabletop scenery terrain for use with your miniatures.
Check Out The Kickstarter Here
Check Out More From Archon Studio - Miniatures & Terrain
Start Your Own Dungeons & Dragons Adventure @ Store.OnTableTop
Watch The Entire Hobby VLOG & More
In this video, we're looking at testing some elements in his faux dungeon. If you were to make a dream set of 28mm tabletop dungeon scenery or a diorama for Dungeons & Dragons; how would you approach it? Would it be with one of these plastic dungeon sets to suit your miniatures?
Tell us your thoughts below...
Supported by (Turn Off)
Supported by (Turn Off)
Supported by (Turn Off)






































Have you considered only gluing the dungeon together in sections so you could one day take it all down and lay it on a table and construct a modular 6×6 (or bigger?) dungeon to game through?
Because this is very likely to have LEDs etc wired into this I’m just going to make it for the single purpose of being a display 🙂
I think focusing in on making it do that one thing really well is probably the safest option lol
Ah yes. I forgot about the wiring. That reminds me. The forges chimney. Have you thought about having that exit through the roots of one of those trees you dont like and adding a small smpoke machine so fog creepps out from in the roots? No idea how expensive or manageable that is, or if it’ll build up a smell in your living room over time. Or possibly stain minis?
A model railroad engine smoker could probably work for this idea. they aren’t too expensive. They’re pretty safe as well considering they’re put in plastic engines. Something to think about.
https://www.youtube.com/watch?v=Y-VtQquEiIA
I don’t know how high you can get away with for the chimney, but from memory, I think I got it twice this height using my home-made vaping-coil system without any problems.
If you’re having a forge, you’ve got to have light-up flames (even if not the whole bellows thing – though I’d be happy to share!)
I’ve been using snakebite leather contrast paint for wooden floors and doors in various GW terrain and that works quite well.
I get warm fuzzy feelings as well when I think of dungeons, but suspect they are for different reasons…
Hey, me too! lol
The test piece is great. I love the sand you’ve put down. If I ever spruce up my 4Ground ruins any further, I’ll give that a go.
Ok, a couple thoughts for you. On your corners where your seems are showing you could take a hot knife on a medium setting and smooth them together, a light sanding afterwards and they should look fine. Barring not having a hot knife you could use some airdry clay or Miliput and blend out the joints followed by a light sanding. For something this large I’d usually mix up my own wash. I use basic craft paint, the cheap stuff from Walmart… lol, and depending on how large the project is I’ll either use a 59ml bottle or the larger… Read more »
Warren, If I recall you have a temple, smithy, and all kinds of various rooms. I would look at make the dungeon overall one color but pick a few rooms where the base color of the stones in different. Nothing says the Temple isn’t made of onyx, or the smithy from granite, or the treasury made from marble. It would be more work but would look fantastic if some of the rooms have various colors. For the corners you could theme them as well. The Armory and areas around it have suits of armor. The library has book cases. The… Read more »
I would recommend testing the lighting on the dungeon before fully painting it if possible, you don’t want to go through the process of painting everything only to learn because of the lighting placement that some areas can’t be seen well or even at all. Some spots you may be better off with a higher dry brush just to pick up shapes where other spots may need the full treatment or even a less brighter dry brush because light is shinning directly on it. Think like a movie or photo set dressing, you want the light and shade to show… Read more »
Brilliant link! Thanks for that – I’ll get the old grey matter working on it
This is what I was thinking too.
The lights will change how it looks, especially once it is part of the assembly and you don’t get any light from the top.
I wouldn’t be surprised if you needed to paint the interior white/light grey, considering the depth of the dungeon.
Going for ‘extreme’ contrast may be a solution as well.
This is looking really great Warren – an I’m loving the options you’re exploring for getting quality results but in an achievable way.
I don’t know if it helps – but like you – I’ve been learning to quickly paint warm wood, stone etc as part of my project and have just done a how-to on Contrast only wood https://www.beastsofwar.com/project-entry/1558850/
I can’t wait to see what you do next – and am definitely picking up tips to improve my own terrain project!
That is a wonderful tutorial mate I will try to give that a go!
I am thinking that the dungeon rooms may be too deep to be useful.
The kids might be able to place miniatures at the back of a room once it is assembled, but I kind of doubt you could reach that far …
What about creating the illusion of depth ?
You can paint the sand as moss or something then it doesn’t matter if it’s raised up?
Hi Warren! For the quick & easy stone effect that I went for my Warcry ruins I used mechanicus grey primer followed by P3 Troolblood Highlight heavy drybrush (its a kind of warm light stone color), finished by light white drybrush. It creates quite decent contrasts on the stone, quite warm blue greyish effect and – as it is mostly drybrush – is pretty fast. Using shades surely gives more stark effect but I find it more time consuming with larger terrain. Also try to mix contrast medium with GW shades. This will effectively make very light contrast type paints… Read more »
The Gray base coat then a small range of washes to vary the stone’s should be quick an look great.
@warzan have you thought about using polyfiller on some of the joins and gaps, then give a quick over with sand paper once it’s dry. Once painted it should give the appearance of mortar.
This just keeps getting better and better. I agree with folks that point out the lighter shades may read better once assembled in place and the painted minis will stand out nicely. The sand o the ground really builds up the narrative that this is a functional place, where creatures move about and inhabit. Don’t worry about consistency of color in the walls and floor as stone is almost always variegated and in a dungeon there will be any number of colorful organisms inhabiting all the surfaces living off of the moisture. Also keep in mind as cool as these… Read more »
Plastic display board = foamex? I love that stuff!
What size are the holes in your walls? I think a WS2812b (RGB LED) is 5mm across.
If those holes are bigger than 5mm, I could pre-wire a load of LEDs for you and you can insert them in from the back.
(if 5mm diameter or smaller, it wouldn’t be that easy to provide a plug-n-go lighting solution, but I’ll see what connectors I’ve got in my shed)
I will run the calipers over them tomorrow matey and send you some pics 🙂
Inspiration from Reddit
https://www.reddit.com/r/TerrainBuilding/comments/icfqs7/the_dungeon_diorama_this_is_the_4th_level_i_had/
Not mine!
Thanks for the vid!
Can’t wait to see what’s next