Parts To Painted: A Mighty Woldwrath For Hordes!
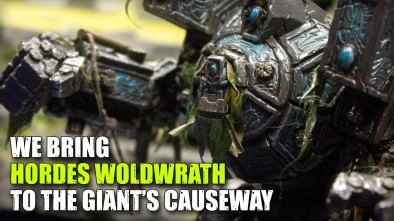
In this massive Parts To Painted, John tackles the Woldwrath from Circle of Oboros for Hordes by Privateer Press.
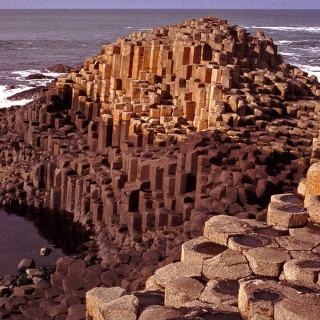
We've gone for something a little different with this miniature and put a bit of Northern Ireland and the local area into it too.
See what you think of the techniques present in this big tutorial and let us know how you've been painting your own Woldwrath!
Enjoy folks!
Blogging At This Event:
Introduction - Time To Create A Woldwrath!
John takes a look at the box and discusses his initial thoughts on this project which is going to be quite the mammoth effort.
What can we do differently?
Time To Build The Woldwrath
John gets stuck into building this monster of a kit and what you need to do in order to get this beast together for painting.
We Talk Ideas & Plans
John and Justin discuss the lore behind the Woldwrath, and how they think this one could be painted.
As always we're open to trying something different with this one!
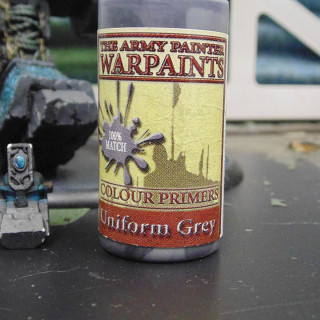
Pre-Shading The Beast
John takes the first steps after priming the model to bring out some of the higher lighting details.
Pre-Shading is a helpful step which will guide you as you push forward with the painting.
Adding The Basalt Rock Colour
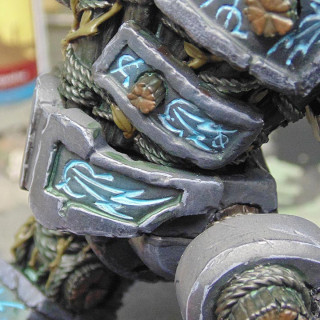
John moves in to colour the rocky panels to make them look more like volcanic Basalt.
How do you think it's looking so far after these initial steps?
Drybrushing The Rock
The next step along is to add some texture to the rocky panels with some drybrushing.
Drybrushing can sometimes be overlooked as a technique when painting but when you get stuck into it it can produce great results.
Making An Ambient Glow Effect
John now looks towards the first stage of adding a blue glow to the miniature.
These beasts is brimming with arcane power so it makes sense that it's radiating from the model.
Green Shading
To drop the intensity of the ambient glow and help further shade the rock panels, John adds a green tone wash.
Washes are useful for helping to bring out definition and blend different painting techniques.
Time To Glow!
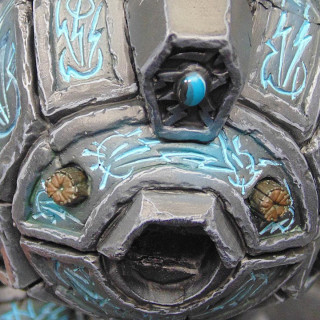
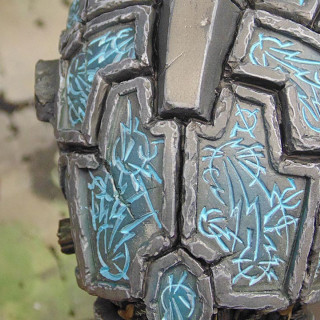
John moves onto the brighter glow within the runic patterns over the model.
Runes are always fun to paint and speak to the miniatures power!
Another Rocky Highlight
John adds another layer of highlighting to the edges of the rocky panels.
Bringing this to life means that you'll see more definition in the finished miniature and it really pays to do this step.
Wood Working!
John moves his attention to the wooden supports and structure visible under all that rock.
When do you start to pick out these kinds of details?
Shading The Woodwork
John now adds some shading to darken and blend the wood.
Wood is always quite fun for you to work with and it always has nice details worth bringing out.
Painting Some Greenery
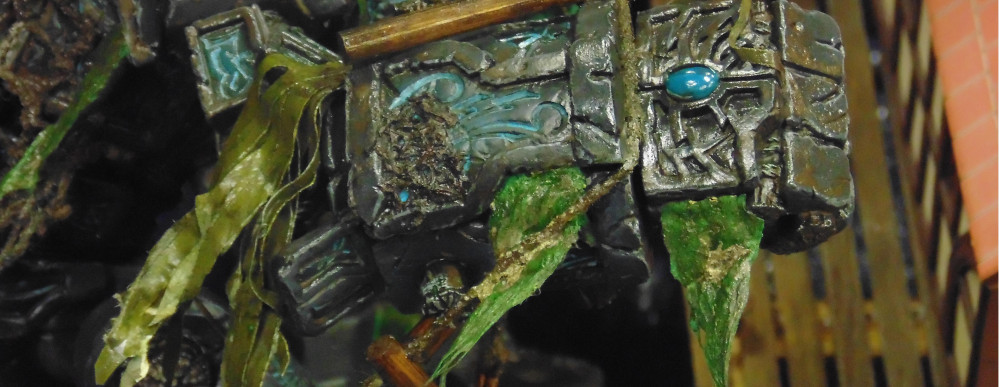
John looks at the vines that cover the wooden parts and discusses how to make them look more like seaweed.
We really want to push this sea-based theme and we think it's working!
Adding Colour To The Gems
John talks us through painting the gems on the Woldwrath.
Gems can be painted in very different styles so let's see what he's doing.
Dark Lining The Panels
John talks about adding extra shading to bring more contrast back into the miniature.
Have you heard about Dark Lining before?
More Highlighting!
Following on with a further level of shading, John looks at further increasing the level of contrast with another layer of highlighting.
John Talks About His Progress
In this progress update we get to see how things are coming along and what is coming next.
Where would you go next with this project?
Let's Talk Basing
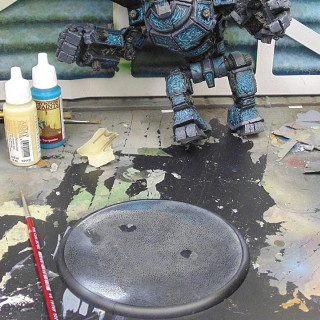
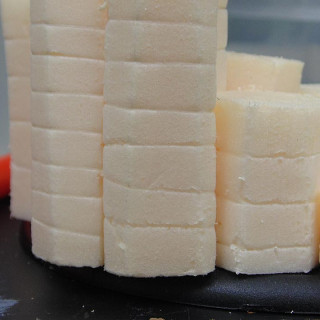
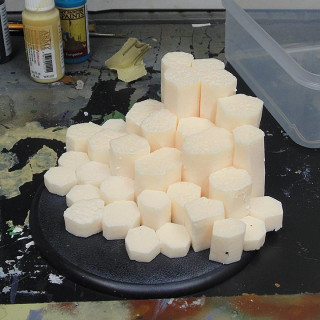
John discusses his ideas for the base of the Woldwrath and some of the methods he will use to build it.
We're going for something very different here!
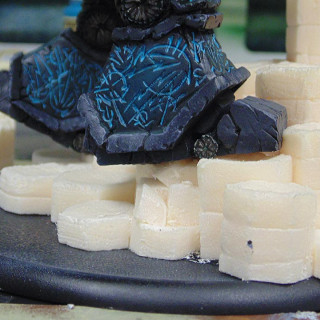
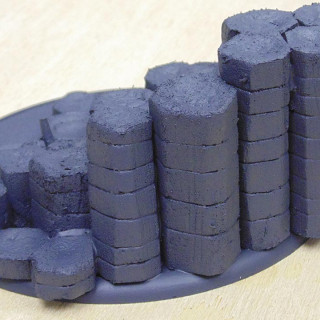
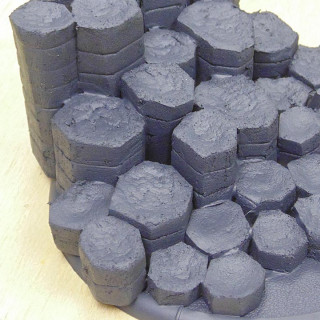
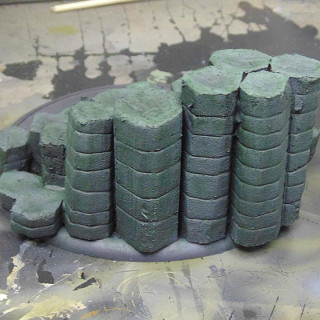
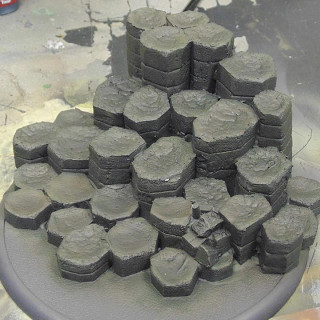
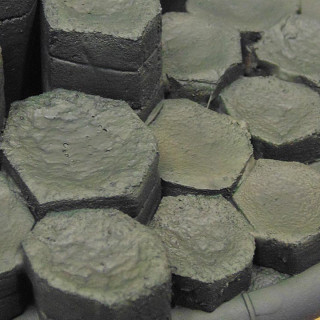
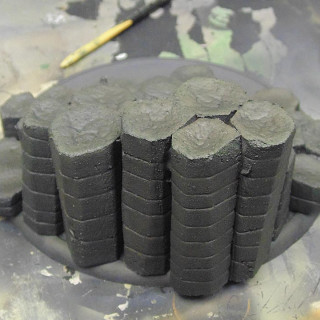
Detailing The Rock Formations
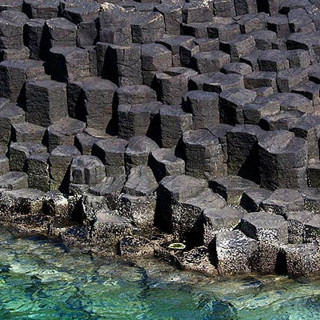
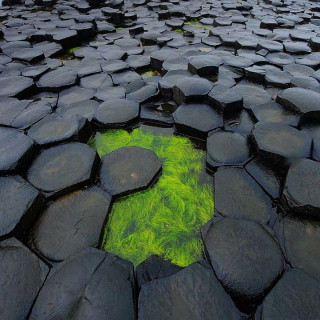
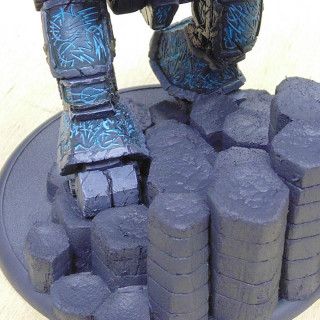
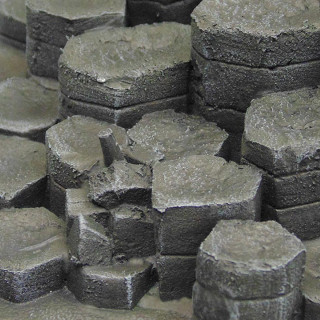
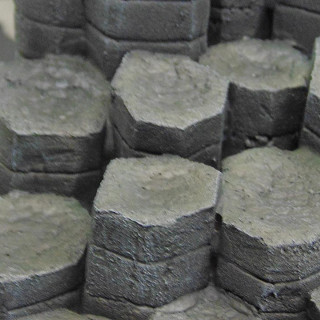
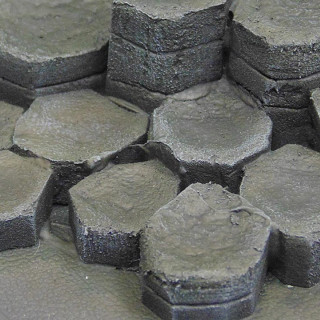
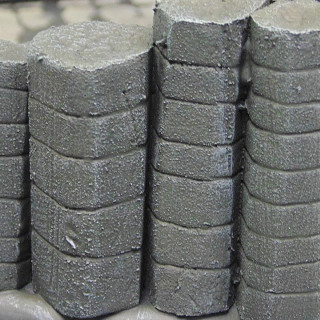
Let's look at how to detail our foam rock formations to more closely resemble the Giants Causeway.
We had to go with our home turf for this one!
Update Before Painting The Base
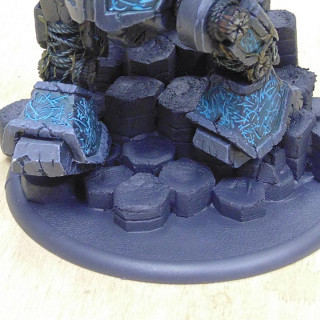
John discusses the steps he has taken so far on getting the base for the Woldwrath ready for painting.
Bases have always been a key part of making a miniature pop. They add to the overall look of the piece and step things up from awesome to amazing.
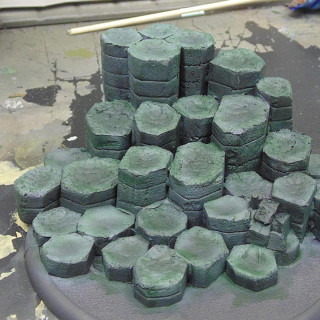
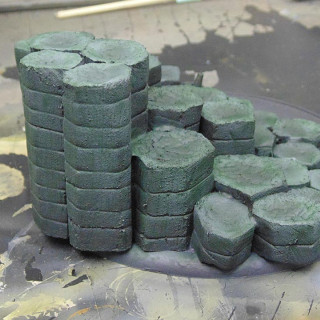
Beginning To Paint The Base
John now applies the first layer of paint to the base for the miniature.
It's always tricky know where to start so what would you do first?
Adding A Highlight
John moves on to adding a highlight colour to the rock formation on the base.
How do you think it's looking so far?
Shading The Base
John gets out the green wash again to shade the rocks on the base.
Do you think that the green wash has added to the overall effect?
Time To Shine The Base
John now fixes the paint down with a Gloss Varnish.
Gloss Varnish is very helpful indeed and also adds something to the wet effect of the base.
Shading The Rock Formations
John now seeks to add further definition the the base with some shading.
How do you approach your shading of large terrain pieces like this?
Warming The Tones On The Base
John uses a softer wash now to tie the other shading together and to make the rock formations look more realistic.
What do you do to make the bases look more like their realistic counterpart?
Drybrushing The Base
John move in again to add more definition by using a drybrush to bring out the smaller details on the base.
Is drybrushing the way forward or would you go in with a fine detail brush?
Experimenting With Wet Blending
John takes a few moments to try out some wet blending to make seawater along the bottom of the base.
Warren Throws Some Ideas & Thoughts In
In this progress update, Warren and john discuss the current progress of the base and what can be done next.
Where do you think we should be going with this project?
Doing The Water, Again!
Since the previous attempt failed, John has another go at painting the seawater effect along the bottom of the base.
What is your approach for working on water?
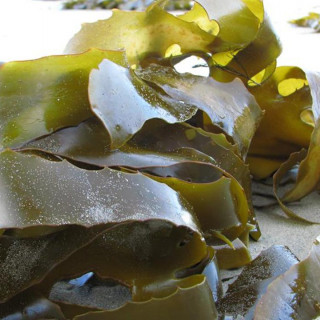
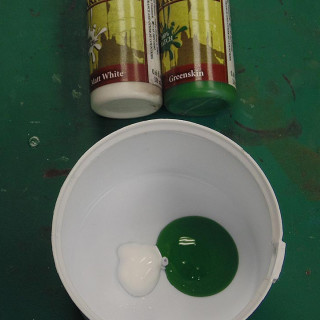
Making Seaweed!
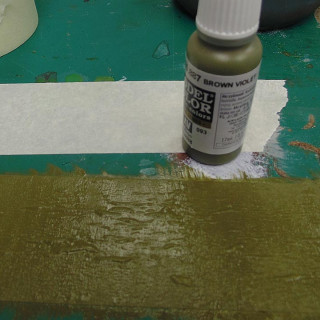
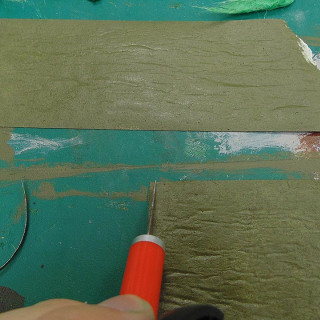
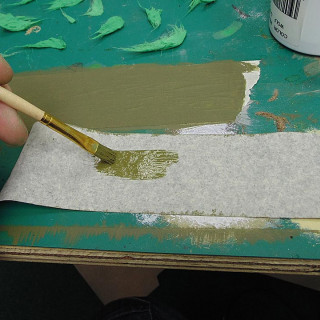
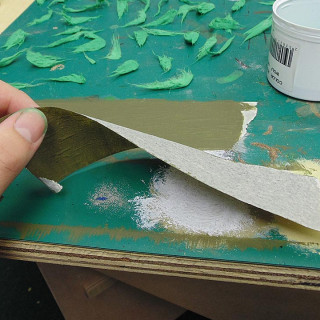
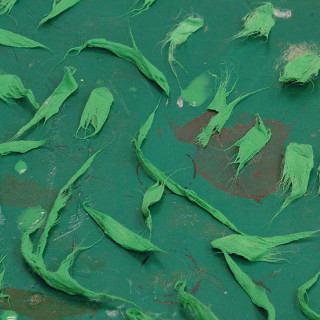
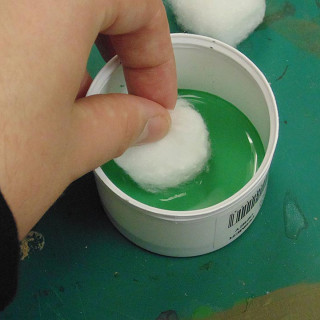
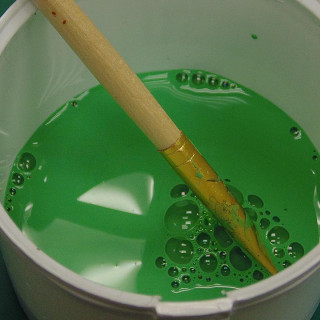
John talks through how to make the seaweed that will cover both the base and the miniature.
Have you ever attempted this for your miniature wargaming?
Applying The Seaweed To The Base
Now with the seaweed is made, John applies it to the base.
What do you think of it now that it's finished?
PVA Water Effect
John discusses the use of PVA Glue as a clear water effect on the base.
This is a sure fire way to create some awesome water effects.
Shading The Seaweed
John now takes a wash to the seaweed to add some shading and colouration.
Do you reckon it has added to the overall effect?
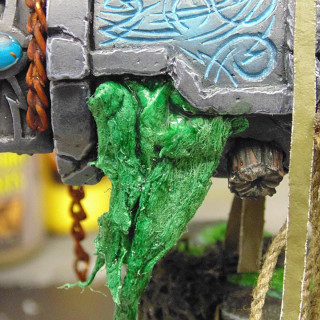
Shading The Kelp
Adding a wash to the Kelp weed on the base means that we're starting to give it a more watery look.
What other sea-based adorning would you add to the base?
Making Extra Seaweed
John uses Lichen to add a third type of seaweed to the base of the Woldwrath.
It's always good to get plenty of variety into your base work.
Time For Another Progress Update
John has a chat on how the project is going and what's coming next.
We've gone through some interesting techniques in this Parts to Painted Series; which of them has been your favourite?
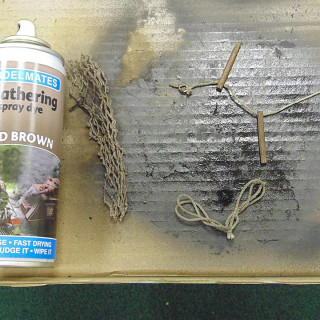
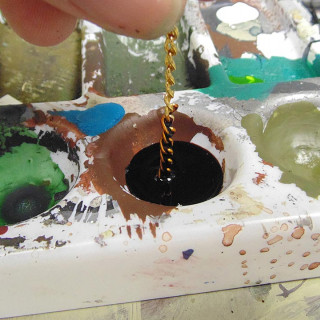
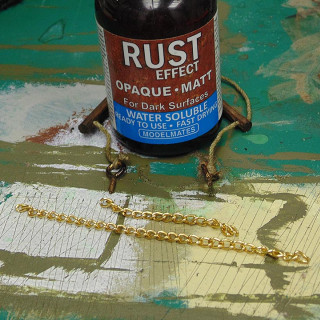
Additional Parts Weathered & Added, Ready for Seaweed!
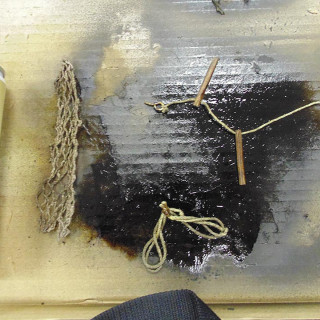
John discusses the addition of the extra detail parts such as the rope, chain and netting. Now the model is ready for seaweed.
Do you think this looks like a creature of the sea?
Warren & John Have Another Chinwag...
Warren discusses with John what is lacking at this stage and what could be done next to make this Woldwrath really stand out.
What are your thoughts?
Correctional Step For The Kelp
John works on changing the look of the Kelp on the miniature.
Do you think it looks better after this?
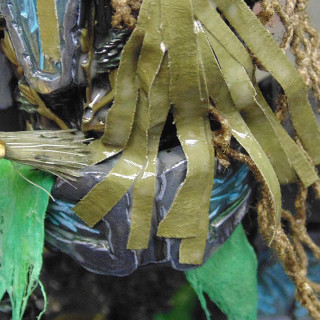
Adding "Motion" & Beginning To Weather The Woldwrath.
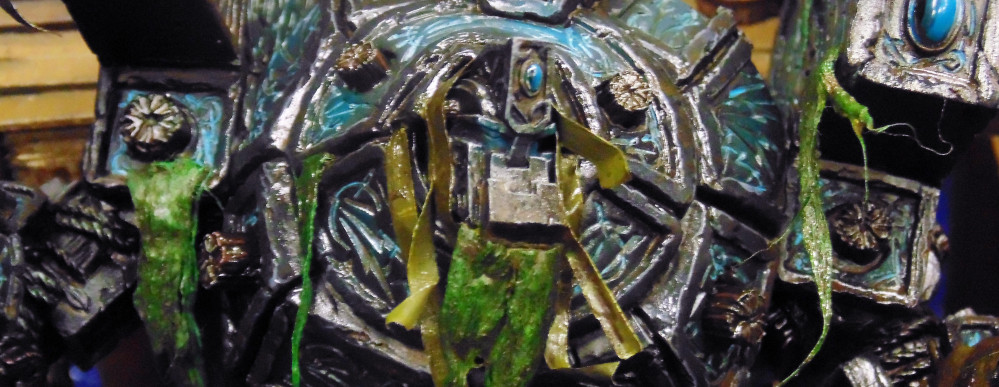
John cracks the lack of energy on the models pose with some creative changing of seaweed and ropes before applying the first layer of weathering.
How do you inject a bit of motion and a cinematic edge to your miniatures?
Tidying Up The Weathering
John now looks at recovering some details covered by the previous application of pigment powders.
It always pays to go back over your work and tinker with it to make it look perfect.
Turning The Pigment Brush On The Seaweed
John now looks at applying pigments and washes to the seaweed to further add realism to the Woldwrath.
Have you used pigment powder before?
Adding Further Rust To Metal Parts
John adds more little details to the metals parts with another layer of rust effects.
We think this really adds to the deep sea look of the model.
The Final Gloss!
John finally adds the last gloss varnish to the Woldwrath.
What do you think of the miniature as we're closing in on the final steps?
Final Thoughts
John has a brief chat on his final thoughts on the painting of the Woldwrath.
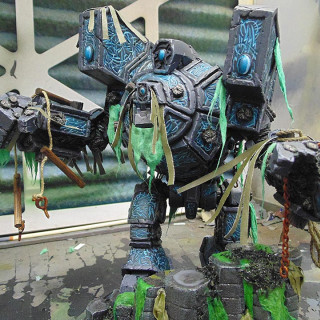
After a lot of work and effort we think we've created a fantastic miniature worthy of the tabletop and the display shelf.
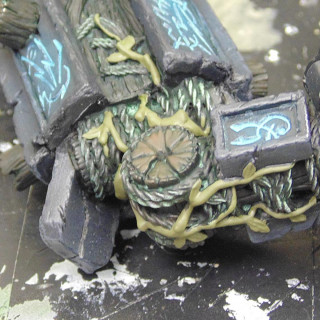
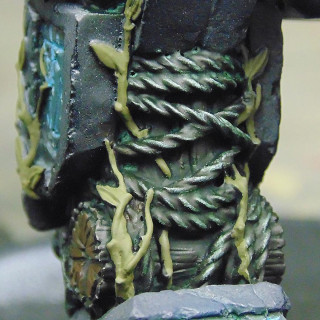
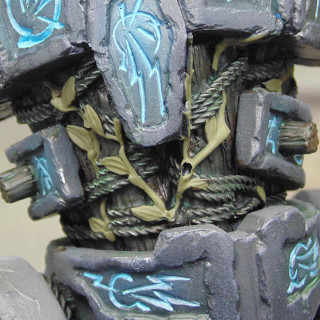
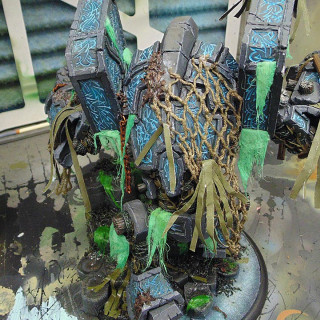
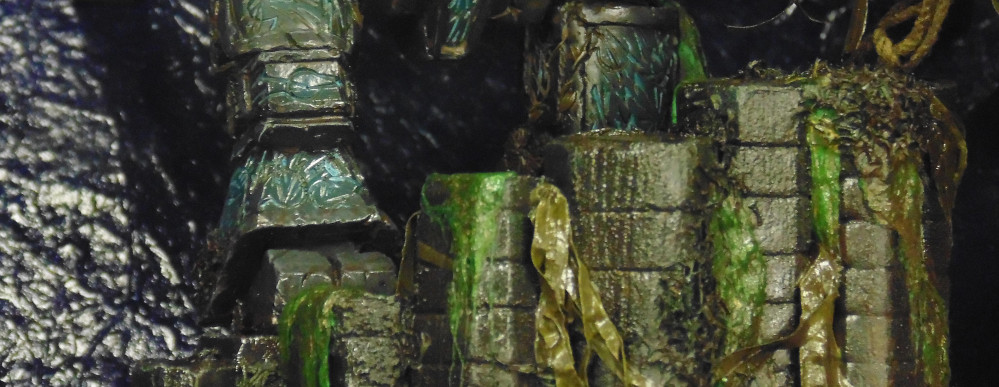
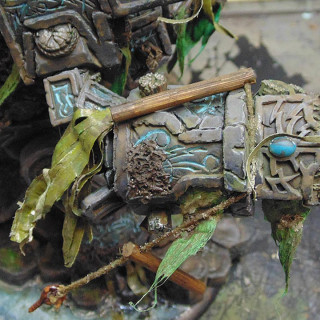
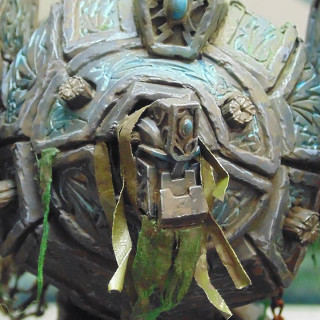
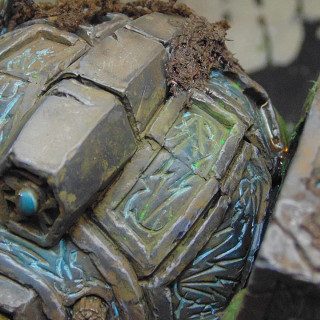
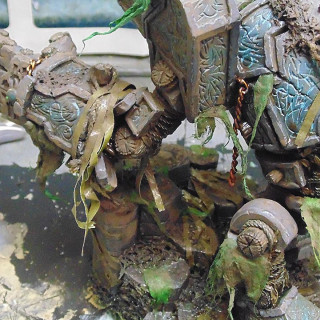
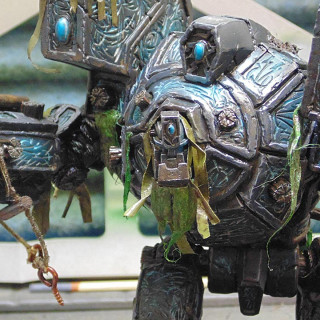
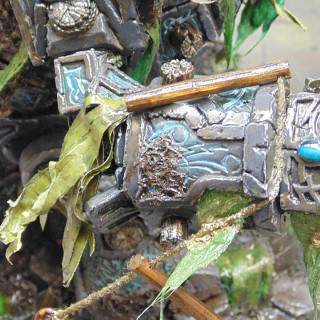
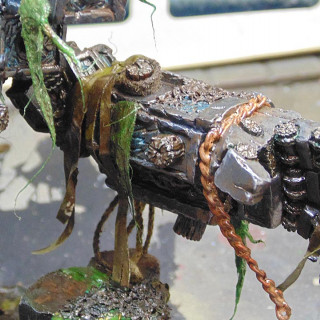
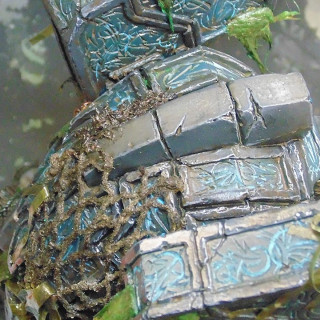
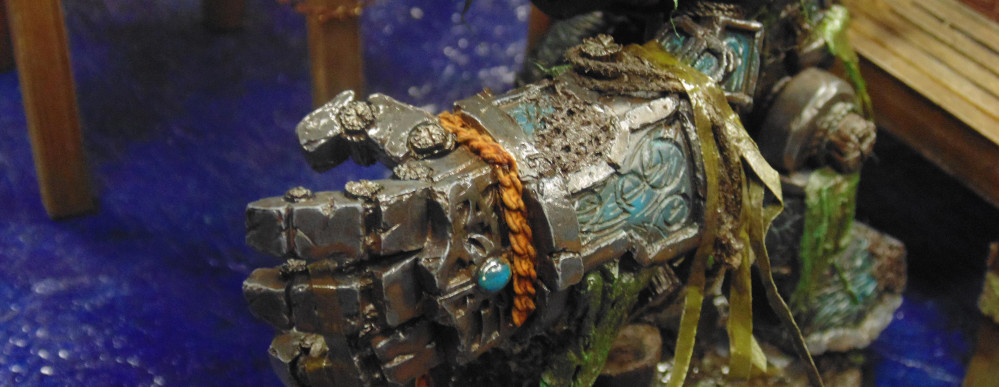
The Woldwrath In All It's Glory!
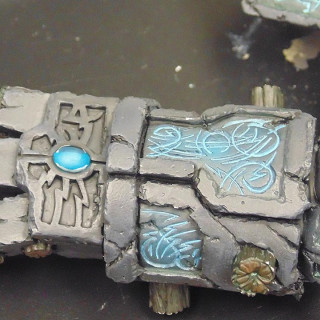
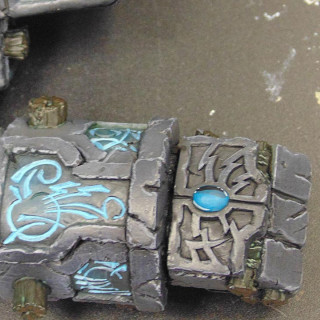
Take a moment to check out the final model on display.
We'd love for you to show us your Woldwrath in the forums!


![TerrainFest 2024 Begins! Build Terrain With OnTableTop & Win A £300 Prize! [Extended!]](https://images.beastsofwar.com/2024/10/TerrainFEST-2024-Social-Media-Post-Square-225-127.jpg)




That is excellent ! I’d have made the kelp a little thinner, but other than that it’s gorgeous ! Bravo John !
I was a bit unsure as I watched you panting. I agreed with the comment about things not gelling together. But in the end I think you have cracked it. The whole thing looks fantastic. The movement you have put into the figure really works well, as does the weathering. Great job.
its looking great finished john.
Looks superb, so glad the kelp got toned down nicely. When i first saw it I was concerned with it being so bright.
Well John, it was a too and fro thing with me this one, I liked it, I didn’t like what you did, then I liked it and finally You are right the gloss finish it off well, it really paid off. Hand up from me John,
I really like what you ended up with.
To bring the motion into all the kelp, ropes and seeweed did the trick. This looks just cool. Now I have to build a ocean coast base – hmmm but what miniature to put on?
Holy S@%t. Looks great.