


P-VLOG: Wolsung SSG Gigantic Golem – From Parts To Painted


Welcome one and all to another great From Parts To Painted P-VLOG. In this one we'll be seeing the fantastic Gigantic Golem from Wolsung SSG by Micro Art Studios being built and painted by John.

We've loved playing around with this kit and it's great to see it going through all the different steps here with John showing off building and painting techniques YOU can use too.
Will this monstrous machine turn out just as intended or will it take on a life all of it's own?
Follow on to find out!
Blogging At This Event:
What Are Johns Plans For The Gigantic Golem?
Welcome to our new tutorial and guide om building and painting the Gigantic Golem from Wolsung SSG as we go from Parts To Painted.
In this first piece John talks about his plans for the Golem and where he wants to take it as a project.
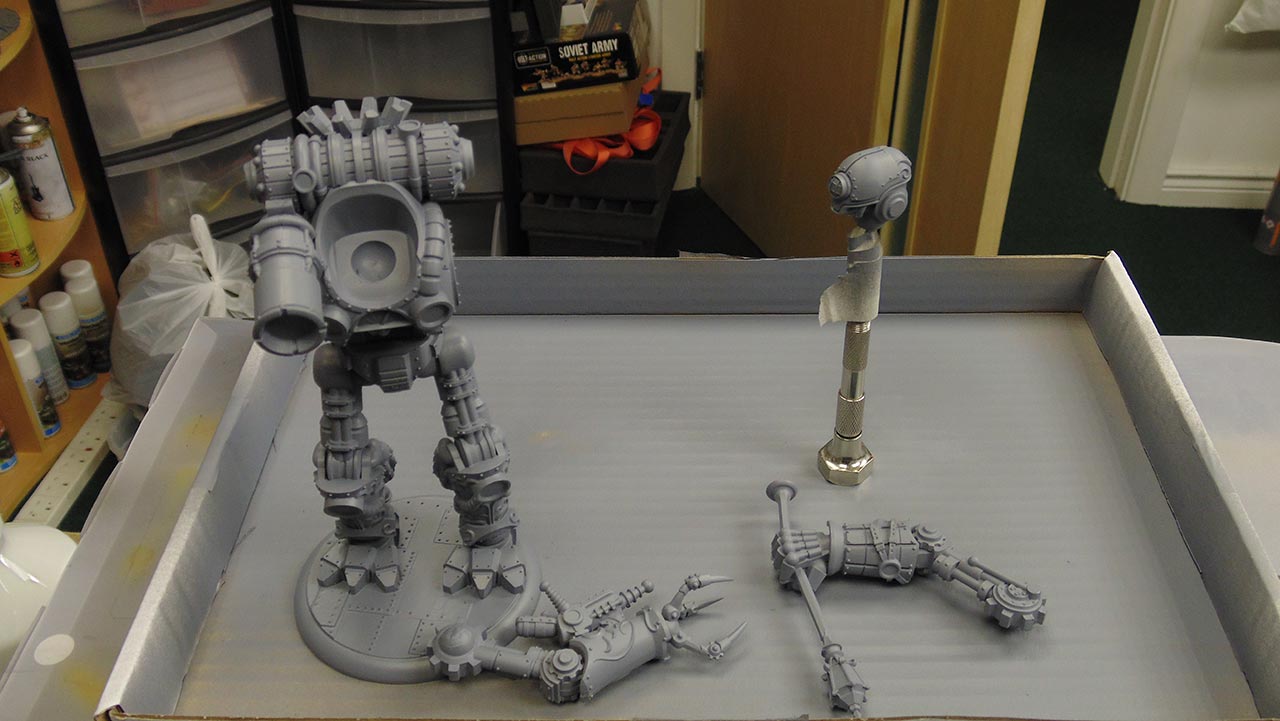
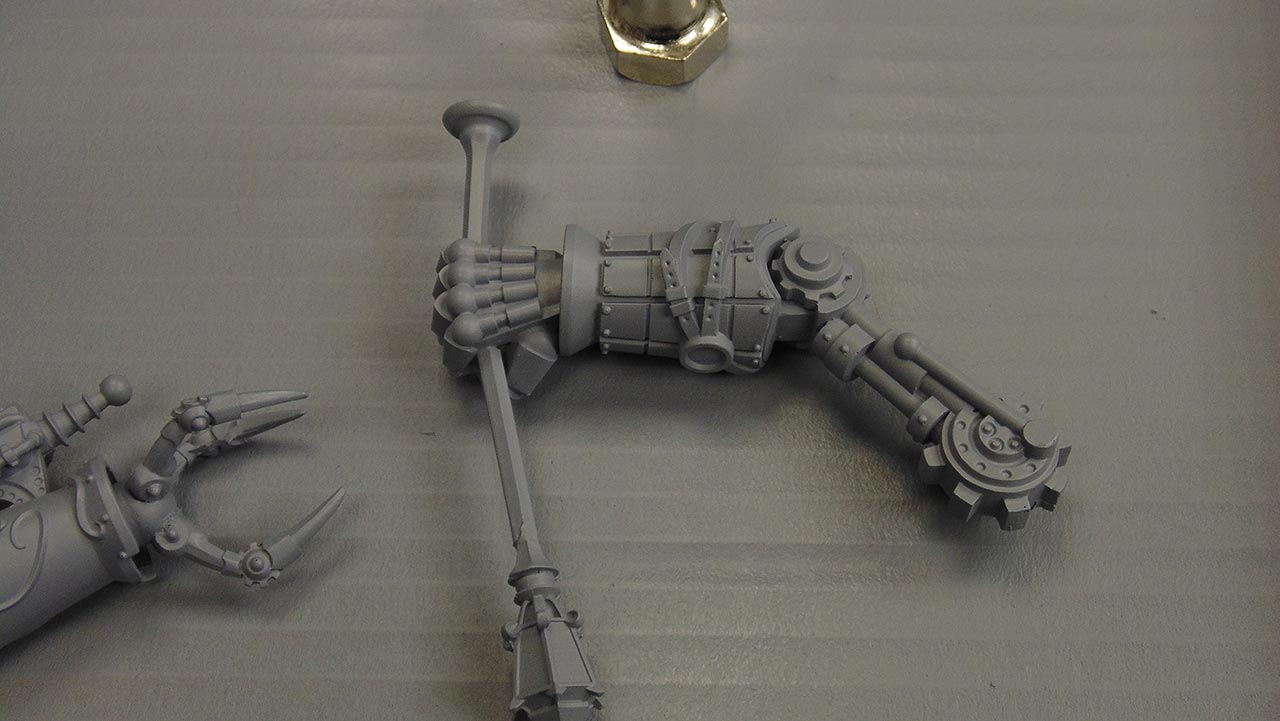
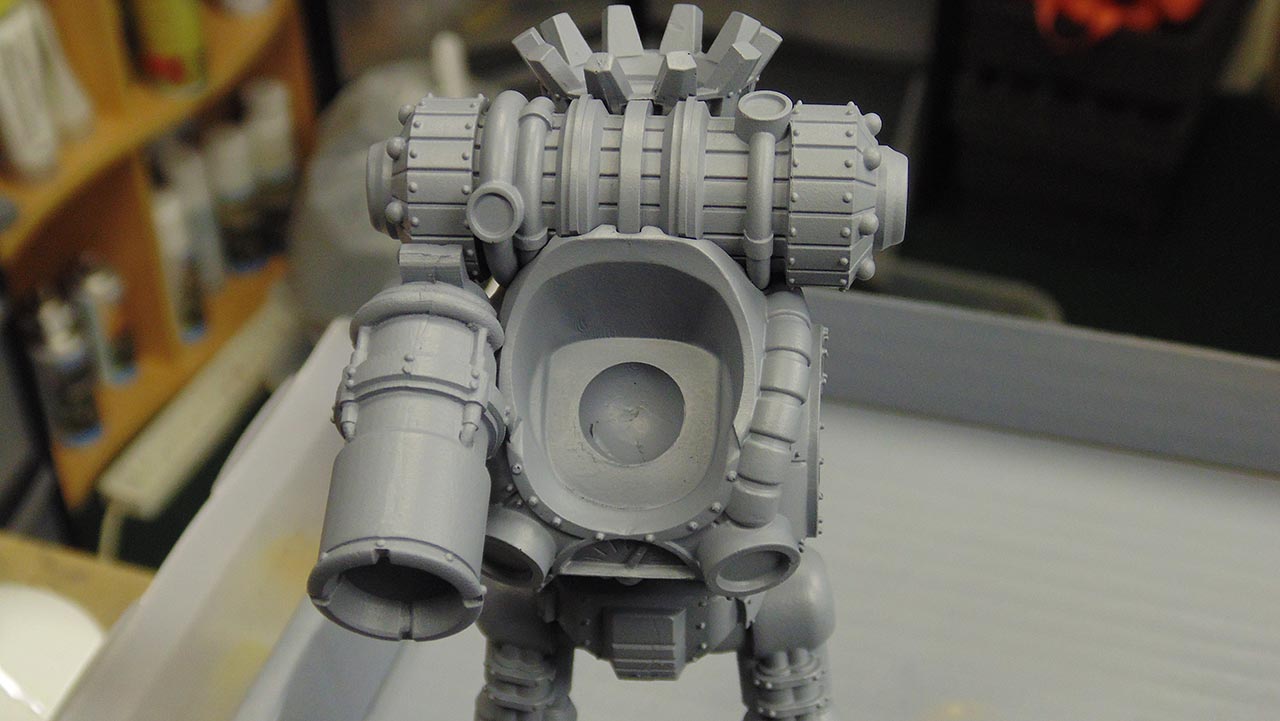
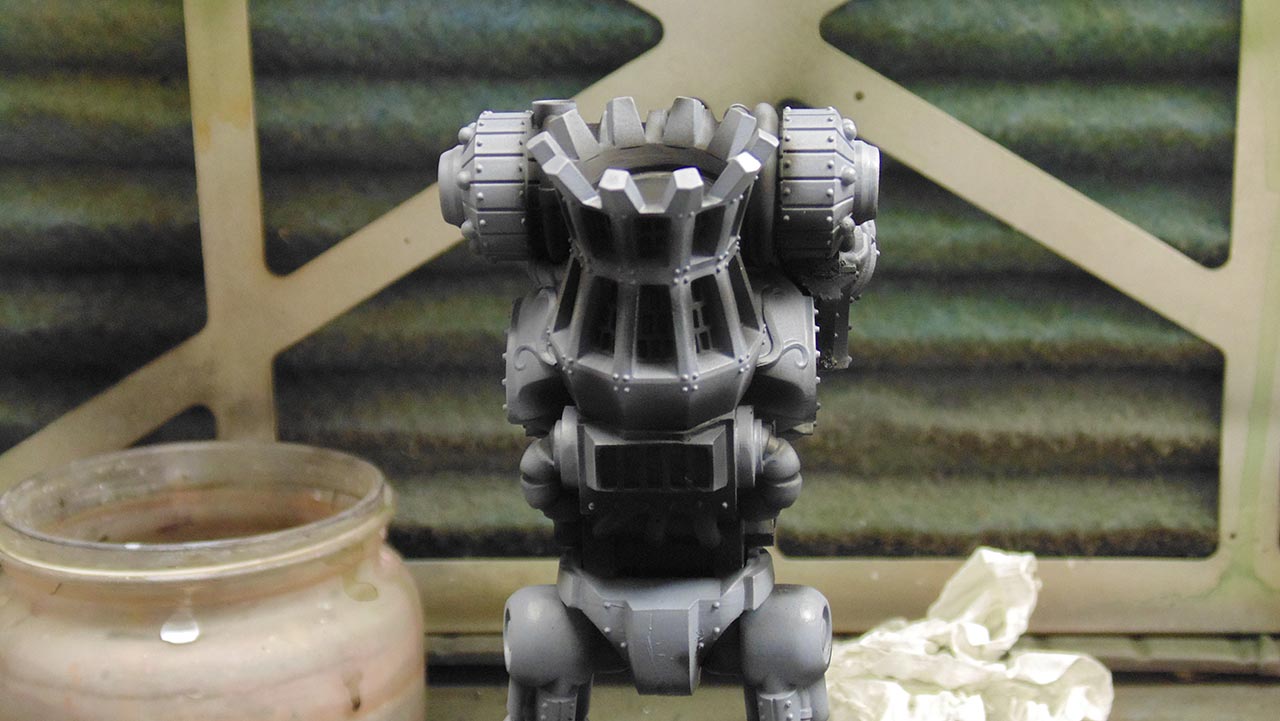
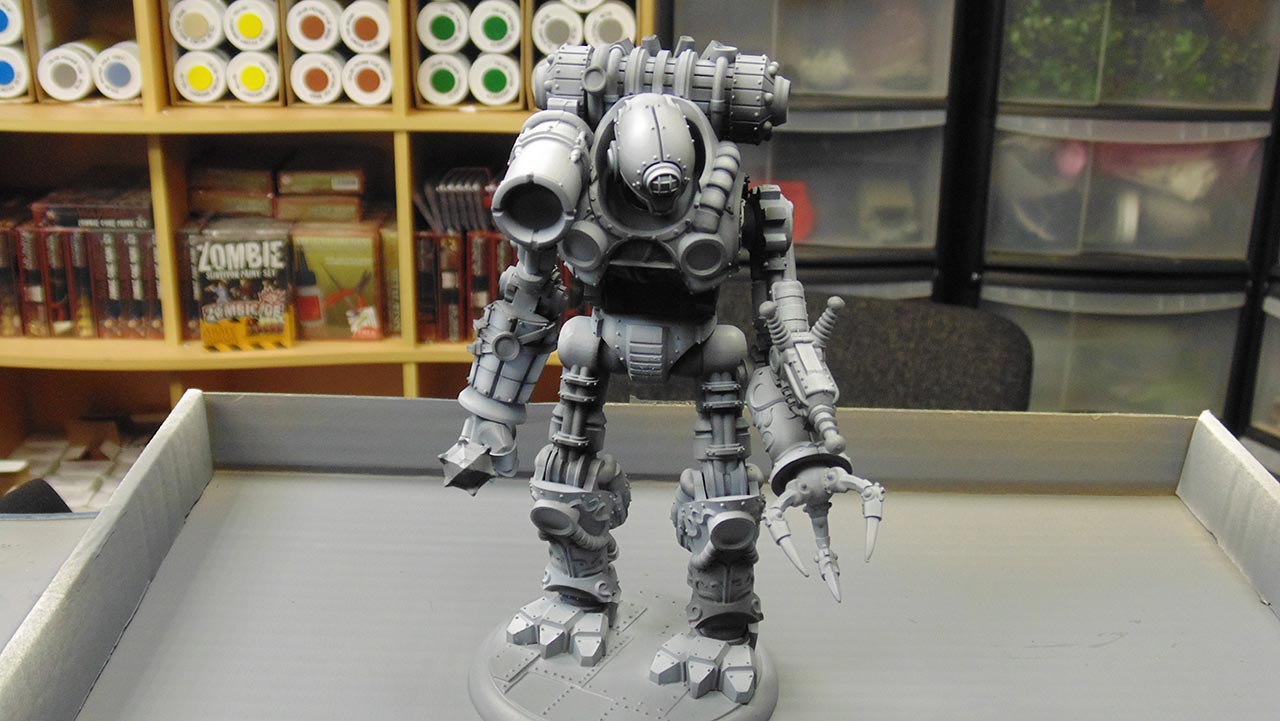
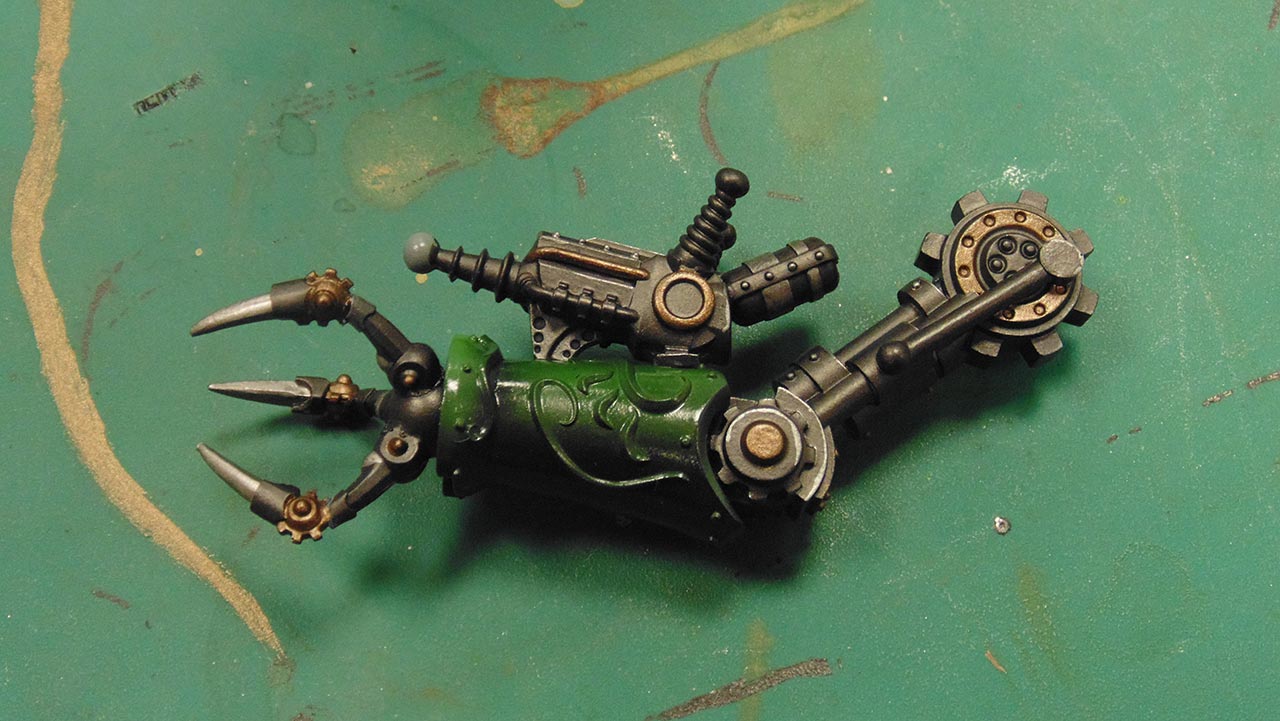
Building The Gigantic Golem
We now get stuck into the important building step of working on the Gigantic Golem.
A kit like this takes a bit of getting used to but John walks us through it.
Warren's First Thoughts For The Colour For The Golem
Warren steps in to talk with John about how he feels about the colours going onto the Gigantic Golem.
While he has his own thoughts how would you approach thinking about the main colours for this beast?
Getting A Good Coat Of Primer Makes All The Diffrence
An important step in painting is to work on making sure that the primer looks good when it's down on the model.
Making sure you get a nice even coat which keeps the details crisp is key.

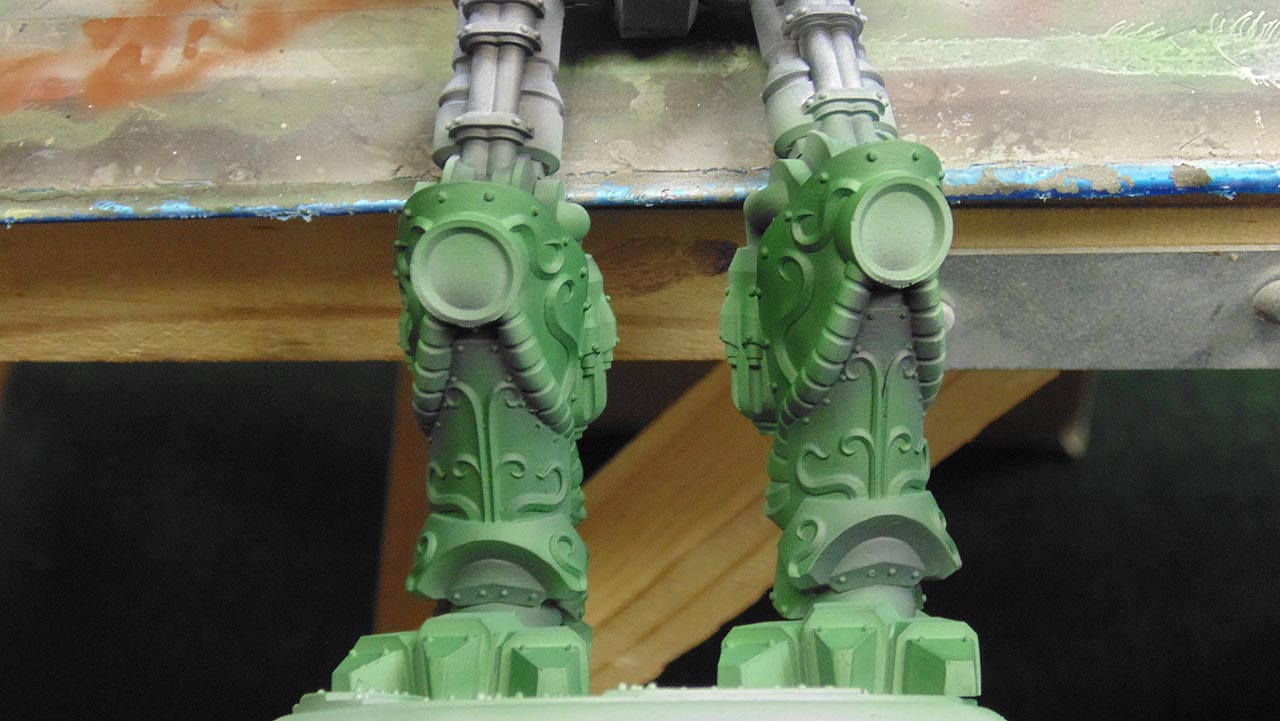
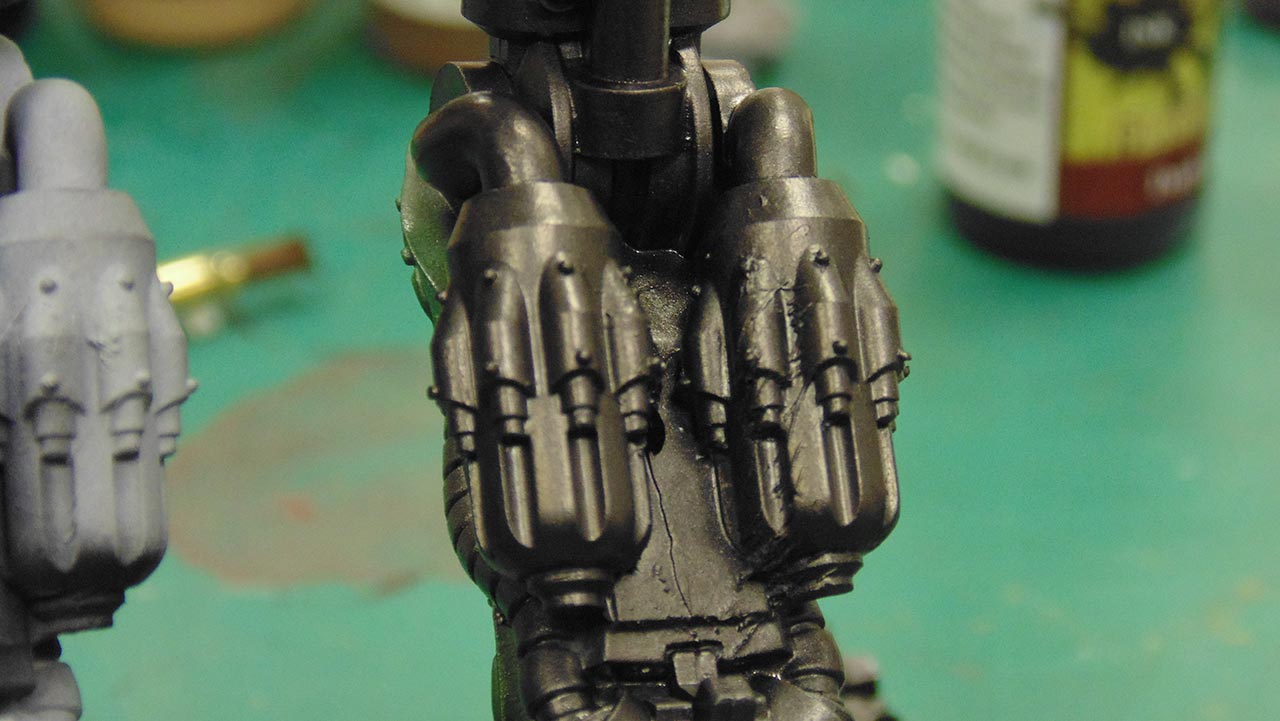
Primed & Ready For Some Pre-Shading
With the main priming step now done we look towards the Pre-Shading Step where we start to work on making sure this work we do now helps us out in later steps.
Do you do a lot of pre-shading on your models?
Where Should You Add Shading?
As an extra tip to help you we talk about where you should be adding shading and where you should avoid.
With this handy little guide this should help on models both big and small.
Where Is The Best Place for Highlights?
Now that we've worked on some shading we also look towards the need to work on Highlighting at this step too.
It's important to get these techniques down if we want the final project to spark that little more when finished.
Catching Up On Progress With Warren
Warren comes to visit John and find out how he has been progressing with the series so far.
Are you impressed with the look of the Golem at the moment?

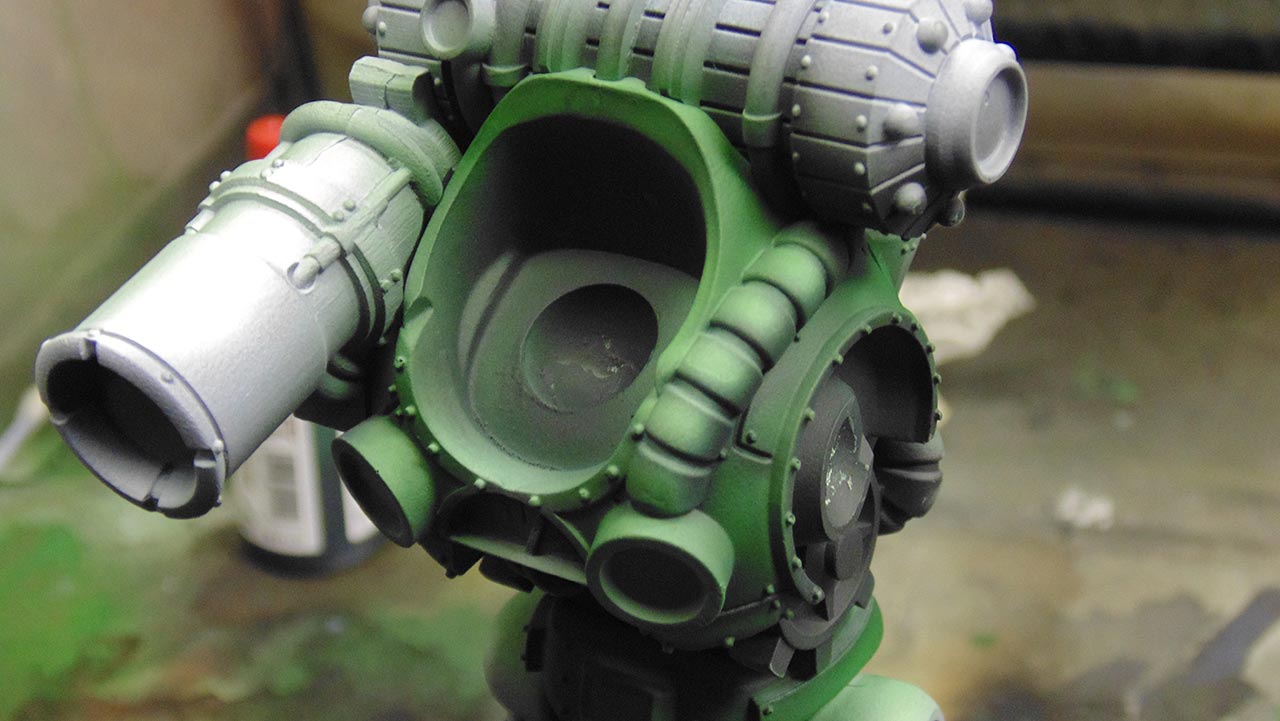
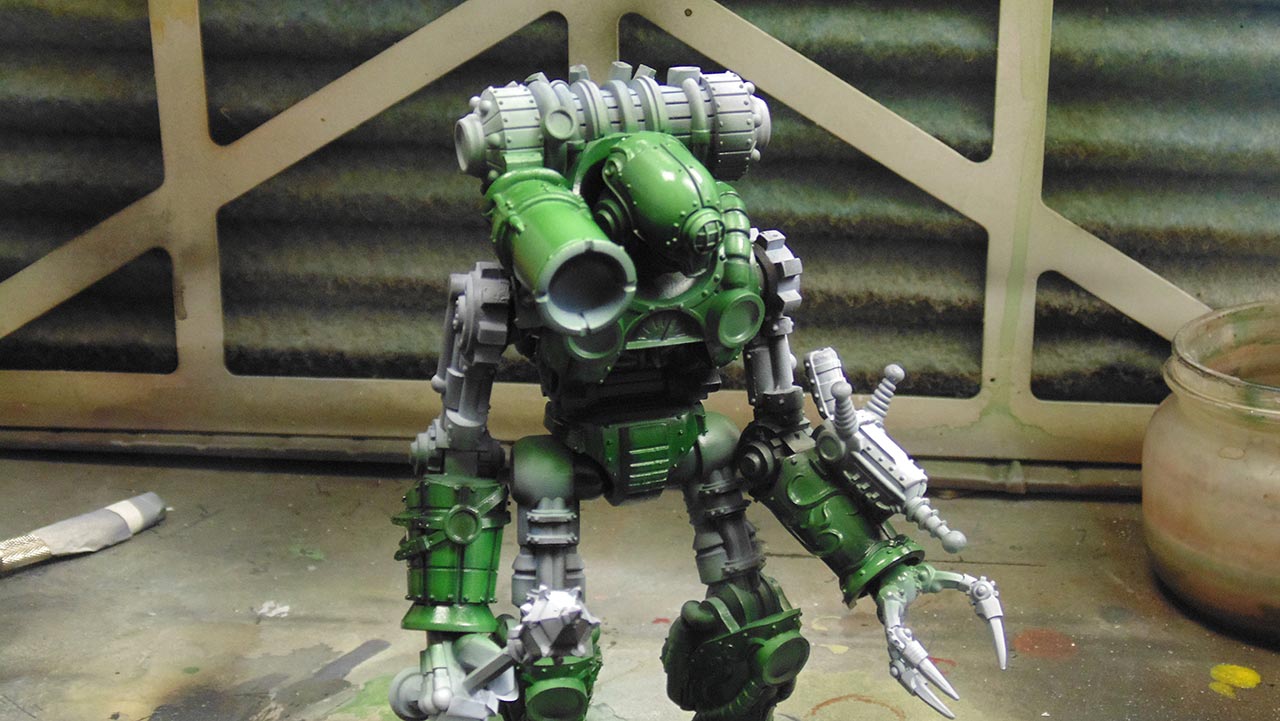
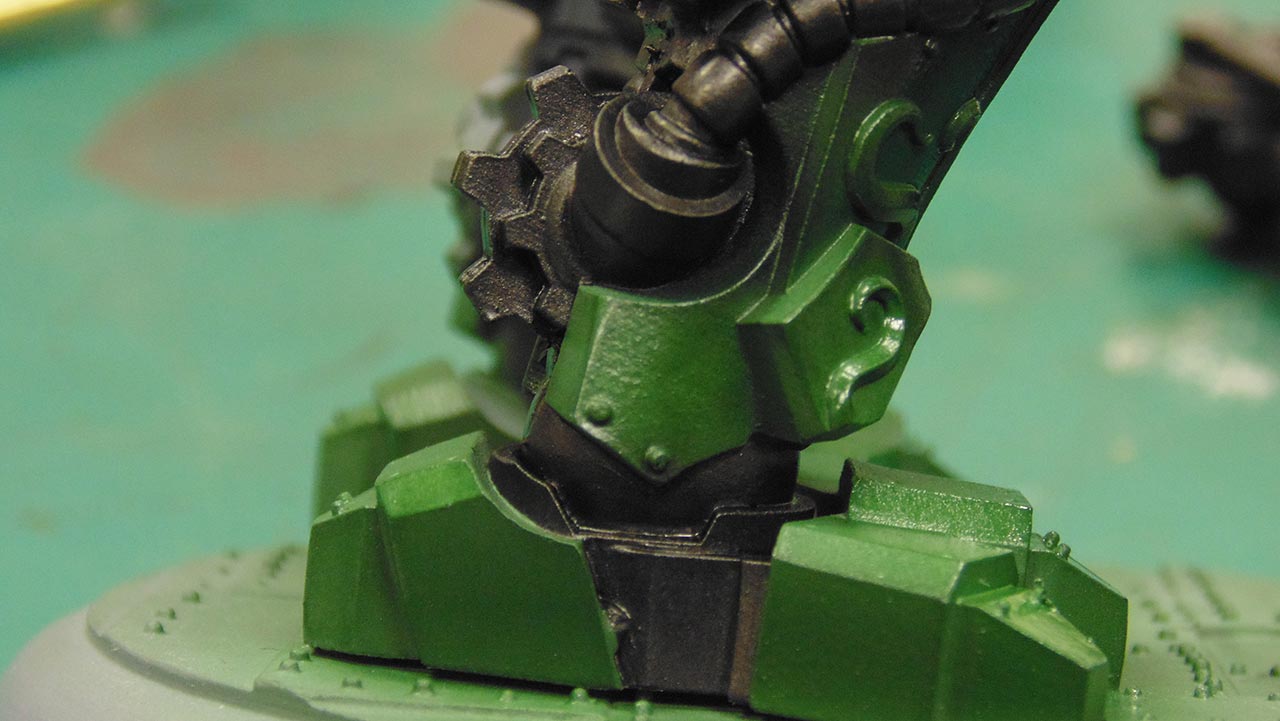
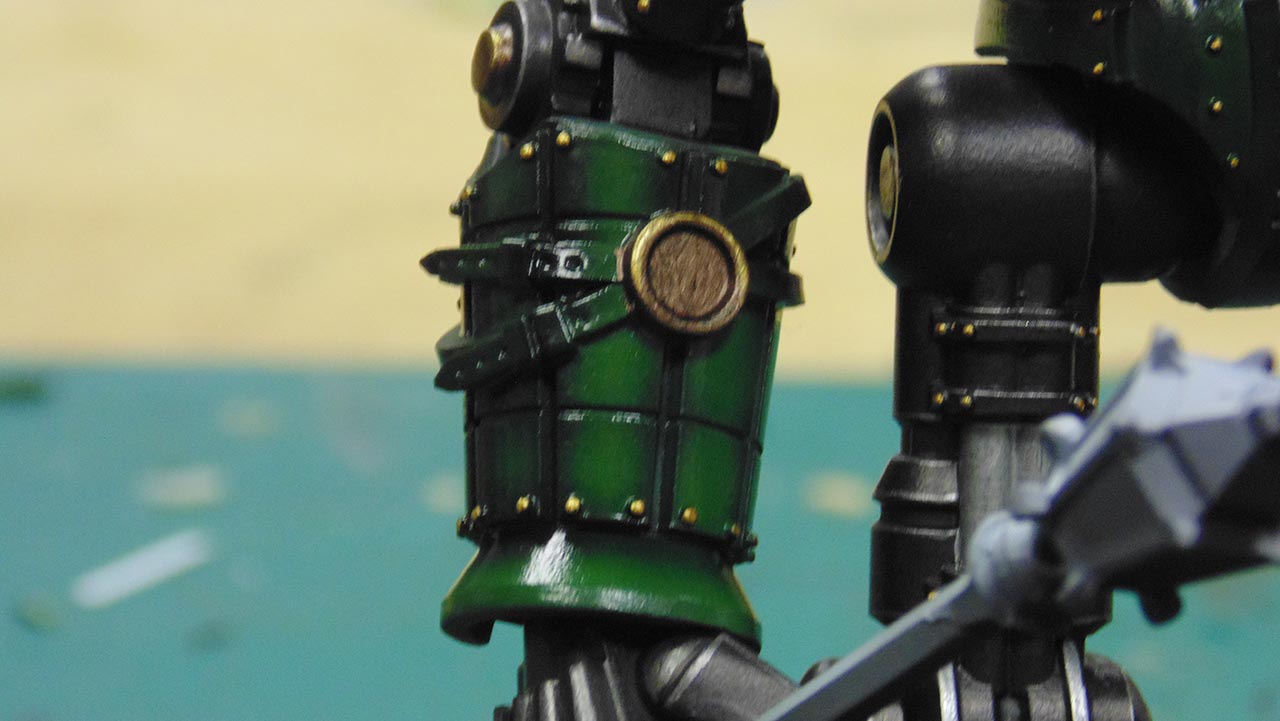
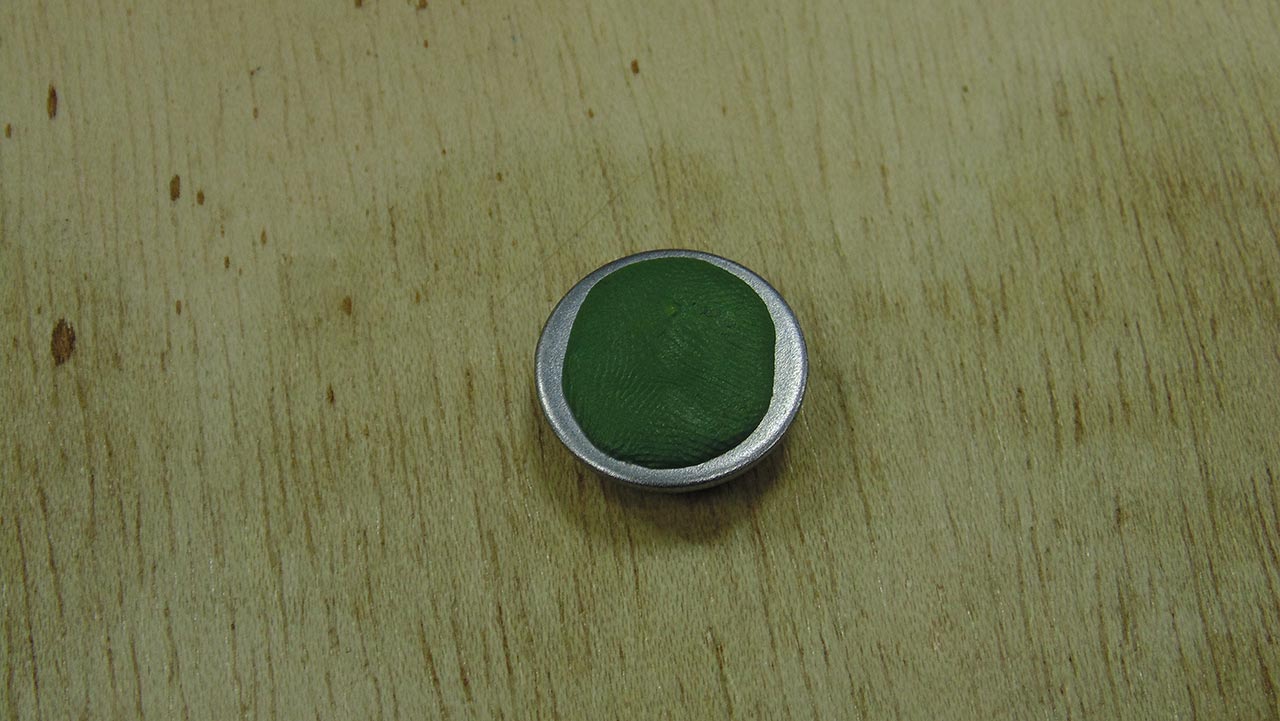
Green Armour - Stage One - The Base Coat
With our colour decided we start to look at applying the base coat for the model and working on the Green Armour.
Using the airbrush we can get some great results as you'll see below.
How Will We Take The Armour To The Next Level?
Warren is back with John to talk about taking the armour to the next level. With the base coat done we need to work on the next step to make it pop.
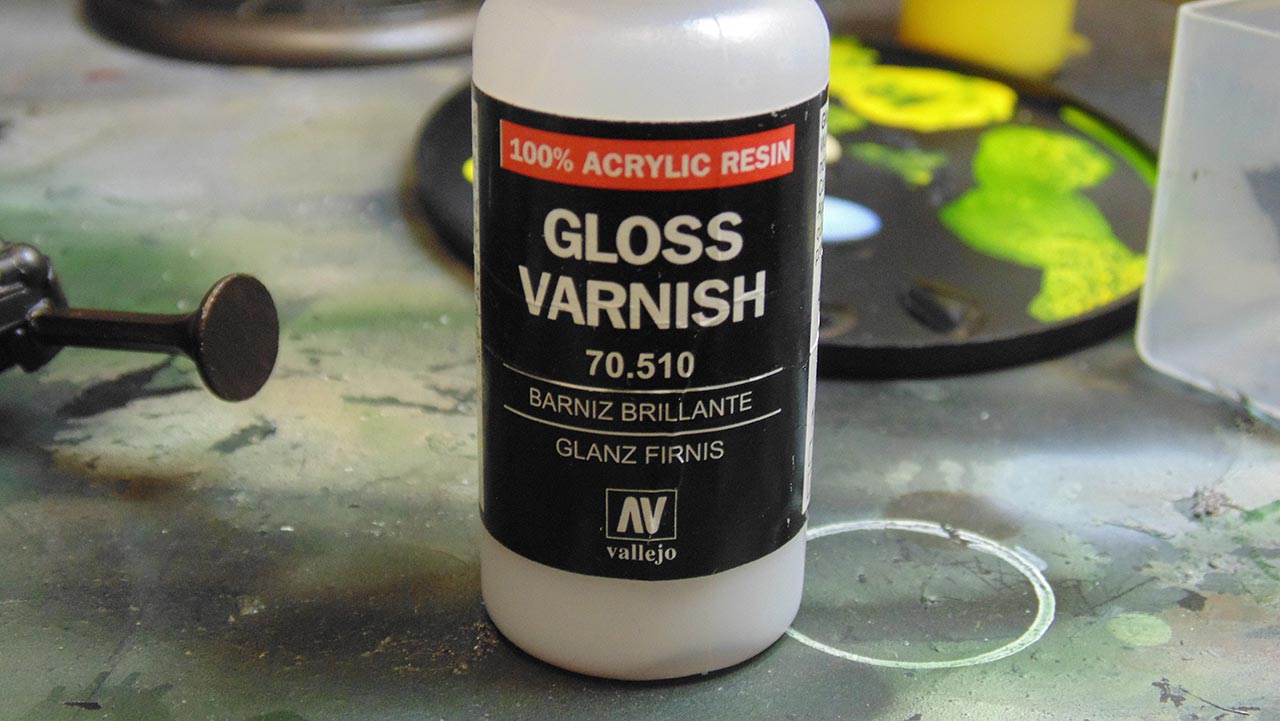
Green Armour - Stage Two - Adding A Gloss Varnish
Now we're moving on to work on some Gloss Varnish to make the Golem look like it has a bit more of a factory finish too it.
Gloss Varnish Results & Plans For the Metallics
We take a look at how the Varnish has turned out on the model now that we've left it for a little while and we start to plan ahead on how we're going to work on the Metallics.
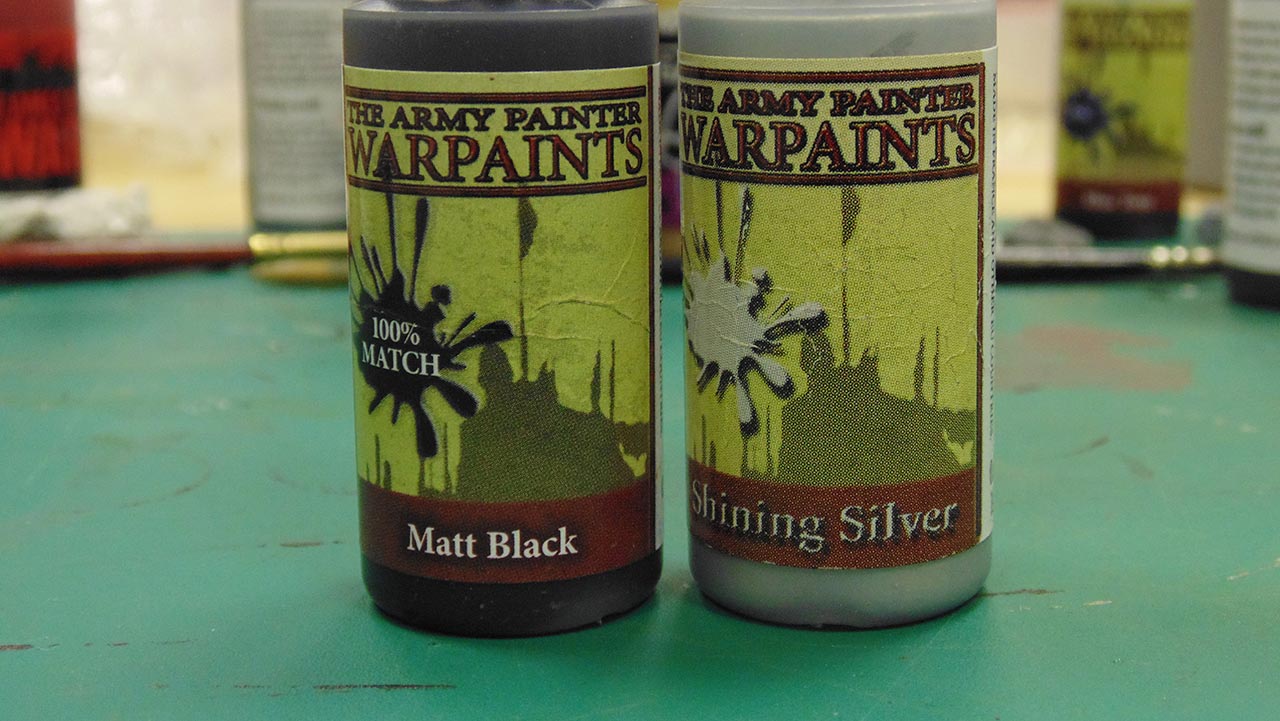
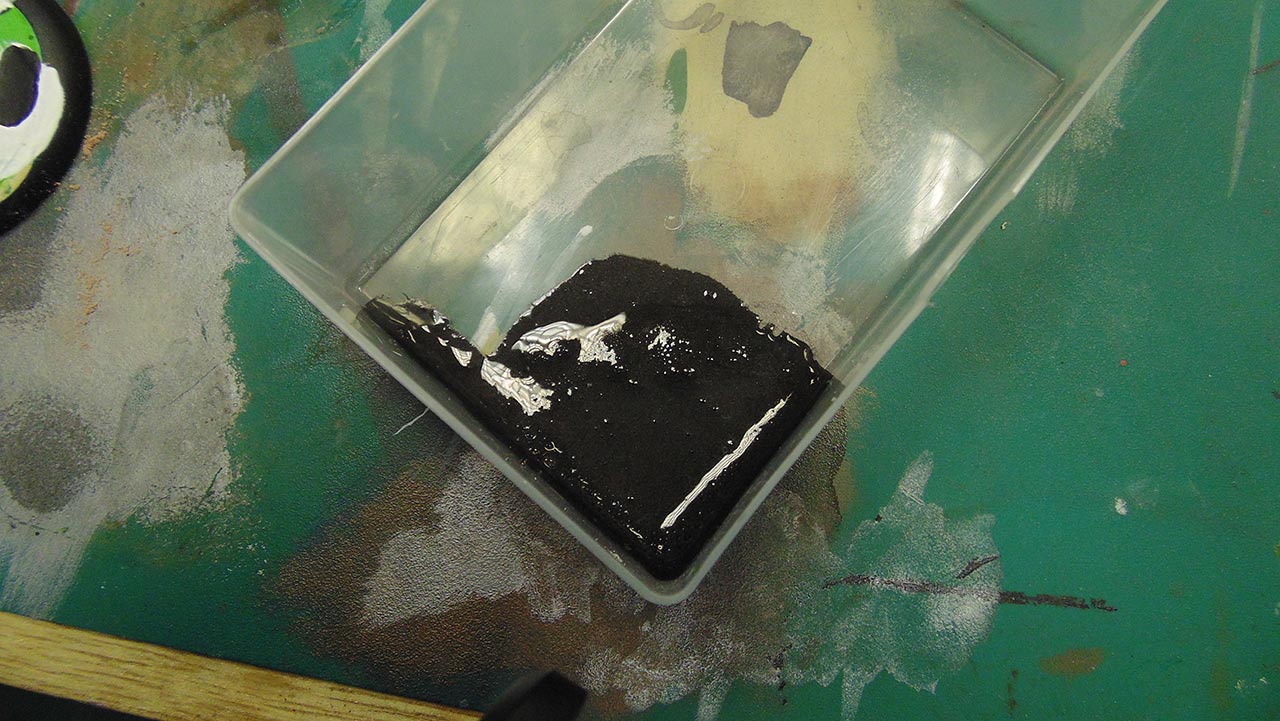
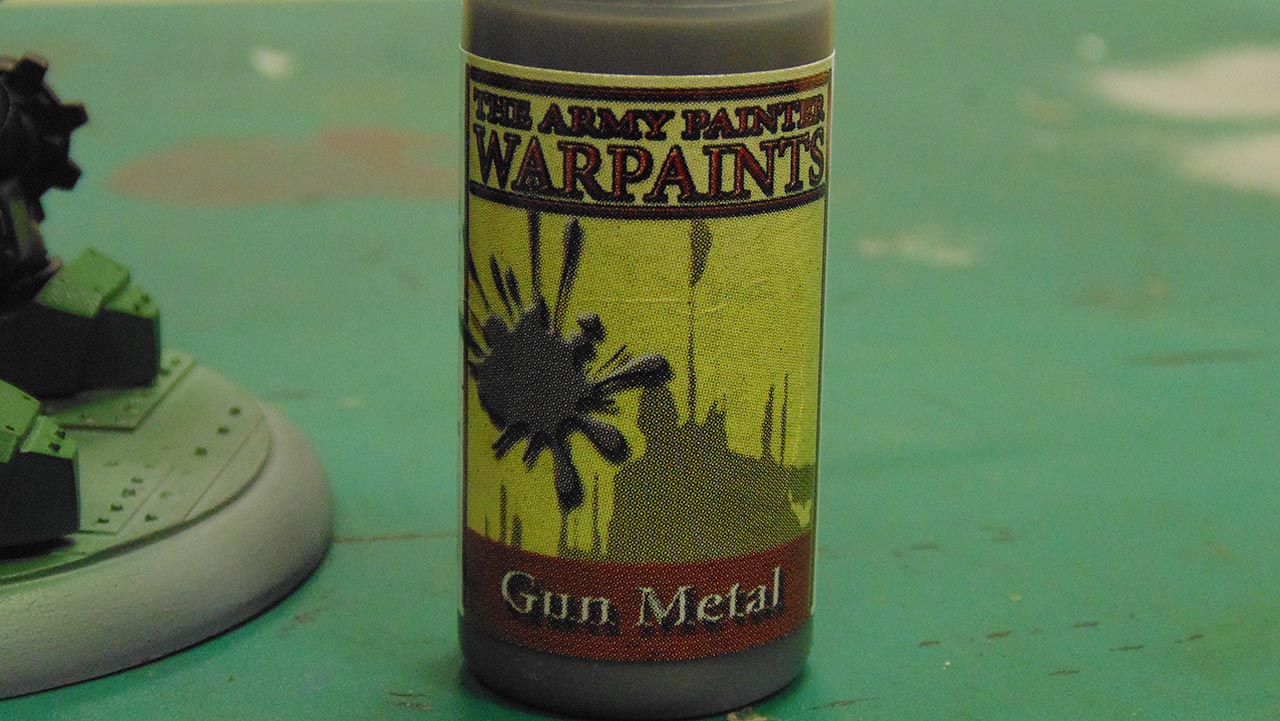
Making Heavy Metal
It's time to put on the music and see how we create 'Heavy Metal'. Now you just need to add a comment below with the music that should accompany this...
John's Thoughts On How The Heavy Metal Turned Out
Now that we've actually made the Heavy Metal we talk about how it has turned out and what we think of the results.
It's interesting working on metallics because even though they are simple by nature they can be made to look superb with a few tweaks.
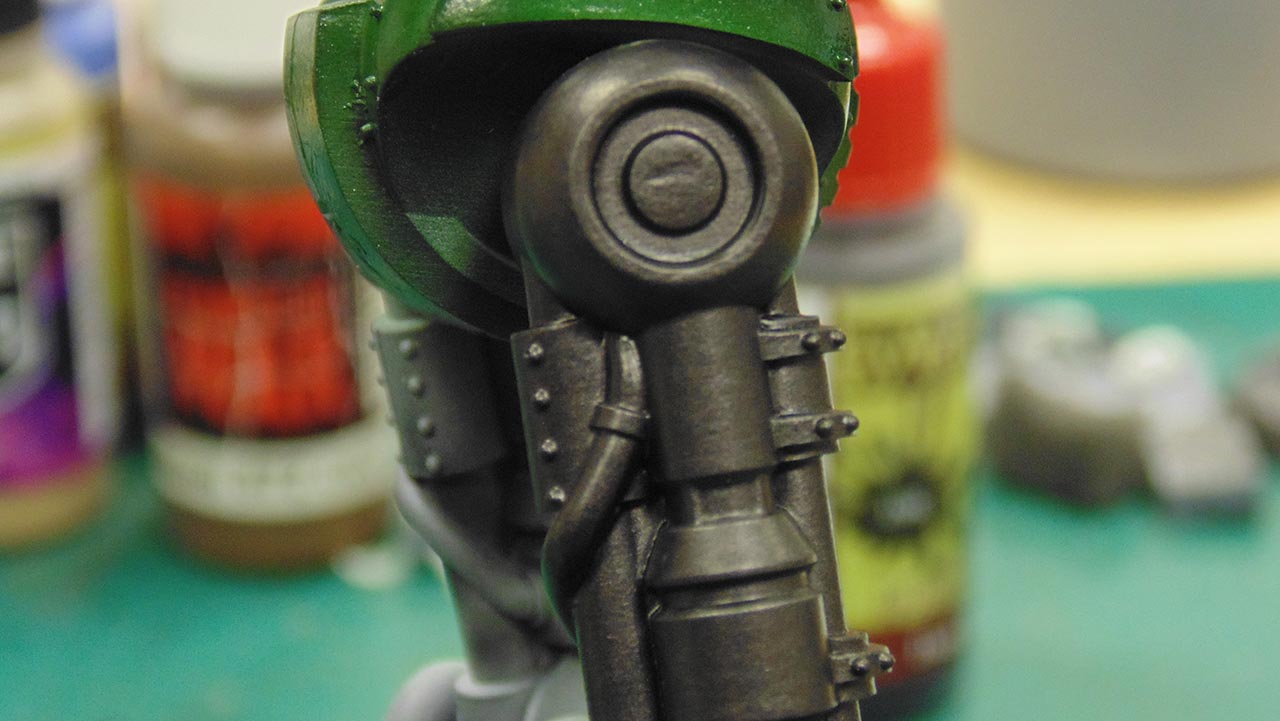
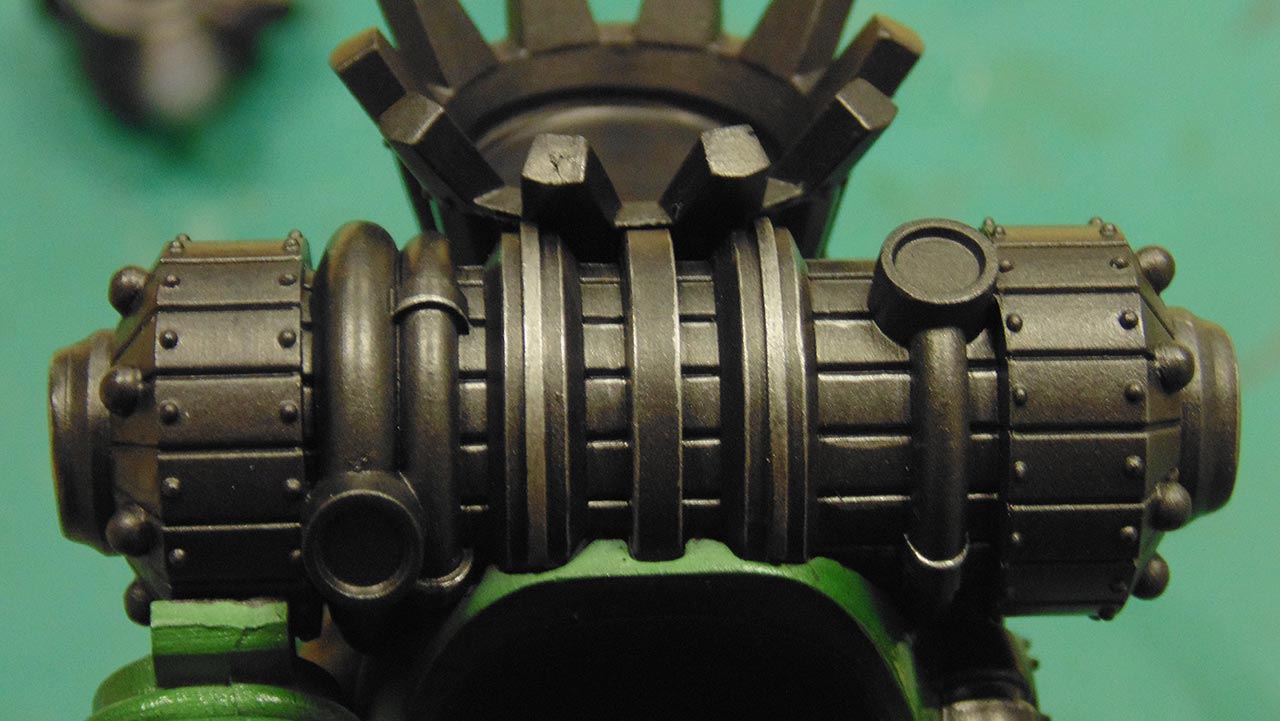
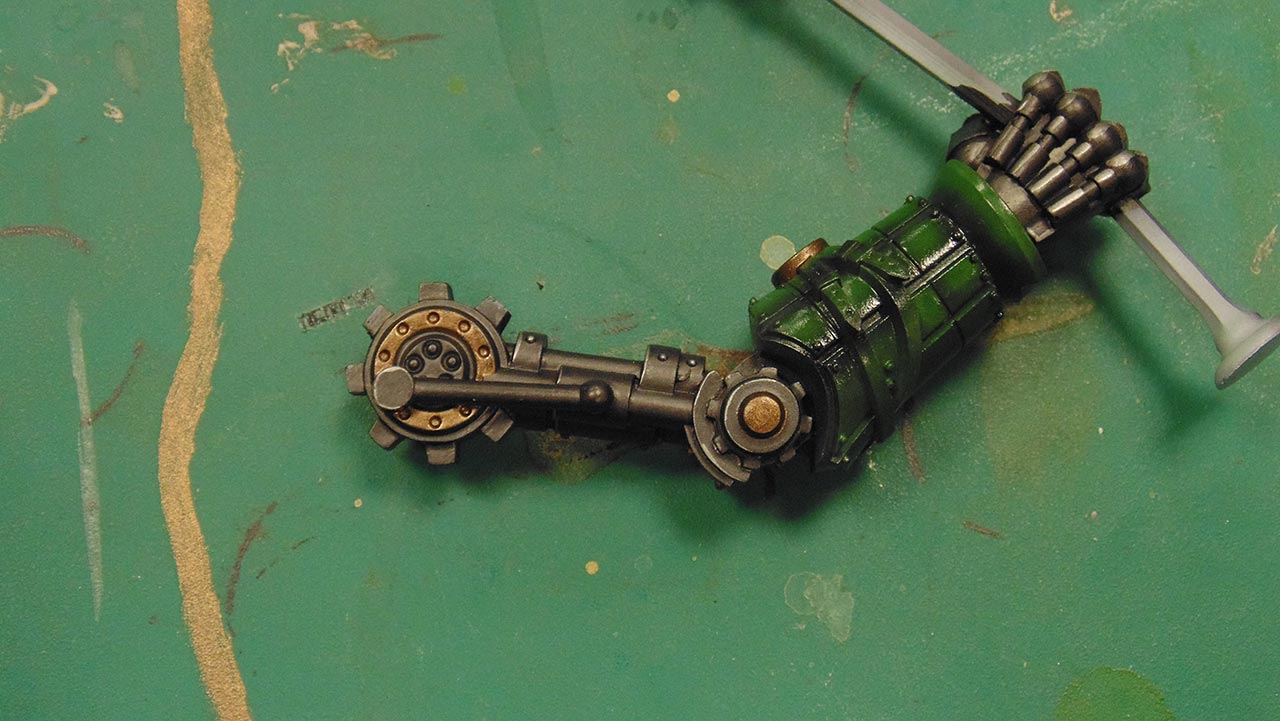
Time To Make The Metal Shine
Now we have to make the metal shine and get stuck into something which will elevate it and make it so that it looks as good as the armour.
What do you think of the results?


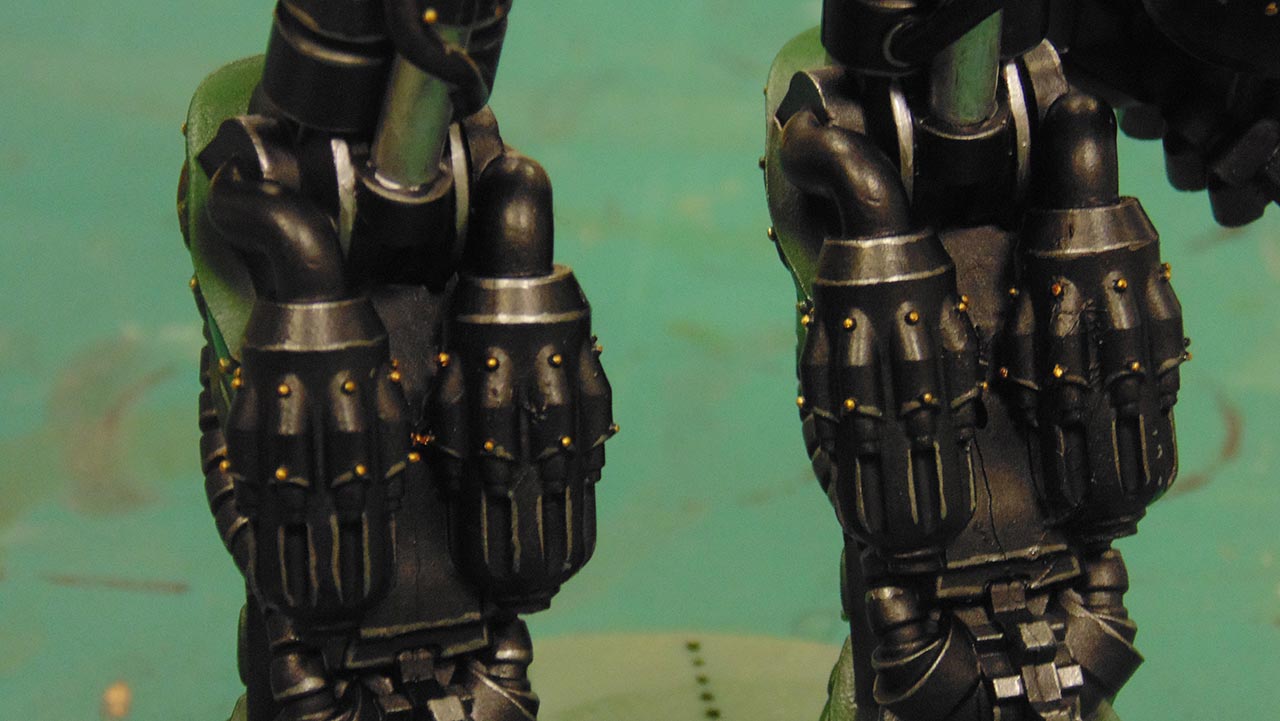
Adding Some Shading & Depth To The Metallics
Just as with the Armour we also look into dealing with the Shading and Death on the Metallics so that we can make it look less like a flat expanse.
It's very simple to make metallics look good!
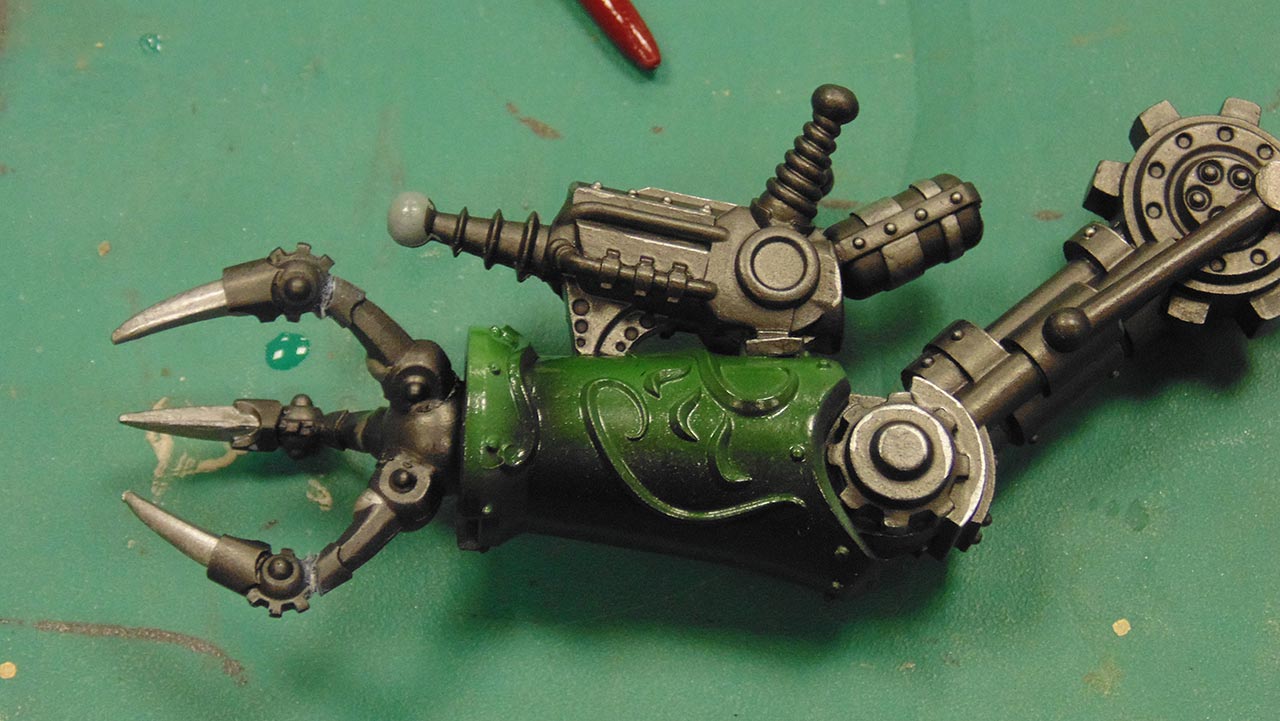
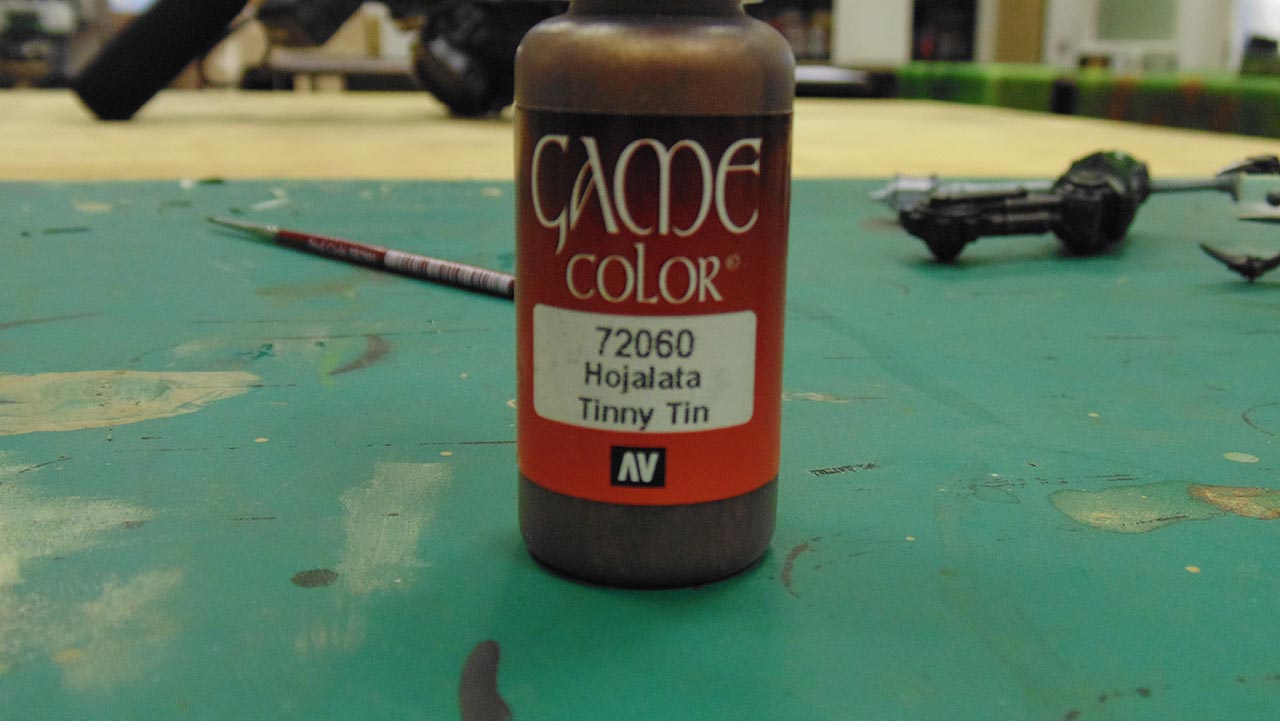
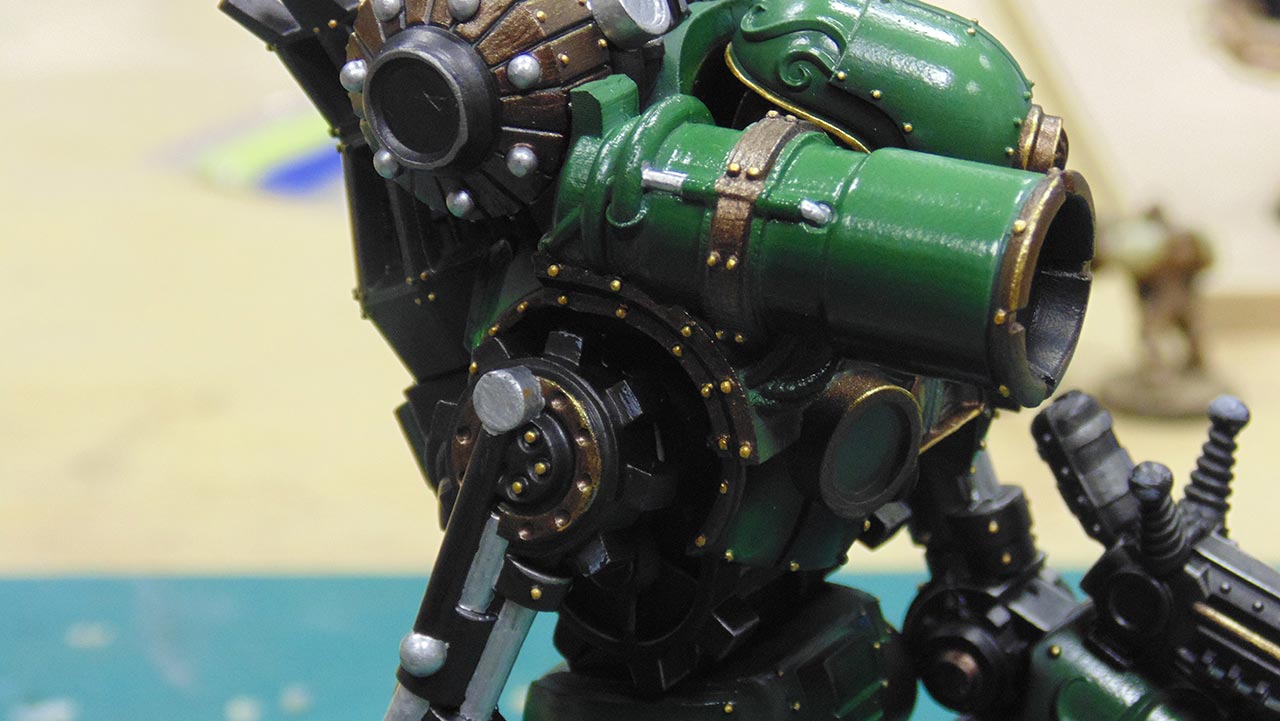
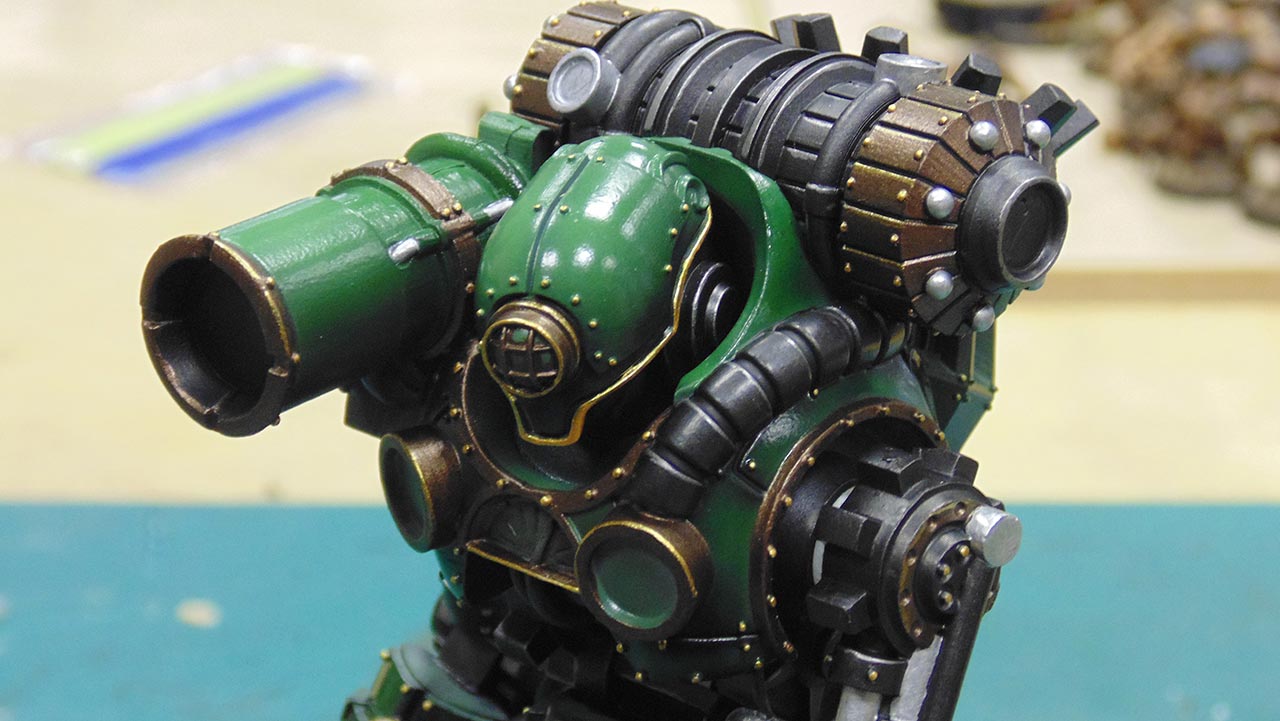
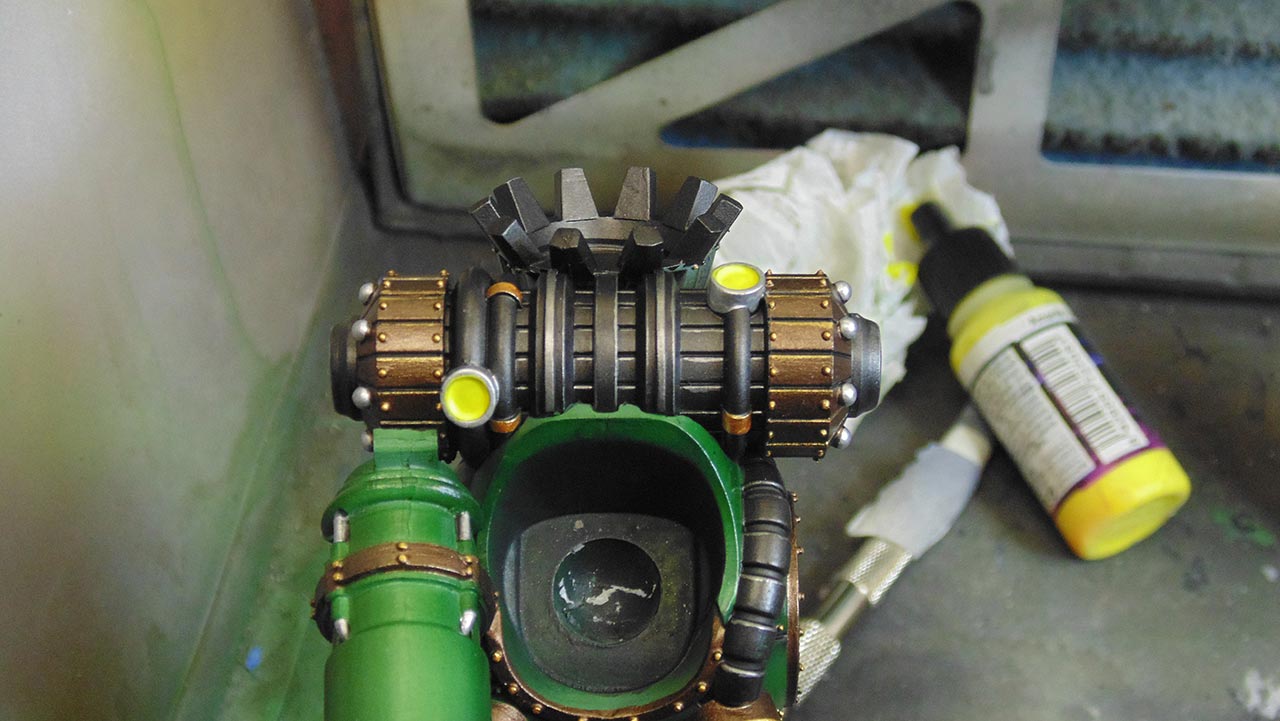
Time For Some Bronze To Add Contrast
We can't just go with the standard Metal however so we're going to add some of that Steampunk bronze to the equation.
This is a Steampunk staple and always looks good when added as a contrasting colour.

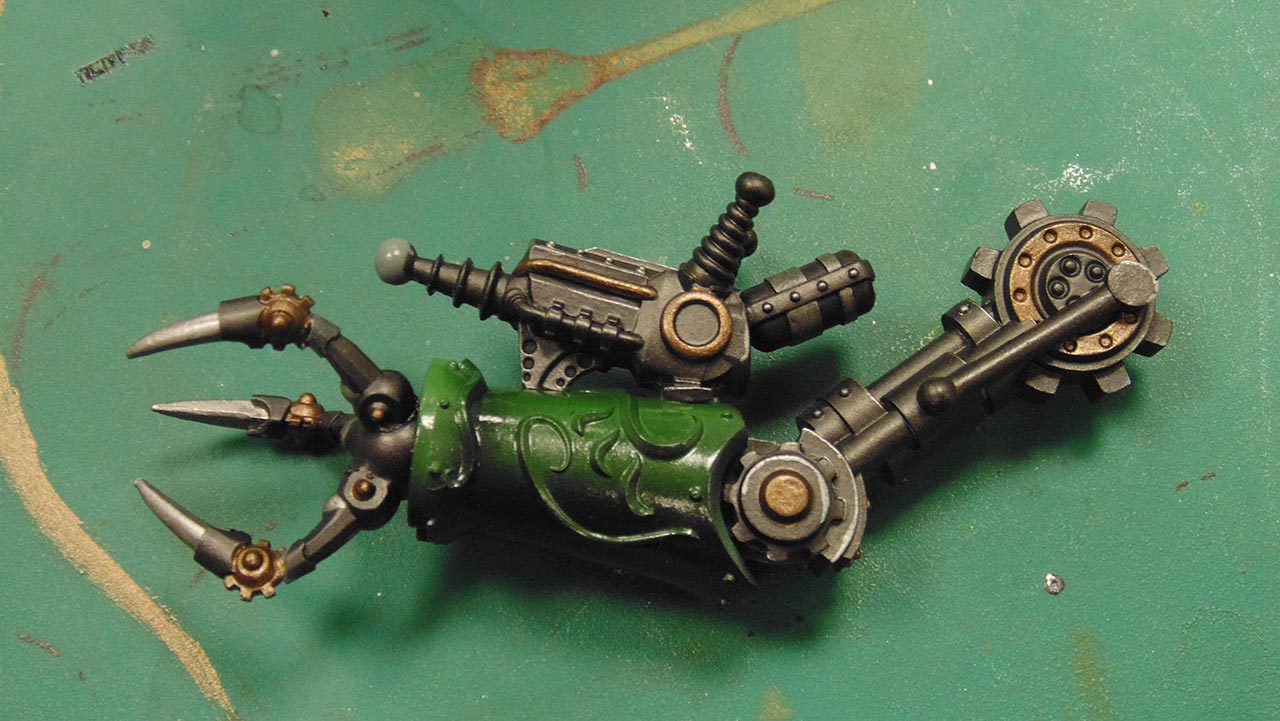
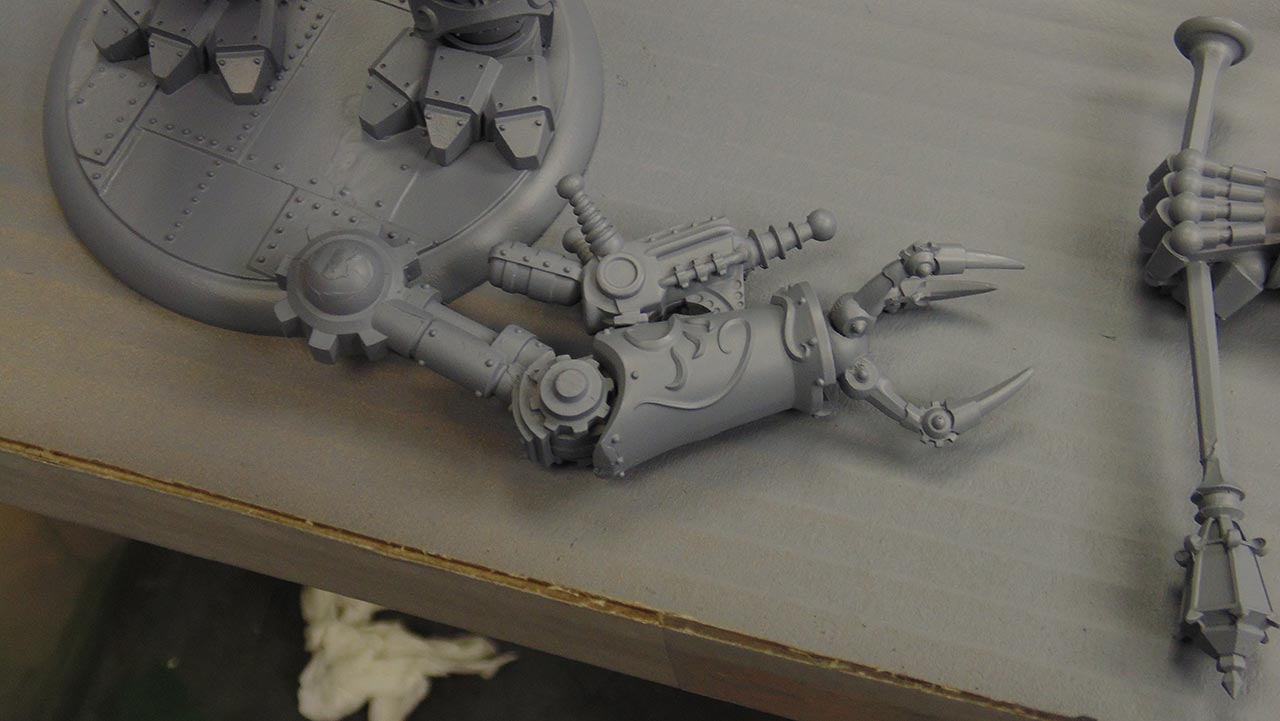
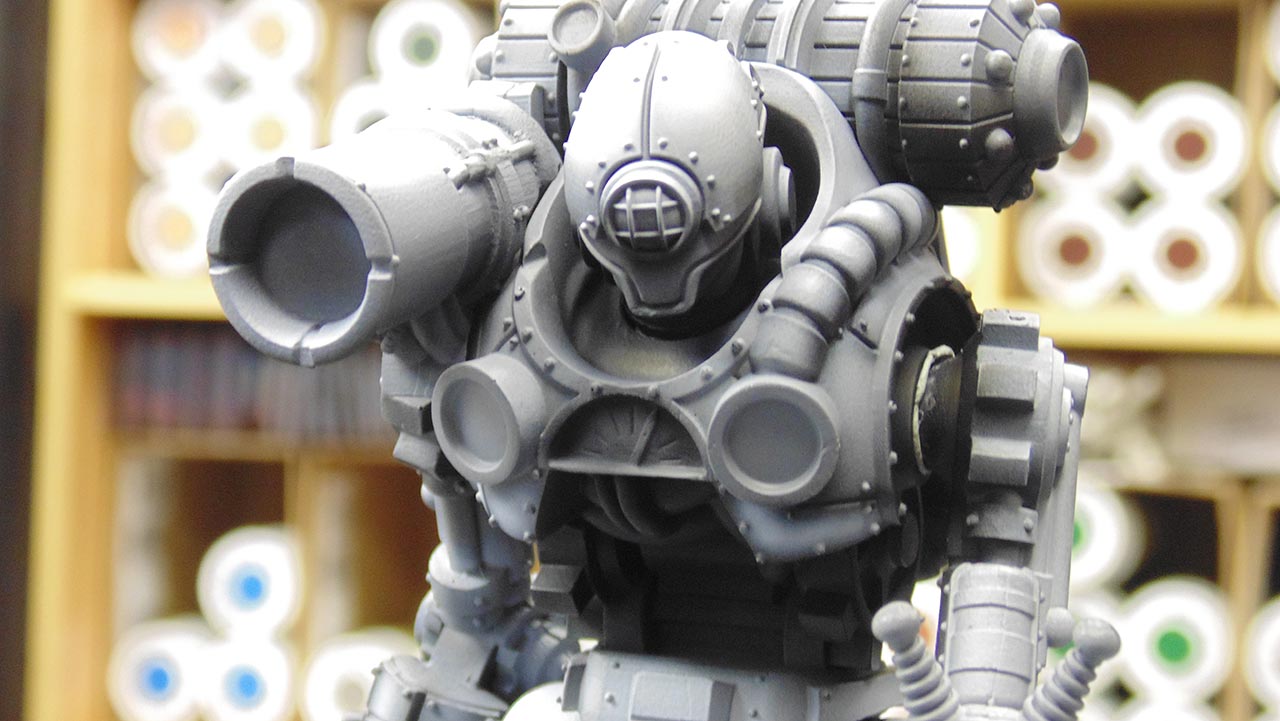
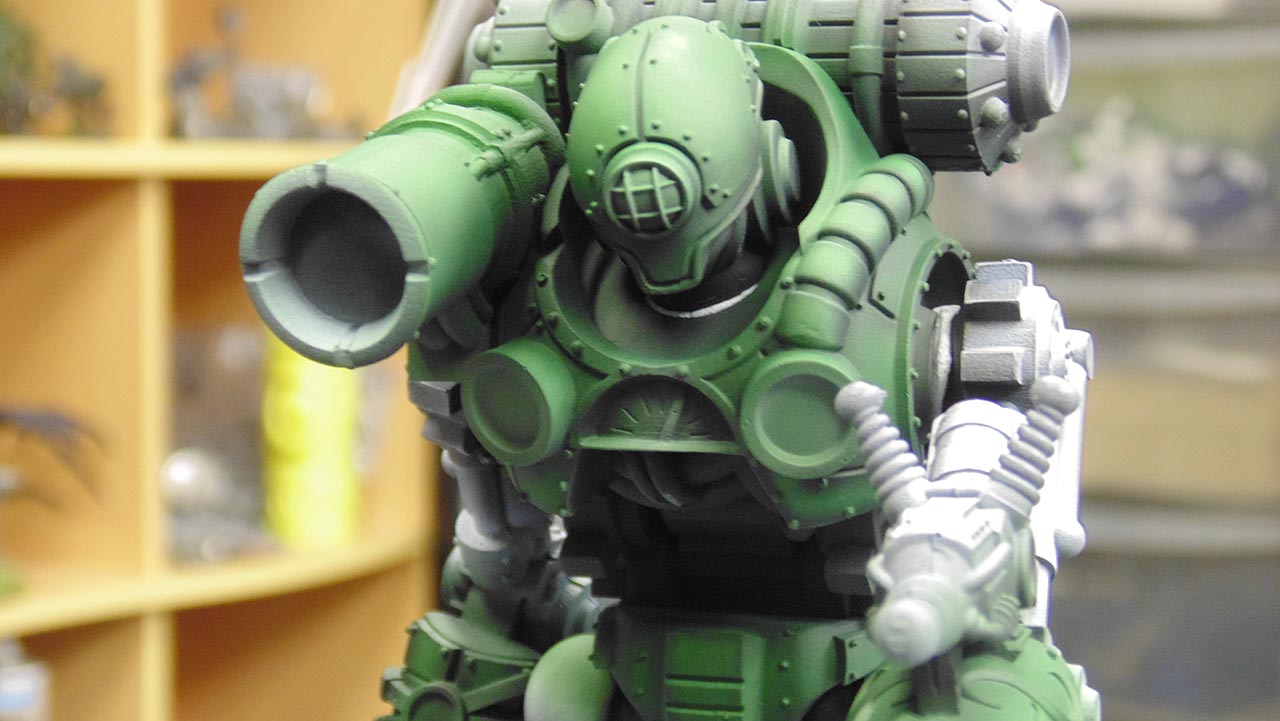
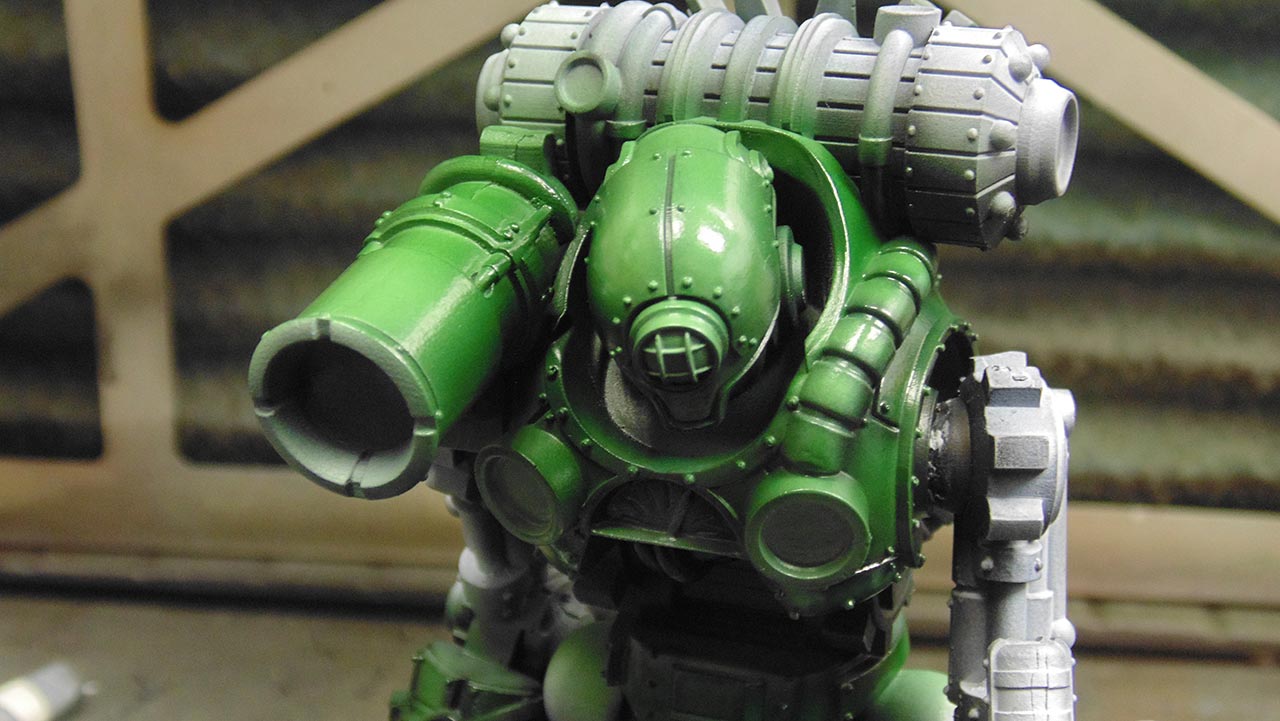
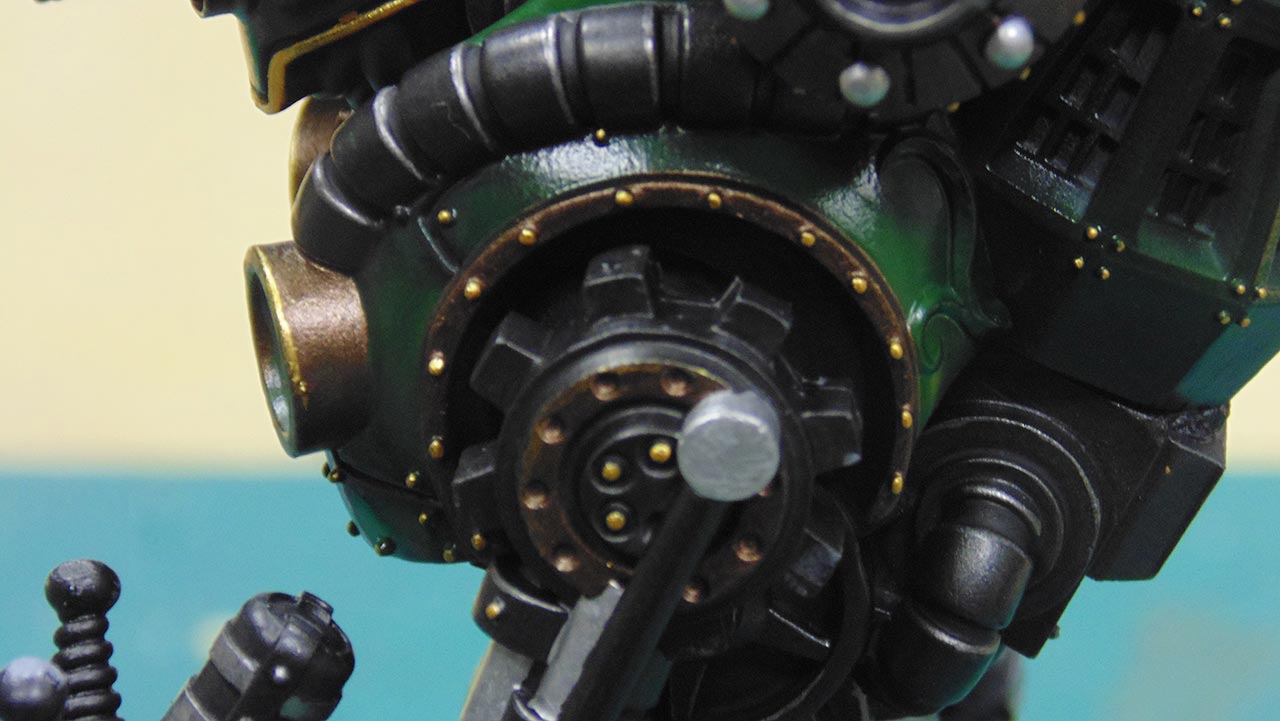
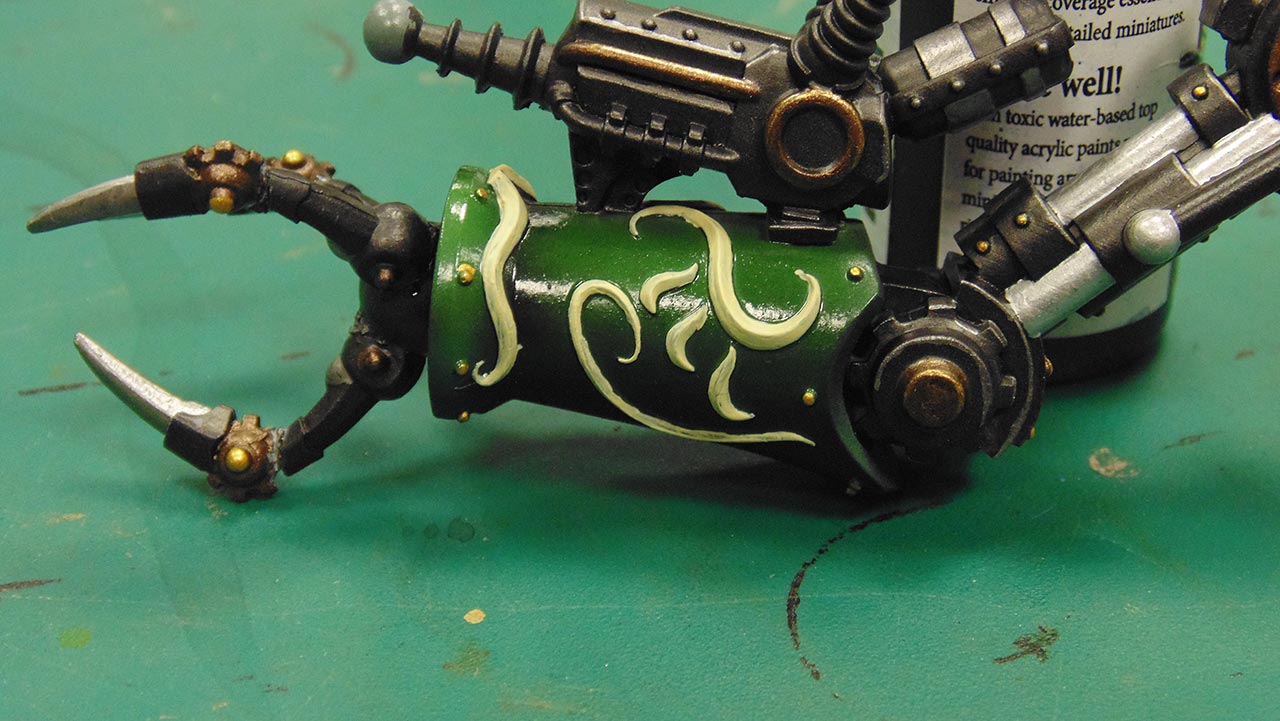
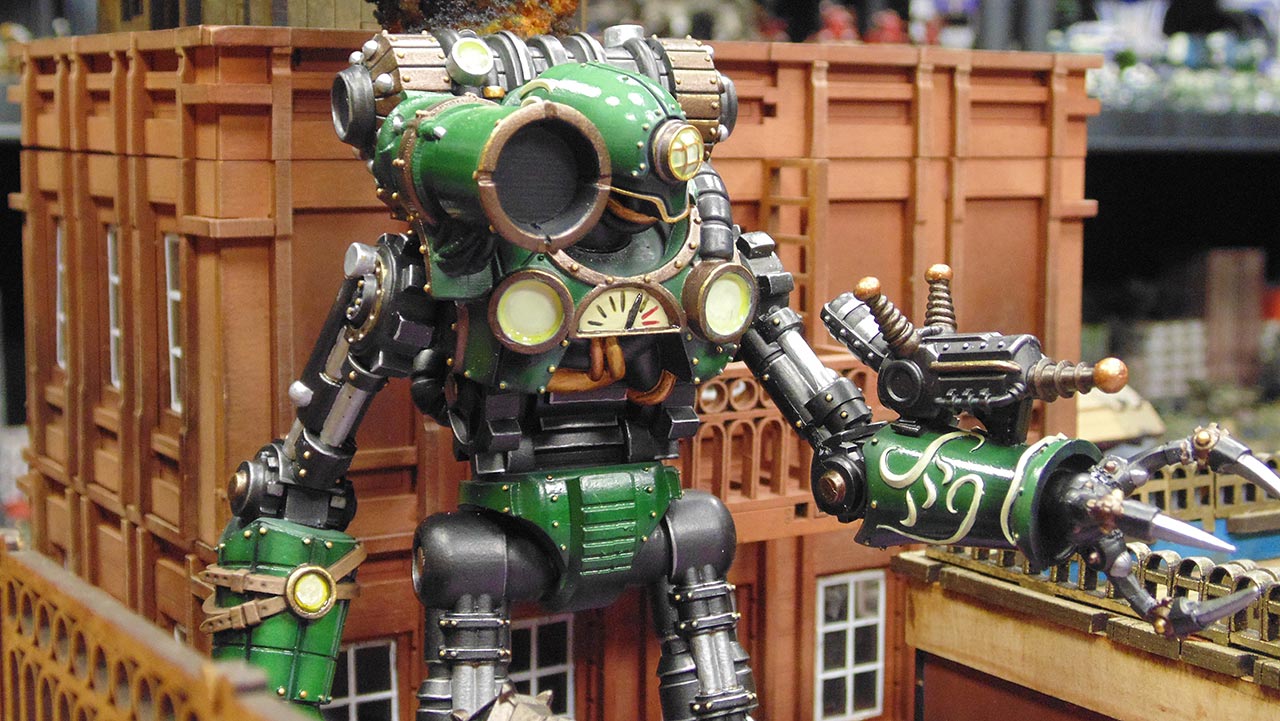
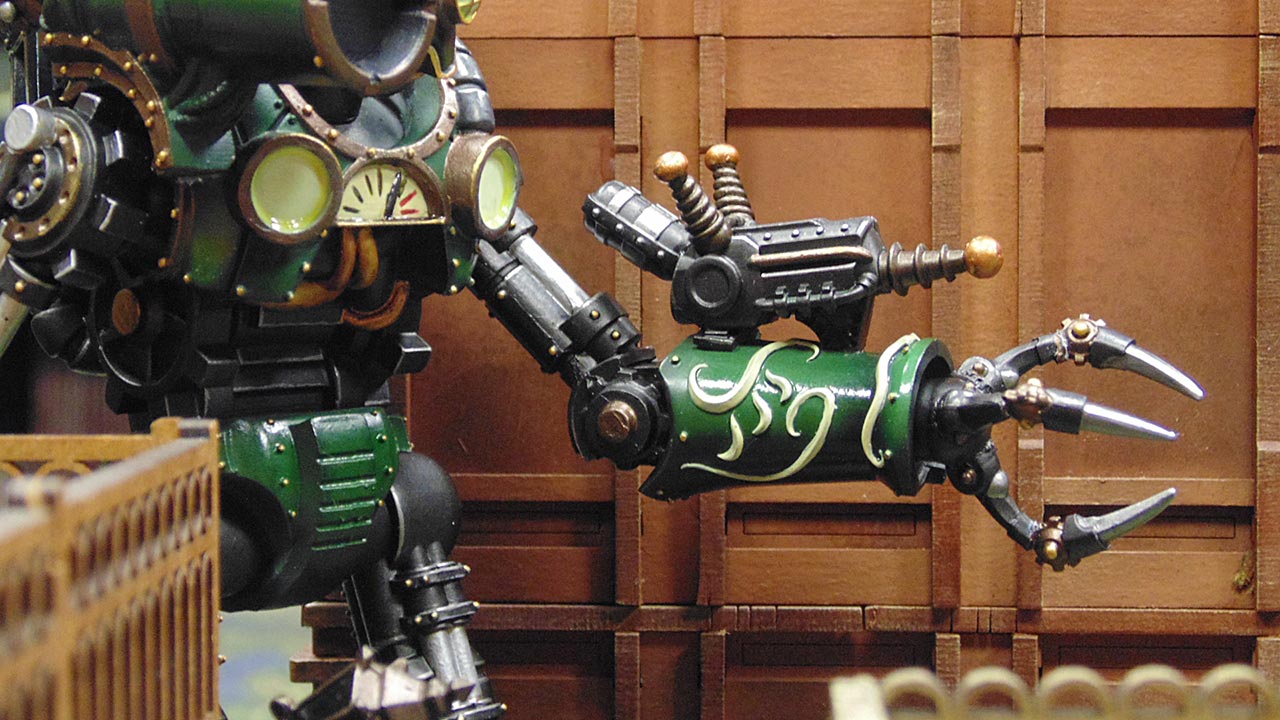
The Details Really Bring The Miniature To Life
The key is in the detail so we've shown off some of the details on our Gigantic Golem so you can see just where the difference is made.
Working on spot colours and such is a good way to pick those out.
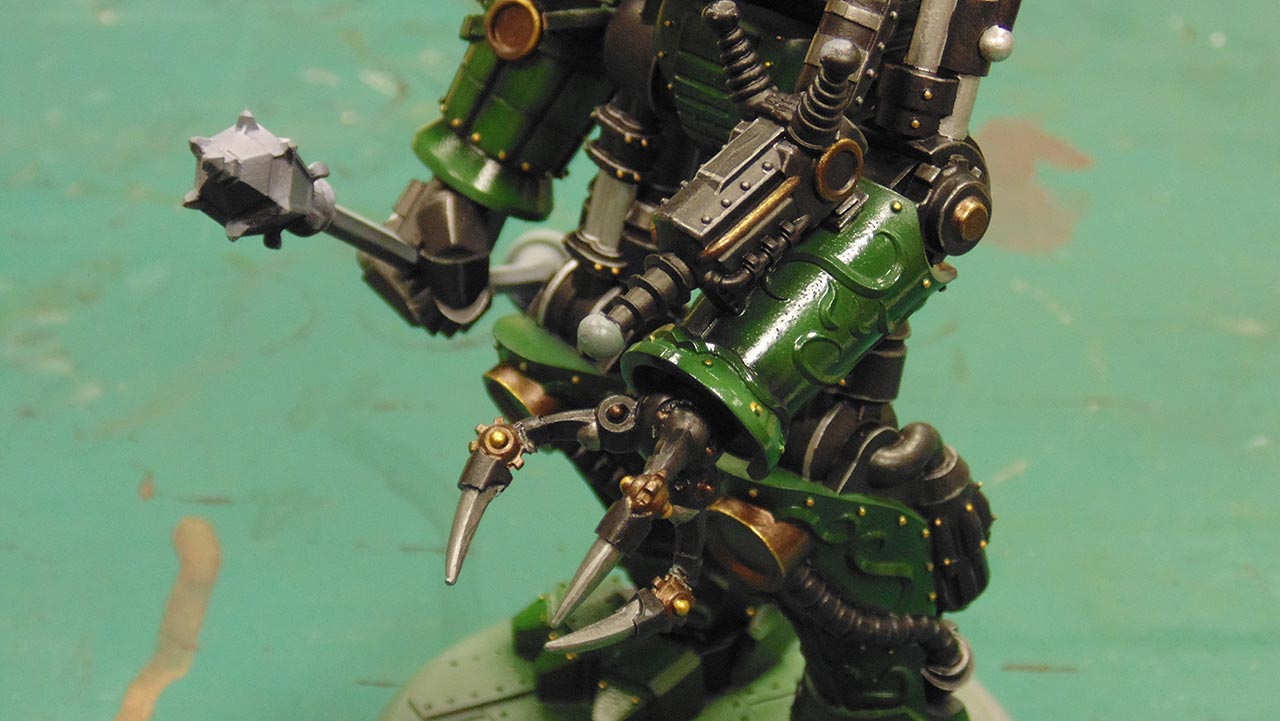
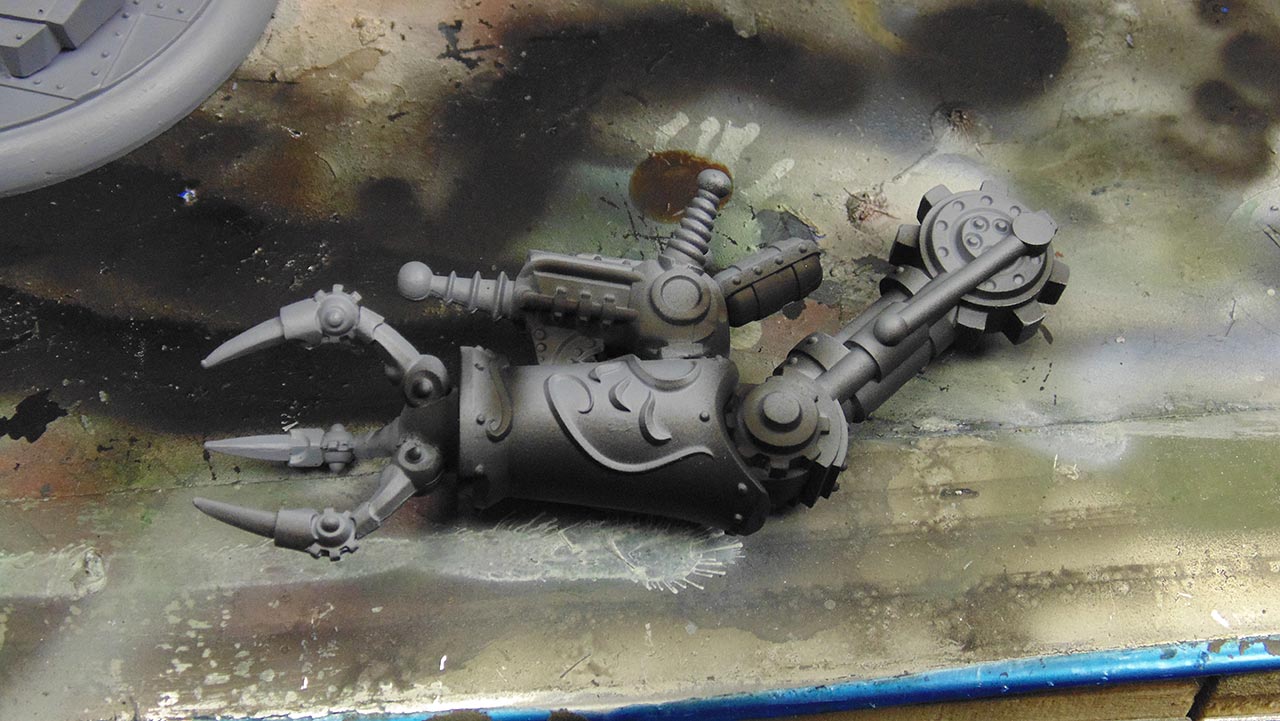
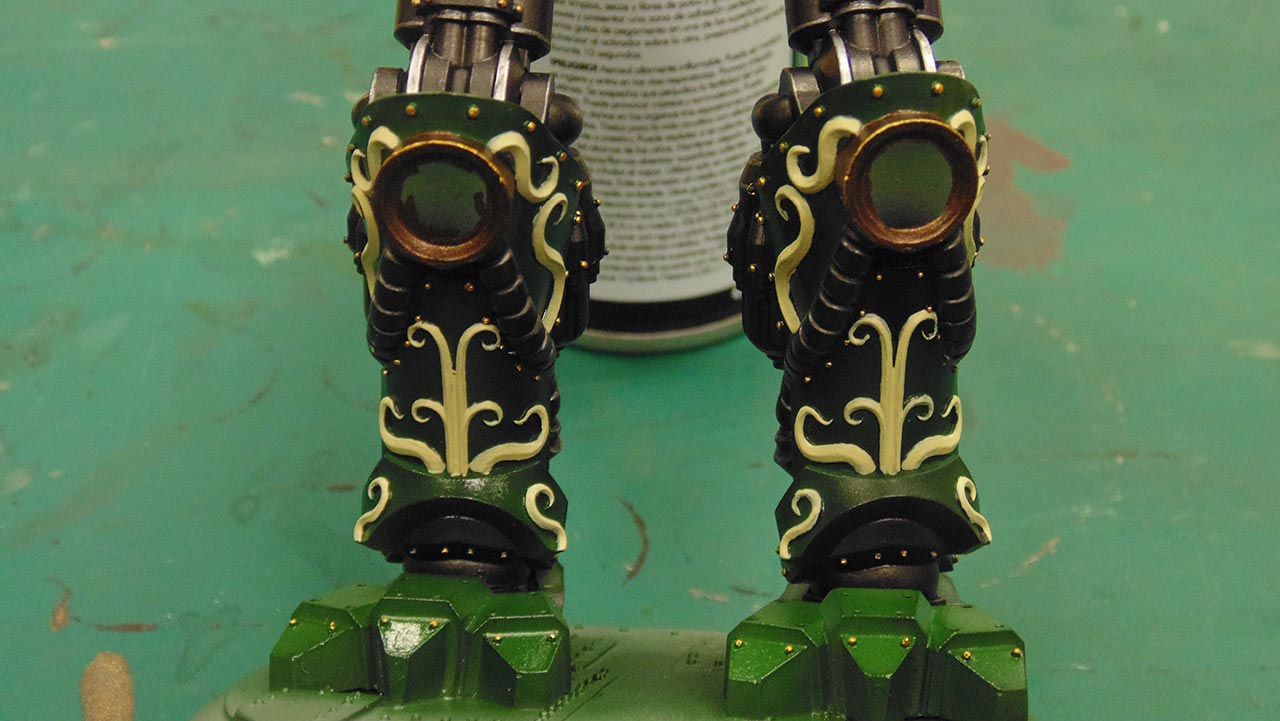
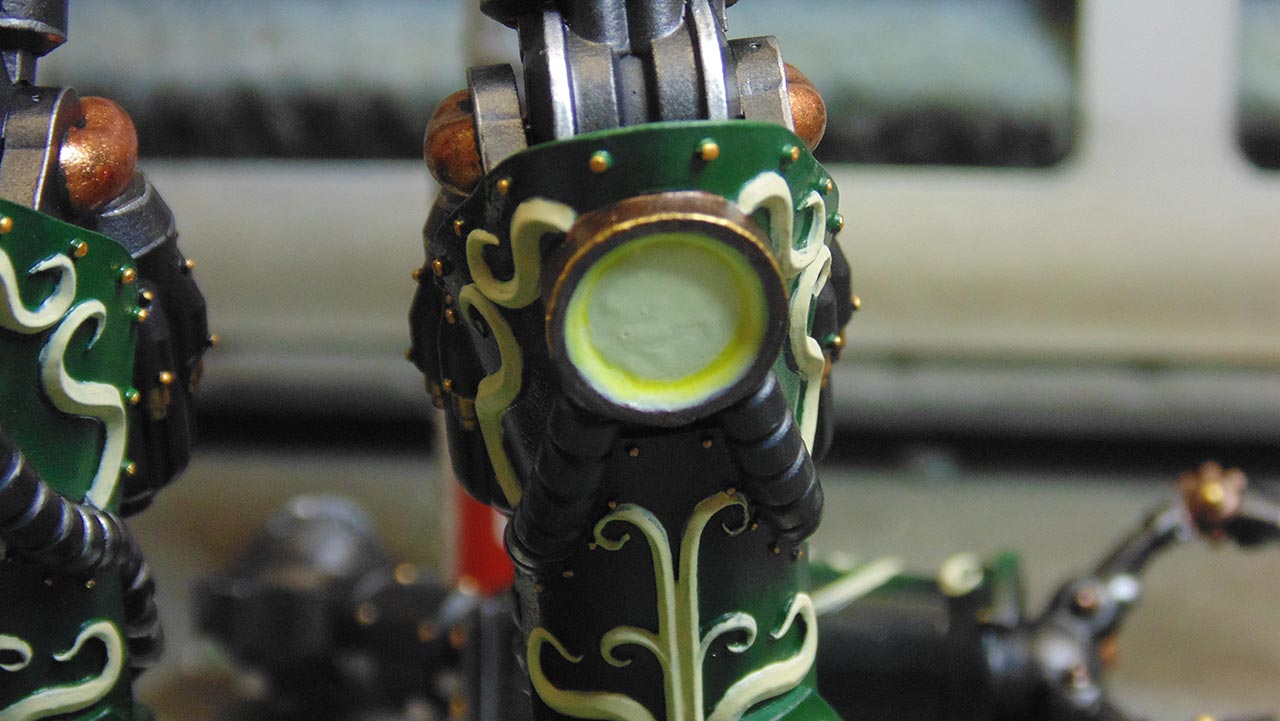
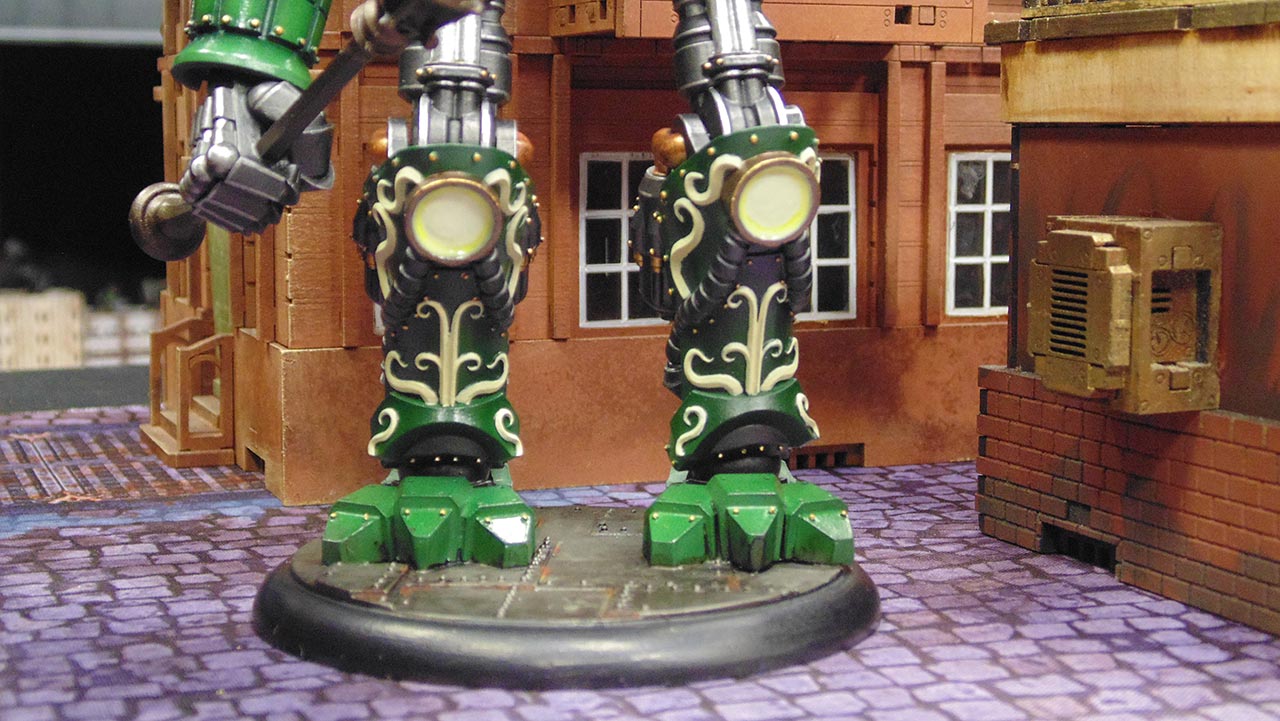
Painting The Scroll Work On the Golem
Now we have to get into the detail and the devilry that is the Scroll Work.
It's easy to get disheartened when it comes to this point but with a bit of patience it can look brilliant.

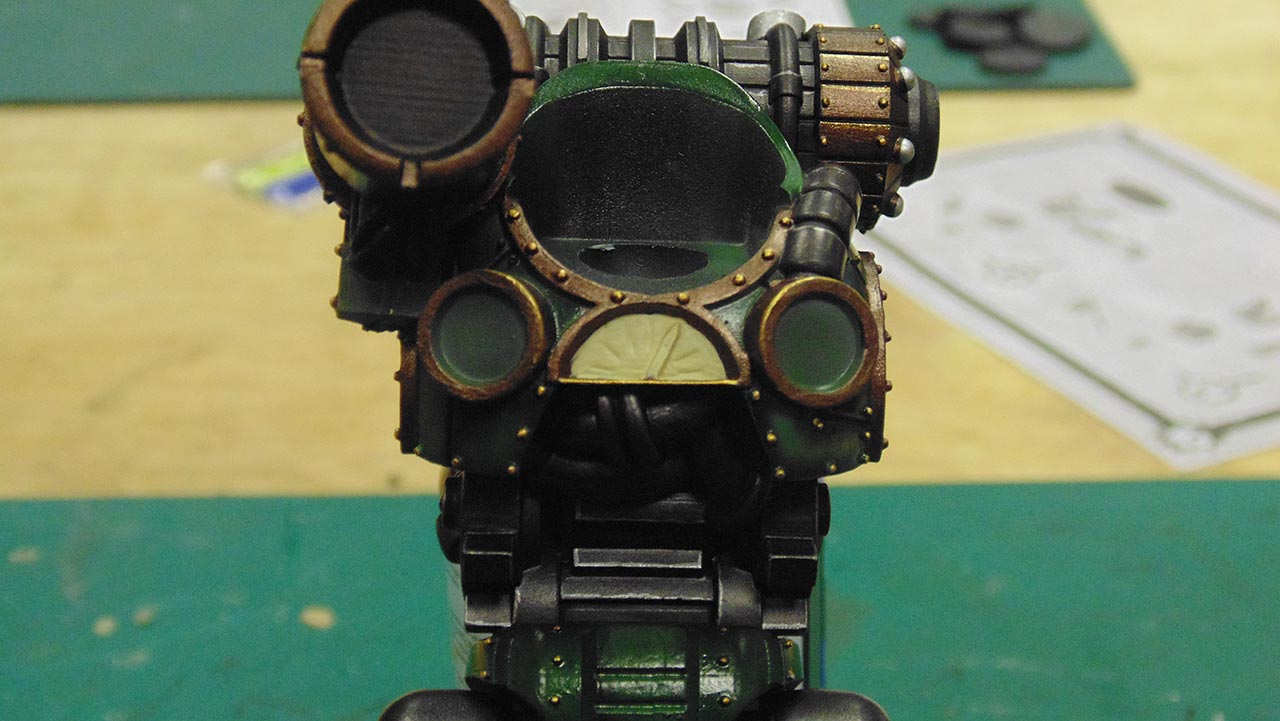
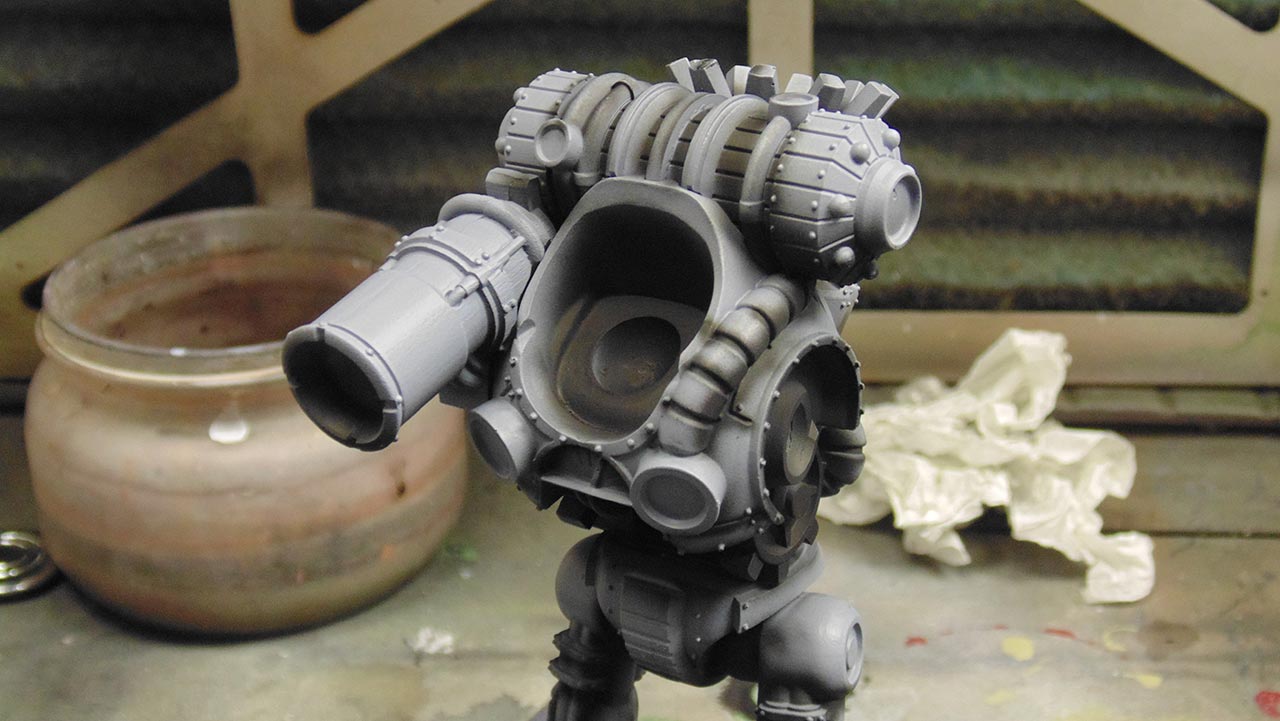
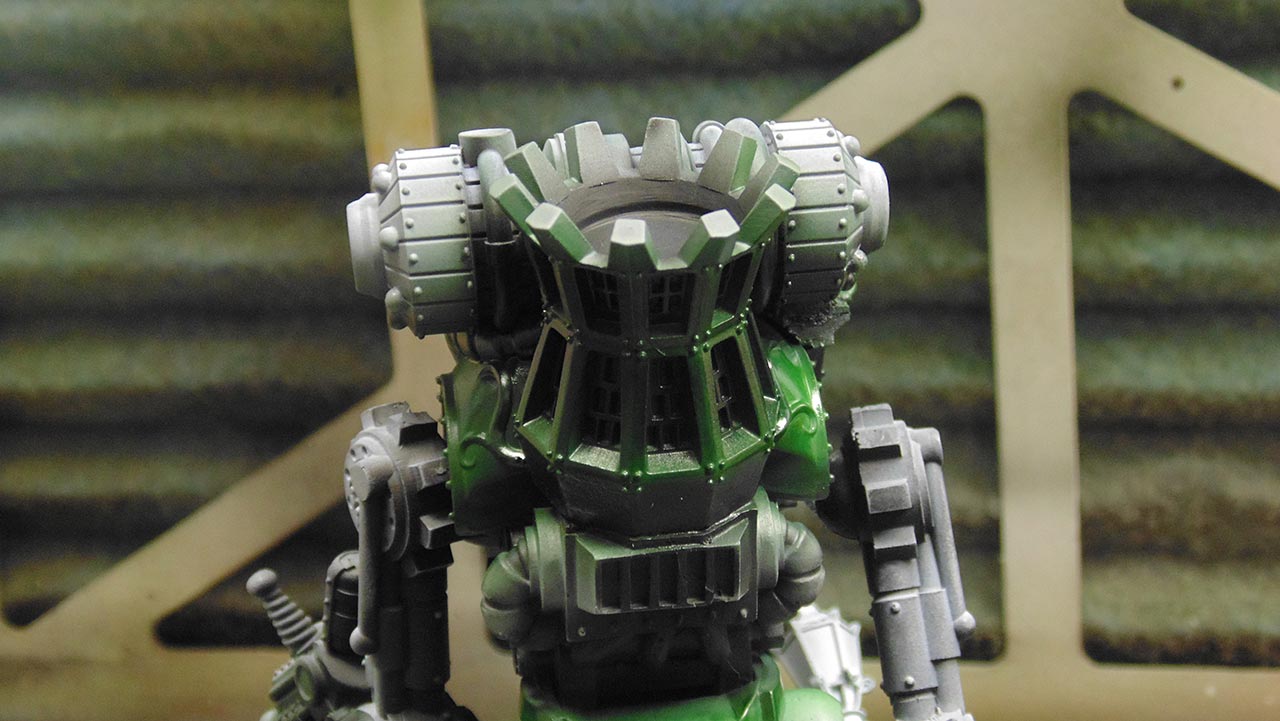
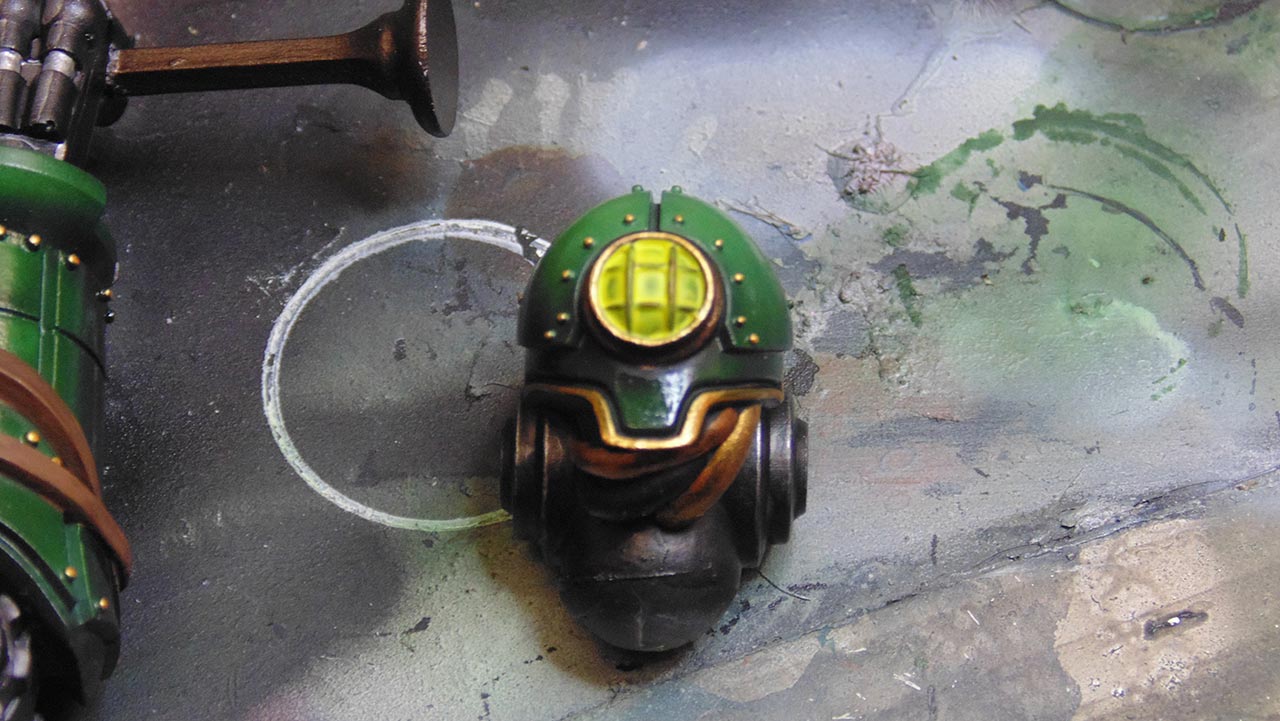
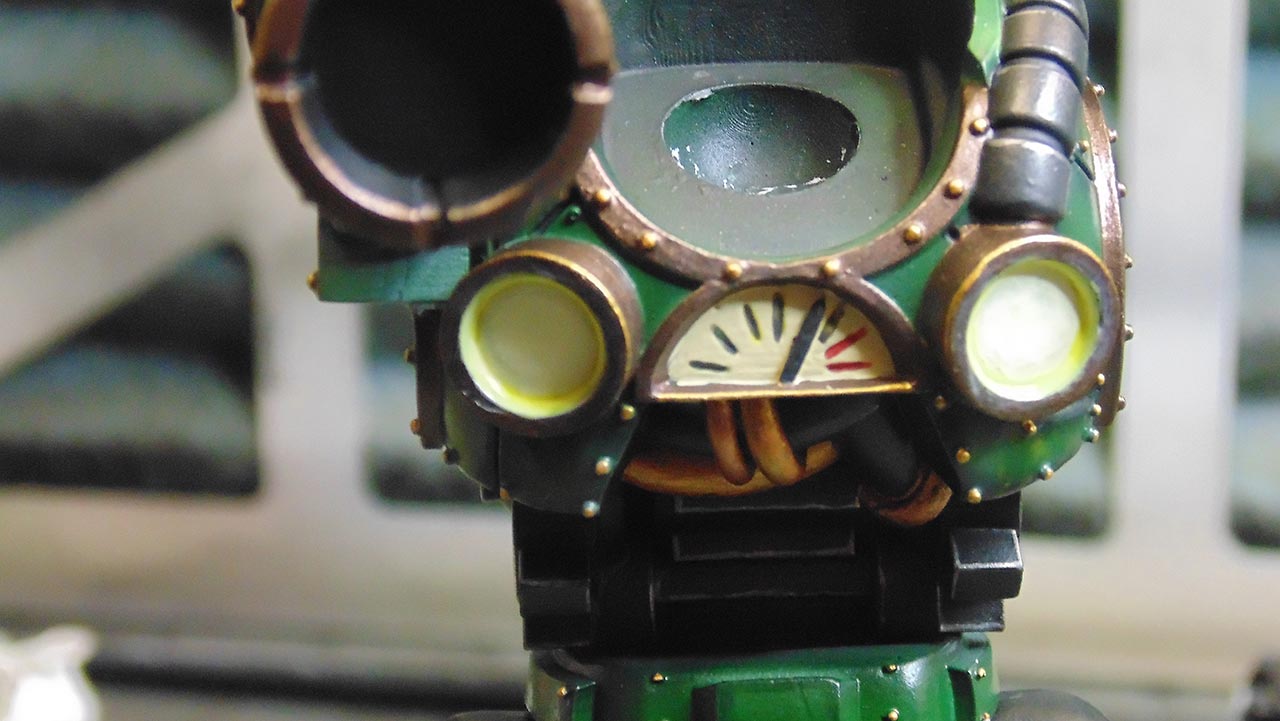
Lighting Up The Golem
Now we have to look towards working on the lighting for the Golem. This represents the big search lights that will be scoping out its prey.
How do you approach painting lights?
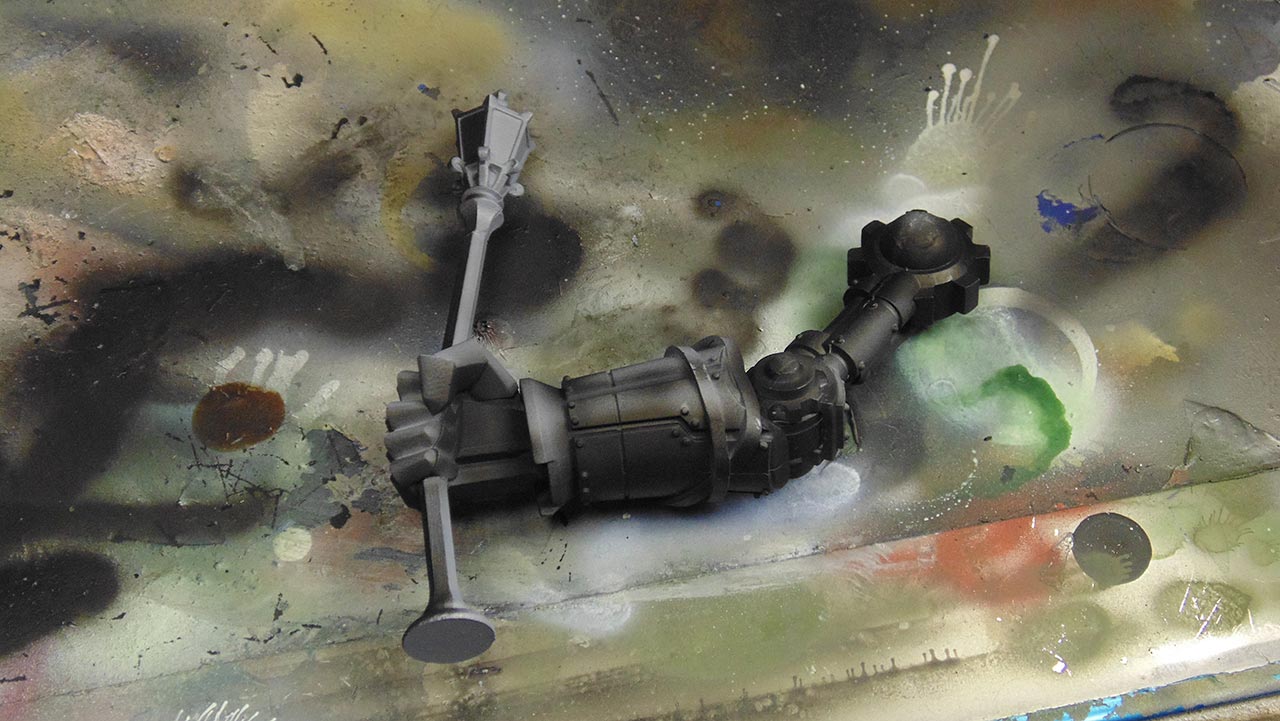
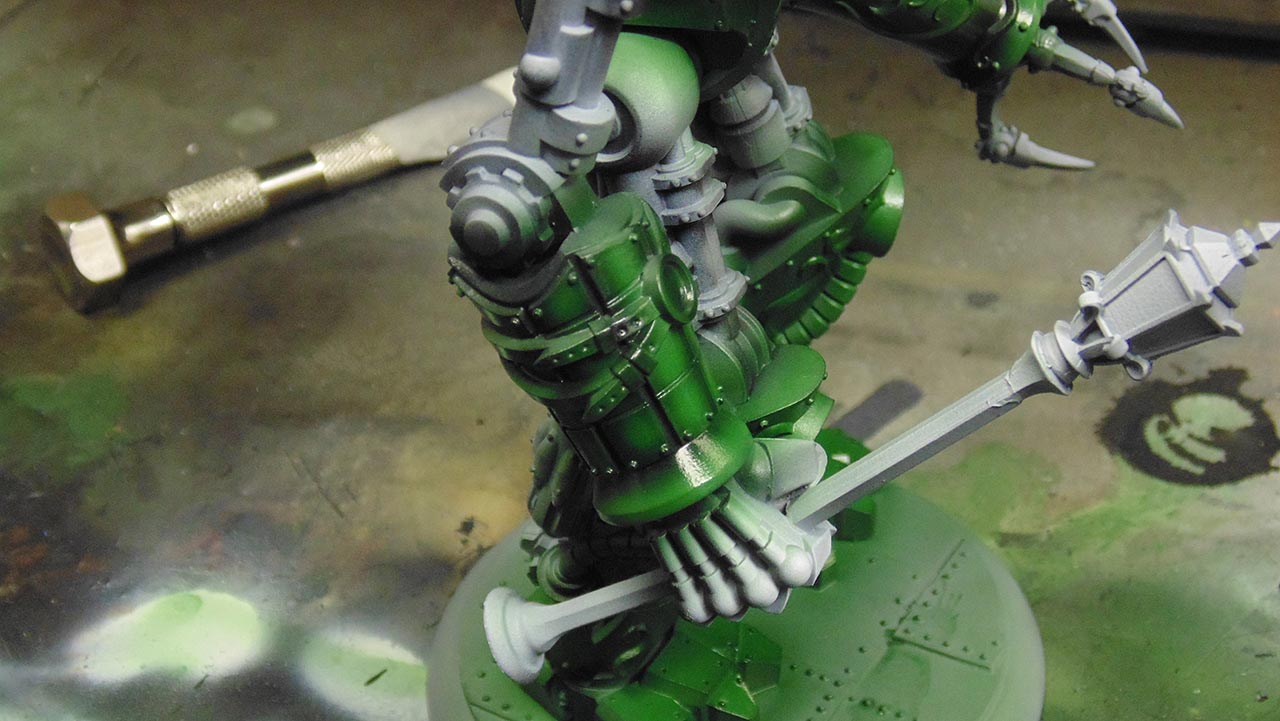
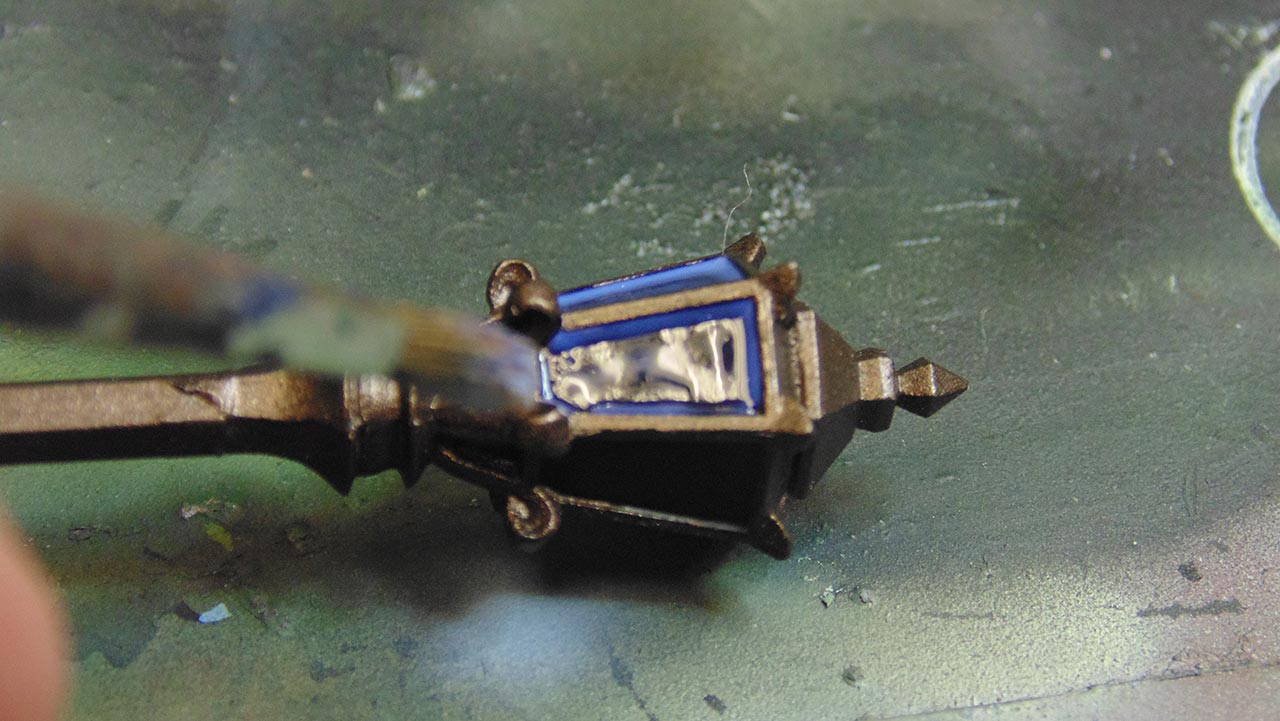
Adding Some Extra Dark Copper For The Lamp Post
With a strange weapon in hand we just had to work on it some more and make it look that little more awesome.
Dark Copper was the way forward - very Steampunk once again!
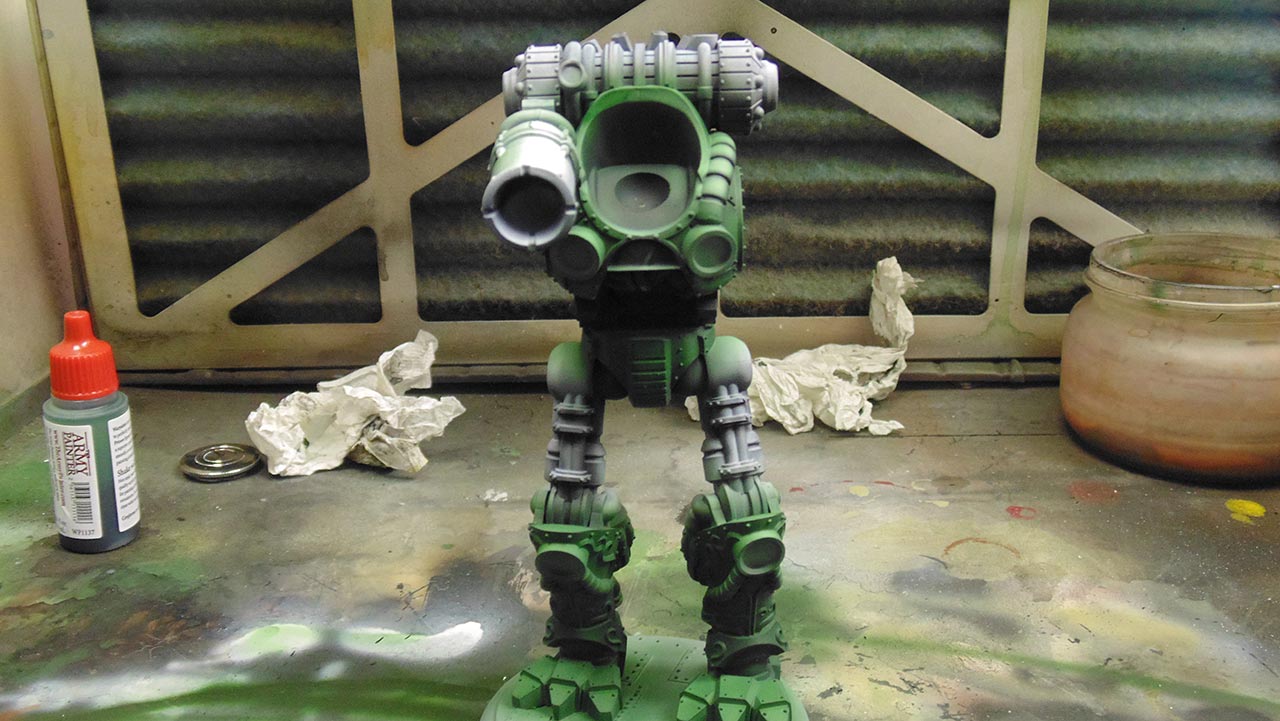
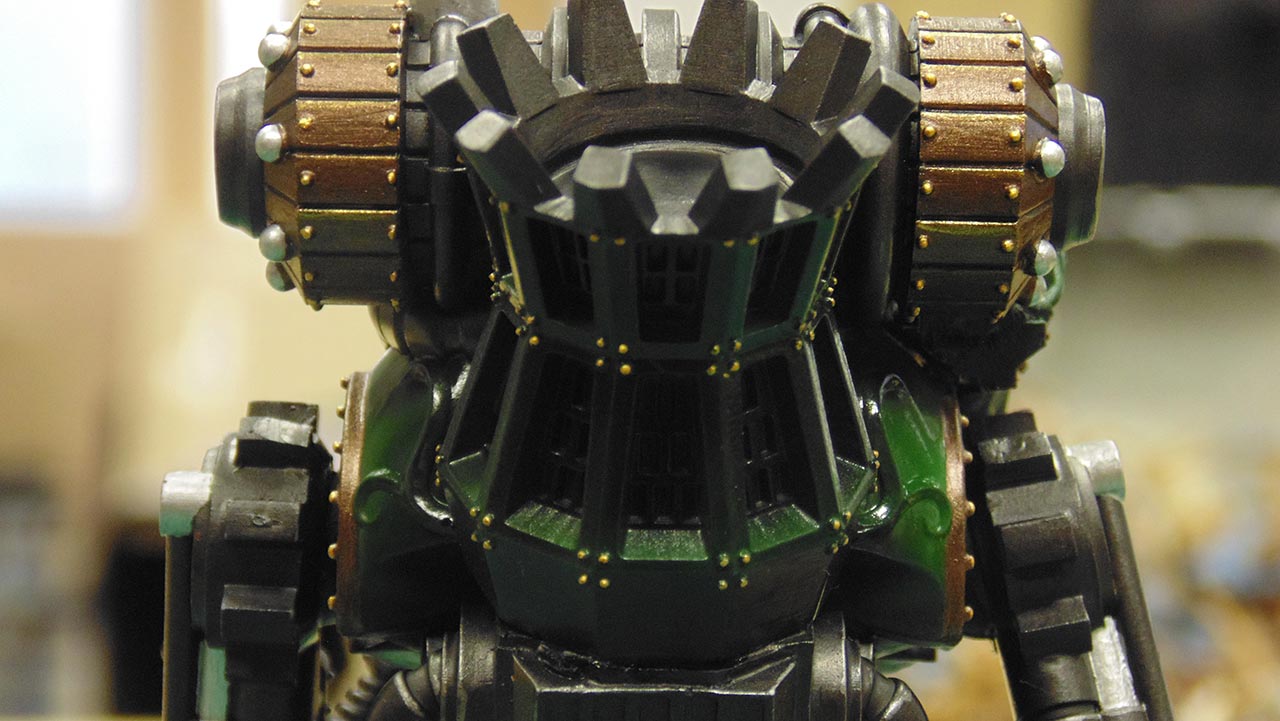
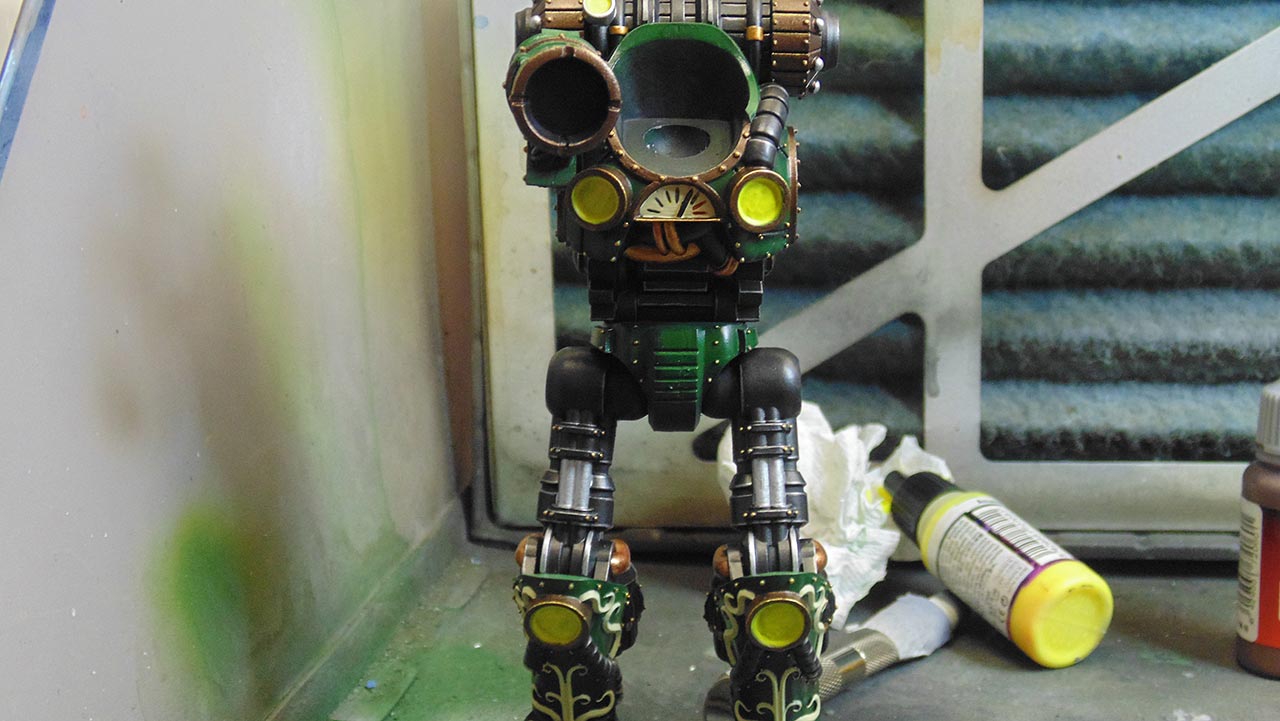
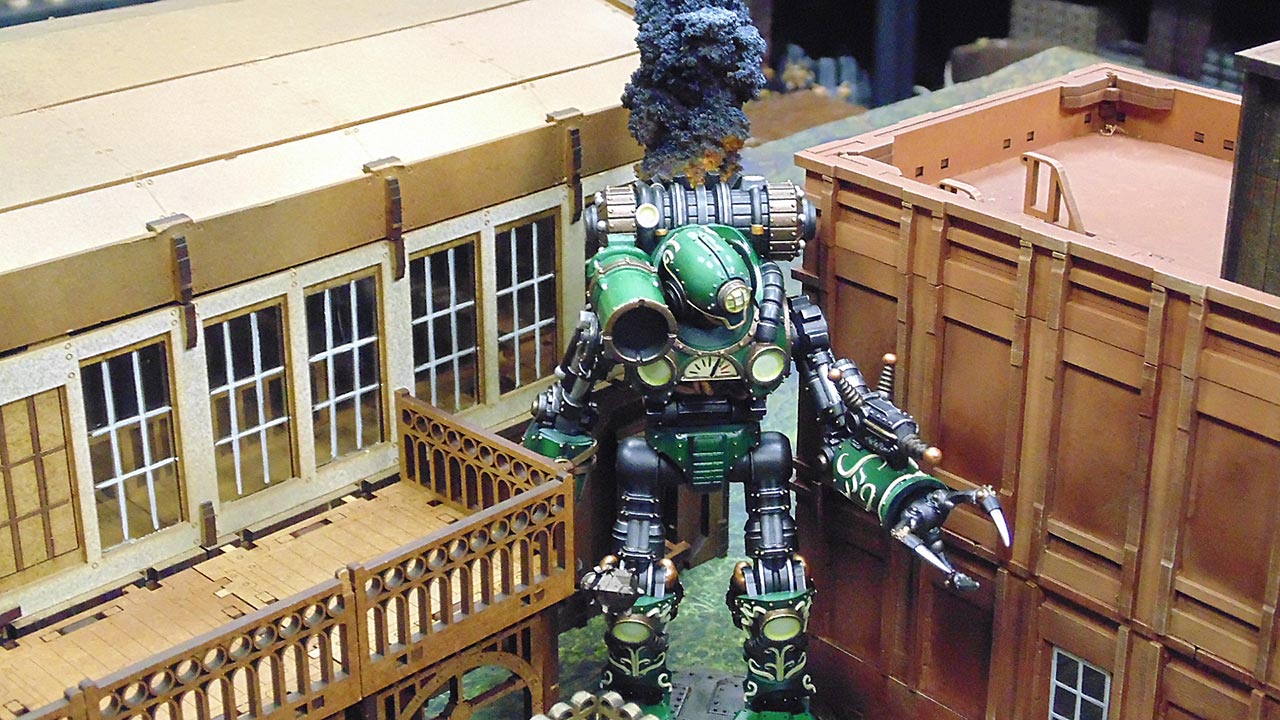
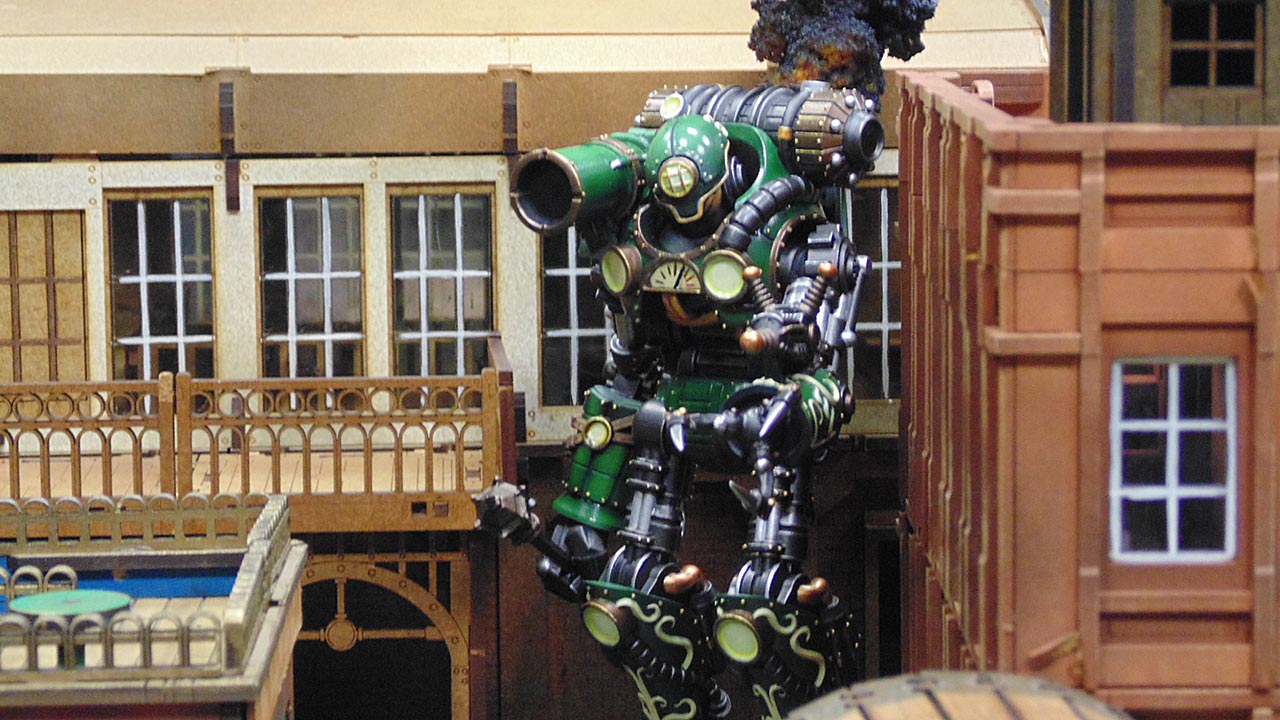
Taking A Moment To Have A Look At How The Mini Is Turning Out
We stop for a minute and give you a look around the whole model to give you an idea as to how its turning out.
With so many steps its easy to get lost so make sure to go back and check out previous videos to see how we got it to this point.

Airbrushing The Lights
While it's a good idea to paint the lights with a brush you can also get some neat effects with an Airbrush to see how that's worked out for John.
Do you think they provide you with a good glow effect?

A Little Yellow Wash To Add The Glow Back Into The Lights
Talking of the idea of Glow Effects from the last airbrushing step we use some yellow wash to make them pop that little more.
Do you think they've turned out alright?
Let's Get The Base Painted Up
A base makes the model pop and so we get started on it ourselves. It's a great scenic base for this creation so let's talk techniques.
Laying Down Some Weathering On The Base
Stomping around on the ground for a while will make it feel a bit weathered so we talk about how you can go about doing that here.
We LOVE weathering effects as they add a lived in feeling to a models basing or piece of terrain.
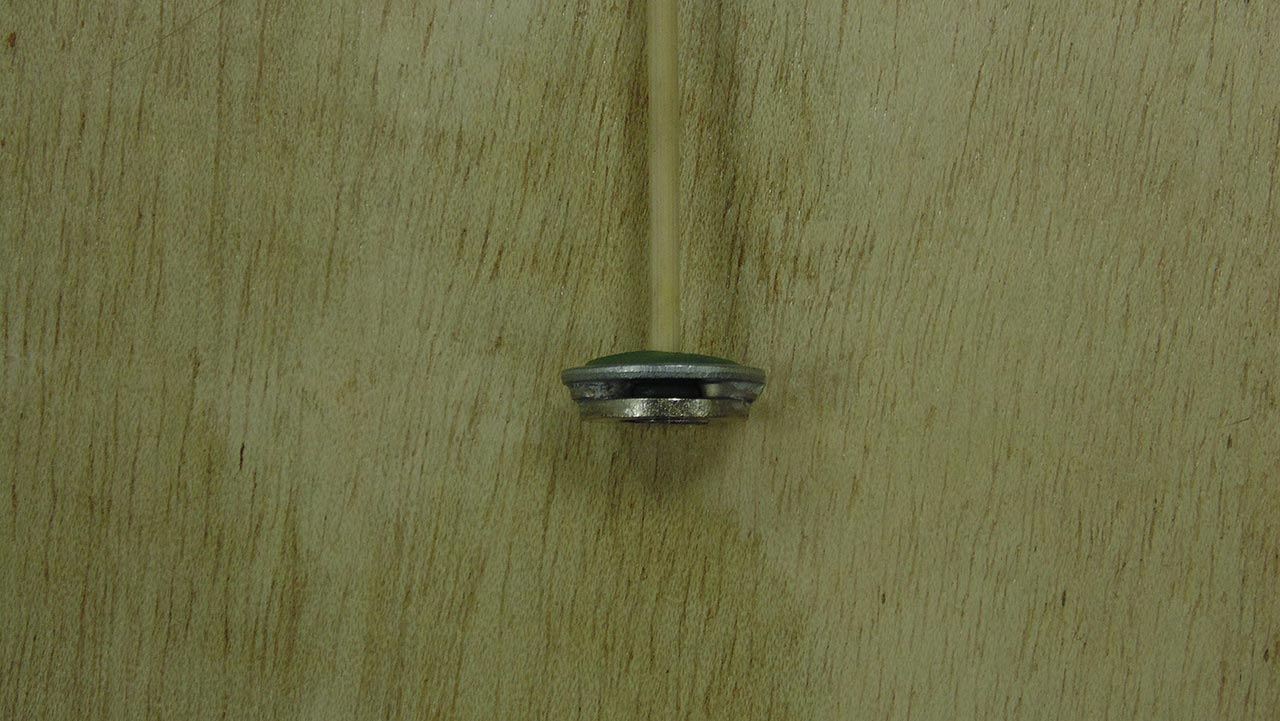
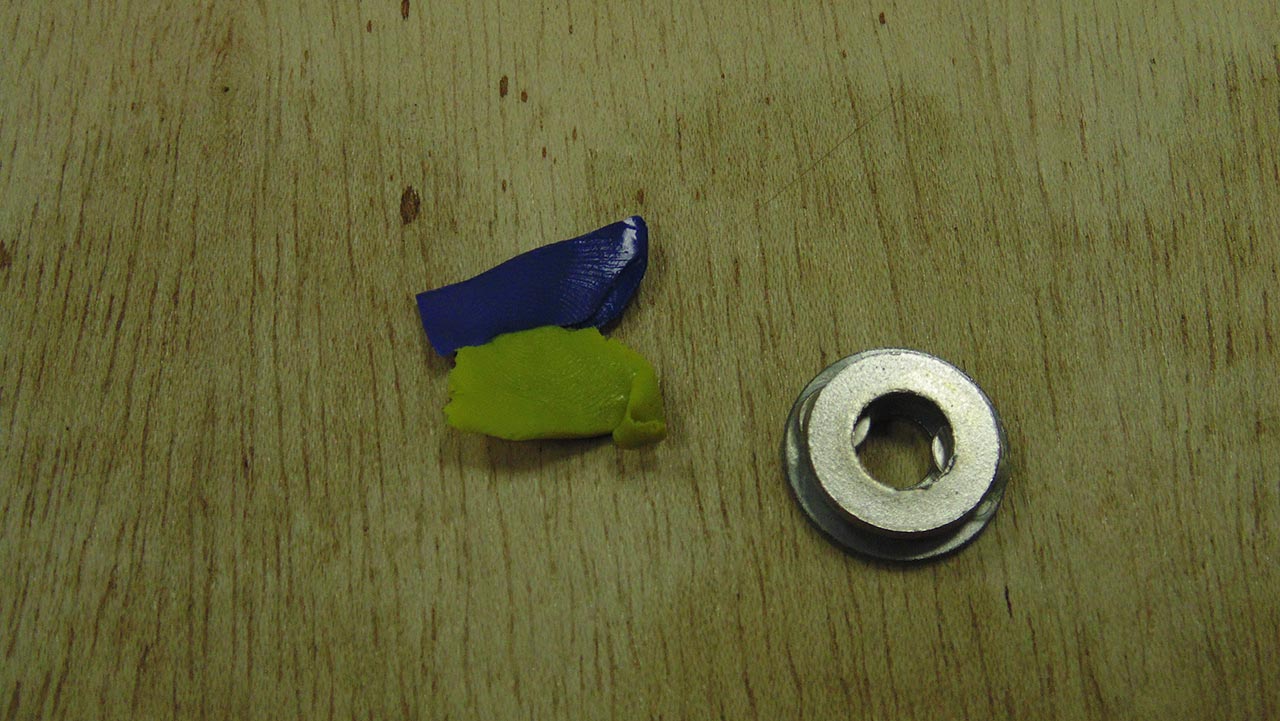
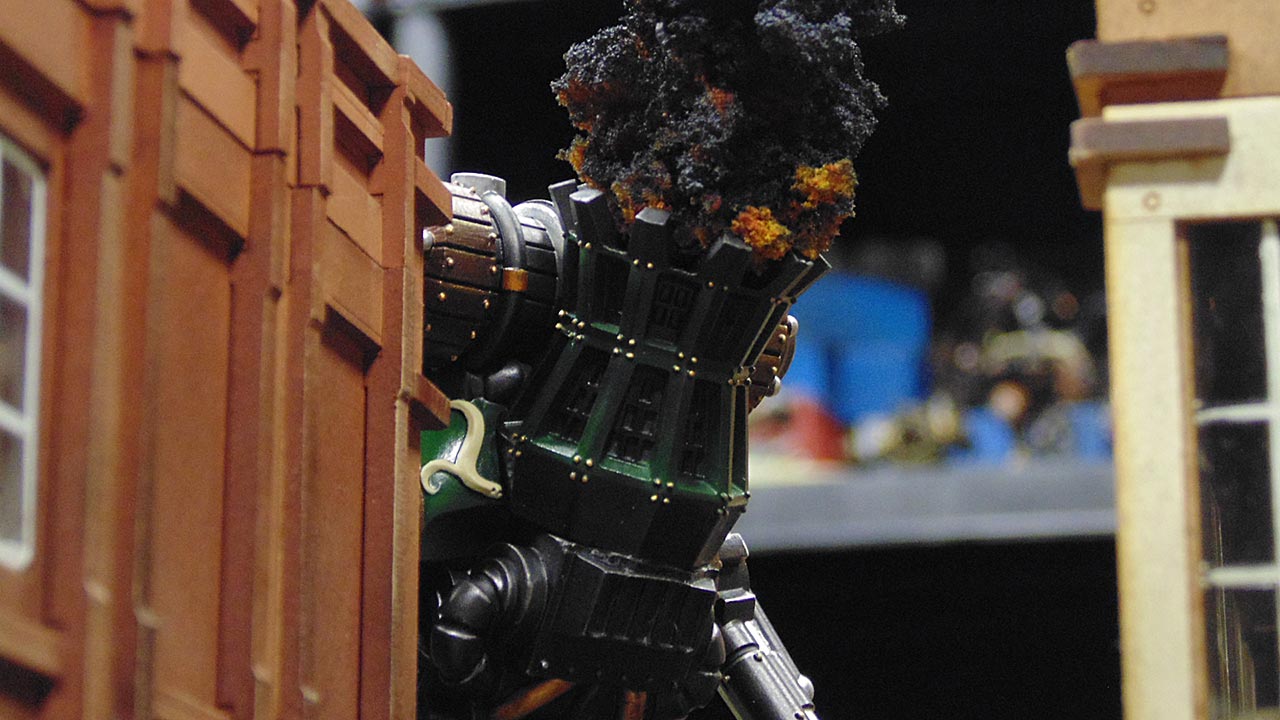
Fire Up The Boiler - Building A Smoke Cloud
Now it's time to work on some belching smoke. With the aid of some green stuff and a bit of fluffy stuff we get started...

Layering Your Clump Foliage
This Clump Foliage might not look like it's smokey right now but as we start to layer it up you'll see the smoke effect coming to life.
How do you make smoke?
How Do You Make Your Smoke Cloud Strong Enough For Gaming?
Something this odd might not survive the rigorous trials of the gaming table so John talks about how exactly he goes about making it idiot proof.
Back To The Base To Add More Weathering
We're back to the base now after our affair with smoke clouds to talk about how to make the base look that little more weathered.
We think it's coming together nicely now!
Finishing Up The Base With Some ModelMates Rust Effect
We couldn't let this base lie without a bit of Rust work and so we broke out the ModelMates and started going to town with this corroded look.
Final Touches On The Smoke Cloud
With the base done we move back to the smoke cloud to make it look finished and ready for the Gigantic Golem.
Fire up the boiler and lets see how the smoke has turned out.
Final Thoughts With Justin & John
We now sit down with Justin and John to talk about how we think this project has gone and explore the different techniques we've used on this Golem.
It's been quite the jaunt into a load of different ways of painting and modelling - all of which we'd like to see you use too!


The glossy green combined with the brass is a great look and the end result is fantastic. I’m not sure how you resisted the urge to weather the crap out of it, though!
Terrific work @johnlyons. That’s a really impressive finish. I wondered on a couple of things. Do you recommend going over preshades with inks? I’ve found when I’ve preshaded something and then tried to add colour the finish always looks a bit insipid. Your green looks very strong though. Also what steps do you take to spray gloss through your airbrush? Do you thin the gloss and what kind of pressure do you use? I apologise if I missed this. I’m chock full of a cold and dog tired.
Anyway, thanks again for another great parts to painted.
We really enjoyed watching that and a real treat to see something different, always like me a robot ever since I had em as a kid cheap Japanese toy that sparked real sparks onto a carpet, you could set on fire the green final horse racing results paper which was printed on stuff so thing you would get a sun burn through. Worth a fortune mint with a box nowadays. Going to get me some robots and scratch build some others. By the way Warren you were wrong and now its finished John you should go back and get that… Read more »
Very awesome looking model. Congrats on a great job.
On the assembly I would of only stuck down one foot. Then after building one leg up, it would of made making the second leg easier and more flexible.
Very nice project, love the panitjob. But I think you should have insisted to make the lights blue. This golem will be my next purchase at Micro Arts Studio. And I’m realy tempted to finaly getting an airbrush.
this was the first from parts to painted I’ve watched.. I sort of agree with Warren’s choice of the yellow. I think it could have been done a little better, other then that detail this thing looks magnificent.
Stunning
massive thumbs up on these vlogs!
Thank you for taking me on that great journey of yours @johnlyons
I loved this tutorial – I’d love to see more airbrush work. in future pieces.
A question that I would have is when @warzan showed off @loyd ‘s old lledo cars, how come he didn’t have the Dad’s army vans? I’ve go these as a transport for the bolt action figures.
Bang!, two three
Bang, two, three!
So cool! This model is still on my wish list and I will admit to finding it a rather intimidating undertaking but this series has really broken that down. Now the steam engines of creativity are running in my mind and I have all kinds of ideas but foremost is lifting your smoke technique straight out of the tutorial. Thanks @johnlyons for an inspiring vlog that has me saving up to get one of these kits for myself.