3D Printing For Wargaming Part Three: Making & Printing Step By Step
April 6, 2015 by crew
I thought it would be good to show you just how much effort goes into actually making and printing something. I don’t want you to think it’s daunting, in fact it’s pretty easy. Start small though!
Jimmy's First 3D Print...
Let’s build a model and print it. You can actually follow along with just the software (including the slicer) without having a printer to print with. It’s nice to see how the slicer makes the tool paths.
1) Go to http://www.sketchup.com and download their free software (SketchUp Make).
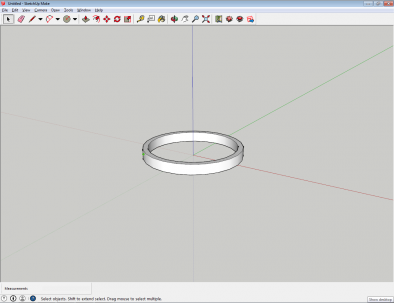
2) I have made a simple cylinder, 20mm outside diameter, 18mm inside diameter.
3) Export this object to an .obj file.
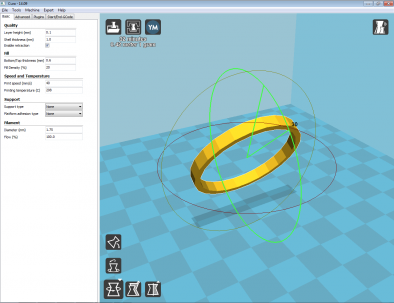
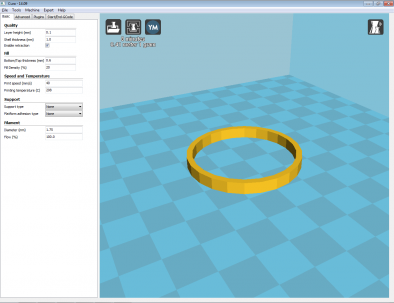
4) Load up the software you use for slicing, in my case Cura (http://software.ultimaker.com).
5) When you load your model file, it can sometimes be rotated in strange directions. Simply rotate it back.
6) You are able to change the scale of your models here as well. I suggest working at the scale you want to print at in your modelling software as trying to remember what scale you printed something at is not always going to work for you.
7) Hit print!
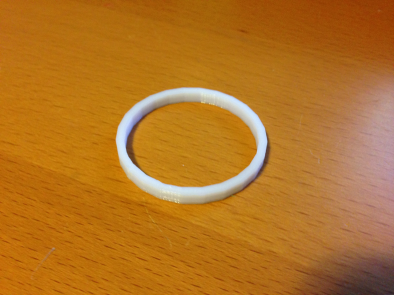
Here is the result of five minutes worth of work and ten minutes of printing...
Building Up Walls
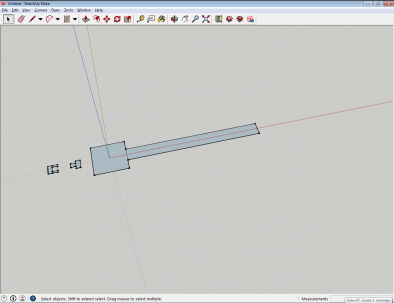
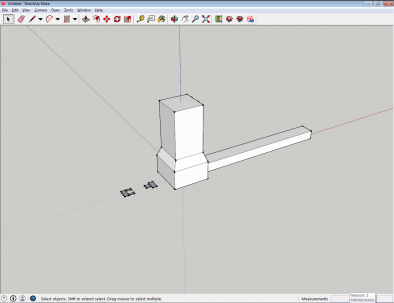
Let’s take this a little bit further. How about we make a section of wall? First, let’s figure out our dimensions by blocking it out. I think we need to have a pillar that is about 1.5cm square at its base, about four centimeters tall. Then we’ll build a 6 cm wall leading from it.
My initial plan is above, with some connector pieces.
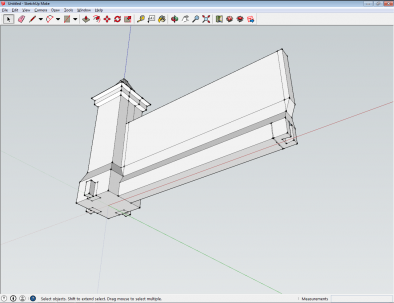
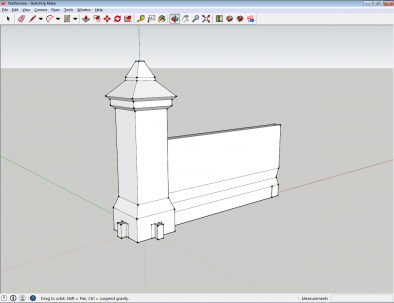
Building the shapes up...
Objects can sit inside of other ones. You’ll notice that that the dovetail parts overlap into the main wall section. This is fine; the slicer will count them as one solid object.
It can be hard to get the right tolerance for connector pieces. They won’t slide nicely together if you don’t build some space between them. I’ve been working with a 0.3mm gap between surfaces and it has been working satisfactorily. Other printers may react differently. Experimentation is important.
I think we're now ready to print...
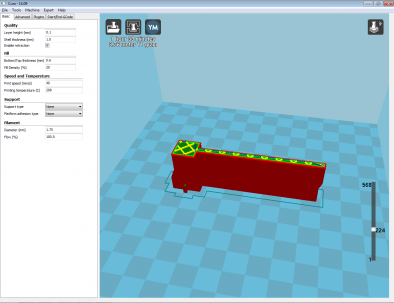
Inside the slicer software you are able to change the view so that it shows the actual paths that will be sent to the printer. The red is outside surface, the green is the inside surface, the yellow is automatically generated inside structures and the blue shows paths where the tool moves but no filament is extruded.
Printing
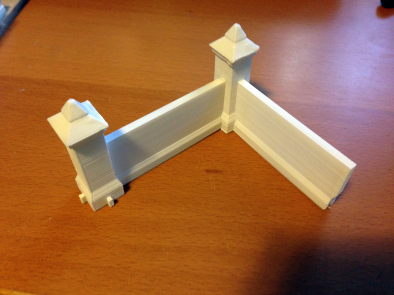
The print for the wall above took 1.5 hours. If you want to make more, then it’s going to take quite a while to get them done! I’ve added some primer to show the details a bit better (as the plastic I use is slightly translucent).
The vertical lines are obvious, but can be forgiven. There is some warping around the edges of the top stone of the pillar because of the overhang. The tip of the pillar isn’t crisp because the plastic doesn’t have a chance to cool properly before the next slice is drawn on top. However, the connectors are solid; you can pick both pieces up together without it falling apart.
I hope this shows you just how simple a print can be. It all depends on how much effort you want to put into it. This wall section is simple and lacks any kind of relief for brick patterns or stone but it is functional and ready to put on your table right away.
Don’t be frightened of the technical know-how. It’s just experimentation and iteration. Try different pieces of software (most export to an .obj or a .dae format) as they all have their own strengths and weaknesses.
If the whole thing feels imposing to you then just find a small part and focus on that. You’ll eventually get used to it and it will feel great when you end up with an object in your hand that you thought of in your head.
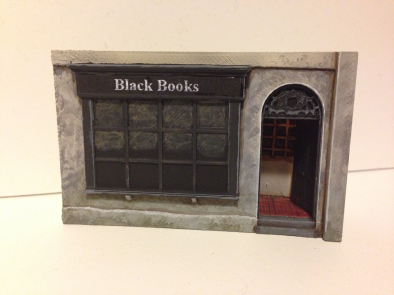
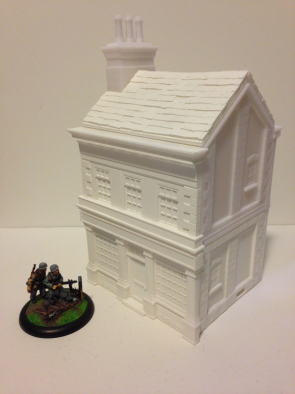
Above are some of my other prints as well for you to take a look at. What would you make?
Next Time - If you want to build your own models, you’ve got to be smart about it. Stay tuned for my advice to you!
3D For Wargaming Series
Part One: Where to Begin?
Part Two: Pitfalls of 3D Printing
If you would like to write articles for Beasts of War then please contact us at [email protected] for more information!
"You can actually follow along with just the software (including the slicer) without having a printer to print with..."
Supported by (Turn Off)
Supported by (Turn Off)
"It can be hard to get the right tolerance for connector pieces. They won’t slide nicely together if you don’t build some space between them..."
Supported by (Turn Off)

















That software stuff looks complicated
I agree, way too complicated for me.
the walls look good but do they work out cheaper than manufactured ones?
I’d say you could print as many as you’d like for about 25p each.
looking for a FOW scale dalek… this could be the way to go Im guessing for things like that
FoW is pretty small scale. You could definitely get something to use, but the smaller the scale, the worse the output. For FoW, I’d stay at the size of buildings.
great terrain pieces 😉
they look really effective with a bit of paint on them too 🙂
:O you just printed my life goal.
Thx again Tobyn, is it only inage and brush or the lines from printer are so defined an visible? if they are is it easy to file them town like with any resin?
The lines are mostly visible on the ‘height’ of the print (the vertical nudge). Yes, they are pretty obvious. My next article has a list of possible fixes, including a special epoxy you can buy.
But my approach is to stay with relatively flat surfaces and to print them flat to the bed of the printer. You still get some lines, but I think they are forgiveable. It’s a limitation you can work with in order to get good results.
Or wait until printers get better 🙂
Will you be making the example prints available to download/links to where they came from?!
Yeah, I do want to do that. Maybe I’ll post them with the next article. For now, you can check out my submissions on Thingiverse:
http://www.thingiverse.com/Herrigold/designs
Dude, your construction set…. Where do i donate some money to make more of this happen? I’m having palpitations this is so good… And I say this from experience of doing many laser cut MDF and 3D printed designs myself. That is utterly outstanding!
Oh, wow, that’s very nice of you! Thanks very much. I do it for a hobby for now, so it’s for free and for my own satisfaction. There are sites that I could post my models up and ask for a payment, but that sounds more hassle than it’s worth.
I’m super excited about my next project, so stay tuned!
Also, as a follow up, here’s a work-in-progress. The model should be done in a couple of days, then on to printing!
http://i.imgur.com/g9G3ane.png
I find the software rather intimidating but I might have a -go- since you recomended a specifically “easy” CAD software program. I’ve wondered if it might be useful to make parts for my Primeval abyssian wargame’s vehicles ect.
Absolutely, give it a go. It’s free! But always start small, that way you will actually finish something and get a sense of accomplishment so that you can tackle something larger afterwards. I’d suggest trying to make a gun for a turret or something like that. Cylinders and boxes are super easy.
I was considering making small boxes with simple grooves in them and printing tons of them out to glue together into weird looking structures/vehicles.
Yeah! That’s a great plan.
Great stuff, there are some fantastic designs in the album, love the market stool.
Is there any reasons you went to sketch up? It is very accessible but personally I dislike like it although I am more experience with a range of CAD programs, and find others more to my liking – although most have an associated cost.
As to anyone else looking at sketch up, it is very easy to use – just start basic and then get more complicated.
I actually do all my work in 3DSMax as I’ve been using it since 1997. I chose SketchUp for this tutorial purely because it is easy to use for the novice, and free.
Another option would be Blender (http://www.blender.org/) which is also free, and fully capable of producing top quality models. It’s just a little more daunting.
Only played a bit with 3dsMax – and can understand choice of sketchup for tutorial purposes. Might have a look at blender – cannot finance a printer atm but always good to learn new stuff so if and when one drops into my price range I will be ready to roll. Thanks for the reply.
As a user of Blender for the past couple of years, I can say that it certainly takes some getting used to as some of the interface choices go against the standard found in software.
That being said, it is free and there a lot of good tutorial resources out there for it. I totally recommend taking a look at Blender Cookies videos and tutorials as they are what got me started.
Have to say, this looks like it may make the whole 3d printing thing much more consumer-friendly if it performs as advertised….
https://www.kickstarter.com/projects/tiko3d/tiko-the-unibody-3d-printer?ref=nav_search
Wow, yeah, that does look good. And for that price… splendid.
Not the first 3D printer project to show up on kickstarter and deliver a product that didn’t perform up to expectations.
Really want this to work out, but I think I’d save my money now, wait for reviews, and see if it goes out to retail.
Absolutely. But it’s getting to the price where if it’s terrible, you still are getting *something* out of it.
3D modelling is actually no harder than using a drawing program. A few of the basic tools are all you really need to build something, especially if you’re doing basic walls and buildings. It’ll still take time to get something that looks good, but not as much as you’d think.
Yes and no. I think you’re right in saying that something like the wall above wouldn’t be too hard (but even that involves taking a lot of new concepts into account for beginners such as the end of the wall actually lining up correctly with the posts/supports) but to create something outstanding takes, in my oppinion, just as much skill as that of traditional sculptors.
There are a lot of classes you can take for 3D modeling. I was a Game Design major and we worked with video game assets quite often, though the models I make would be really complicated for a 3D Printer.
Sketchup is one of the easier programs to use, though. There are some nice tutorials, otherwise see if there are online classes on YouTube. =)
While nothing to do with the article so much as I love luv and heart that show. So very funny.
Took me a while to understand, but I’m guessing the Black Books store-front. I made that for my wife as a thank-you for agreeing that a 3D printer would be a good buy. She loves the show too.
beasts of war ought to star the “3dprinting and lasercutting library for gamers” as a resource we all could add files to and spread them. i would get one of these if that was a reality. https://www.kickstarter.com/projects/tiko3d/tiko-the-unibody-3d-printer
A really interesting article thanks for sharing it with us.
HI, You have missed some important steps. You need to take them into Z brush to add the details and weather them. Then you need to decimate them in mesh mixer and then test the slices in the slicer software.