


About books and such


The cover story
So this time I tried my hand at some book binding. As stated before, I ordered some basic supplies for making a cover and got to it.
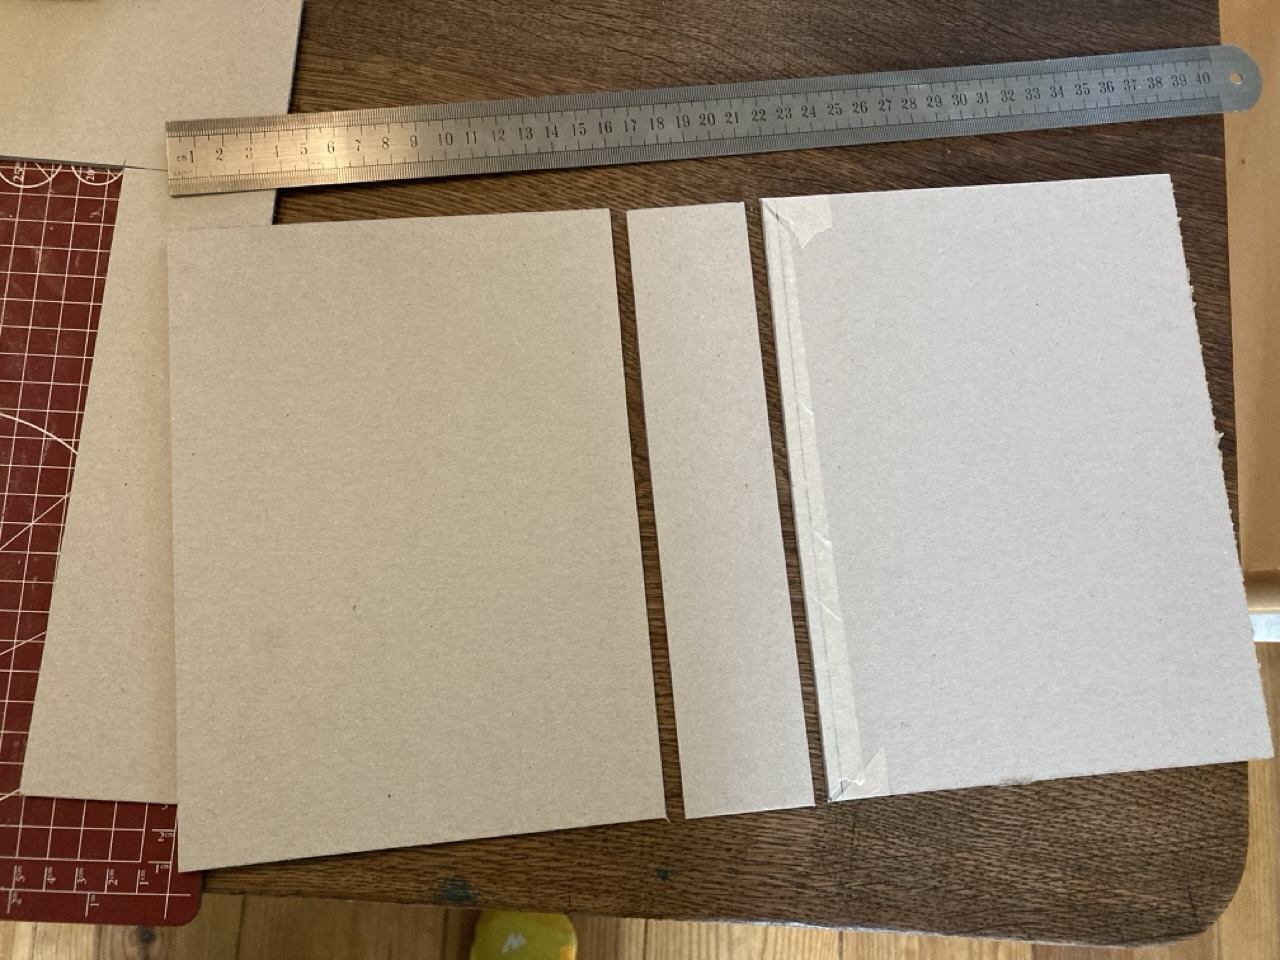
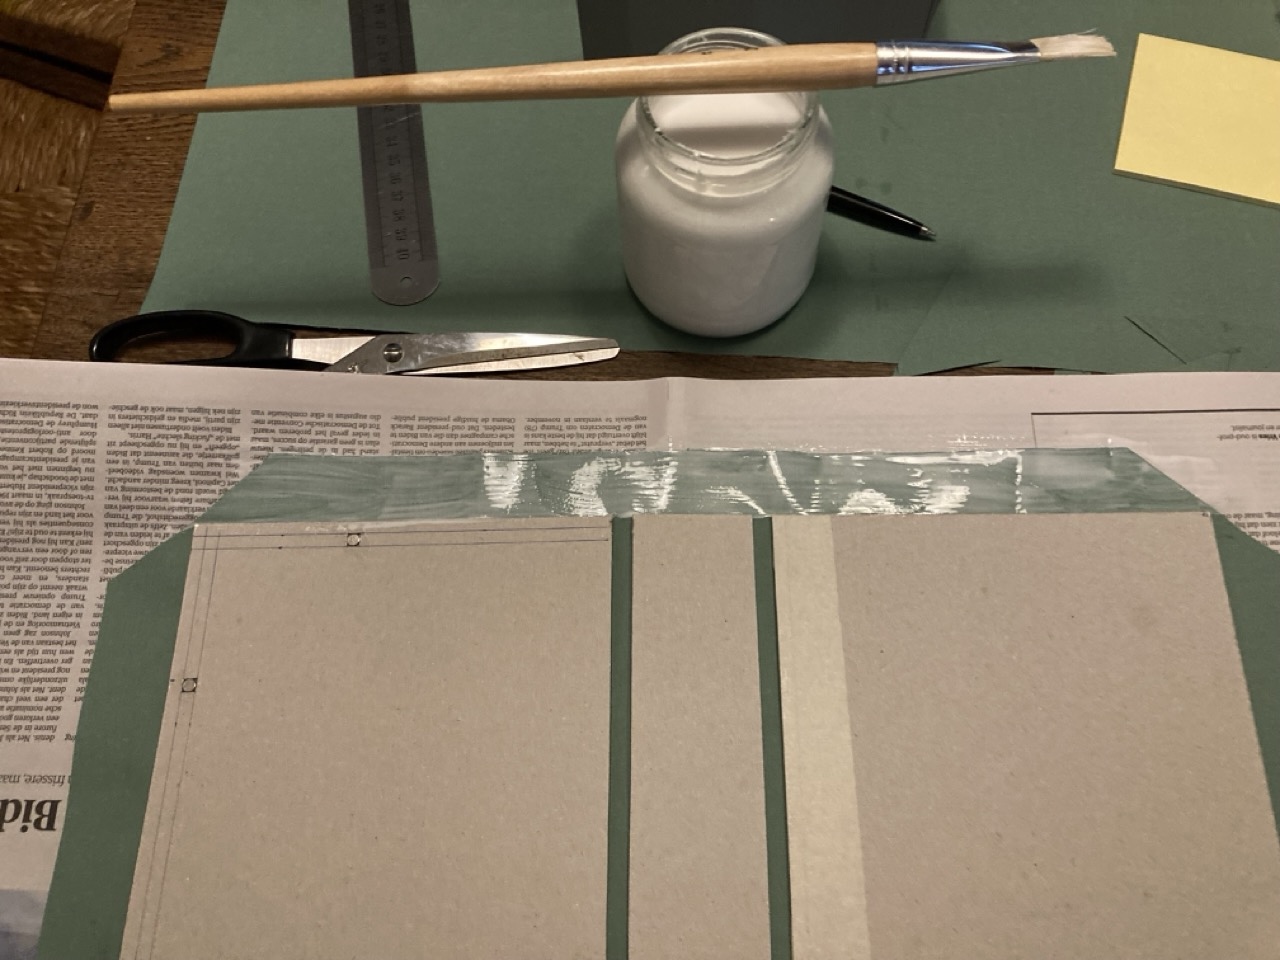
The outside dimensions of the 3D printed inner container section are 210 mm by 155 mm by 45 mm. Looking at some hardcover books on my shelves I thought that for the front and back plates I’d do 220 mm by 160 mm, and for the spine 45 mm. Note that the greyboard I’m using is 2.5 mm thick, which seemed like a sturdy choice.
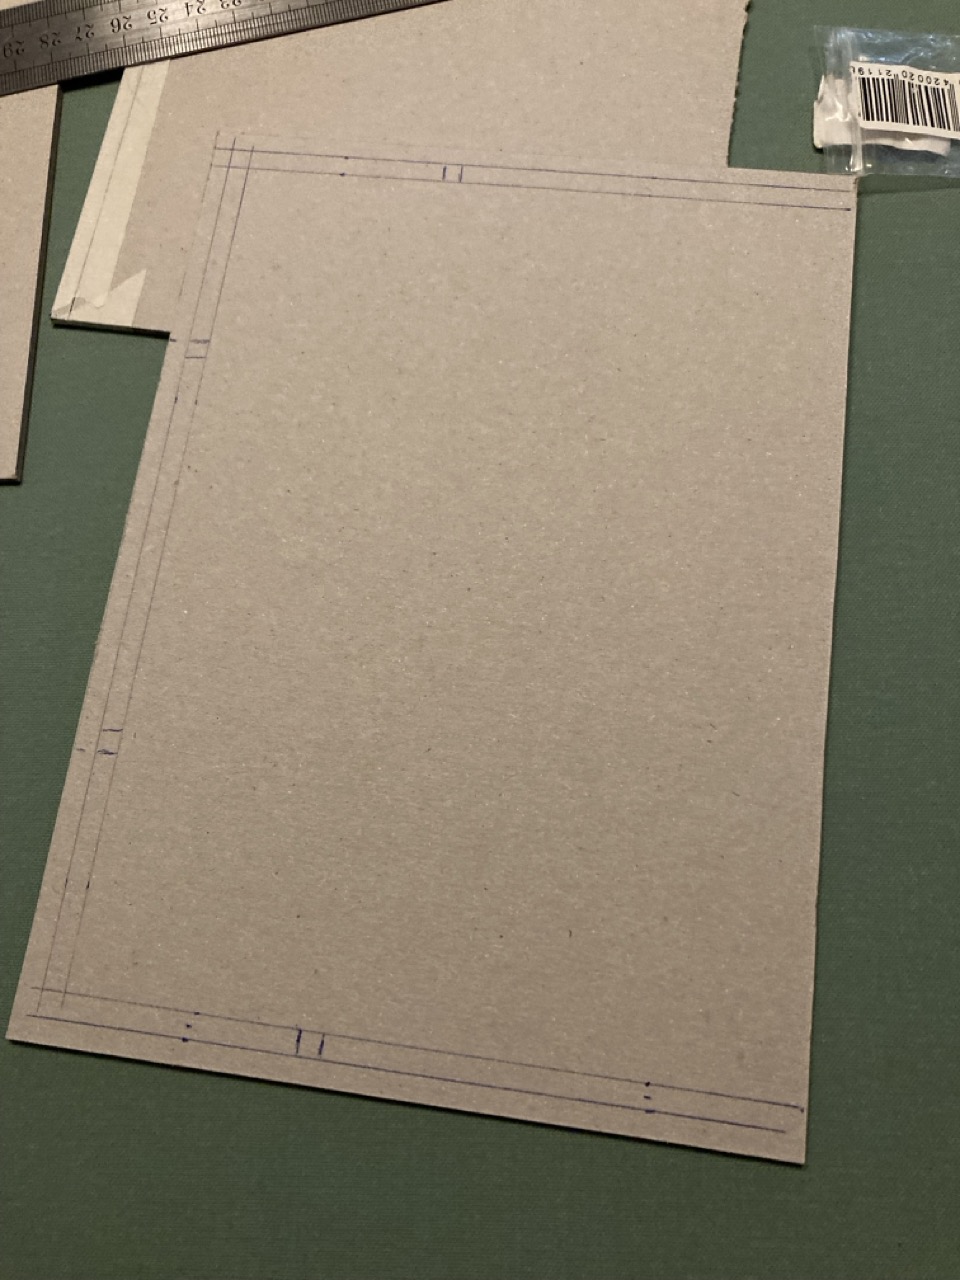
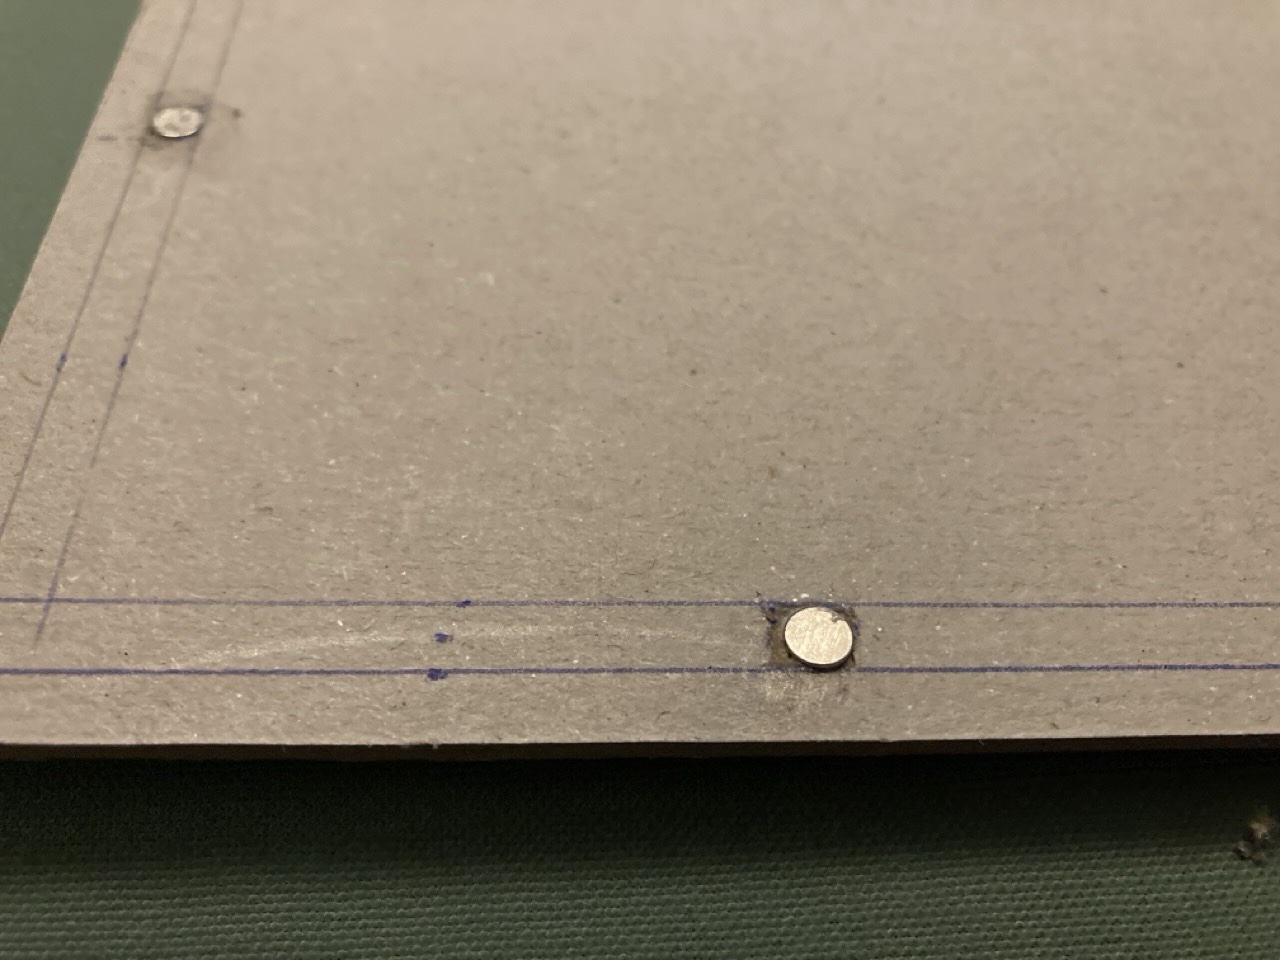
I then added some holes to the greyboard into which I stuck some magnets. To make these holes I firstly drew out where the inner section would be and then marked the holes. I then made shallow cuts with a precision knife and carefully removed the top layers of the board with the same knife.
The idea is that these magnets will keep the book closed, when not jammed between two books.
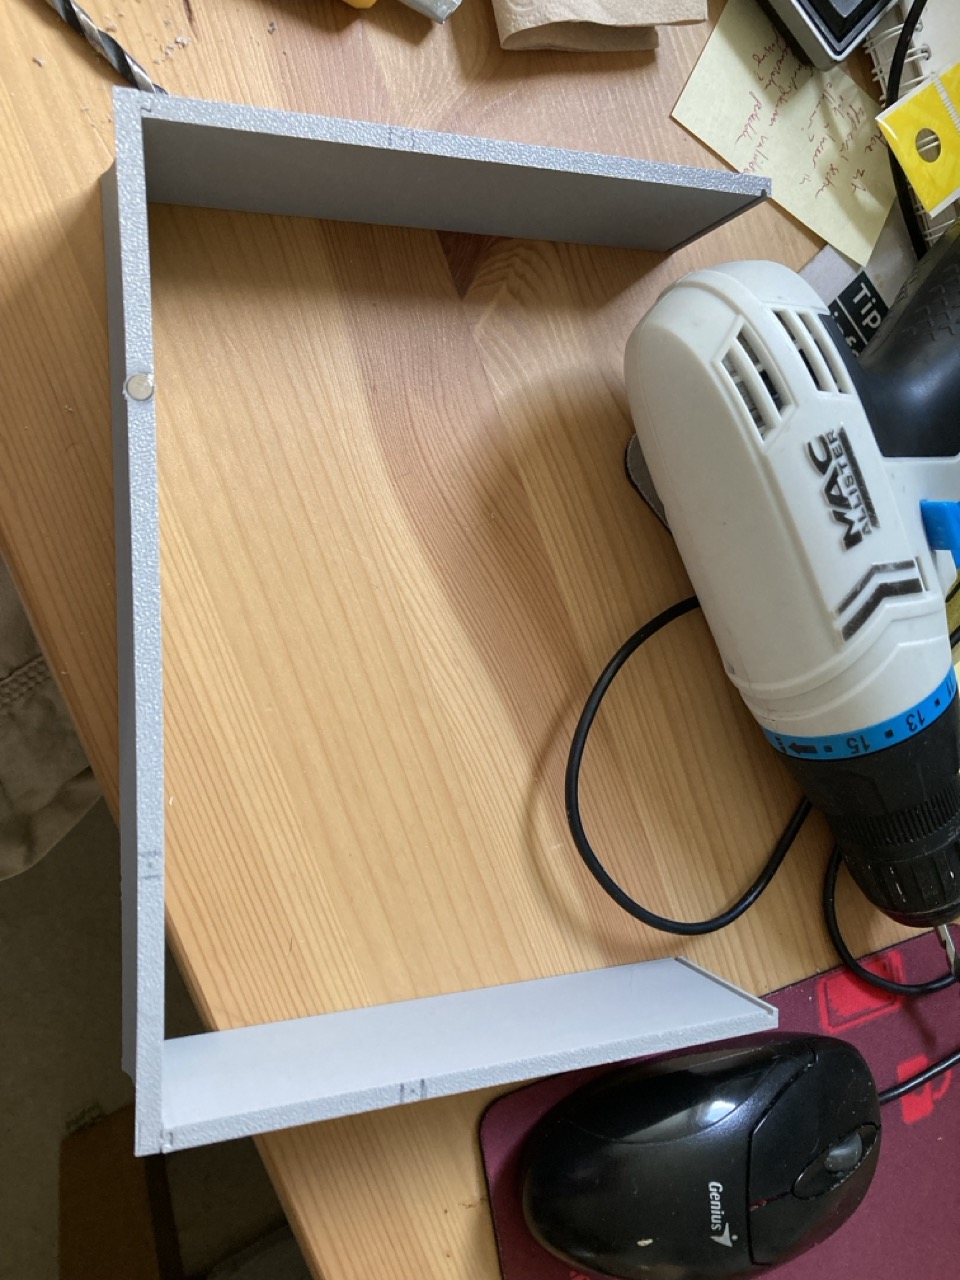
I then noticed that I forgot to add holes to the 3D printed section. I added holes to the designs in TinkerCad in which you can easily slide the magnets, but I hadn’t added them in the sections I already printed. I hate reprinting stuff for such a minor addition, so I got out the drill and just added some holes that way. It isn’t as pretty as it could have been, but does the job!
 First magnet added!
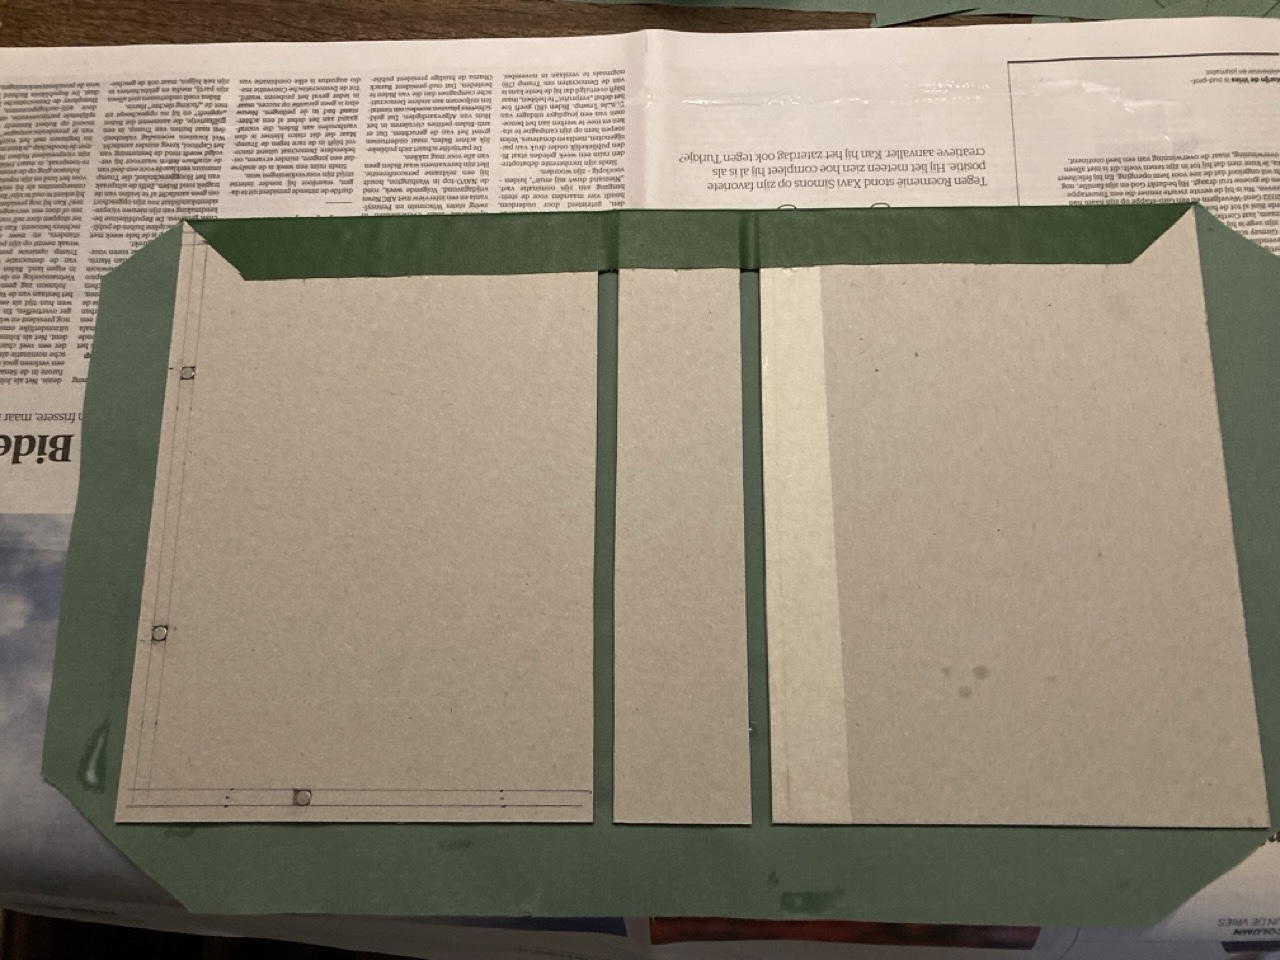
I then turned around the greyboards, covered it with a layer of the lovely bookbinders glue and stuk it to a green piece of bookbinding linen I’d cut out. I did this casually, same as the distance between the boards and the spine (it’s about 6 mm).
I then glued each of the green parts over the board as you can see below.
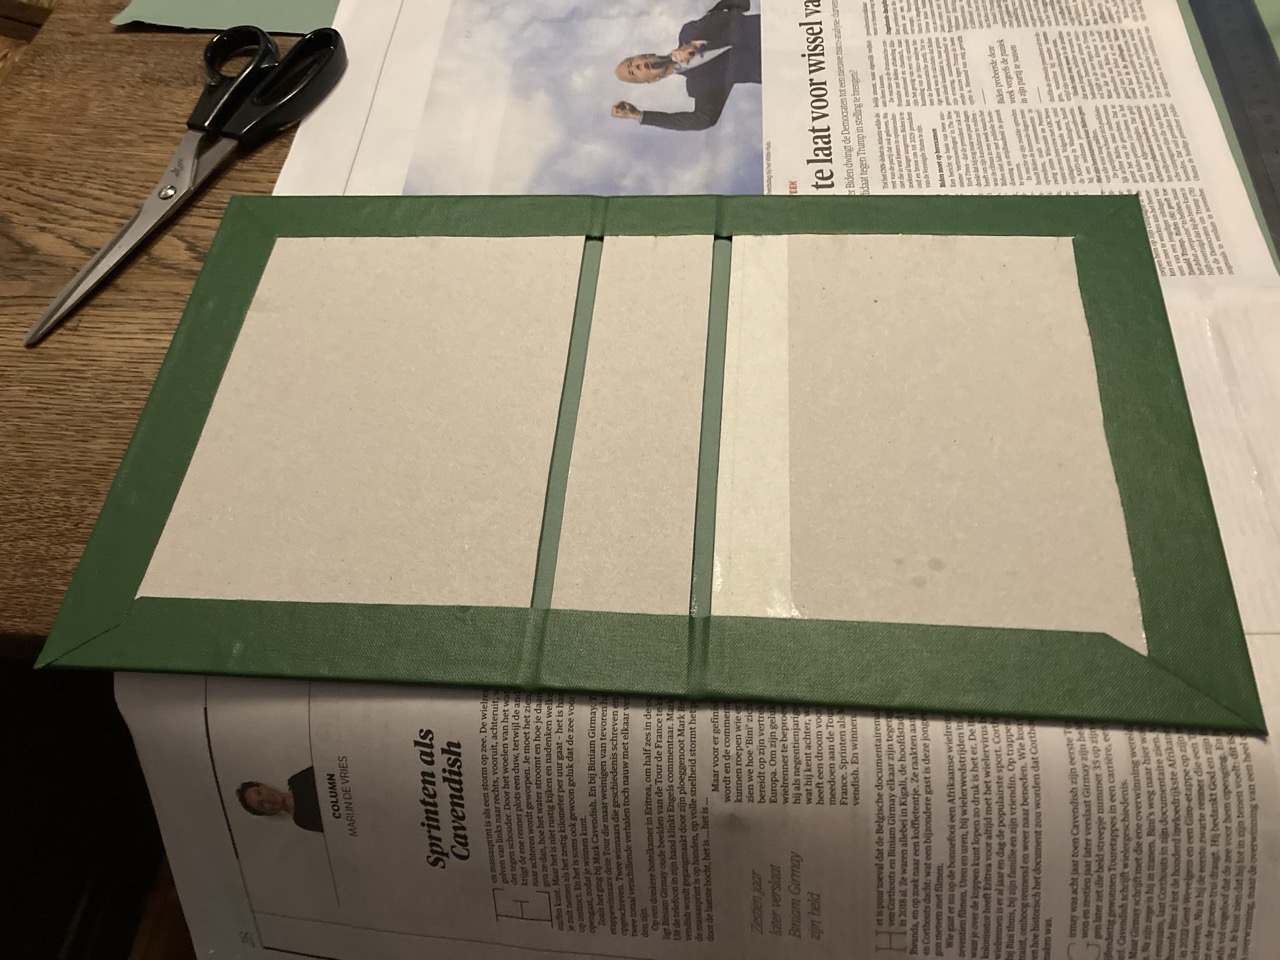
That is all for now. After this the I’ll move on to the lettering on the cover!


Leave a Reply