Warhammer 40,000: Class of (Spring) 1986
Chapter III - Beginning with a Solid Foundation
Now that we’ve sorted through the short term goals and paint scheme, let the real fun begin!
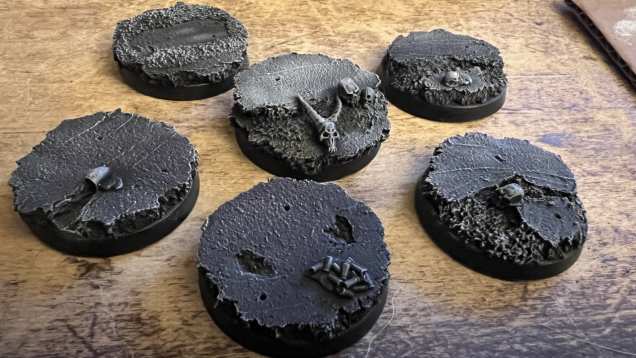
One thing I always like to start with with any hobby project are the bases. For my synthwave Space Marines, I’ve decided on a destroyed cityscape/road. I wanted to go this route for two reasons. First, the darker colors/tones of the road will really make the brighter models pop on the tabletop. Second, it’ll add a bit of a cyberpunk/dystopian future vibe to the synthwave aesthetic.
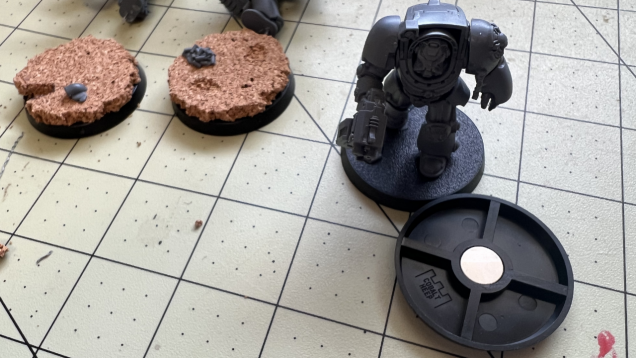
First thing I’m going to do, however, is replace all of the official Games Workshop bases with the magnetic bases from the folks at Cobalt Keep.
I love these bases as they make magnetizing a breeze. Each base comes with a magnet that is the perfect size for the center slot.
After replacing the bases and putting in the magnets, I gather the usual suspects for the basing material:
- Cork
- Woodland Scenics: Fine Ballast
- Woodland Scenics: Medium Ballast
- Huge Miniatures Texture Paste: Stone
- Citadel Skulls (Gotten off the OTT webstore. Buy Merch!)
- Stynelrez Black Primer
- Pro Acryl Titanium White
I tried to make sure to include any basing bits that the models might come with, like the pile of bullets or random sewage pipe. The sculptures included those for a reason and I’ll keep them in so long as they don’t clash with my idea for the bases. Otherwise straight into the bits bin.
Also, I only used a single layer cork (I think it is .25″/.635cm) for models like Terminators, but used a second layer for the character models (like the base in the middle). I know it adds a little height for the model and puts me at a disadvantage for making it an easier target to hit, but I like character models getting a little something extra. Plus it isn’t like I’m going to be going to any tournaments with these things, just fun games with friends.


Leave a Reply