


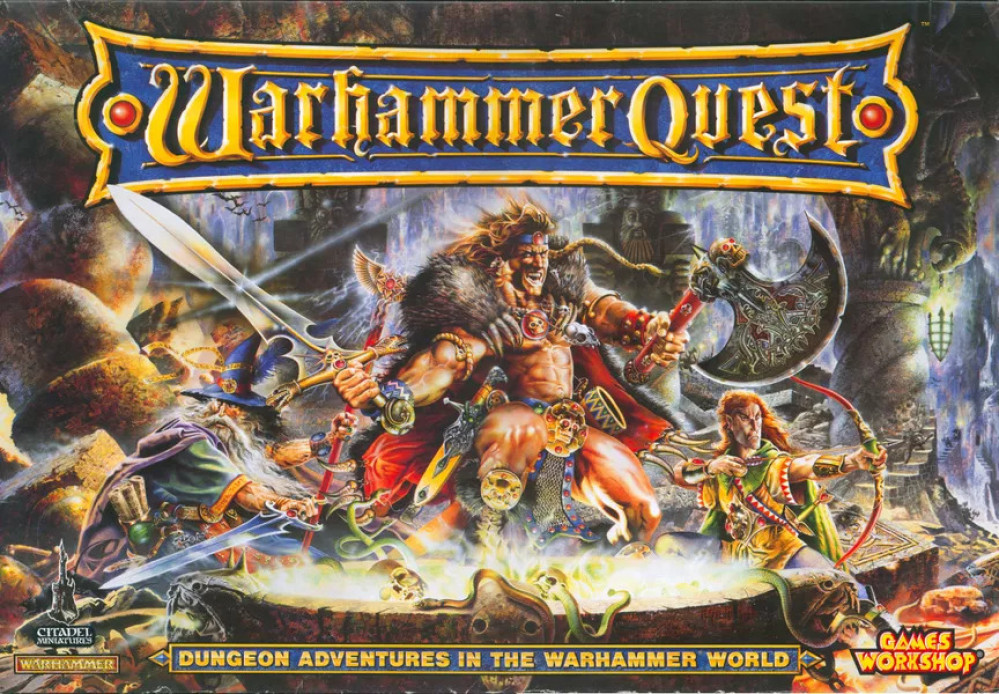
Warhammer Quest (1995) Rebuilt


Resin printing level up!
Since my DBA project is waiting for materials I’ve been working on other projects. This weekend I had all the stuff I needed to get started with resin printing so time to dive down that rabbit hole and gain some experience. Regrettably I don’t have a lot of photos as I didn’t want to get resin on my phone as at this point I wasn’t sure how messy things were going to get.
The first thing I need to do is load and check the models in the slicing software. Here is a list of steps I did to get the models ready to go.
- Get an stl file to use. I get mine from MyMiniFactory but Kickstarters and Patreon are other ways creators sell their models.
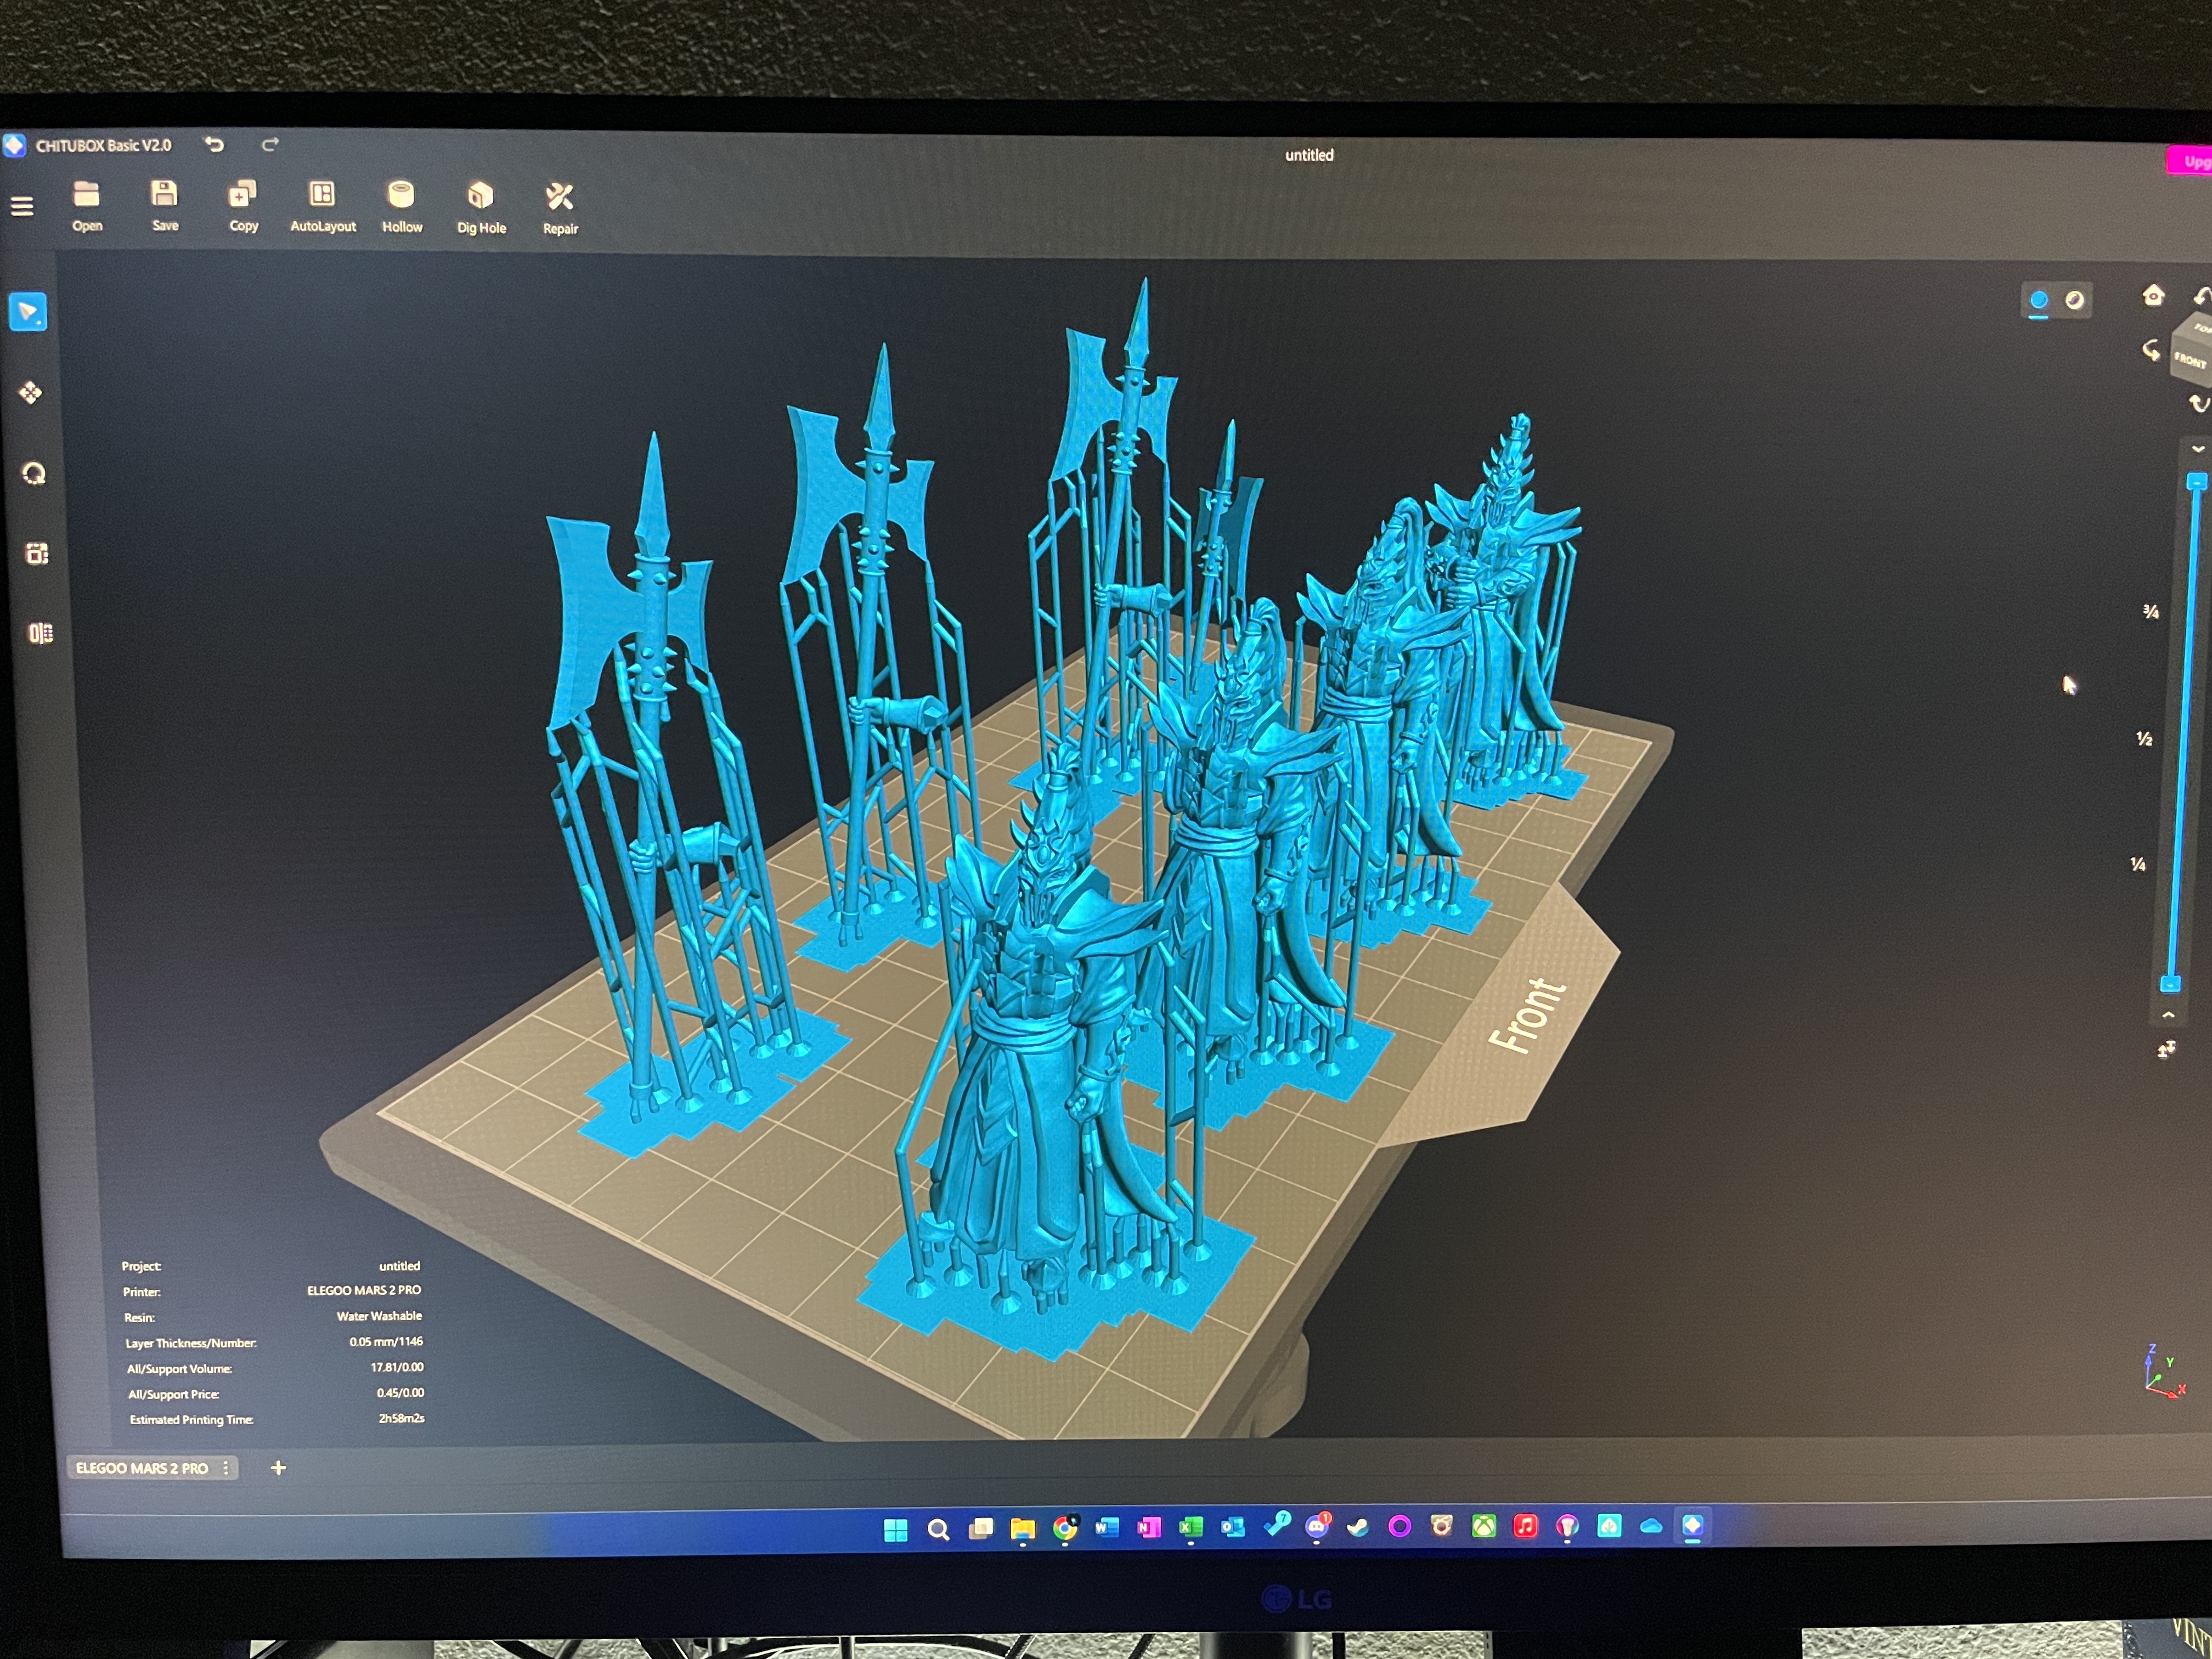
- Open up your slicer software. I have an Elegoo Mars 2 Pro so I use CHITUBOX Basic
- Open the model and it will visually drop onto the build page. You can then click to highlight and click to drag and move it around to make room for more. In this image I do four Dark Elves and their supporting weapons.
- Cavity Detector will tell you if you have any crevasses that won’t cure and you will need to put a hole for it to drain.
- I repair the model at this point to check for errors before slicing.
- Click Slice and the Detect Islands menu will appear on the right. Click Start Detect.
- You will be shown in red the number of islands it finds. These are floating unsupported areas. I just deleted them, alternatively you can support that area if it is an overhang like a spike or talon.
- I detect islands over and over until no more appear. Then we are ready to click Save.
- Specify the location of your USB drive and it will export the file there.
- Take that USB drive to your printer and that side is ready to go.
 The project system keeps posting this upside down but click on it if you want it right side up.
Time for personal protection. I’m using a respirator mask and glad I did as the smell was pretty intense in the room. I will have to improve ventilation in the future. You will need some gloves as well as you don’t want to touch uncured resin it is an irritant. Eye protection is also recommended in the case of splashes. I have Elegoo’s Mercury wash and rinse station and have the tub filled with water ready to go. I’m using a water washable resin to avoid needing IPA. I fill the resin tank to the fill line and plug in the USB drive. I put the lid back on and press print on the printer and find my created file. Press the play button and depending on how high the models are will depend on how long it takes. Mine took about 3ish hours? I let it finish and drain a bit so didn’t have the exact time.
After printing I carefully remove the build plate and put it into the Mercury station mount which submerges the print and plate. Turn it on for ten minutes of rinse cycle to wash off the excess resin. Once that is done I can take it out and scrape off the prints. You still need gloves at this point as the resin isn’t fully cured. Using my hands I break off the supports carefully. They should peel off the mini like velcro. It is best to do this before the curing stage as the supports will still be soft. With the minis free of their support I swap out the rinse tank for the curing plate. I place the minis on the plate and replace the cover. Set the station to cure setting and another run of ten minutes. Once the curing process is done the prints are safe to handle.
Clean up involves using a filtered funnel to drain the resin tank back into the bottle. Very little resin was used so we can use this again on future prints.
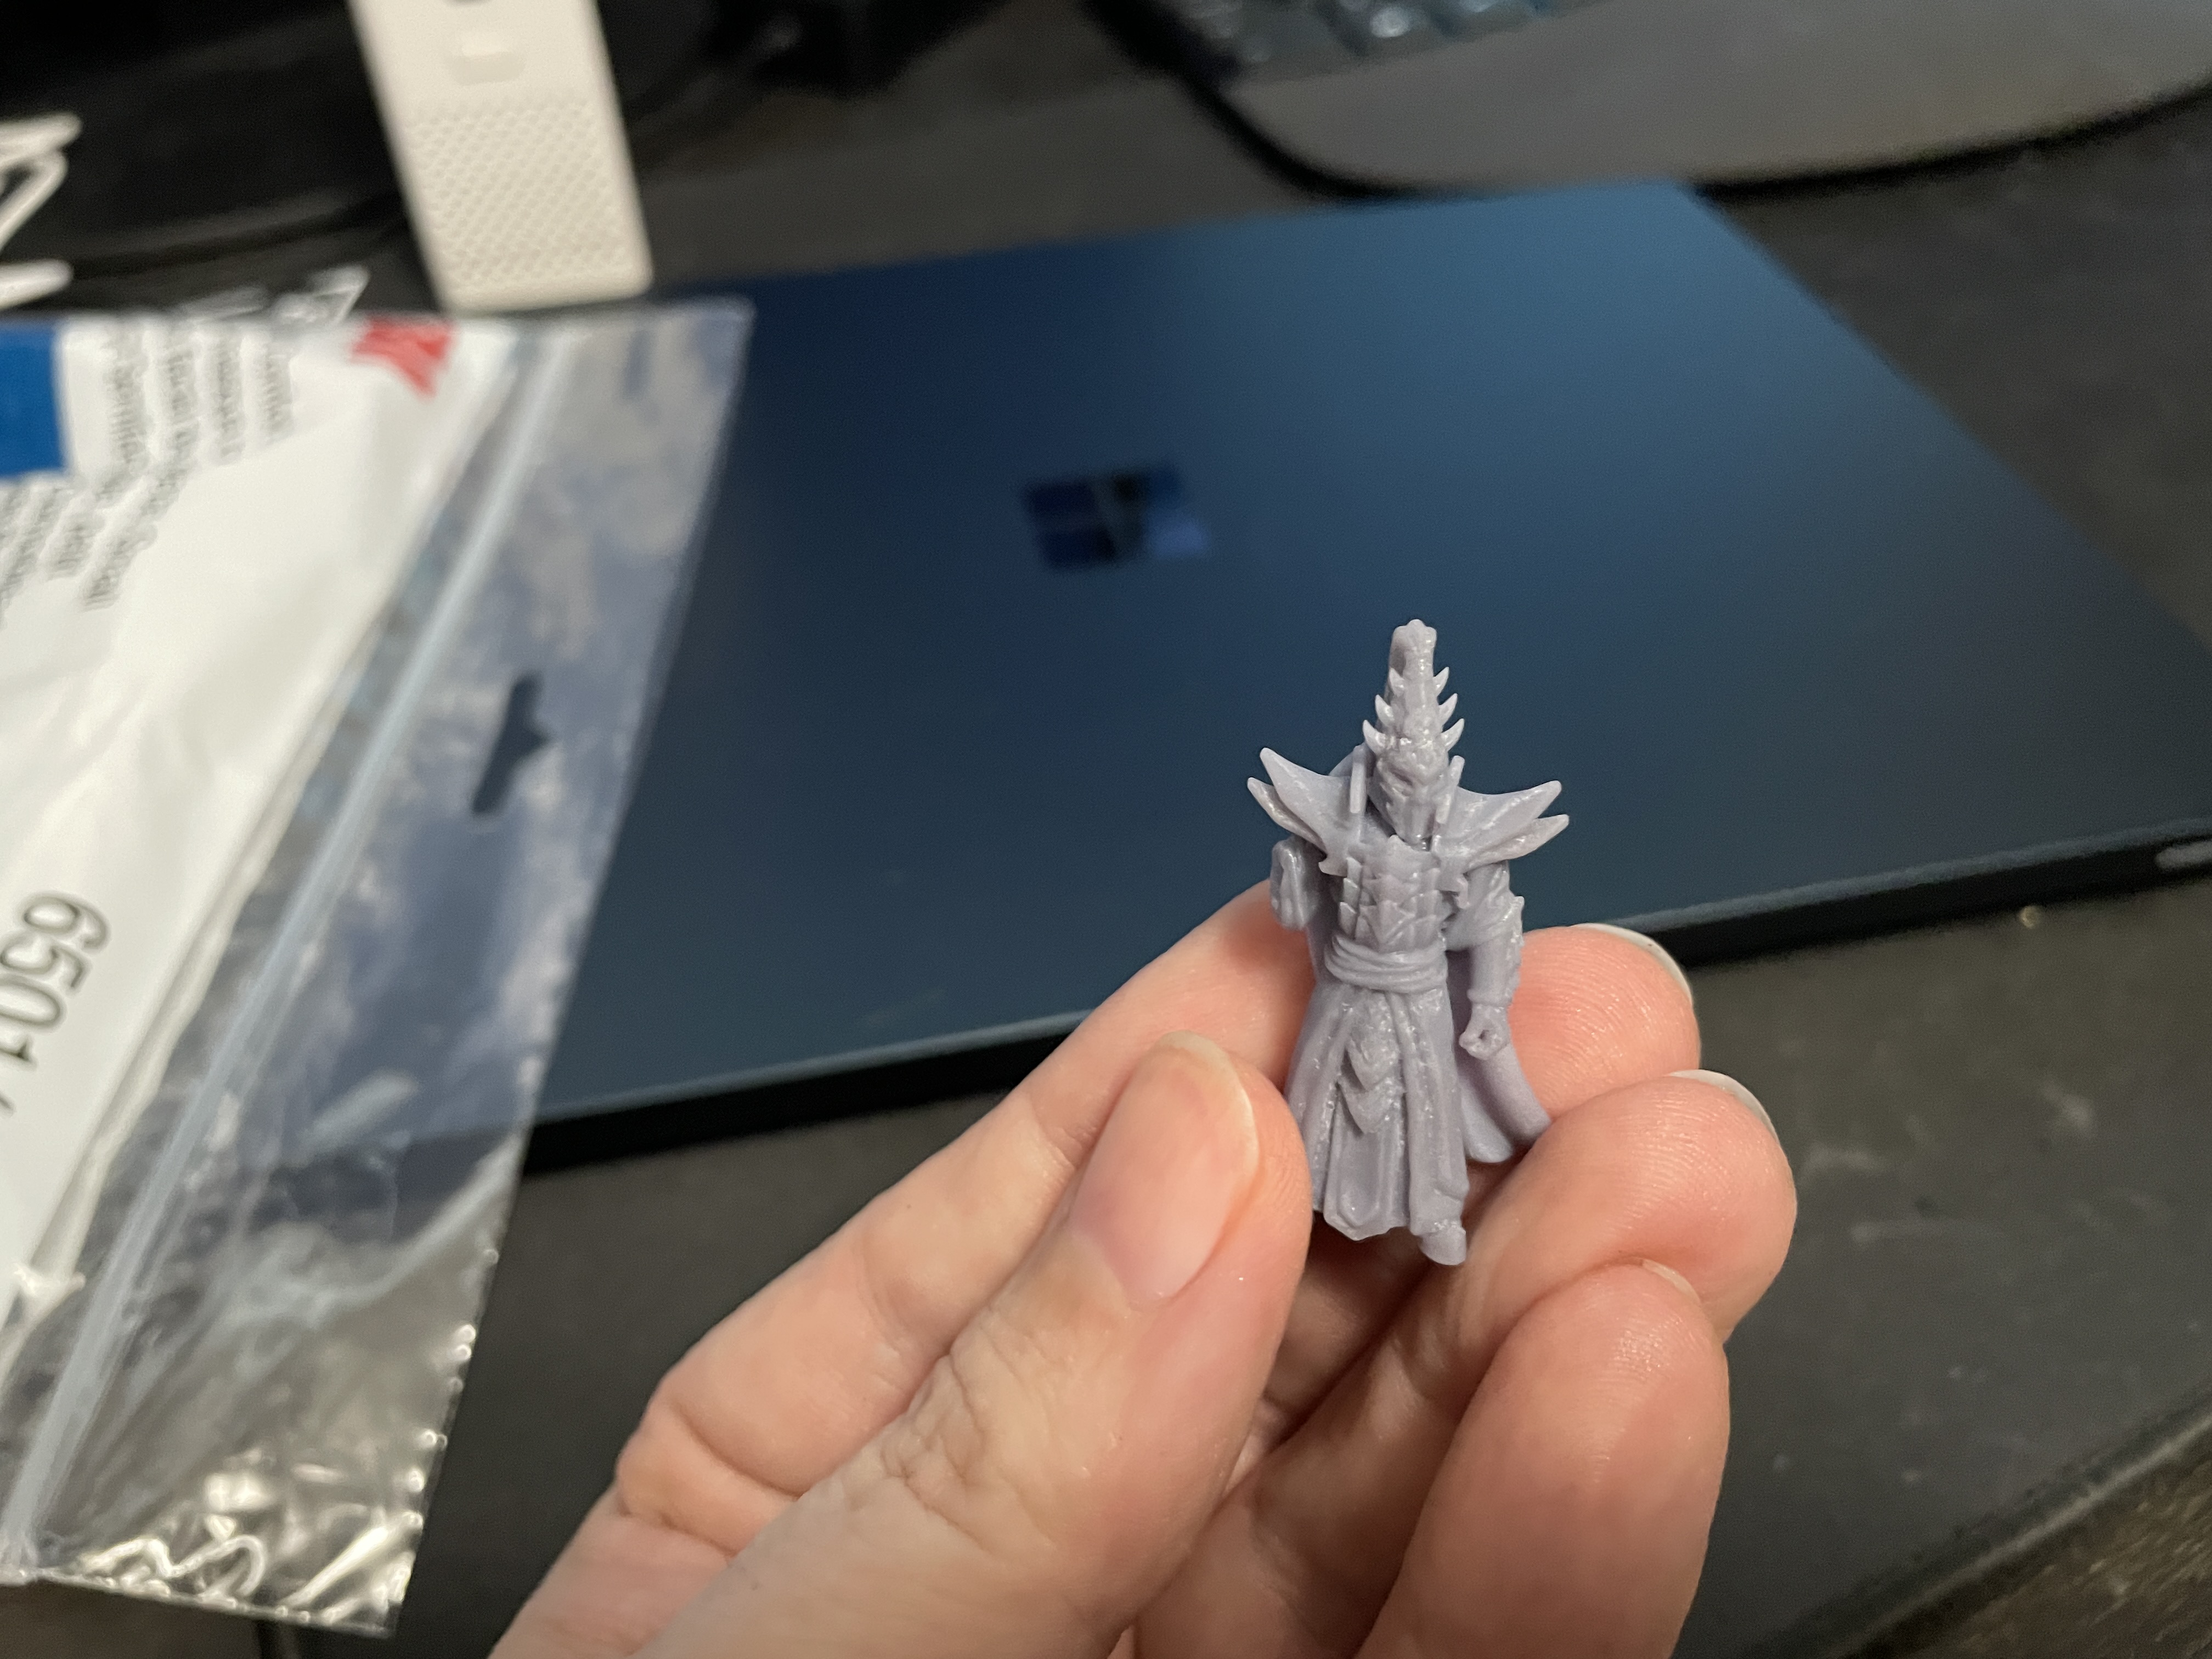
By the end of this I now have the 8 Dark Elf Naggaroth Black Guards I need for the Level 1 monster table! With the learning experience out of the way I’m going to work on printing more that are needed for Level 1 and show the final result when I have the rest of the models. Any tips are welcome in the comments I’m still learning 3D printing and I certainly don’t consider myself an expert at all. I have a lot to learn about the process still. Until next post happy hobby time!


Leave a Reply