


Building Foam Dungeon Tiles (EVA & Upholstery Foam)


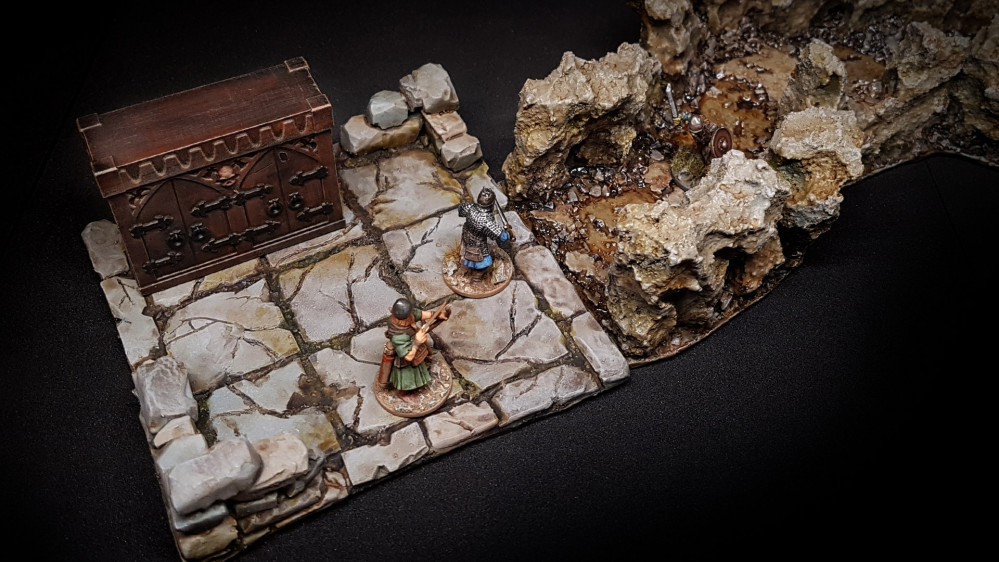
Making A Cavern Corridor for Dungeon Delving Part 3
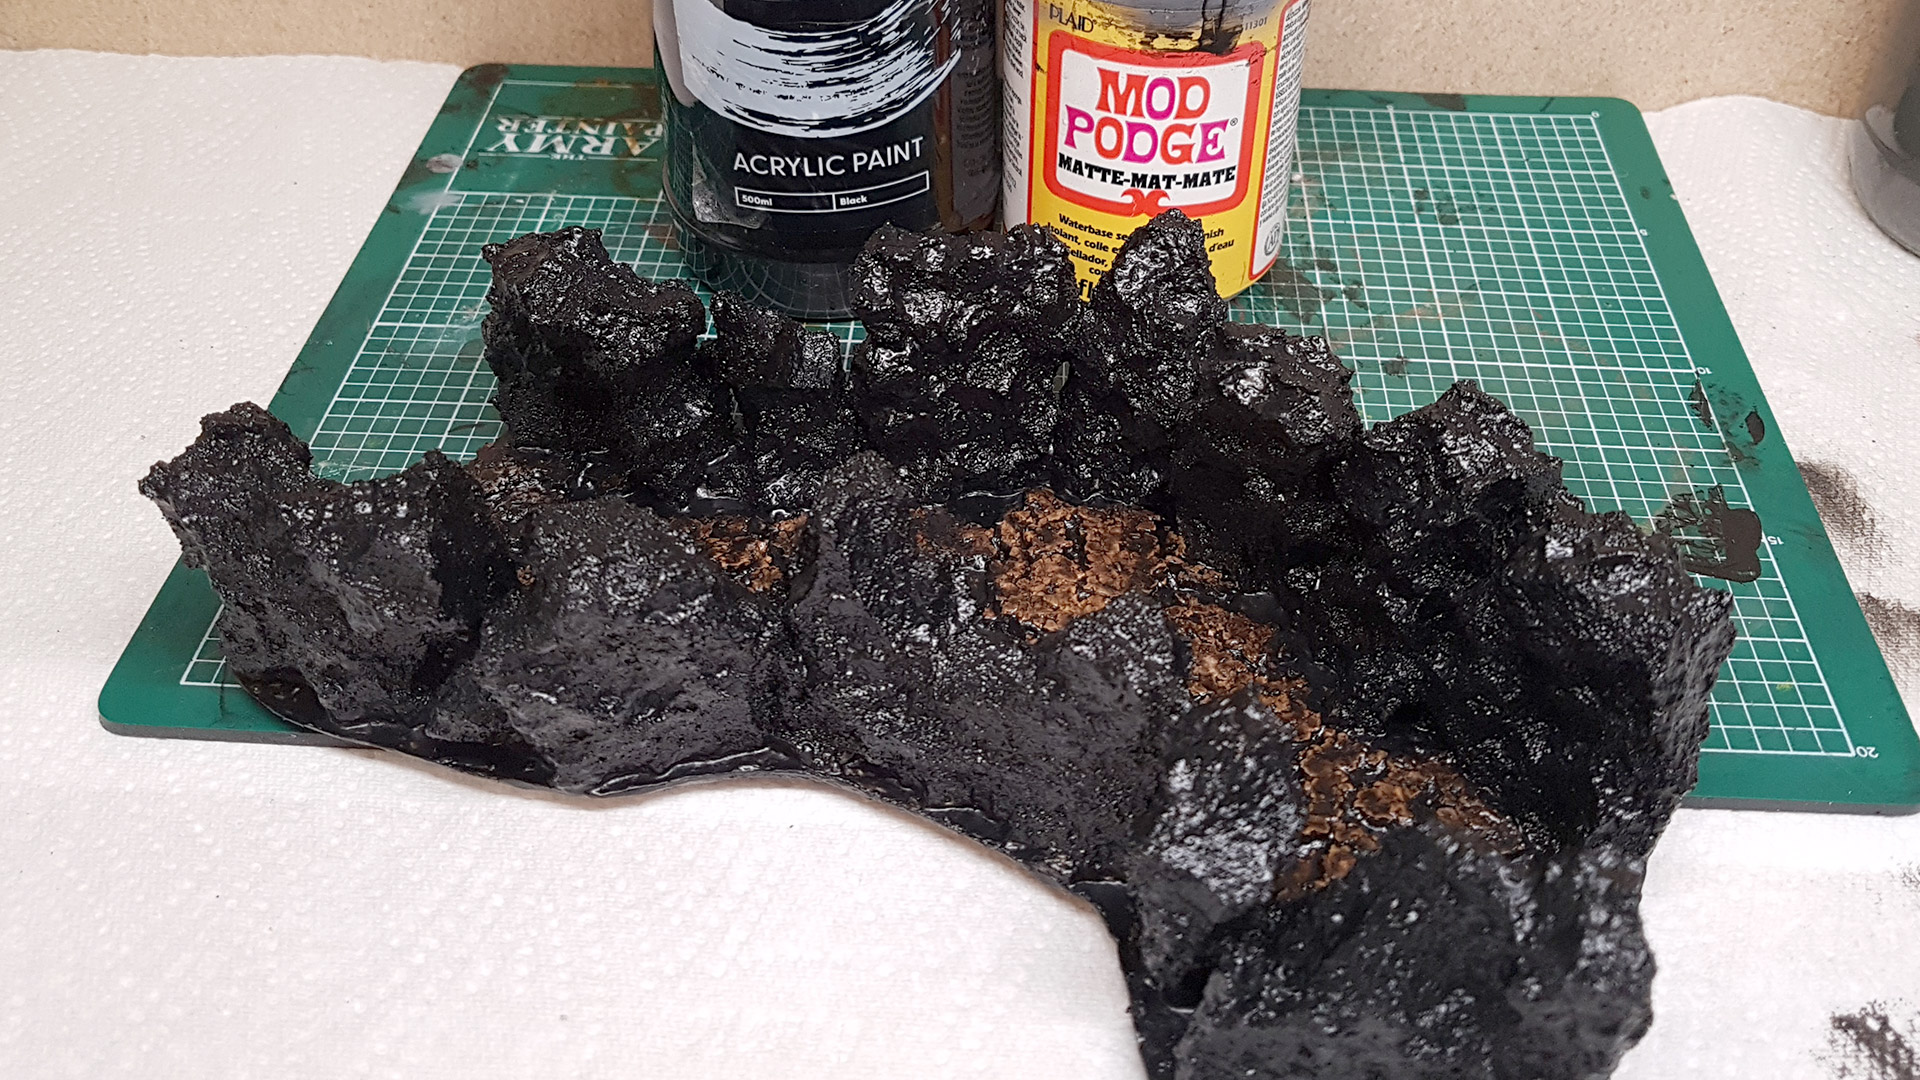
Over the years, I’ve used this method to create numerous rock formations. Until now, simply painting the foam surface, as the paint adhered well, even when the foam was compressed. However, foam rocks reveal a porous surface characterized by many small holes. This structure is what allows the rock to deform under pressure.
For quicker projects, leaving the rocks with their porous surface is perfectly fine; they still look impressive from a normal viewing distance. But for a more believable rock texture that withstands close examination, adding additional layers of Mod Podge is the key!
Mastering Mod Podge: Transforming Foam into Realistic Rock Textures
To elevate the appearance of foam rocks, additional layers of Mod Podge are applied, gradually filling the pores in the foam material. It’s not necessary to eliminate every single pore, as the remaining texture resembles natural, porous rock.
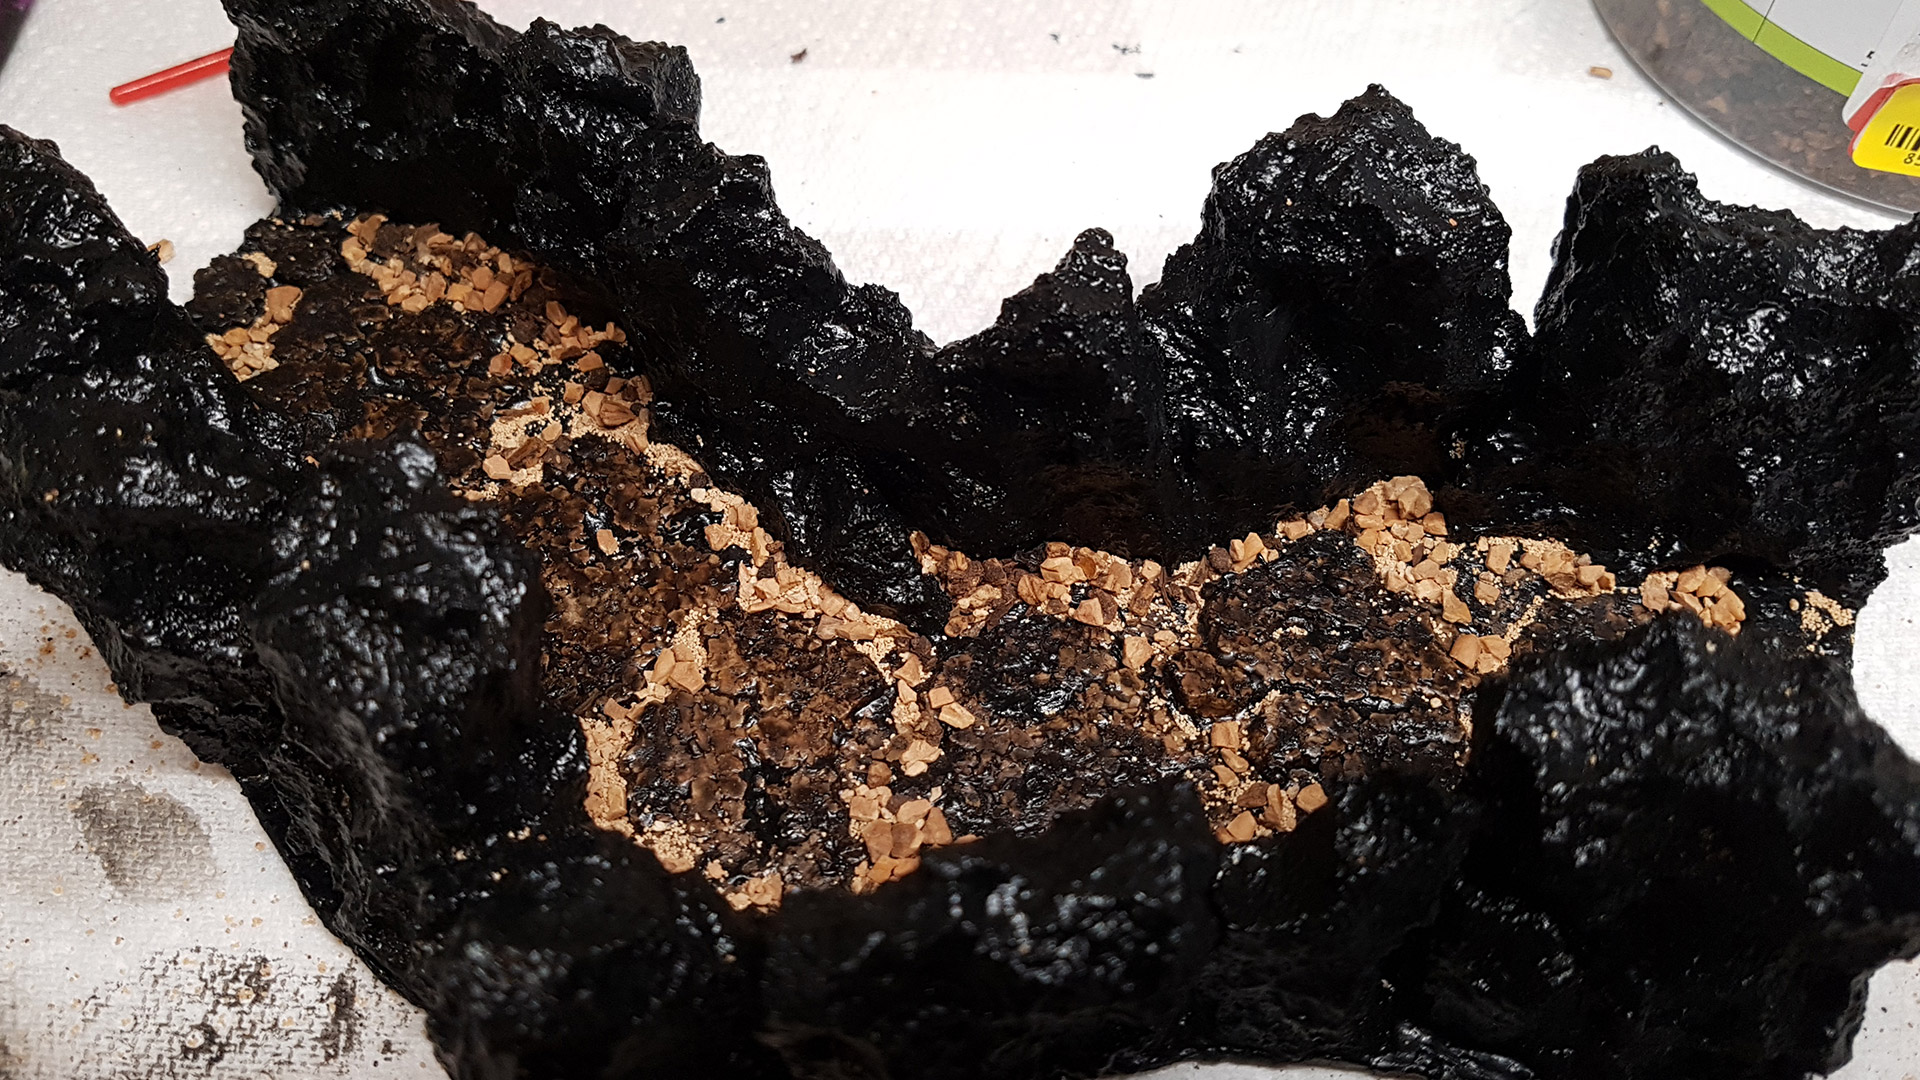
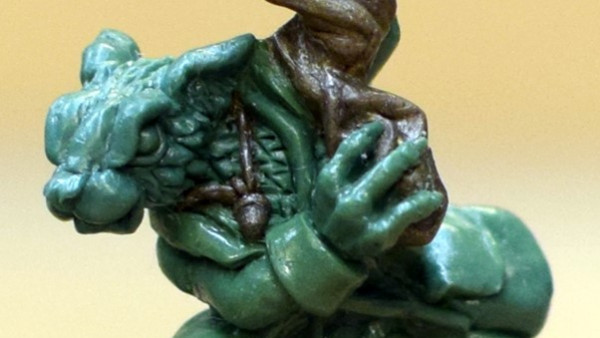
 Note: Don't Let the Mod Podge Form Into Lumps or Drips
As illustrated in the image, small bumps are visible, yet there are also smoother areas where the Mod Podge has completely masked the pores.
By varying the application of additional Mod Podge layers across different areas of the rocks, you can achieve diverse textures. For this Cavern Corridor project, I applied 3 to 4 coats, allowing about 15 minutes of drying time between each layer, expedited with a hairdryer.
Additionally, I combined the Mod Podge with black acrylic paint. This strategy not only adds base colour with each layer but is particularly effective for reaching those nooks and crannies where spray primer might not penetrate.
These Rocks Need More Rocks!
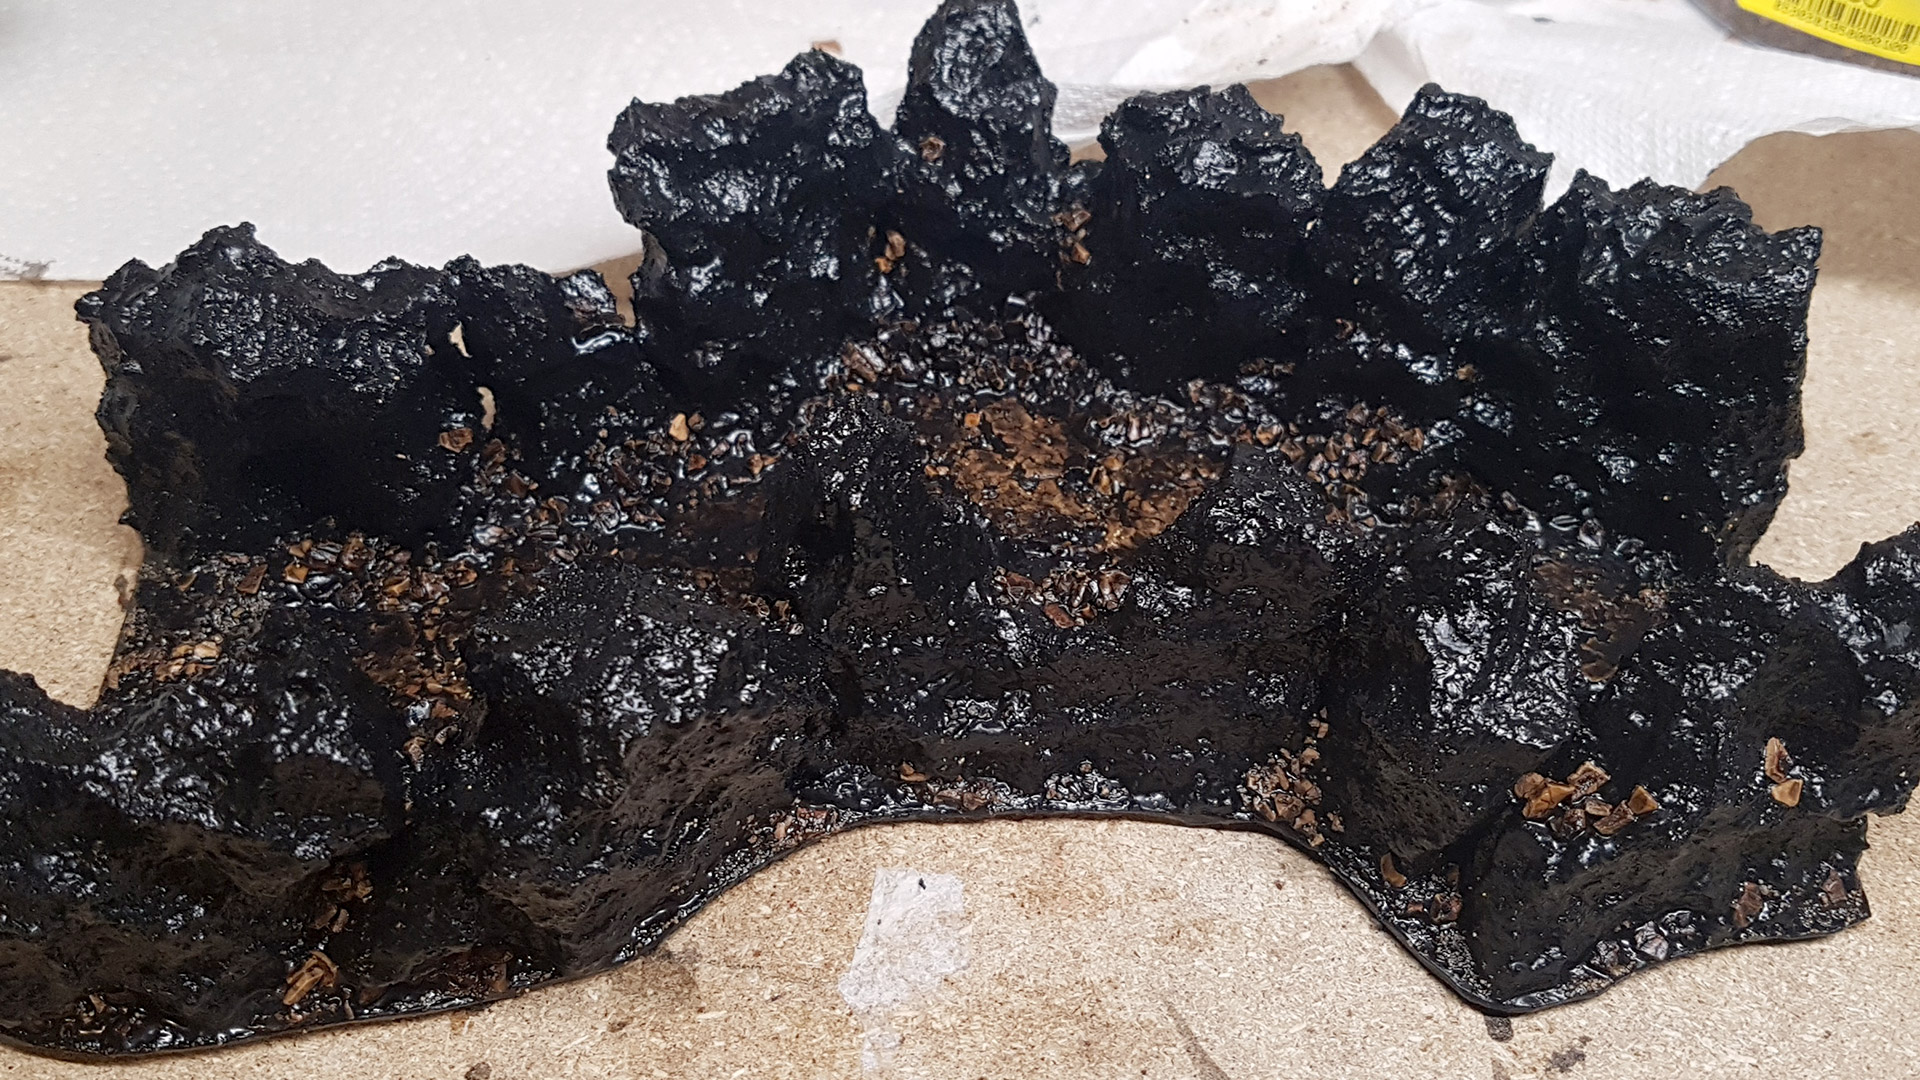
To complete the build process, I scattered an assortment of cork rocks around the base of the rock walls. In my mind these are the remnants of rock left behind after the cavern’s excavation, perhaps by a crew of goblins or dwarven miners. This addition not only enhances the scene’s realism but also adds a layer of storytelling to the setting.
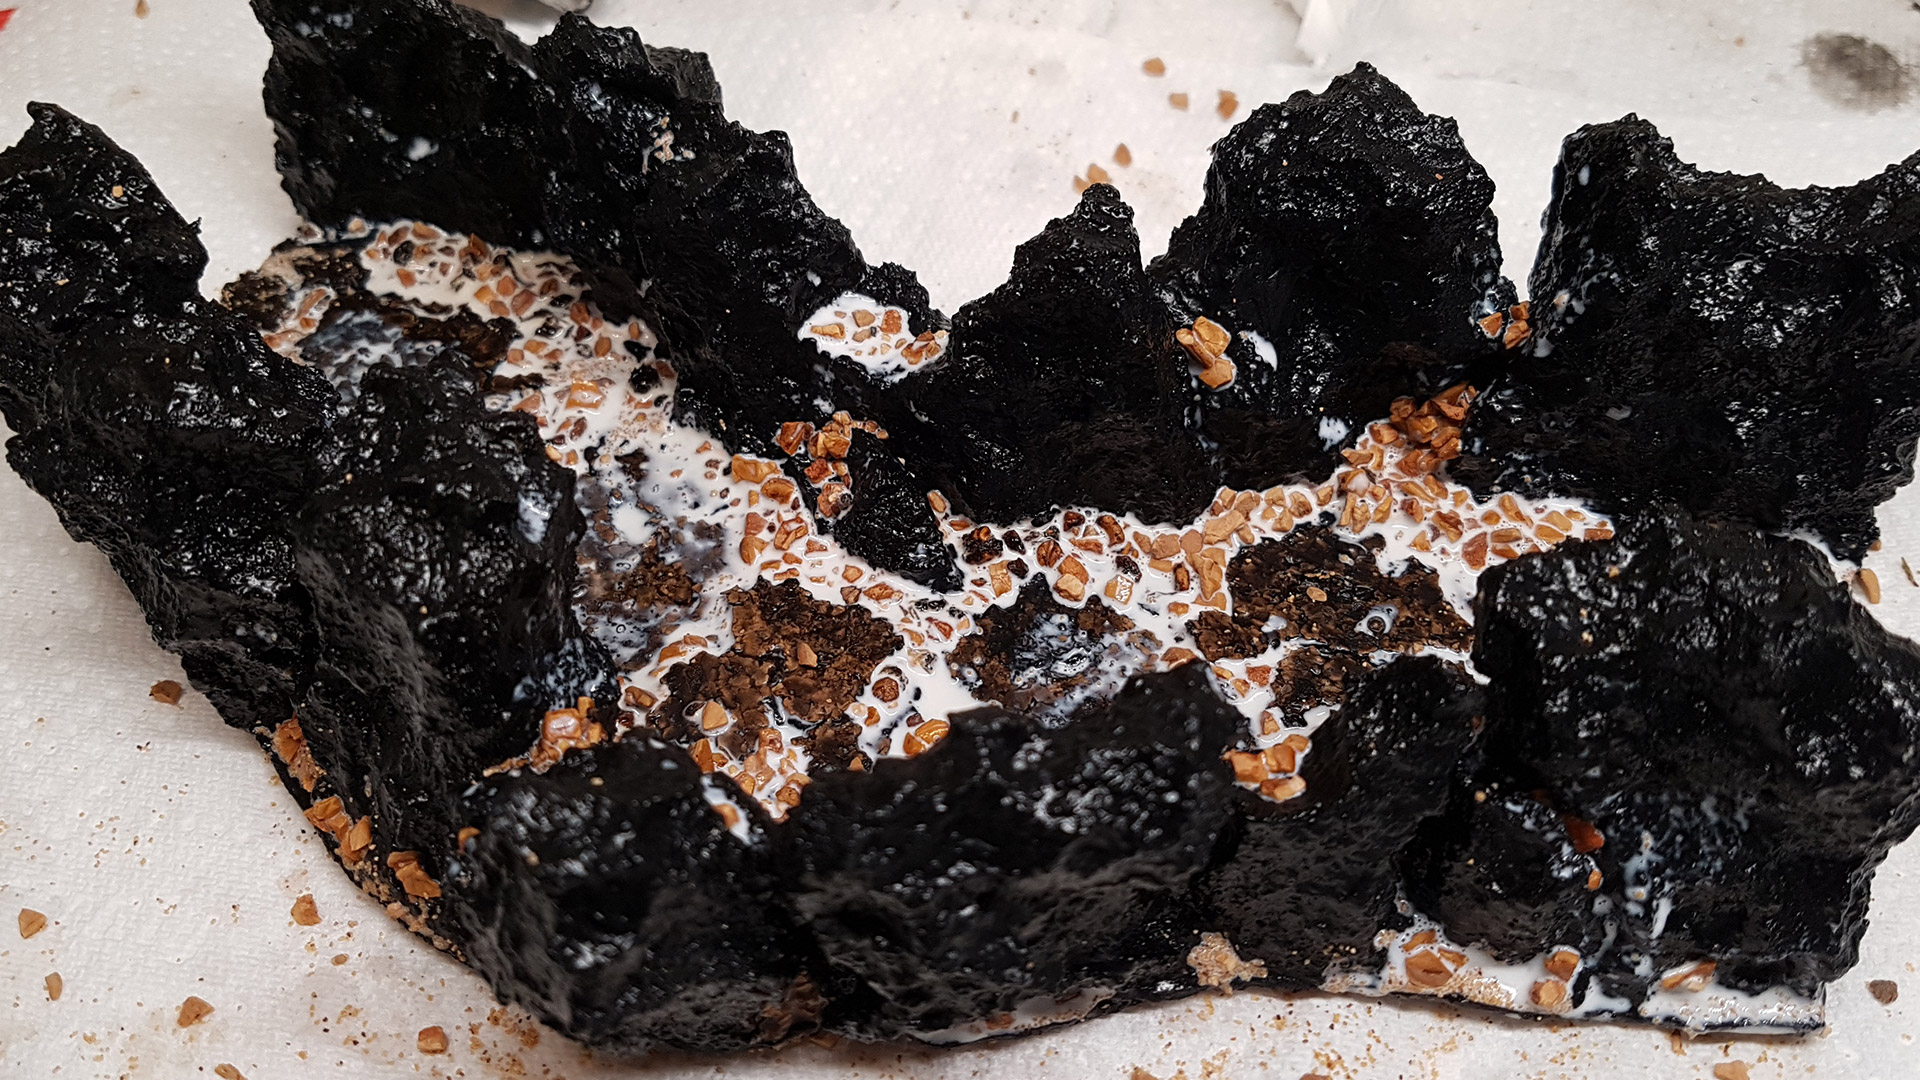
The scatter rocks were secured in position using a mixture of watered-down PVA glue with a drop of dish soap added. The dish soap helps break the water’s surface tension, allowing the mixture to penetrate deeply into all the crevices, ensuring a strong bond that unites all elements together effectively.
After everything had dried, I applied a final coat of the Mod Podge and paint mixture to add some base colour on all the newly added rocks. This step helps get paint into hard to reach parts and firmly binds all of the Cavern tile into one sturdy build.
 That's the Build Complete, Now for Painting!


Leave a Reply