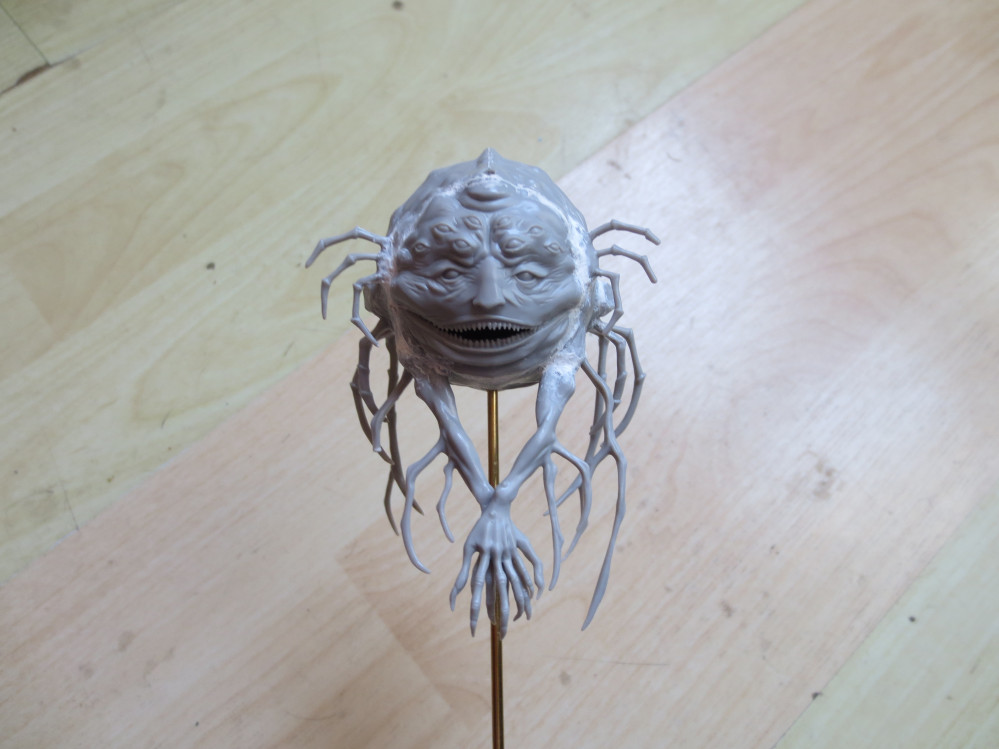
Operation: Spidicules
Assembly
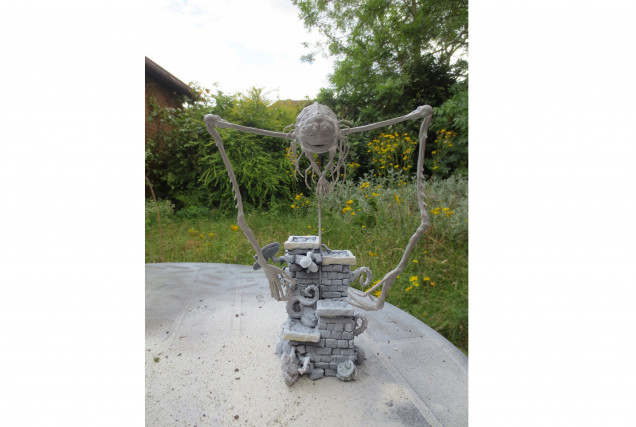
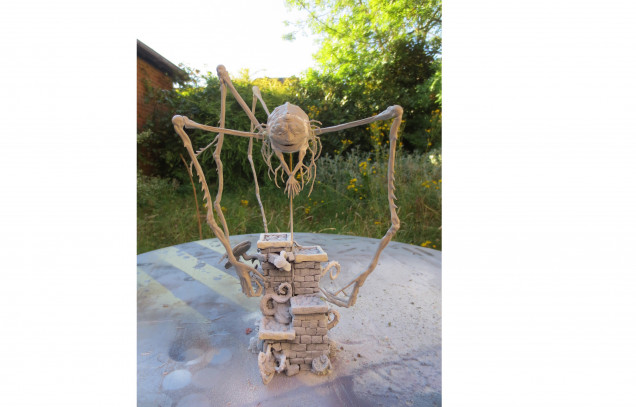
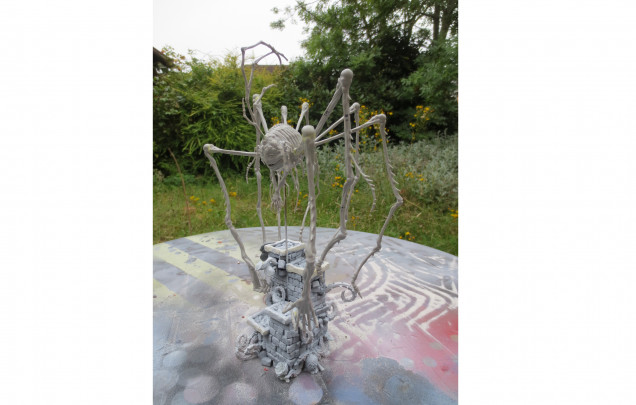
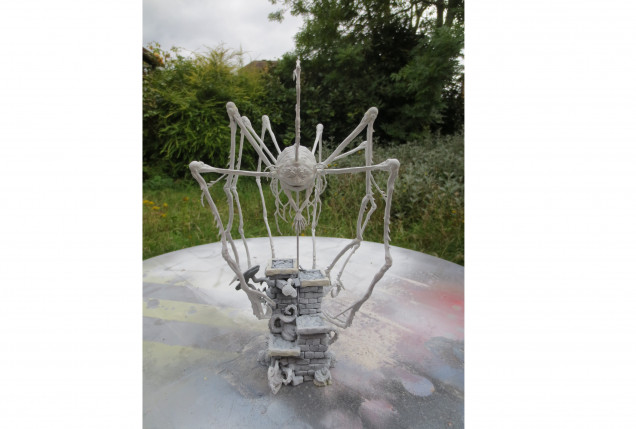
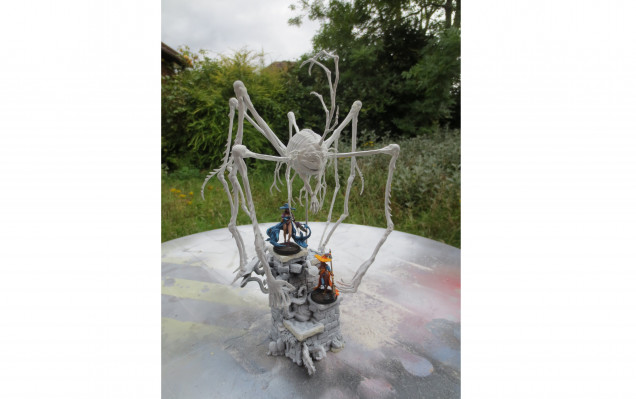
Slowly but surely, legs were completed and added to the glorious spider orb. This was a gradual process with the following steps:
- Pin each severed join
- Attach magnets to body, then base
- Use greenstuff around each body join, as needed
- Use greenstuff/milliput mix to re-sculpt each mangled join in the legs
Fun fact: there are no magnets connecting the front legs to the base. Their only magnets are in the body. There are small points of friction where the fingers rest upon the base, but basically its luck and hope holding those bad boys in place.
They’re suprisingly sturdy when stationary on the table, a bit wobbly when being moved.
It’s lucky I pinned all those finger joins…
The lure recieved alterations for two reasons. First, I have other plans for the ‘man on knees, arm extended in sorrow’ miniature that comes with the Spidicules miniature. Second, the magnet I inserted into Spidicules’ head turned out not to be strong enough alone to hold up the lure in its original position – something about the lure’s curve tugs it down and out of place in juuuust the wrong way.
So I cut off the fake woman, flipped it upside down, and decided the mohawk lure looks cool enough to stay.
You’ve probably figured out from the messy garden in the background that these pictures are not recent. I hit this point last autumn and have slowly been working on the paintjob since then.
I’m freehand painting, and spiders have 8 legs.




2024-01-30 Your project has been visited by the unofficial Hobby Hangout. Huzza!