


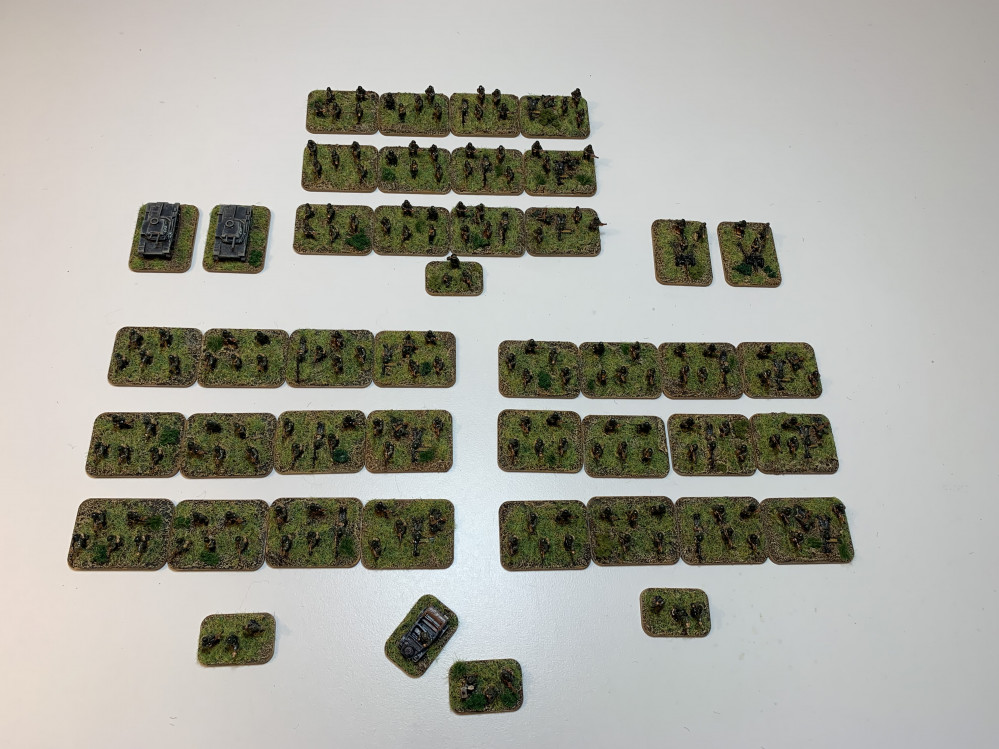
O Group in 10mm


Priming and Painting
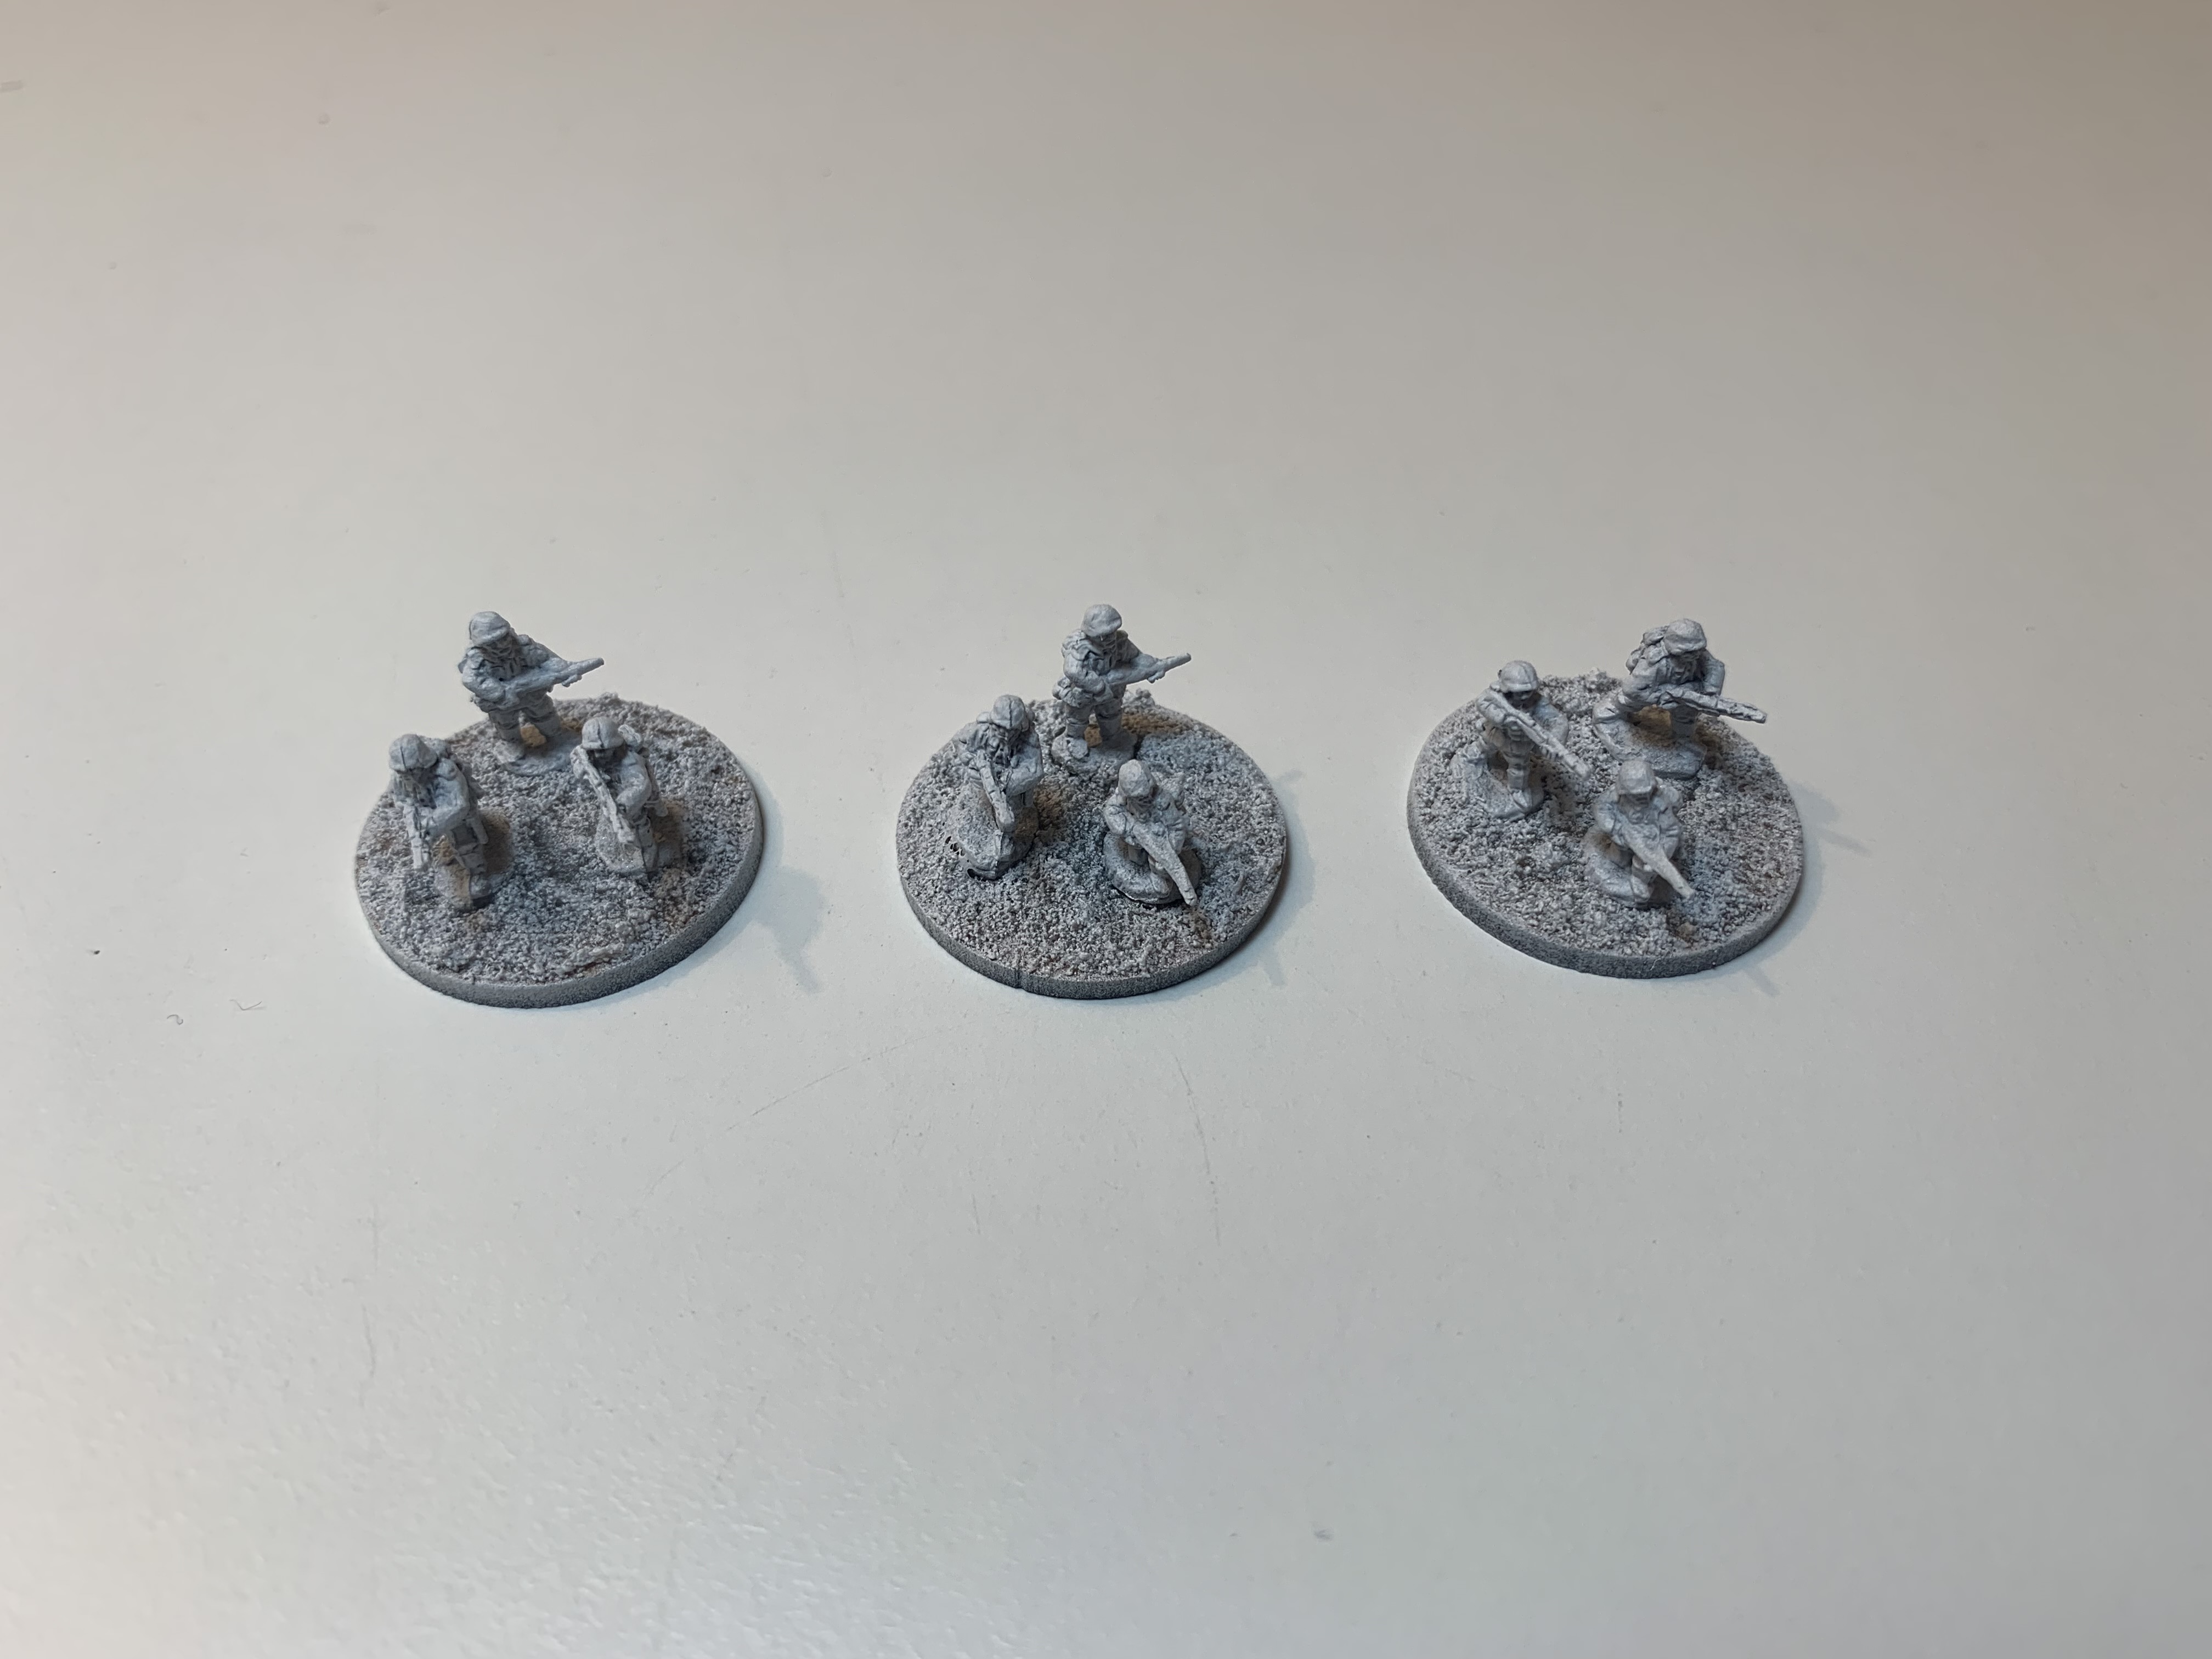 Step 1 - Prime the based miniatures white.
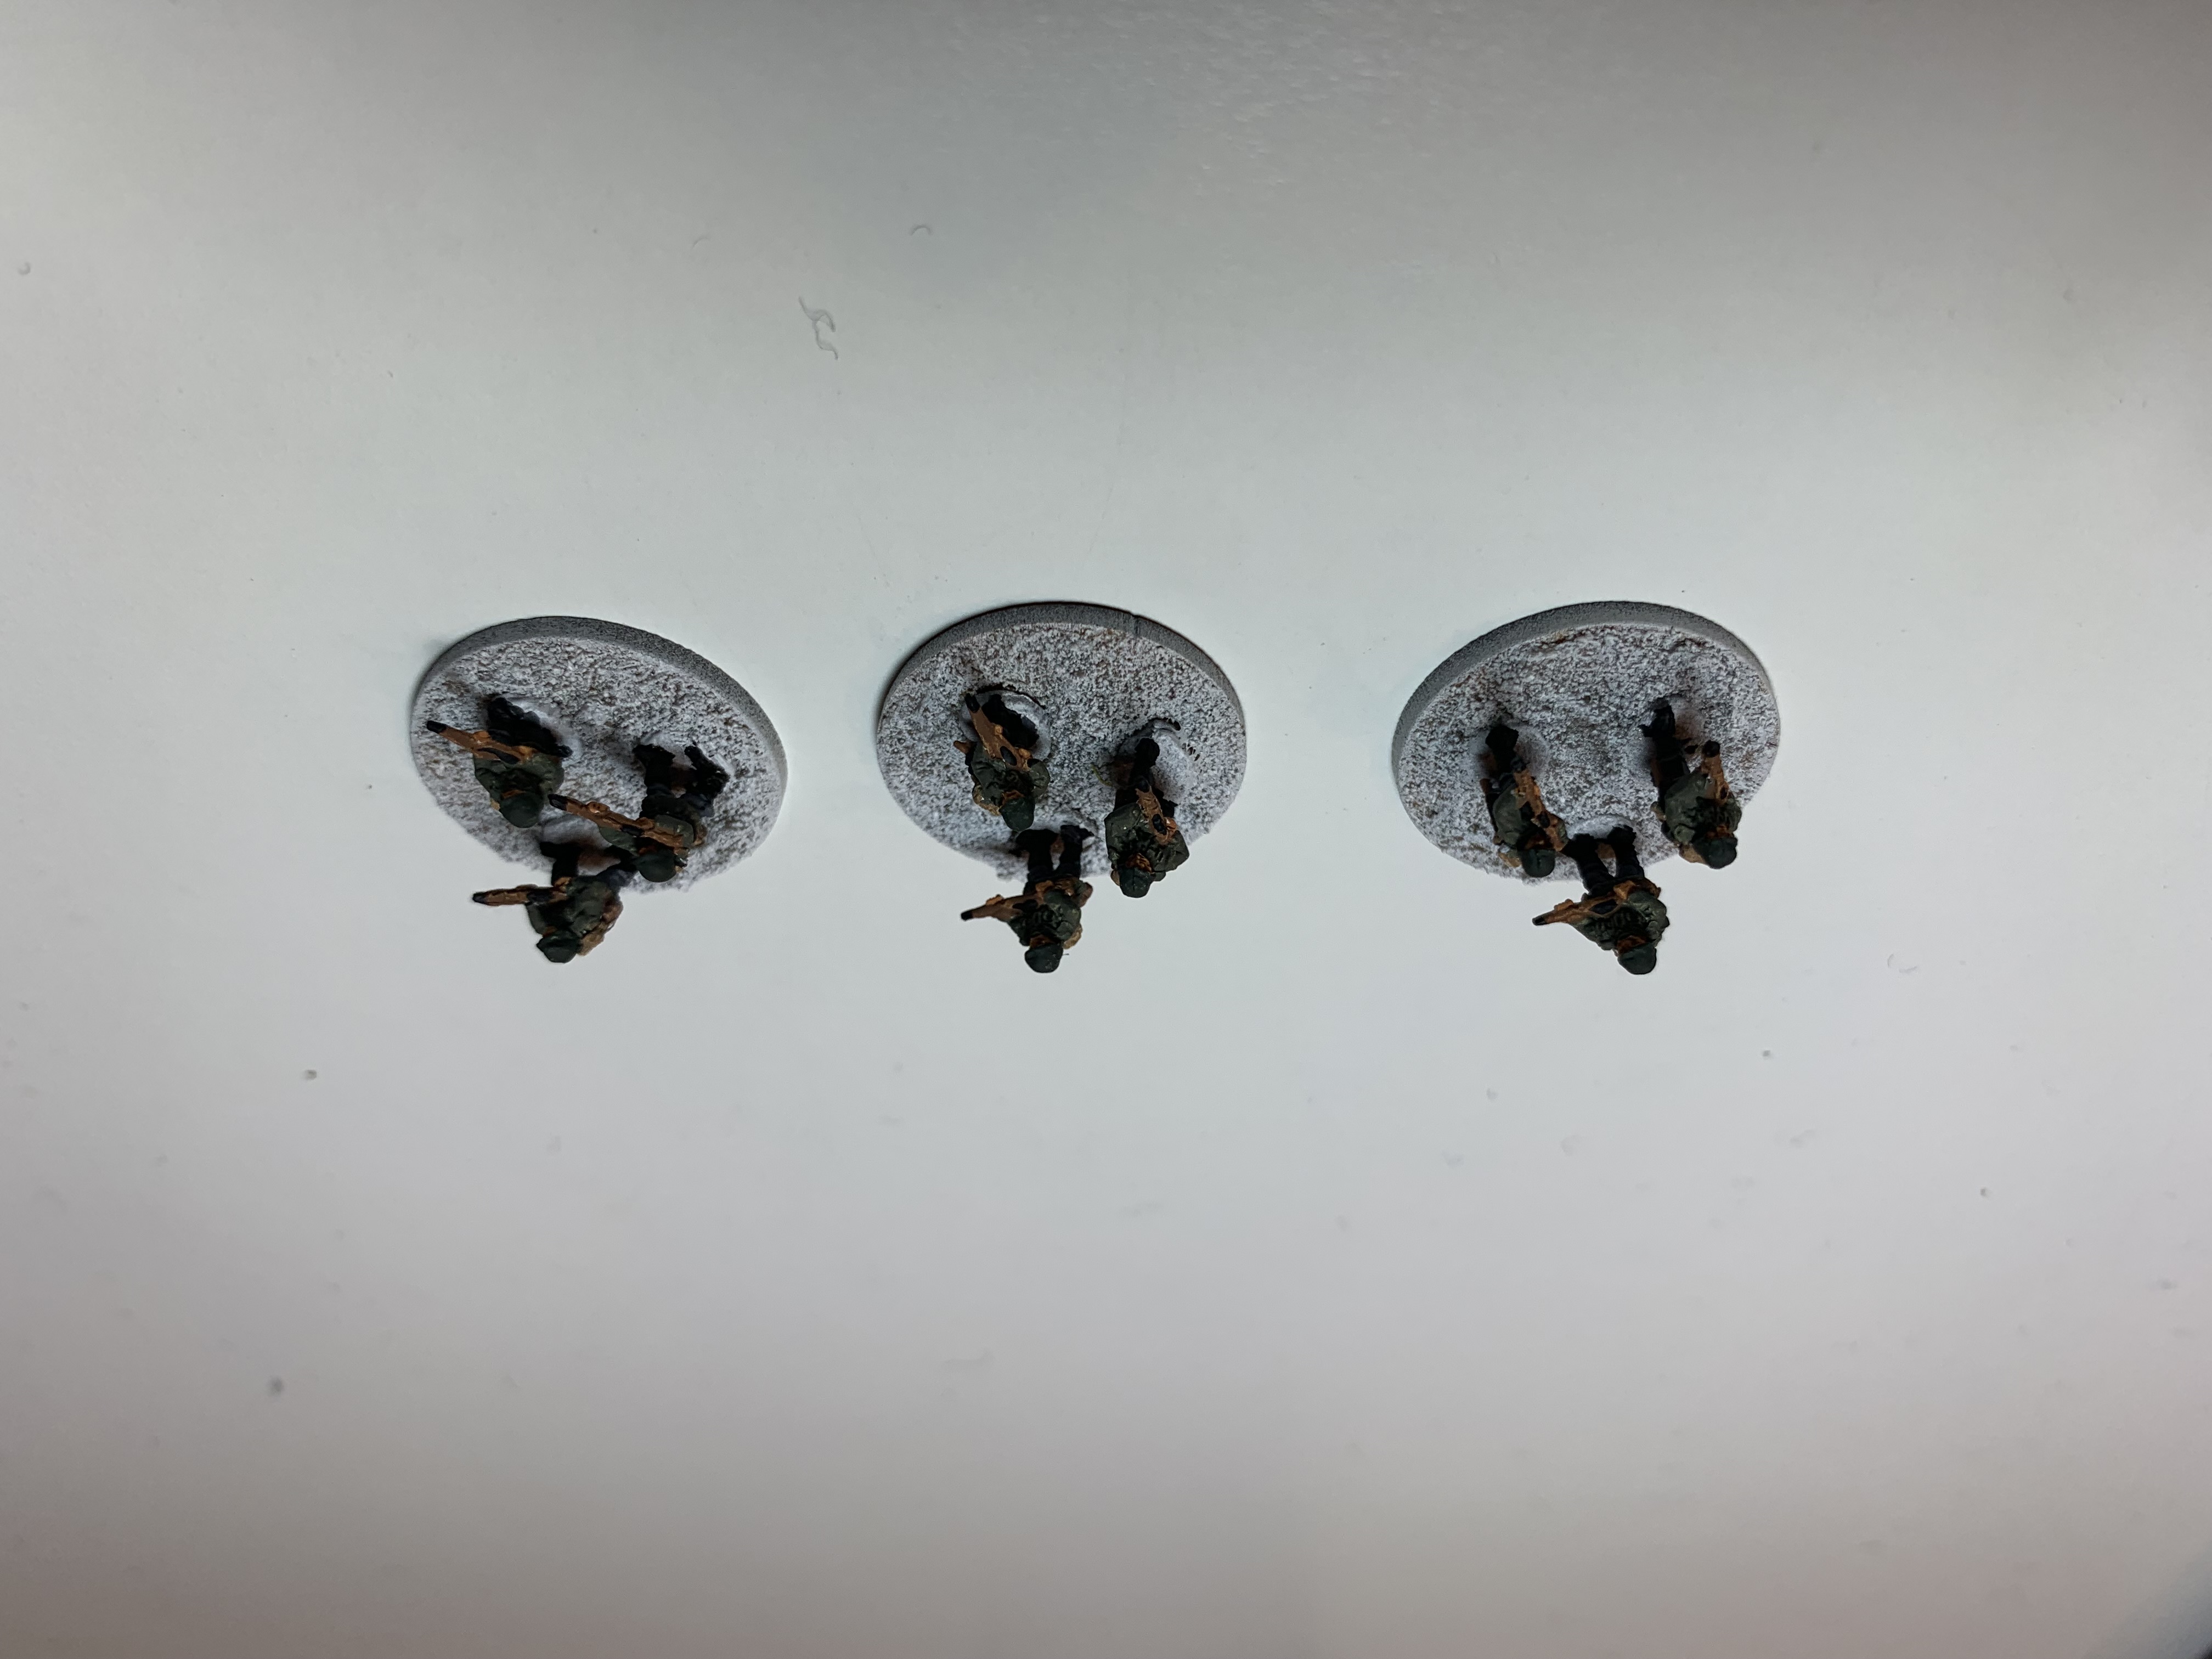 Step 2 - Paint the base colours.
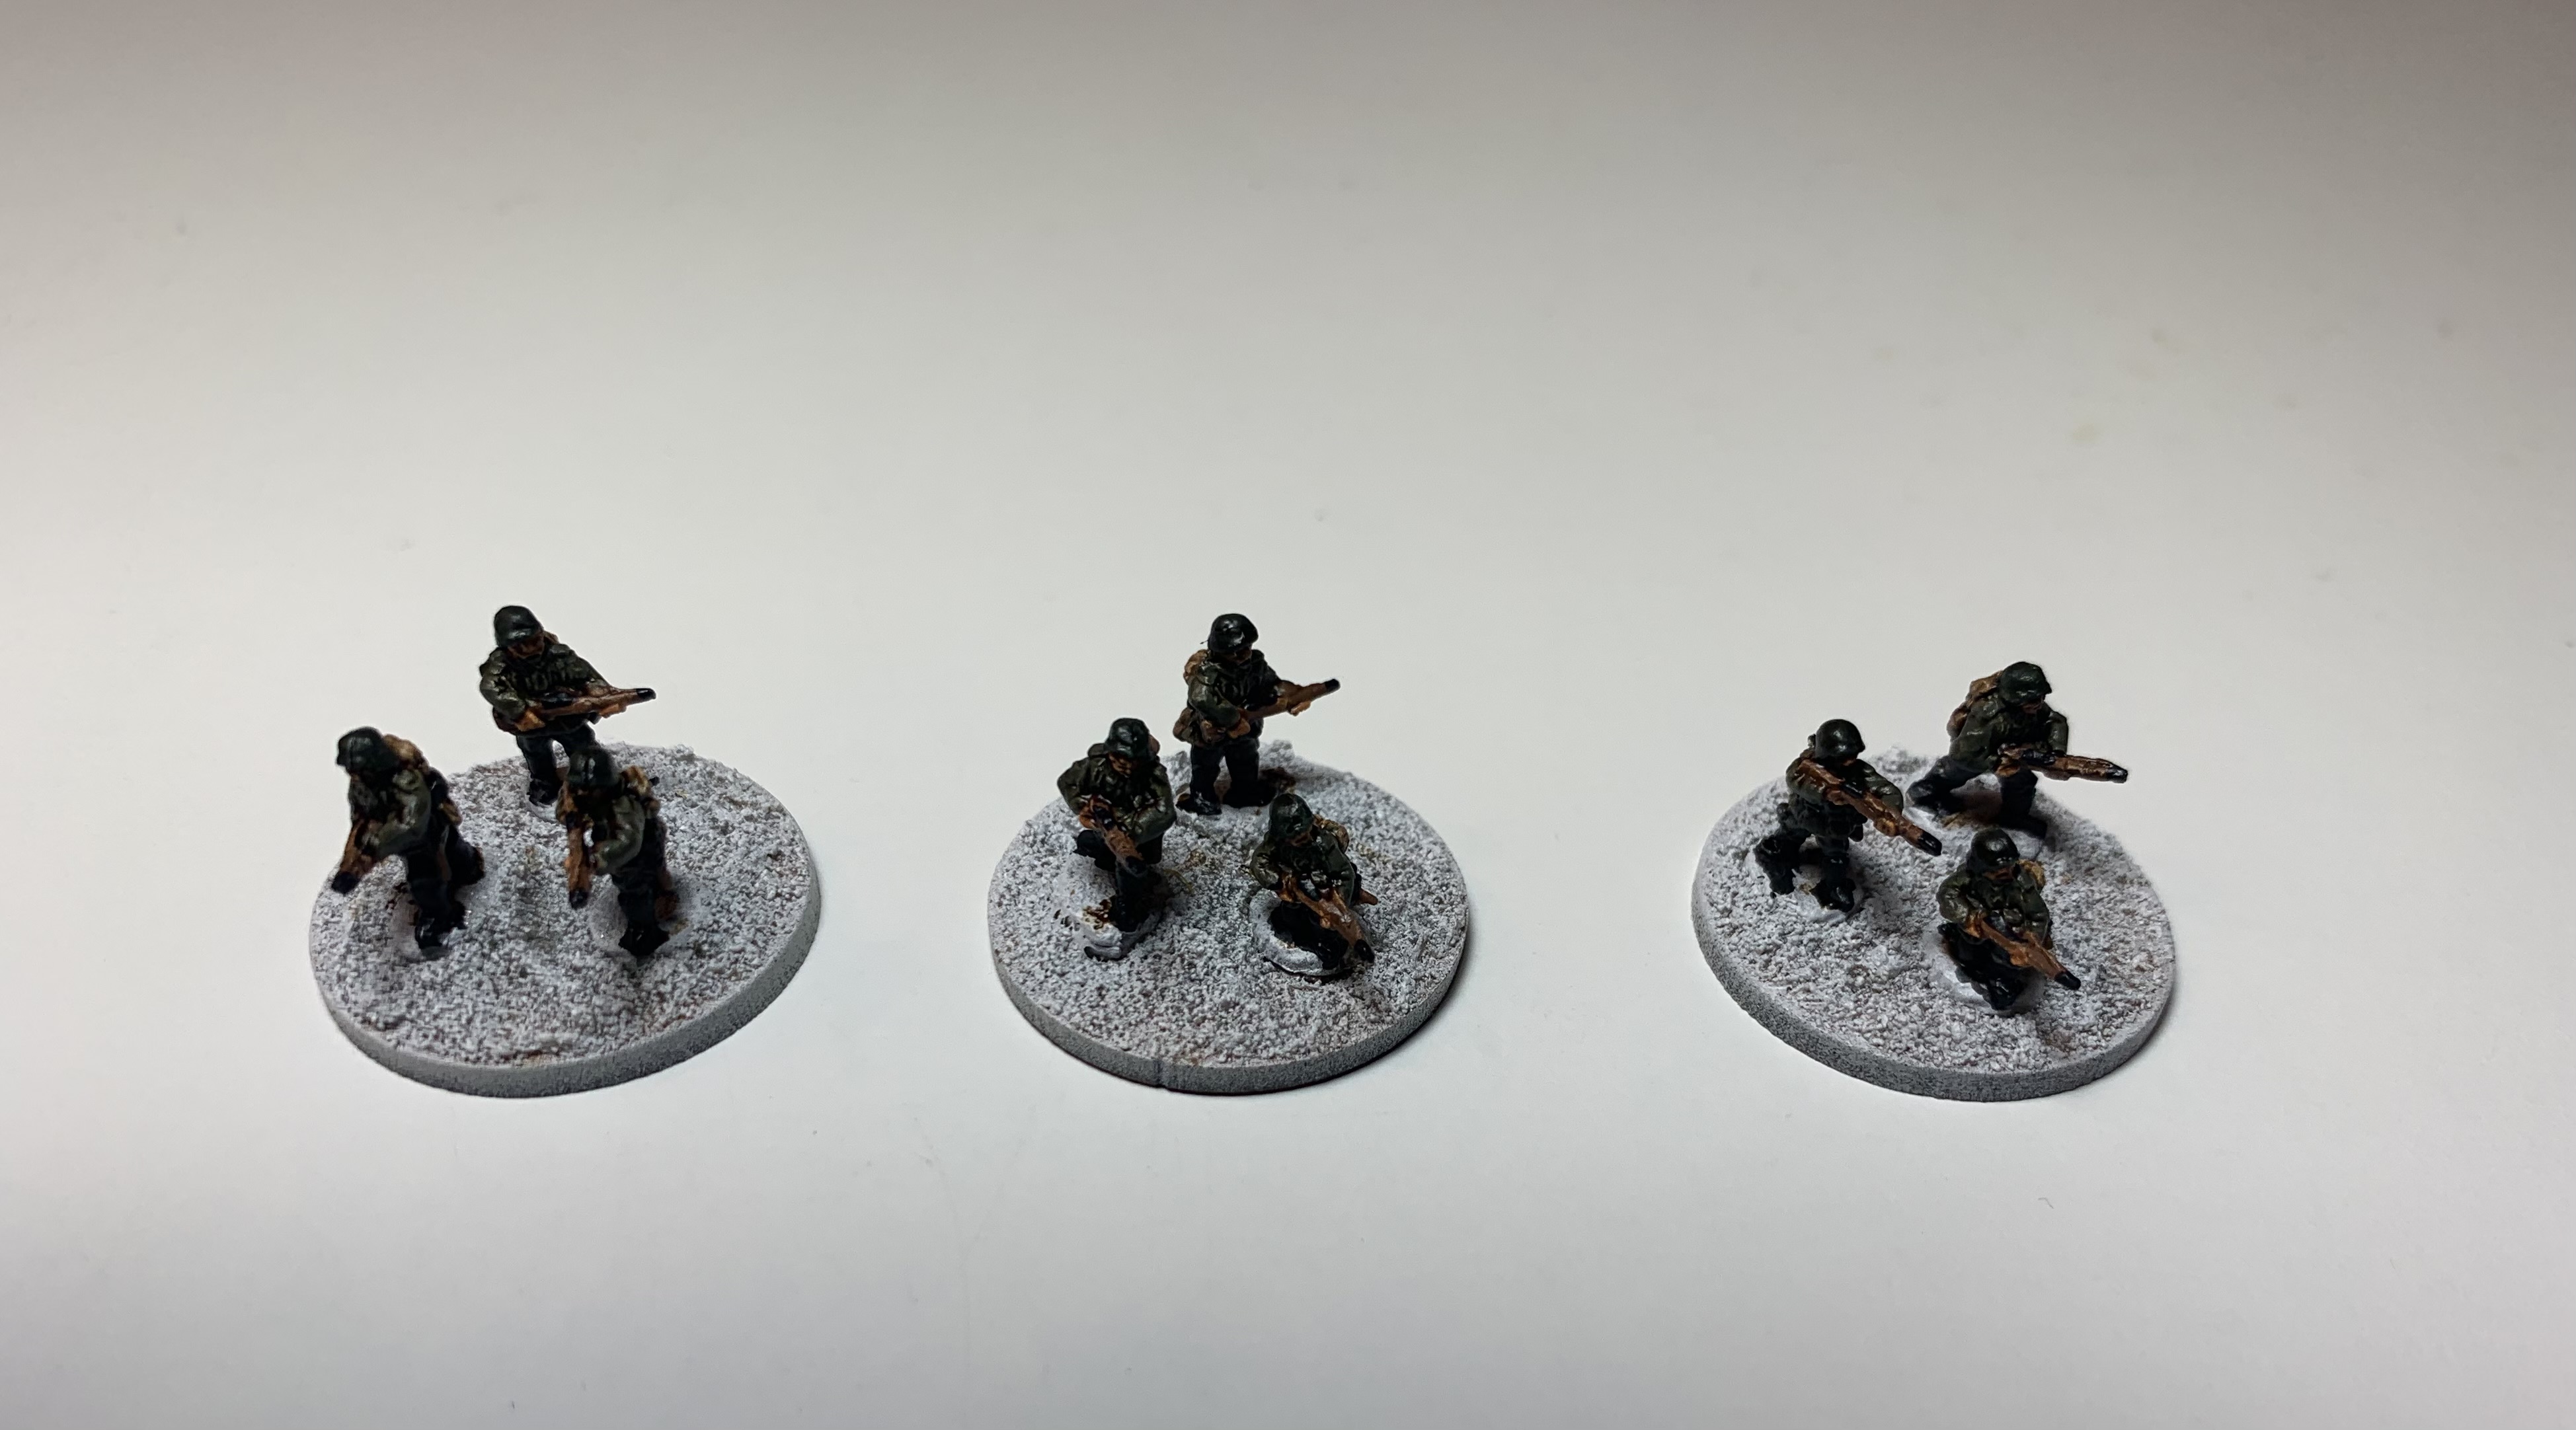 Step 3 - Cover all over with Army Painter Soft Tone wash
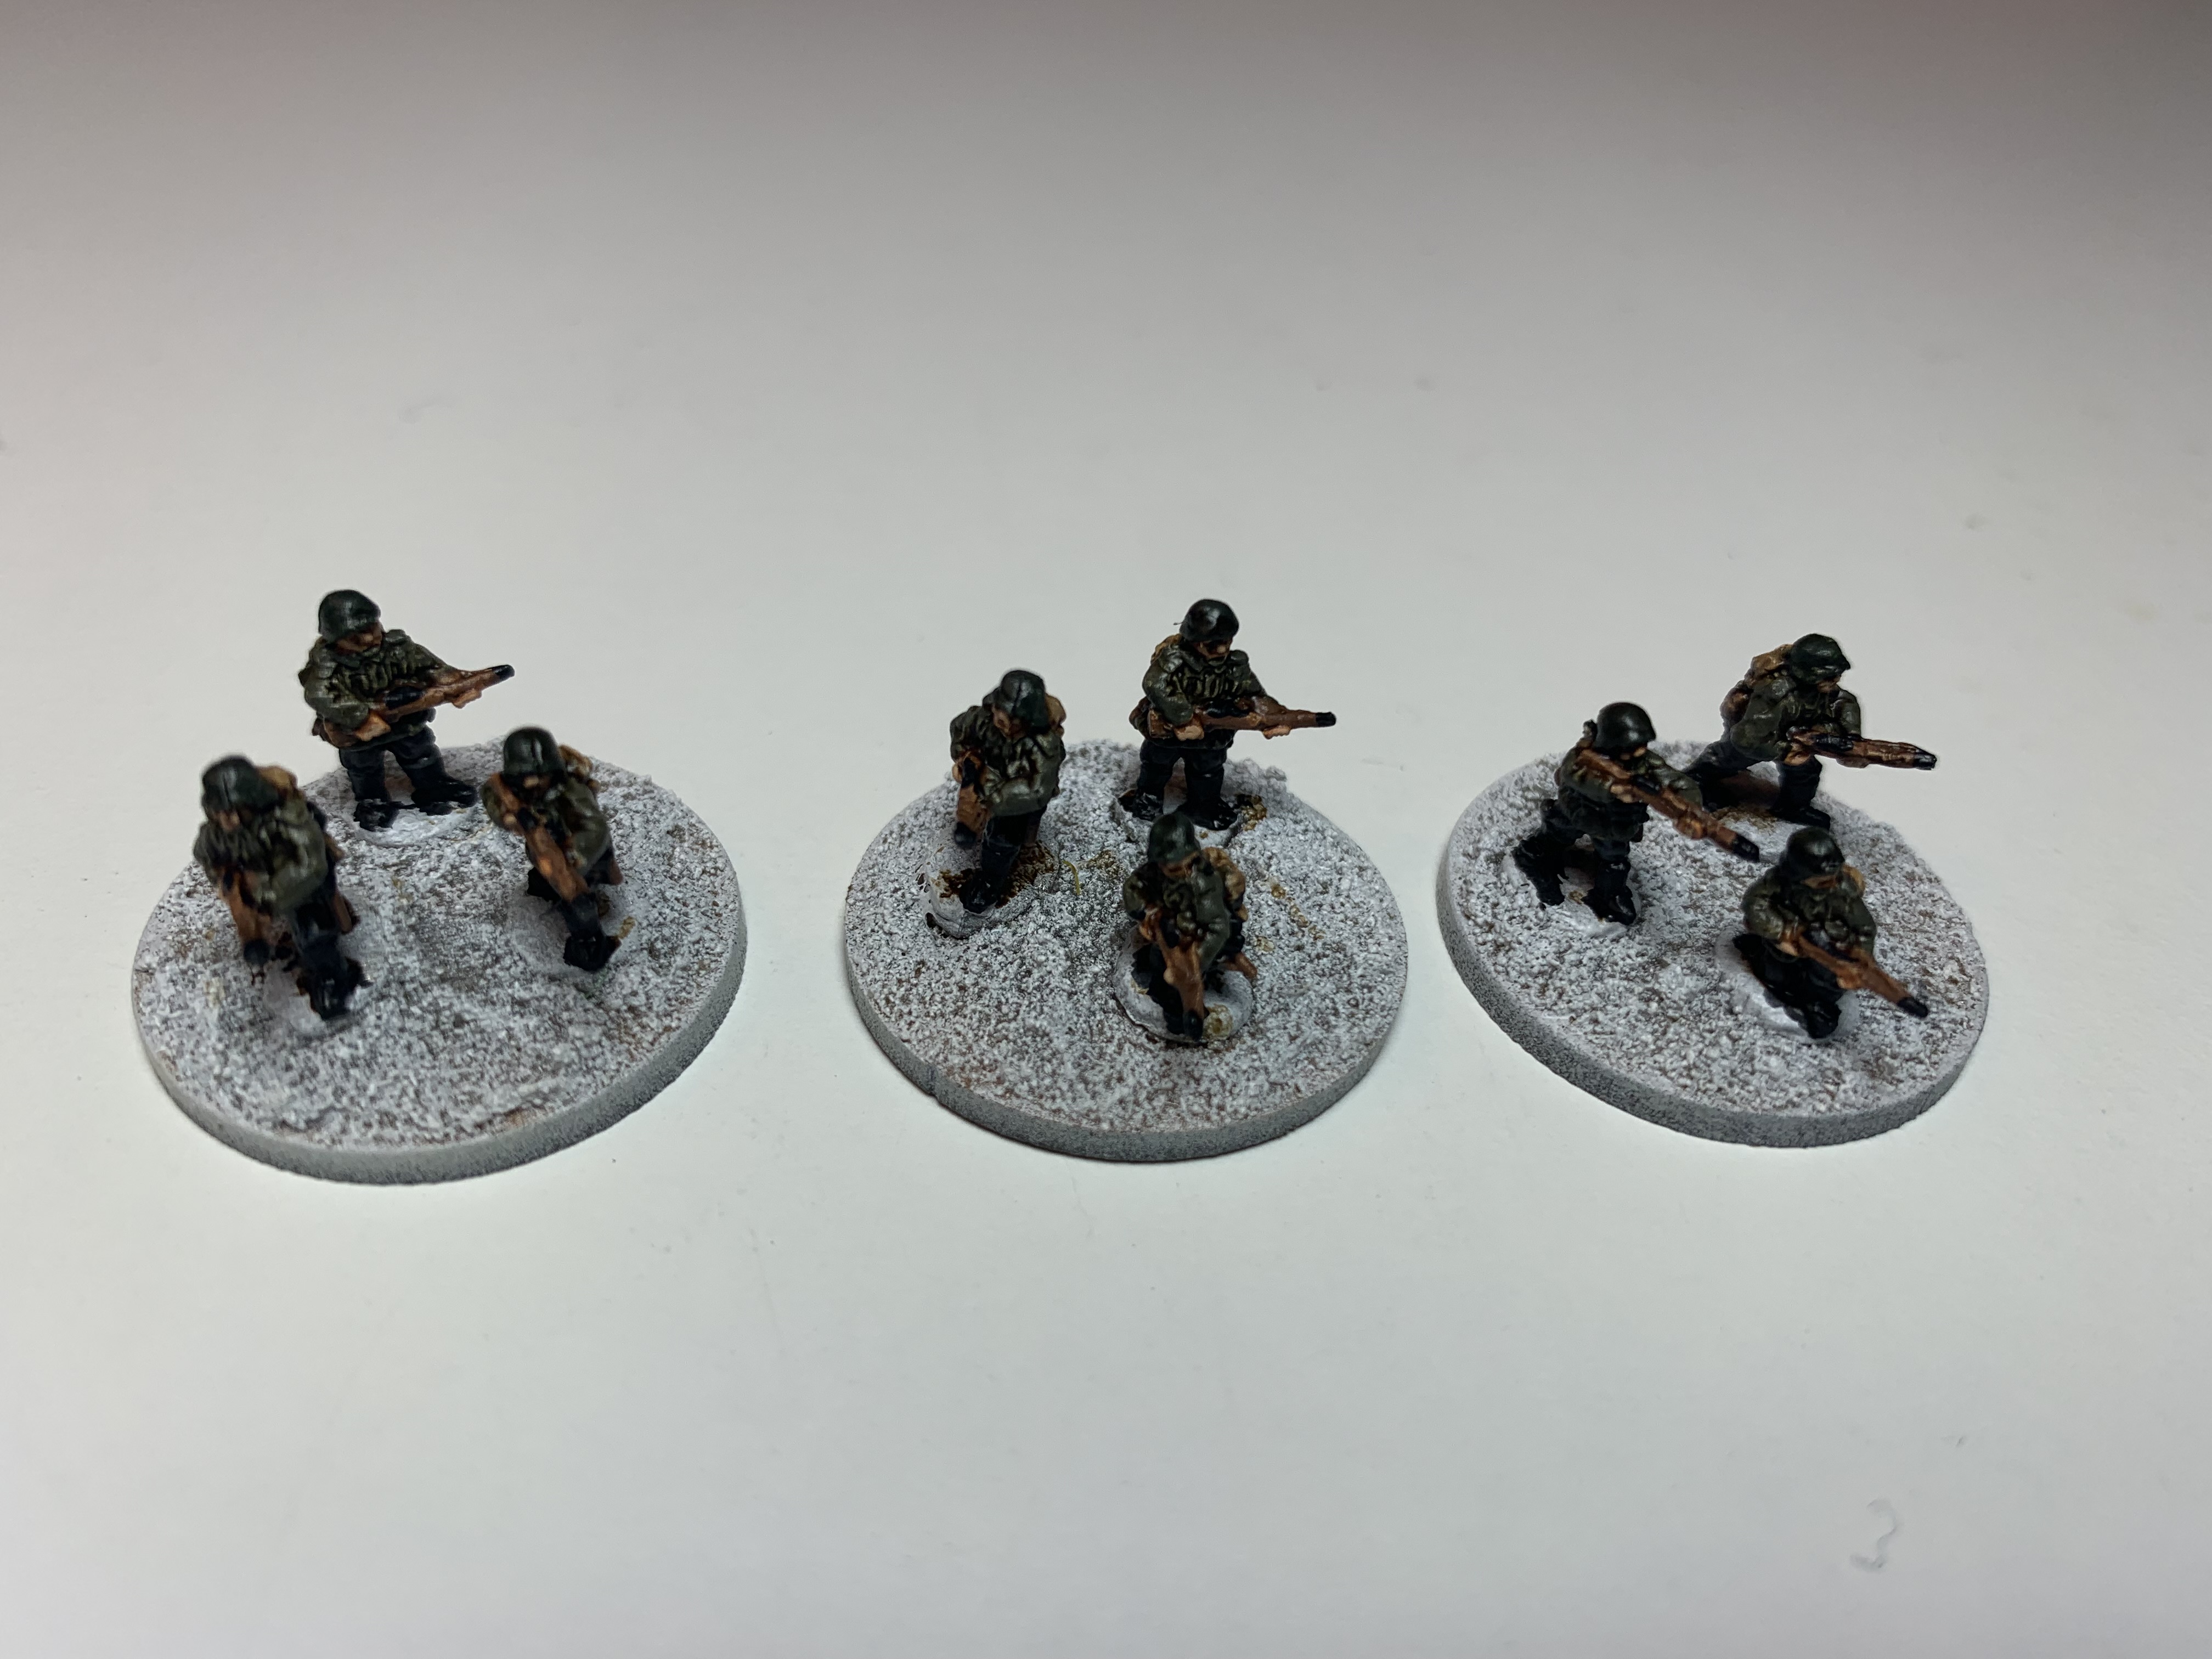 Step 4 - Highlight hands and faces with Vallejo Flat Flesh
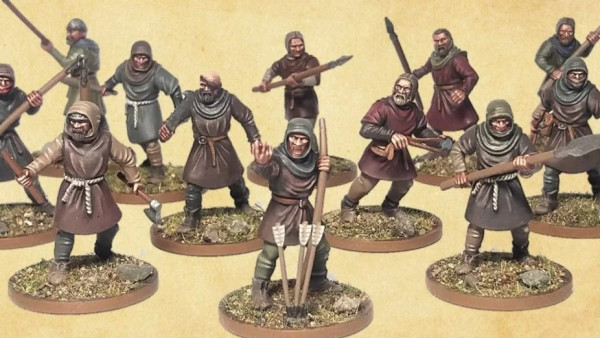
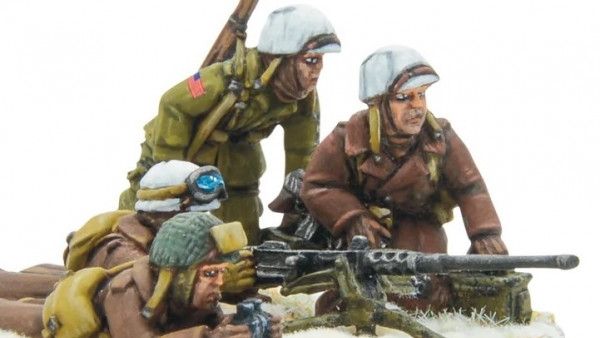
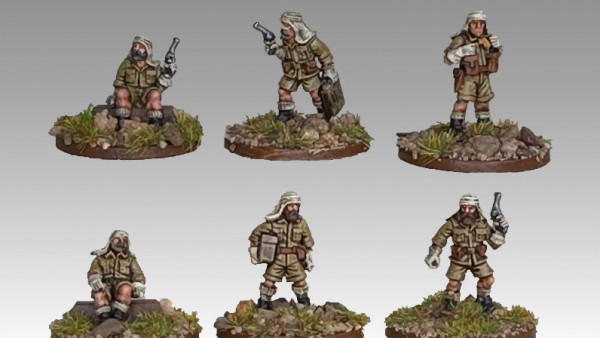
When I began this project I took the view that the paint job had to be simple. In my experience small scales do not reward massive investment in detail and I suspected this would be even more so in WWII where the combatants were doing their best to be as invisible as possible. I therefore set out a four stage process for infantry which is illustrated above.
Step 1 would be to prime the base of models white. This was so the fairly dull colours I was using would be brighter at least to some degree.
Step 2 was to base coat the models. The list of paints I used is set out below, but I tried to use a selection of colours so that elements such as rifles, helmets and packs would be obvious. At this stage of the process there will be white undercoat showing through in some places. That doesn’t matter as it will be fixed instep 3 when we add the wash.
I should mention at this point that I’m quite comfortable painting multiple figures of this type on a single base. Sometimes you can get a tricky angle, but if you get paint on the wrong part of another model on the base you can usually rectify that quickly.
Step 3 is a straightforward coverage of the models in a wash of Army Painter Soft Tone ink. This covers any bits of white primer that may be showing and defines the different areas of the figure a bit more.
Step 4 is the final step and involves a tiny spot of Vallejo Flat Flesh on the upraised parts of the face and hands. I’m not sure the effect is obvious in the photo above, but it makes a difference to the final effect.
The bases are now ready for basing and varnishing.
The list of base coat colours is set out below. I’ve included colours for machine guns because although the examples above are combat patrols I paint standard squads in exactly the same way and those often include figures armed with machine guns. All paints are from the Vallejo Model Colour range.
Flesh – Light Brown, highlighted with Flat Flesh after the ink wash.
Helmet and ammo containers – German Camo Dark Green
Tunic – German Field Grey WWII
Trousers – London Grey
Rifle and shovel handle – Beige Brown
Water bottle – German Camo Pale Brown
Pack – Tan Earth
Belts, shovel cover, boots, rifle ends – Black
Mess tins – Oily Steel
Machine Gun – German Grey
Machine gun ammo belt – German Camo Orange Ochre


Leave a Reply