Warhammer: The Horus Heresy – Legions Imperialis | Assembling The Miniatures
December 2, 2023 by warzan
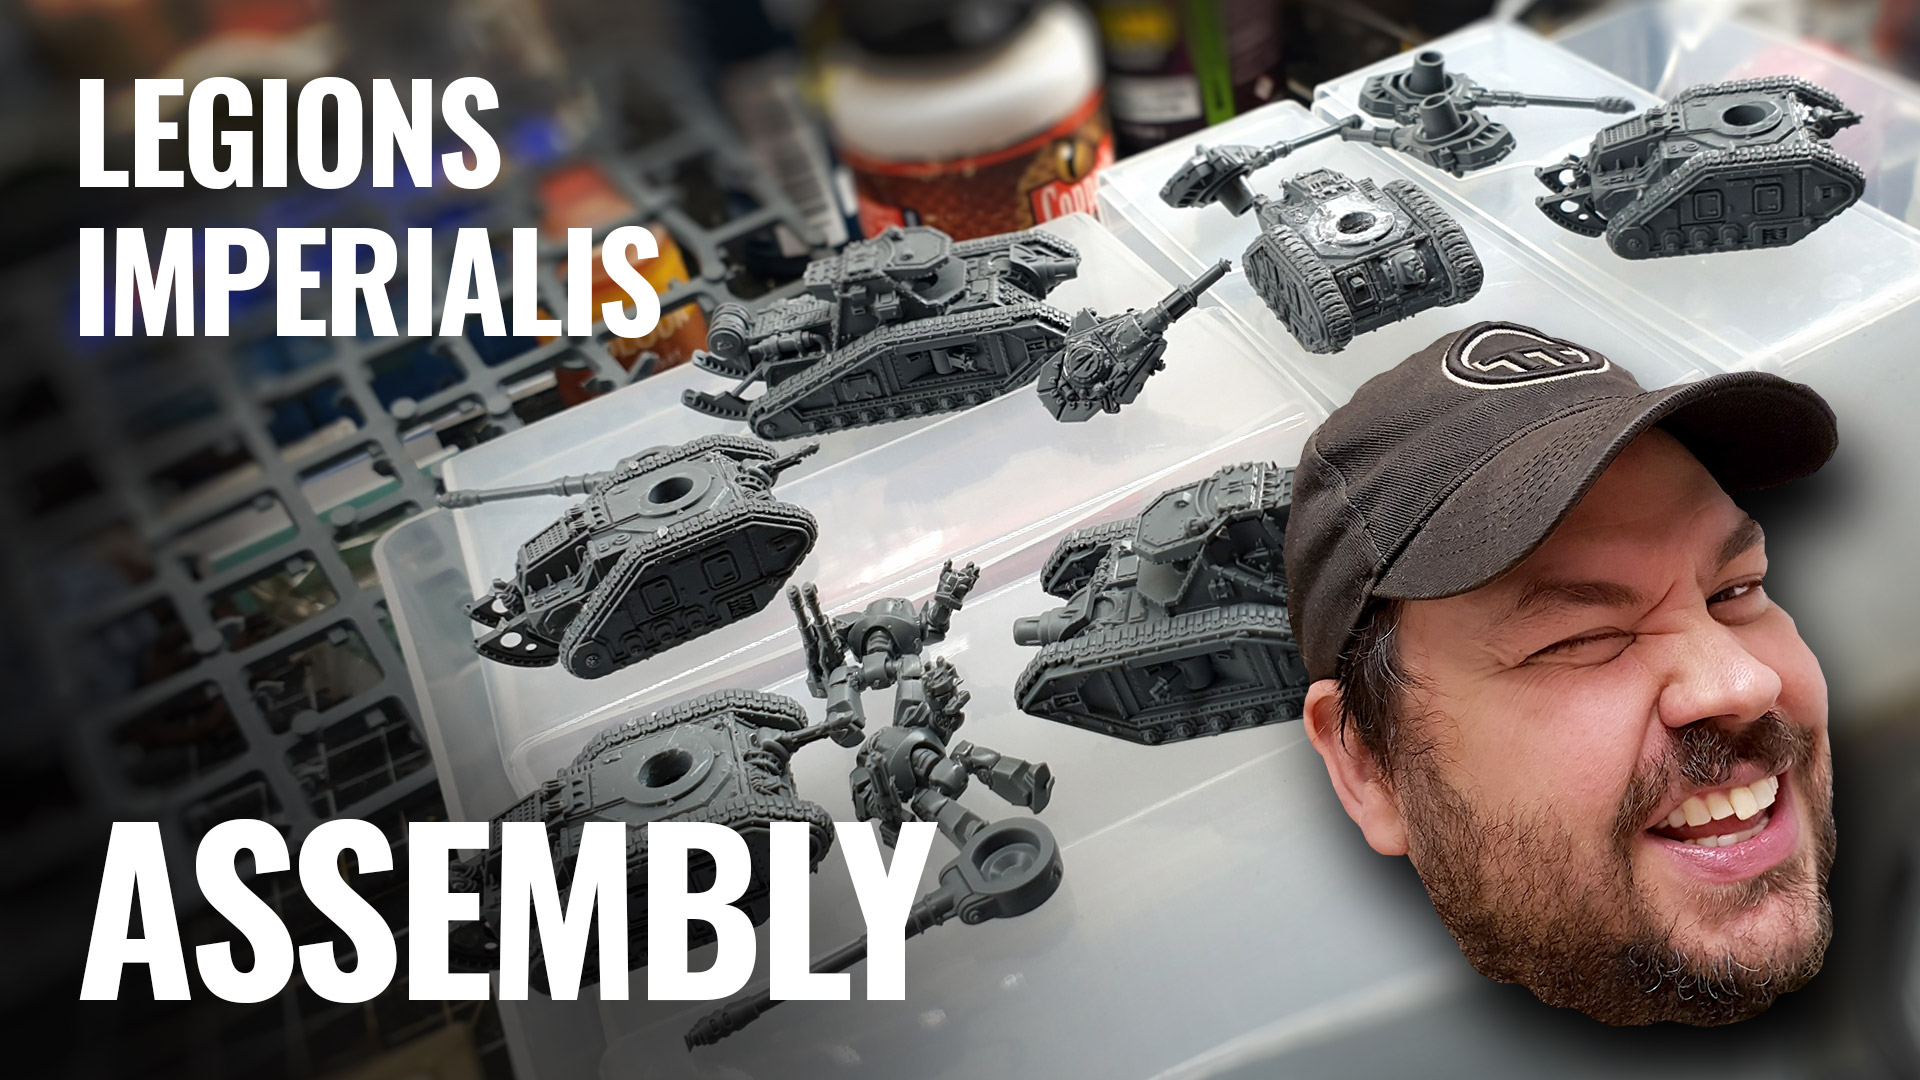
My First Impression of Warhammer: The Horus Heresy left me with a positive vibe so it would be interesting to see if that positivity would survive the assembly phase! I guess it's time for me to start building some of the 8mm miniatures from the boxed set!
Warhammer: The Horus Heresy - Legions Imperialis | First Impressions
Warhammer: The Horus Heresy - Legions Imperialis | Assembling The Miniatures
Shop Warhammer: The Horus Heresy - Legions Imperialis @ Store.OnTableTop
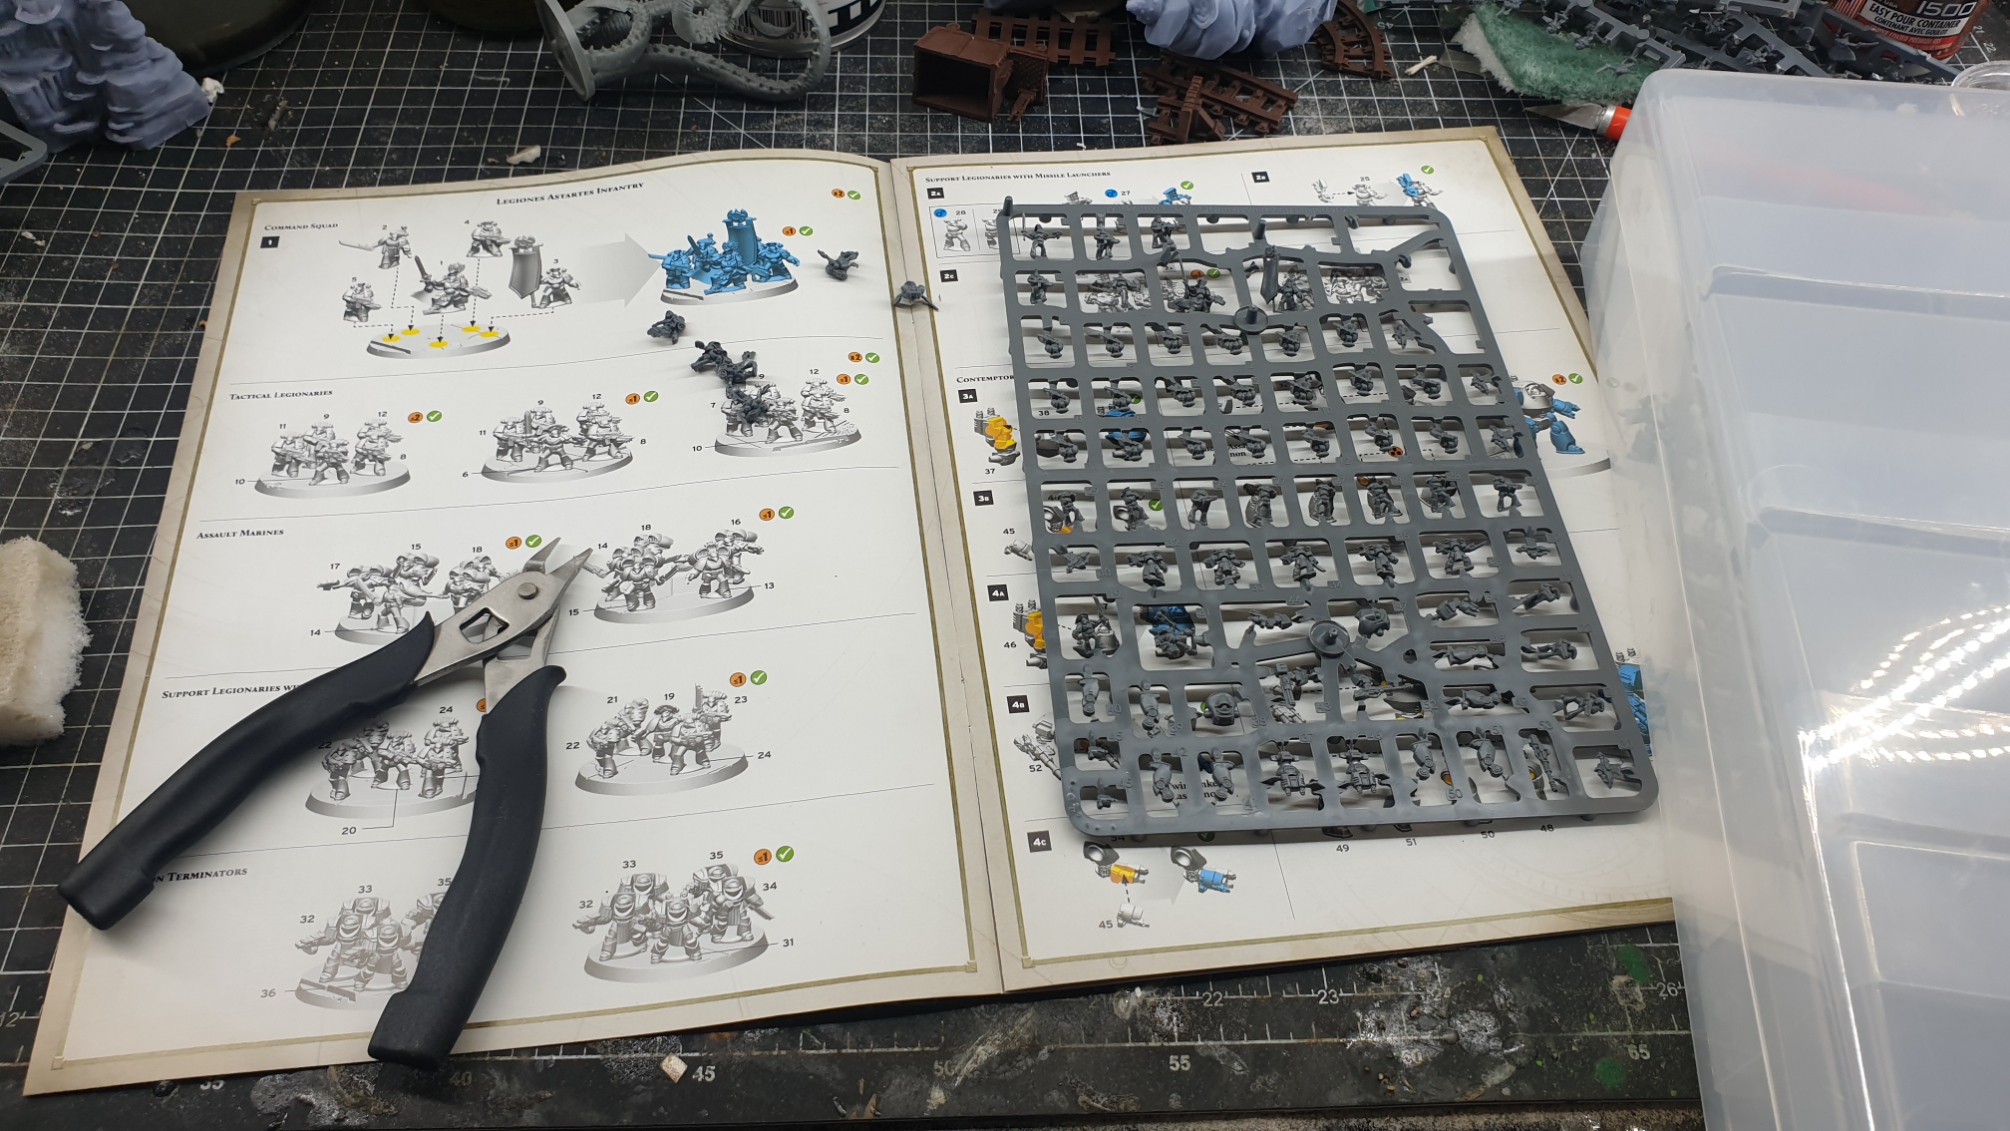
Assembly of this kit requires patience. Yeah, I've seen a variety of "Legion Imperialis Painted in twenty-four hours!" videos. Nonsense! My advice is to take your time, spread out the assembly and flick through the rulebook and the assembly instructions before assembling any unit. This allows you to see if there is a preferred loadout that you like. Or, you can just do what you think looks cool (I'll be honest, this is pretty much my default these days).
You see, assembly can feel like a real chore and a slog if you put yourself under any pressure to get through it. I spread the assembly out over the course of a week. The combination of the very small components giving me a bit of eye strain and the repetitive nature of assembling the miniatures meant that I just didn't feel the need to make it a chore anymore. Why make the process hard when it's meant to be your hobby? Was the result enjoyable? Well, no. But it wasn't a massive pain in the arse which is a small win!
Use The Sprues
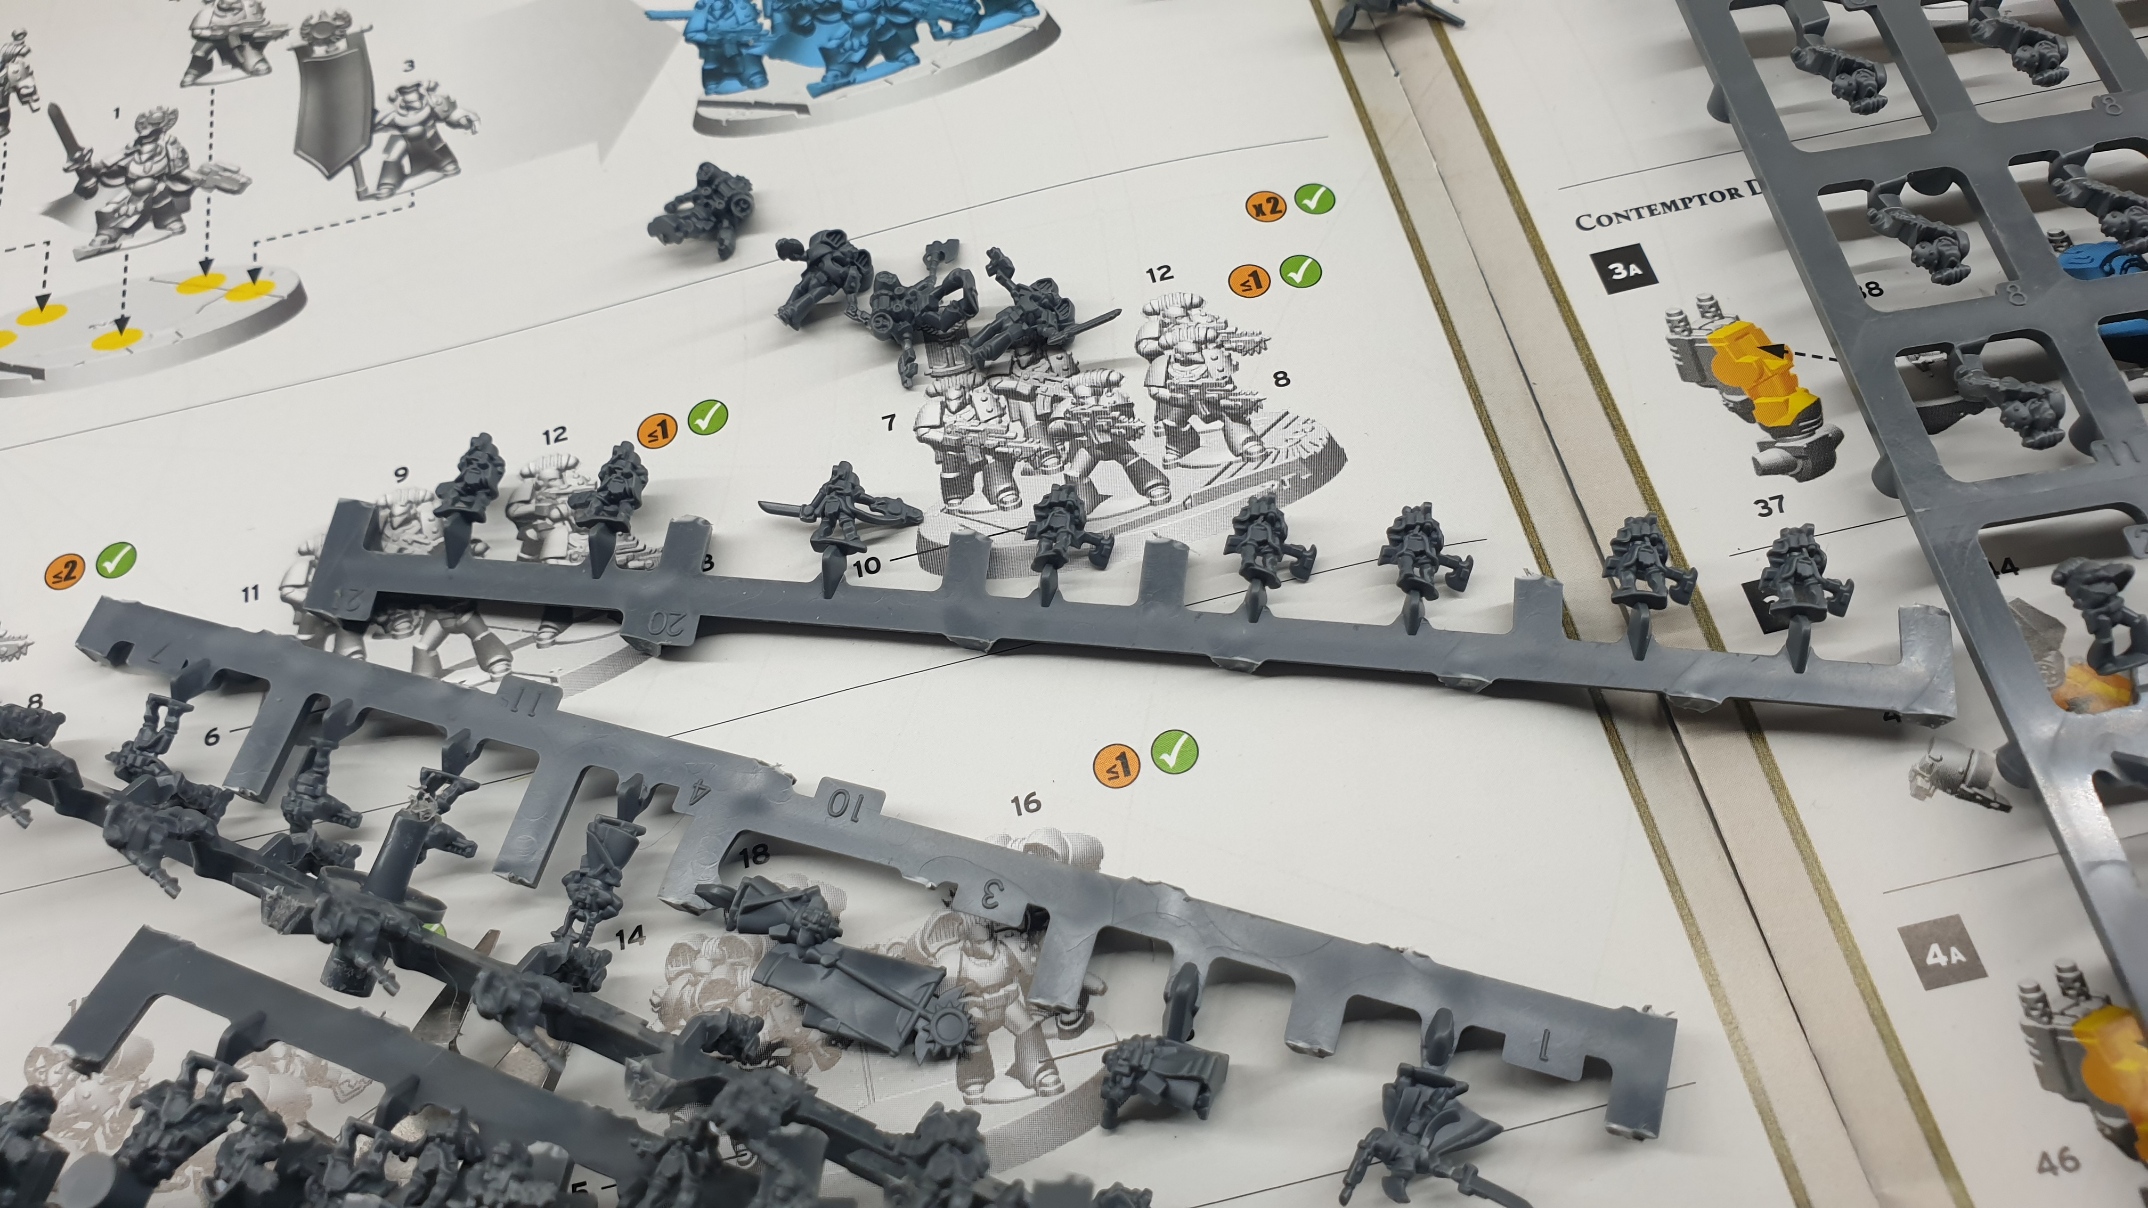
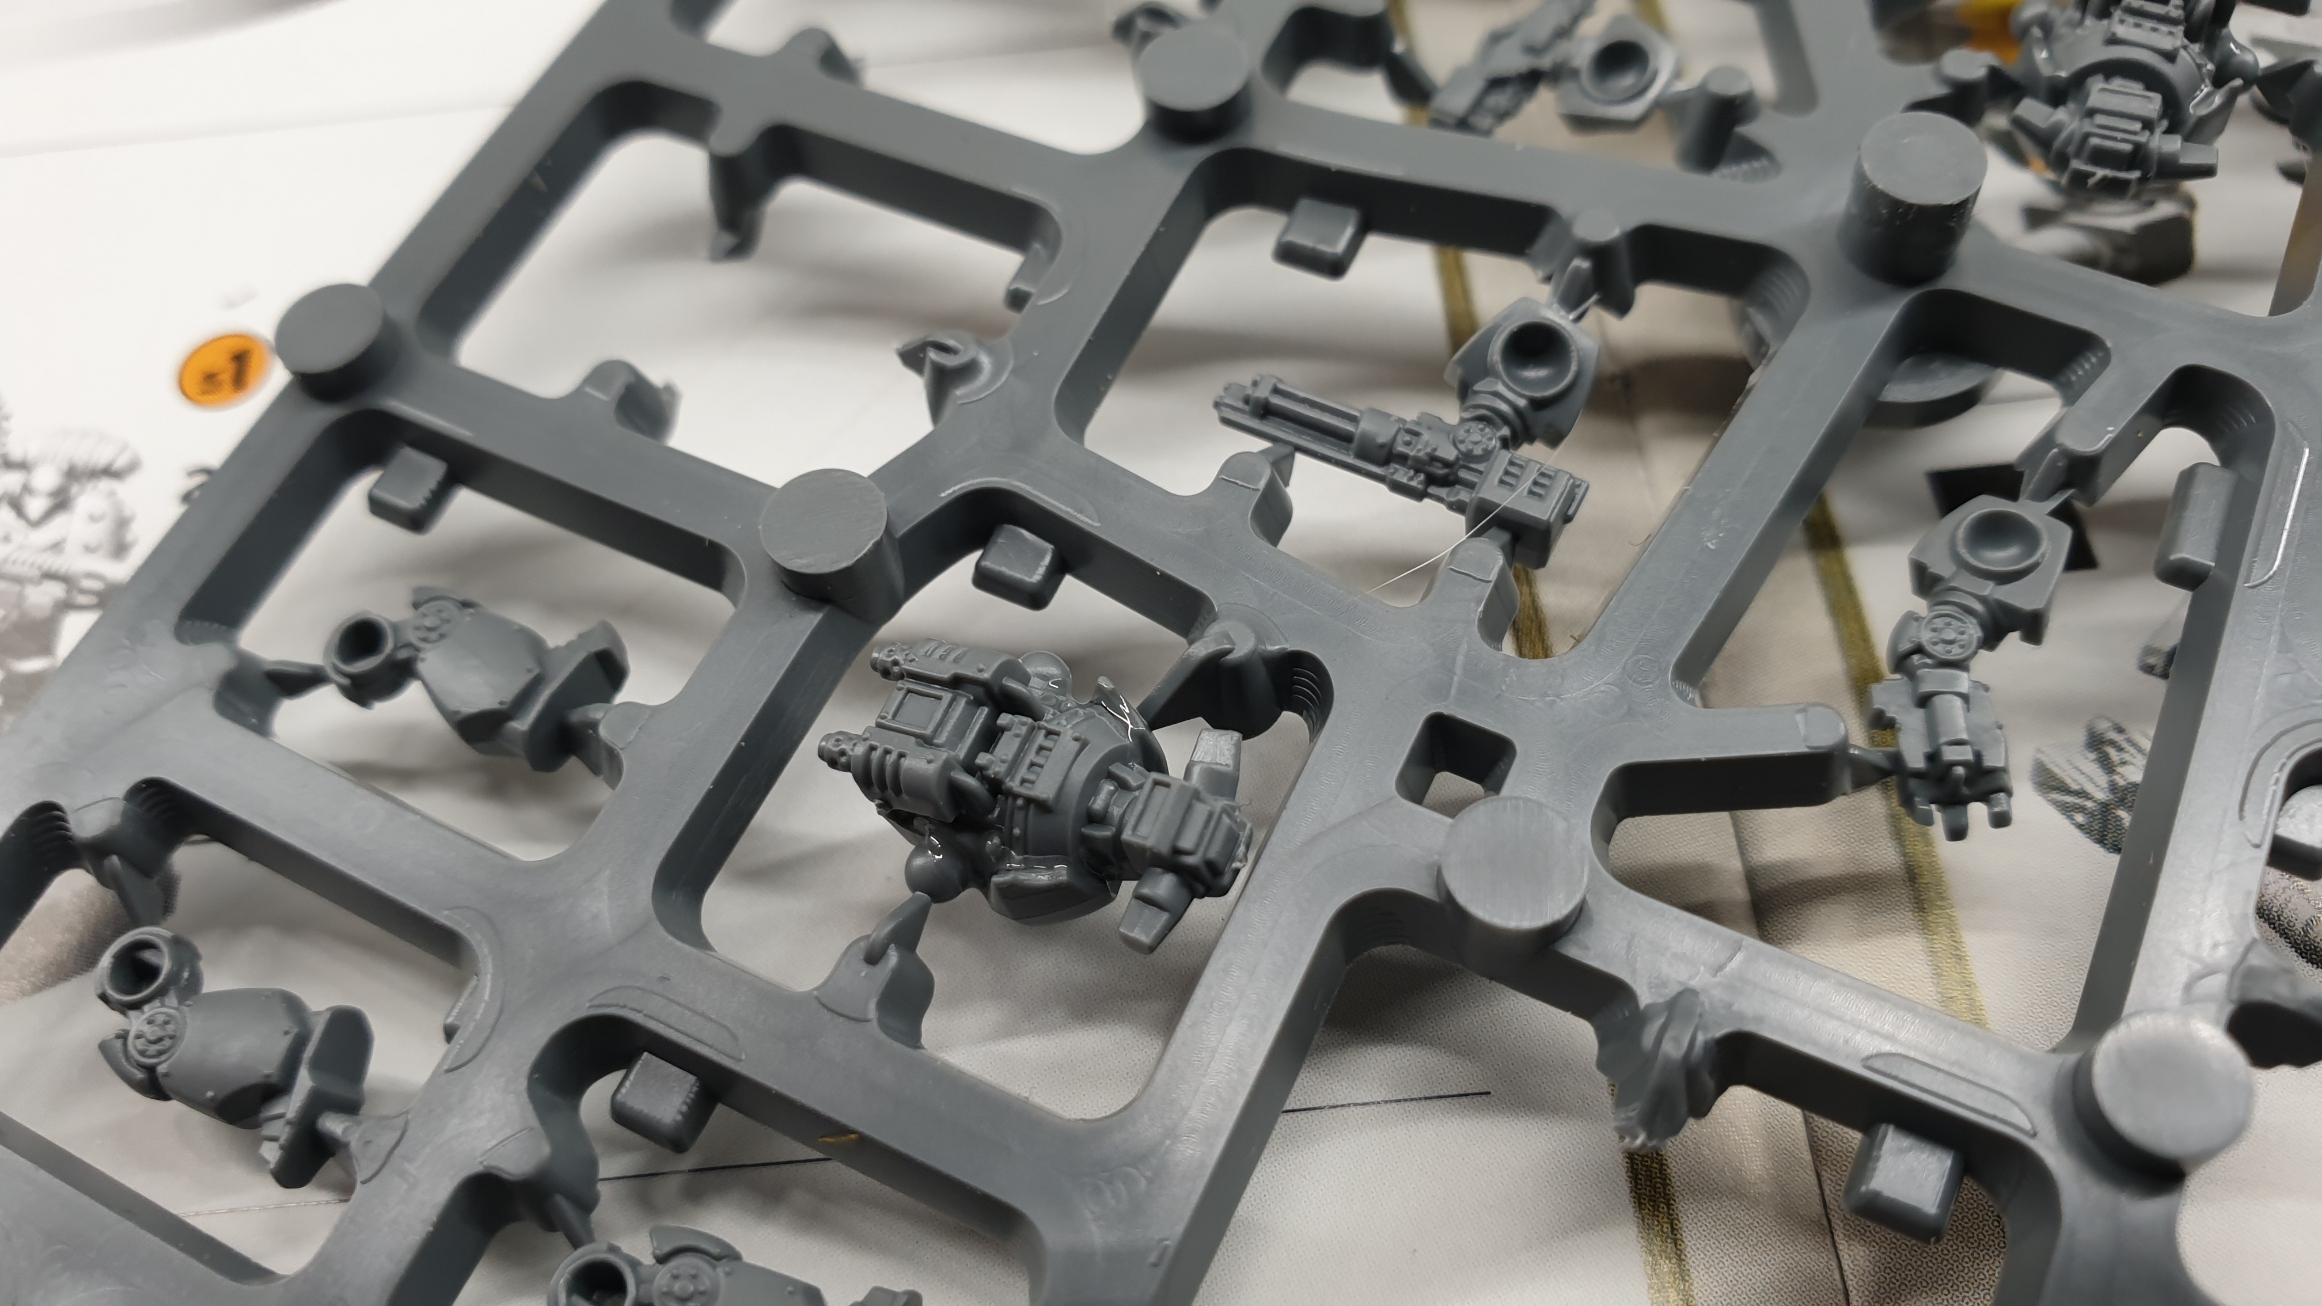
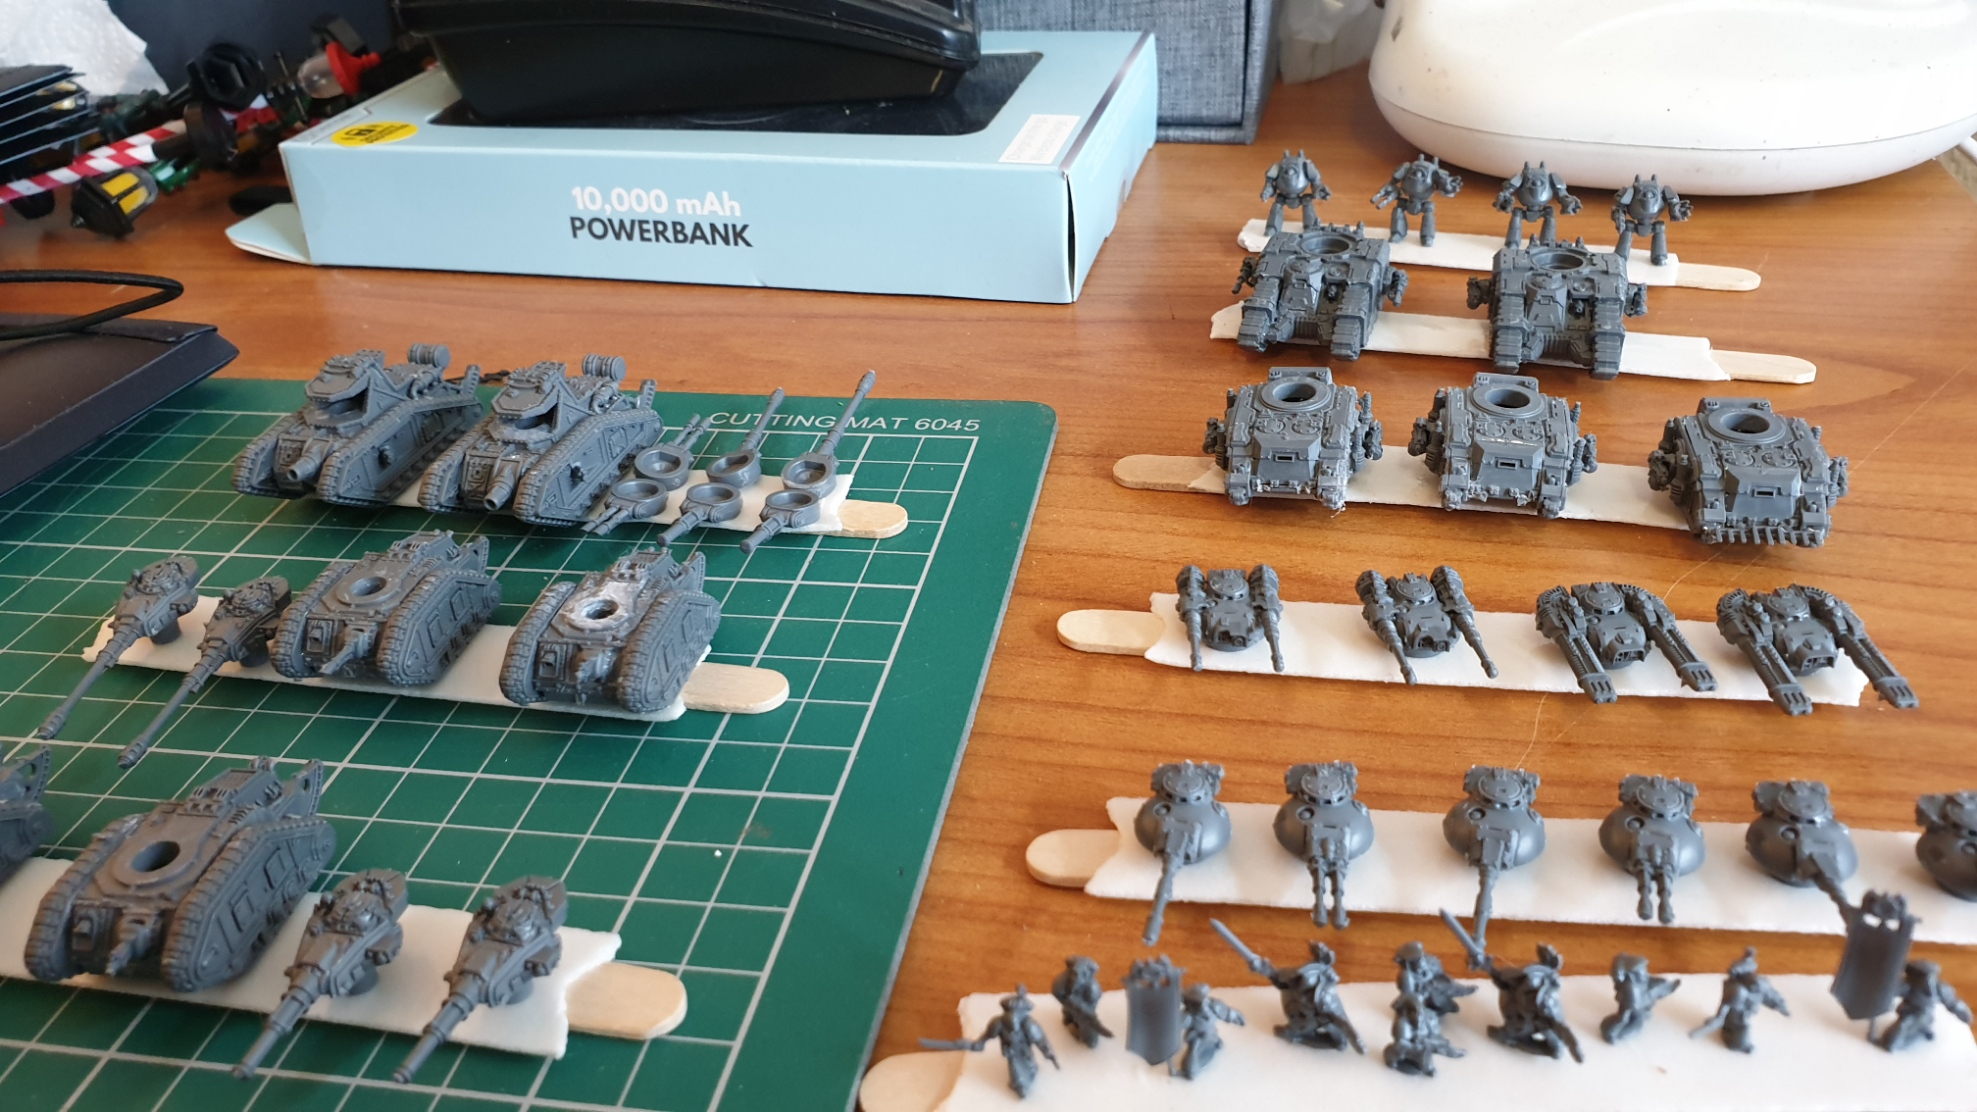
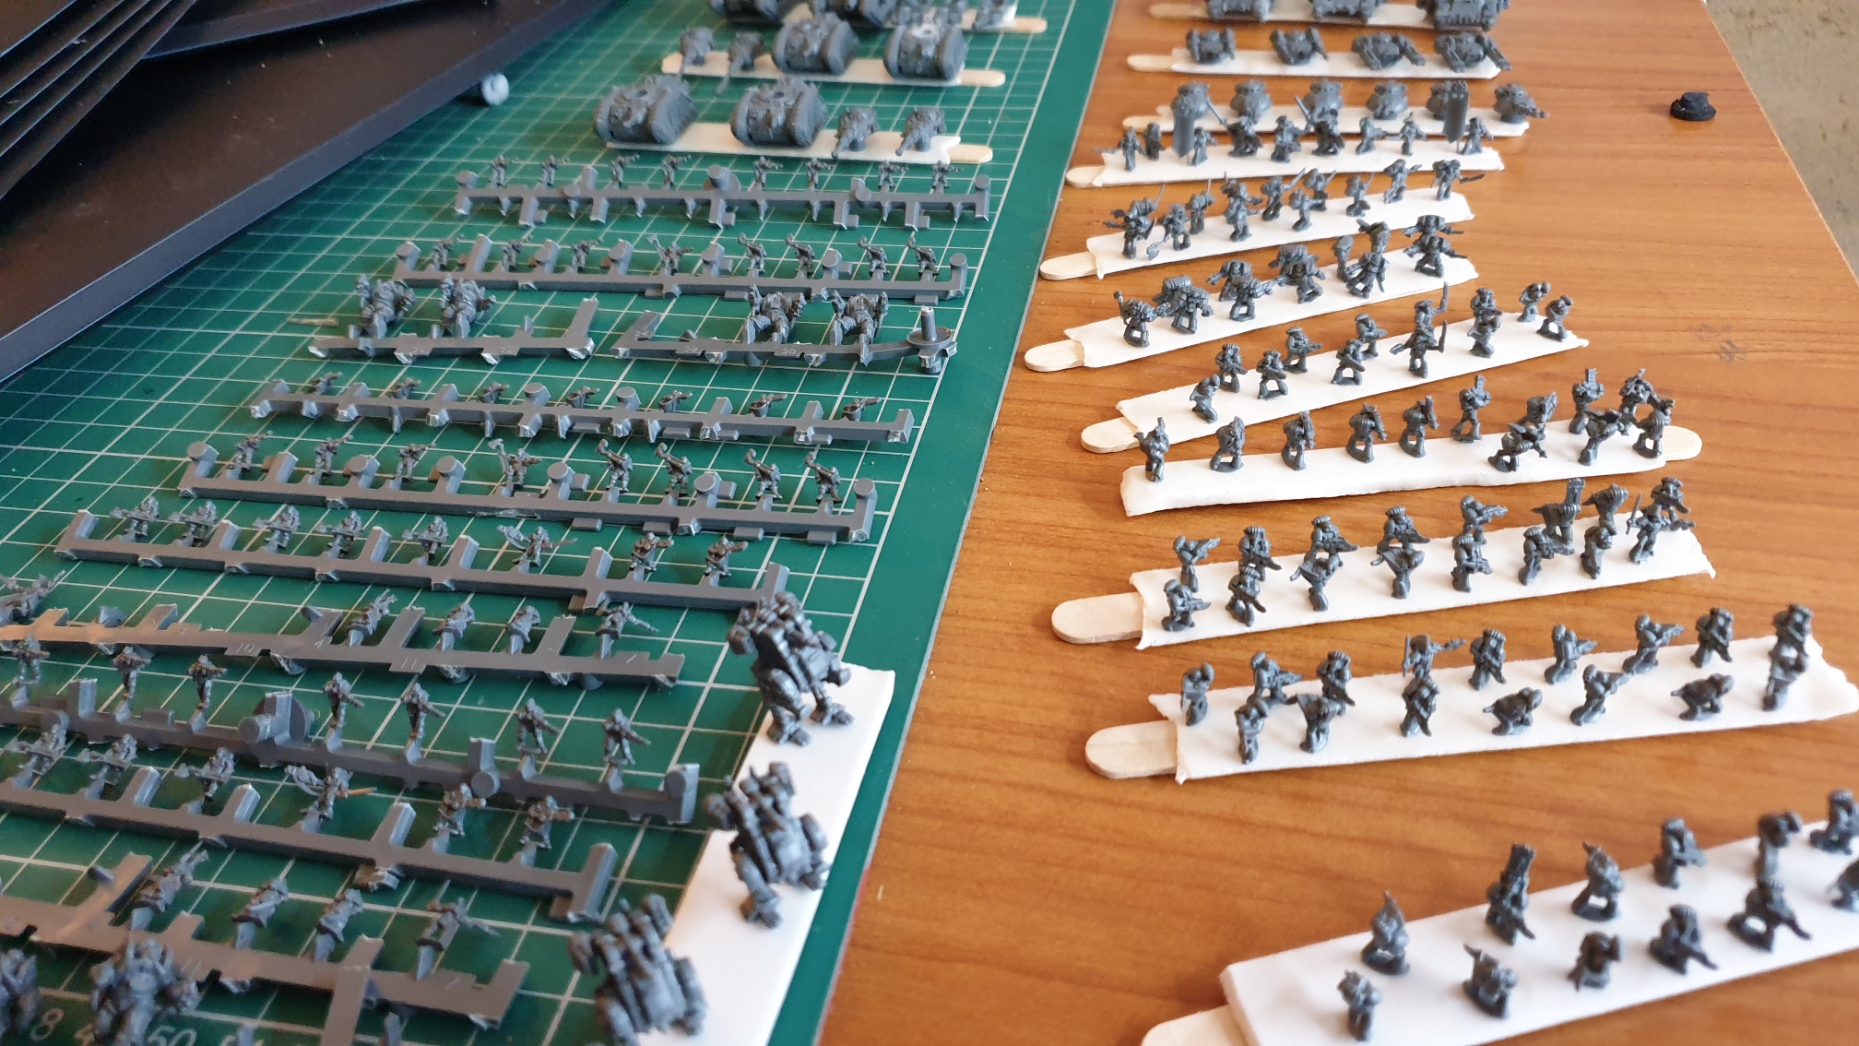
My first task was to work through the sprues and see what I could leave on them for the painting stage.
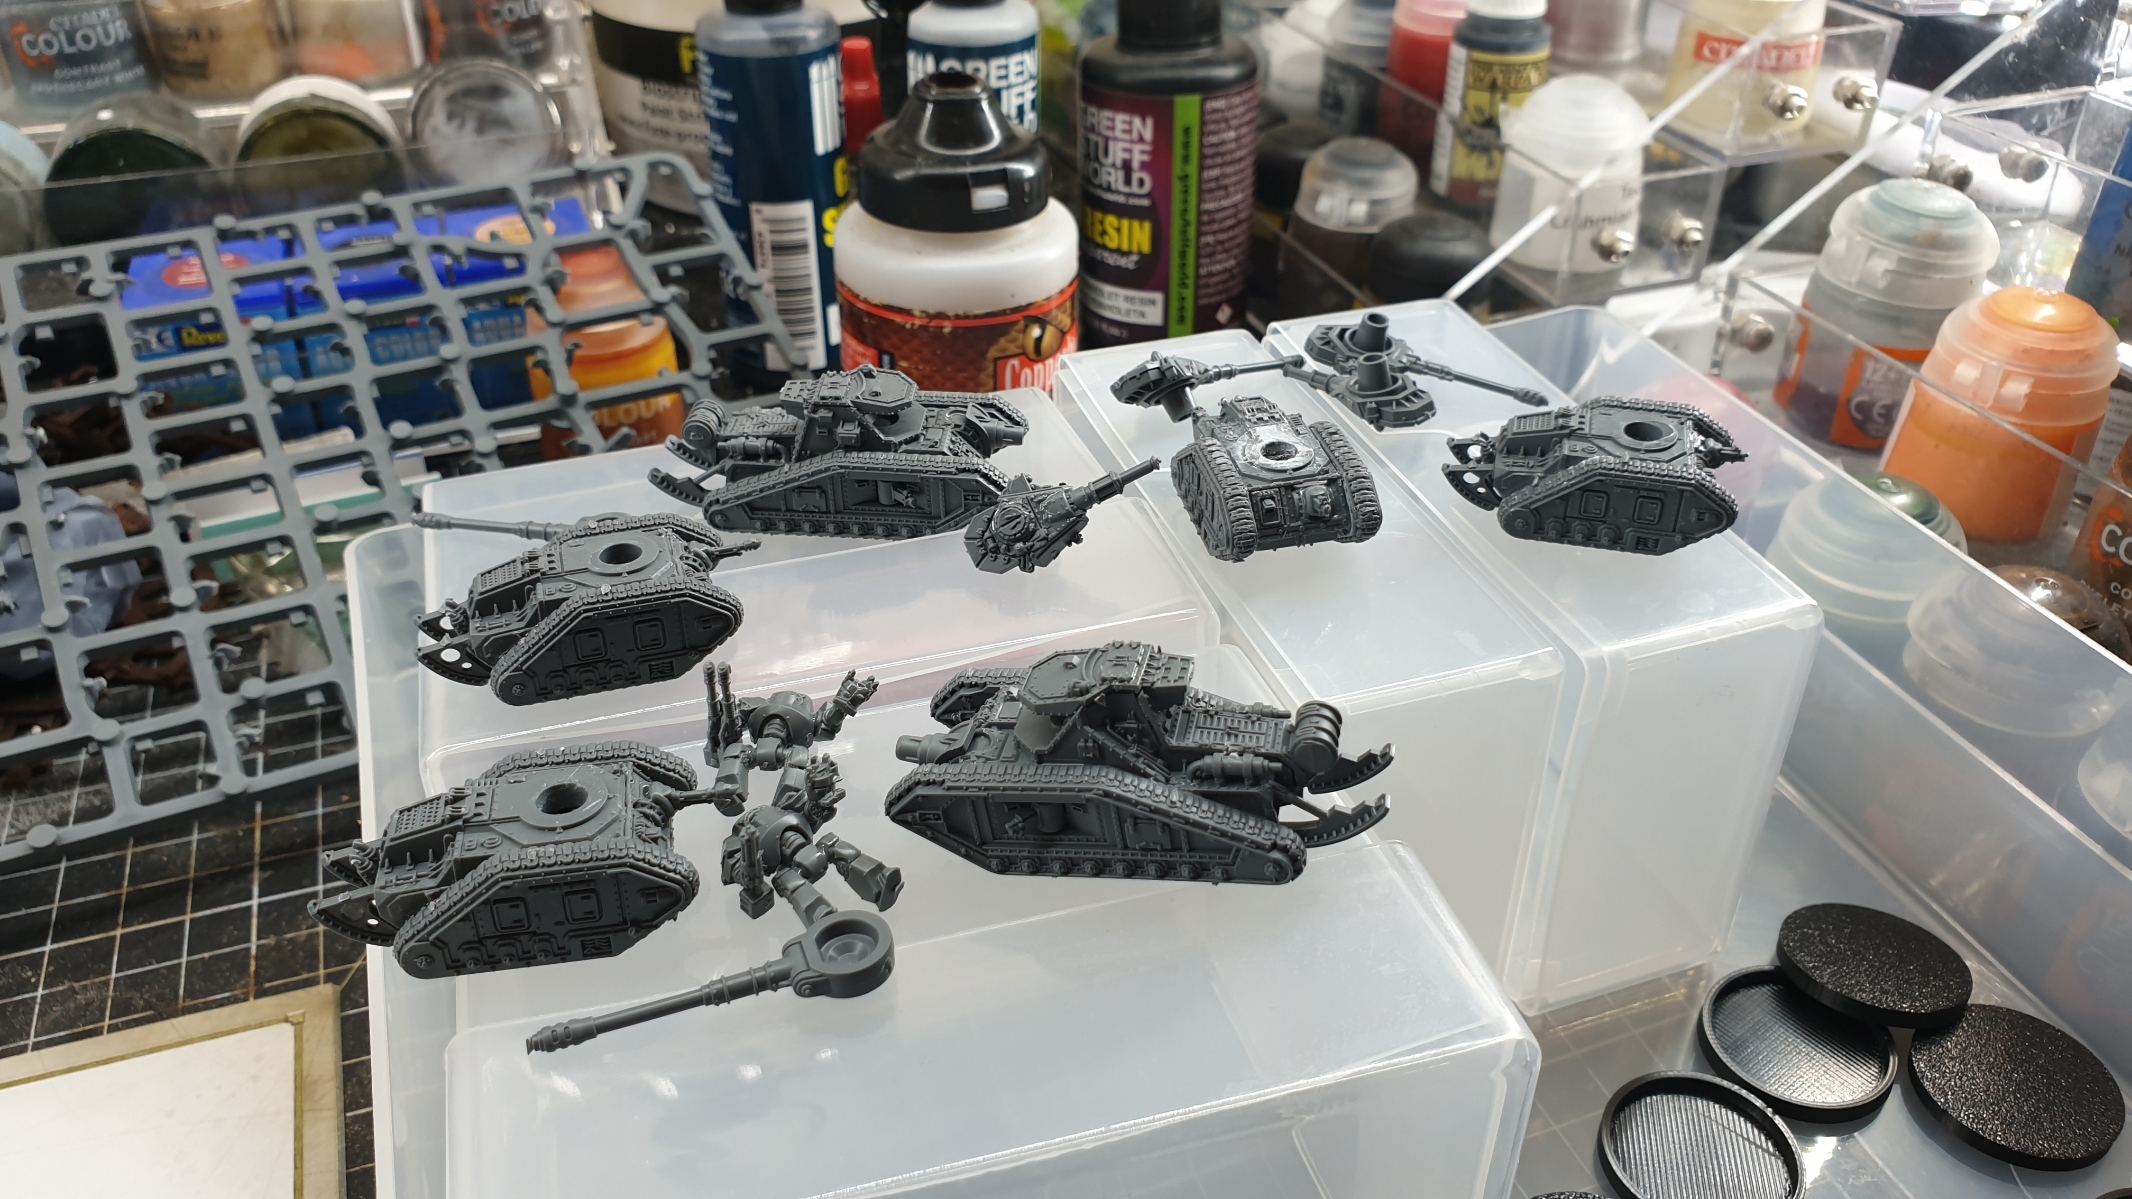
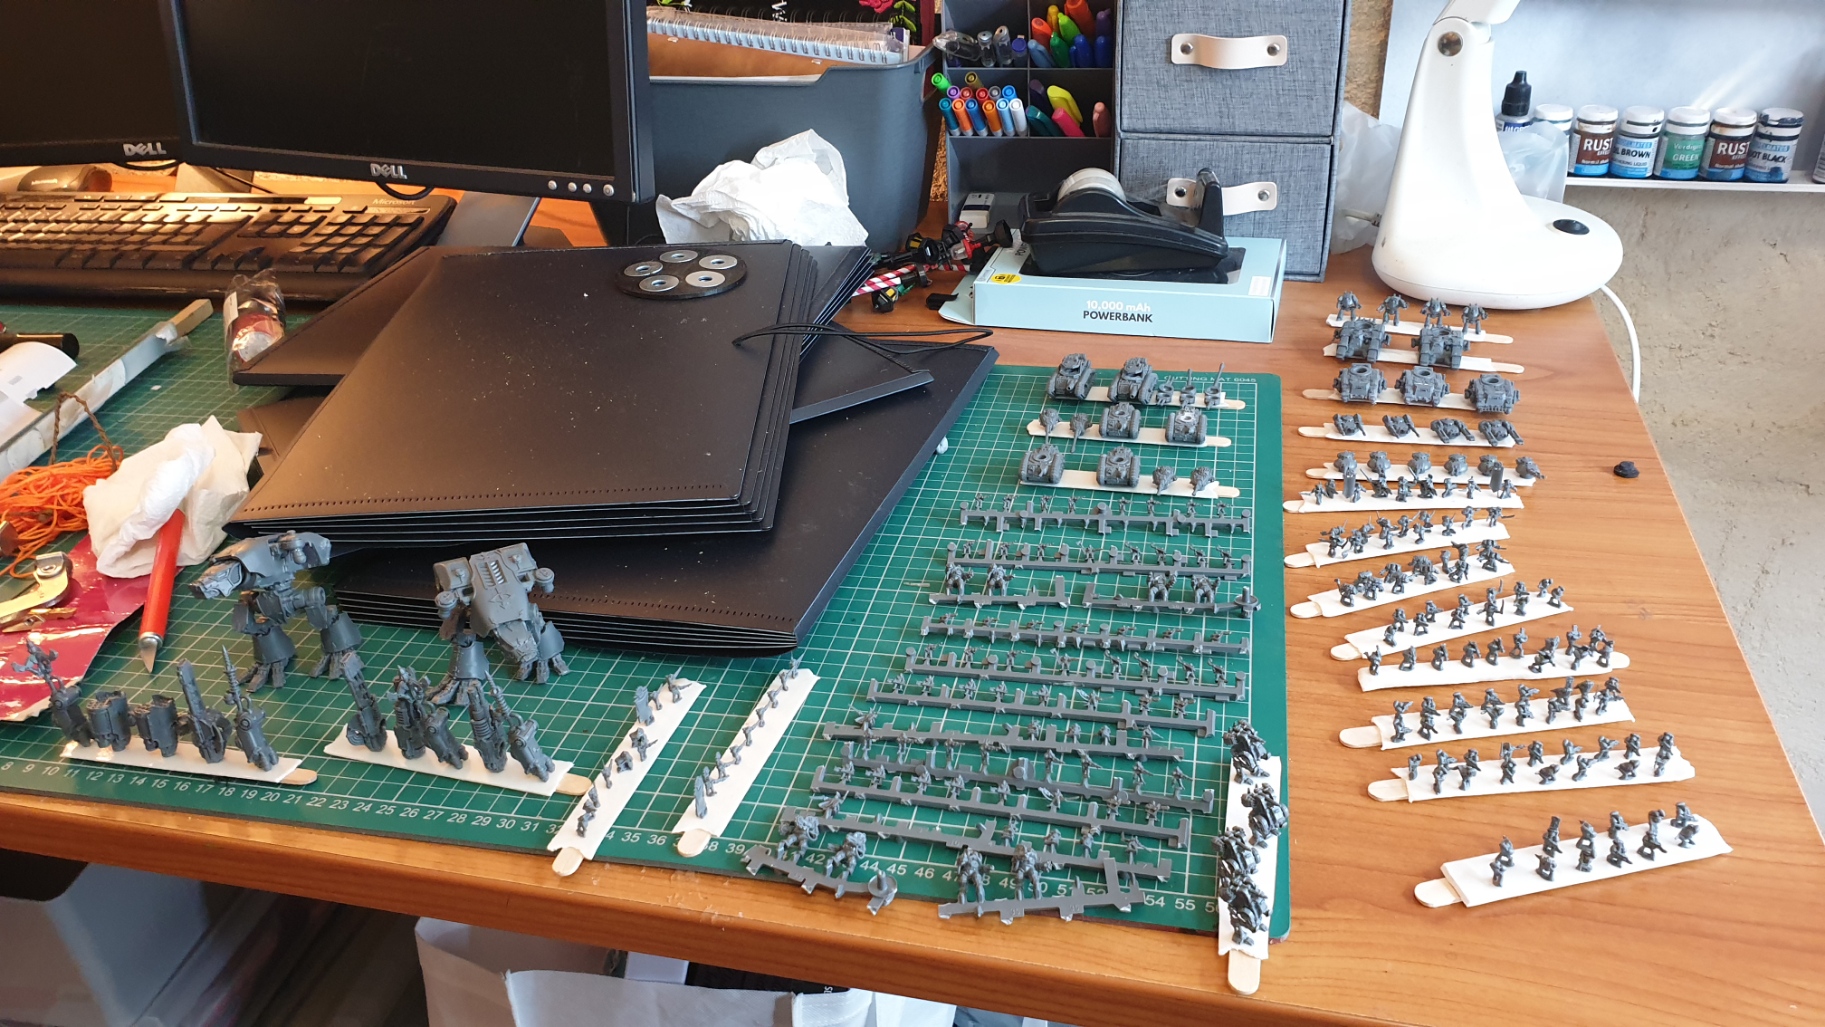
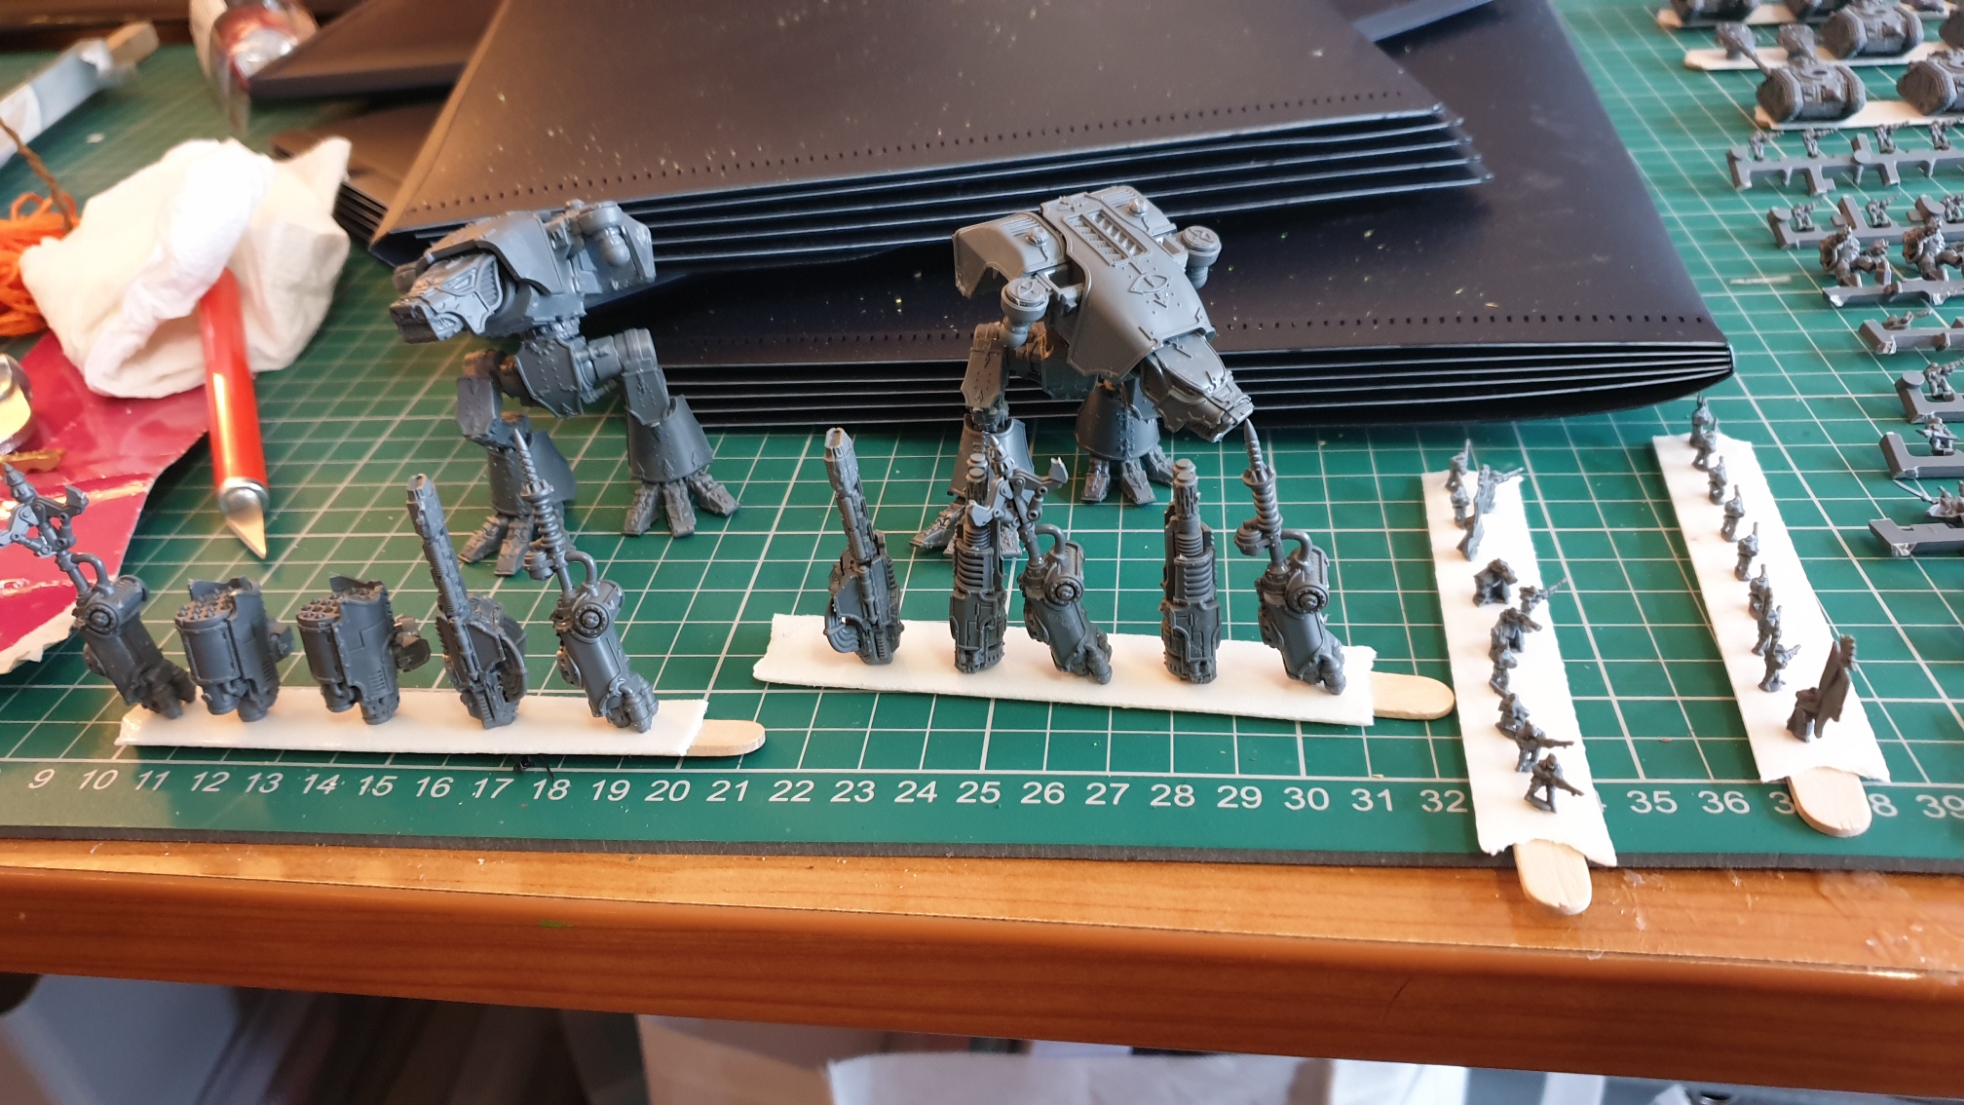
In theory, you could just prime the sprues and paint everything on the sprue itself but some of the historical guys advised ranking up the miniatures on lolly sticks. I decided to go with that approach. By trimming the sprues down to strips I was able to keep most of the Solar Auxilia on the sprues. The Space Marine troops however did require clipping.
Organisation Is Key
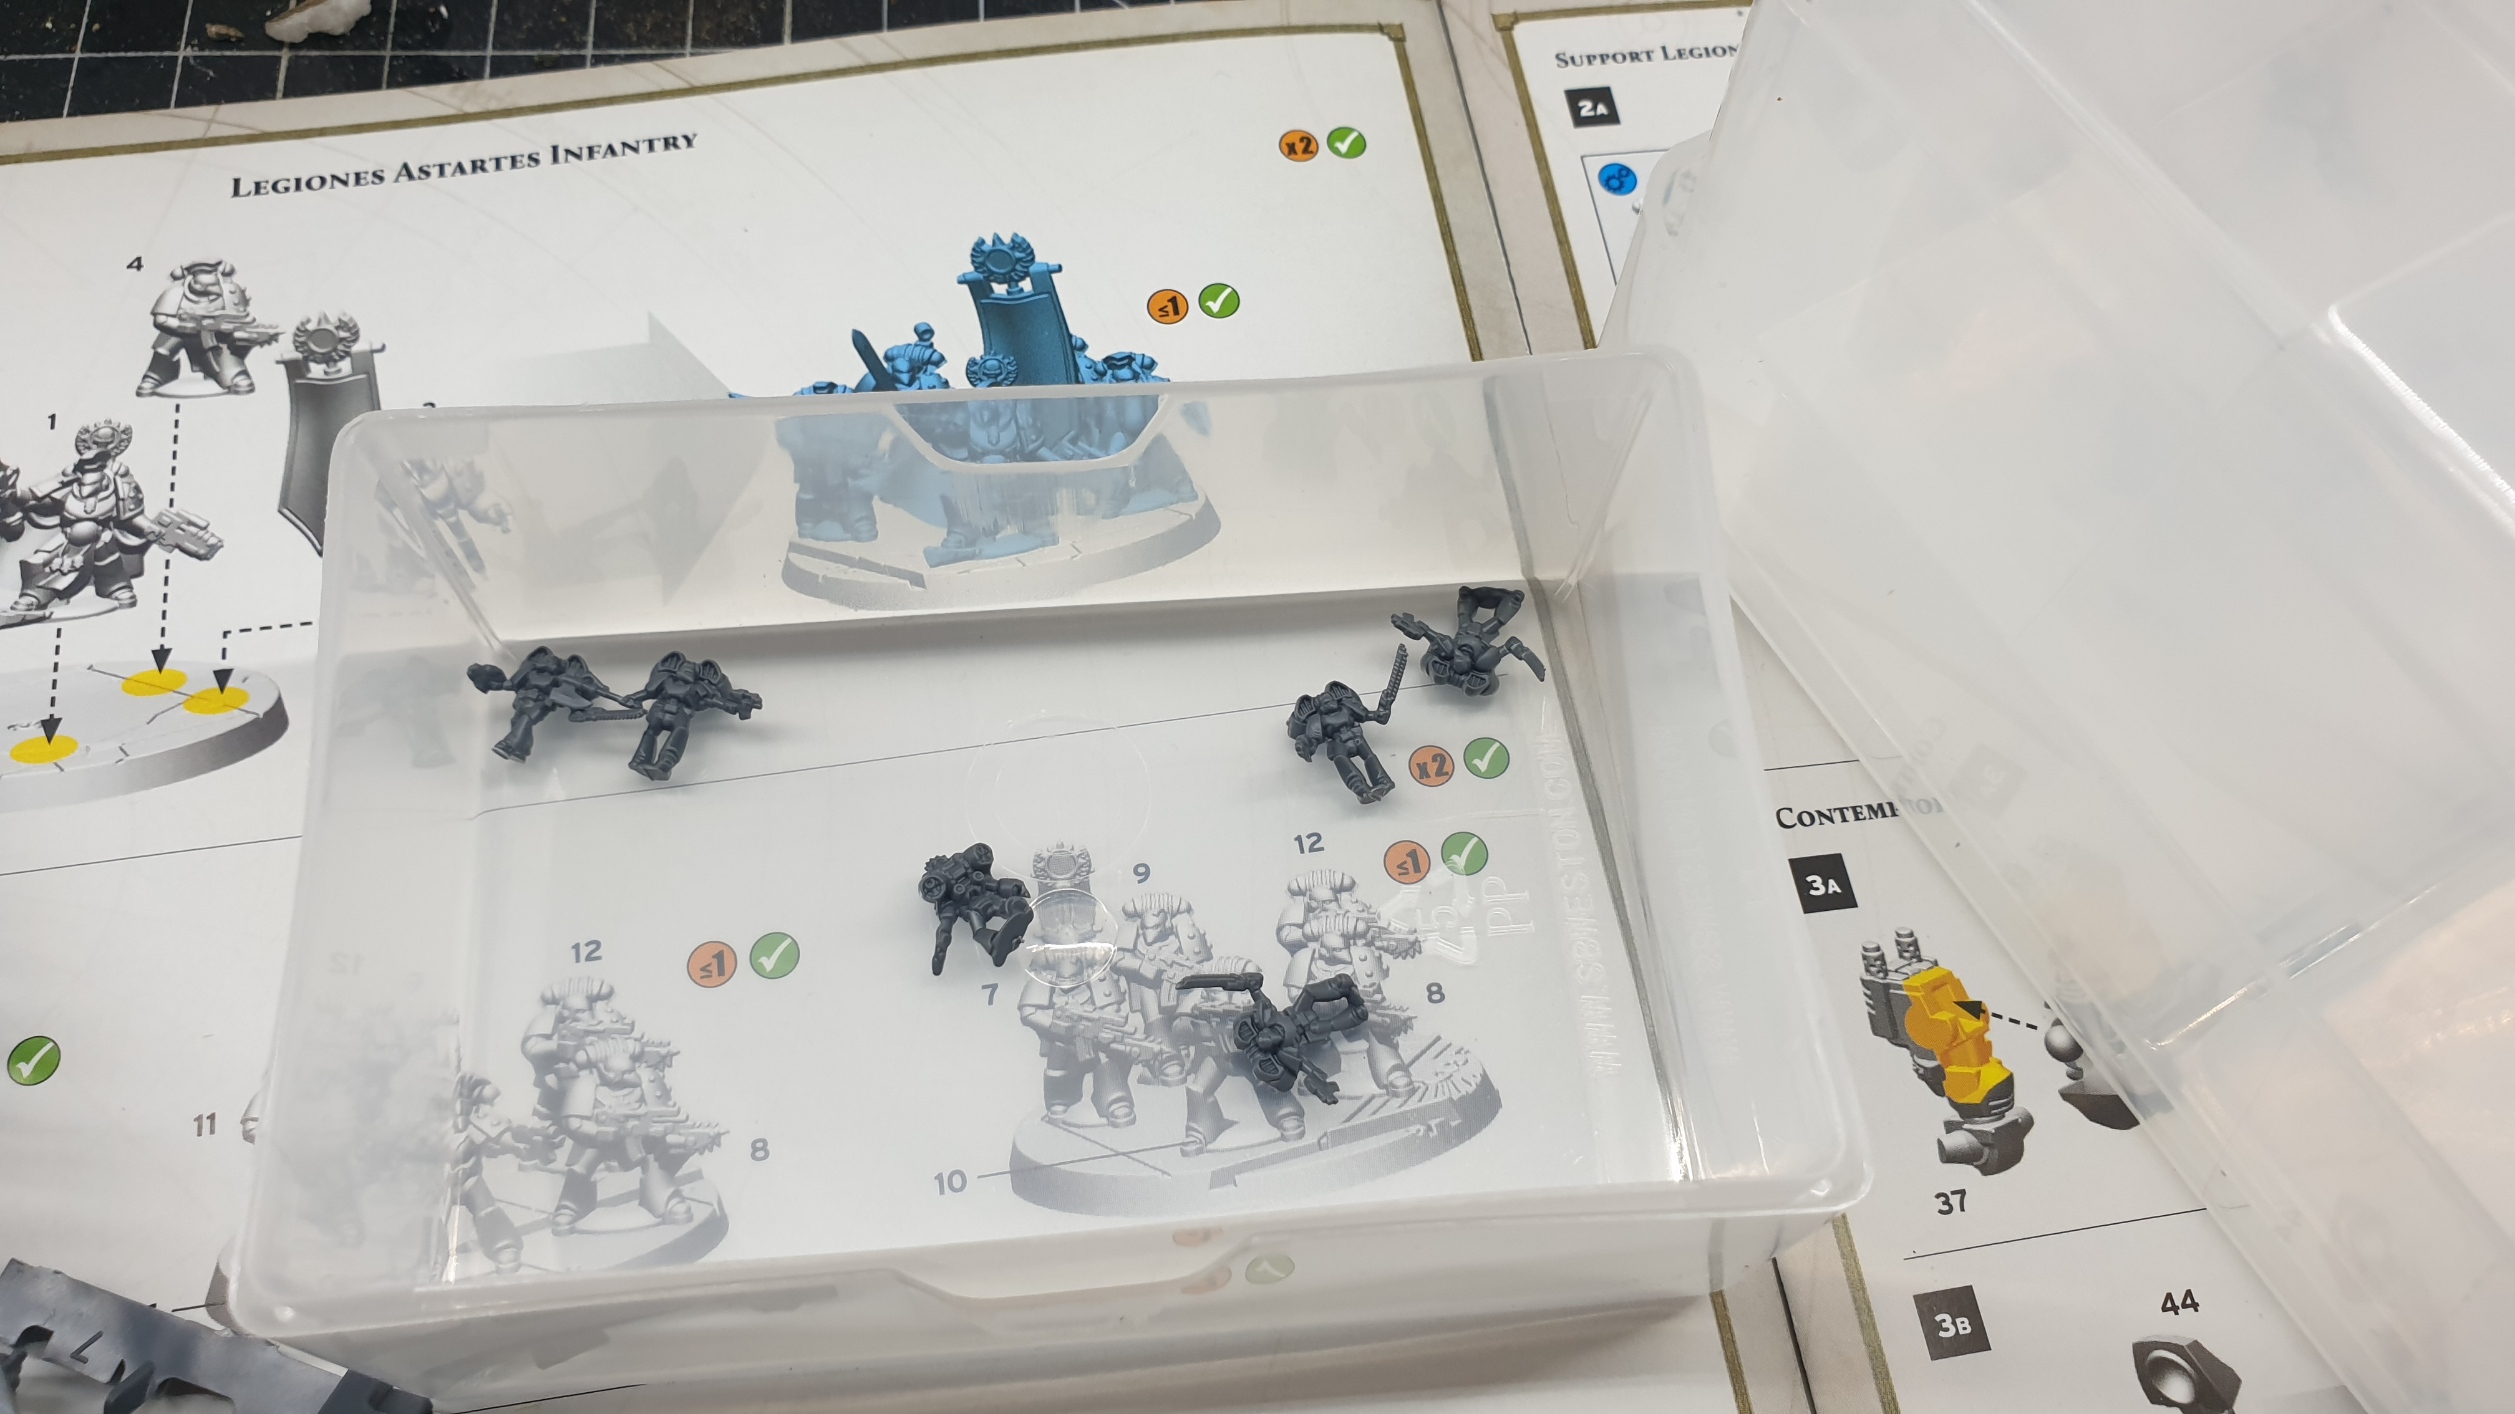
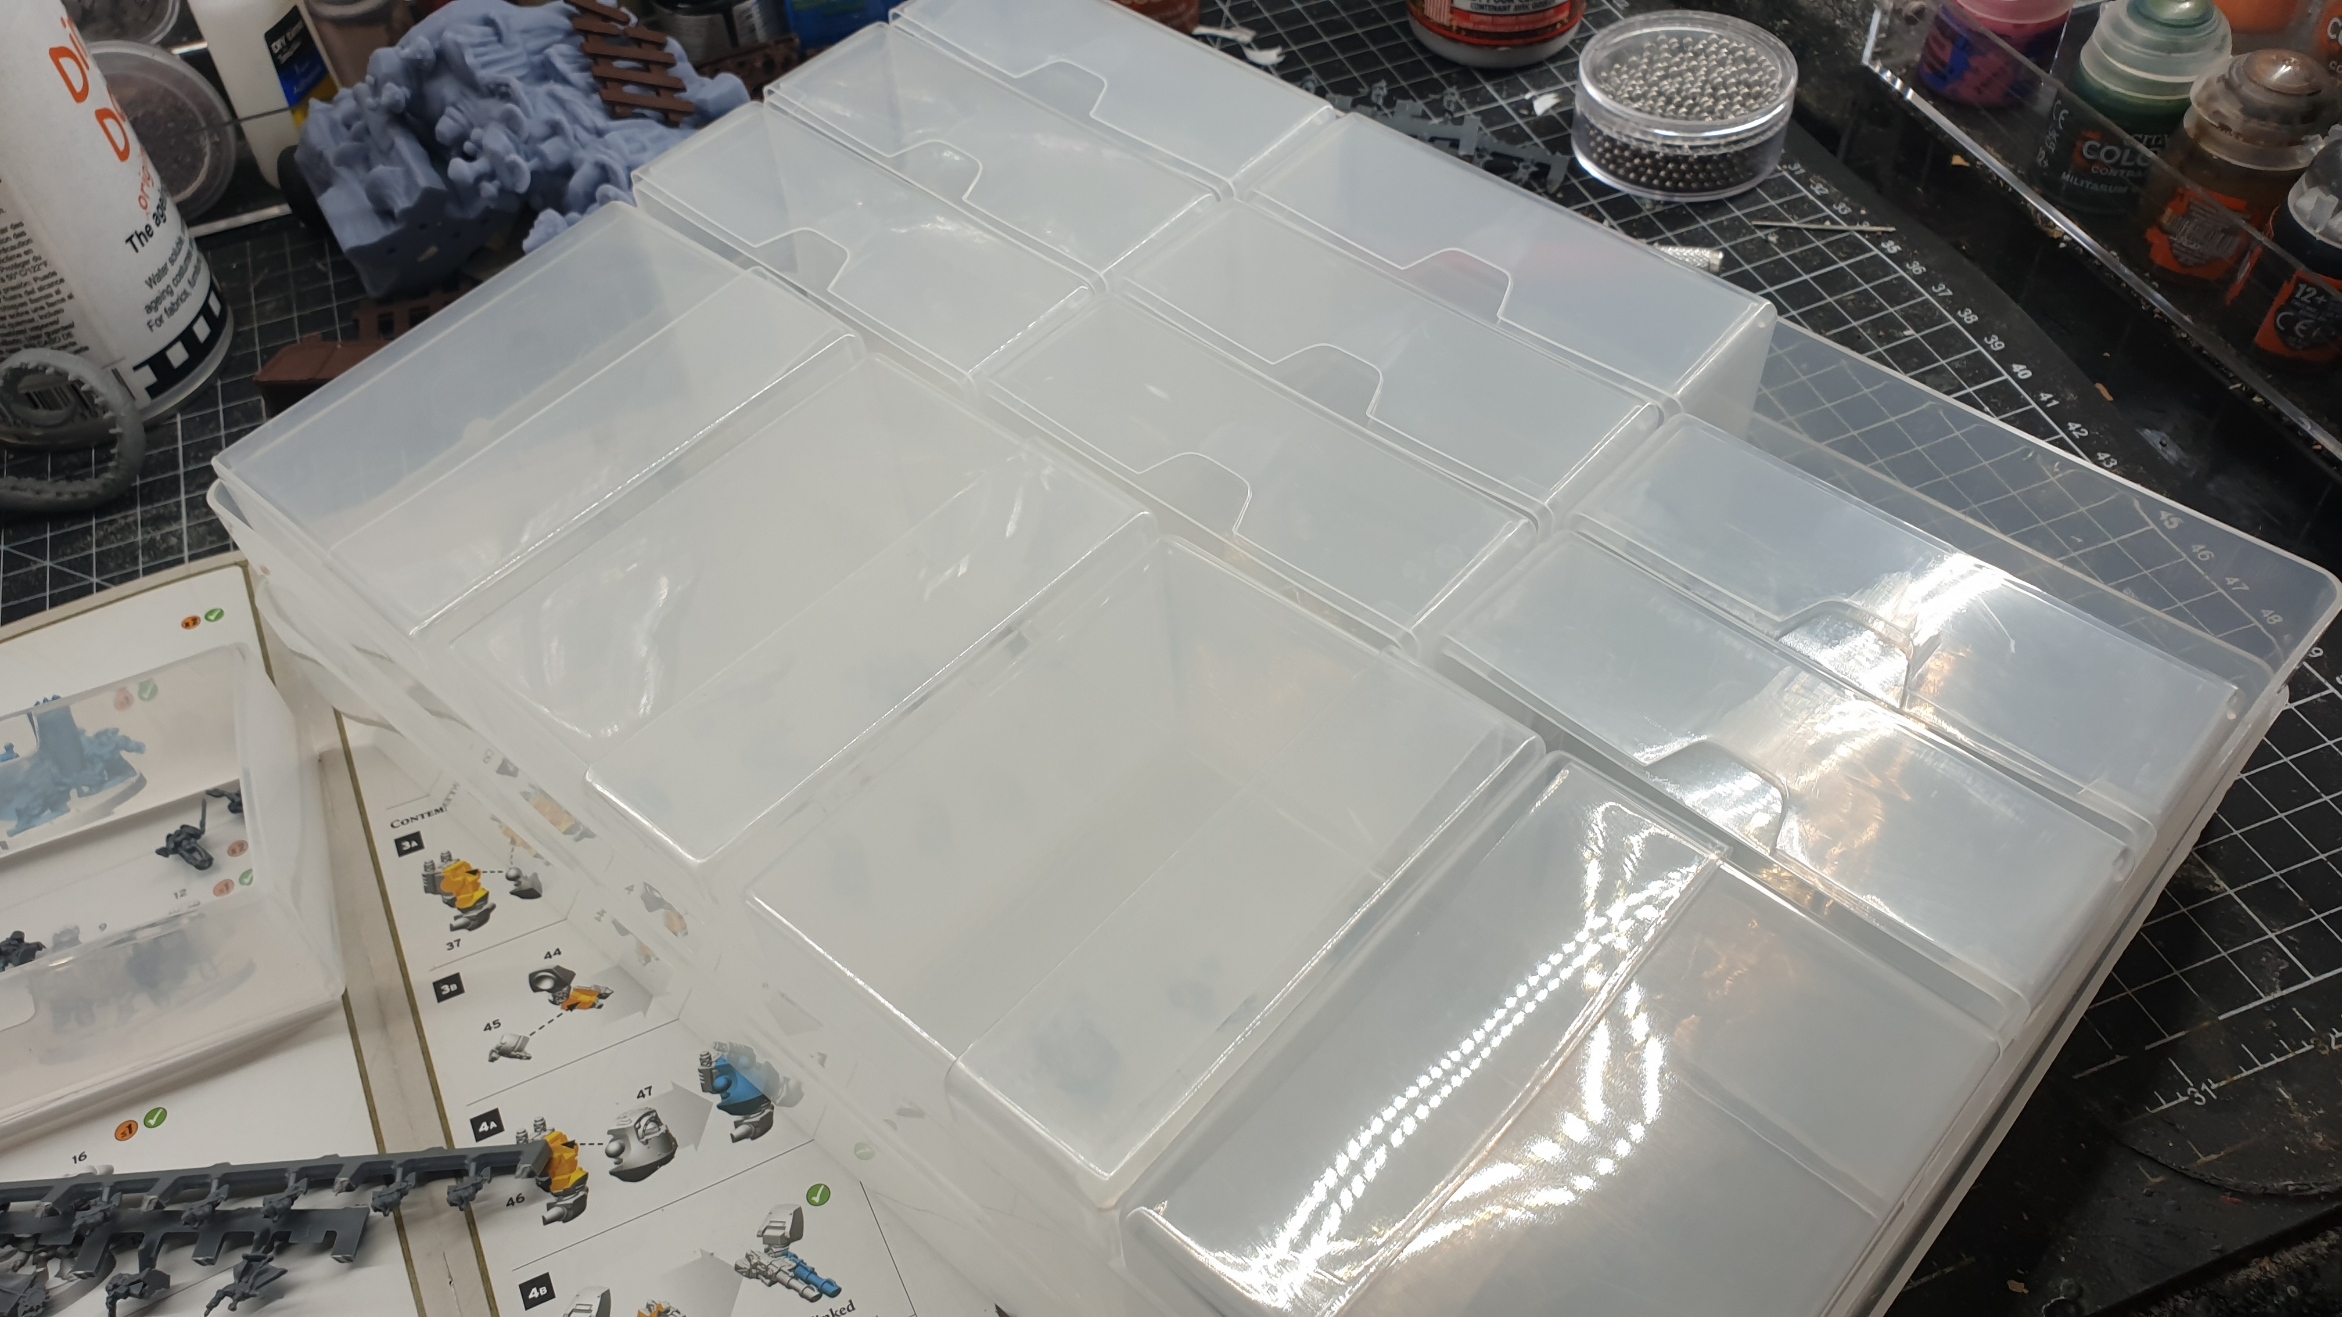
With this many small components to contend with, I dug out one of my organiser trays and used it from the get-go to keep everything I clipped in neat, separate boxes.
There were a fair number of spare components left on the sprues so I clipped those off and started bringing together a series of little bits boxes in the same organiser. Who knows, they may be useful later on!
Assemble On The Sprue!
In some cases, I found it easier to assemble a few of the units while still attached to the sprue. Taking that little extra time to think through how to most easily assemble something did leave me less prone to dropping and losing tiny bits everywhere.
My usual battle with Dyspraxia (clumsy git syndrome!) was greatly lessened!
Adding Heft To Your Miniatures
On the topic of my Dyspraxia and how it relates to our hobby, that often translates to me dropping pretty much everything and being ham-fisted.
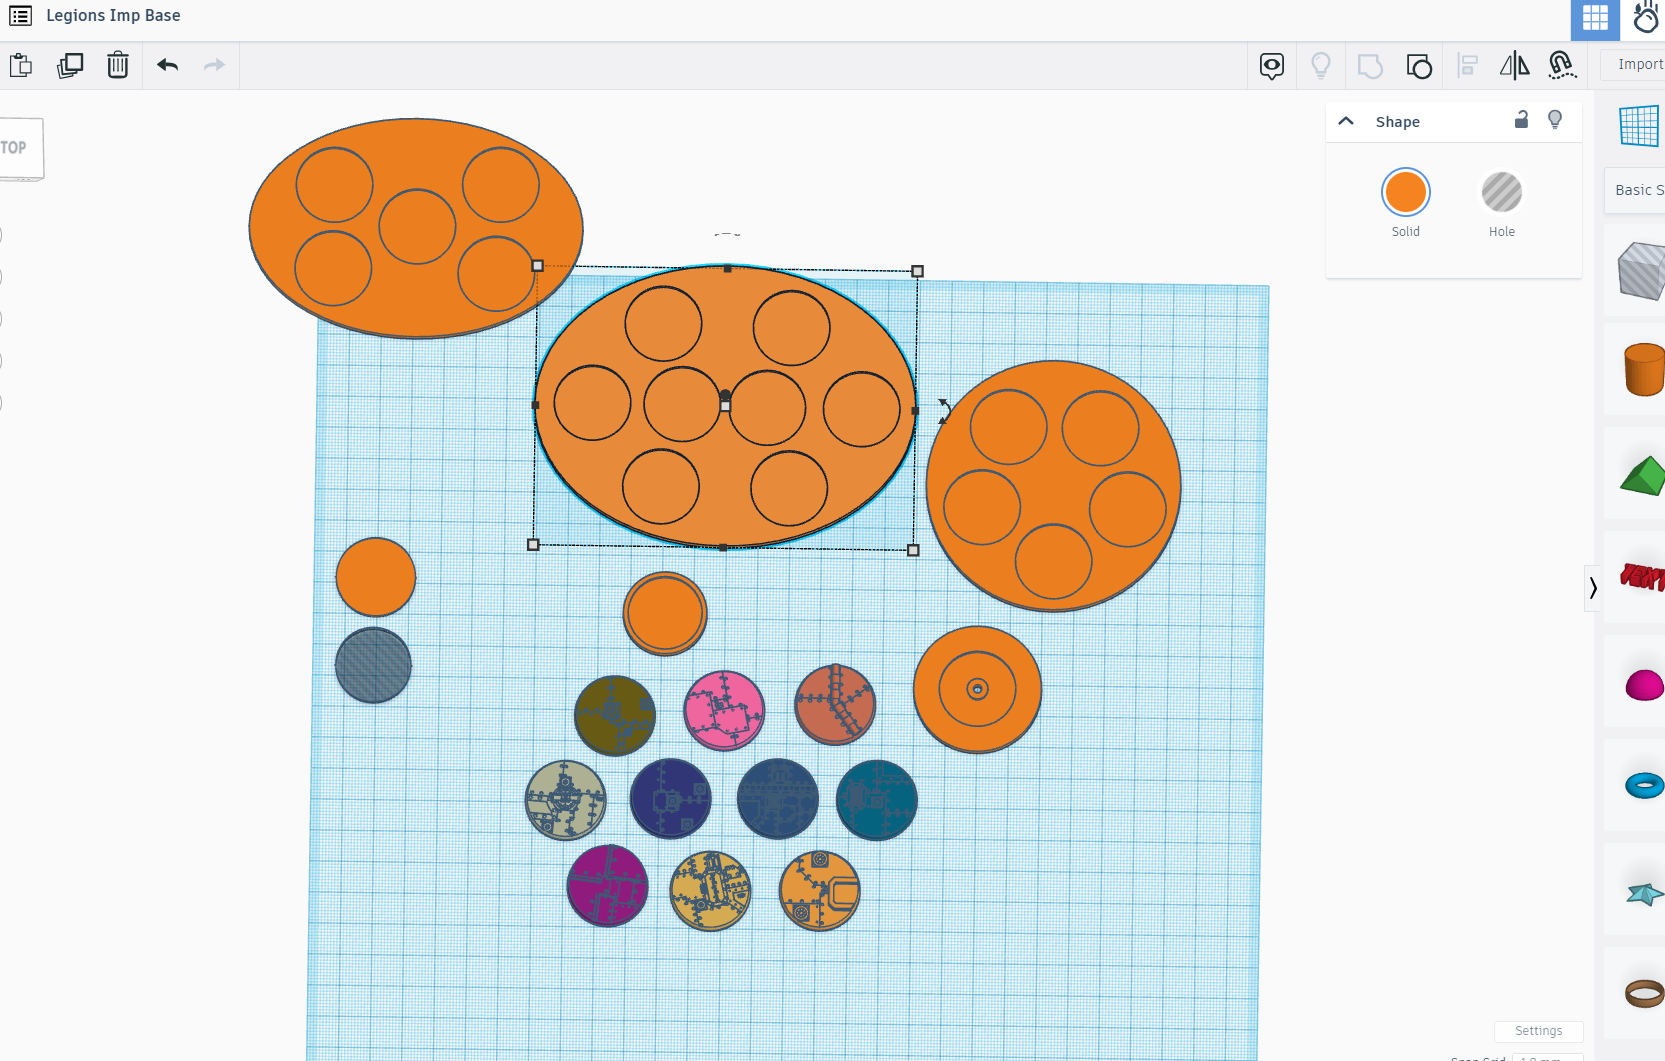
As a result, I gave up on 25mm bases a long time ago and moved everything to custom 3D printed bases that feature a 2p coin in the bottom to give heft. I found that adding a bit of weight to the model helps my brain coordinate and keep a better hold of it. 32mm has been my minimum for a few years now and I have gotten used to the extra canvas it provides for basing narrative in the future.
With that in mind, I asked on one of the Facebook groups I frequent about 32mm basing and got some very pointed arguments against it. To be fair, you can do it and most opponents won't bat an eyelid but the rules will become clunky when using blast templates. Having spent a night reflecting on it, I thought I'd just embrace the situation and try to get 25mm to work for me. This meant 2ps are out as they are over 25mm and I didn't want to base directly onto 2ps.
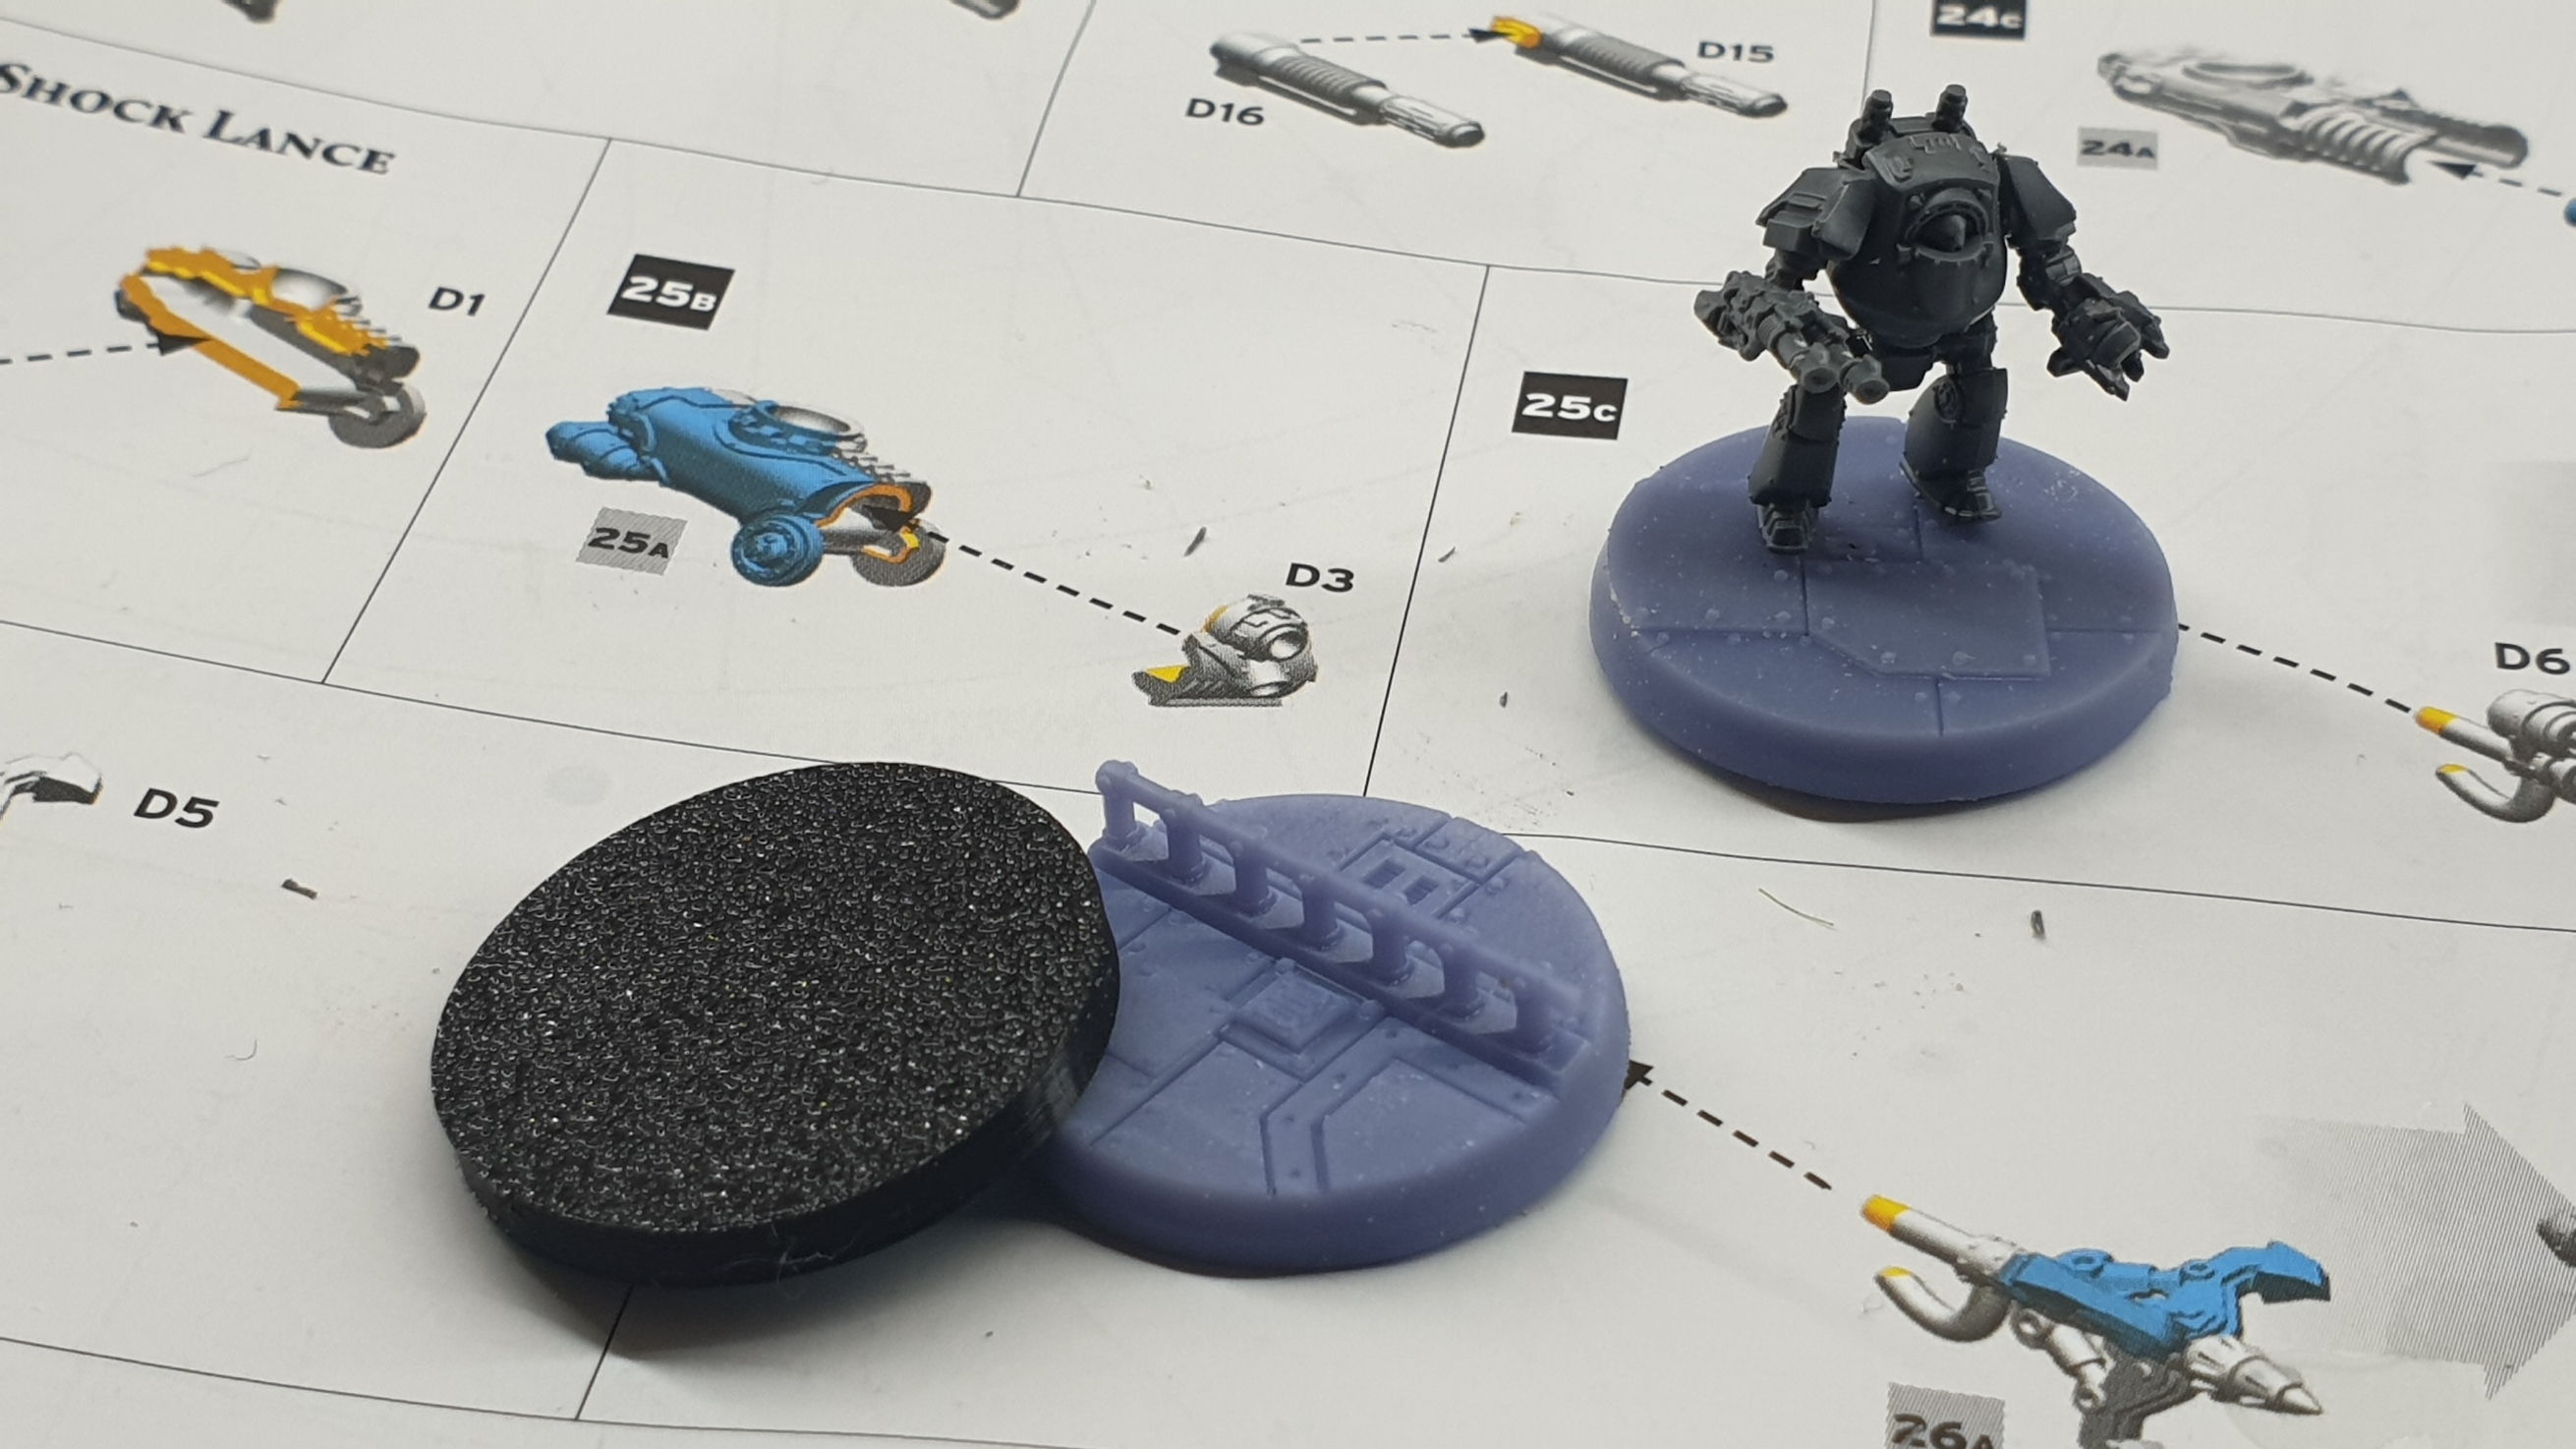
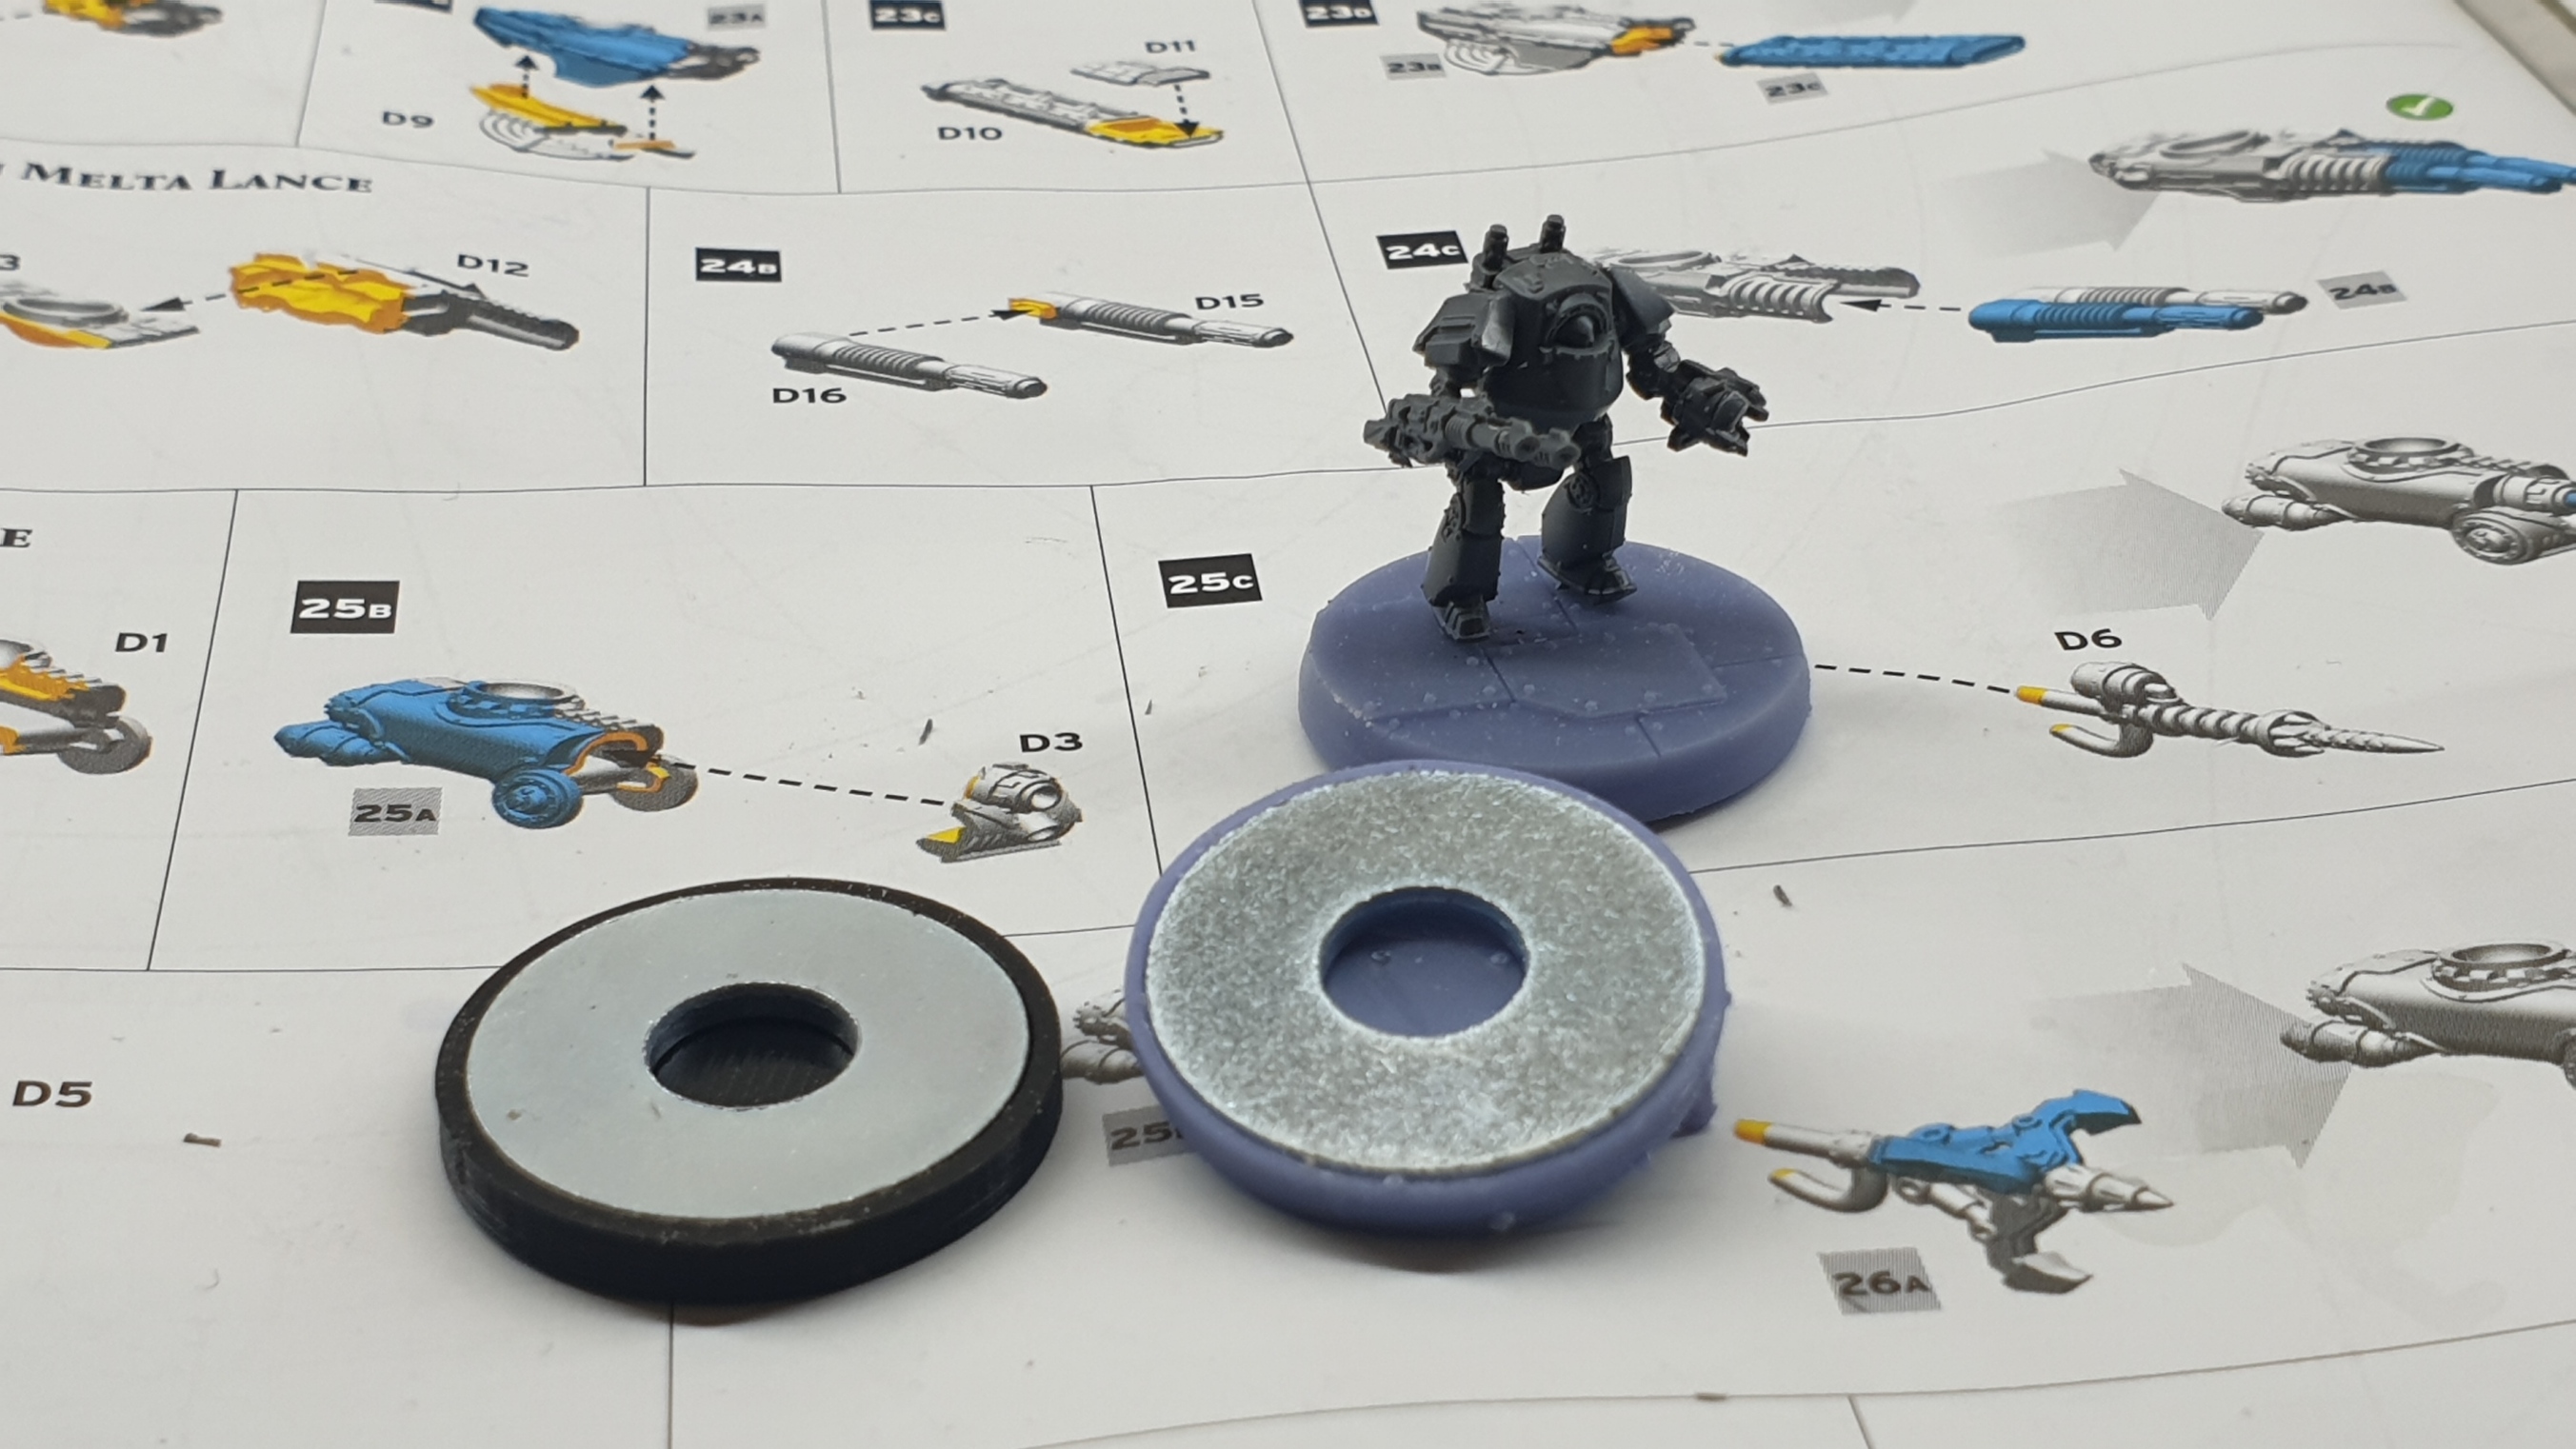
I found a 23mm heavy washer and created bases with hollows to hold them in the base. I still find 25mm a bit fiddly but I agree it's best to try and keep as close to the rules as I can if I want to be able to play with some folk in the future.
So far, I've managed to get it working with FDM-printed basic bases and it works quite nicely with the resin scenic bases. I got these from BitsBlitzDesigns if you want to replicate the basing I've used for the miniatures. We will see if they work for me down the road.
More Ballast!
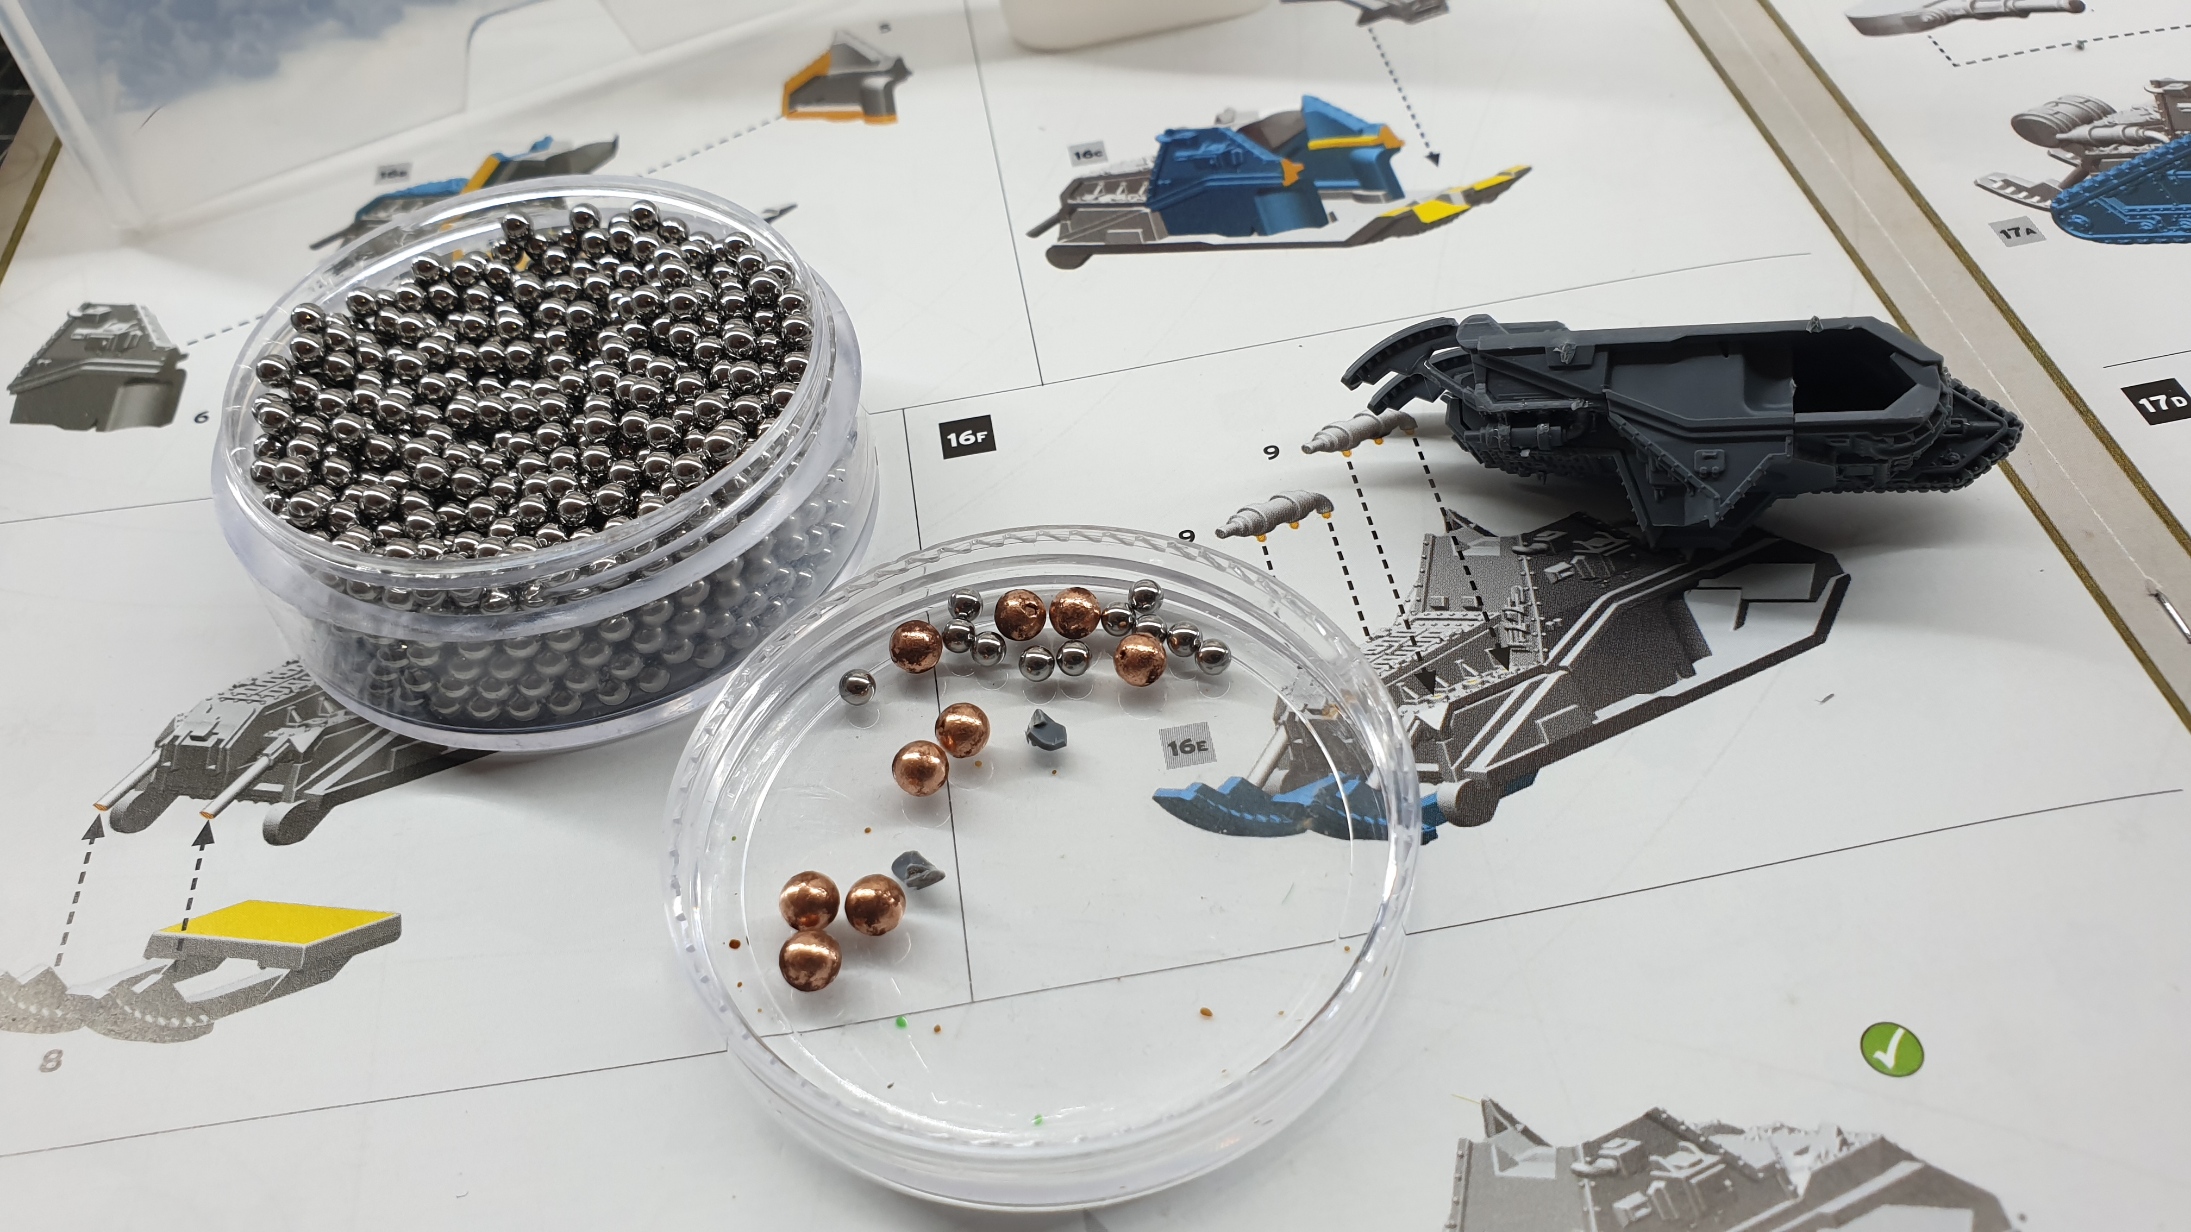
As well as weighting the bases, if there are large enclosed voids in models, I like to fill those with steel ball bearings (and a dollop of super glue for good measure).
This adds even more ballast to the miniatures and, once again, helps my brain better coordinate. Additionally, it also has the bonus of giving a perception of extra awesomeness to the models. They feel more substantial and of a higher quality. It's a simple thing that gives great satisfaction when handling them.
Form Up For Painting
The last task was to get everything stuck to lolly sticks ready for painting. Right now, I haven't fully decided how I'll approach that, There are a few options but I'm going to spend a bit more time with the lore and the rulebook pouring over inspiration.
For me, when you move down to these scales, it's important to consider the entire experience; The whole package, as it were. That's why I'm picking a battle (most likely the Battle Of Molech) and will theme a package around that, including miniatures and terrain.
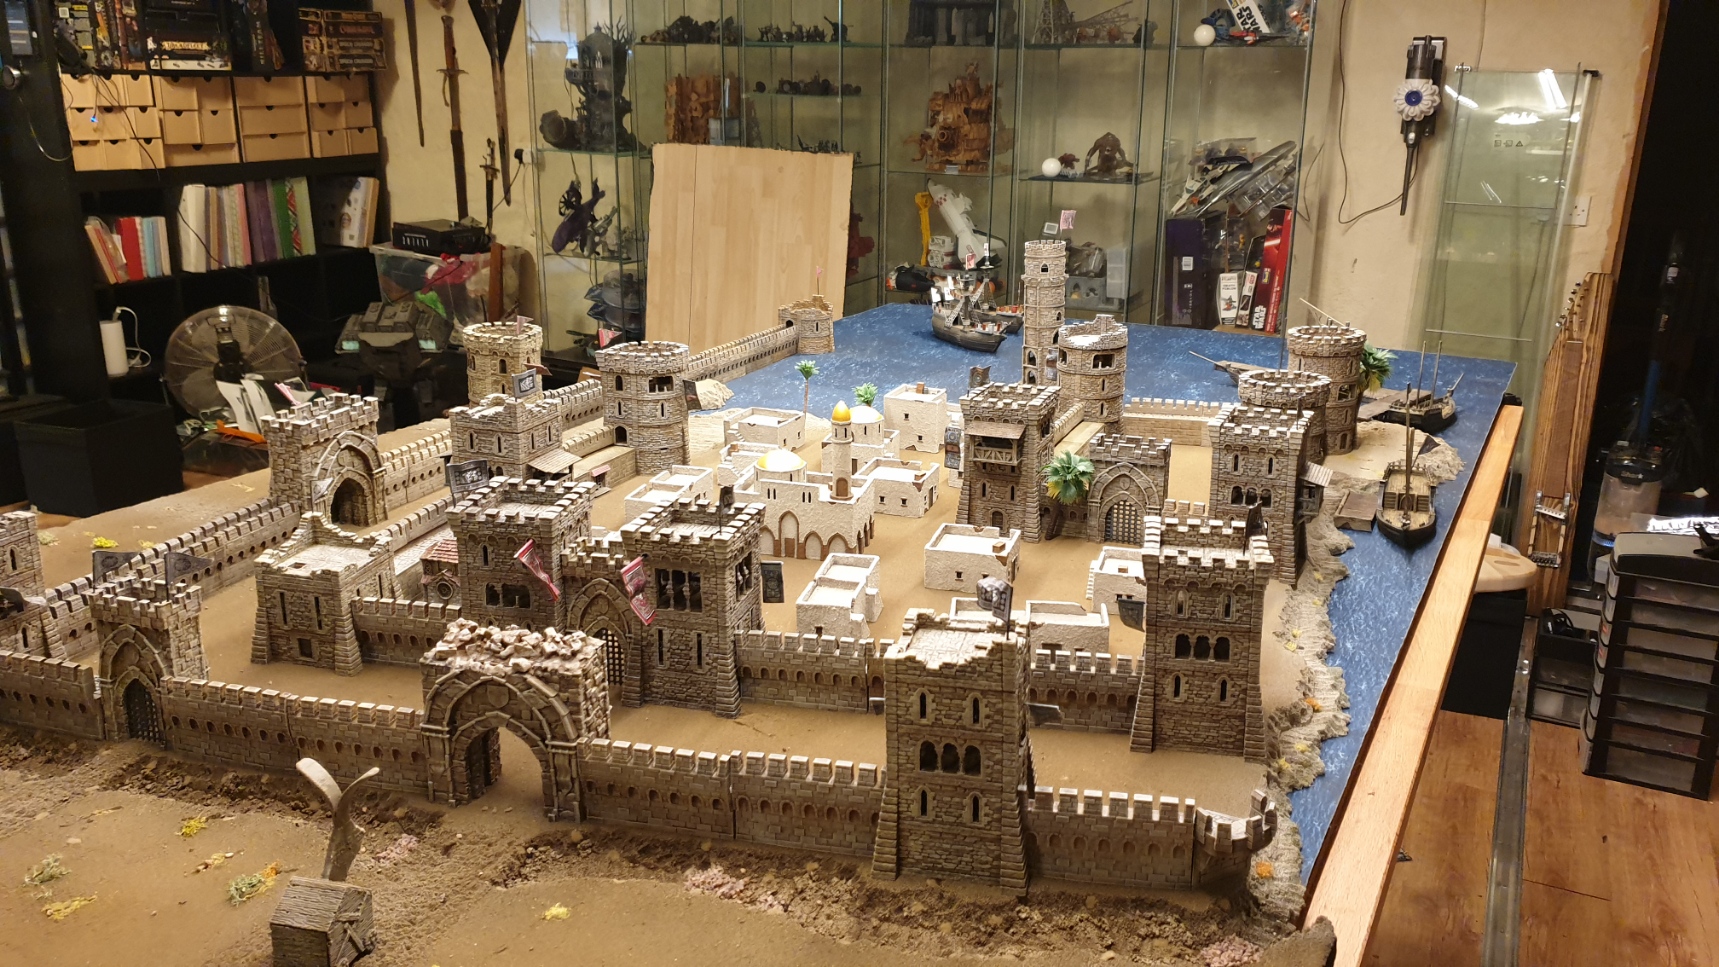
Small scales let you think BIG and as I have been learning from my Siege Of Acre Project (see above), the final results can be captivating.
How have you found things with the Warhammer: The Horus Heresy - Legions Imperialis so far?
"Why make the process hard when it's meant to be your hobby?"
Supported by (Turn Off)
Supported by (Turn Off)
"...when you move down to these scales, it's important to consider the entire experience"
Supported by (Turn Off)







@tuffyears would have her’s done and dusted by now. Speed up, less 3D printing more priming and painting. XD
But seriously: enjoy your hobby. It’s your hobby. (But stay focused!)
Hobbying vicariously through you on this one mate. Spunding awesome so far.
Sone nice tips there @warzan, thr tray for bits is inspired. Even if I don’t drop bits on floor, I put them down and forget were I’ve put them, then knock them on the floor whe trying to find them!
Great article, despite saying I would give this a miss I have managed to order a box of this. From some of the titans I painted in the past for titanicus I would recommend leaving the armour off if you can (normally the stuff on the legs).
I’m not sure but is the basing sizes different between this and titanicus?
Another cracking update on this project.
Also the Siege of Acre would look really cool as a table for this, perhaps just swapping out the inner building for something more sci-fi and adding in some gribbly bits of scatter here and there?