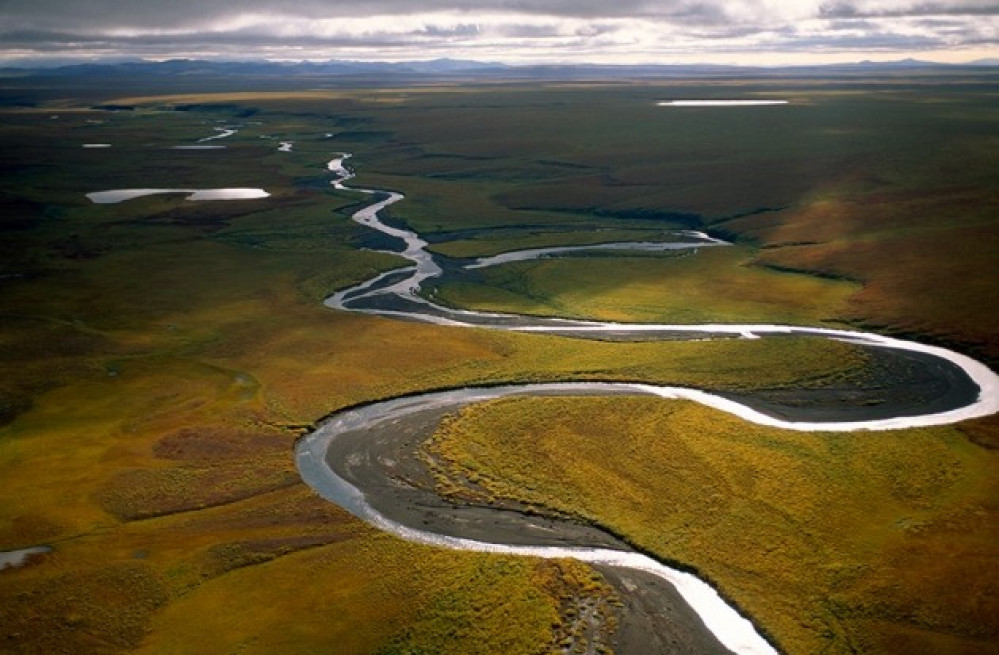
Making a river (for games like SAGA for example)
Recommendations: 272
About the Project
My first attempt at making a modular wargame river. I have for many years lacked a river in my terrain collection. I have been looking for something suitable for a long time. I have considered the battlefield in a box river/stream as I am happy with the road and other terrain from GaleForce9. But it seem to always be out of stock. I have a fleece mat from geekvillain.co.uk (which is great by the way) that has a river printed on it so when I want that feature in my games I use that mat. However when TerrainFest 2023 kicked off I thought to myself, NOW is the time to finally make a couple of river sections.
Related Genre: General
Related Contest: TerrainFest 2023
This Project is Completed
So it begins
So, I set out searching the world wide web for tips on how to do it. It turns out that a fellow Scandiwegian (Swedish I believe) had made a great tutorial that I shamelessly tried to copy as it look very good, quite simple and I had most of the materials laying around. Search on youtube for Devs & Dice with the
video Modular River Tiles for Wargaming and Tabletop Terrain. He has lots of great tutorials. In fact you should just go watch how he did it: Link HERE
For those of you that will have a look at my version can keep reading. The only changes I was planning was using a slightly thicker plasticard and a different color scheme and maybe some other materials etc.
The Plan: I will make a river that is about 120cm long (around 4 feet or 0,656 fathom) so across a typical board game. The river will be made from 30cm sections, and maybe some smaller turn/bends. I will make the river sections around 6-8 cm across. I believe they then can be used for most scales
and I can get two sections out of every sheet of plasticard. I game mainly in 15 and 28mm (for now, even though my recent gaming has a downward scale creep).
I will make a couple of fords/crossing sections and maybe (at a later stage) a bridge section.
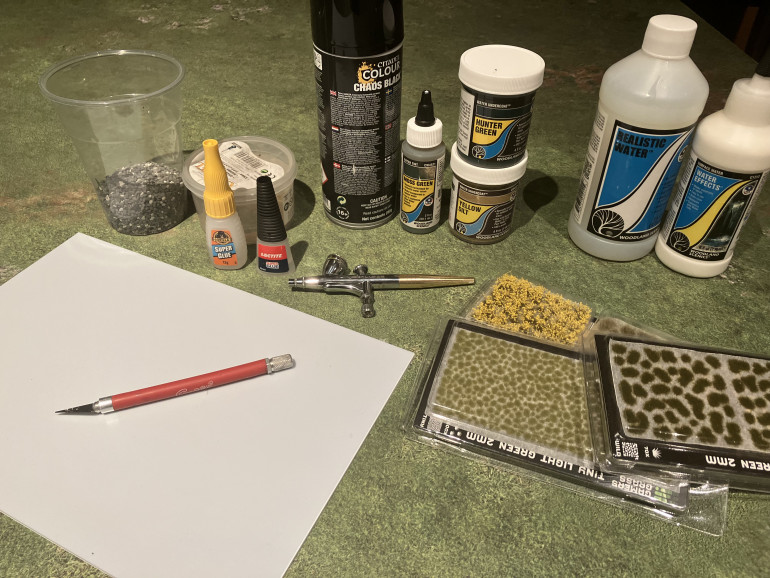
The materials/tools:
-1 mm thick plasticard (from Green Stuff World) they come in A4 size (30x20x1)
– Sand
– Small pebbles (I have a big bag that I bought from a pet store for aquariums)
– Super glue (I will be using super glue gel with brush applicator aswell as very liquid super glue from
dropper bottle)
– Terrain glue (from woodland scenic – I think this will be optional)
– Pencil
– Sharp knife (X-acto type knife)
– Paint
– Woodland scenic water effects (or similar product)
Step 1: Research/drawing a rough shape
What does a river look like? I have seen a river but not so often from above. So, I searched for images of rivers in google. I turns out most pictures show that rivers are very bendy/snake like. This is no big surprise but I was planning a straighter river for easy modularity and angel of exit/entry of the board.
I will probably make more bends when I draw out the river sections on the plasticard.
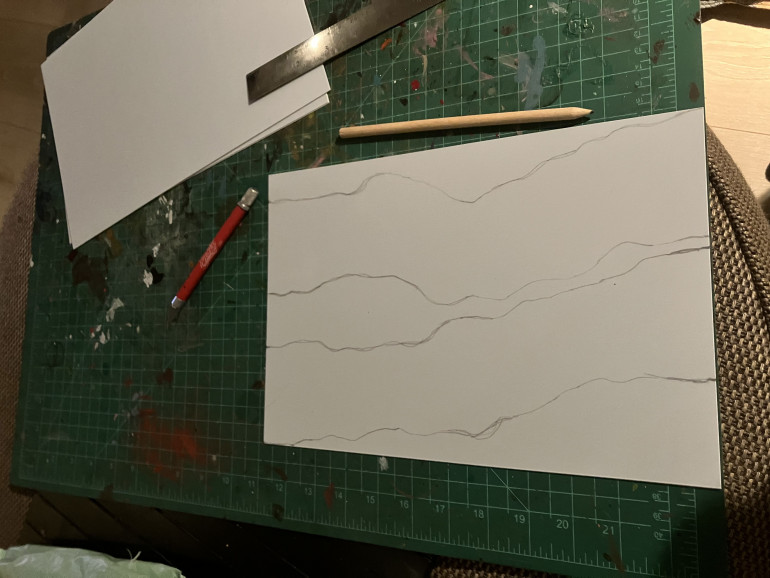
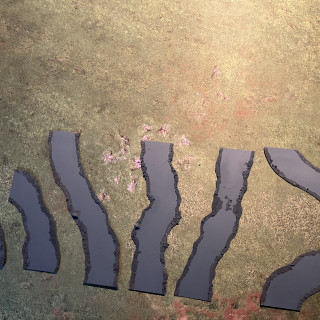
I drew the river sections directly on the sheets of plasticard. Making sure every exit/entry-point is exactly 7cm (ish) wide. This is so I can lay the river in any configuration I want later.
Step 2: Cutting
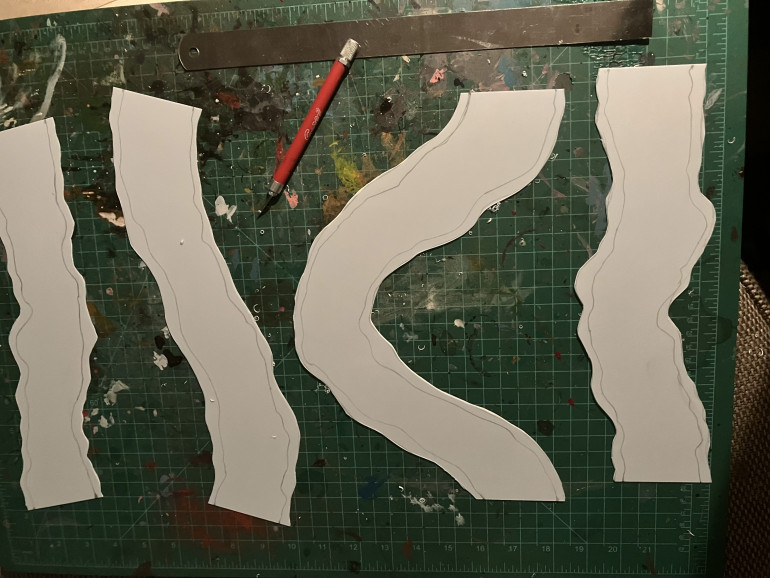
I cut the river sections out by following the lines a drew in the last step. Tip: when I drew and cut out the first section, I made the line very jiggly. That turned out to look a bit strange so for the next sections I drew a smoother line.
I then drew the river bank, again making sure it lined up with all other sections.
Step 3: Glue on sand/rocks
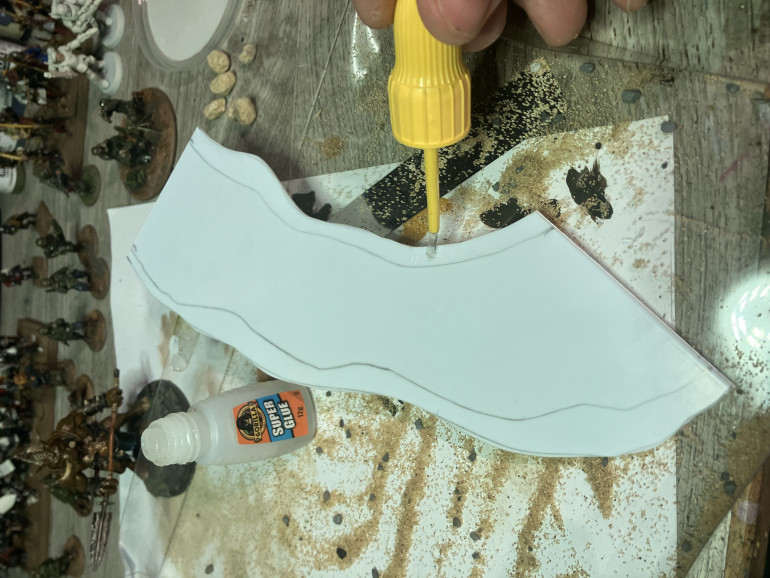
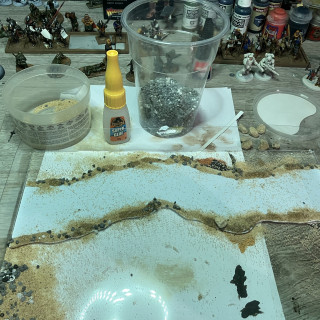
I used superglue applicated with a brush on the riverbank. First rocks/pebbles then sand.
I glued each bank in 2-3 turns so the glue would not dry. I just sprinkled sand/pebbles from above shaking the excess of after a minute our so and reapplying some more glue and sand/stone in parts I had missed on my first pass. Then I dripped some liquid super glue on top of the sand/stone in some sections to build up some height difference and cement everything to the plasticard. The plasticard is flexible so I think it’s a good idea to use some extra glue.
I did not glue everything in one sitting and made sure to sit in a ventilated area. As the fumes from using quite a lot of super glue is probably not healthy.
Step 4: Painting part 1
The painting steps:
1 – Prime everything grey
2 – rattle can spray everything a beige/light brown
3 – Paint the river banks woodland scenics yellow stilt. I was lucky and got help by my 3 year old daughter for this step so maybe I will finish the project in time for halloween after all 🙂
4 – Paint the center of the river in a dark green (hunter green from woodland scenic) The woodland scenics paints I use is a special water undercoat that is made special for their water effects. I dont think that matters at all for this project as any paint will do the trick (I believe)
Step 4: Painting part 2
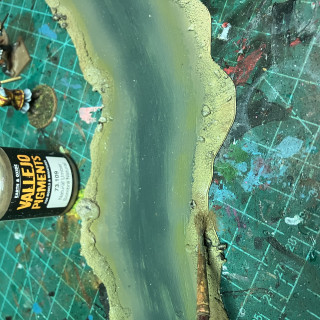
5 – I use the airbrush for a smooth transition between the bank and the dark green water using vallejo model air 71.044 light grey green to get a smooth transition between the colors
6 – Dry brush the rocks and the banks with a light brown/cream white and some black wash on some of the rocks
7 – I was not happy with the banks so I used some pigments to get a more natural look. (vallejo 73.109 Natural umber) I brushed this on with a paint brush I do not fix it with pigment binder.
I am happy with the progress. I am however a bit concerned as the banks are quite low in places. I plan on using woodland scenics water effect witch is quite “runny”. The Devs and Dice tutorial used gloss mod podge for water and that worked great but it is something that I do not have so we will see tomorrow how it goes
Step 5: Water effects
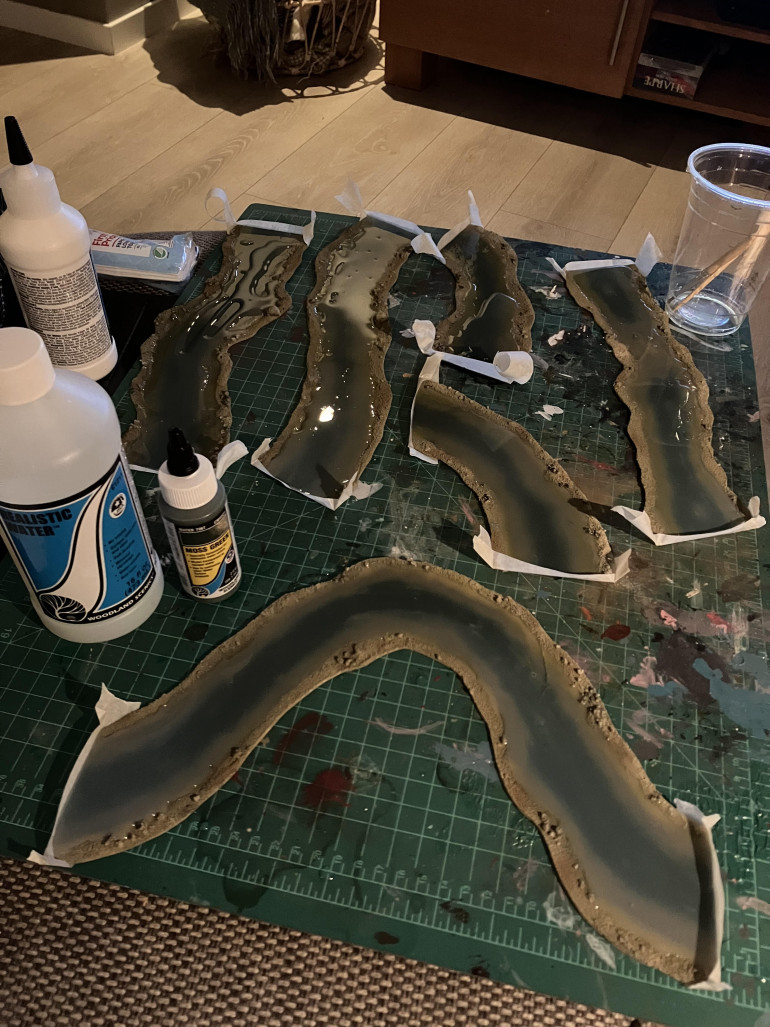
I taped the ends of the river sections with ordinary masking tape to prevent the water effect to flow off the ends.
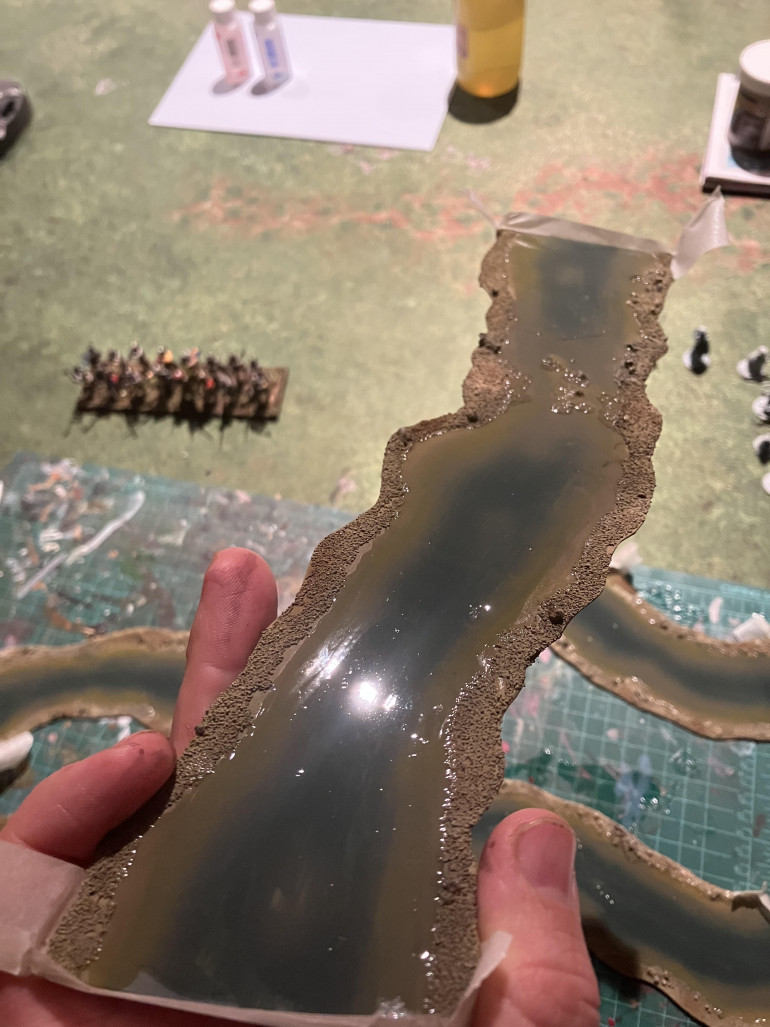
I then mixed a few drops of Woodland scenics Moss green water tint in with the water effect in a plastic cup. After carefully stirring the water tint a poured the slightly green water effect on the river sections. It was a bit of a challenge to prevent the water to flow over the banks and it got a bit messy. I think however the result came out ok.
I let the river sections dry overnight. Then I removed all the tape and cleaned up a little with a sharp knife.
The next step was to add ripples. I considered pouring a second layer of water effect before the ripple effects but as time is not on my side I opted against it and went straight for the ripple effect.
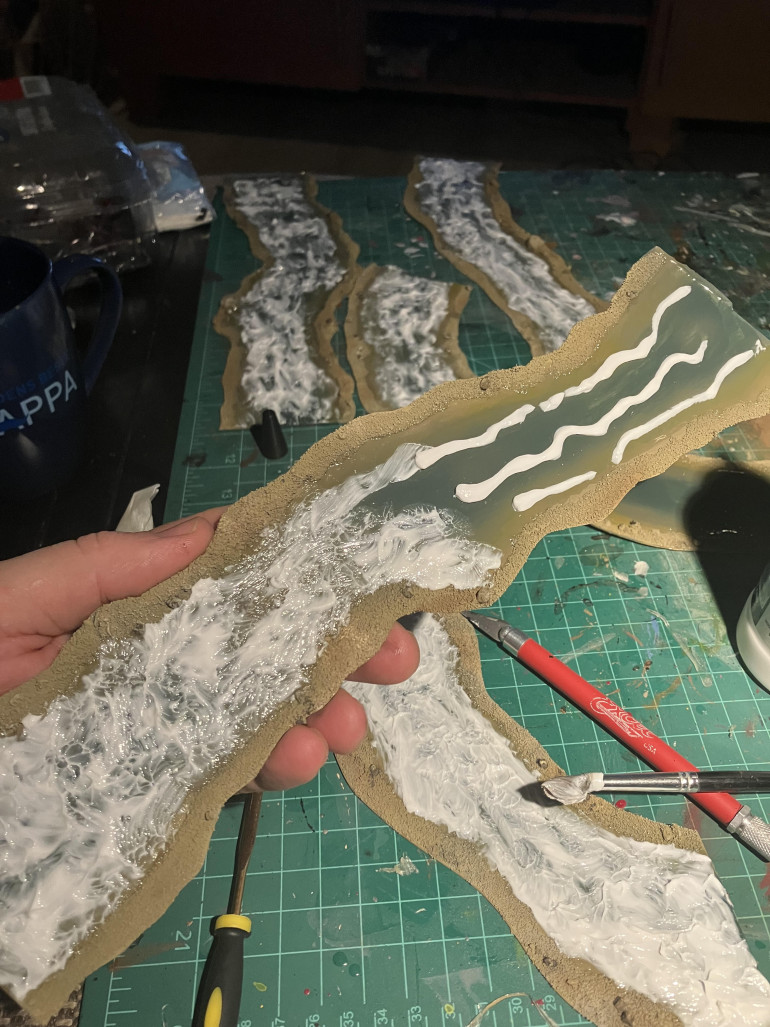 I squized out three lines from the woodland scenics ripple effect tube and spread it out with a paint brush.
Now I just need to let everything dry overnight again and hopefully I will have time to add some grass to the banks and take some final photos before Terrainfest is over tomorrow
Final step (almost)
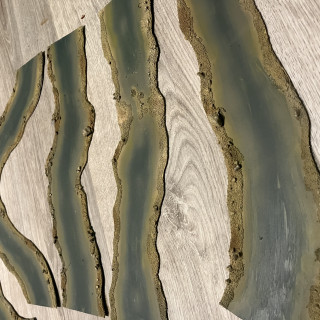
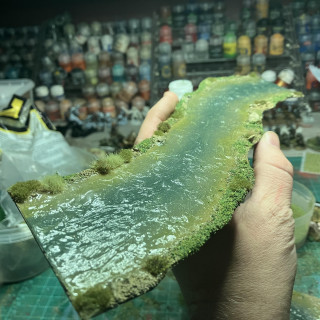
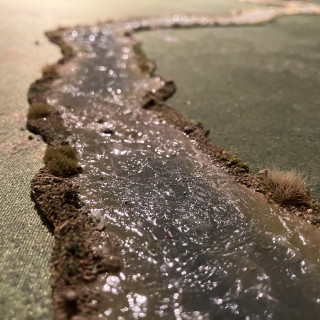
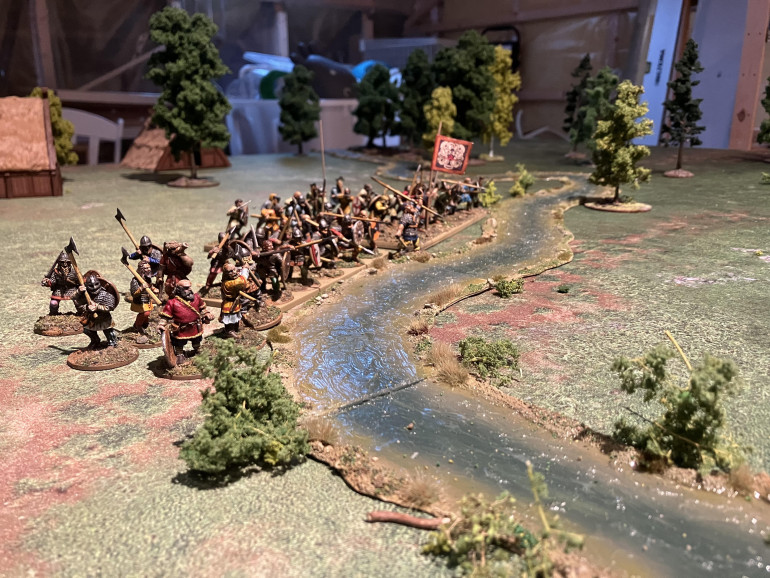
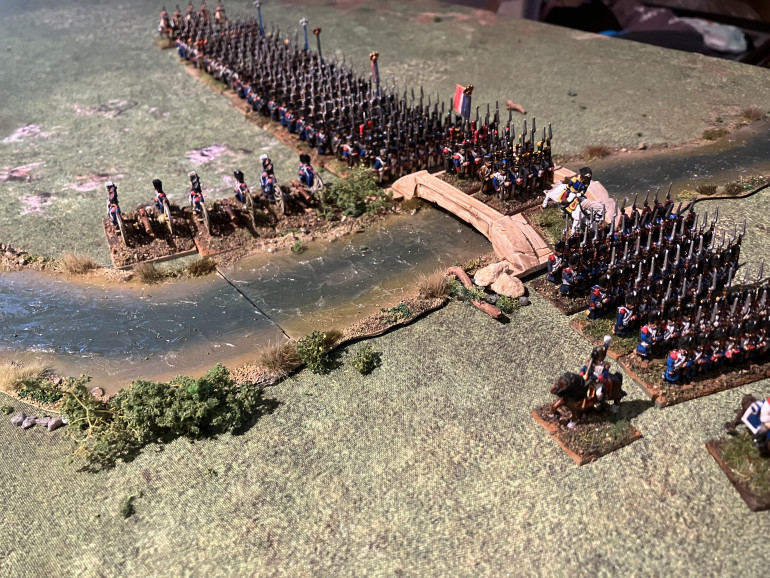
I jump across the finish line with this project. With grass tufts and flocking added It is as good as done. I did however not have time to take cool pictures with miniatures and a cool board set-up. That will hopefully be remedied in the next couple of days 🙂 But here are some quick shots of the finished project. I rushed a bit in the end but I think it turned out great.
A few more picutres
I took a few more photos and sums up the build.
All in all I am pleased with how it turned out. It was not a difficult build and it can easily be added to later with more river sections. I will probably be adding a few more sections specially ones with crossings.
The water would probably look better if the banks were taller so I could add some more texture to the bottom as well as a few more layers of water effect. The trade off being that the river would be taller and the whole point of this build was to have a flat river that did not raise much above ground level on a gaming mat.
The river I believe works well for 28 as well as 15mm gaming (witch is what I mostly game)


