
Redvers and Son Get Into Bushido
Making Trees
In all my gaming history, I’ve never made a tree for the tabletop. I’ve bought trees and added a bit of extra flock, but I’ve never started with an armature and built upwards. Now that I want some Japanese cherry blossom trees, I need to address this gap in my hobby cv.
I’ll keep this brief as this is not a new approach to tree making, just a tried and tested method you can find on the internet or, in my case, in Mel’s terrain book.
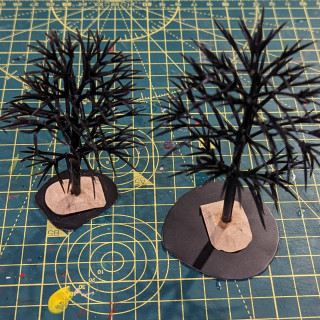
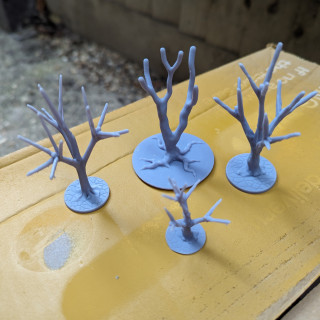
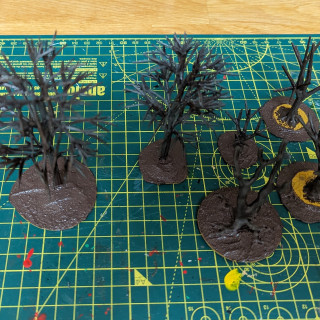
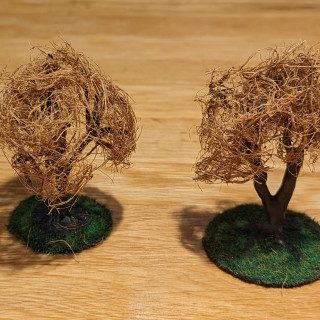
To start with, I need armatures. I’ve bought some plastic ones from eBay and I’ve 3d printed a couple as well, just for good measure. These were primed and painted a Flat Earth before I dry brushed them a light brown.
Once dry, I mounted the plastic armatures on a small mdf off cut and then glued this to a plasticard disk. The 3d printed armatures I cleverly printed out already on a base. I’ve covered the base in my acrylic mud and applied a static grass to the base.
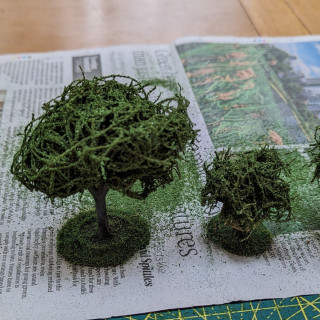
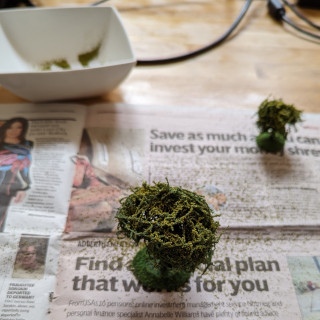
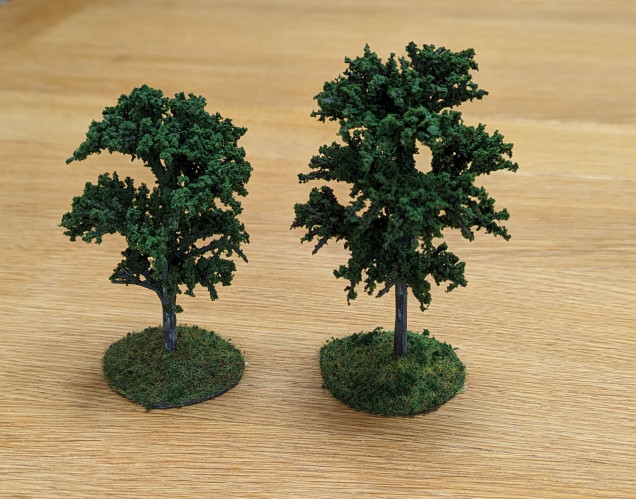
I decided at this point to take two approaches. The plastic armatures have their branches close enough together to just flock these directly. I did this by spraying with mounting glue and then sprinkling the coarse flock over the top. This was then sealed with a spray of scenic cement.
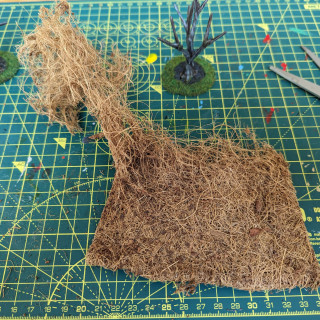
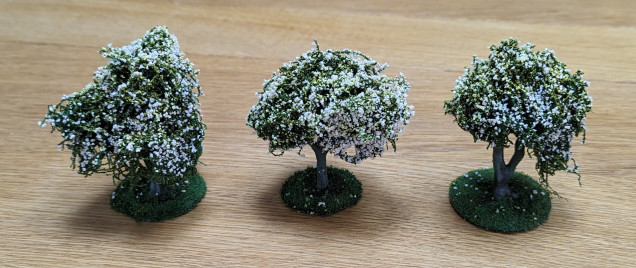
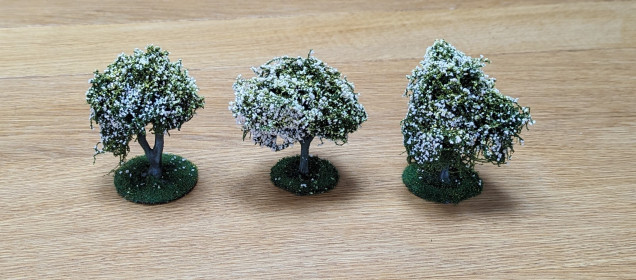
For the 3d printed armatures, I took a trip to the garden centre and bought some hanging basket liner and teased this apart. Once thinned out, I’ve glued it to the armature. A spray of mounting glue and a finer flock was then applied. Once dry, I sprayed again and applied a lighter green flock over the top. I’ve then added a pink coarse foam flock for the blossom. And then finally sprayed it all with a scenic cement.
Unfortunately, some of the colour has leached out of the blossom so it is not as vivid a pink that I was hoping for but it still looks very spring time Japan.




Leave a Reply