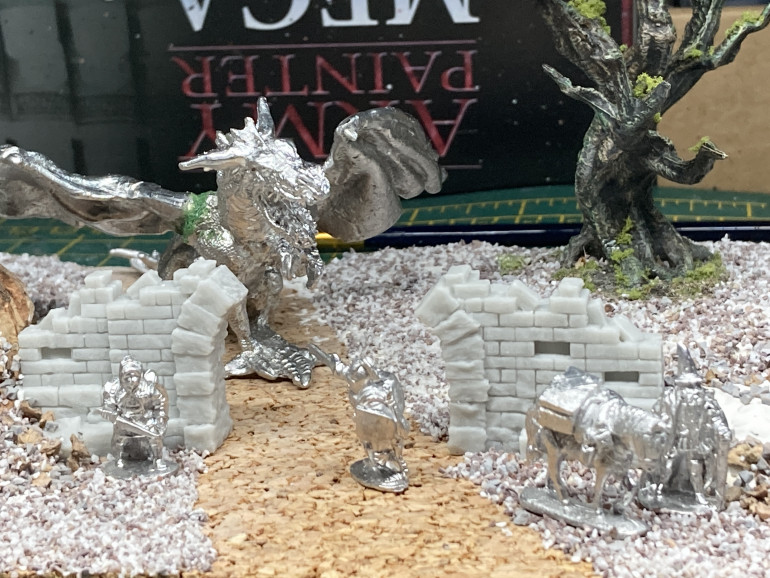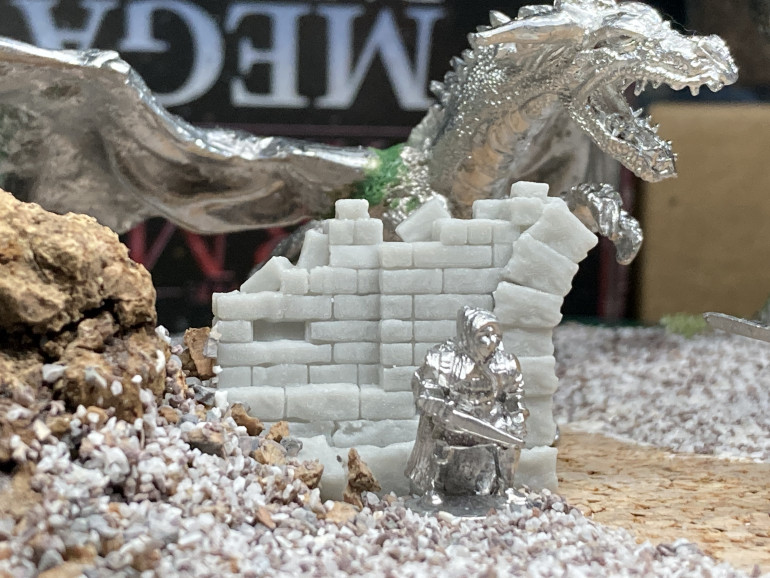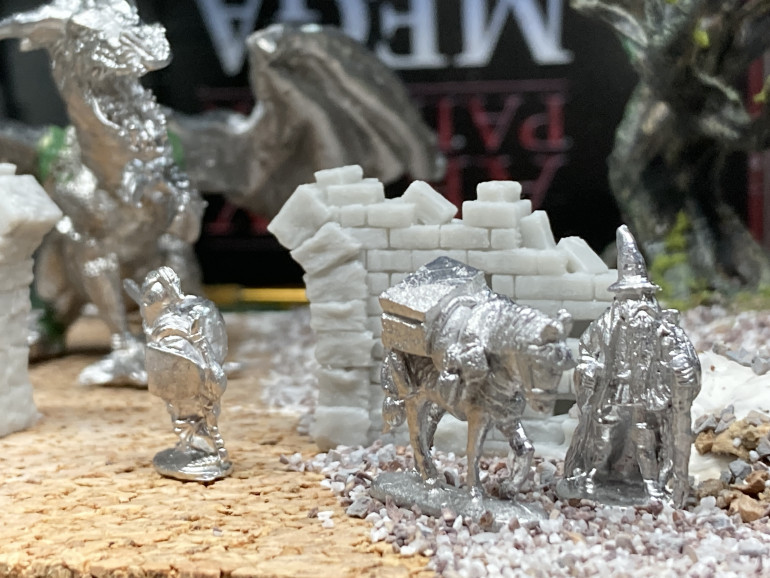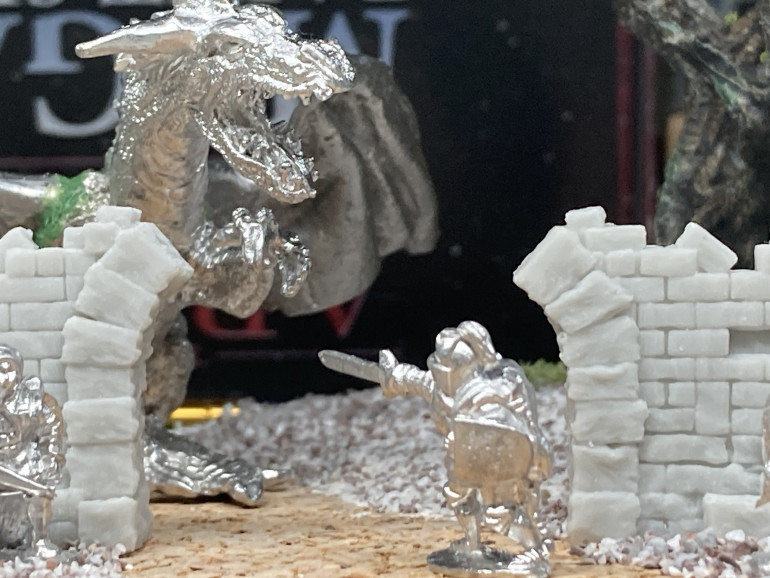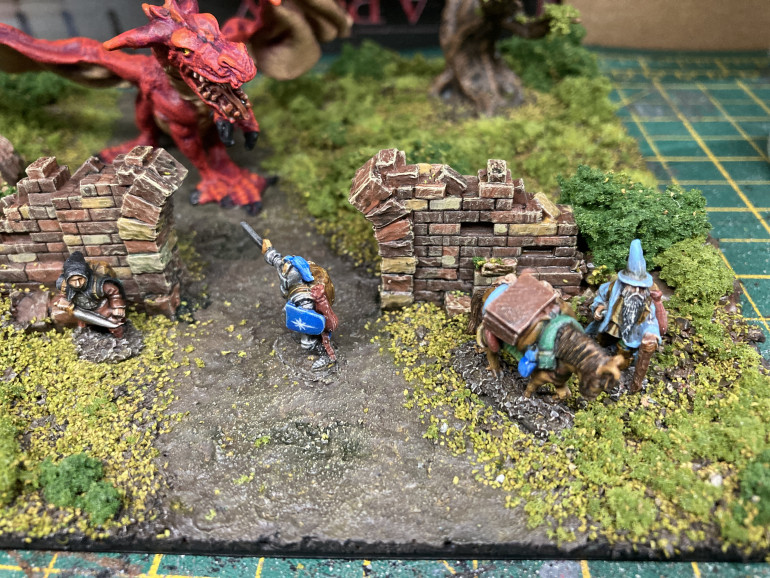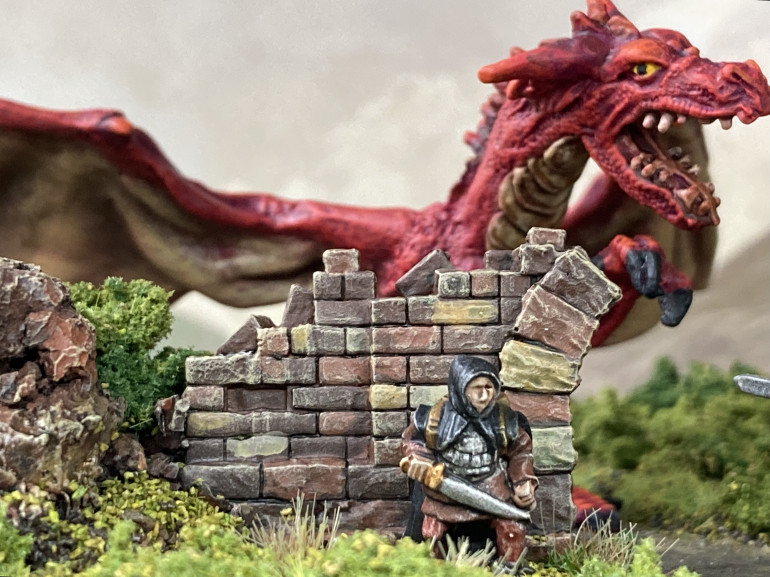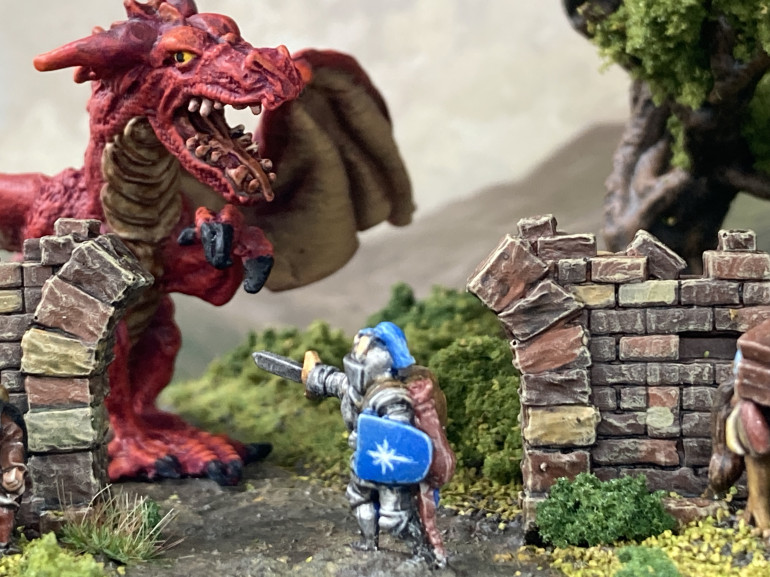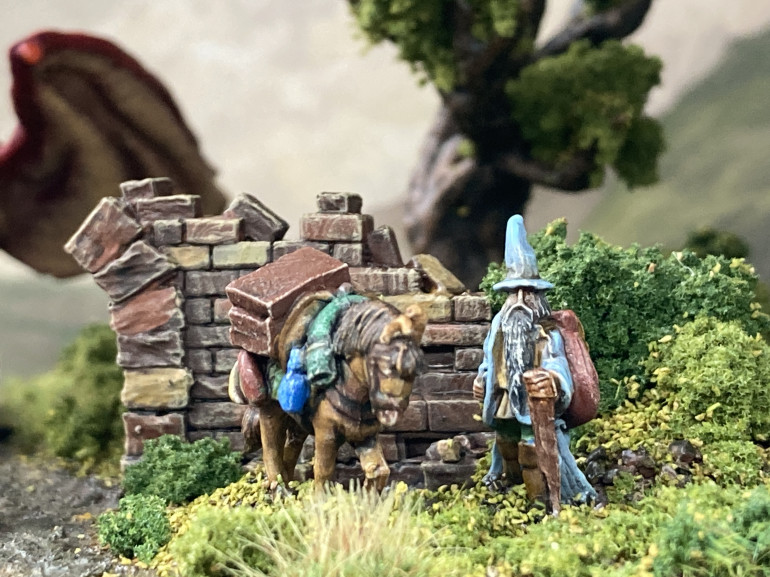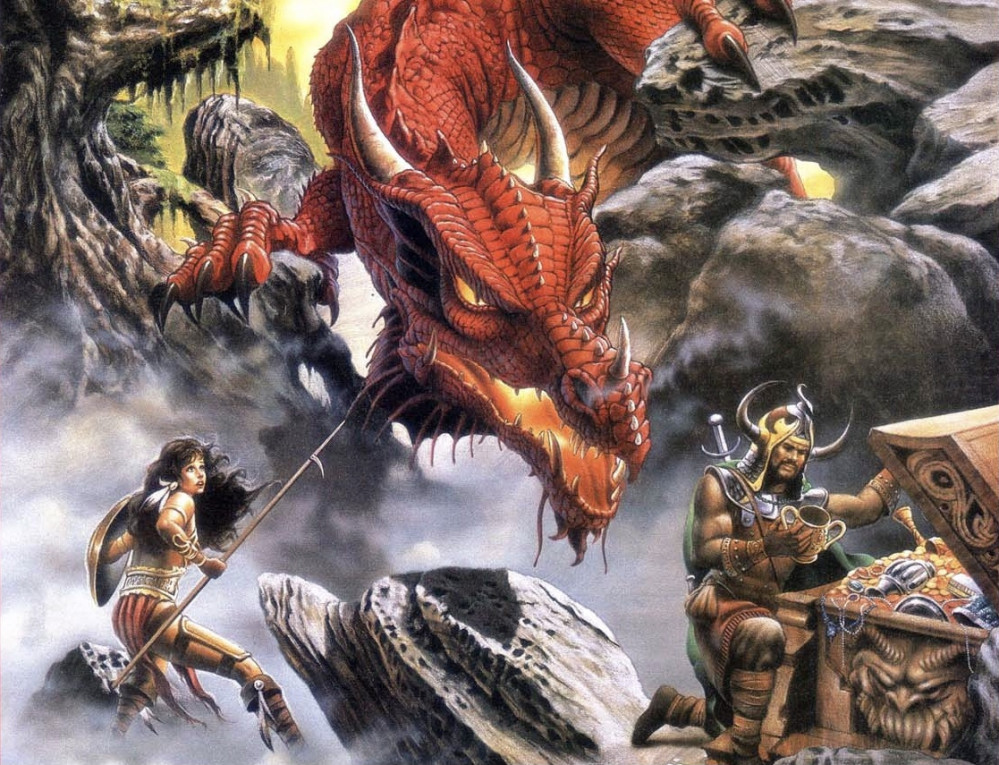
Demonsub’s Dragon Diorama
Recommendations: 232
About the Project
A short project to chronicle the building and showing off of my very first diorama using 15mm miniatures from Alternative Armies.
Related Company: Alternative Armies
Related Genre: Fantasy
This Project is Completed
In The Beginning
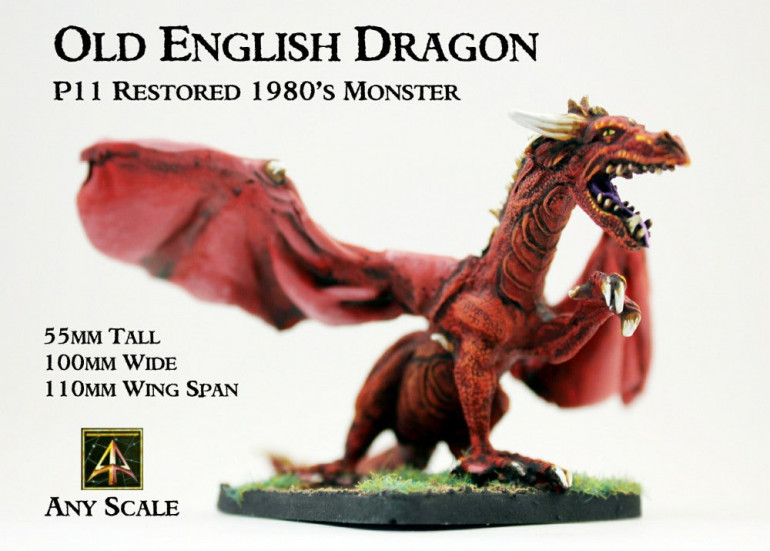
I’ve been thinking of doing a diorama for a while but I never really had much of a concrete idea for what I would do. That is until I was browsing some 15mm models on the Alternative Armies website and I came across this old English dragon.
At the time of writing they were also giving away a free ruined doorway with every order and that’s when I realised I could use both of these in a diorama, with the dragon behind the doorway and some adventures in front holding a defence. I added the dragon to my basket.
Looking for 15mm adventurers was the reason I was browsing the Alternative Armies website in the first place, as a possible source of miniatures to use for a roll and write game called 2D6 Dungeon which I’ve recently gotten into.
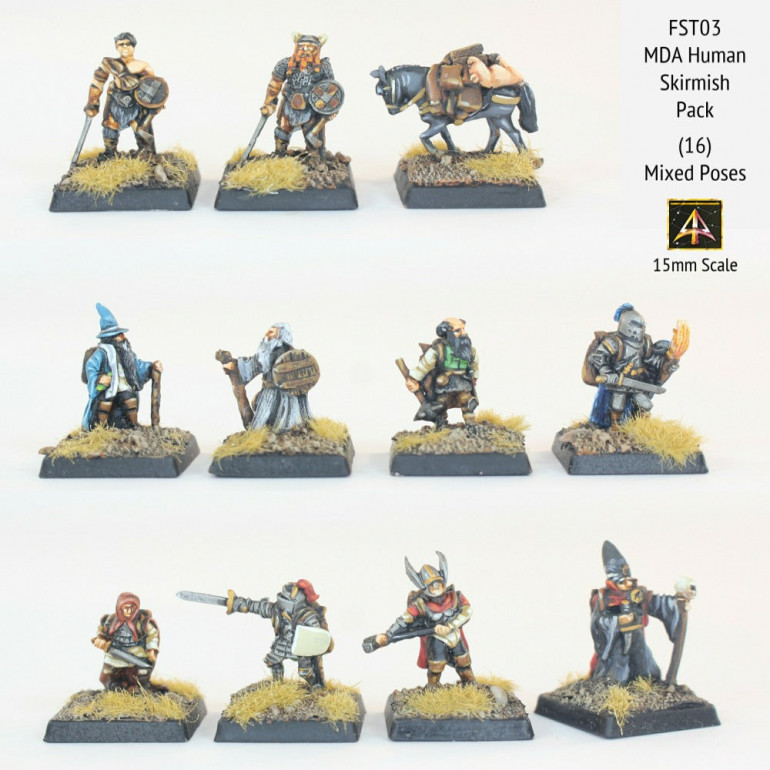
I spotted a skirmish pack of 16 adventurers from the Asgard MDA range. I could used several of these in my diorama and as the pack for all 16 wasn’t expensive I’d have plenty of spare adventurers for future projects. I added them to my order.
So with that order sent I had all of the miniatures I’d need for my first diorama, in a scale I’m pretty new to as well and in a retro 80s style to boot. I couldn’t really progress on anything else until they arrived but I was pretty excited.
Getting Started
At last I could get underway as the miniatures have arrived.
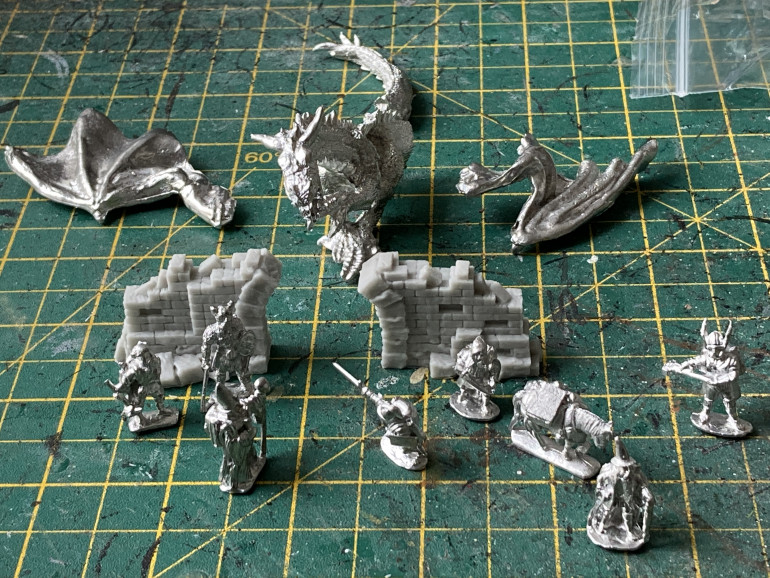
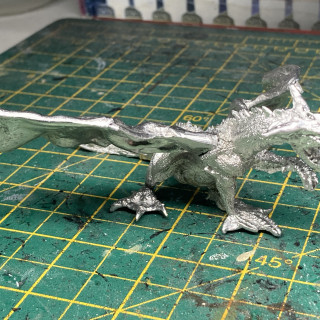
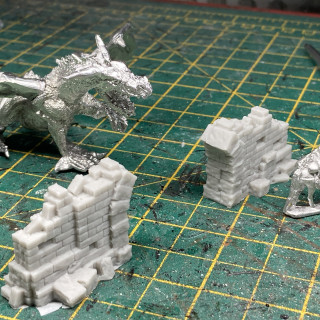
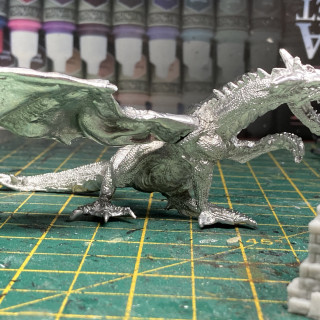
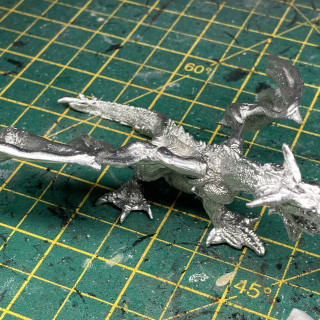
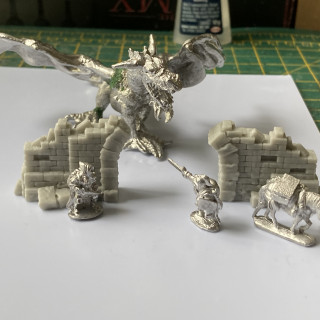
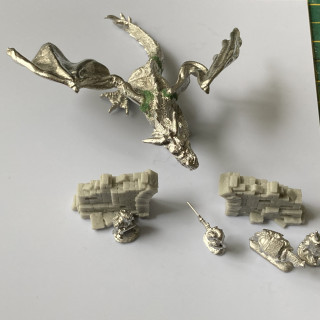
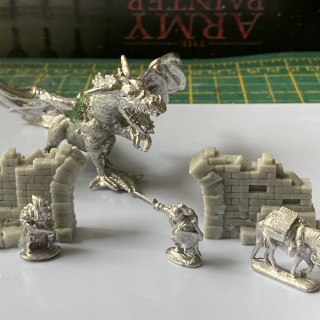
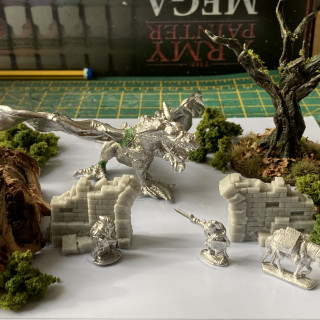
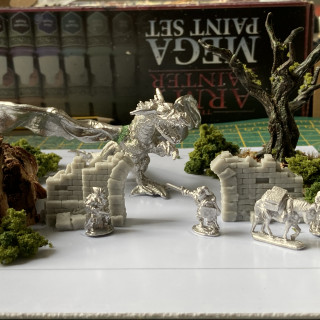
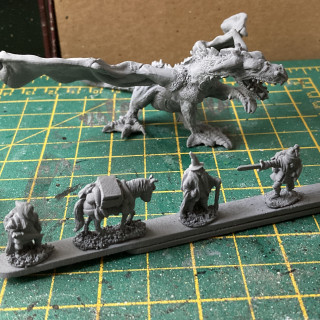
Here’s some of the miniatures I’ve arranged in a very rough setup. The dragon is pretty big and is quite weighty. I’m very happy with the quality casts, the mould lines are hardly noticeable.
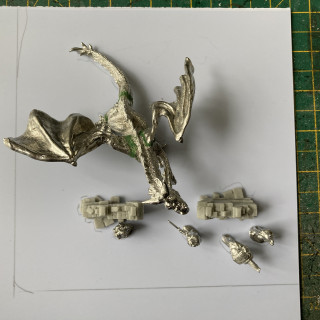
The dragon went together very easily. I pinned the tail and the wings and used a little greenstuff to not so much as fill the gaps as there weren’t really any but to hide the joins.
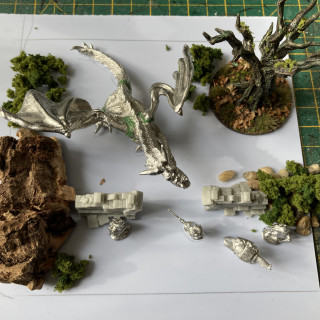
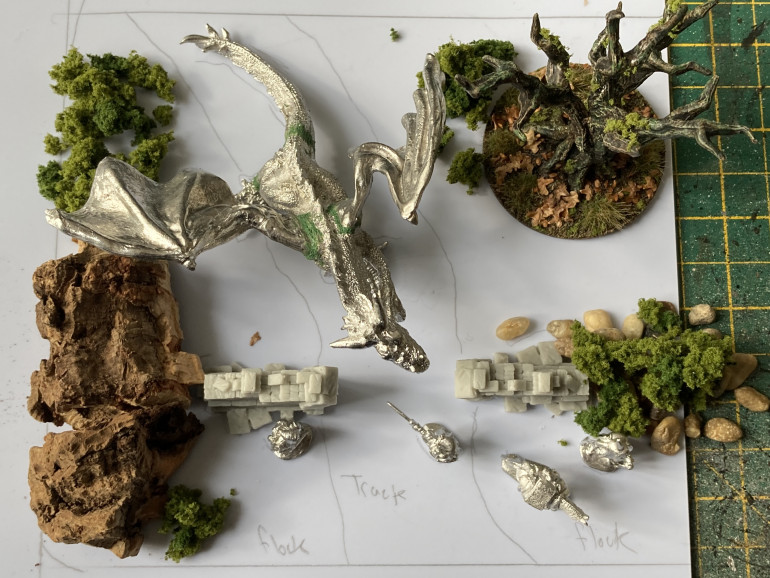
Now it was time to sort out how the diorama would look and where all of the pieces would go. I began by placing various miniatures on plastic card and working out the size of the diorama.
I also settled on which adventures I’d use. I didn’t want to use too many as this would make things a little cluttered and I wanted to suggest a simple story with each miniature’s placement.
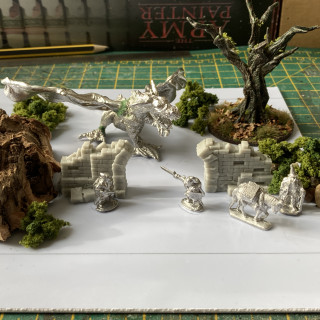
Next I placed terrain features, all unglued just to see how things would look and what I should add or move.
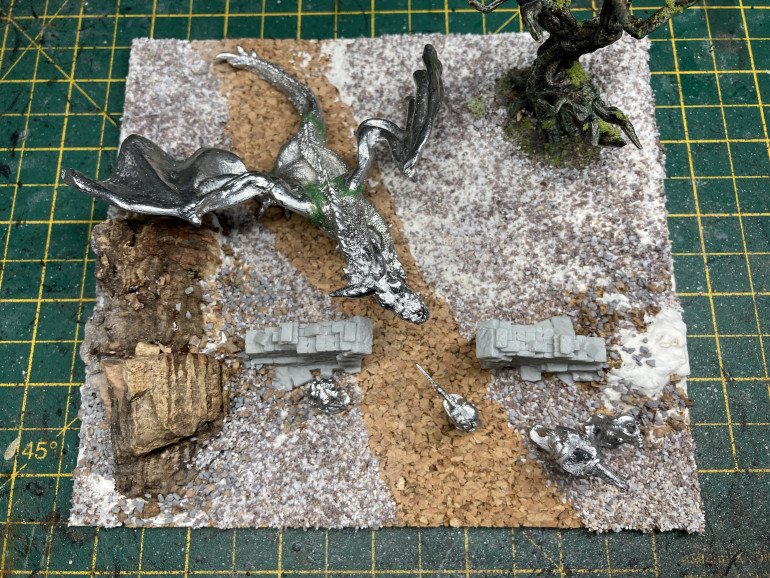
So below is the layout I’ll be going with. I’ve drawn on a rough idea of a path or track. Things may change a little when I start to build the diorama and glue things down. But so far I’m pretty happy.
Building the Build
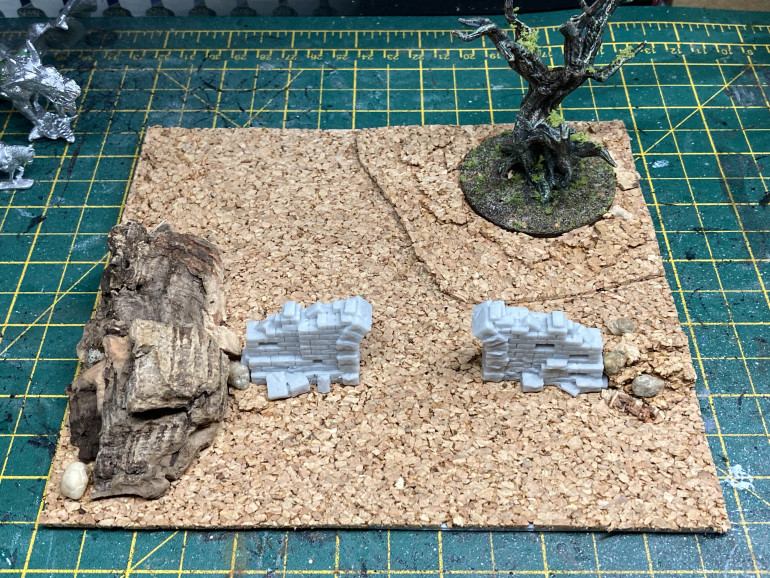
After cutting out the plasticard with a heavy duty craft knife (a 25 year old stanly knife) I added a layer of cork to give the whole thing a deeper presence. The cork “rocks’ were glued in using a hot glue gun and the resin ruins were glued in place with super glue.
I then added layers of cork board to give different heights.
I used a Mantic terrain crate tree I’d already painted and don’t mind painting again as it’s a very simple job and looks good at 15mm scale.
Here’s what I got from all of that.
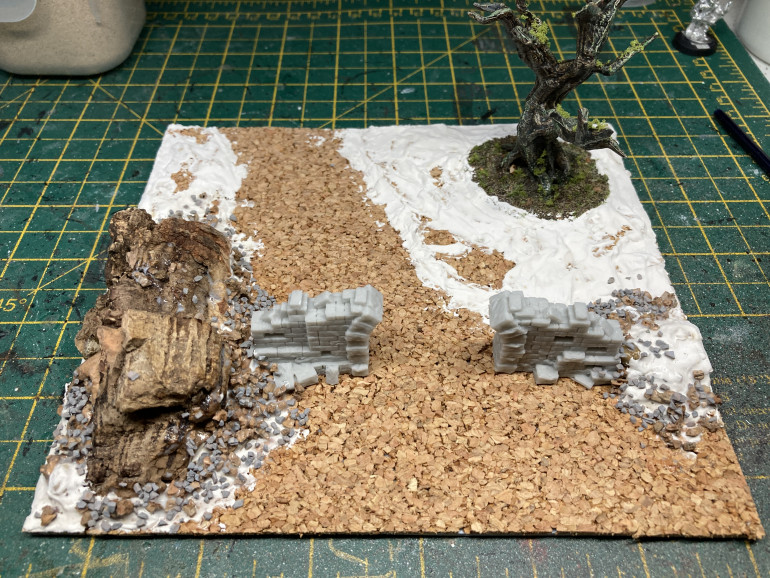
Next it was time to smooth the transition of the layers of the cork for the hilly parts. For this I used some ready mixed filler.
Once this was dry I used smaller stones and aggregate in various places to represent fallen stones and rocks and make things look more weathered.
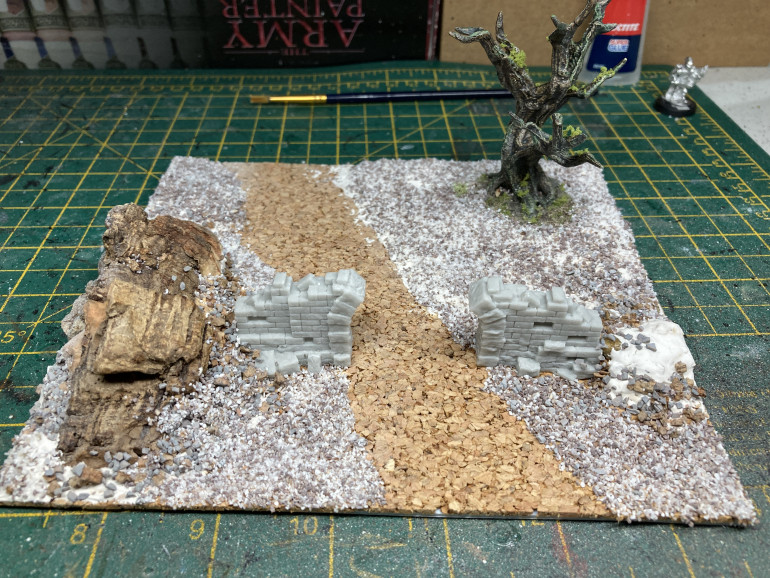
Fine stones and sand was then added across the rest of the terrain leaving a clear spot for a track. I plan on using a finer sand or texture paint for this later on.
Once dry I used a thinned down pva mix to seal all of the texture so it won’t fall off later.
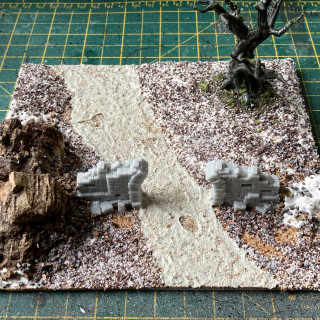
That’s it so far. Here’s a few shots I took with the miniatures added.
Painting Has Begun
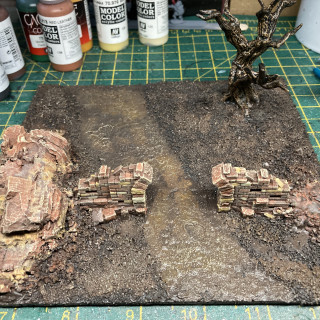
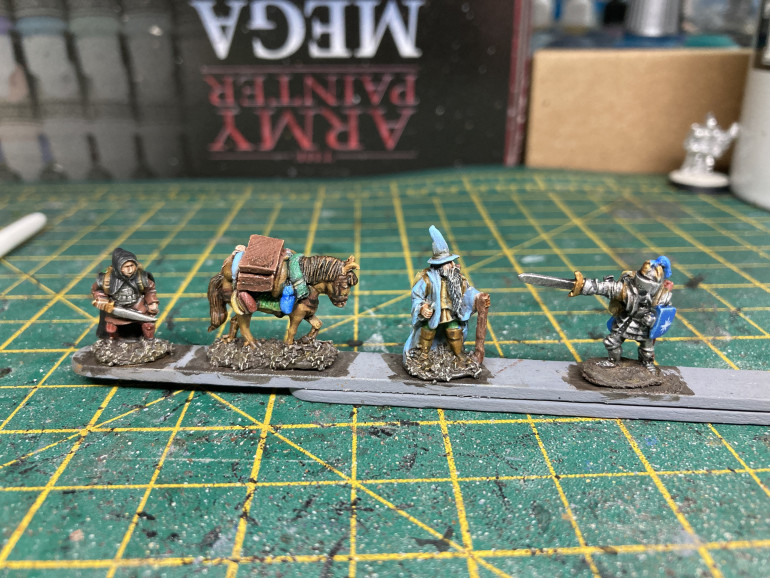
I put down some texture paste and a little sand for the track to make it less stoney and rugged. I made suitable gaps for the positions of the miniatures for easier placement when painted. I also glued the adventurers to a couple of wooden sticks to make handling easier for painting.
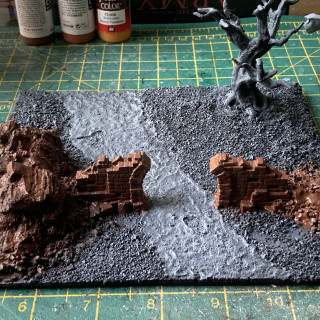
The terrain piece was given a coat in Halford’s black followed by a light dusting of Halfords grey primer, while the miniatures were sprayed in grey.
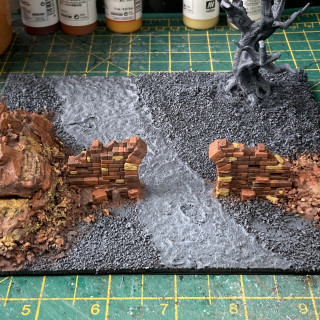
I then painted the rocks in flat brown, followed by less and less areas in red leather, then bronze flesh tone, buff and drybrushed in dark sand.
The tree was given a heavy drybrush in dark sand followed by a lighter drybrush of white. The path unpainted terrain was given a light drybrush of dark sand then white
That’s all the painting I’ve done for now.
Stop Press!
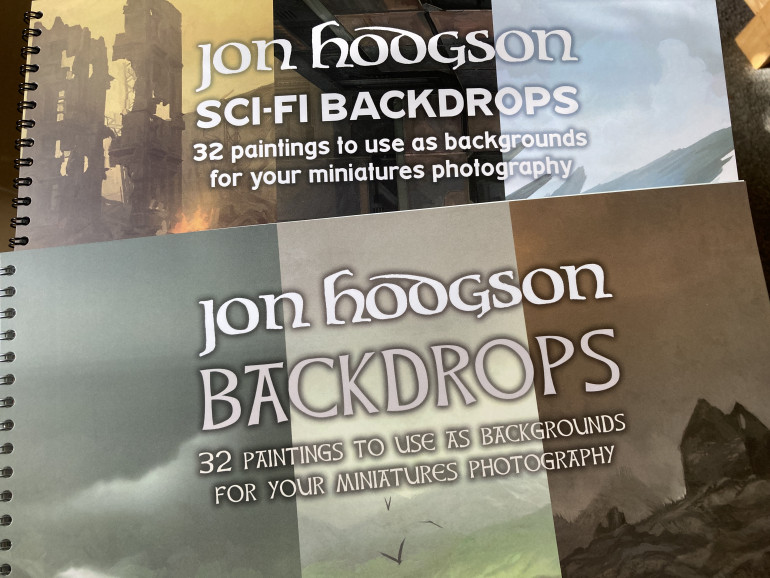
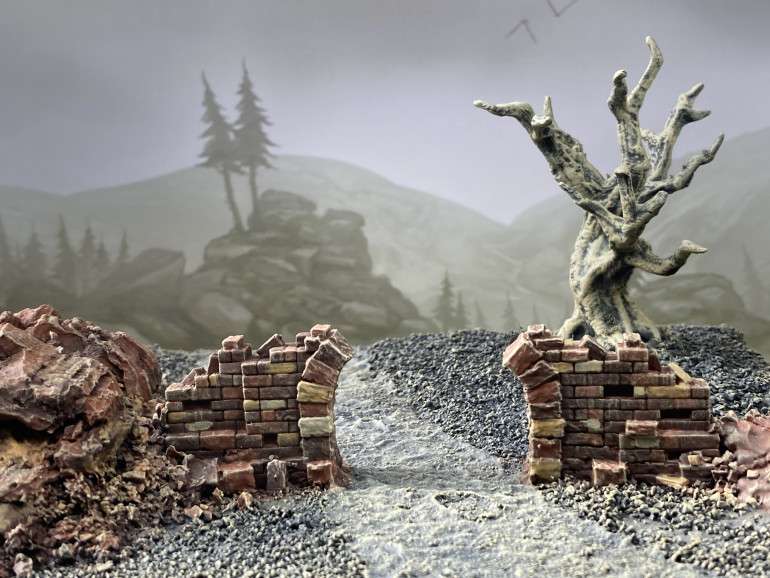
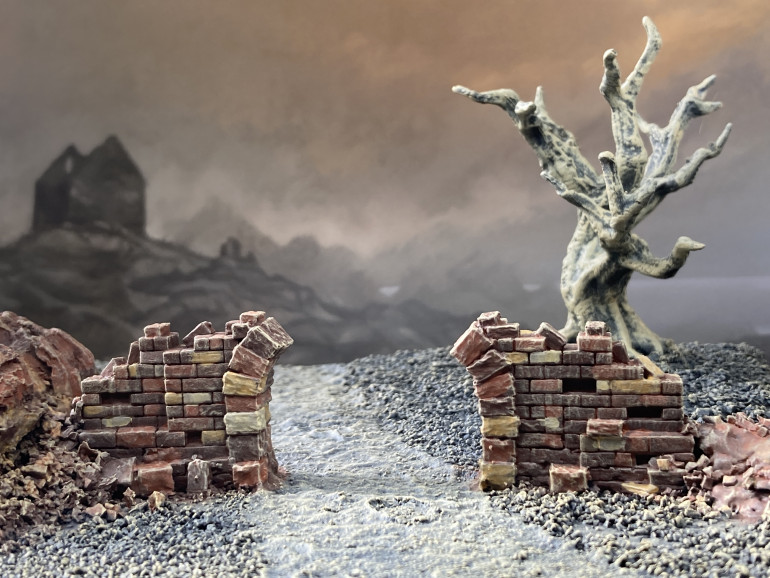
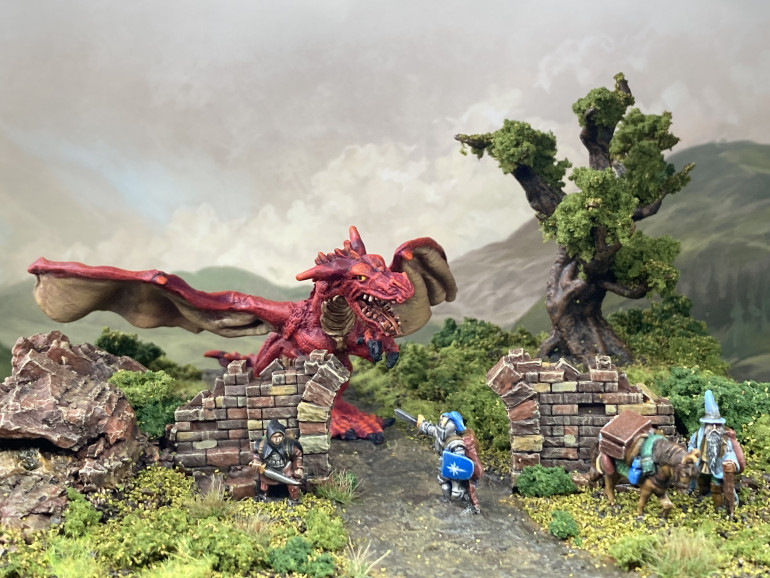
This very morning my two painting backdrop books arrived from a recent Kickstarter. I’d been hoping these will arrive before I complete this diorama as I intend to use these to photograph the piece in front.
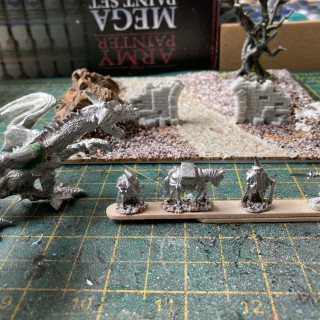
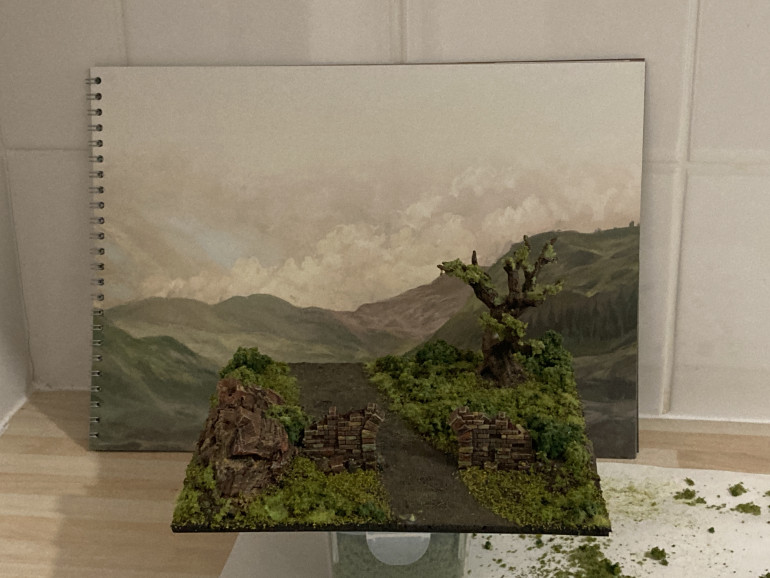
I couldn’t resist trying out a few shots with what I have so far. I’m really happy with the result.
Finishing The Terrain (almost)
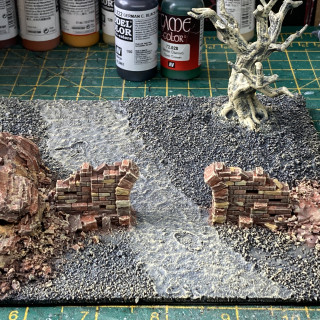
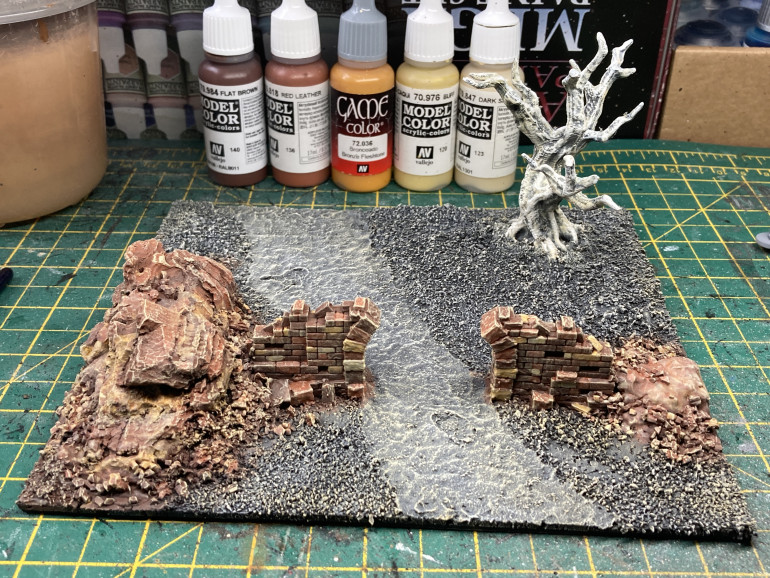
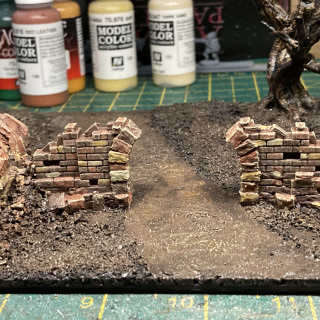
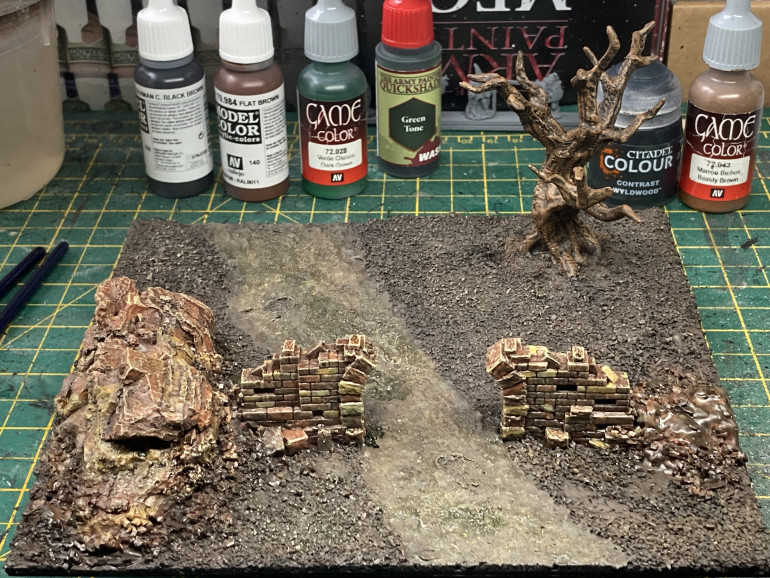
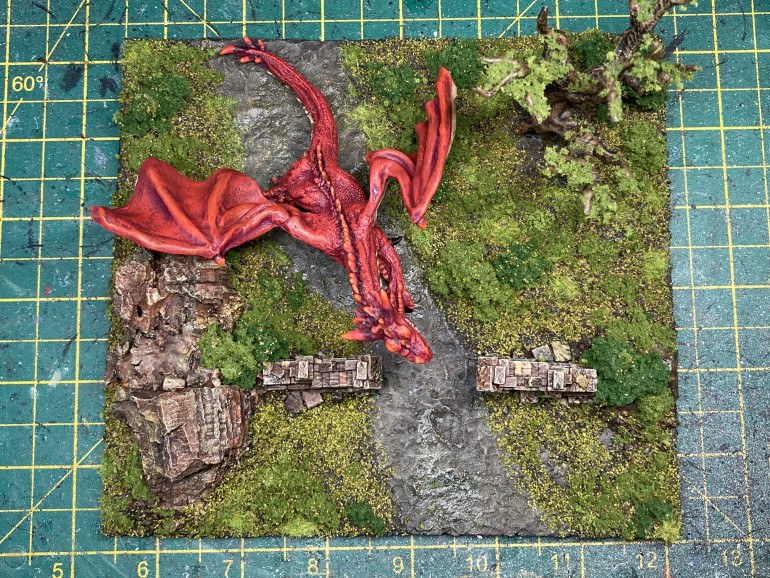
I painted all of the ground and path with a mix of Vallejo black brown, game color dark green and flat brown to give a dark muddy brown colour. Model color red leather was then used very thinned down to give variance in tones of the earth.
The tree was given an all over coat of Wyldwood Contrast paint.
The tree was drybrushed in game color beast brown, and a very thinned model color bronzed flesh tone as added in spots for more soil variance.
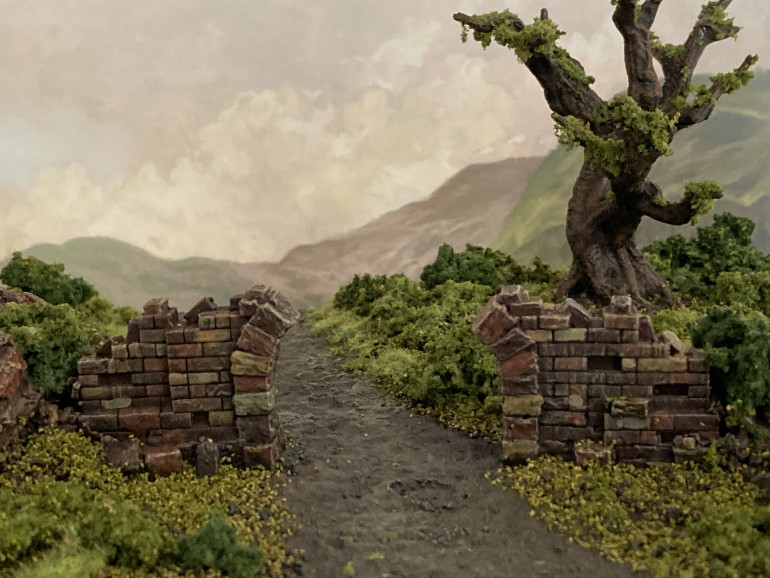
Finally a green ink wash was added to all of the stone and brickwork to make it feel more weathered.
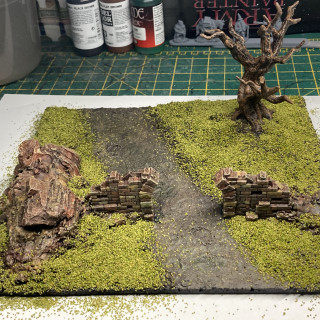
A simple layer of green flock was added, thinning down when near the road.
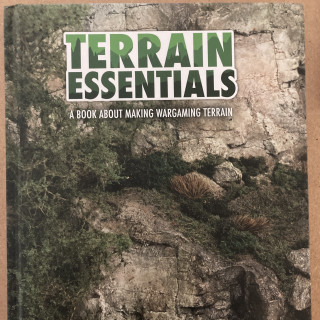
Then with guidance from the book Terrain Essentials by Mel Bose I added a variety of clumps and corse flock and a little static grass to give a varied undergrowth.
Corse flock was added to the tree to suggest slight growth of leaves.
Once everything was glued down I added loads of thinned down pva glue to all of the foliage to really saturate it and seal it I place. It was quite messy. I left the whole thing for a good two days, resisting the temptation to touch it.
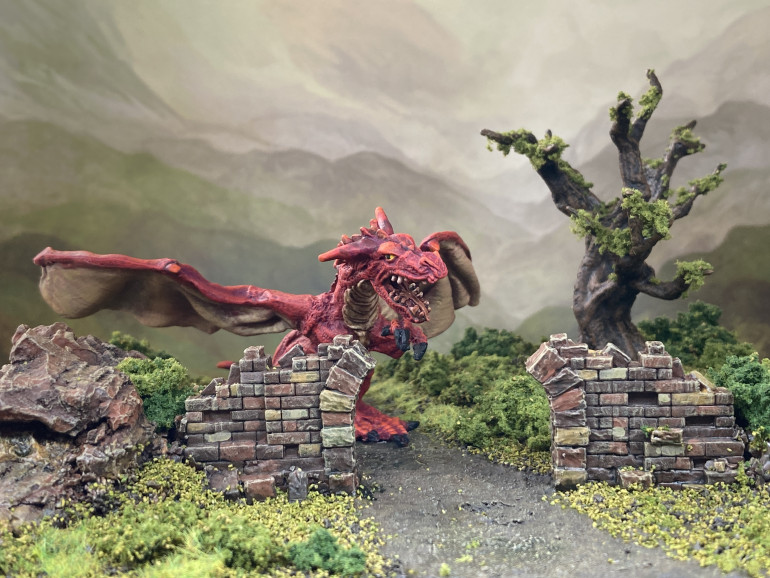
I’m really happy with the way this is looking. Now it’s time to paint the miniatures and once they’re in place I plan to add a few more tufts and other foliage to finish things off.
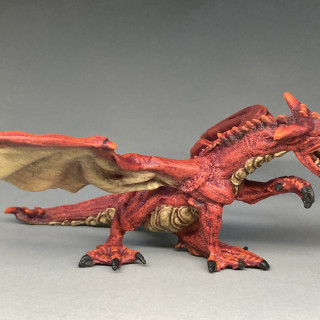
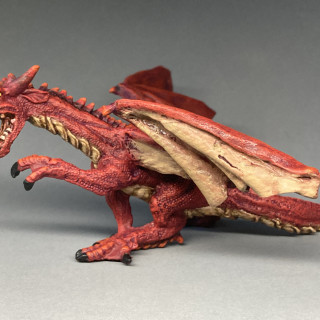
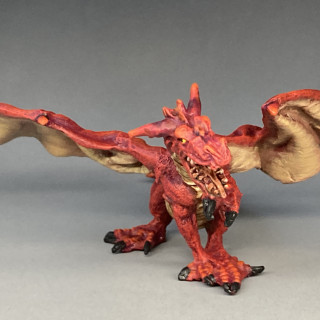
The Dragon
Time to paint the dragon, the bit I’ve been looking forward to as I love dragons.
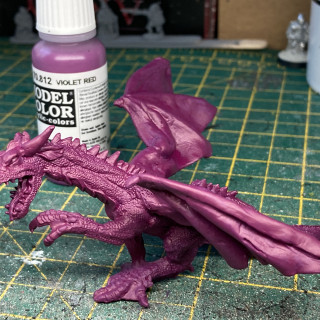
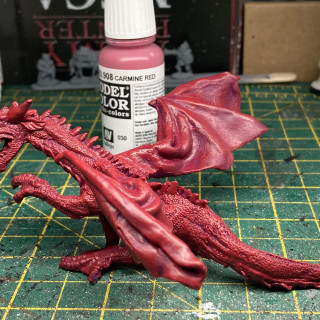
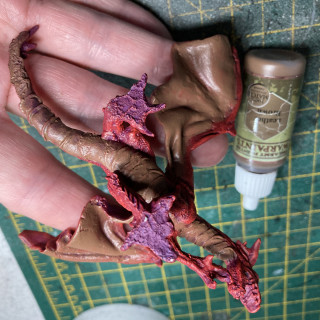
First I started with a coat of model color violet red to provide the darkest shading of the scales. This was followed by a heavy drybrush, almost an overbrush of carmine red.
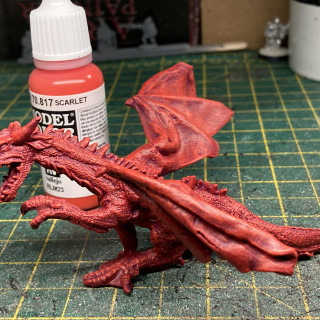
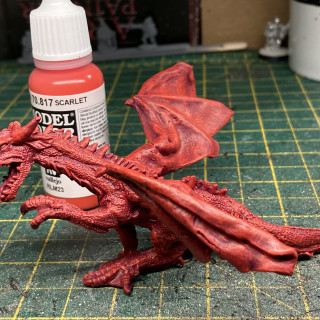
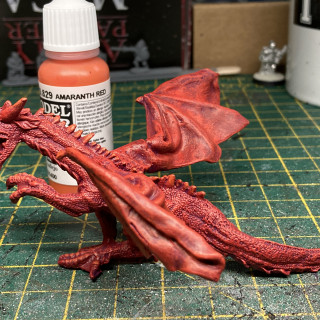
Drybrushes of flat red then scarlet then amaranth red were done to mostly finish off the scales.
Since I would be handling the model a lot I varnished the top of the model after all that red had been painted. Now for the underside.
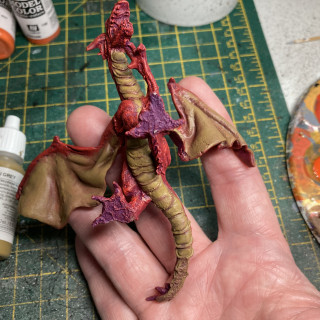
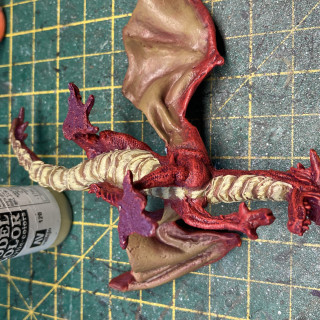
First I painted the underside of the wing and belly scales in Army Painter leather brown for the shading. The was followed by a model color khaki grey.
Buff was used to highlight the scales further, followed by dark sand then pale sand. The belly scales were then given a wash of Army Painter soft tone.
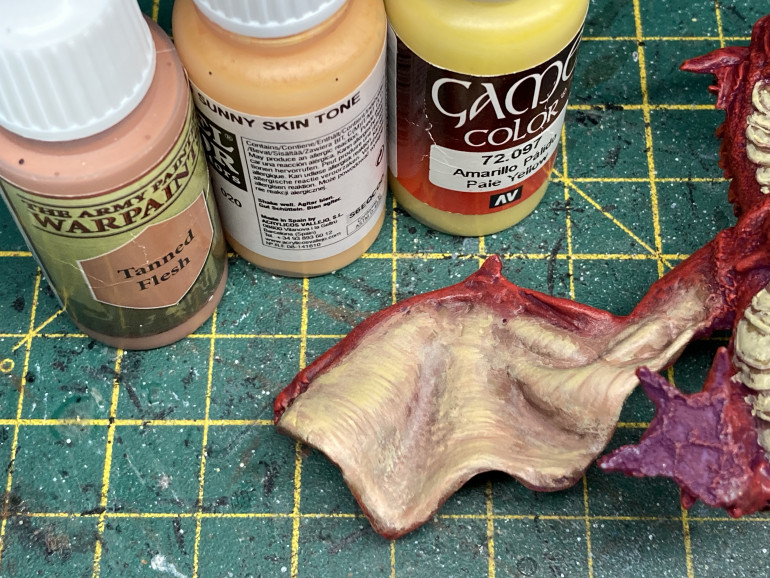
For the wings I used very thinned down Army Painter Tanned Flesh, then model color sunny skin tone and finally game color amarillo yellow. I painted very narrow strokes to get the sense of taught or folded skin painting less area than the previous for increased highlights.
Sadly the last stages I didn’t take any photos of since I painted them during a hobby hangout with some friends so my phone camera was in use the whole time.
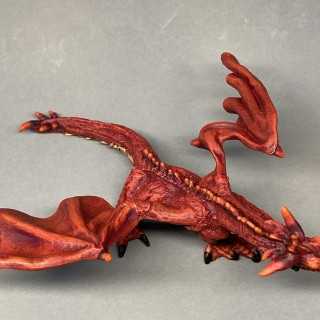
The spikes along to top of the dragon were painted first in Nuln oil to darken them down and to give the spines a separation to the rest of the dragon. Then I went back over with the same colours from each of the previous stages for the scales, the purple, the various shades of red, and highlights to a bright orange.
The eyes and teeth were painted white than the eyes given a yellow paint before the dot of black was added. The claws were just painted black and the inside of the mouth given a coat of Army Painter Dwarf flesh followed by a wash of light tone from the Army Painter.
That’s the dragon all painted. Once varnished he was glued into place in the terrain.
Now I just have to paint the three adventures and their pack horse.
The Adventures
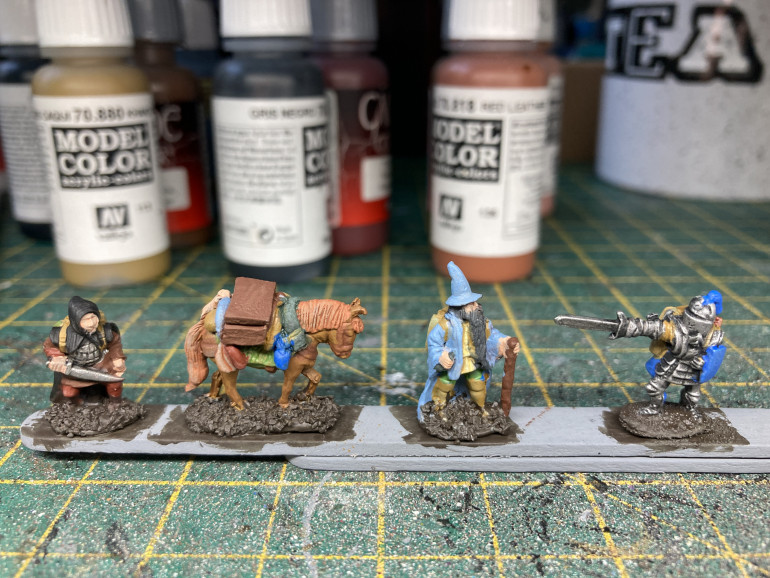
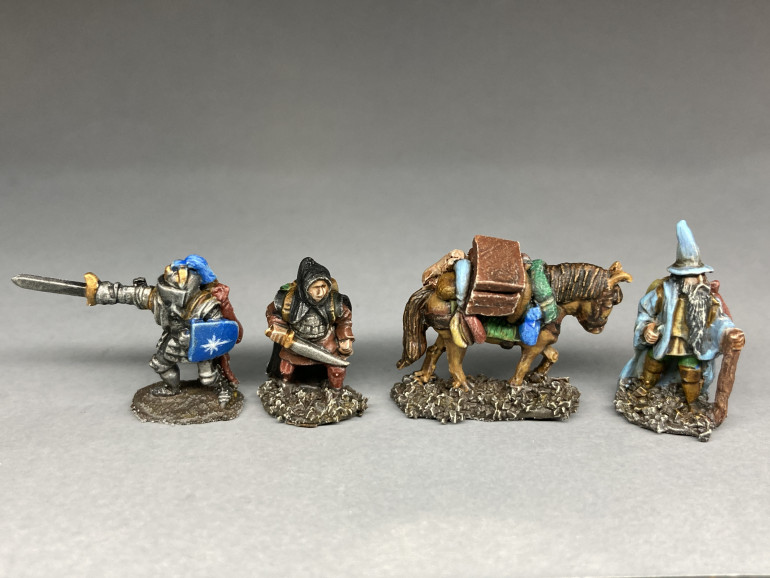
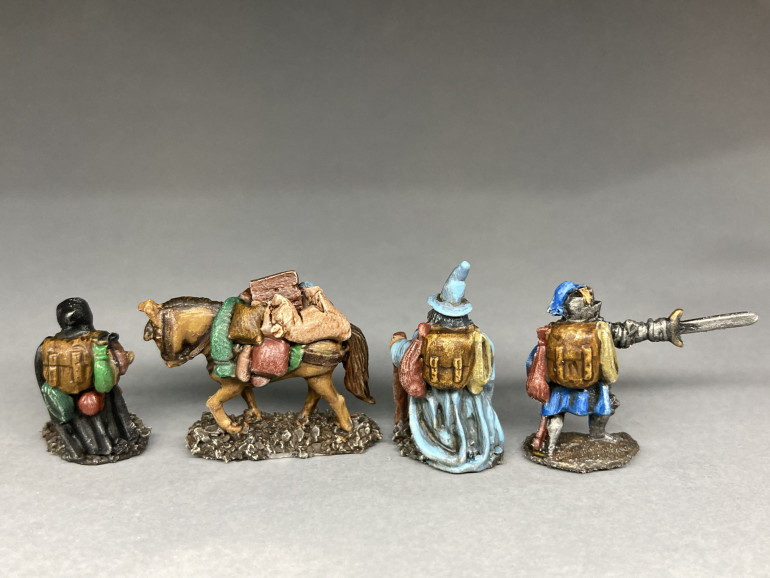
I decided to paint all the adventures and the pack horse at the same time. Rather than do a blow by blow account of how I painted each miniature and the colours I used I’ll just describe my general process.
I first blocked in all of the flat colours without any shading. In the photo above I did add a black ink wash to the armour to give it more definition.
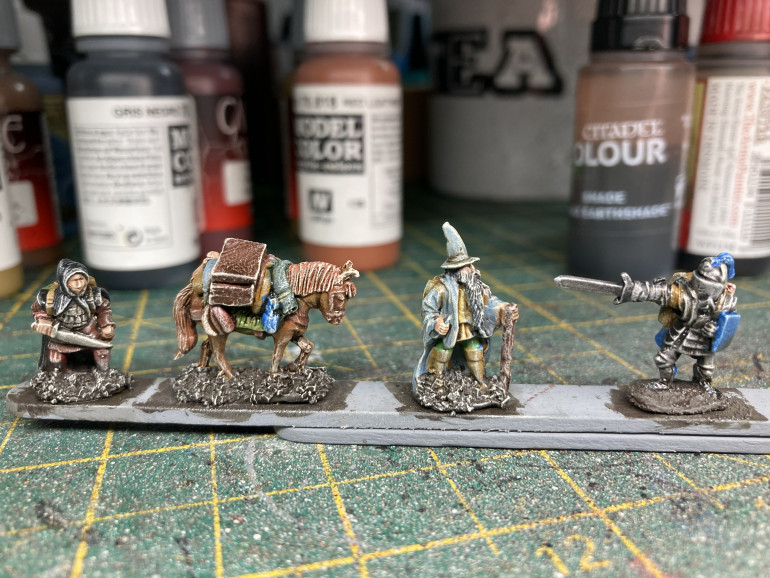
The next step I drybrushed everything with a light beige colour which really brings the detail out on the miniatures. When I’d let that dry I covered everything in a wash of a mix of Agrax earthshade, light tone (from the Army Painter) and acrylic medium (to thin the wash a little as I didn’t want to stain the colours too much but just to creat shading).
These stages is what I generally do with my 28mm miniatures as well as it’s a good fast way of getting most of the legwork done on a miniature and get an impression of what the finished paint job will look like.
For the last part, and the part I enjoy the most, I painted over each part of the miniatures with one or two highlights of the original colour. Sometimes I’ll alter a colour slightly if I think it’s too dark or too light (I darkened the horse’s main and tail for example). Also at this point I’ll add extra details (such as the star detail on the knight’s shield) or go back over with extra washes or glazes if I think certain parts need more contrast.
Once I’m happy with the miniatures I called them done.
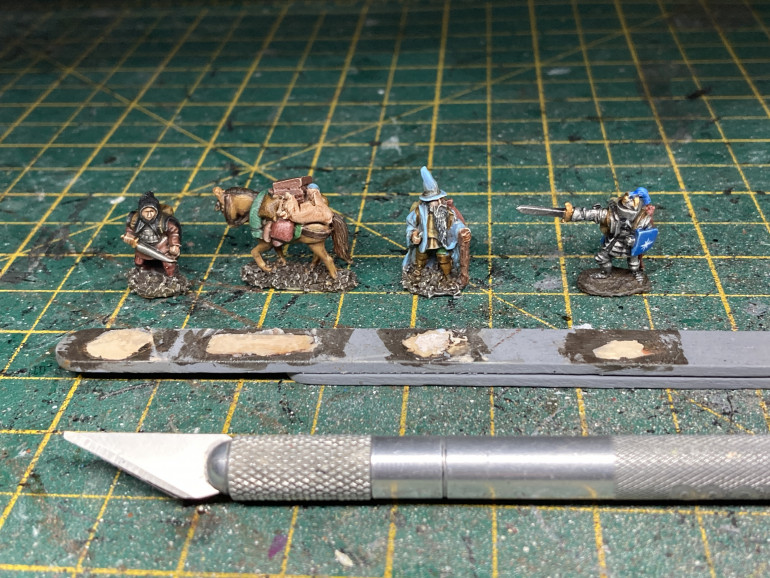
After several coats of varnish it was time to detach the miniatures from the wooden sticks. I’d used superglue and so was fairly confident that they would detach without much of a problem and, with a help of my trusty knife) they did.
This is the first time I’ve painted miniatures in this way so I was unsure how difficult or easy it would be, but I’m happy with the method I chose and will do this again in future projects.
That’s everything painted. All that remained to do was to stick the miniatures into position on the diorama and hide the joins. Then I’ll fiddle with some tufts and foliage and the whole thing will be complete.
Finishing Touches
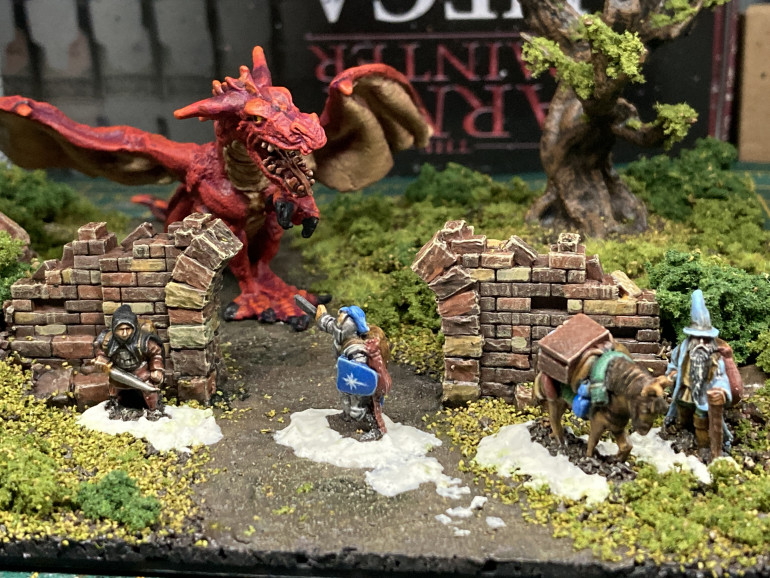
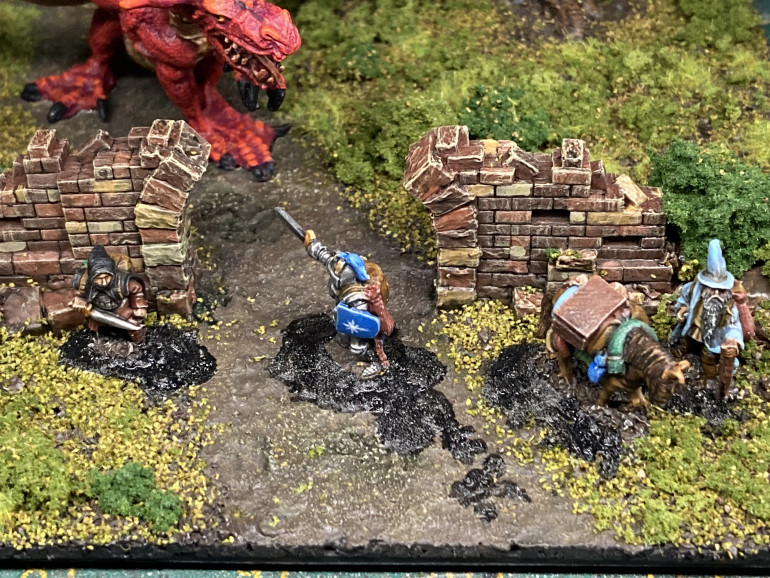
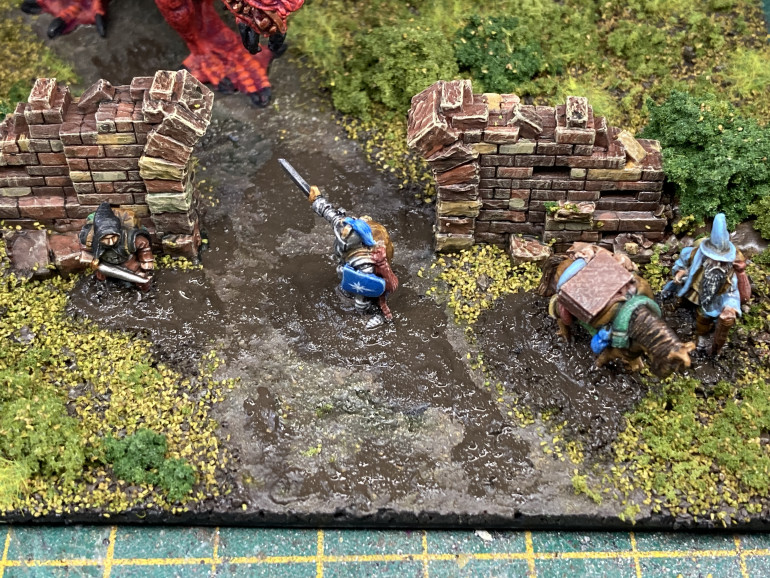
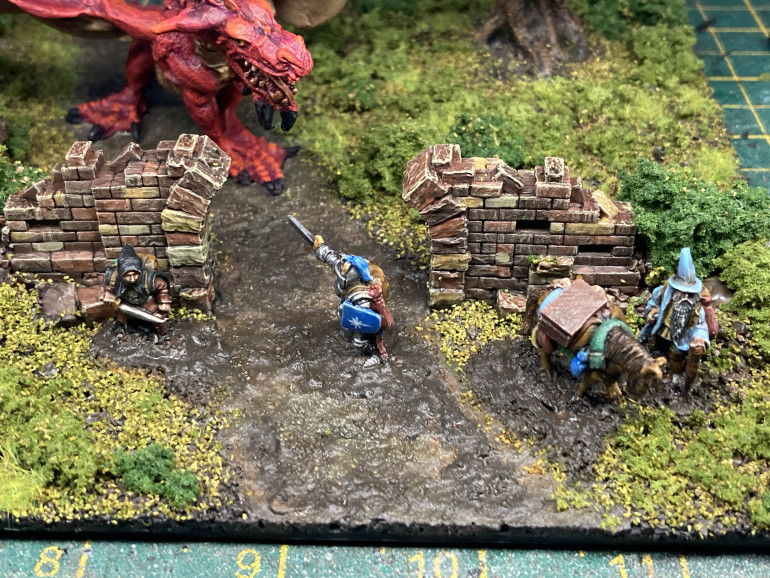
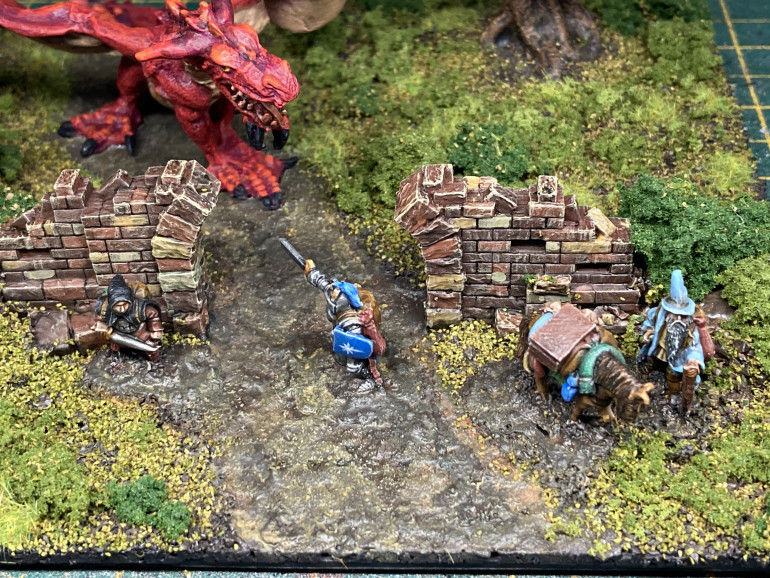
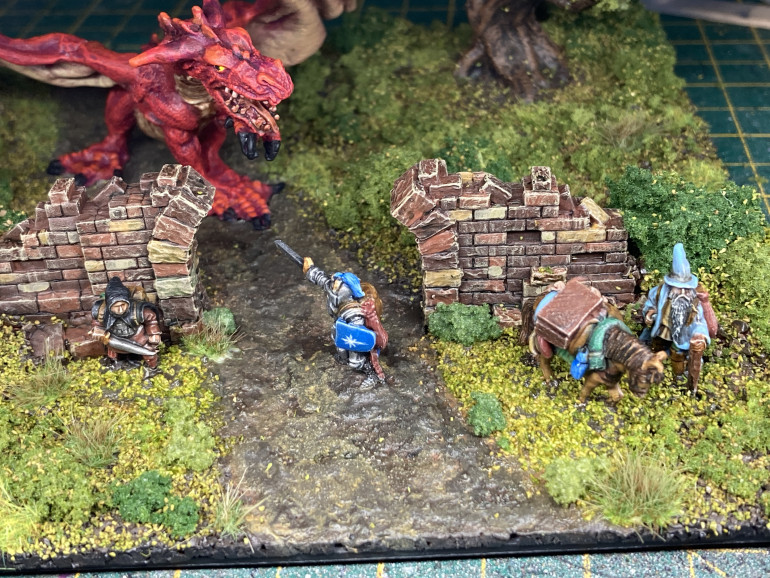
This is the second last or penultimate entry to this project. In the next few photos you’ll see the miniatures glued in place, modelling compound added to hide the joins, then the same compound painted to match the rest of the soil.
When the mud was dry, I added some flock, a few more bits of foam foliage and a few tufts and loads of thinned down pva glue. I’ll leave it to dry overnight and tomorrow I hope to take a few pics of the finished dioramas.


