6mm Napoleonic (& others) Terrain
Recommendations: 85
About the Project
The challenges on OTT have been the catalyst for me to actually DO something in the hobby, and this one is no different. So this time it should push me to prepare some terrain suitable for the smaller scale war-games. Specifically for 6mm Horse & Musket era games.
Related Company: Baccus 6mm
Related Genre: General
Related Contest: TerrainFest 2023
This Project is Active
Back from holiday - what about forests?
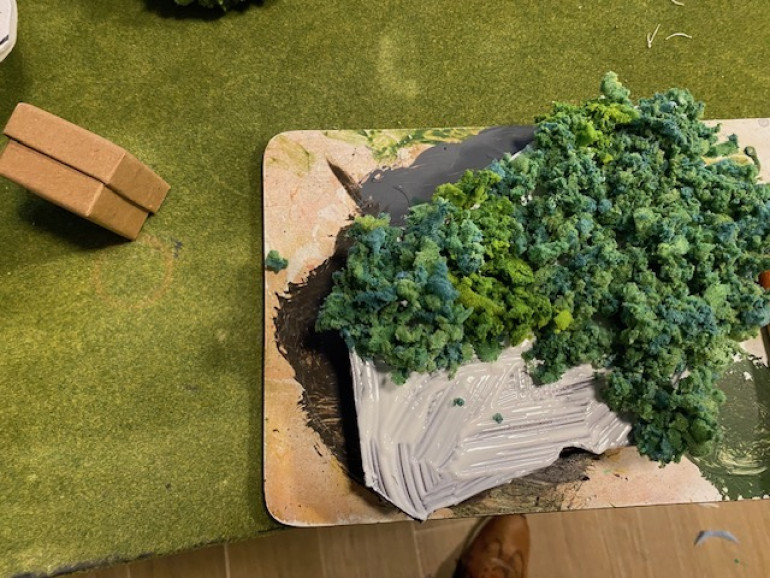
So, my unexpected 10day holiday is over and I have had time to have a dry run at making a forest/wood terrain feature. My concept is the 10,000 ft view (imagine the view when coming in to land from an airplane) as the army bases will not usually be able to traverse them, but if they do the wood can be removed to show the green felt undergrowth.
I will present the steps in the individual pictures that follow. Again, I’m not claiming anything particularly new here, but the challenge was a good catalyst for me to get off my posterior and do something!
The foliage/trees are home made, using the approach by “The Terrain Guy’ and “Geek gaming” videos in the past. Basically sponge put through a blender – I used a “nutri-bullet’ and then squeezed out and added to a mixture of PvA and a suitable green acrylic paint.
The are attached to the forrest “forma” also with PvA, although hot glue is a good alternative.
 Once dry, I painted it with a brown acrylic. If you can get a black foam core, this would eliminate this step.
 When the paint was dried, I coated the surface with PvA glue. Again this could be done with a hot glue gun, but then the application of the tree form would be slower.
Still to do is to maybe dry brush a light green or yellow to the treetops and add some more foliage to the sides of the foam core. I need to make some more of the sponge greenery.
I should finish with 2 x large town bases; 3 x small town bases; 8 x Forrest bases.
Happy gaming
Constructing a "city"
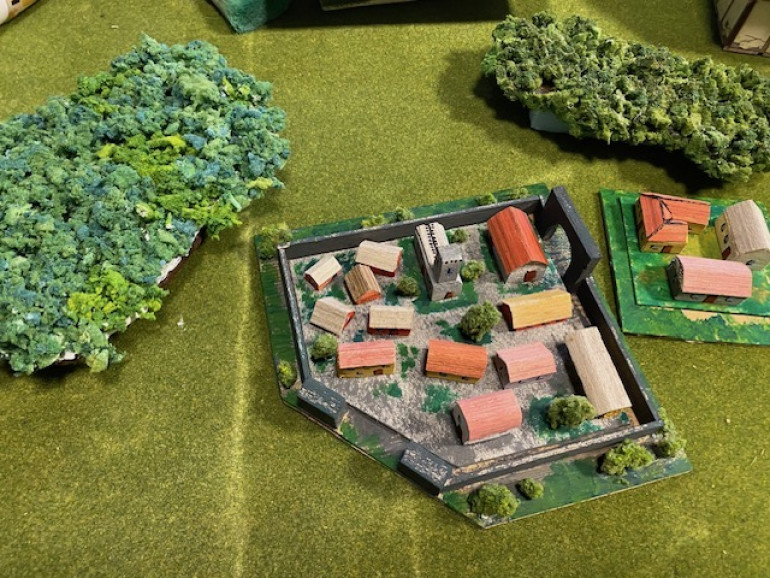
The following pictures show the approach I made with a larger town/city base. Basically the technique is the same as previously presented, the only change is to make the base itself more “dramatic” with walls, gatehouses etc.
I will make two larger tiles and three of the smaller tiles for the tabletop. In addition to a small town, I also made a “farm” tile for variety.
We have decided to go on an unexpected holiday the last week of October, so I will only try to present my approach to the woods/forests in this 6mm scale.
In the meantime, happy gaming.
Painting the Houses
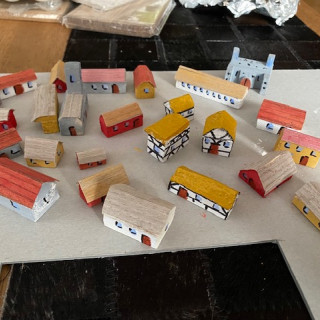
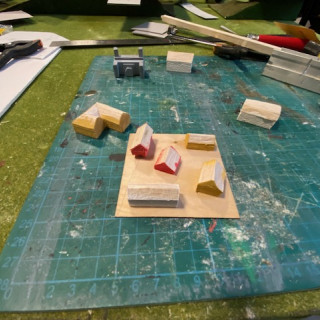
The houses will be painted with acrylics throughout. I used a cheap set of paints for the details and a couple of “£1 store” larger tubes for the base coats. I mixed the base coats up between white, red, grey, and sandstone to give some variation.
Doors were a brown paint and windows are dabs of blue/white. The roofs will be applied later. Once the basic paints were done, I used a ‘felt-tip’ black liner to add a couple of lines to emphasize the doors/windows. One set of white houses I also used the marker on to give the impression of medieval style buildings and the black beams seen in places like York or Stratford etc.
As in the pictures below.
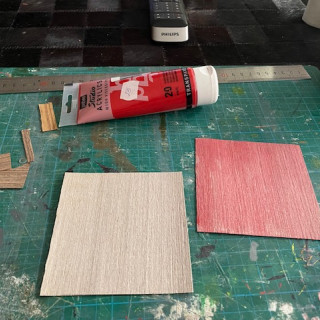
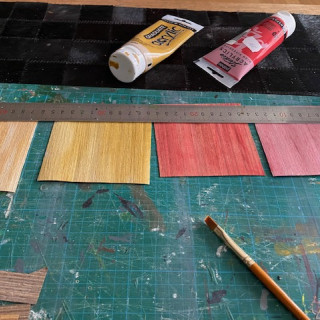
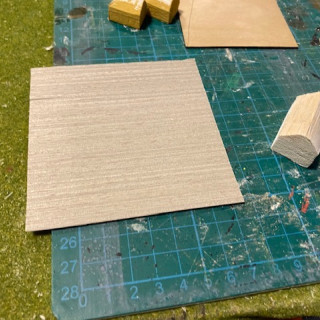
For the roofs themselves I had acquired some veneer last year in a variety of colors, but I used the grey one with a thin coat of reddish paint to simulate roof tiles. The “Elizabethan” style houses I stippled yellow ochre acrylics and allowed to dry “impasto” to give a textured finish. This I later washed with a diluted brown mic to add some depth.
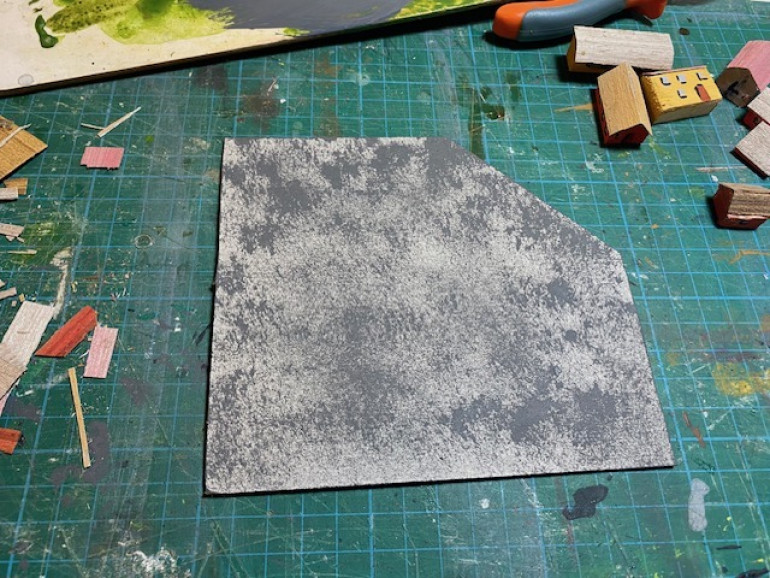
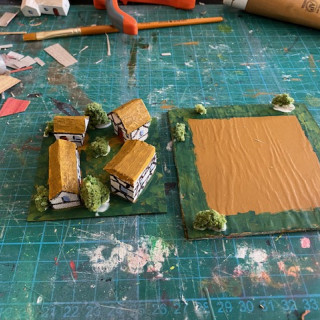
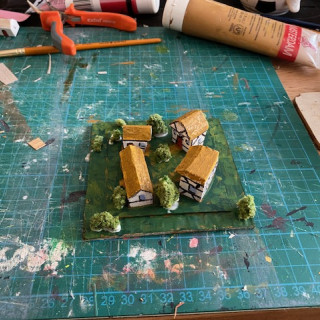
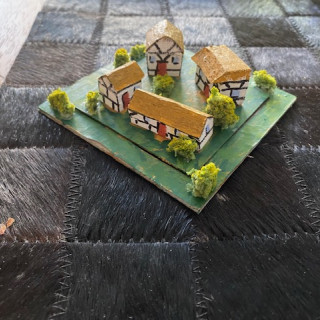
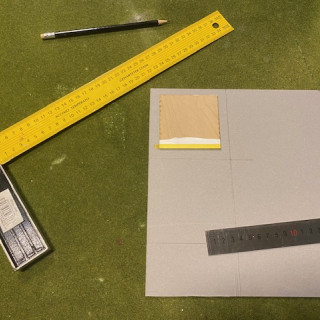
The next step was to make the first town base. This was constructed using a 4″x4″ square of card which I then also layered with brown paper to add some additional strength. I would have preferred to use thin MDF but it’s not something I can easily obtain here, so card it had to be. The thickness was something like cardstock, although I think a little less compressed.
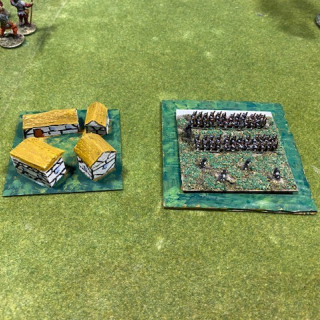
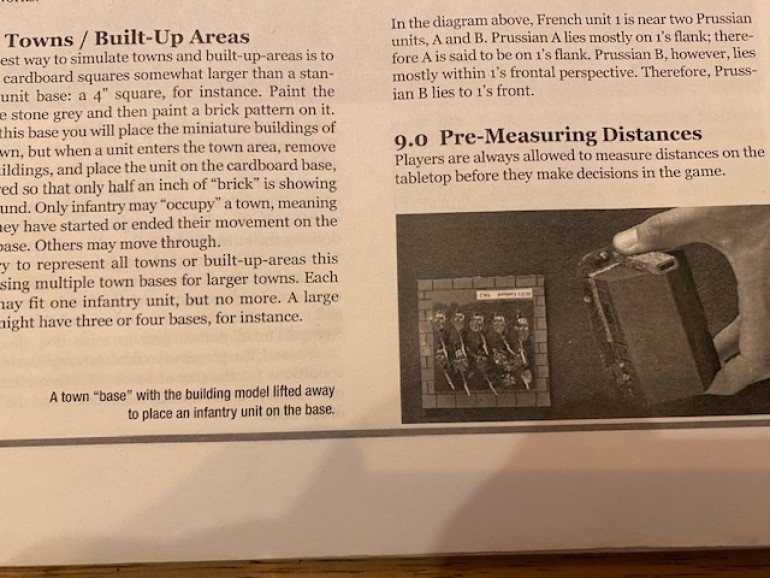
The “town” will be made on the same sized base as the army units for the game (Grande Armee) and in-game, the town base would be replaced by a unit base if/when it occupies the town.
Once the base coat was dry, I stippled on various shades of green paints and some light brown for tracks or mud on both the town base and the larger base. Finally I added some “trees” made from home-made clump foliage, and when dry dry-brushed some light yellow highlights.
Next up will be one of the larger “city” tiles which will follow a similar process, but I will primarily use grey for the base colors and introduce some flocking for grassy areas.
Happy gaming
Building a House
I’m pretty sure nothing I will present here is completely new to most readers, but just in case, here is my approach to making these small scale houses/buildings. I should say from the offset that I don’t bother measuring the size of these buildings. It’s all “what looks OK”.
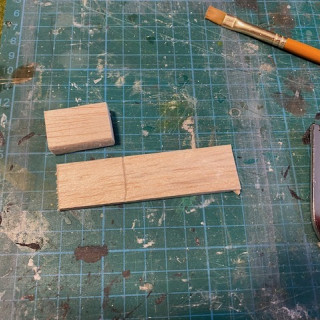
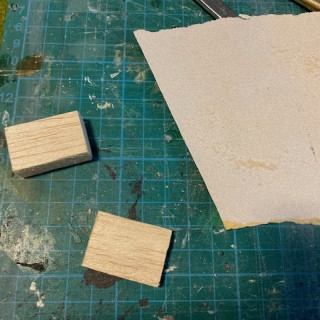
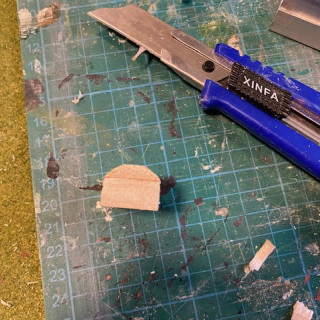
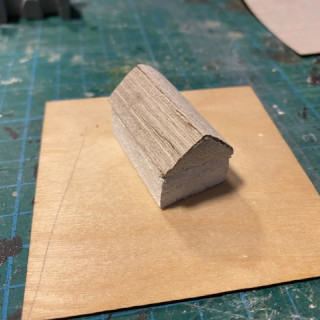
In this example a balsa block was cut using a fretsaw and a “roof” piece slightly larger was cut to size based on the original piece. Note that if I had a bigger balsa piece, I’d probably ignore adding another block on top and slice the sides of the balsa block to create a “roof” directly.
In either case use a fresh sharp craft knife to cut the balsa. Although it is a soft wood, having a new/sharp blade helps in controlling the cuts (and avoids cutting yourself!)
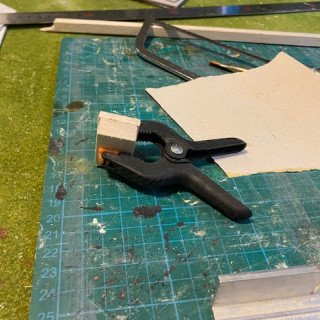
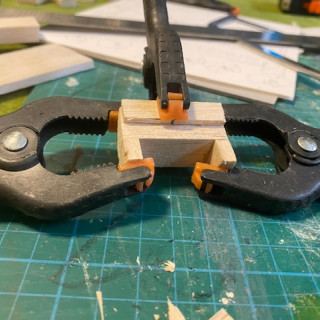
I use small clamps to hold the balsa together while the glue dries. I’m using a UHU type of glue, but there is specialized glues for balsa wood, and of course usual wood/PvA glue works just as well.
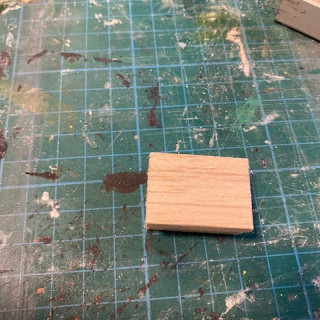
The pencil lines on the “roof” are to guide the cutting stage.
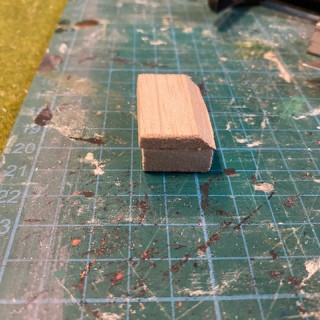
The buildings after the roof block has been trimmed down to the shape I want. Other roofs will have the traditional triangle shape and of course some can be left flat depending on what building is being built.
For example I will probably have a church and some form of Municipal Town Hall which would require some different roof shapes. I just glue pieces together to make shapes. You can let your imagination run wild.
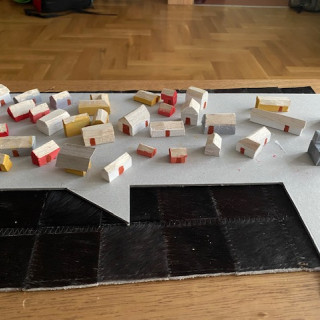
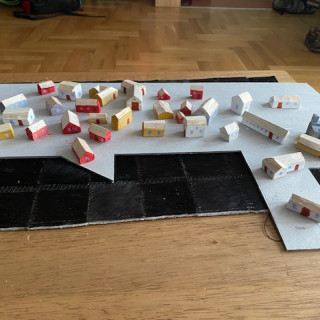
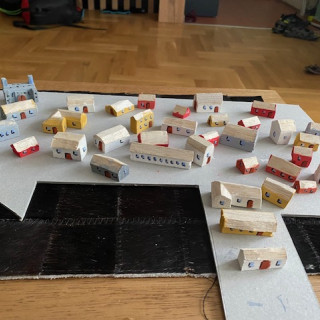
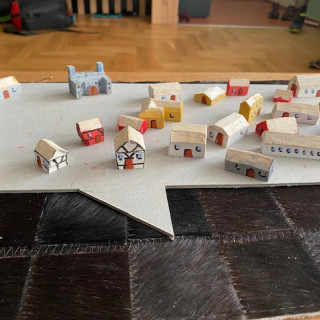
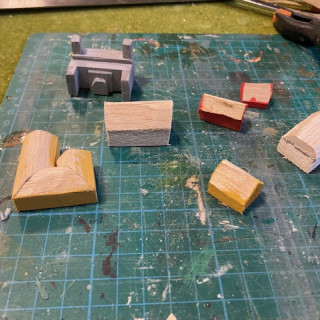
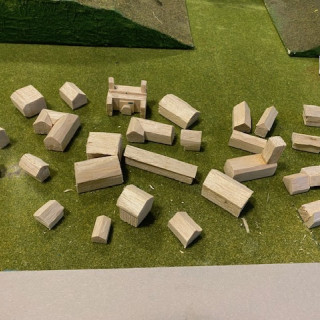
These pictures show some examples of different shapes and buildings. All sizes are fine as the idea anyway is to have a diverse looking base which represents some form of dwelling space and not a modern gridded city.
The walls have been painted with acrylic paints. I think using inks or, for example, felt tip pens, would leak into the rest of the wood. I haven’t tried this, to be honest and will probably stick with using acrylics for the paint job, although a bit of me wonders if using colored pencils would be useful.
The roofs will be made up from the wood veneer tips I managed to buy last year although I am also thinking to color them further in some way to increase the variety of roof finishes.
So next time I hope to be able to present some finished town bases.
Balsa Buildigs
So, the basis of this terrain build is that the actual houses will be constructed out of balsa wood (as that’s what I have available) in a variety of shapes and sizes.
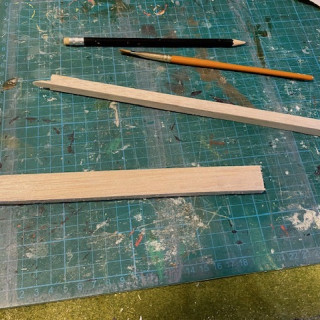
In essence this means that the different sized balsa – between 1 and 2 cm in width/length – will be used as the main building structure with added roof shapes, or occasionally through carving the balsa into the appropriate roof shape.
More complex buildings are put together by gluing different balsa wood pieces together and creating an interesting shape.
The balsa strips have been put together to form “house” shapes. For some buildings I split a balsa strip to create a triangle to be a Roof arrangement, and for other larger balsa strips, I used a craft knife to make the roof shape out of the balsa strip itself.
This results in a variety of building sizes and shapes.
For more complex shapes, eg the Church or Municipal building, I just glued together different thicknesses of balsa and made it up as I went along.
Overall, I was just looking to have a large variety of potential buildings of different sizes and shapes.
The next step will be to start painting the buildings and adding doors/windows etc.
Towns/Cities in 6mm
In many games, particularly smaller scales, I feel that the depiction of urban spaces is abstracted to a large degree, for obvious practical reasons.
But I wanted to do something a bit different (although I’m sure this has been one before!) and put on the table something closer to a diorama of a town, rather than just a building on a base which is imagined as a number of houses etc.
In the rules for Grande Armee (Sam Mustafa) he recommends using a town base slightly larger than the army bases (in my case 3″ squares) and removing the “house” and replace with an army base to indicate occupation. One army base per “town”.
Larger towns are represented by multiple bases, but I wanted to present a large town as one large base, rather than simply cobble together three/four bases with half a dozen buildings.
So my approach will be to have a few single bases for small villages and a couple of larger bases for a town. In each case the town block can be removed to allow placing an army base, but hopefully the “look” will be more dramatic and better represent an urban environment on the table top.
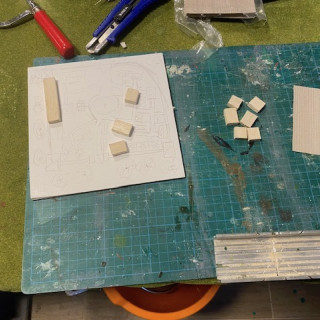
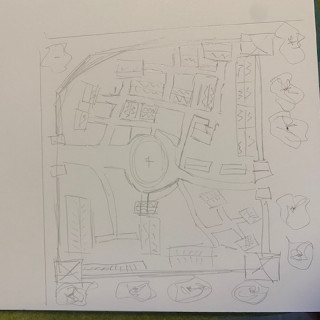
So I started with a few sketches of a 4×4 town base to see how many small building could be realistically placed there. As with Sam’s suggestion, each of these town bases will be a multiple of a 4″ square (to allow for a 3″ army unit base)
The pictures are initial ideas and the second picture shows the base materials I’ll use. Unfortunately I can’t get hold of thin MDF, which would have been my first choice, so instead I’ll be using a thick cardstock.
As for the houses themselves, I have a supply of balsa wood in various sizes and will make these the basic material for the buildings.
If I had a 3d printer, (and the skill) that would be a superb alternative, and undoubtedly produce a cleaner final product. But you can only play the hand you’re dealt, and no such things exist here yet.


![How To Paint Moonstone’s Nanny | Goblin King Games [7 Days Early Access]](https://images.beastsofwar.com/2024/12/3CU-Gobin-King-Games-Moonstone-Shades-Nanny-coverimage-225-127.jpg)


