


Kings of War - Shadowed Horizons Campaign


Terrain Part One - Armada
We’ll be playing Armada first in the campaign month so that’s getting the priority.
There are resin terrain kits for Armada but I’ve spent my hobby budget for this month and next is already spent so, for September at least, we’ll need homemade. After going to all the effort of painting up the ships for Armada, it would be nice to not have to use flat cardboard islands.
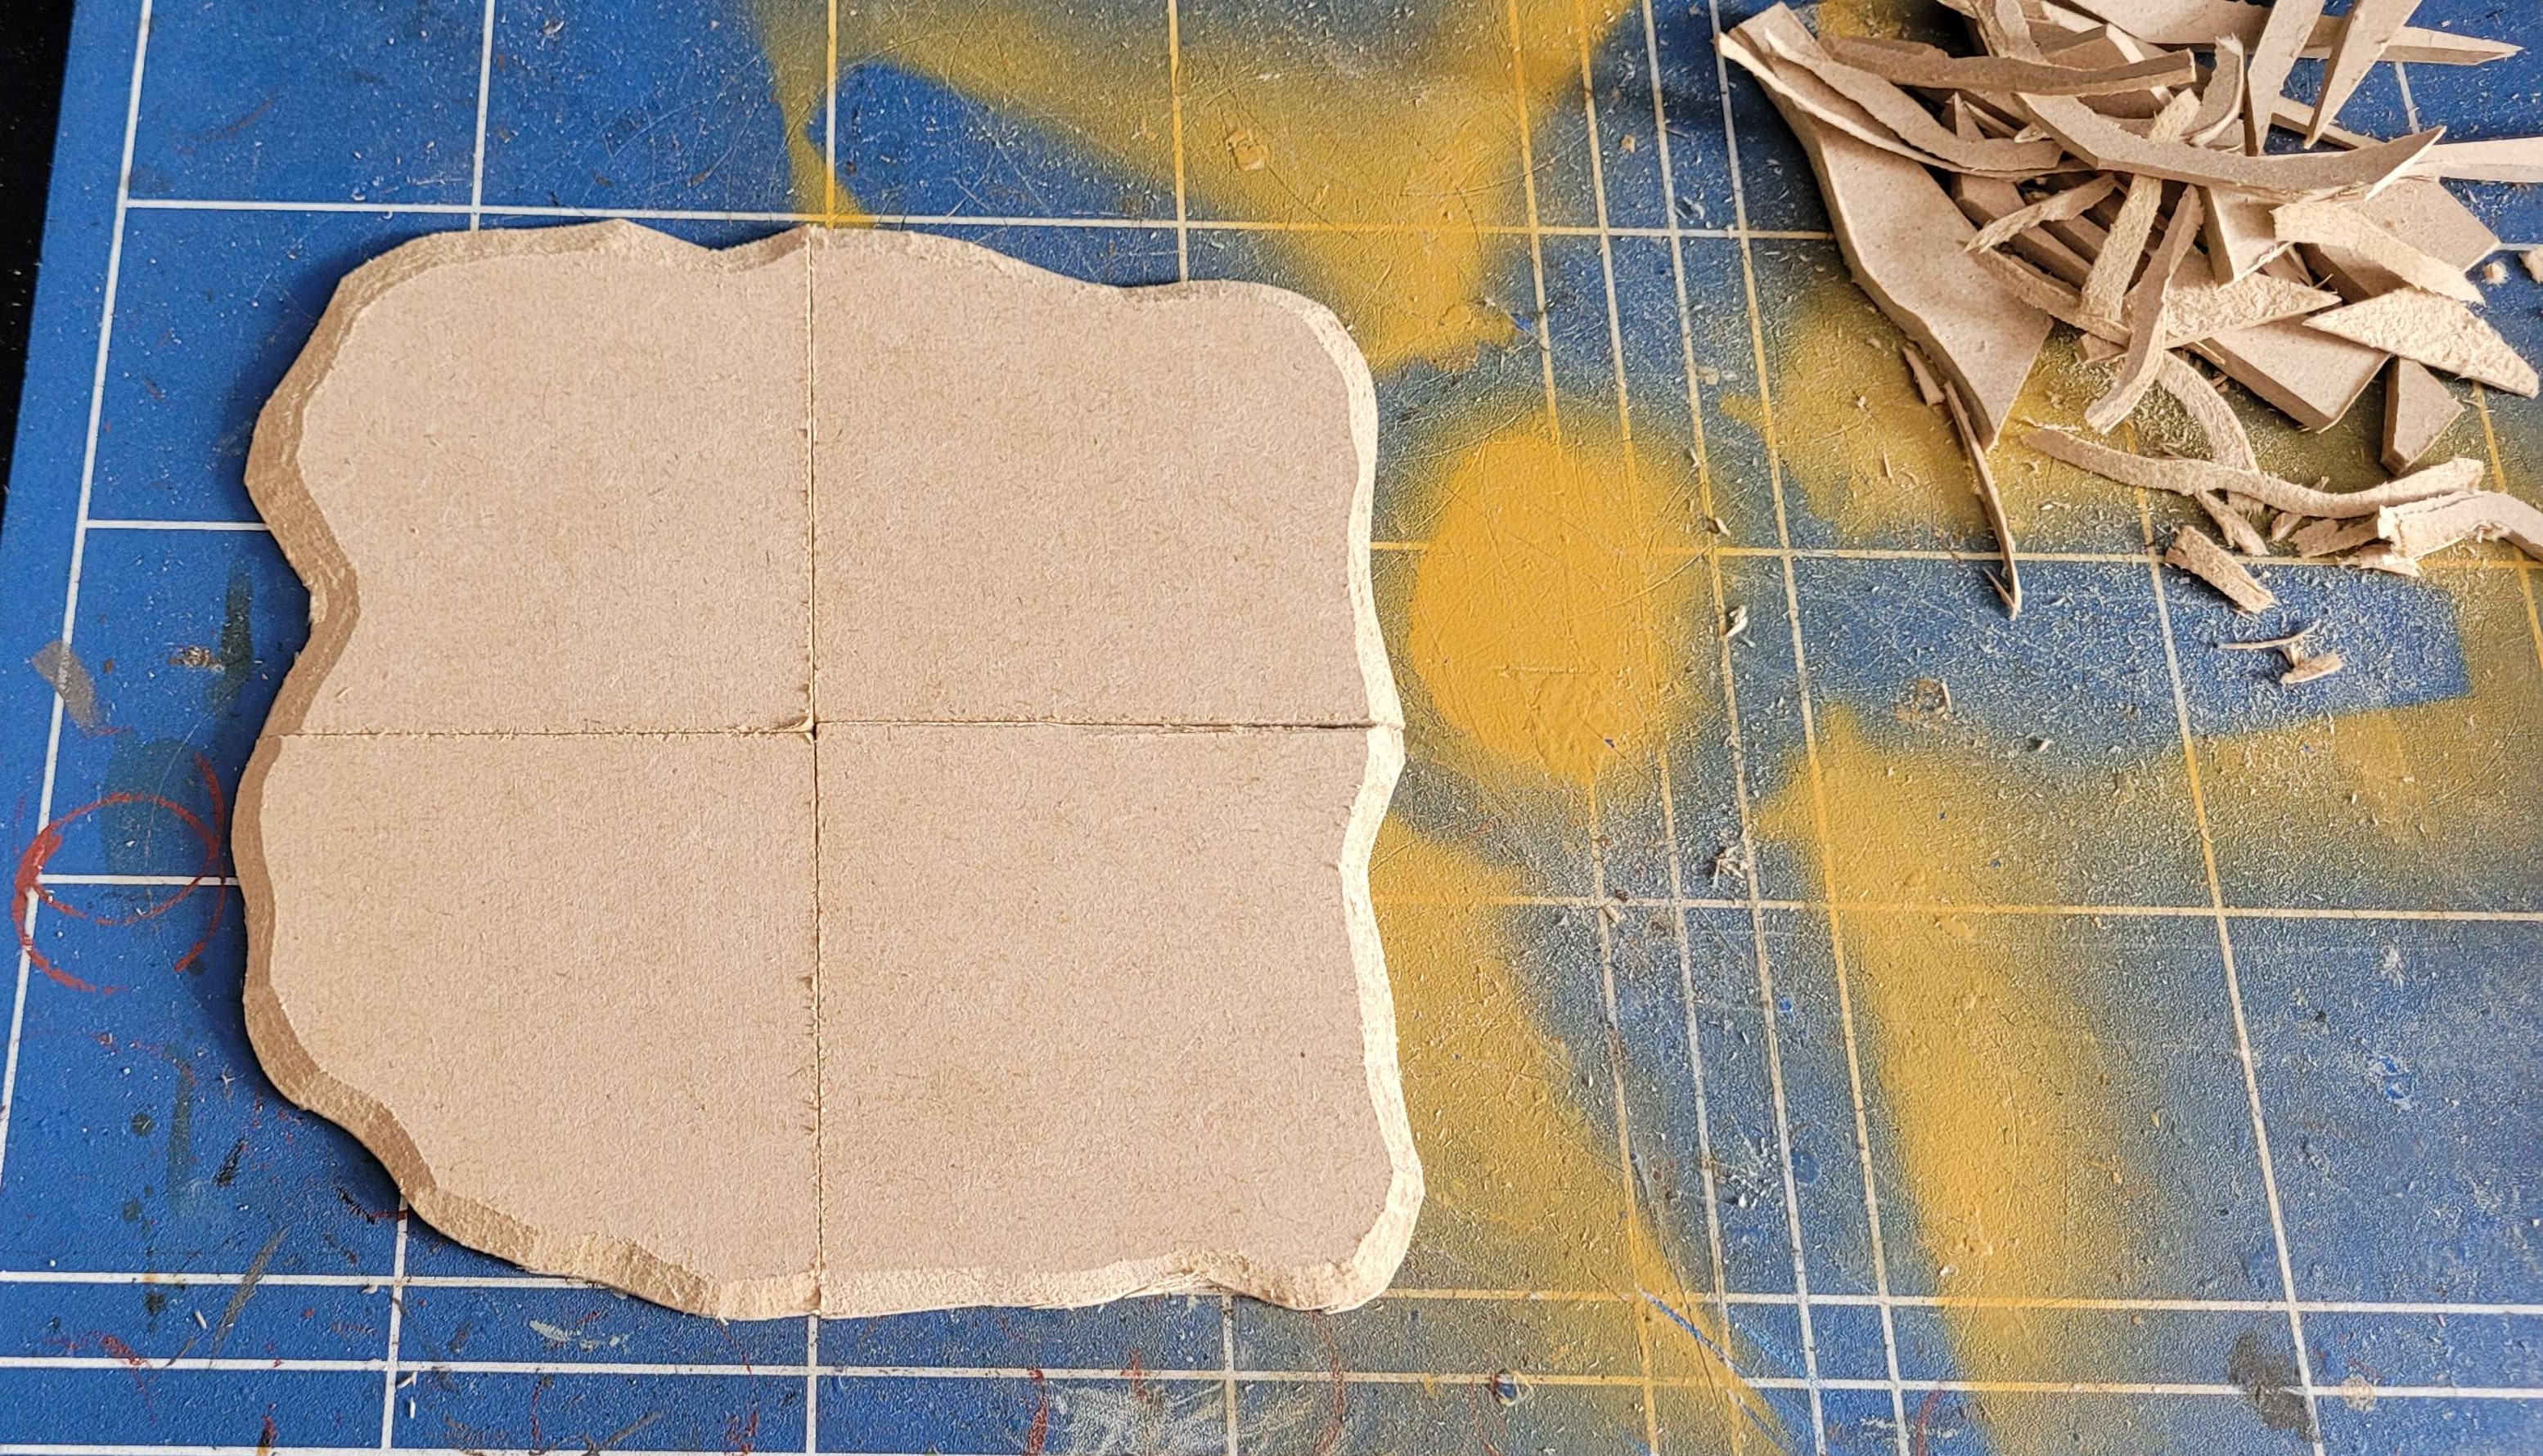
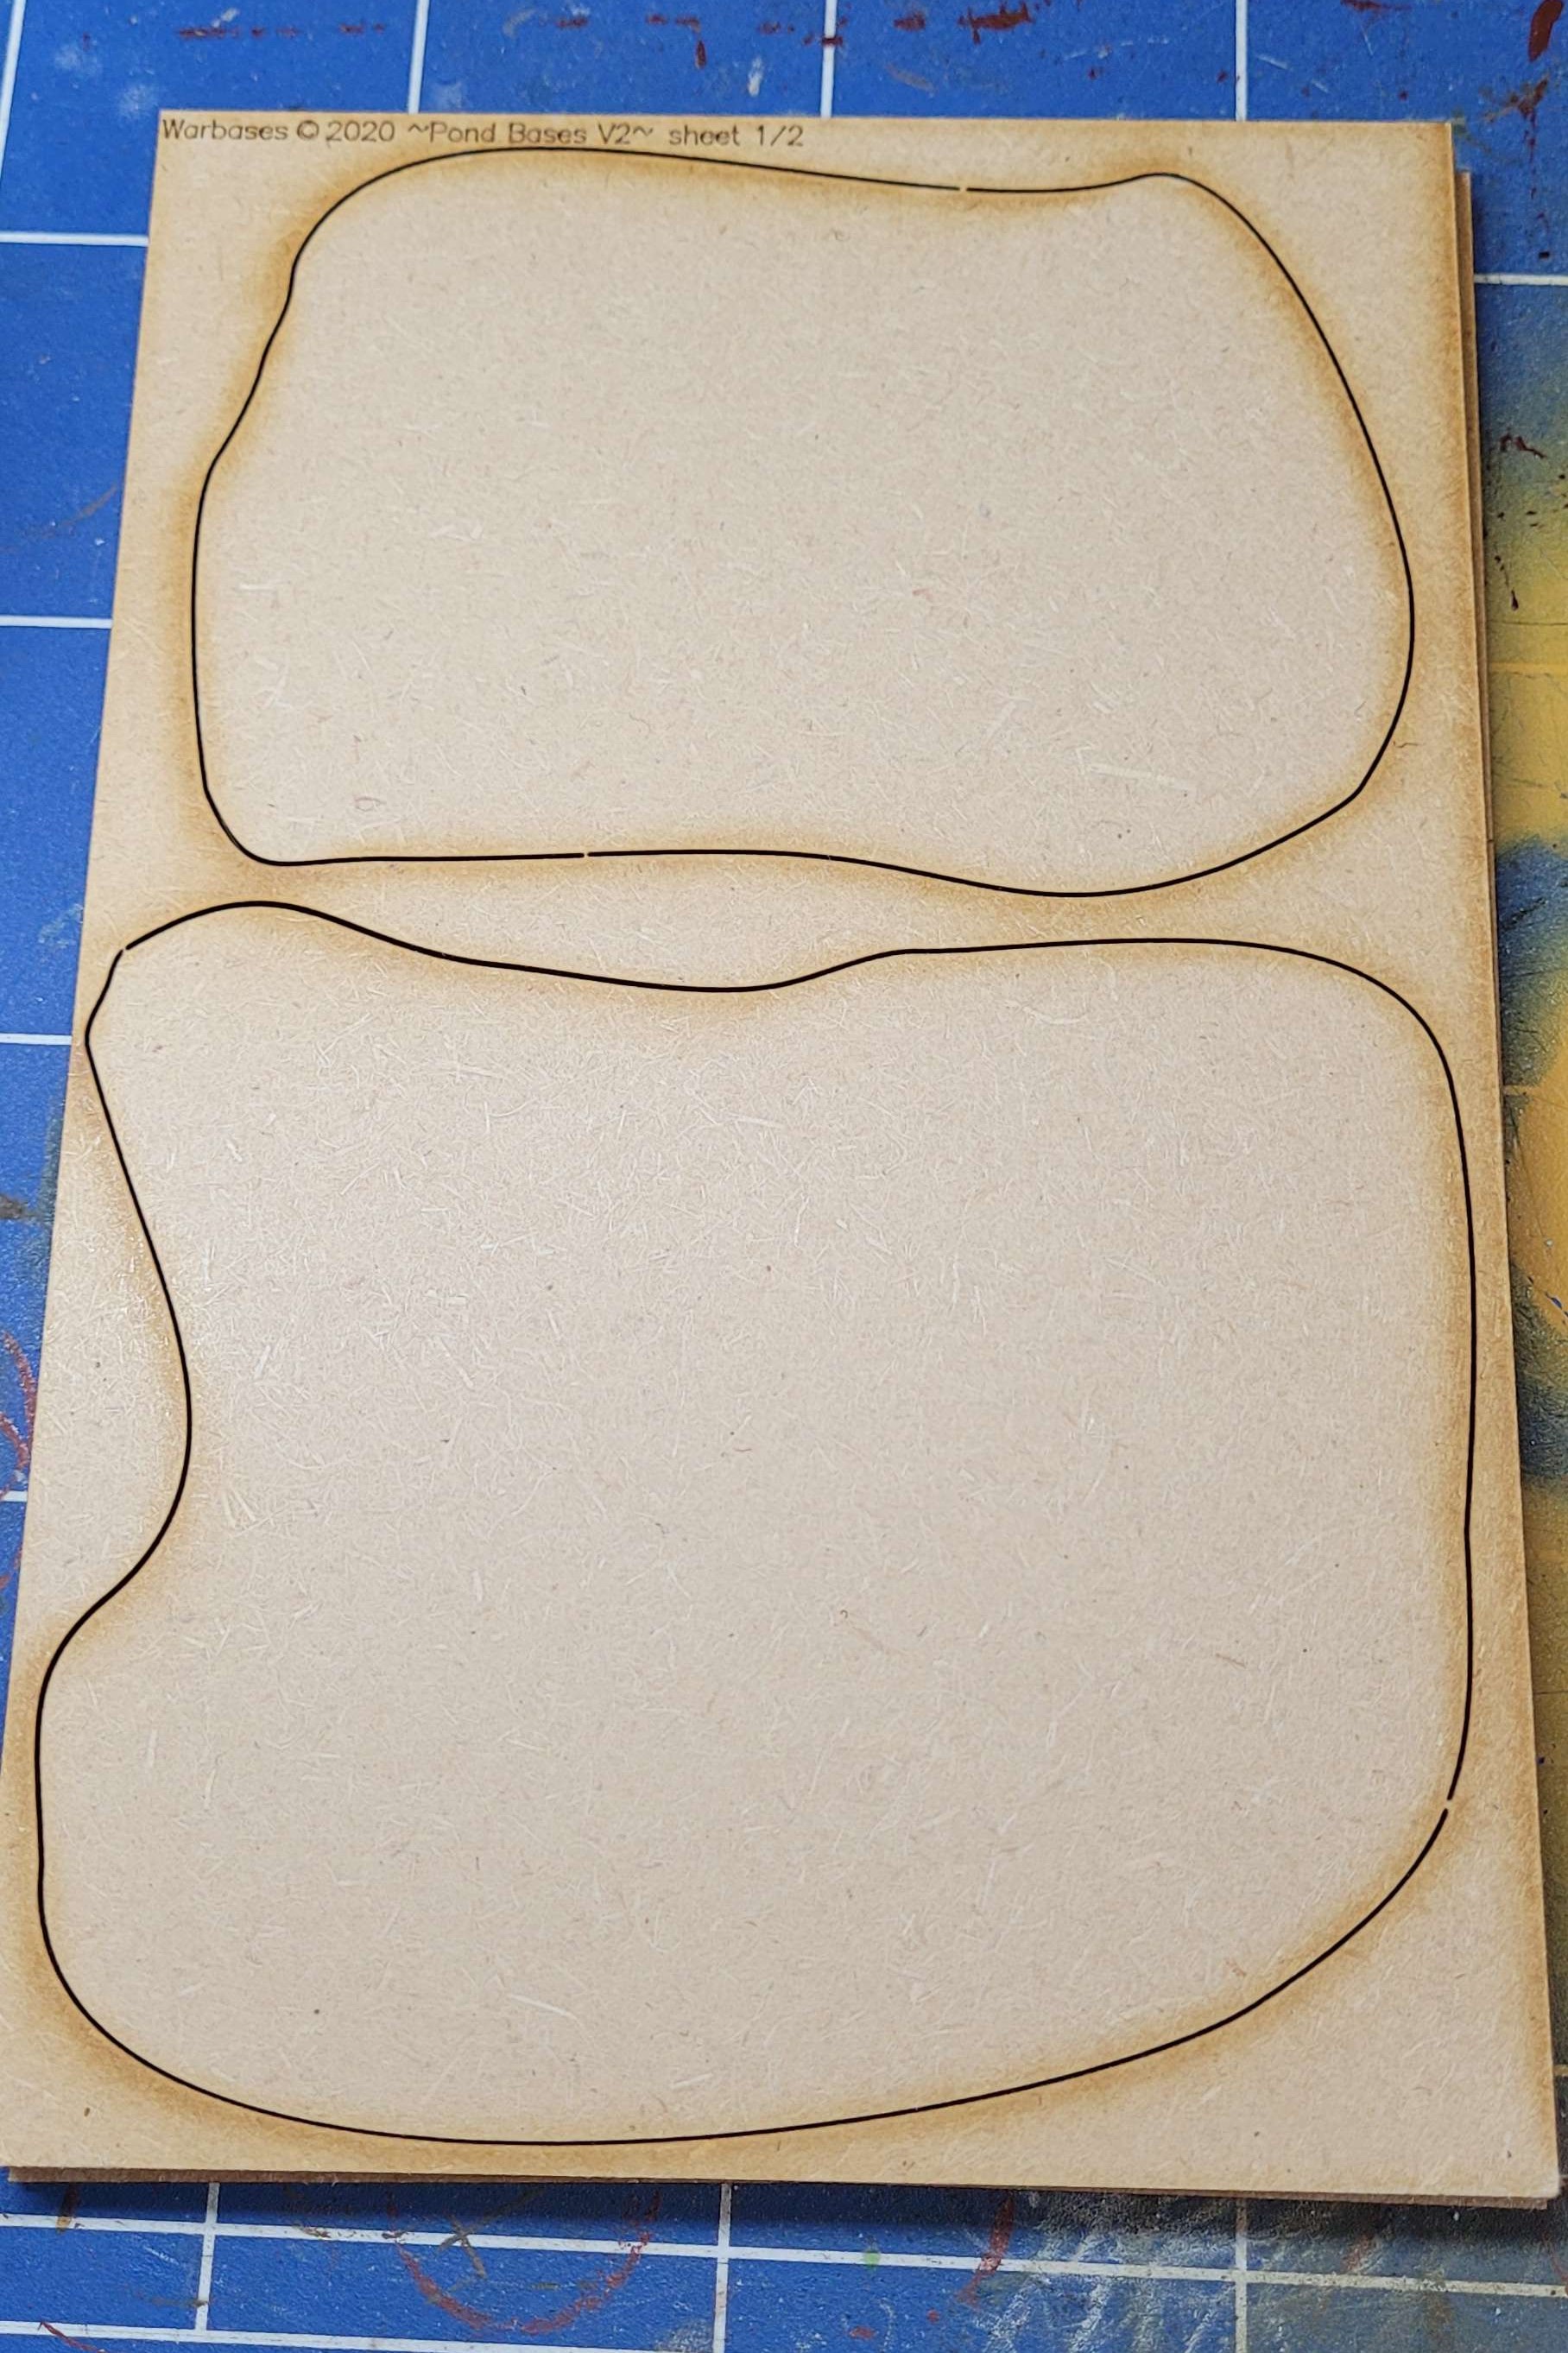
- First step was to take some mdf board that I was given a few months ago and trace the island tokens from the starter box onto it and cut it out. Why not just us the original token as the base? I dunno, “just in case” I want it in the future I guess. I managed two of the bigger islands before I gave myself a blister using the Stanley knife and remembered I have a pack of pre cut pond mdf bases from Warbases that would work perfectly well.
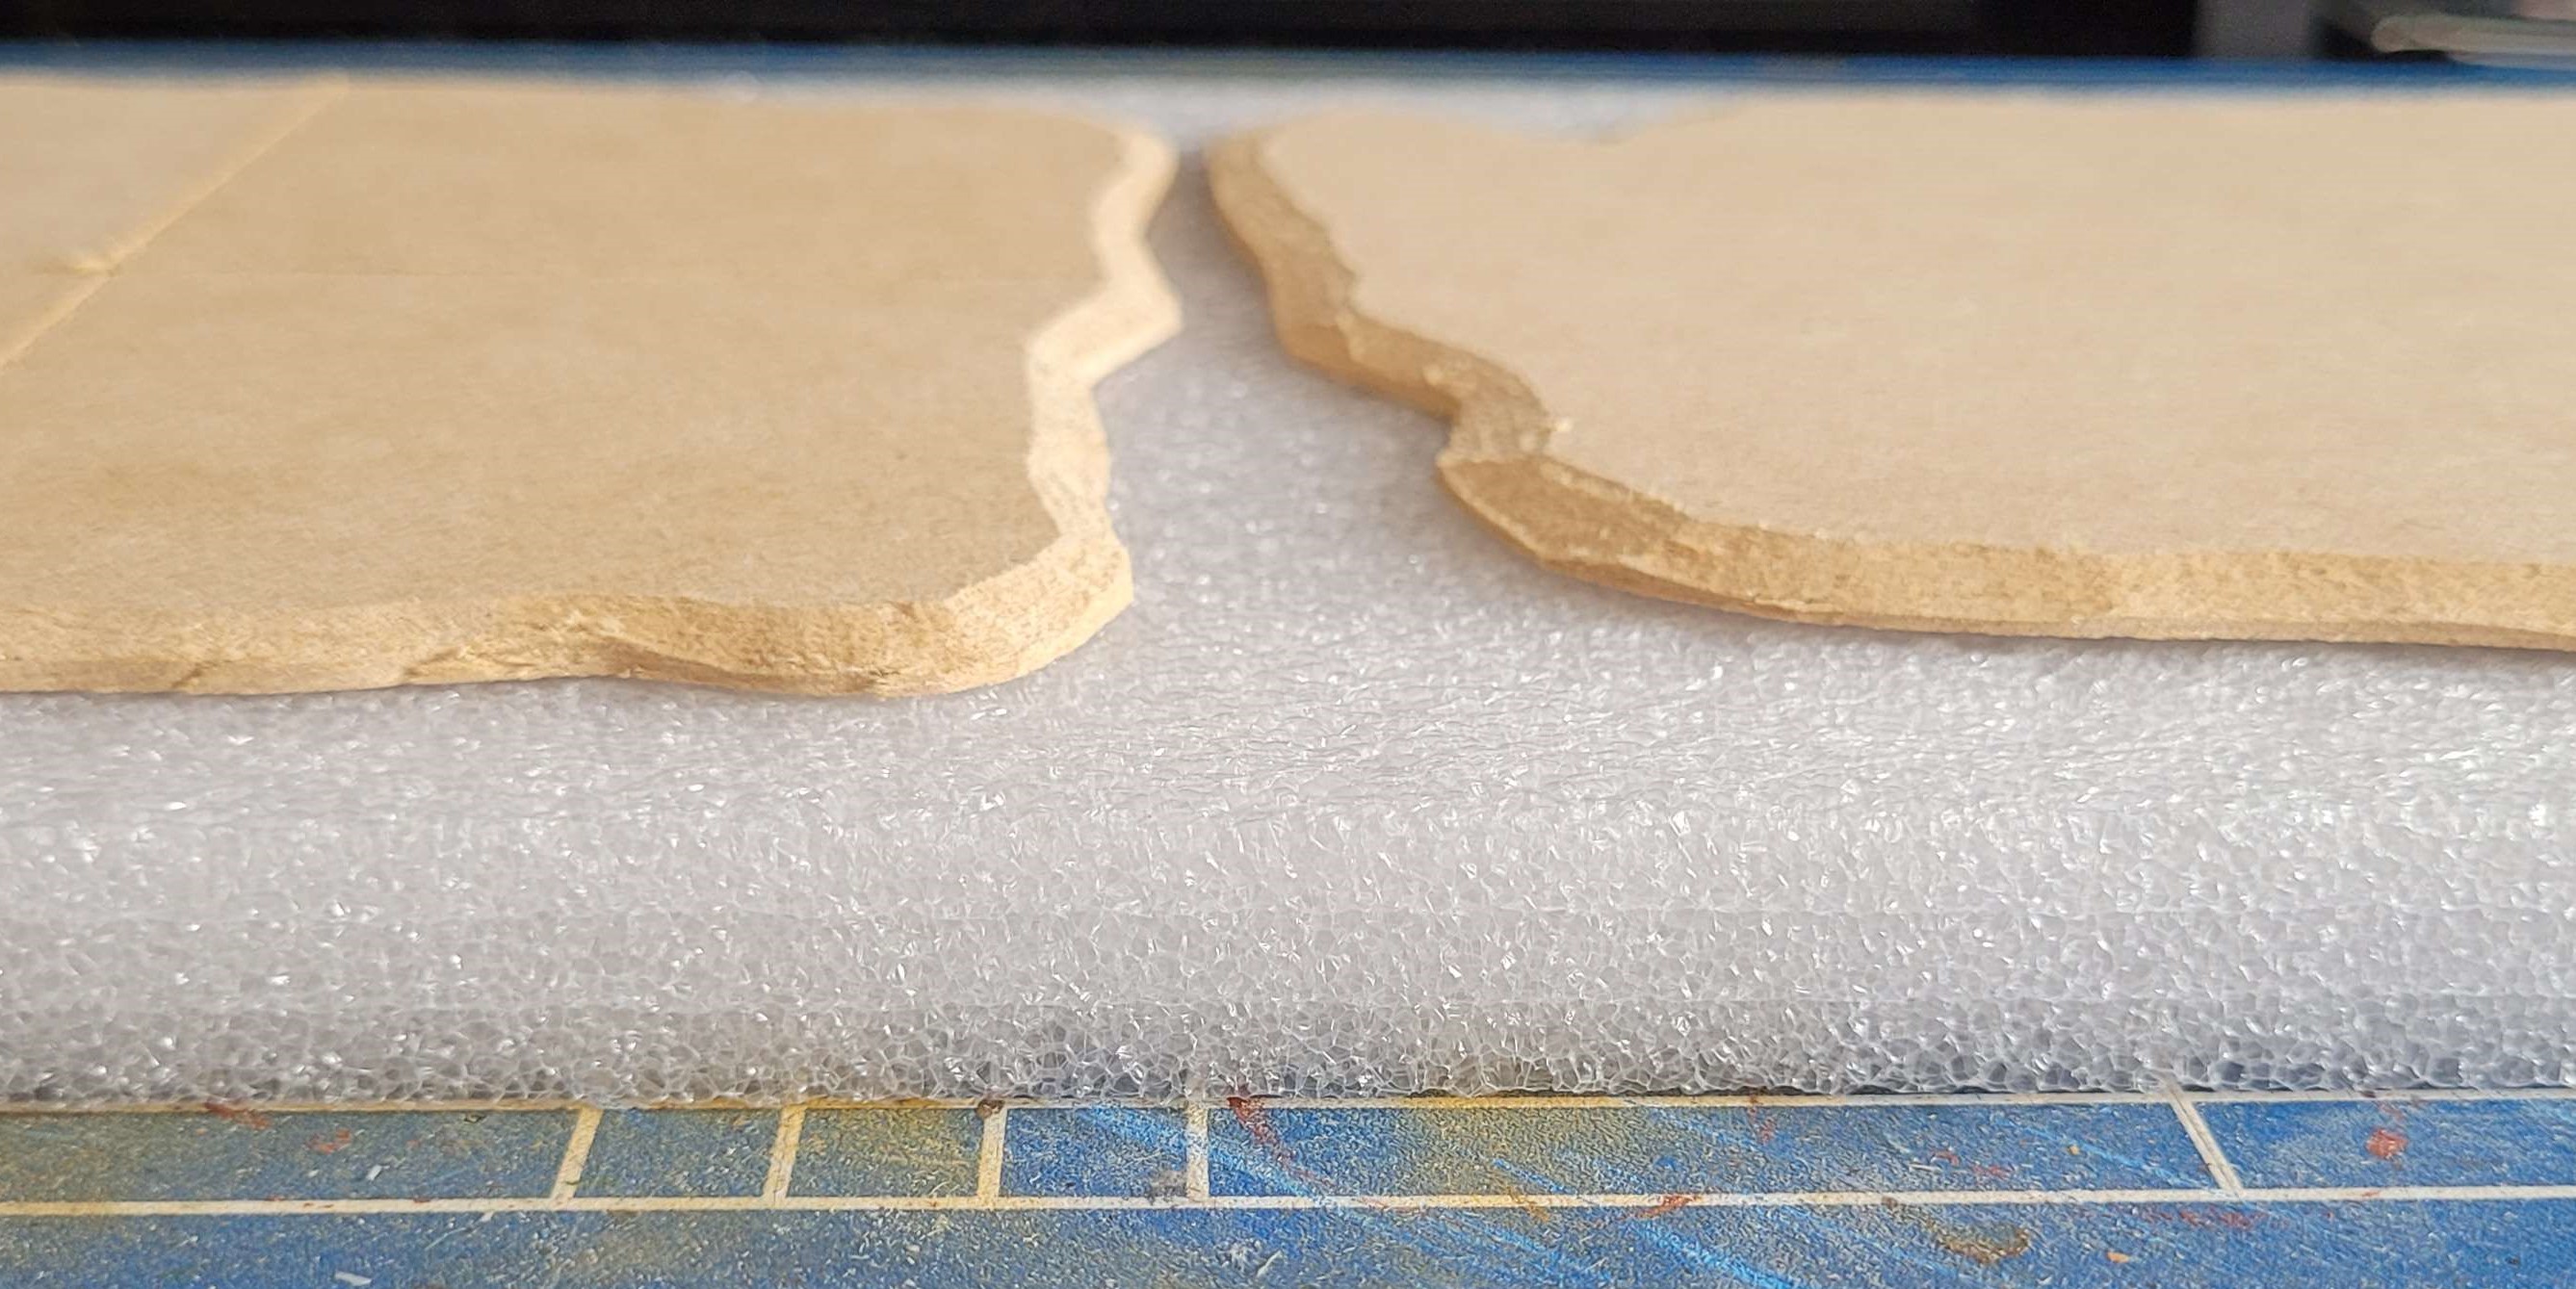
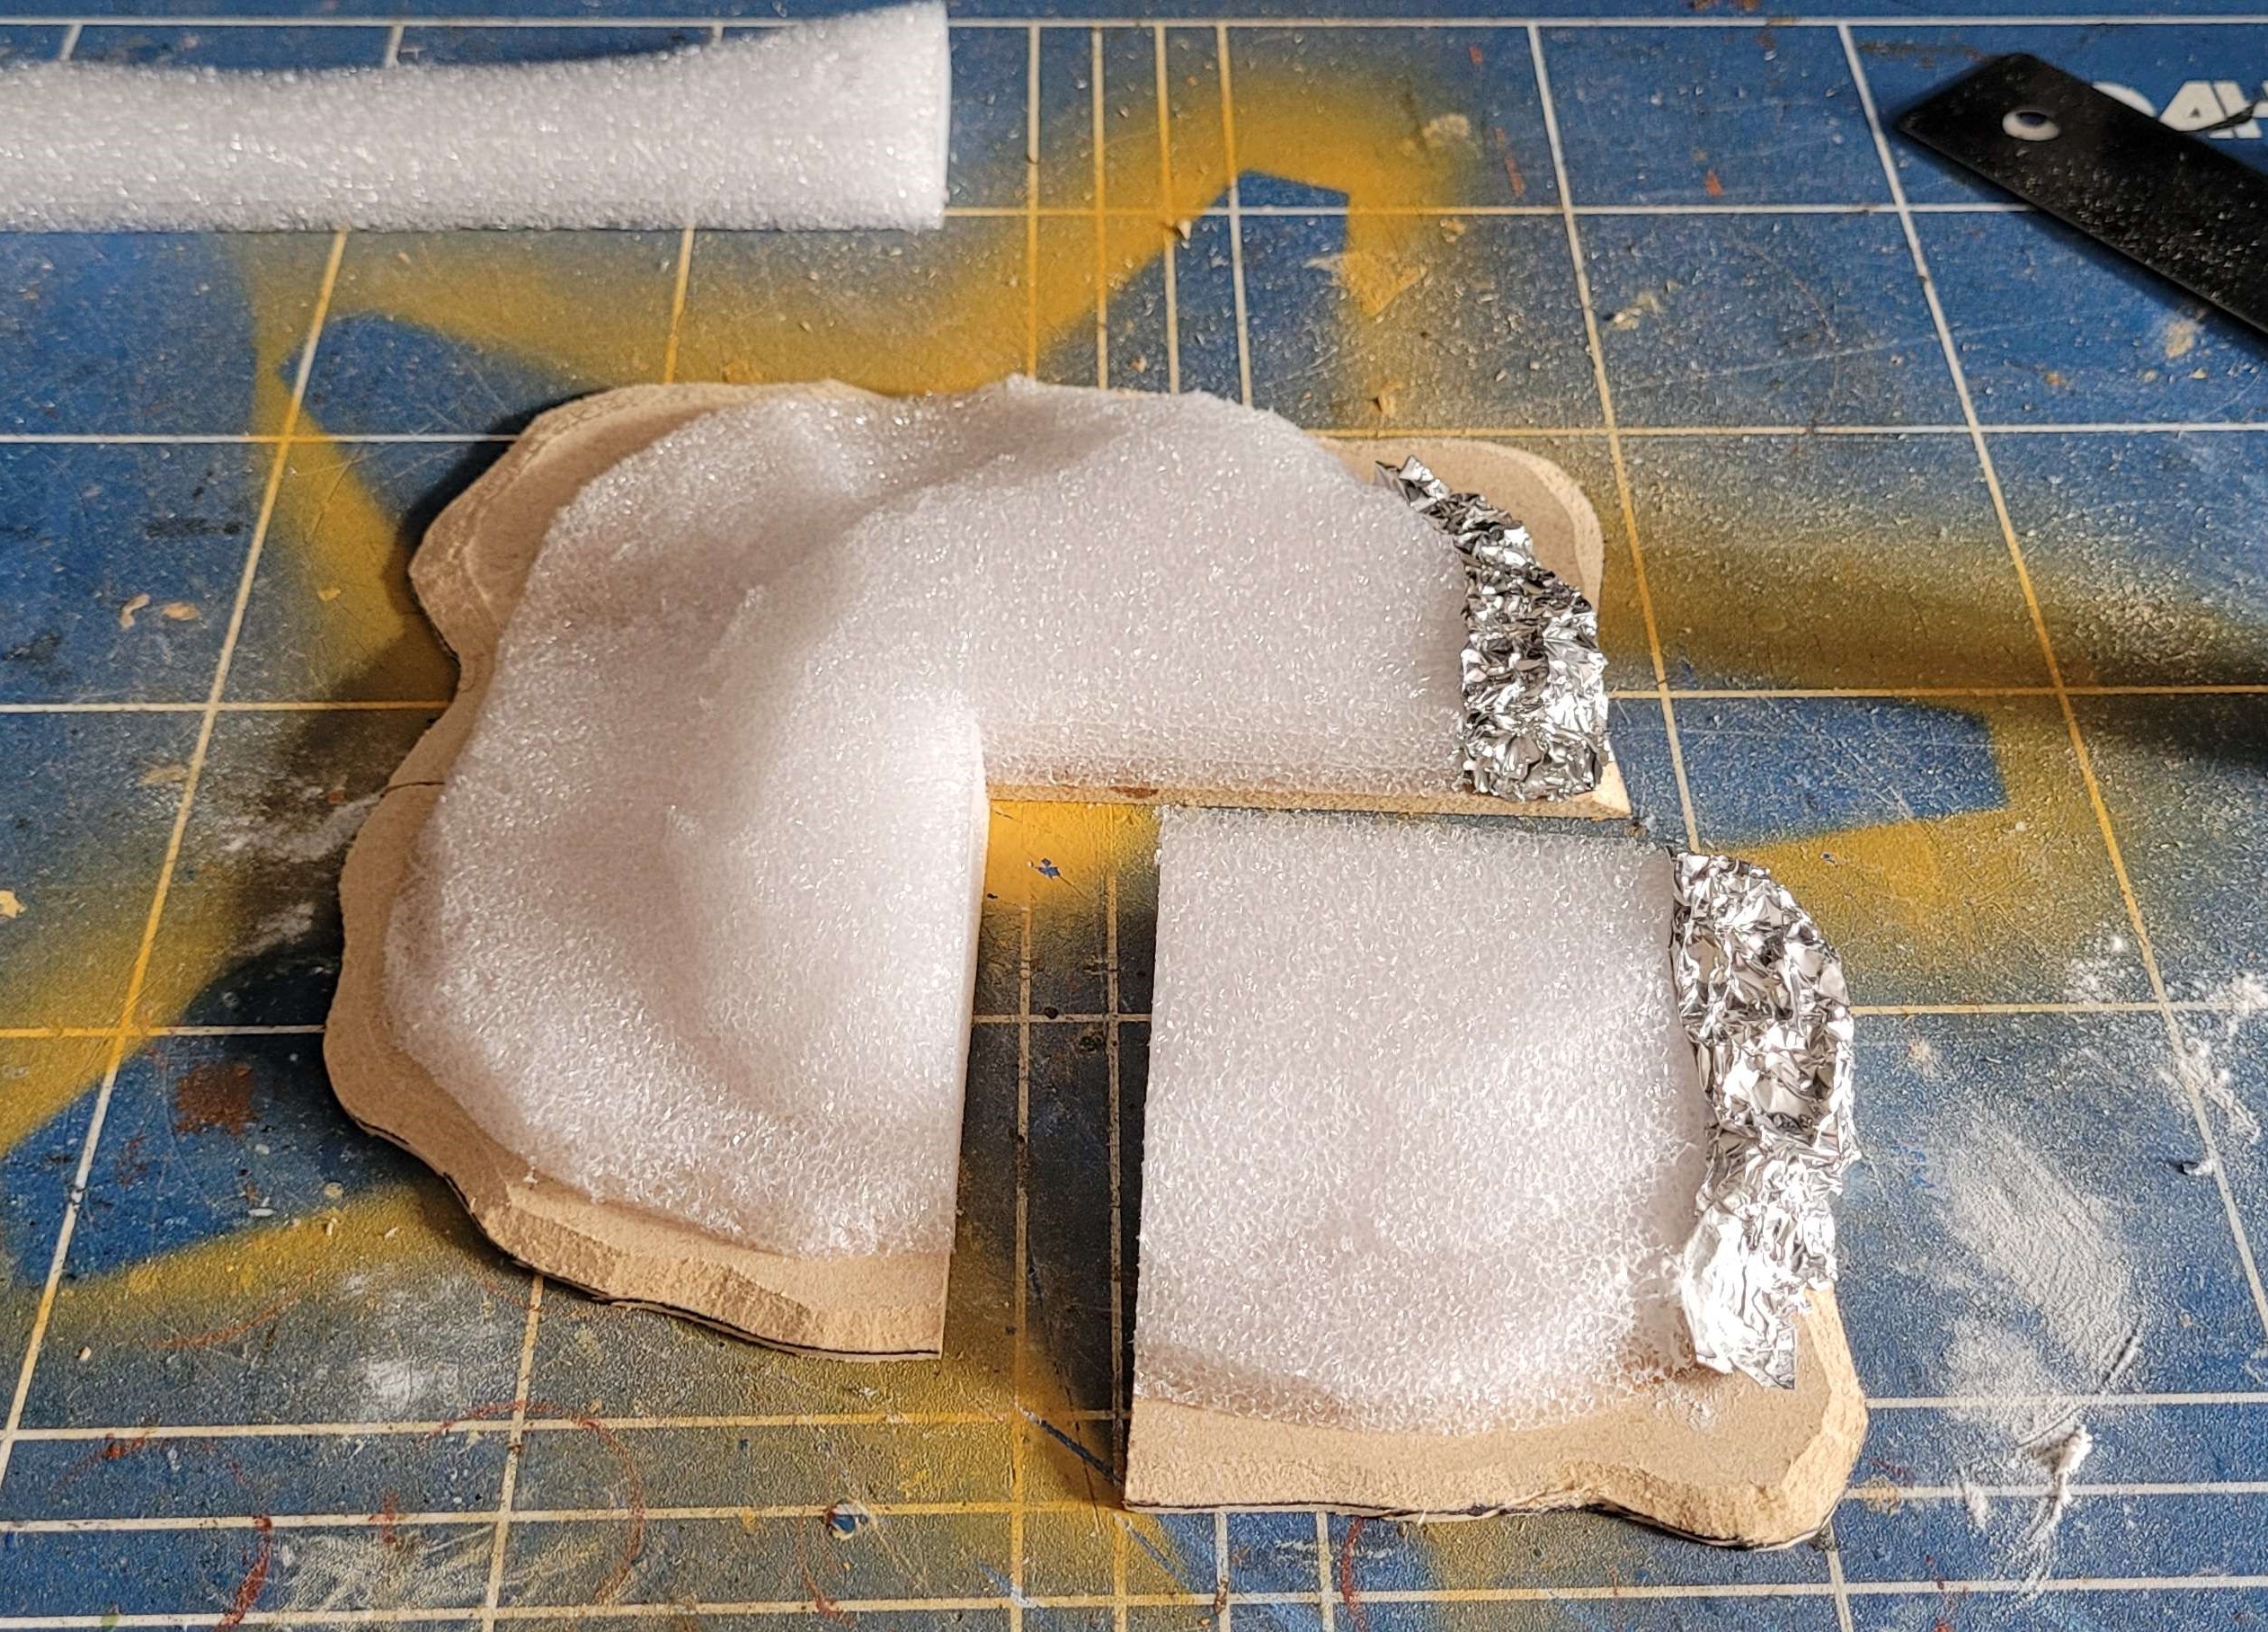
- Rummaging through the cupboard, I came up with a couple of options for the landforms. I decided to go for this sheet of packing material. It isn’t polystyrene but some kind of foam stuff. It is easy to carve and should be enough for my purposes. For the smaller sand bars, I found a scrap piece of insulation foam that was easier to get suitably thin.
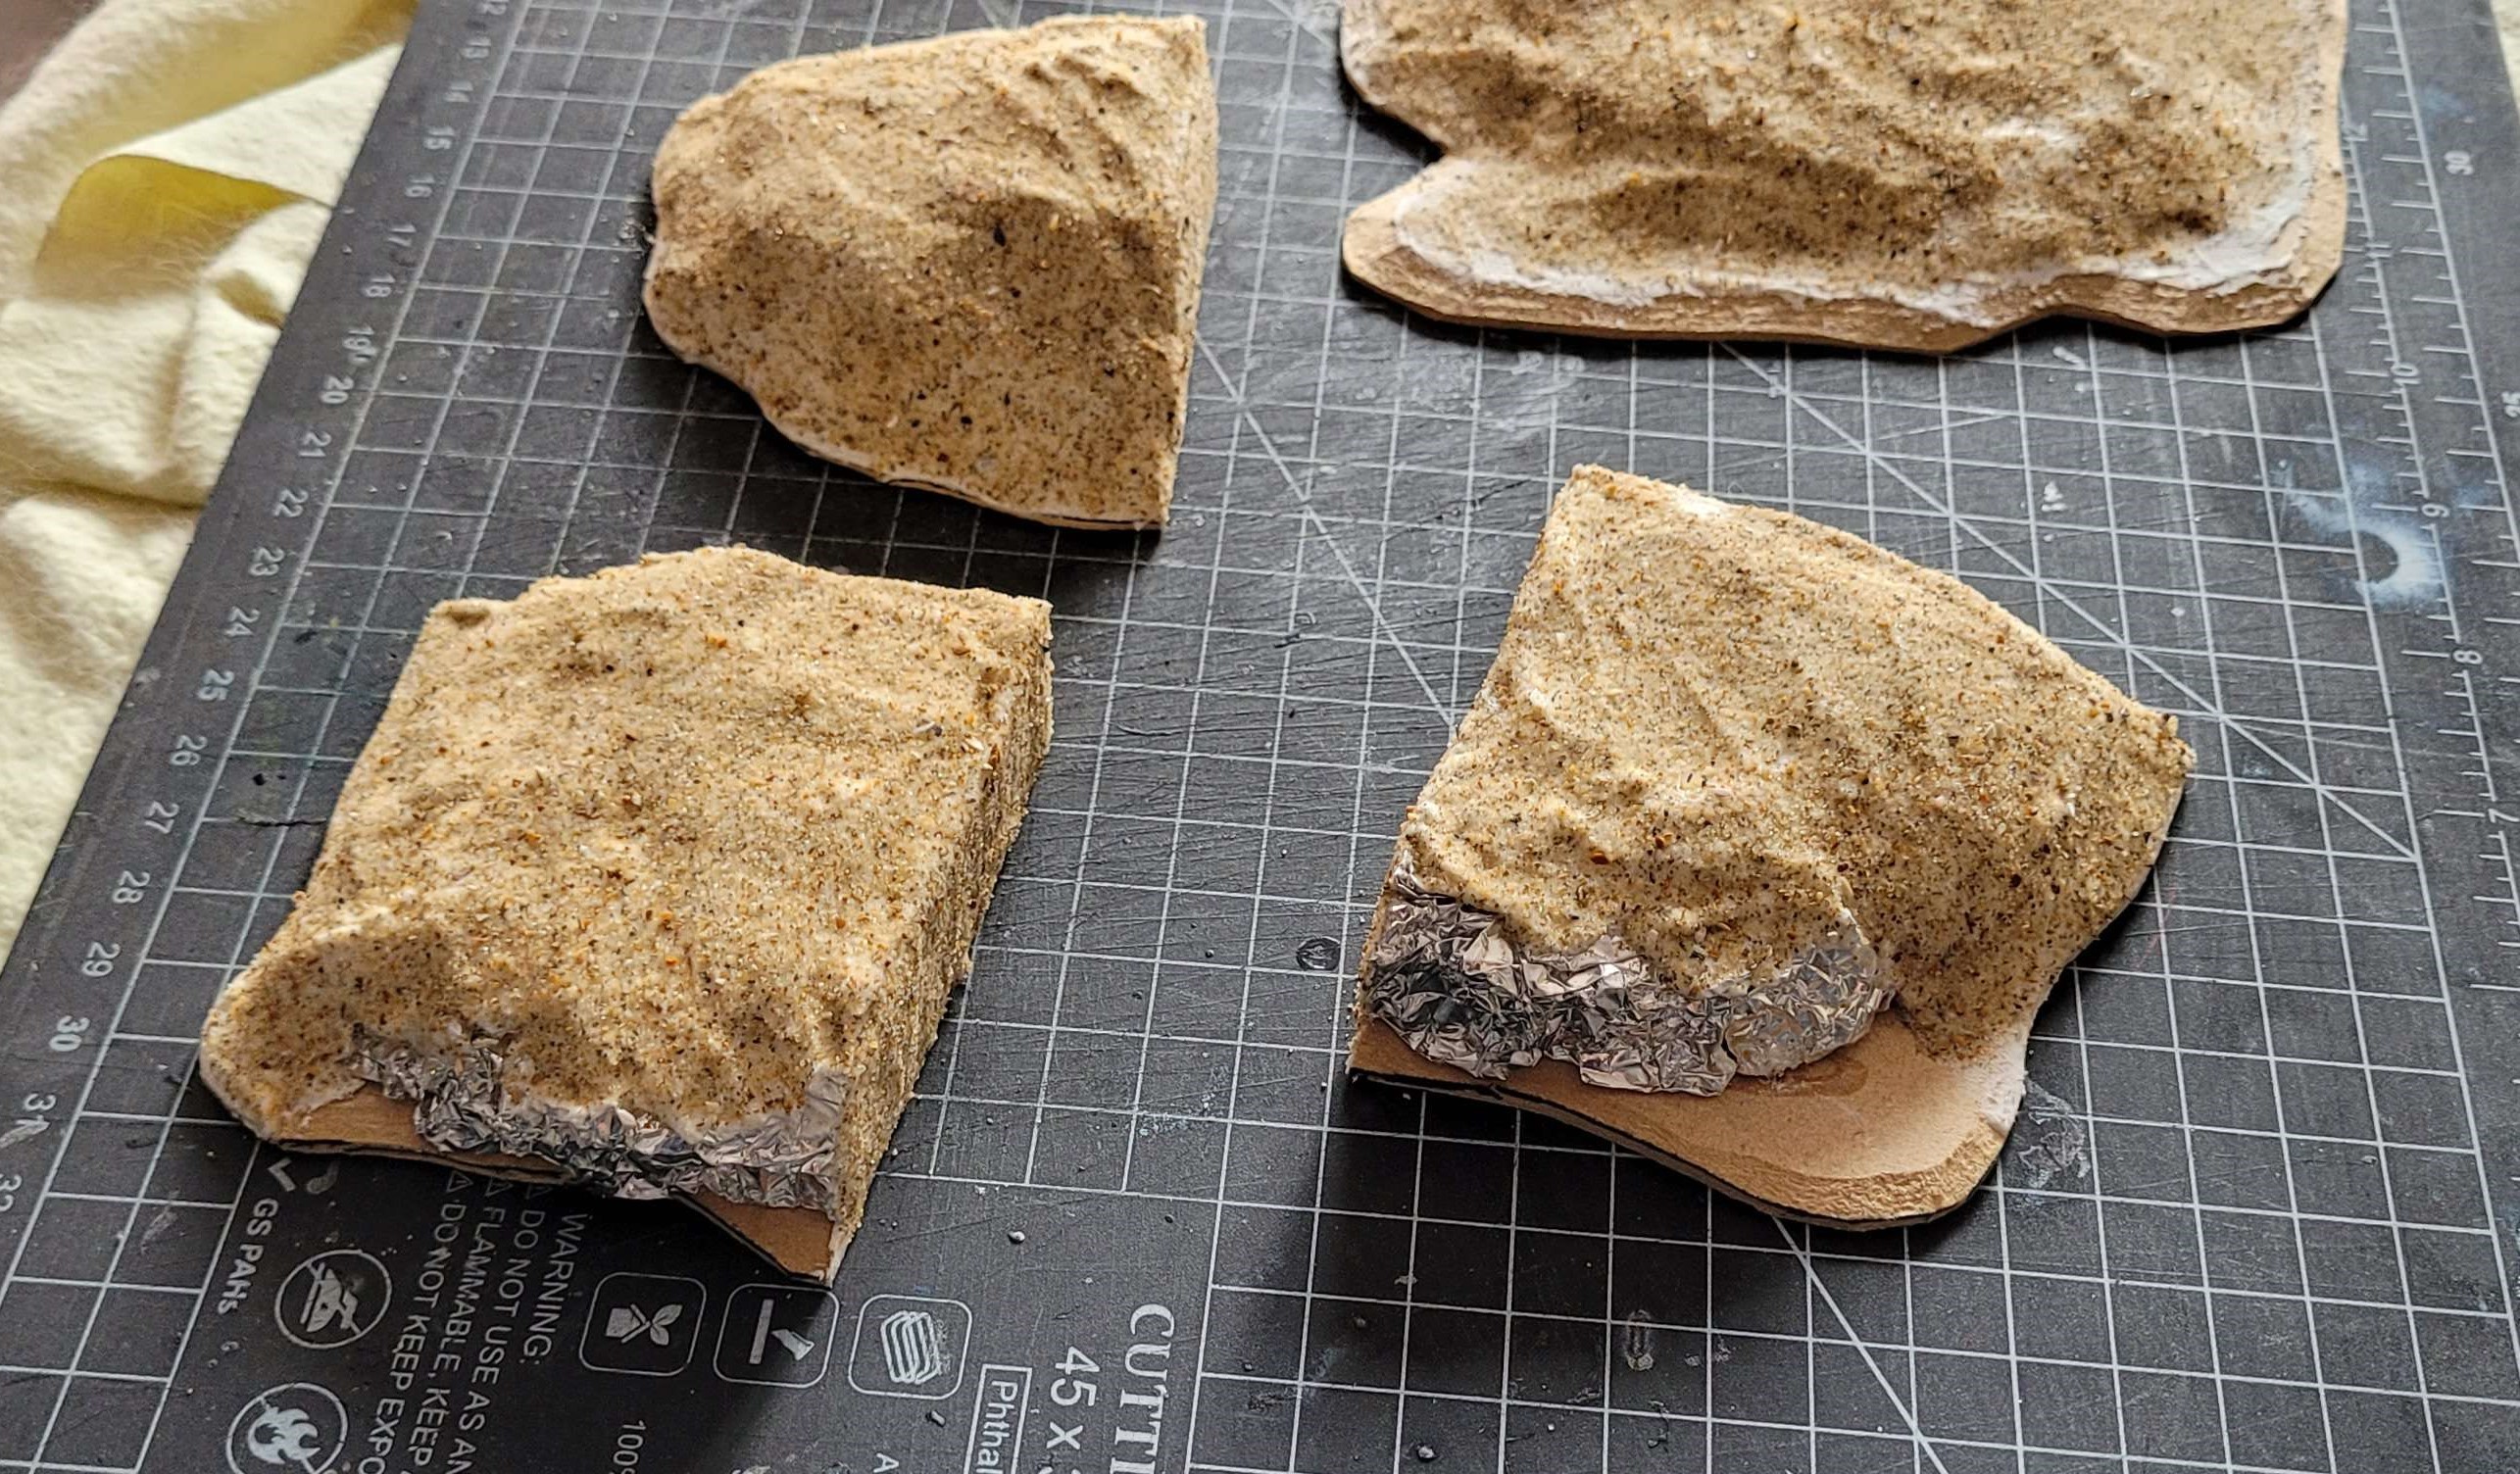
- I decided that I wanted some version of a cliff face so I grabbed for the first thing that came to mind, tin foil. Not the best material for getting paint to stick to it but it did in a pinch.
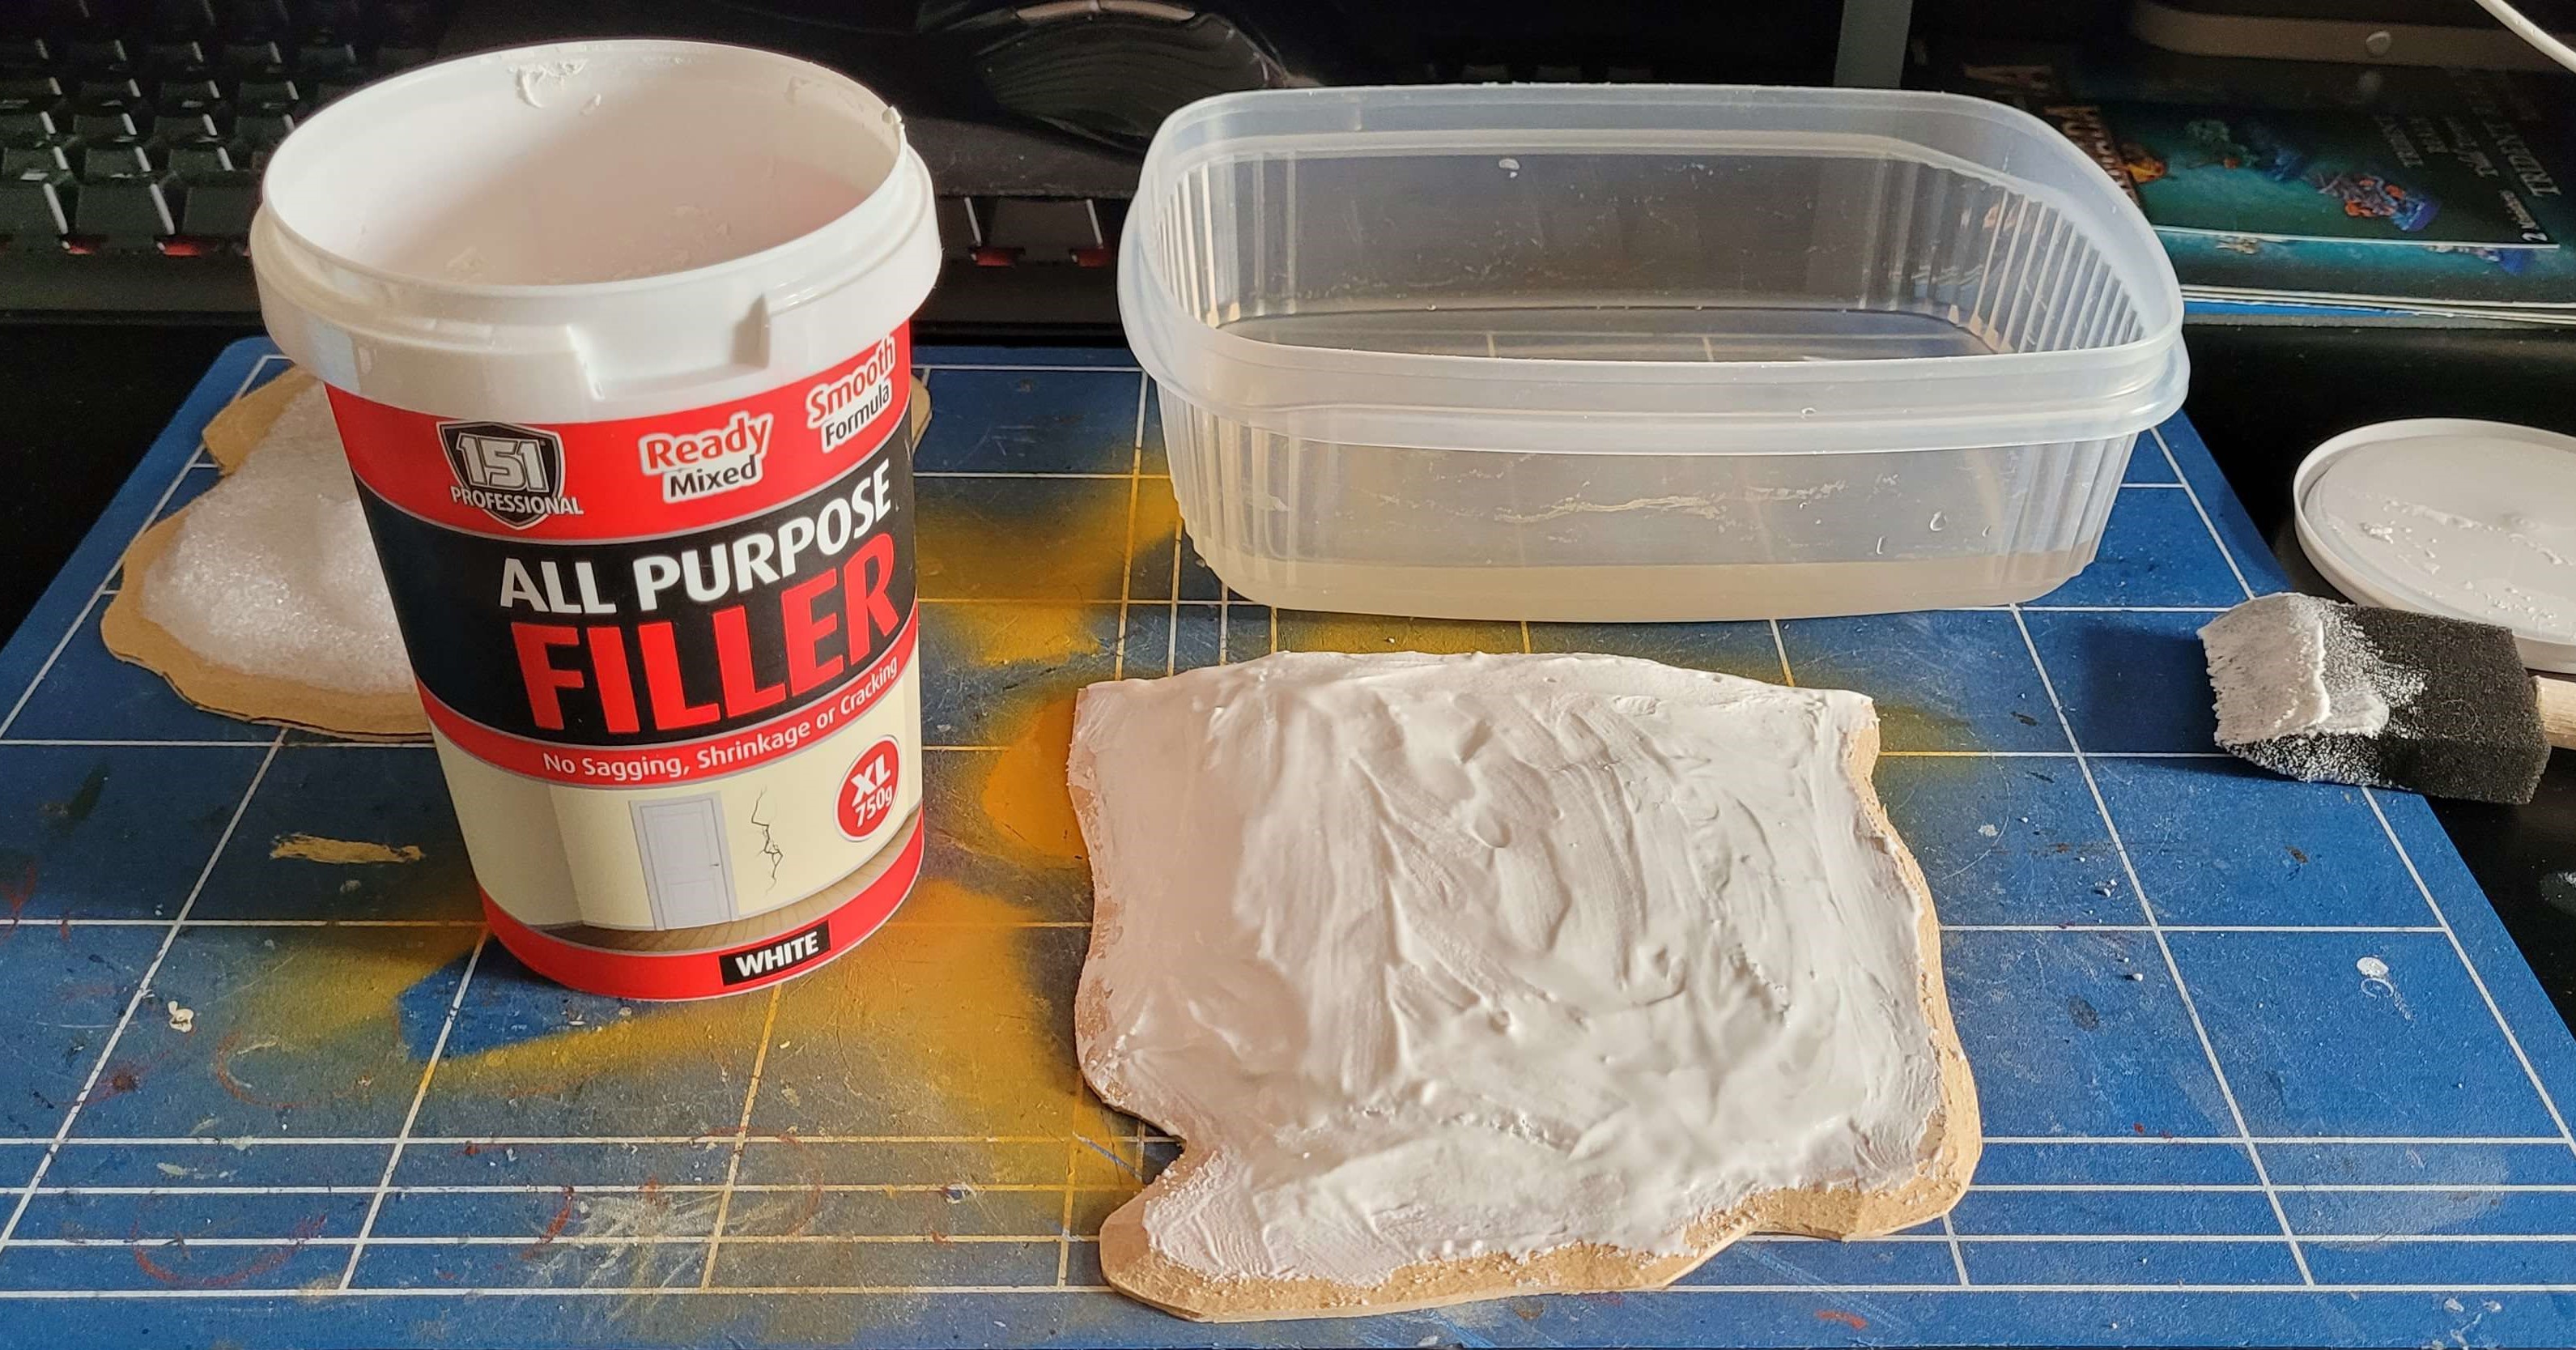
- The cheapskate hobbyist’s toolkit is never without poundshop pre-mixed filler (spackle in other countries). Mine is a bit thick so needed a little water added to get it on spreadable but not so runny that it would just soak into the foam. A little bit of water over the top smoothed out the surface for the next step.
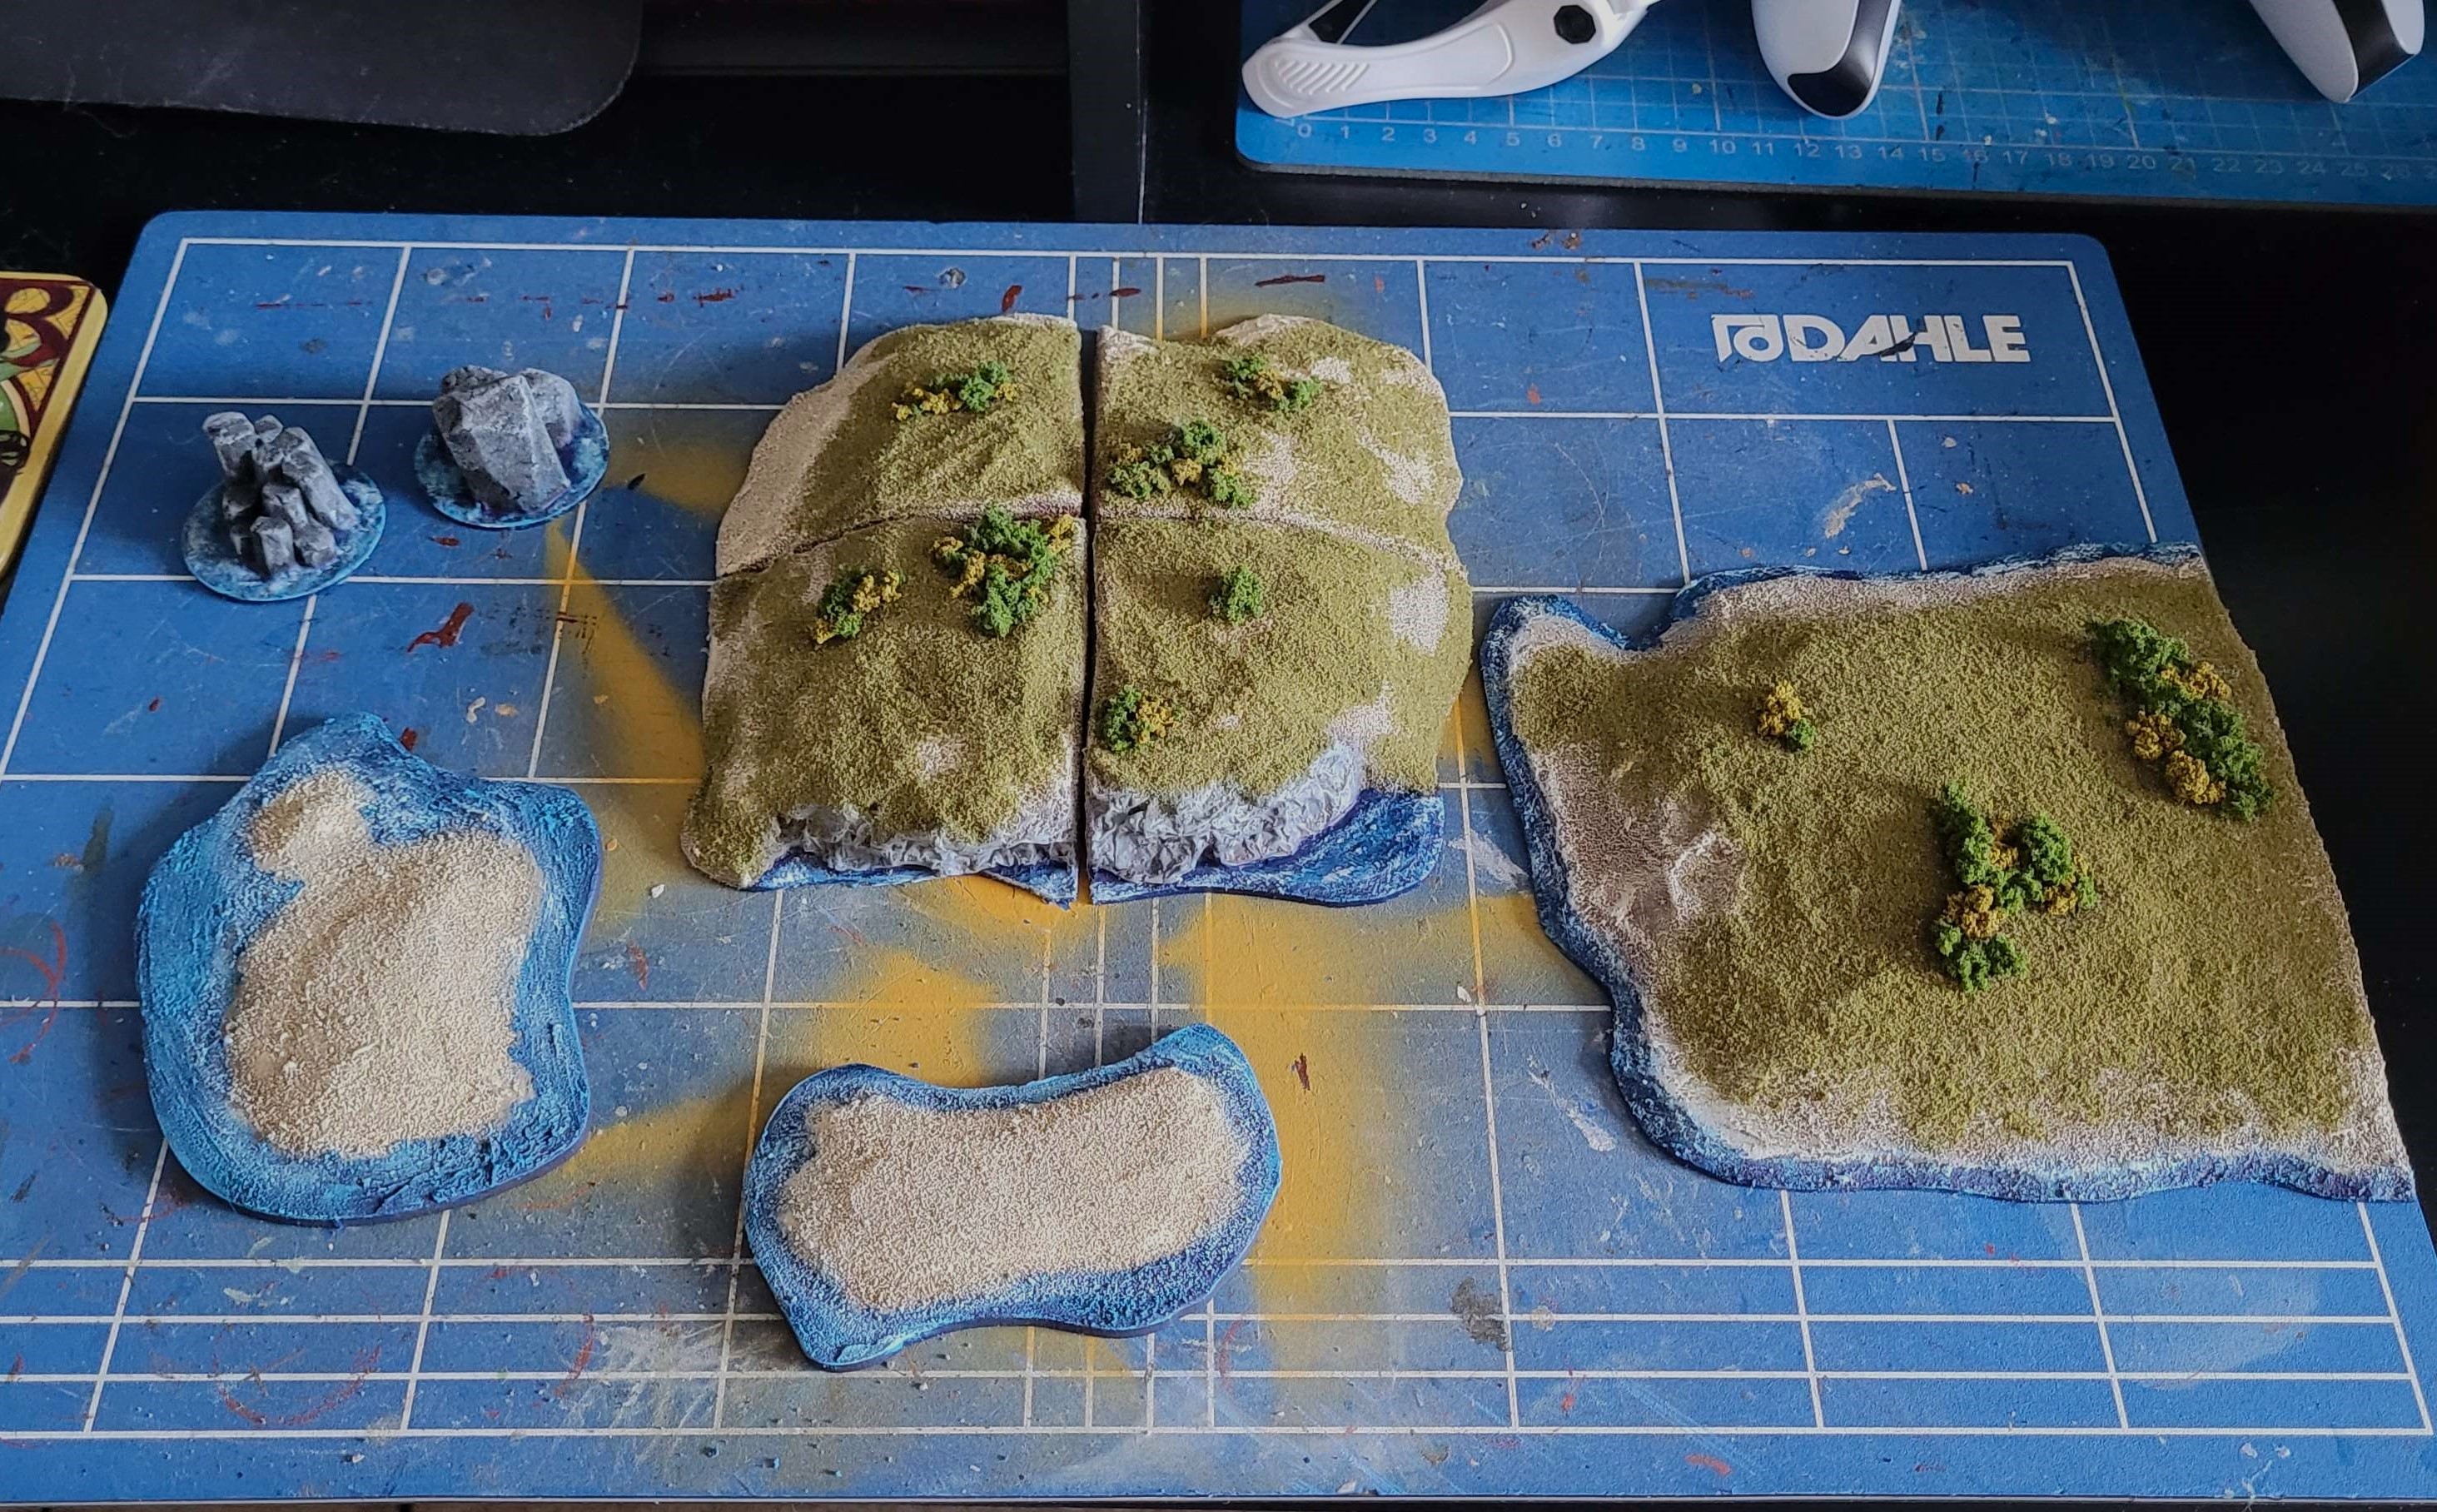
- A sprinkle of bird sand to give a decent texture for drybrushing and the land is done.
- I made some big rocks to stick up out of the sea with scrap piece of insulation foam glued to a couple of plastic bases. Is the glue going to be enough to keep them on there? Time will tell.
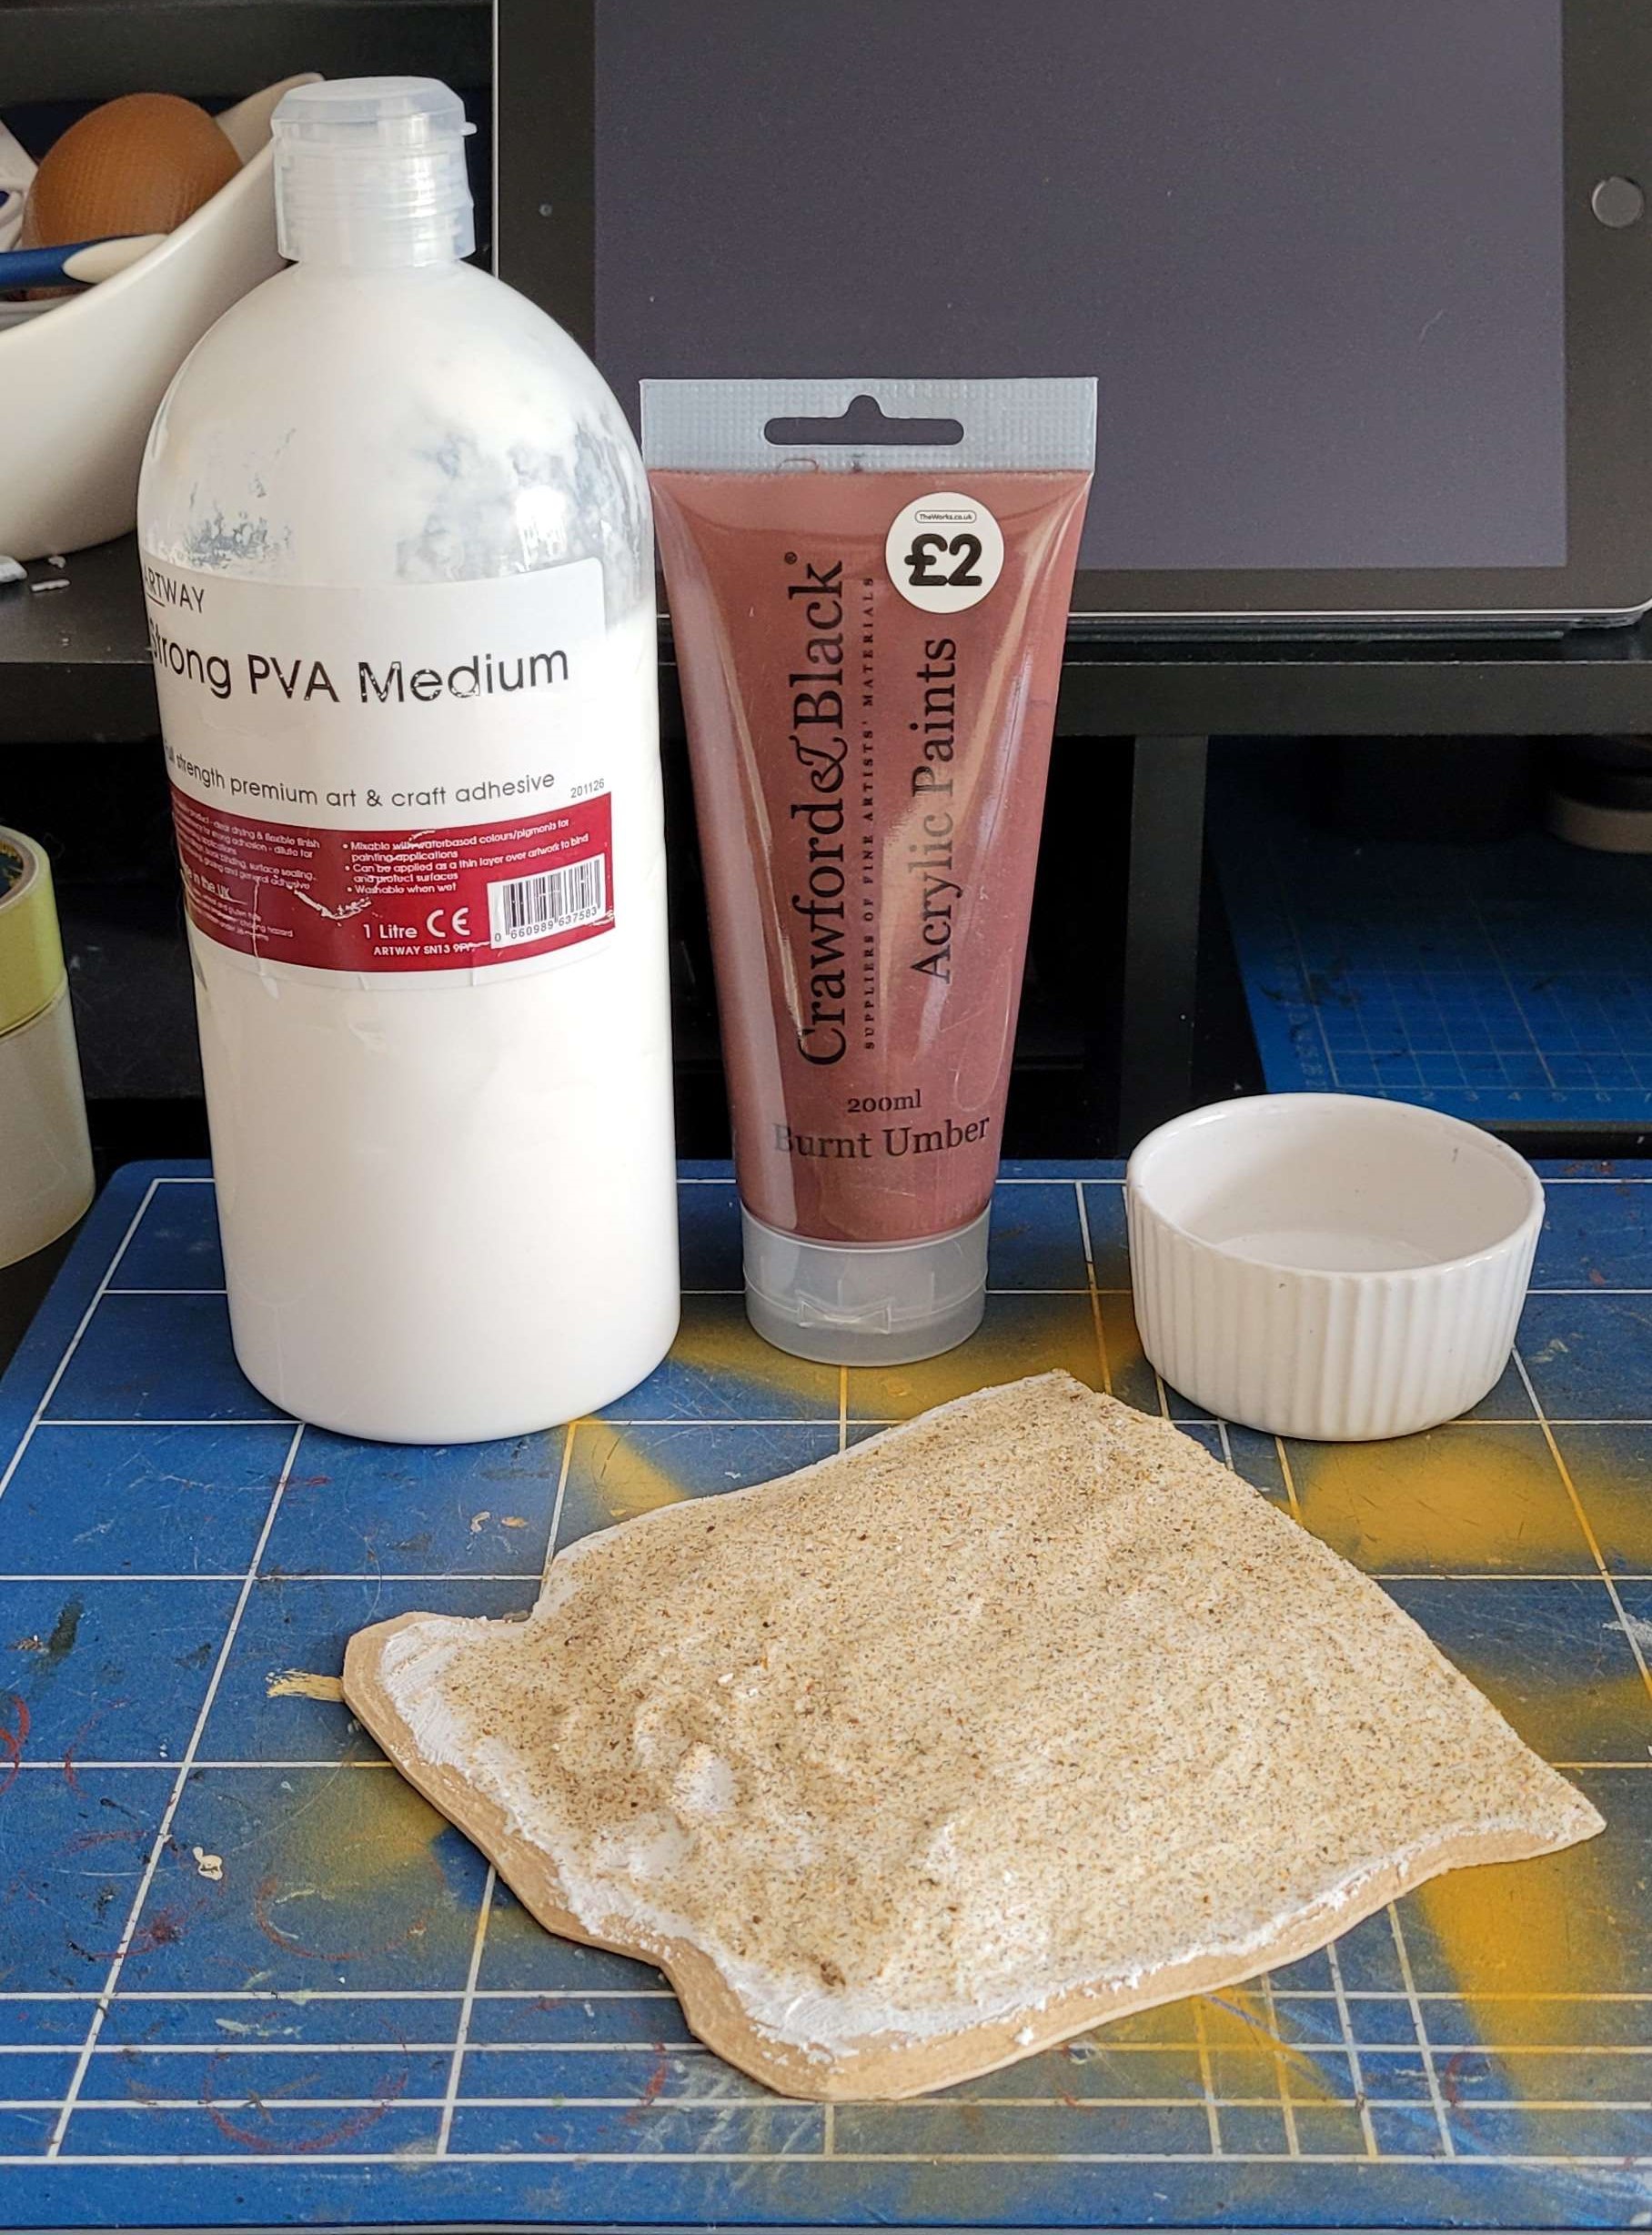
- Everything got a coat of cheap acrylic paint from The Works mixed with pva.
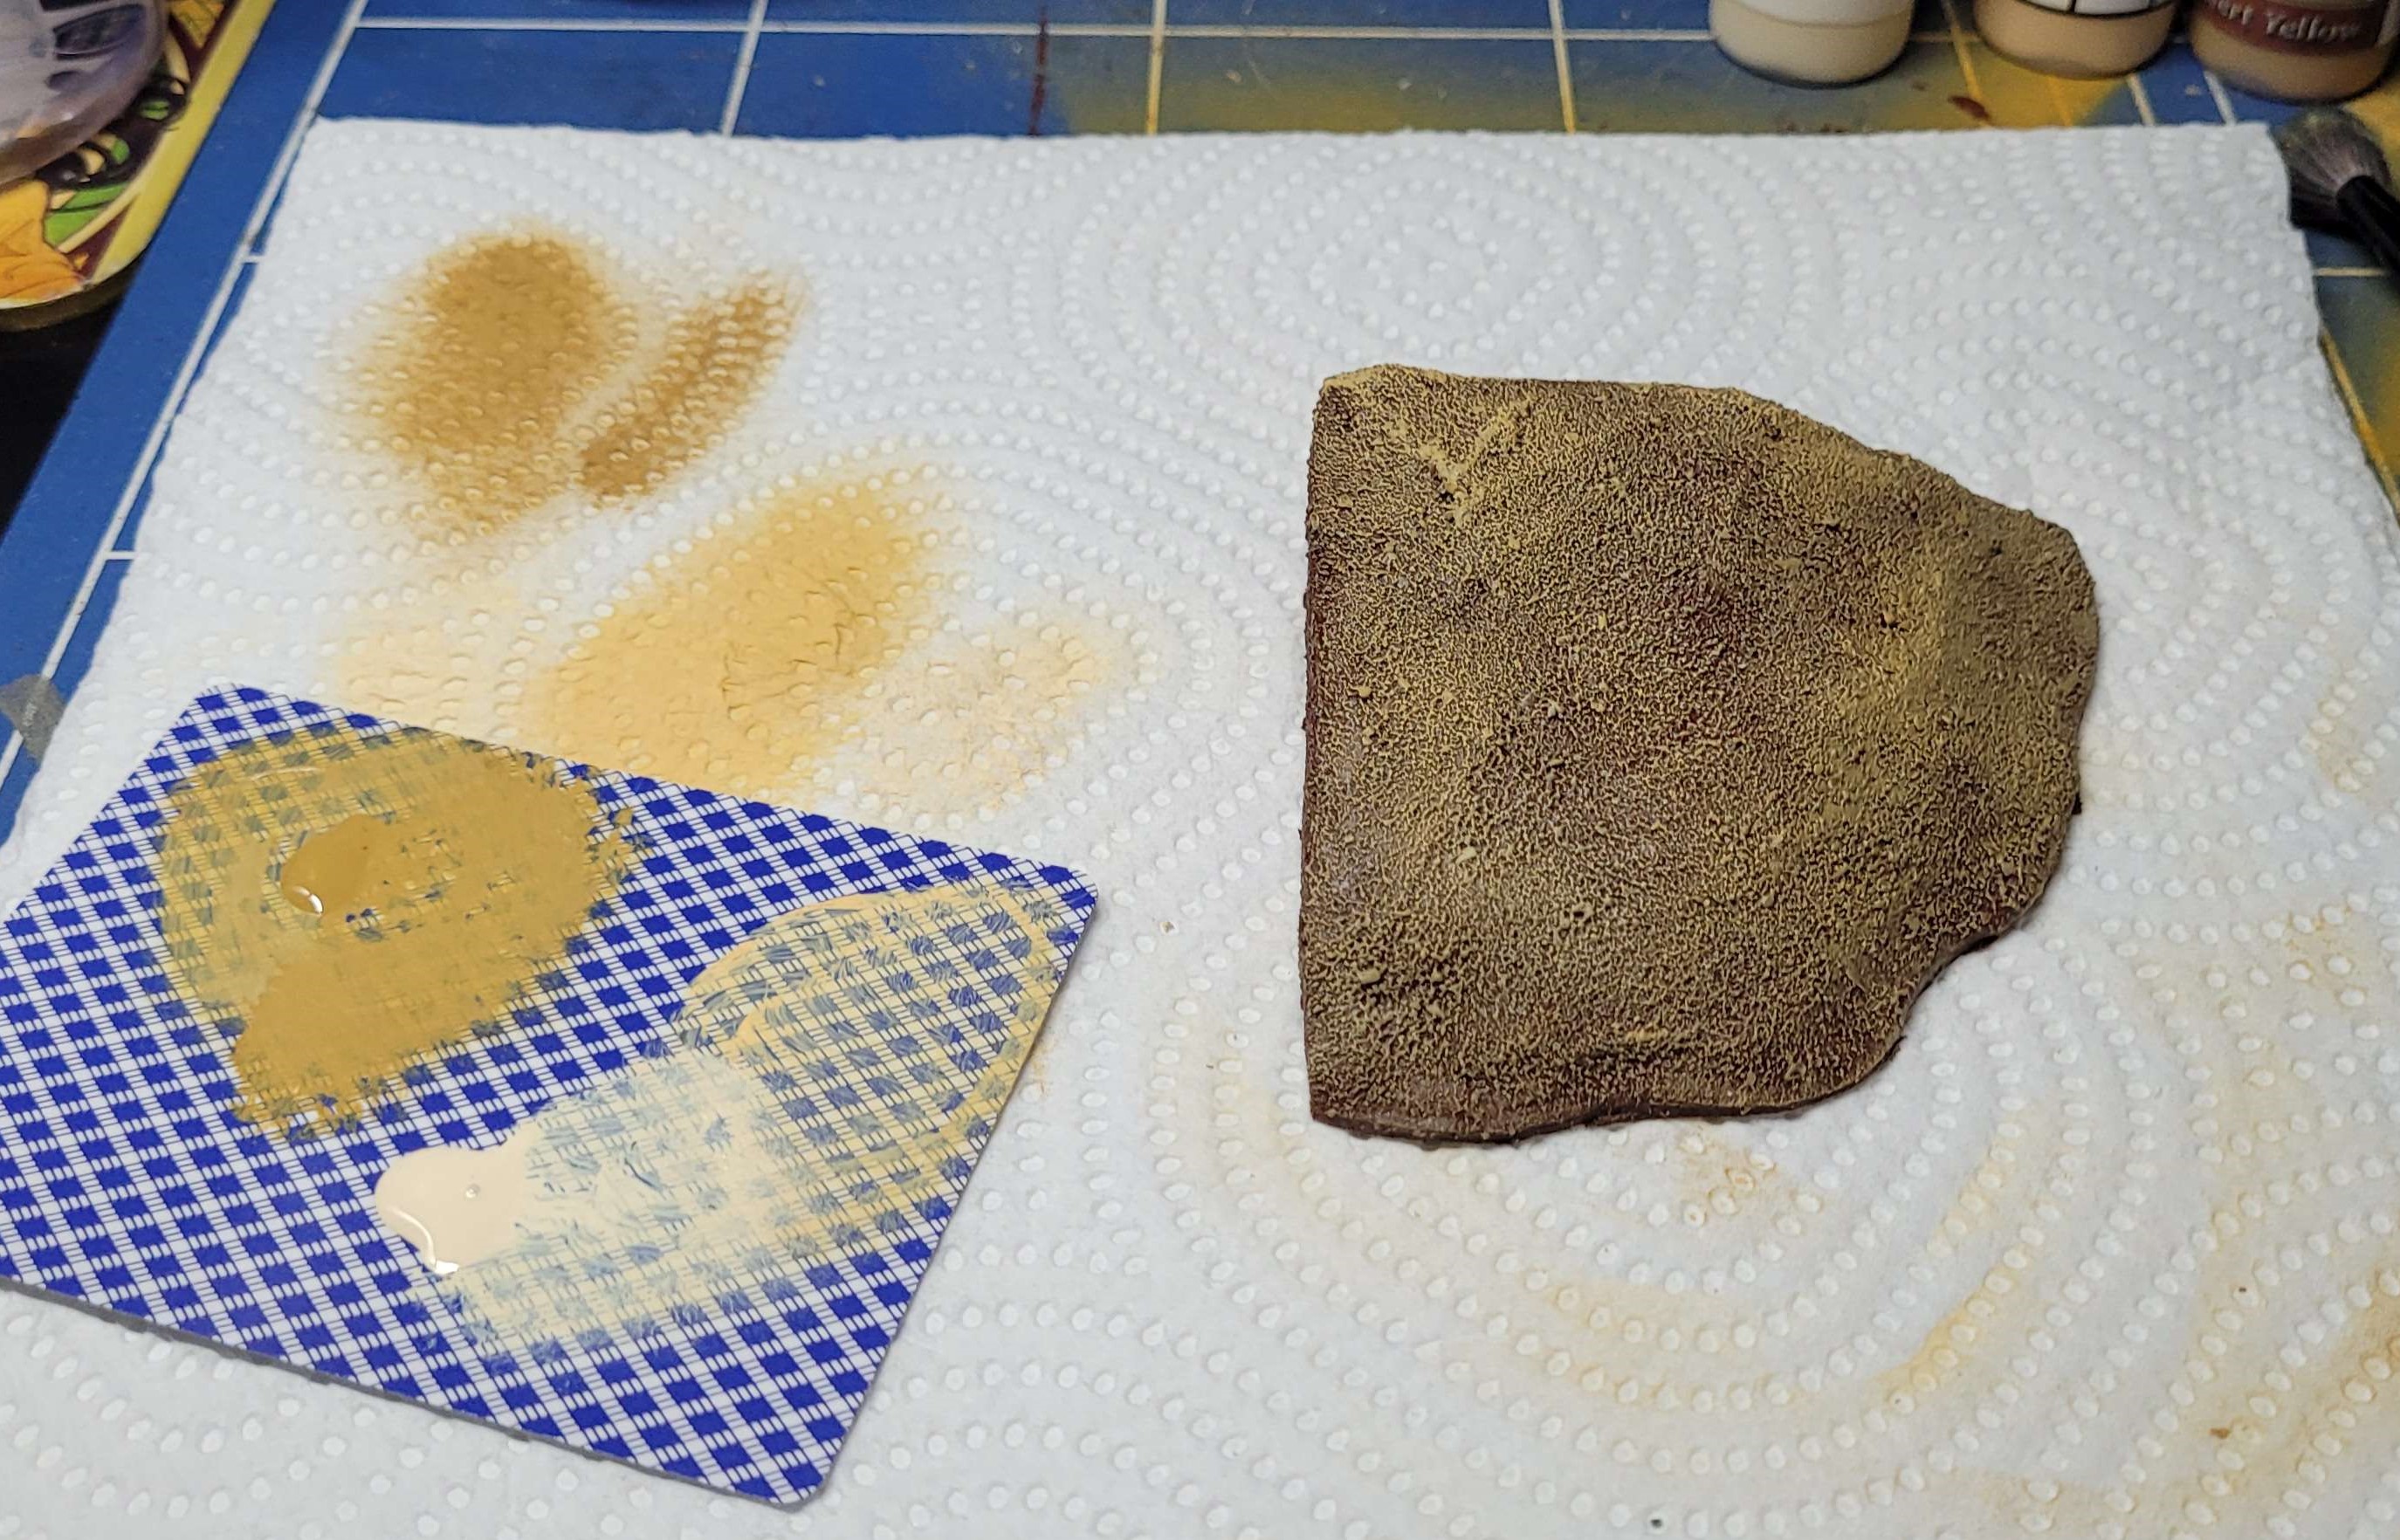
- More cheap acrylics were going to be used next but I forgot to dig around in the darkest corner of the cupboard to get them out and it was too late at night to start. So I used hobby paint used to paint the rest. Drybrushing was my friend here.
- Once everything was dry, a coat of gloss varnish for the sea and a layer of fine flock for the land. I think I was a little too generous with the flock on the the bigger islands
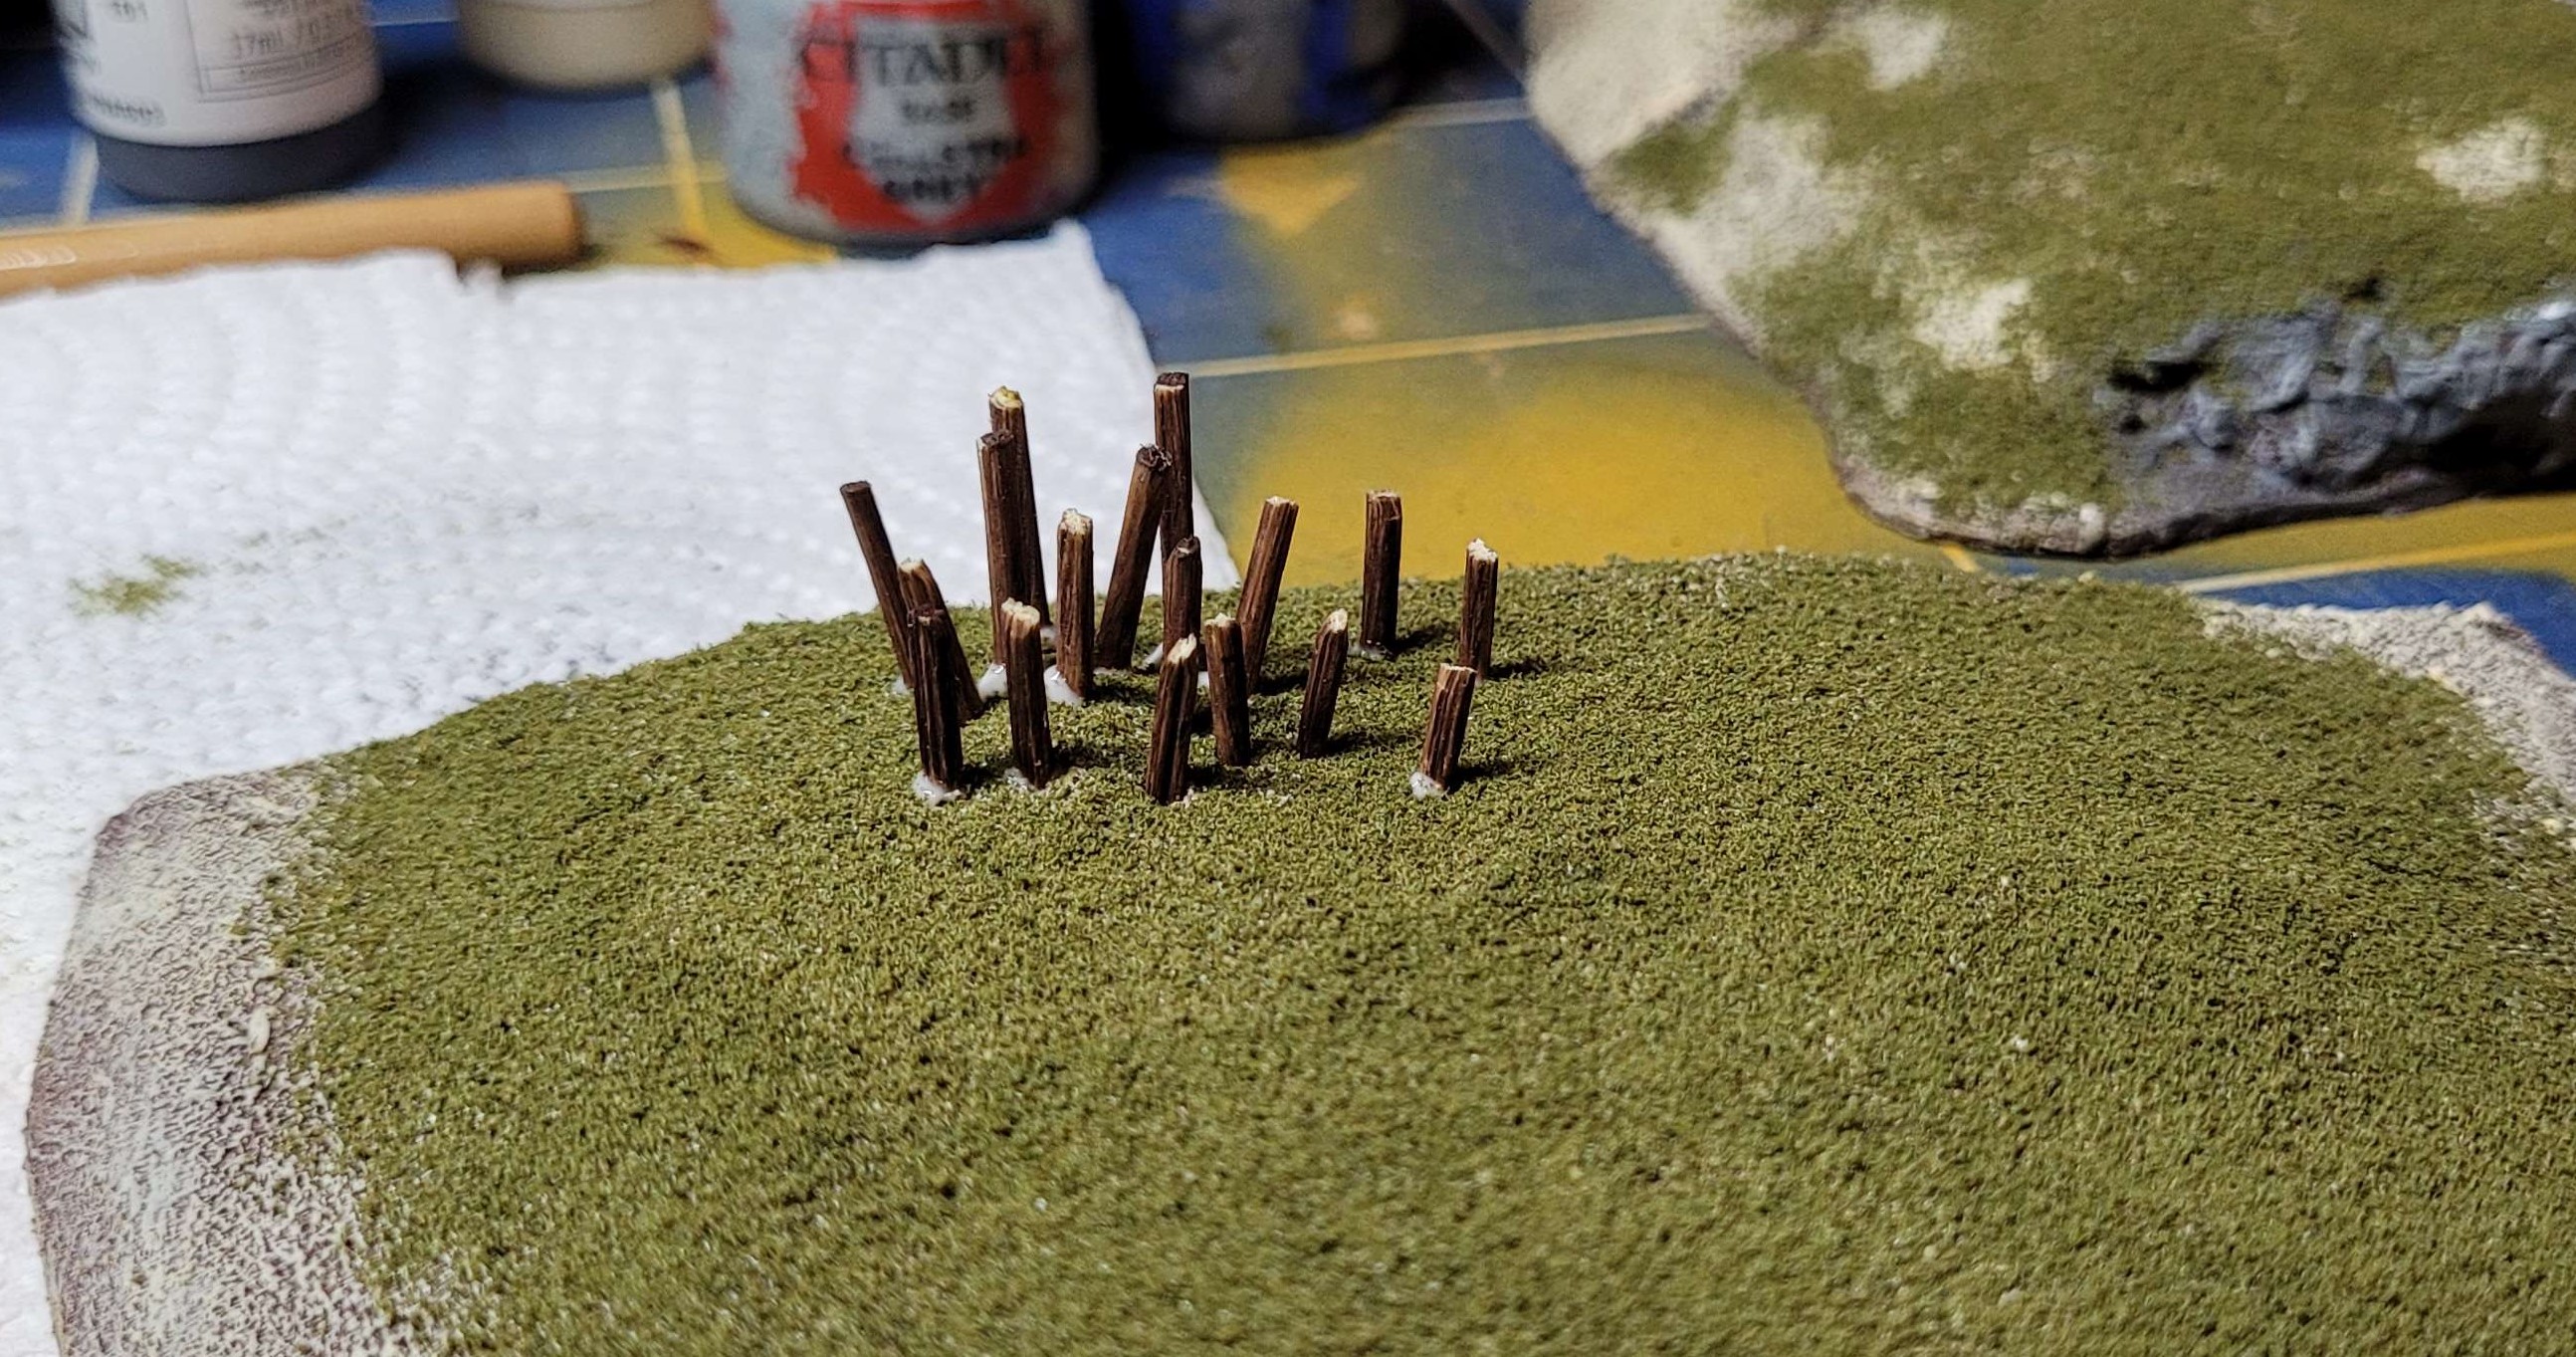
- Lastly I wanted some trees but given the scale for Armada is 1/700, there wasn’t a lot of effort here. Some toothpicks painted brown for trunks and clump foliage glued on top. It looked awful so I ripped it all back out and just glued down clump foliage.
- Using a pipette, watered down pva was applied to everything to make it a bit tougher for gameplay and it is done.
Other than drying time, this wasn’t a very time consuming project and I got through it over a few days. As I say, there are some resin packs for Armada available from Mantic that tie into extra rules in a supplement (or just to make the table look prettier) but for our needs right now, this will do. I’ll likely swap to something else when I can afford it but as I was working on them, we got our Armada game day booked in for this weekend so time was limited. “Done not perfect” strikes again.


Leave a Reply