Operation: Spidicules
Recommendations: 140
About the Project
This is the project that broke me. I started it 4 years ago, then stopped painting entirely right in the middle of cleaning Spidicules' legs. Now the Gambler's Chest is fulfilling and I'm back in.
Related Game: Kingdom Death: Monster
Related Company: Kingdom Death
Related Genre: Horror
This Project is Active
Assembly
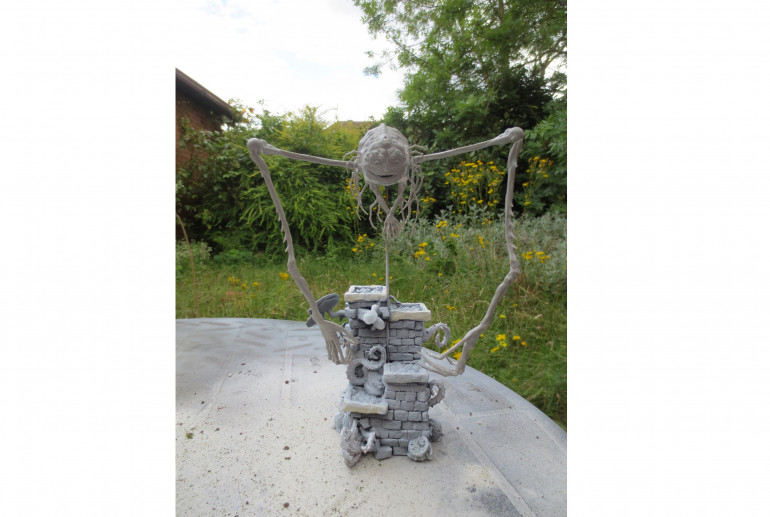
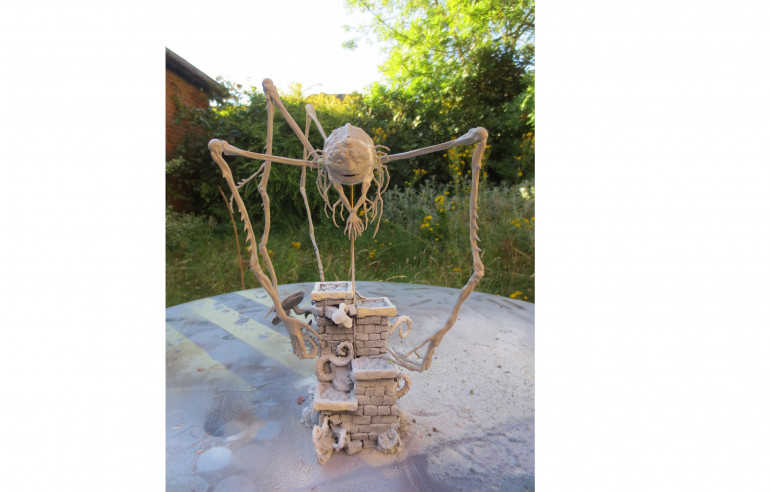
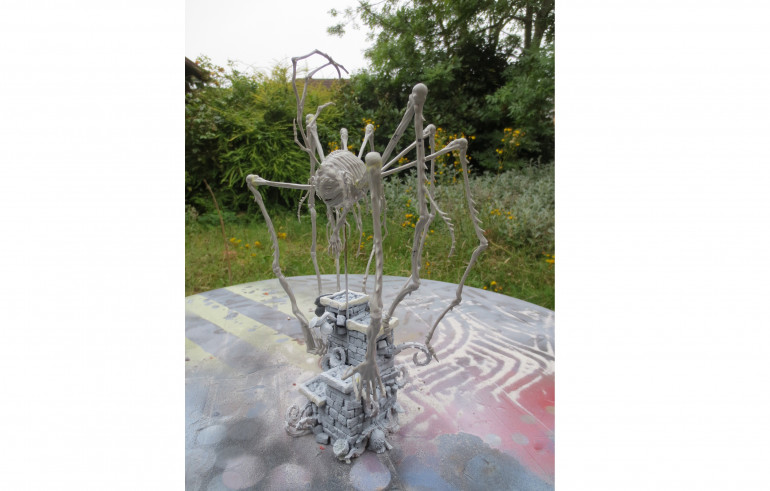
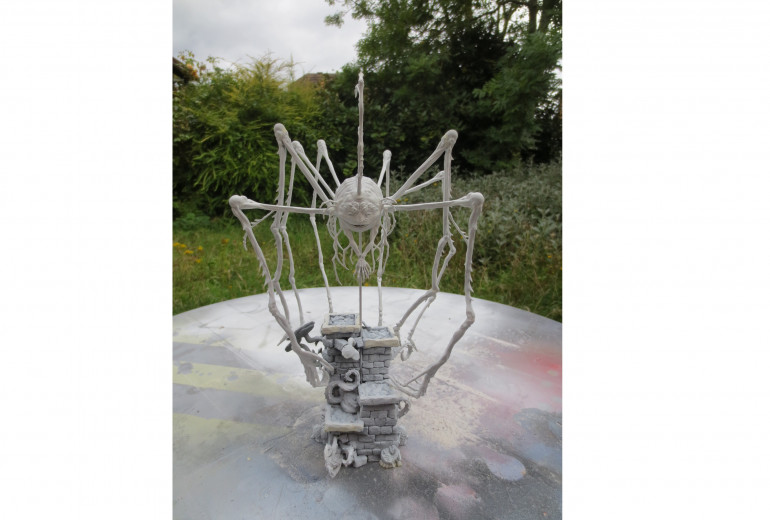
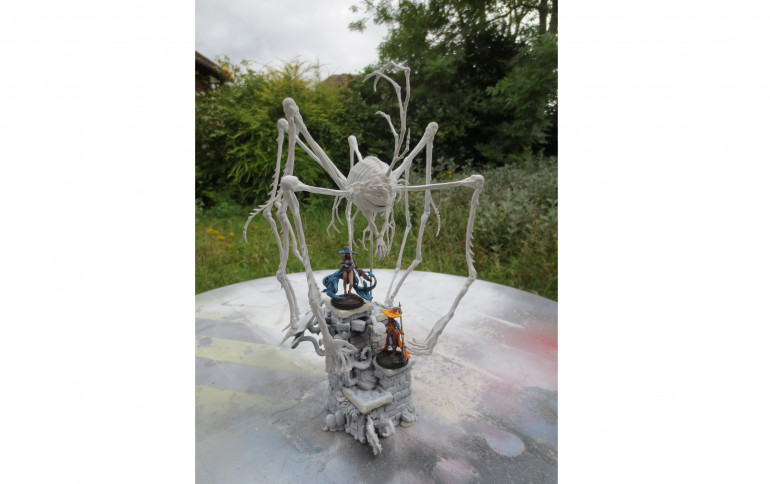
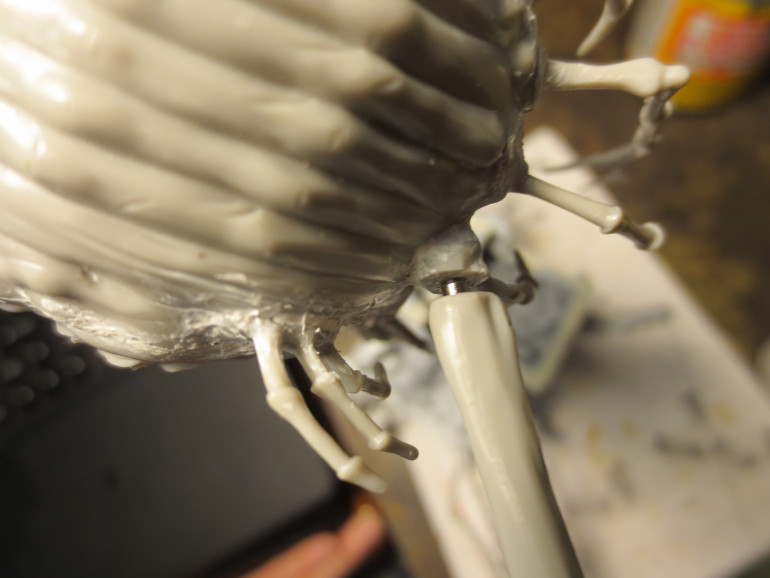
Slowly but surely, legs were completed and added to the glorious spider orb. This was a gradual process with the following steps:
- Pin each severed join
- Attach magnets to body, then base
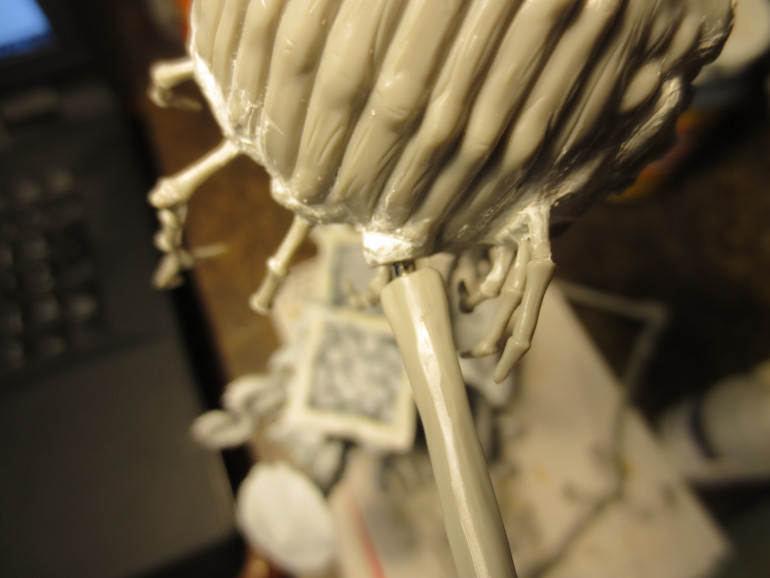
- Use greenstuff around each body join, as needed
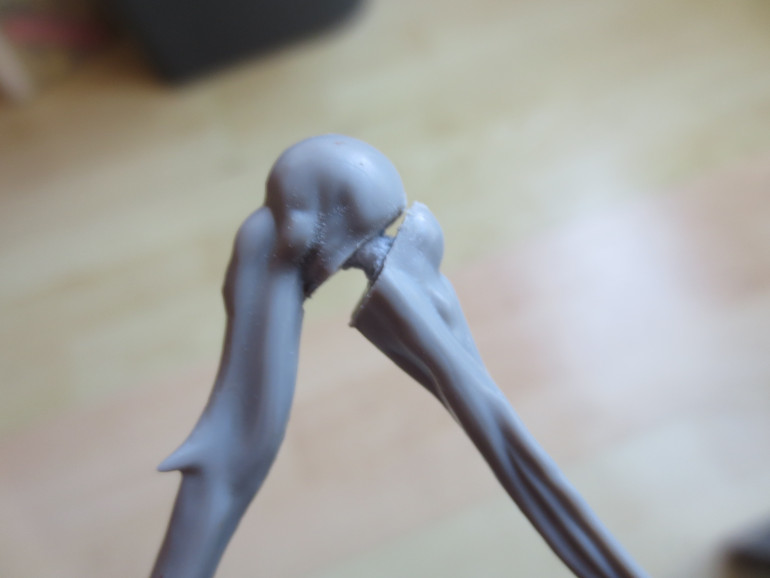
- Use greenstuff/milliput mix to re-sculpt each mangled join in the legs
Fun fact: there are no magnets connecting the front legs to the base. Their only magnets are in the body. There are small points of friction where the fingers rest upon the base, but basically its luck and hope holding those bad boys in place.
They’re suprisingly sturdy when stationary on the table, a bit wobbly when being moved.
It’s lucky I pinned all those finger joins…
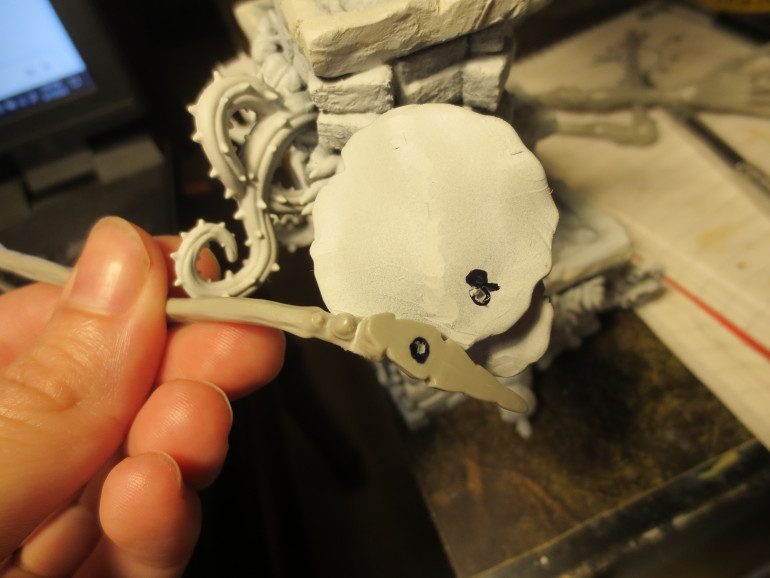
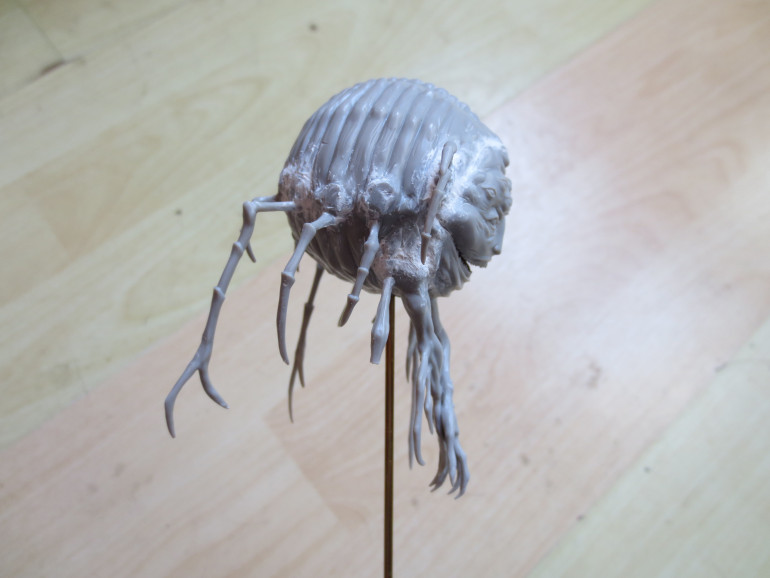
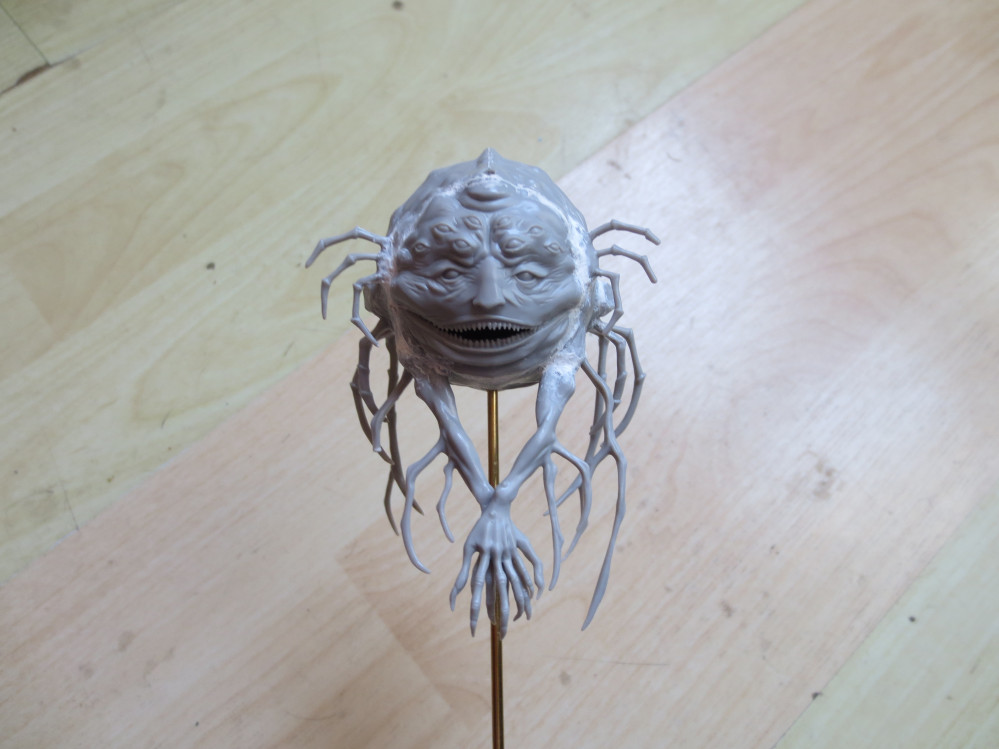
The lure recieved alterations for two reasons. First, I have other plans for the ‘man on knees, arm extended in sorrow’ miniature that comes with the Spidicules miniature. Second, the magnet I inserted into Spidicules’ head turned out not to be strong enough alone to hold up the lure in its original position – something about the lure’s curve tugs it down and out of place in juuuust the wrong way.
So I cut off the fake woman, flipped it upside down, and decided the mohawk lure looks cool enough to stay.
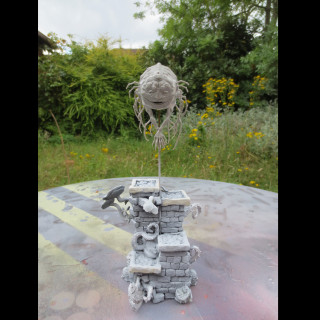
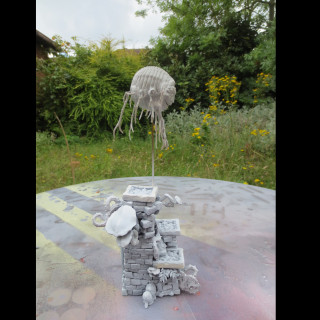
You’ve probably figured out from the messy garden in the background that these pictures are not recent. I hit this point last autumn and have slowly been working on the paintjob since then.
I’m freehand painting, and spiders have 8 legs.
Chopping Up Legs
There’s been a long silence between the last post and this one. I’m sure some of you wondered if I hit the ‘chop up the legs’ stage and found out the project wasn’t viable. At least one person probably pictured a sad Spidicules miniature: sliced, diced and utterly ruined.
Well, I’m really happy to report that NONE of that happened – I just got super busy running a Kickstarter. Spidicules has emerged from her operation safe and sound.
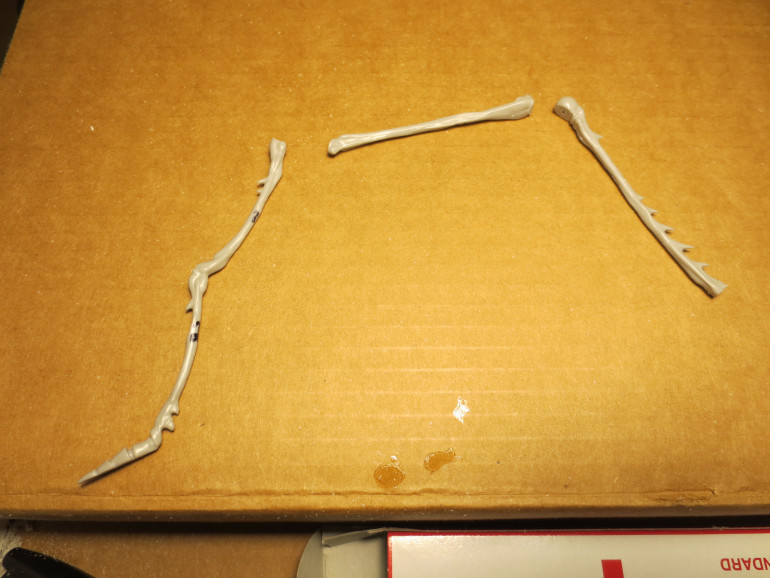
I basically cut each leg into segments, using the joints that already existed on the mini. The front two legs (with the large hands) were cut once at the top joint. Most of the other legs were cut twice: once on the top joint and again in the middle joint.
My SO owns a razor saw, which is what I used to achieve such clean cuts in the tiny angles formed by the joints. I think this tool is pretty much essential for getting into these joints – it might be possible with a Stanley knife, but I think it would be quite dangerous trying to apply the required force to such a small, fiddly mini (the leg).
I did one leg at a time, working my way from front to back. After cutting the segments, the next step was to drill matching holes, then insert pinning wire. I chose to use super glue, then sprinkled each join with baking soda to strengthen it.
While the glue was drying and setting, I had plenty of time to hold the leg up against the spider orb, eyeball the legs positioning, then shift the resulting angles as needed to ensure the feet would eventually sit flush against the terrain.
At the place where each leg connected to the spider orb, I ended up inserting 1-2 magnets (into the body), supergluing them in place, then adding Greenstuff around the magnets to simulate the last bit of join.
This extended beyond the body somewhat, reaching out to meet the magnets inserted into the head of each leg.
At this stage, the project required really careful magnet-managing. I was really worried about gluing a magnet in the wrong way – essentially, the legs were so narrow that I would never be able to get it out again without a TON of damage. I triple-checked every polarisation before using any glue.
Glorious Spider Orb
I probably should have noted earlier that I left the brass rod its original length. This was because I had no idea what height the spider orb should sit at in order to allow the legs to make contact with the base.
However, with the terrain embellishment pieces firmly in place, it was time to cut the brass rod and mount the spider orb in her rightful place. Using one leg, I was able to eyeball about where the body should sit.
The original Spidicules miniature has the head/body horizontal to the floor. I drilled the hole for the brass rod slightly off-centre so that she would be looking downward to the game board.
Brickwork
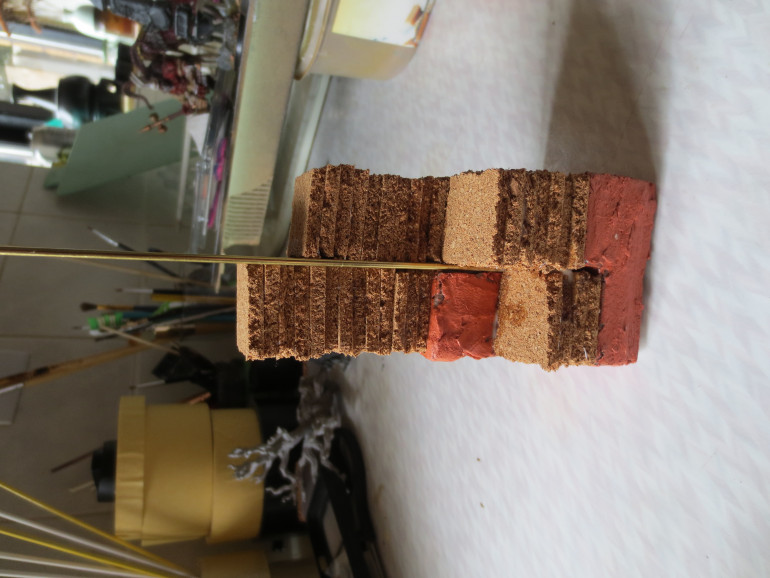
I like making terrain that uses foam bricks. That’s probably the sum of this project entry.
These bricks were made using insulation foam. Cut to shape, then roll a bit of tinfoil over the top to texture them. Make sure to basecoat them with paint afterwards, because the solvent in spraypaint/primers will melt them.
I’m really happy with how this turned out – which is why brickwork is so satisying. It’s not a lot of effort (compared to pinning finger joints, at least) and has a huge payoff.
Two decisions in particular help sell the illusion of a brick structure. The first is the ‘corner bricks’, which are cut specifically to wrap around the 90 degree angle on corners. I successfully alternated long-short-long-short up MOST of the corners, which is what it looks like on brick houses.
The other is the fully 3D bricks that I placed to look as though they were being pushed out of the walls by roots and vines. I think these really make it pop as something dynamic, alive and slowly being crumbled by plantlife.
Spidicule Fingers!!
After adding tons of ‘visual interest’ to the base, I didn’t feel like digging the insulation foam out of storage, which would have been the next step. That only left playing around with Spidicules’ legs.
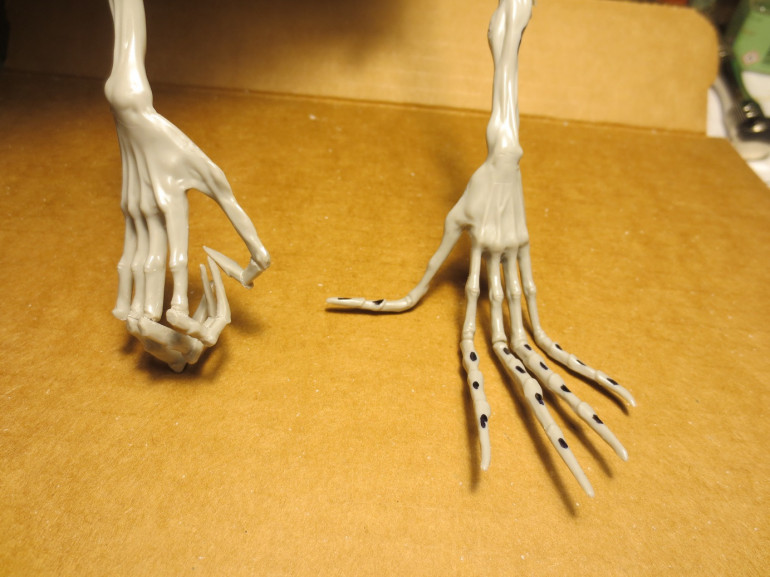
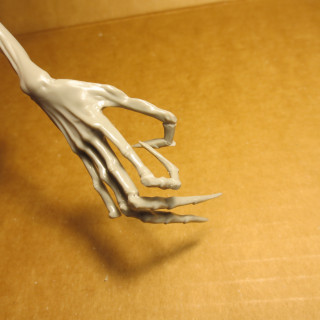
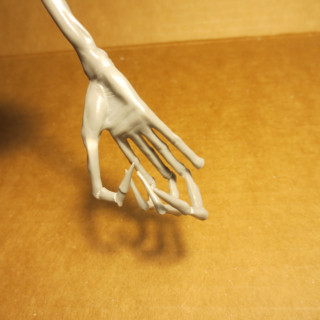
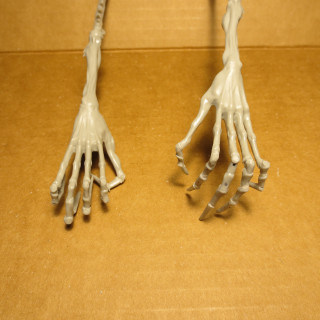
I started with the fingers. Because this Spidicules will be perched atop a base, there’s no need for the fingers to remain flat and splayed. So I decided to cut and
DON’T ASK ME WHY
individually drill and pin every finger joint.
I’m not sure why I made this decision other than ‘I have a brand new pin vise and want to use it’ but I started to regret it about halfway through the first hand. The fingers were so tiny that it was a real trial holding them still to work the drill.
In the end, I think this will make the hands super-strong in the face of drops and potential breaks – but go into this with your eyes open. It took about 3 evenings just for the fingers.
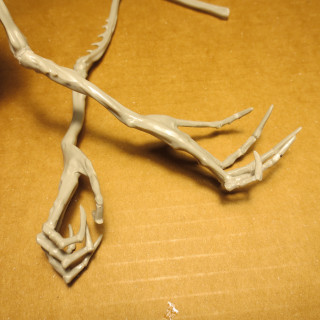
The picture below gives some idea of the conversion happening.
All in all, it wasn’t very difficult getting the hand to look better. Just cutting a joint almost automatically created a surface that looked good as a ‘knuckle’ when rotated inwards.
It’s probably safe to say that my pin vise is no longer brand new and I don’t really feel like using it anymore.
A Little More Base
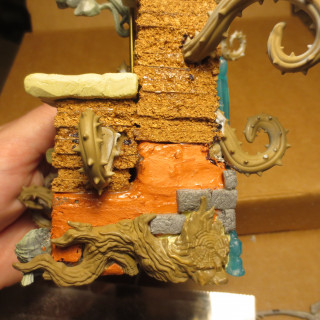
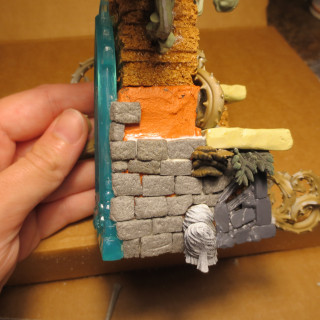
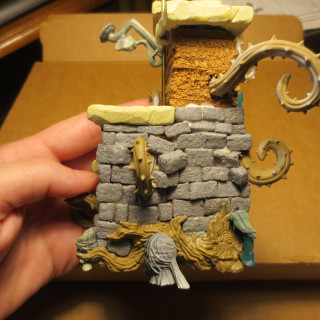
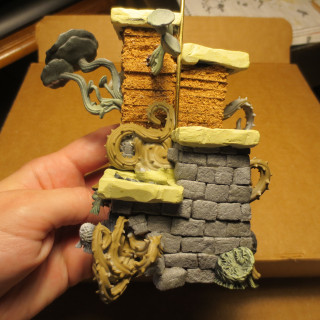
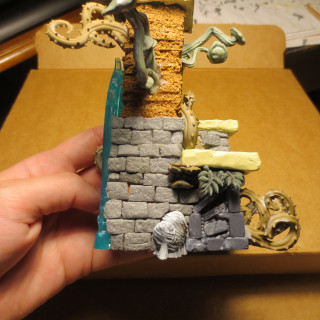
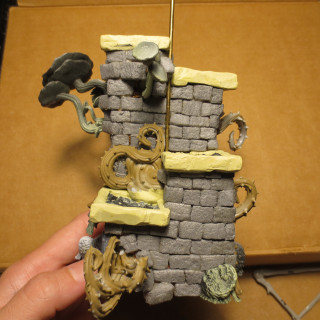
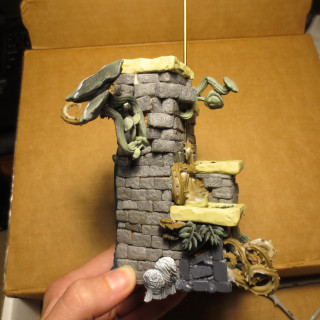
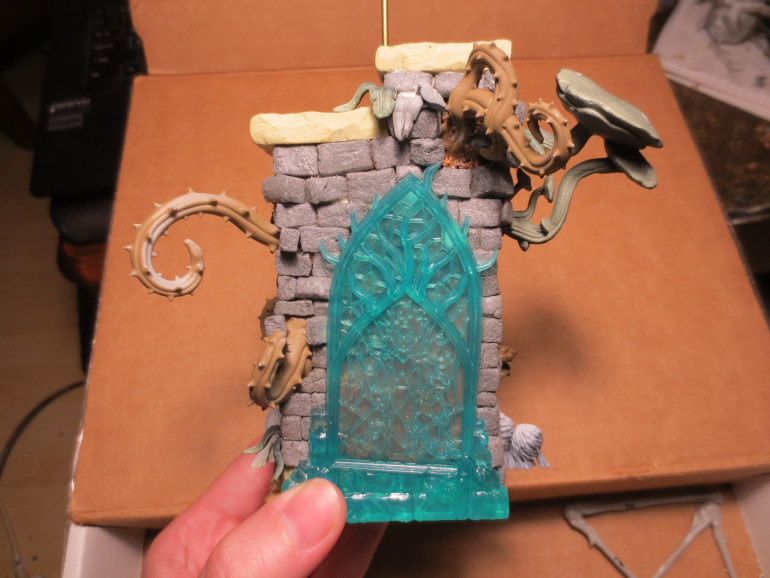
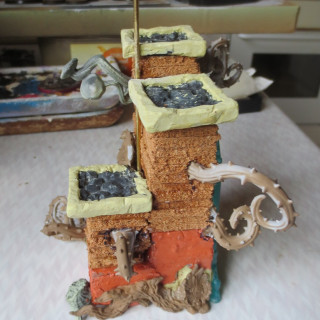
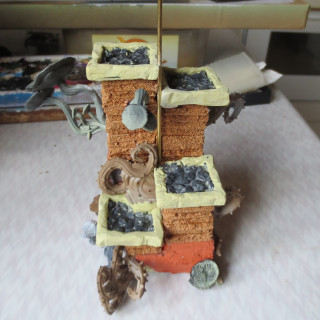
After getting a basic base shape and height I was happy with, I used a bunch of Dungeons and Lasers terrain that my SO had lying around to add interest.
The placement was fairly random (what looks cool?) with a bit of ‘what can I use later to place Spidicules’ legs on?’ Hence, there are some mushrooms and vines near the top.
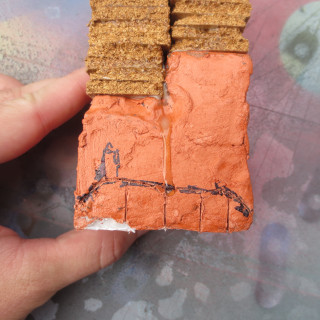
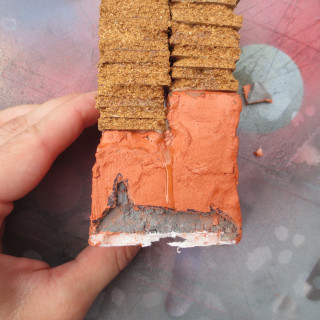
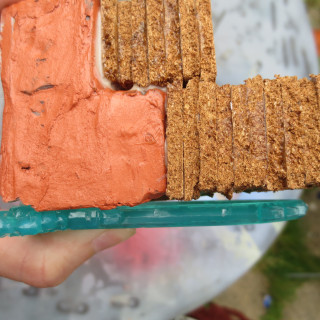
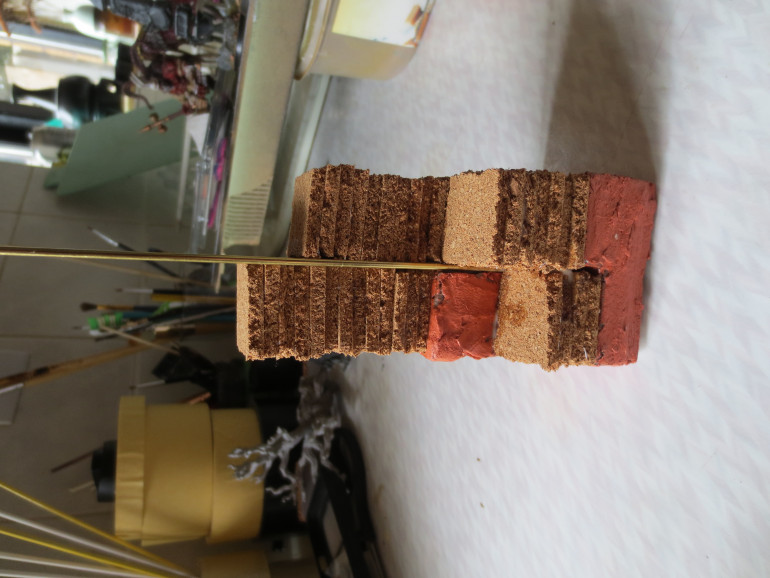
Throughout, this process involved eyeballing the terrain placement, marking out parts with a Sharpie, then excising bits of cork/foam until the piece was sitting snugly and securely in the base. I used woodglue for some pieces and superglue for others.
In the last picture above, the gap near the top of the terrain will be covered by foam, so that placement works really well.
Afterward a single evening placing terrain, the base looked like this:
Adding Detail
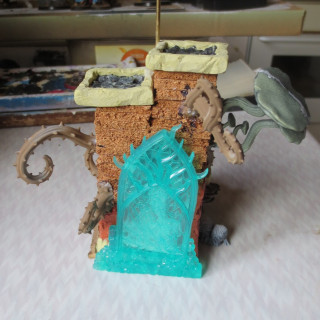
I would like the base to involve grand and imposing brickwork, something that both invokes Kingdom Death and matches the scale implied by Spidicules. As a reminder, I’m starting with this:
I decided to start by crafting separate ‘pedestals’ that minis can be placed upon, as I thought this would help start to establish the idea of stonework.
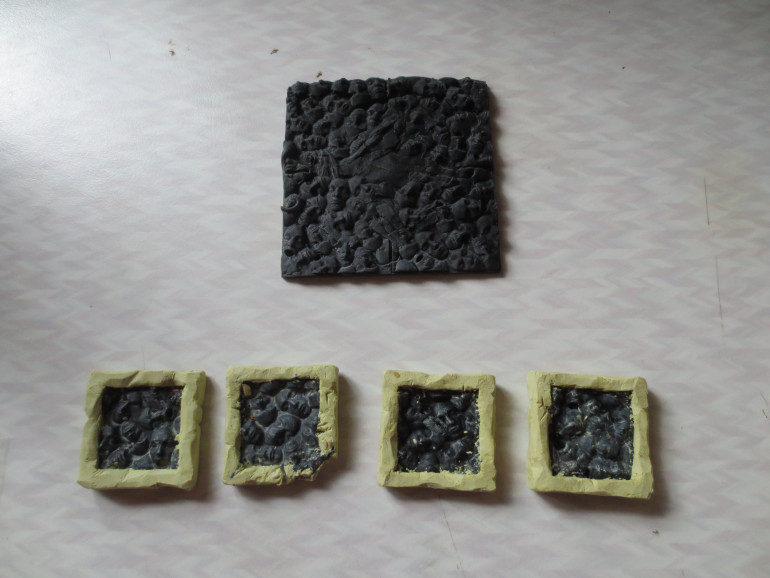
I’ve had some 3D printed Kingdom Death terrain lying around for quite a while – while I like a lot of the 3D terrain and will probably use some of it one day, I don’t really like the grass tile replacements. They are large, flat, and will require a lot of bristles gluing to them in order to work as ‘grass tiles’.
I decided to break one of these tiles into four pieces, then smoosh green Milliput around the edges to give the idea of a stone lip.
To get the edges of the Milliput really flat and looking like stone (i.e. get rid of my fingerprints) I got a plastic box, wet it in water, and basically ran it over all the angles over and over again.
This made all the edges really sharp and all the surfaces really flat.
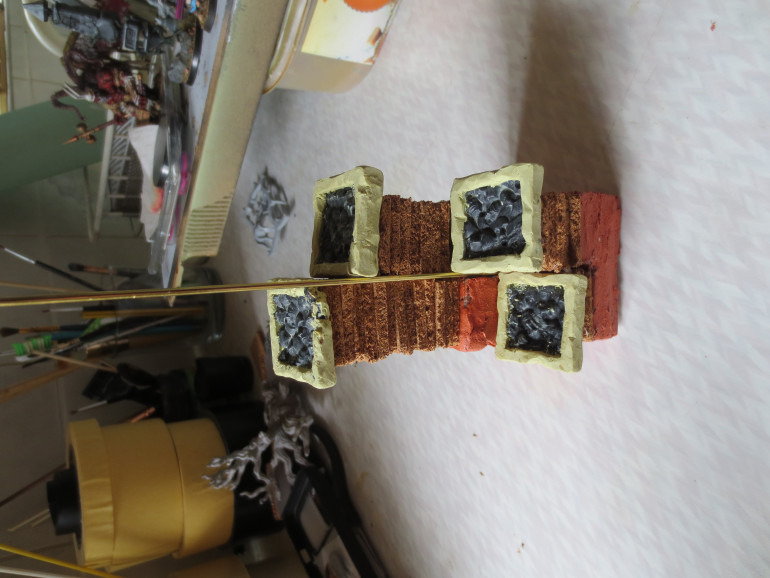
Then I waited for an hour or so. When the Milliput was mostly cured, I used a hobby knife to cut even more flat angles into the already flat surfaces. I also sliced some hairline cracks into them and ‘crumbled’ the corner of one. This was partly for aesthetics and partly to help it fit around the brass rod in the centre of the base.
When they were all cured and placed atop the newly-corkified base lump, it looked like this:
The perspective in that photo is kind of weird, but it’s starting to look like ‘stonework’.
Start
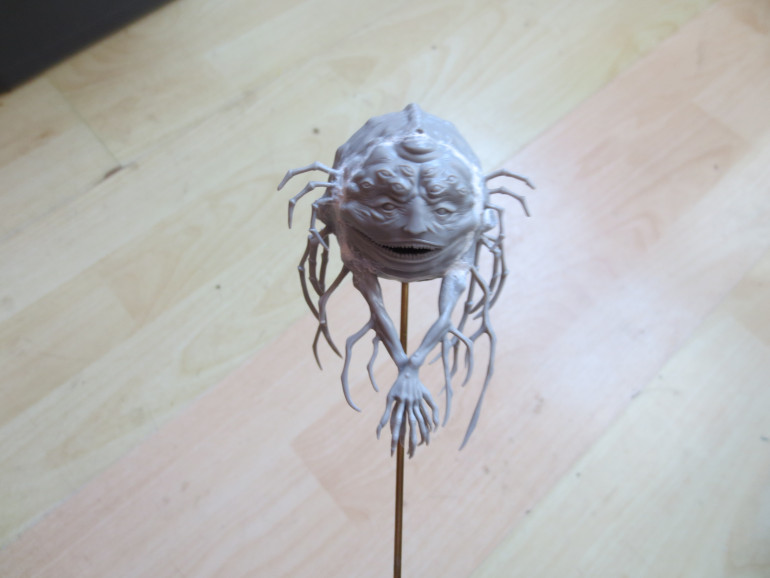
These pictures represent where I’m starting from: a glued-together and gap-filled spider ball and a lump of a base prototype.
The first steps I took involved buying a 2mm brass rod from my FLGS and driving it through the centre of the base lump. I then drilled a hole into the bottom of the Spidicules ball and attached the two.
Almost immediately, I could tell the steps would have to be much higher (I underestimated the size of Spidicules’ legs). So I got a bunch of cork and built upwards using that.
I went with cork because the original base lump was built using styrofoam (leftover from my Brush With Death 2019 diorama) and covered in sculptor’s clay. I really didn’t enjoy the process of trying to get clay to stick to the foam – the cork seemed like a much easier alternative.
The next thing I did to the Spidicules ball itself was to glue each of its legs on, then use a razorsaw to cut above the join. This is so I can magnitise the legs AND cover all the little joins between legs and body.
An arduous process, but with little long-term risk. If the magnetisation doesn’t work, I can always just go back and pin the legs in.
The Scope of the Project
I took a 4-year break from painting. Unfortunately, Spidicules was on the table when I shut down and decided I couldn’t paint for a while.
This mini has been in a box, half-clipped and half-cleaned, with a bare minimum base prepared… for 4 years. Then the news that the Gambler’s Chest was fulfilling kind of kicked me into gear and I pulled it out again.
Let’s see if we can make all the ideas I had about Spidicules a reality.
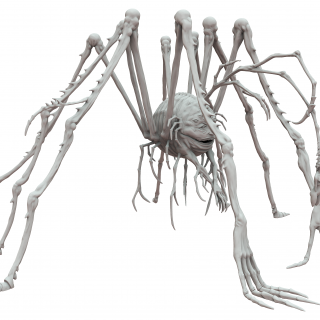
Above, I’ve included a picture taken directly from the Kingdom Death build website. This mini is spectacular, standing astride a huge portion of the game board, looming over the survivor figures. All in all, I am really excited to bring this to my KDM group.
Unfortunately, I’ve read about the problems other gamers have experienced when trying to run Spidicules showdowns.
- Its legs can knock into survivor minis and tiles when the model moves around.
- The legs can also make it difficult to reach the blind spot directly underneath the model’s body
- The dangles under its main body also interefere with getting survivor minis into the blind spot
- Its huge front hands sit on top of game board spaces that a survivor might need to stand on
- It is large and difficult to store
So this project aims to complete the Spidicules miniature while addressing 2 issues with the miniature as it is intended to be built:
- playability
- storage
Additionally… I want to magnetise the legs. I think this will help with storage, but it would also be really cool for other reasons that I won’t spoil in this project blog.
So let’s see how much of this I can get to work.


