SanchoPanza Rides Again - ReVamping Gangs of Rome
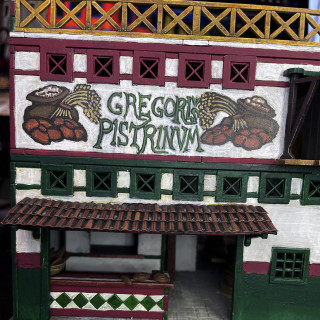
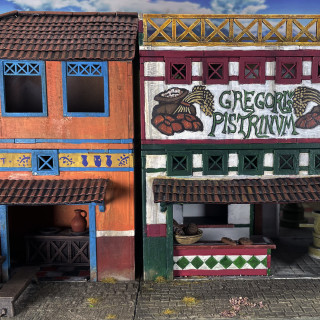
Gregorius Pistrinium, The Bakery
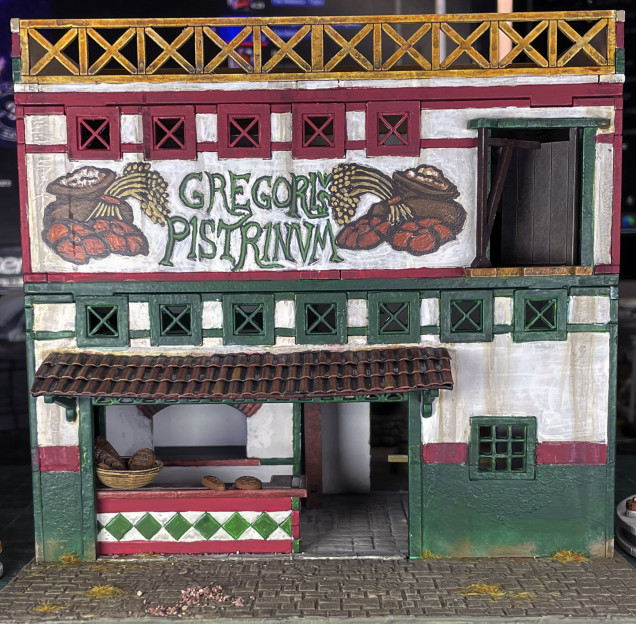
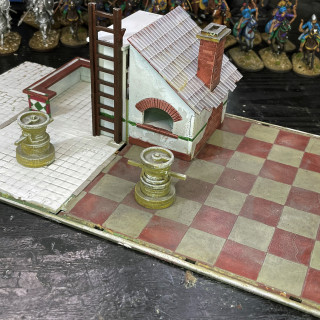
The next building on the on my Gangs of Rome revamp and upgrade is Gregorius Pistrinium, The Bakery. One of the most important buildings in ancient Rome the bakery, the Pistrinium, baking was a popular profession and source of food in ancient Rome. Many ancient Roman baking techniques were developed due to Greek bakers who travelled to Rome following the Third Macedonian War (171–168 BC). Ancient Roman bakers could make large quantities of money. This may have contributed to receiving a negative reputation. Bakers used tools such as the fornax, testum, thermospodium, and the clibanus to make bread. Most Roman breads were made using sourdough. The most common way to leaven bread was using flour mixed with grain.
The Romans had eaten porridge and baked bread for around six hundred years after the founding of Rome. In 171 BCE, during the Third Macedonian War, the arrival of Greek bakers established the first professional bakers, known as the pistores, in Rome. It was in ancient Rome where bread and pastries first began to be mass produced.
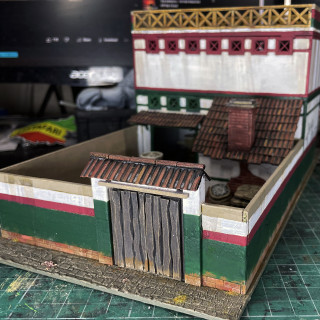
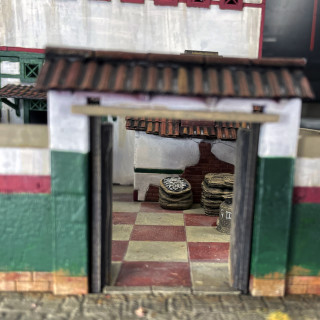
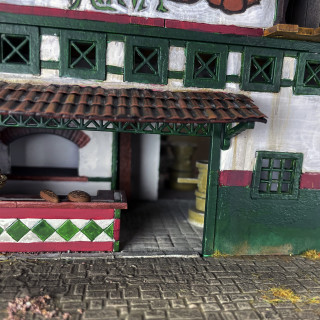
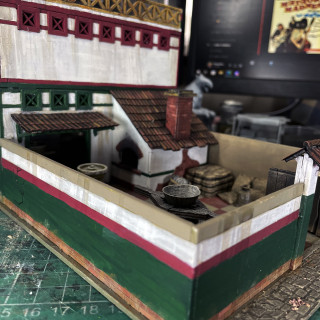
This is a lovely kit, again from Sarissa Precision, that has a full interior of the baking equipment, ovens and counter. Originally it was released as a part of the Bread and Circus’s starter box set for Gangs of Rome by Footsore Miniatures and Games, it was is need of some desperate TLC as needed the roof tiles upgraded to pantiles, the interior flooring added to, a pavement added and the doors updated.
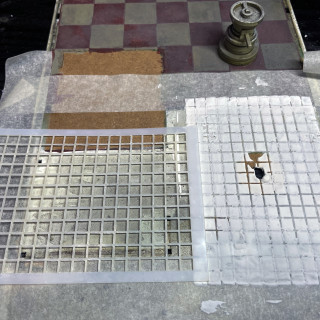
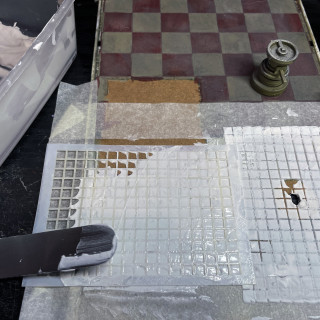
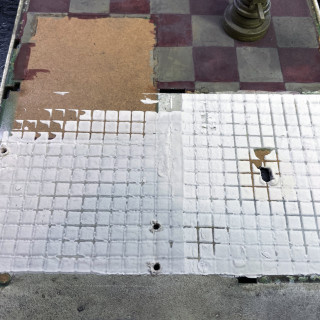
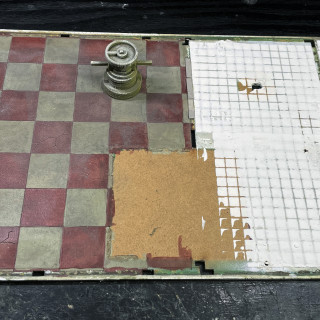
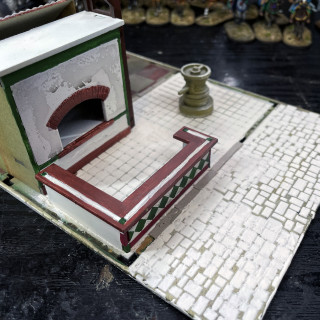
This was the starting building which was fine and serviceable but I now want to take it to the next level and make it looks the same as the other buildings I have done. So I gently removed the building from the base and started to work on the interior floor tiles using the Sarissa System Stencils and my General Purpose Filler and PVA mix. Basically masked the area off that I wanted to be tiled and then I place the stencil down other the area I wanted to texture and with a cake palette knife I smoothed the mix through the stencil and gently pulled up the stencil and little it dry before doing the area.
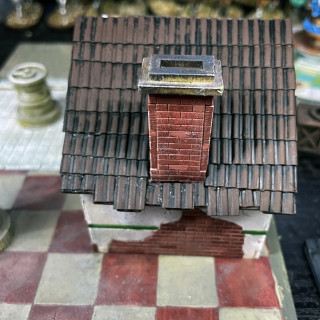
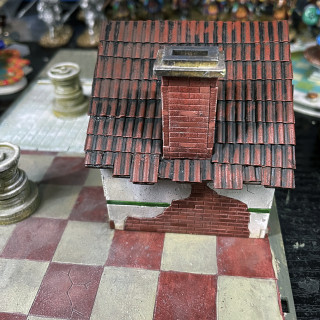
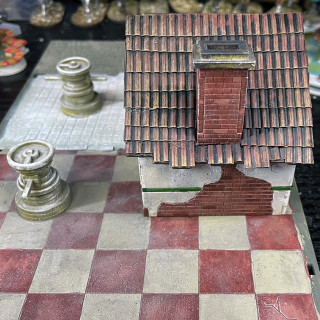
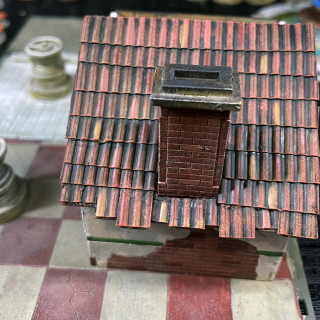
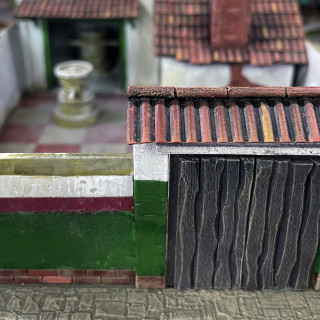
After finishing the floor tiles and pavement I started on the pantiles using the fridge liner sheets, cut into shape, glued down and overlapped to give the impression of roofing tiles. I primed the plastic sheets using Vallejo Black Polyurethane Primer as I wanted the paint to stick to it as these as waterproof and as I am using acrylic paint I wanted them to stick.
Then I drybushed the painted with Vallejo Game Colour Scorched Earth. Next I gave it a heavy drybush of VGC Terrcotta, followed by a lighter drybush of VGC Prague Brown and finally a drybush of VGC Tan.
I picked out some of the individual tiles using the same colours I had used for the drybrush to correct some interest and I applied a light wash of Vallejo Game Colour Black Wash, the Dipping Formula not the inks.
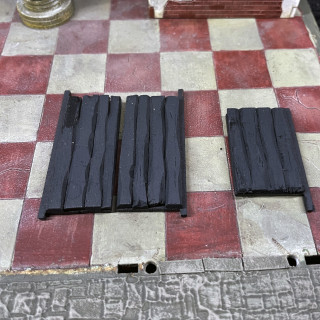
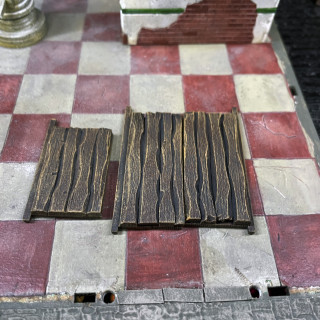
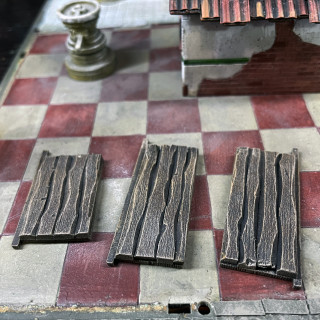
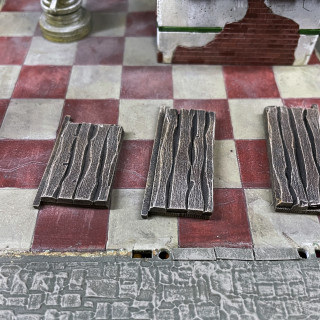
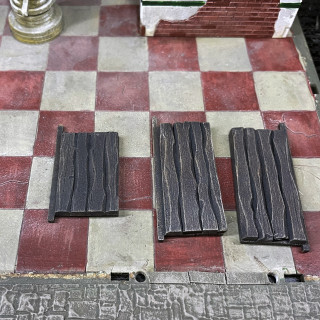
Next was the upgrade to the doors. Once side of the doors, the inside has not detail etched into them, makes sense as that is the side you dont see but I needed to add some texture and bulk to them so I cut some balsa wood in strips, shaped them and glued that down. Next I basecoated them with Vallejo Model Colour German Grey, but in hindsight I should of used VMC Black Grey.
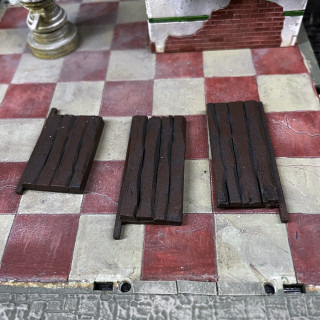
Then I gave them a drybrush of Vallejo Game Colour Scorched Brown, next a drybush of VGC Plague Brown, then a drybush of VGC of Bronzed Flesh and a final light drybush of Vallejo Model Colour Pale Sand. Afterwards I applied a wash of Vallejo Model Colour German Grey and really should of used VMC Black Grey as it has a more greeny, softer tone to it.




Leave a Reply