Have Hobby Will Travel (2023)
Recommendations: 118
About the Project
I've recently become more open to hobbying on holiday, and have gradually upgraded my travel kit. Here's a run through of the 2023 iteration which I've been readying for an upcoming holiday!
Related Genre: General
This Project is Completed
Hooray Hooray - It's a Holi-Holi-Day!
It’s May 2023, and in a short 2 weeks, I am off on a staycation holiday to Scotland (via a brief 5-day trip to Download Festival in Castle Donington!).
Over the last year or two, since holidays started becoming a thing again after covid, I’ve discovered that there is room on holiday for some hobby. Even better, when I’m on holiday, any painting is 100% bonus, so that’s perfect for grinding through things that at home I might easily find excuses to avoid.
It’s a classic win-win. You can’t take your entire hobby with you, so you have to prioritise. You can only take so many paints, so repetitive tasks on a bunch of models is ideal. And you don’t want any pressure to get anything particular done on holiday. So anything you do is a bonus, and you come home having made progress, which feels really good.
I have currently brought my Legacy of the Halo Scar (Black Templar / AdMech 40k Army) project back to the front burner. It was a new year new army for 2022 but hey ho… I have some large units to work through, so I wanted to make sure I am prepped to use any chances I get on holiday to make progress with them. Any rainy days (it is Scotland after all) or lazy evenings will be perfect to put some paint down.
In this project, I wanted to share the 2023 version of the travel kit, partly for my own posterity, partly in case it helps anyone else to do the same, and also to invite any tips from others who have done the same. If you are thinking “you bloody noob – you’re missing much better ideas” then please drop me a comment!!
Woah Back Up Now and Give a Brother Room
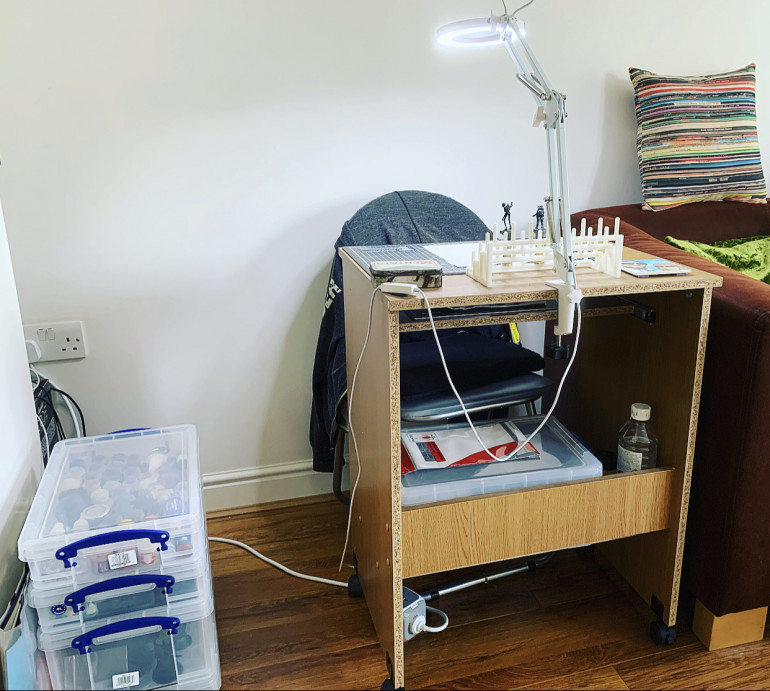
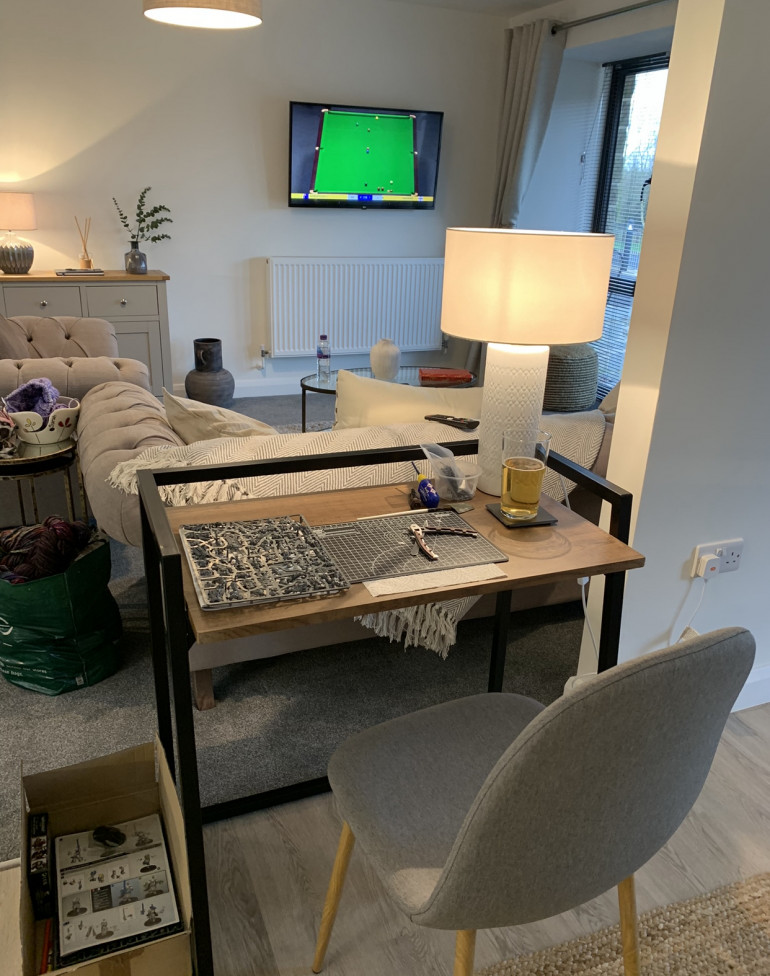
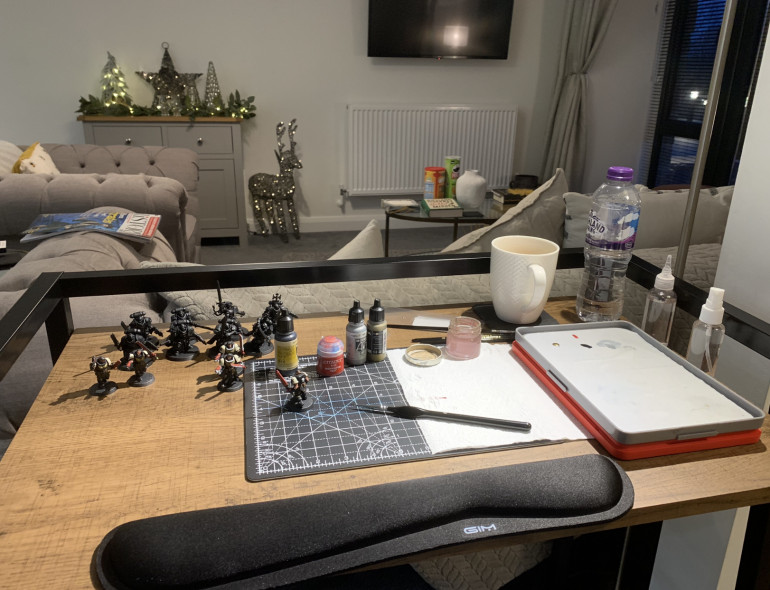
So where did this all start? Some grand desire to turn holidays into hobby hangouts? Not really. It started kind of by accident following me setting up a small painting station in my living room. The background to that is covered in my 2023 goals project.
Long story short, for the reasons described therein, I had readily to hand a Really Useful Box with the models I was working on, and another with the tools/paints etc I was using (on the first trip it was lots of sprues and assembly tools). It was a really simple idea to pick up both boxes, throw them in the car, and take them to Wales on a short break. I had no major plans to do hobby, it was there just in case.
Turns out, it was a revelation. There was a little desk where we were staying, I moved it to the living room, moved a lamp to it, and did a little bit of hobby each day while we were chilling out in the evenings. I was quite happy sitting and glueing units of models with no targets or pressures. The next trip it was to the same place, so it was the same setup but painting rather than building.
So now it’s a thing, and I’m looking forward to some holiday hobby in a couple of weeks
Mobile Hobby Station
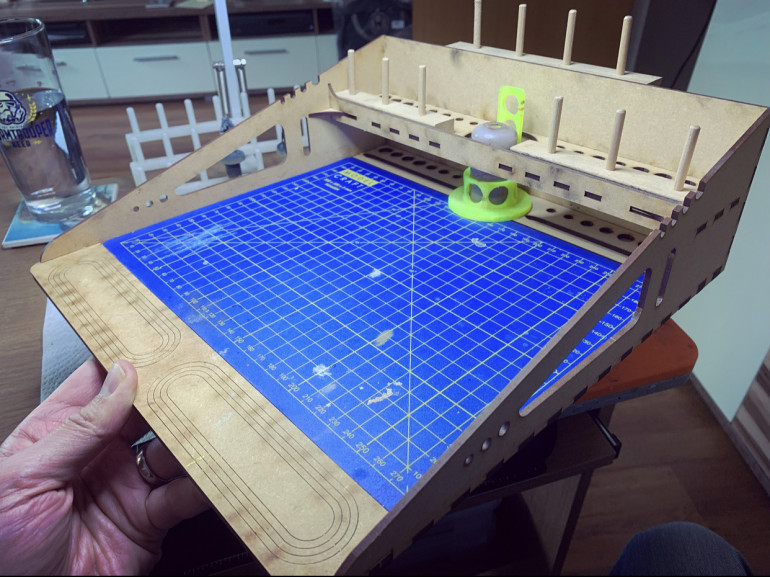
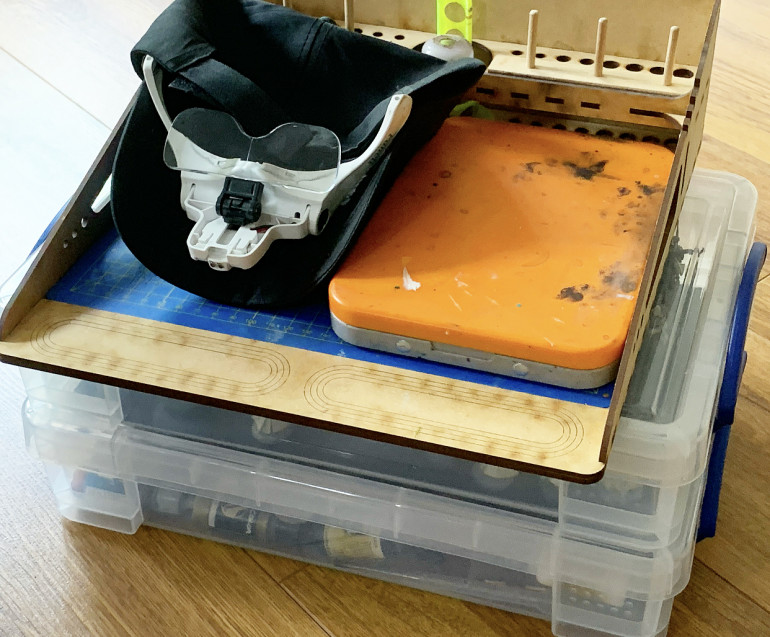
The version 1.0 of my living room paint station was this little MDF workstation that I picked up from Amazon (I remember it being quite a bit cheaper when I got it, but it is this one).
I modified it slightly to add the little poles for when I am using my sewing bobbin ‘painting handles’. (Handy DANdy Improvised Painting Rack project here)
It doesn’t get a lot of use now, only really when I take some hobby to the kitchen or somewhere like that. But the place we are going in Scotland doesn’t have a moveable desk like the place in Wales, so I will have to use the kitchen table when it’s not in use for stuffing our faces! So this little thing will come in handy there. It’s coming with me.
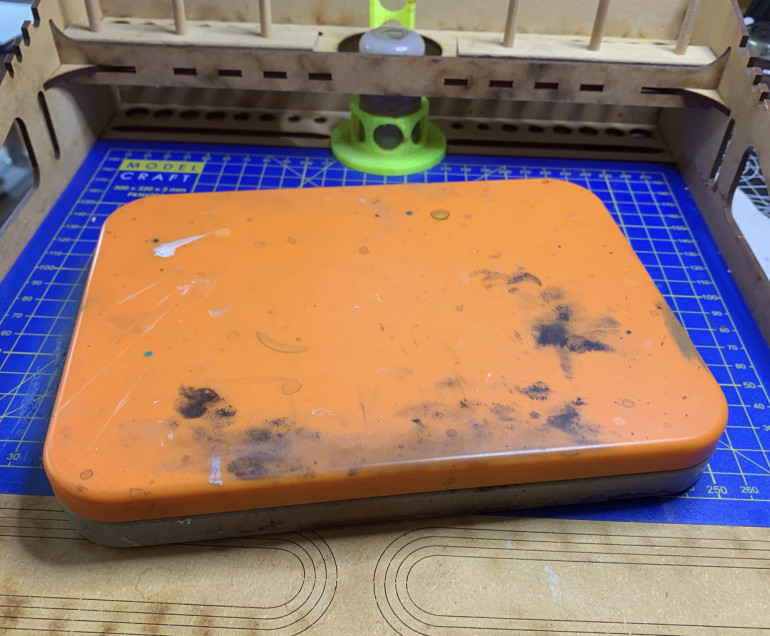
I will also take my older Redgrass Games wet palette. It’s smaller and more portable that the newer version I use at home.
Let There be Sight!
Believe it or not, you paint better if you can see! (You came here for the killer insights right?!)
Seeing means light and magnification.
You can see that I’ve attached a magnifier light to my hobby desk and I’ve really come to rely on it. If the painting looks neat under a bit of magnification then it’ll certainly look neat on the tabletop, and also has half a chance of looking neat when photographed (we’ve all experienced seeing the mistakes on a photographed model that we thought was finished, right?!). A bit of magnification sorts that.
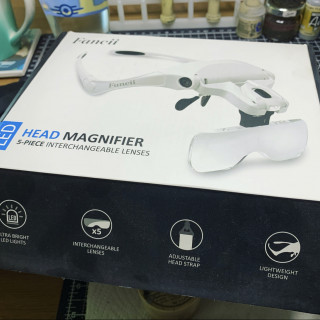
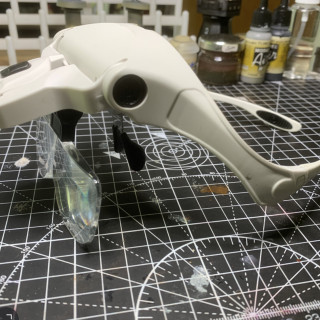
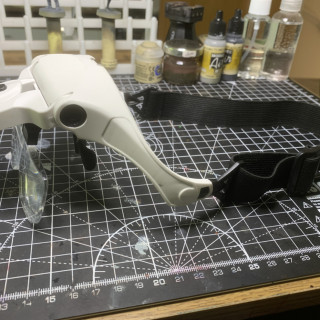
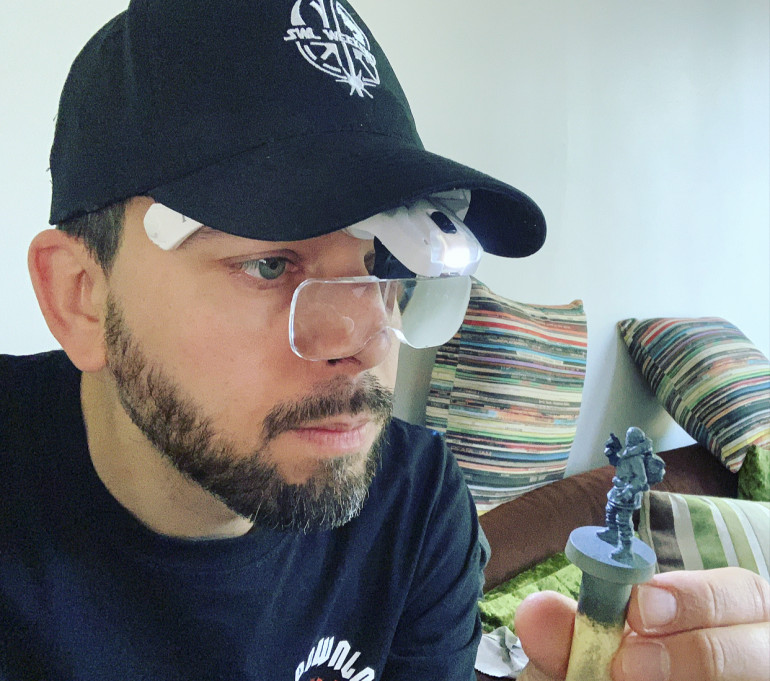
Another relic from before the little home painting station was the Fancii head magnifier. You can run it with the ear pieces or with the head strap.
There are many other makes out there, many of which probably better than this one but all very similar. But these are what I have. These have come with me on previous trips. The main issue I have with them is that they are quite heavy, largely due to the 3xAAA batteries that power the light. Whether using the ear pieces or the strap, most of the weight sits on the nose and they get really uncomfortable really quickly. I used to wedge some foam between them and my nose, it kind of did the job but it wasn’t ideal and needed continual fidgeting.
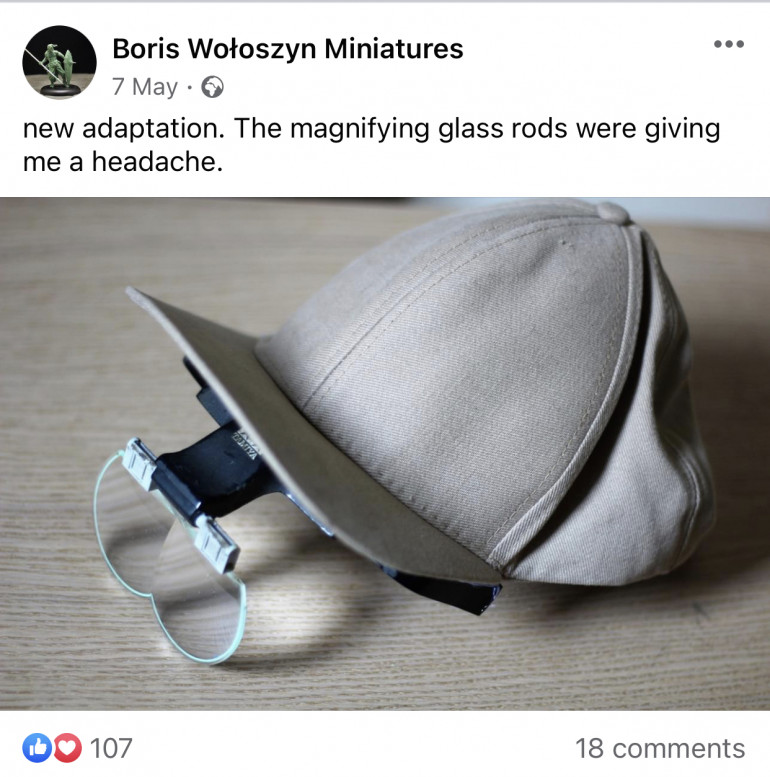
But then I became aware of a piece of genius via our very own CoG Grand Master Boris! He posted this on his Facebook:
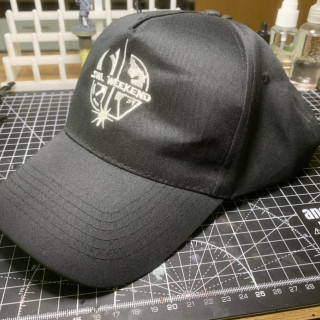
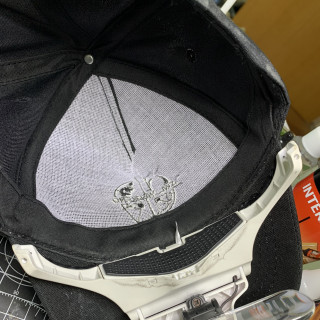
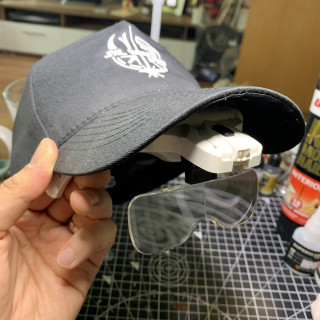
Oh you beautiful hunk of owl-bear riding Connery successor you! After my polite enquiry he revealed that he’d used a hot glue gun to attach the lenses to the brim of the cap. Now, I don’t have a hot glue gun but I have super glue. I also have a cap from the Cult of Games 40k Weekend whose brim is curved at exactly the right shape to take my Fancii lenses.
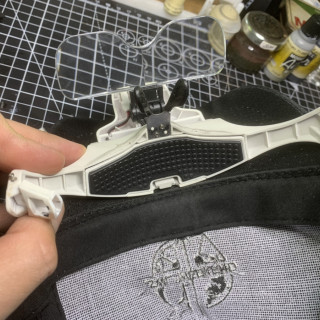
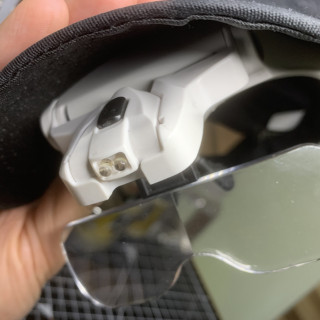
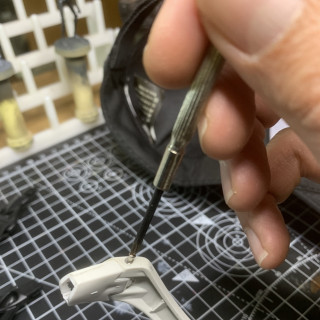
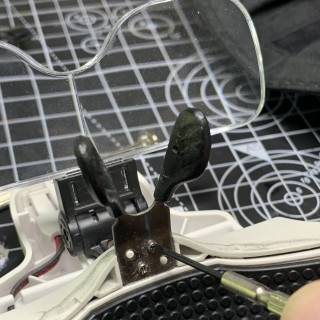
The dry fit looked ok, so it was out with the screwdriver to remove the arm hinges and the pain-inducing nose piece. Then a ton of superglue to fix it into place!
Tools of the Trade
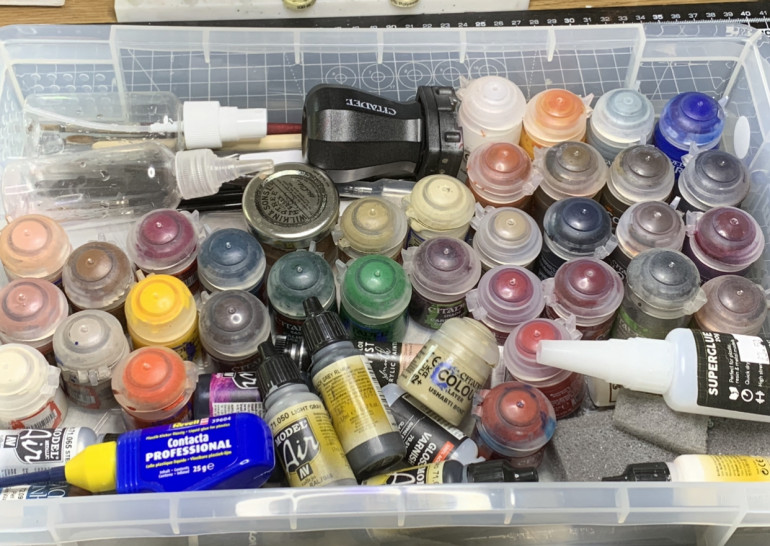
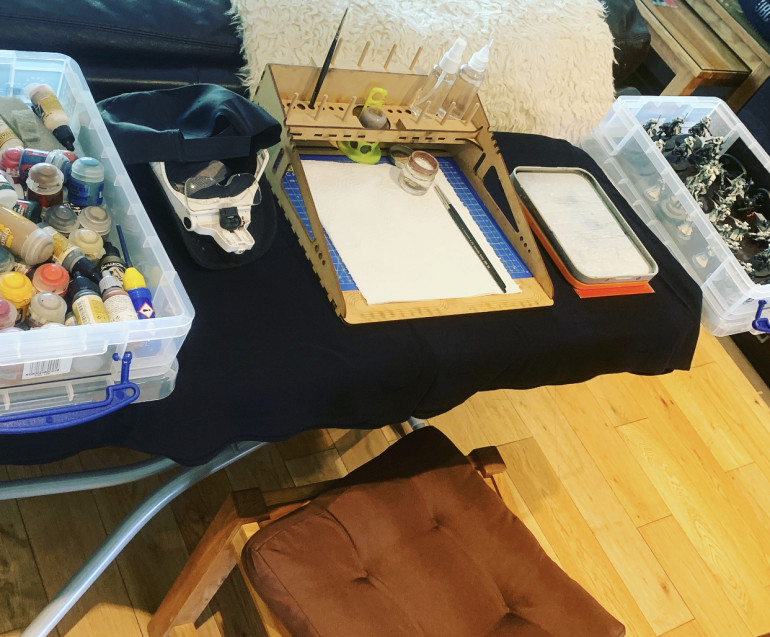
Time for the Really Useful Boxes (simple 4 litre / A4 ones) to shine. First one – paints and tools.
- Paints – just those needed for the job, plus ones that may not be needed but help to pack the box out to stop things rattling around
- Brushes (with the plastic caps on to protect them)
- Water pot (mini jam jar from a hotel breakfast!)
- Water dropper bottle – for topping up the wet palette when needed
- Spritz bottle – to dampen the wet palette paint if needed on a longer session
- Painting handle – in case I get sore hands holding the bases
- Glue – for when I drop things and bits break off!
- Foam – for weathering/chipping
- Toothpick and needle for unblocking any dropper bottle paints that clog
- I’ll pop the pack of wet palette paper in here too
All the Gear and No Idea?
So the kit is sorted, but what am I actually going to paint?
I realise that this may well be putting the mockers on me actually getting stuff done while I am away, but this time I’ve actually PREPPED(!) stuff that I can do.
It wouldn’t be very neighbourly of me to break out rattle cans where we are going, nor am I going to be able to airbrush etc, so I wanted a bunch of models at the stage where I could just sit down with a brush and make immediate progress.
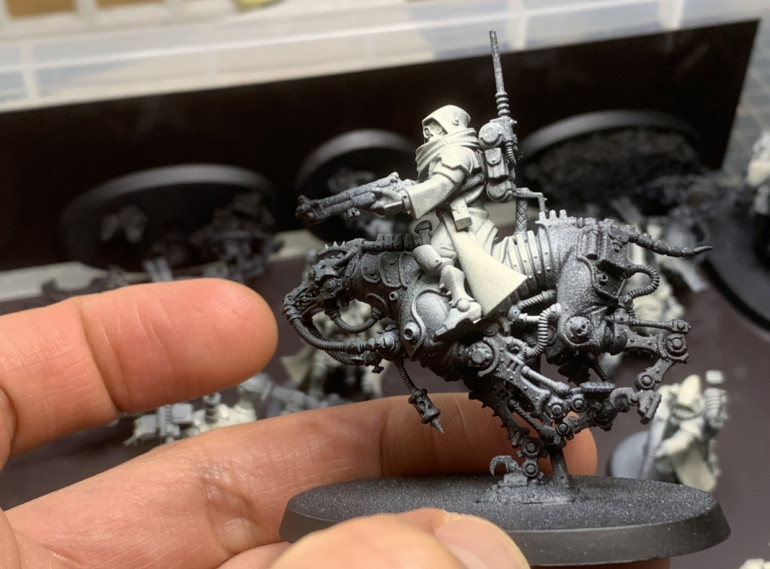
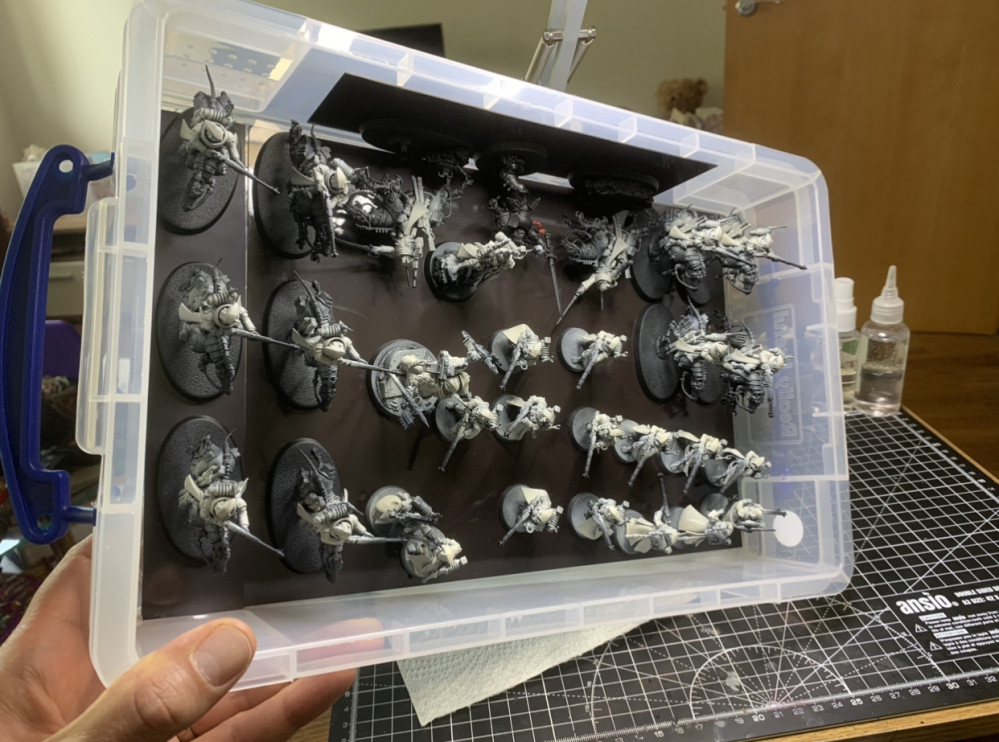
The models were already assembled and primed. As described in my Halo Scar project, I took the unusual step of assembling the whole army before painting. So that bit is easy. I have the AdMech side of that army – my “cavalry” that needs painting.
I want their colour scheme to be almost the reverse of the black templars. So white/cream being quite dominant, black less so. I would be there a million years trying to layer that over a black primer, so that’s a job for the airbrush. I laid the cream/white onto all the robes to get that part done.
So the “what to paint” was pretty easy. The biggest, most repetitive, job I had to hand.
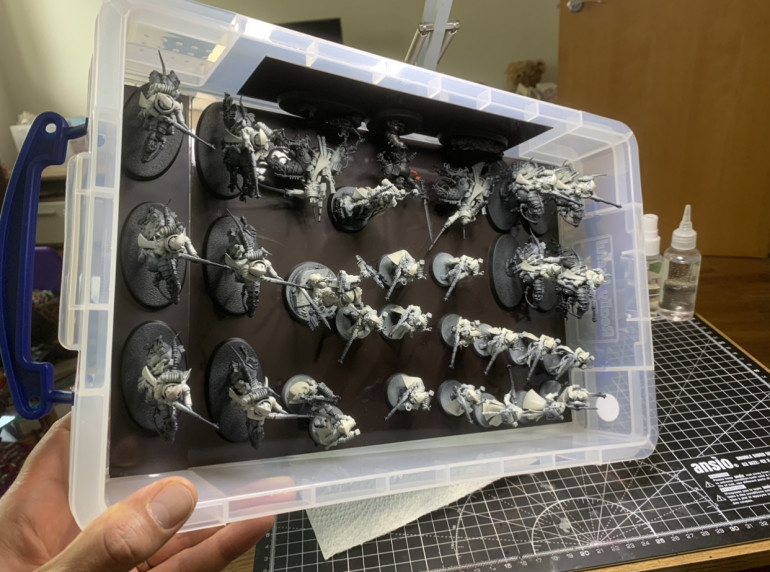
Time to get them ready for their travels. Really Useful Box number 2!
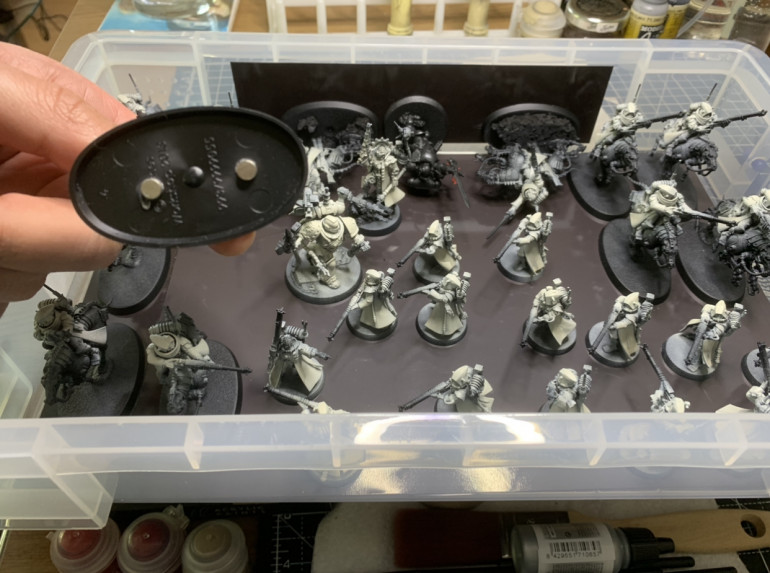
I magnetised the box using Greenstuff World self-adhesive magnetic sheets, and then magnetised the bases of the models using Greenstuff World N35 2mmx5mm magnets.
In addition to the magnetic sheet in the bottom of the box, I put a strip along the side as well, so that the models too tall to stand upright in the box could be laid on their sides and still be held in place.
This step is really just so they survive the car journey and being carted in and out of accommodations. This is even more important with AdMech. They have all manner of gribbly bits that break off if you breathe on them too heavily, let alone shake them around in a car.
I think they’ll survive!
Booked it, Packed it...
Are we there yet?
Sadly not quite holiday time yet, but the nice compact pack of hobby is ready and waiting for its trip!
I’ll leave the project open for now as I’ll likely take some pics when I’m set up in the Highlands!
Arrived and set up!
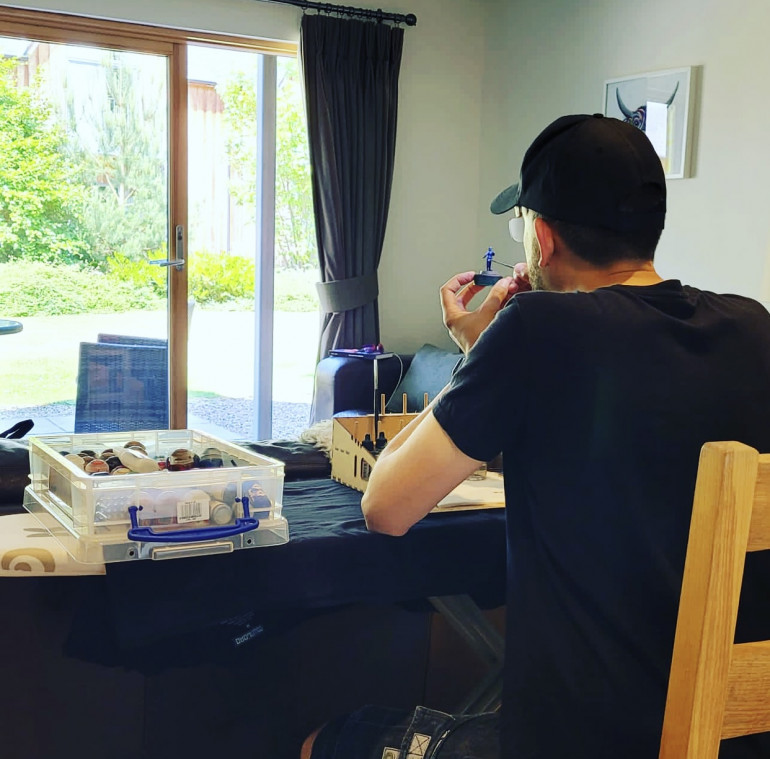
We arrived in Scotland, and lo and behold the weather is glorious! But I was excited to test the set up asap, so we had a quick test drive, before going outside.
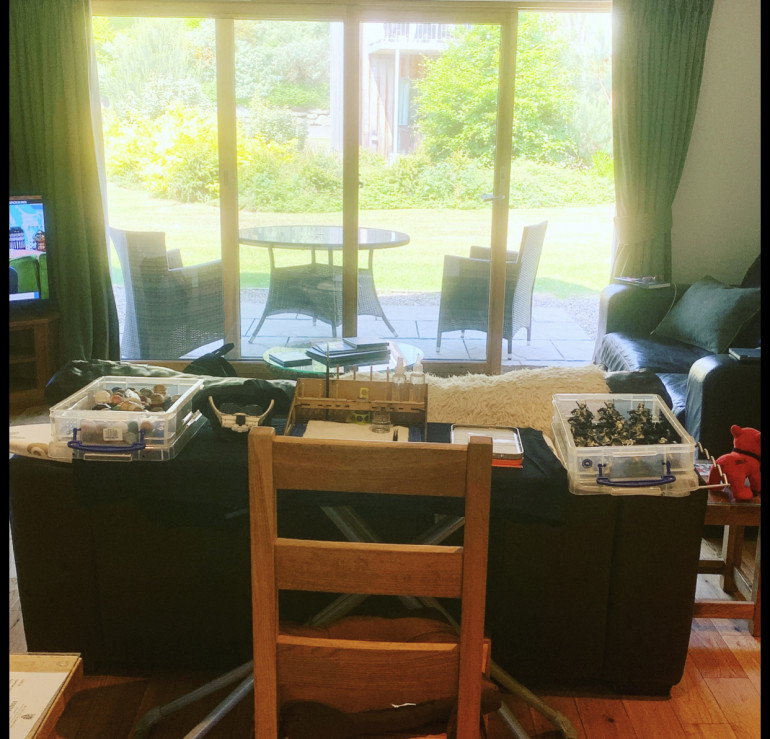
Where we are staying there is a fancy modern ironing board that can be adjusted smoothly and then locked sturdily in place (so hopefully no risk of a collapse!), and it happens to make a very handy table. This means I can leave it set up – no need to put things away when we want to use the table.
Everything survived the journey. The magnets held the models where I left them despite 500 miles in the car. Everything I need is here, and I can paint comfortably.
Perfect! I’m sorted for indoor evenings when there’s crap on the tele!
So…..that’s the end of this project. Or is it?
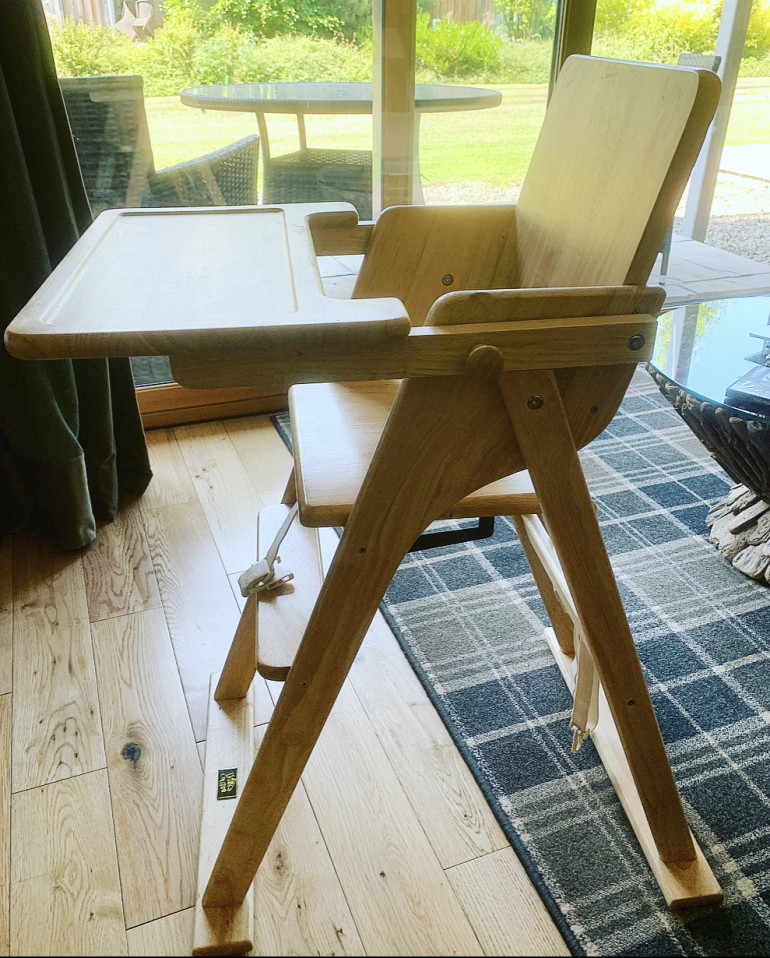
While I was setting up, I noticed that there is a kiddies high chair under the stairs…
Why do only kids get chairs with tables built in?
Why can’t I have an adult sized one?
That would be a great painting station wouldn’t it?
I won’t fit in this one, but it’s got me thinking…
Or maybe I’m going mad. I need a holiday!
To be continued?


