


The Ballad of Bradicles


A Horse of Course - Day of Battle Pt 1
I played against Brett Buckstaff and his Romans. The Romans are exceptionally tough opponents but I did well against him last time so history might repeat itself. Or at least I’m hoping it will.
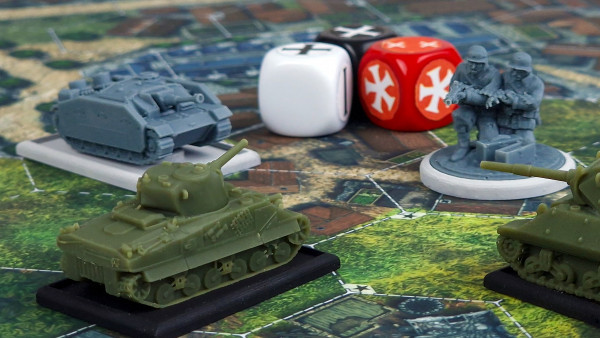
 The Roman force. Some Cavalry with javelins, some allied troops and multiple heavy infantry with some light javelin troops.
 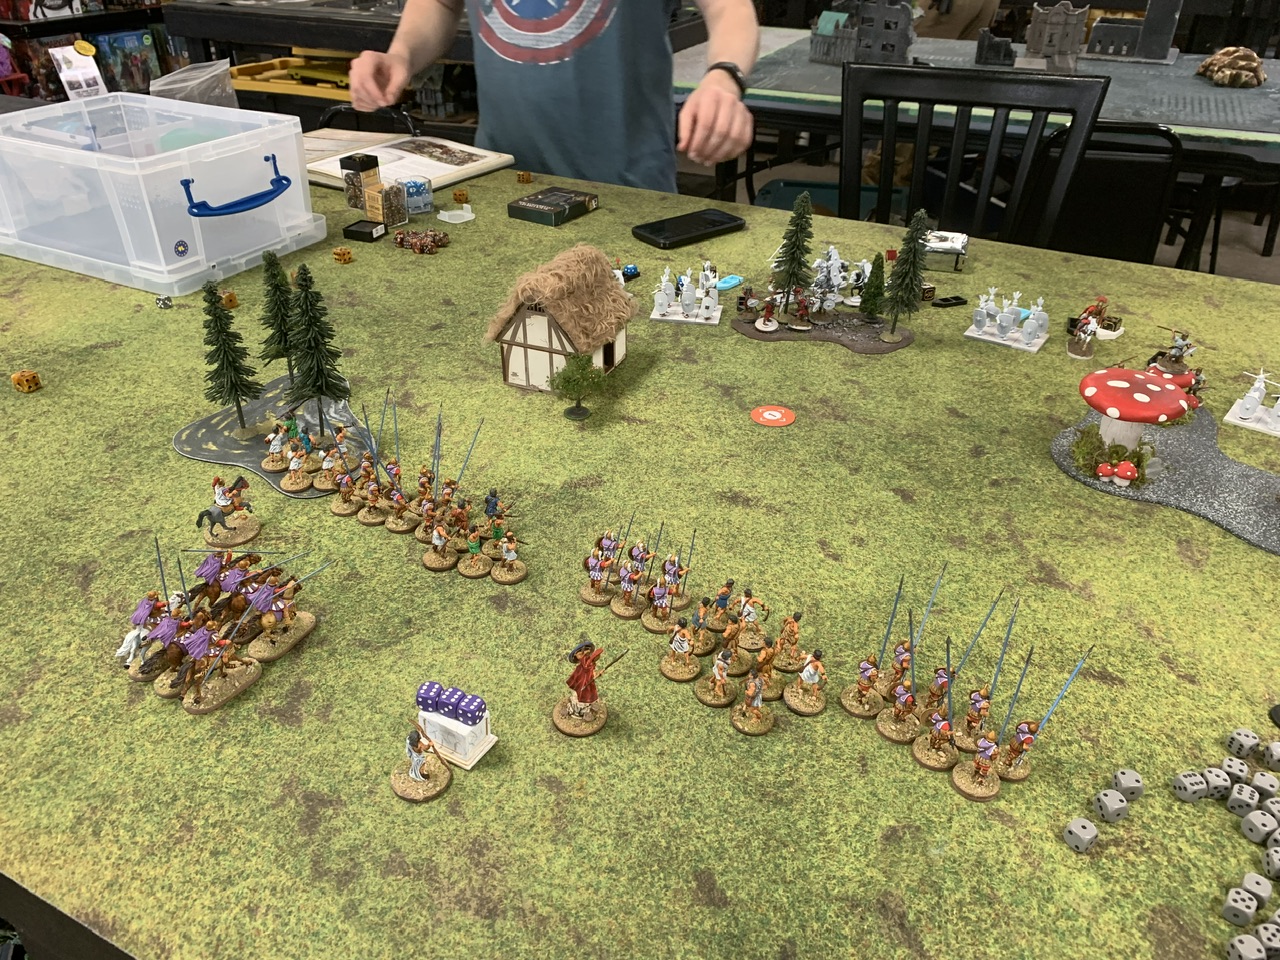 Today’s mission is Force Projection. A central objective which grants a break point if you control it and getting within range of the enemy’s deployment zone also grants a break point. Here’s the layout of the armies after the deployment phase.
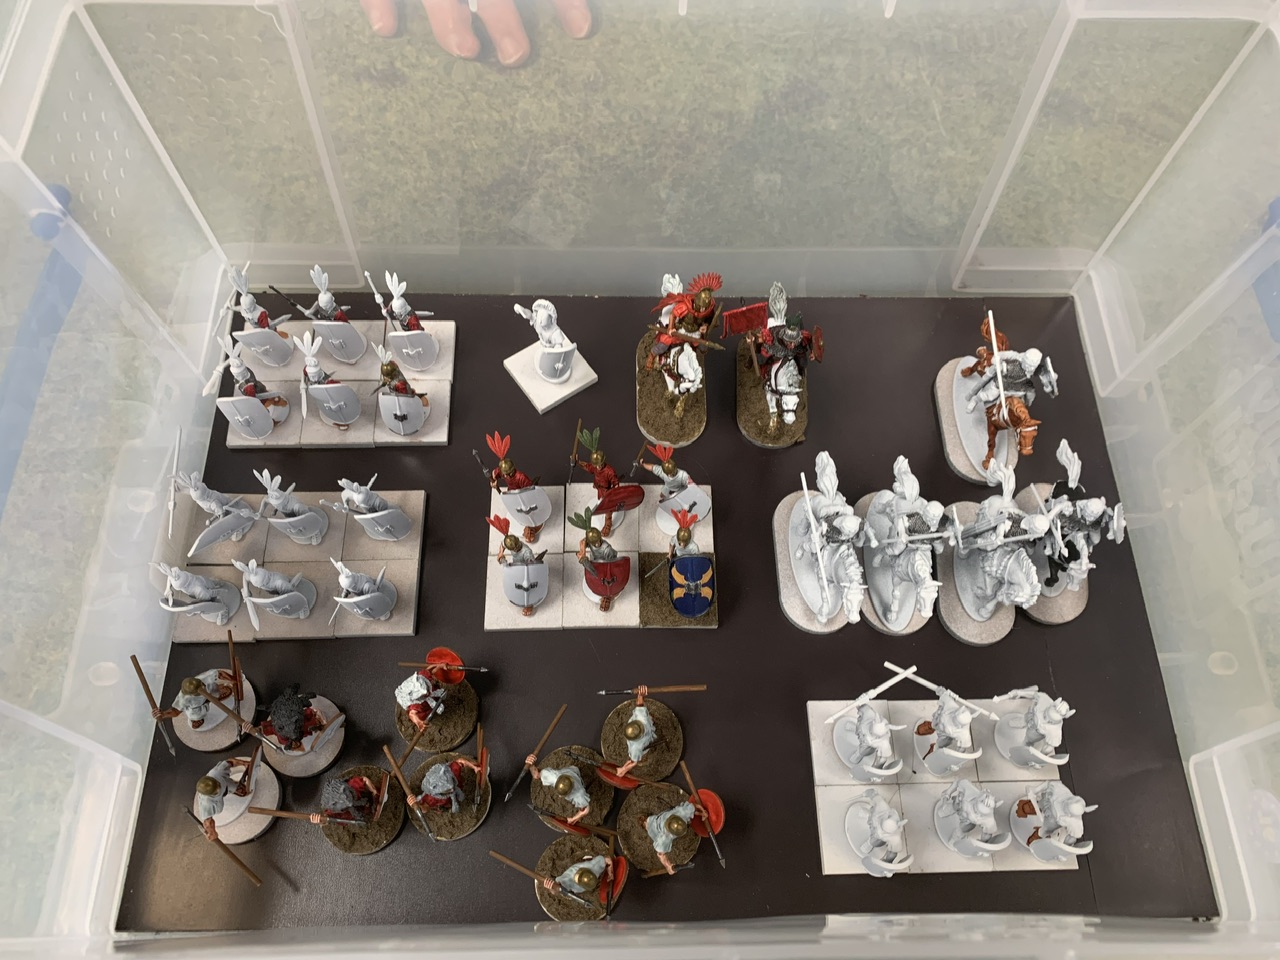
 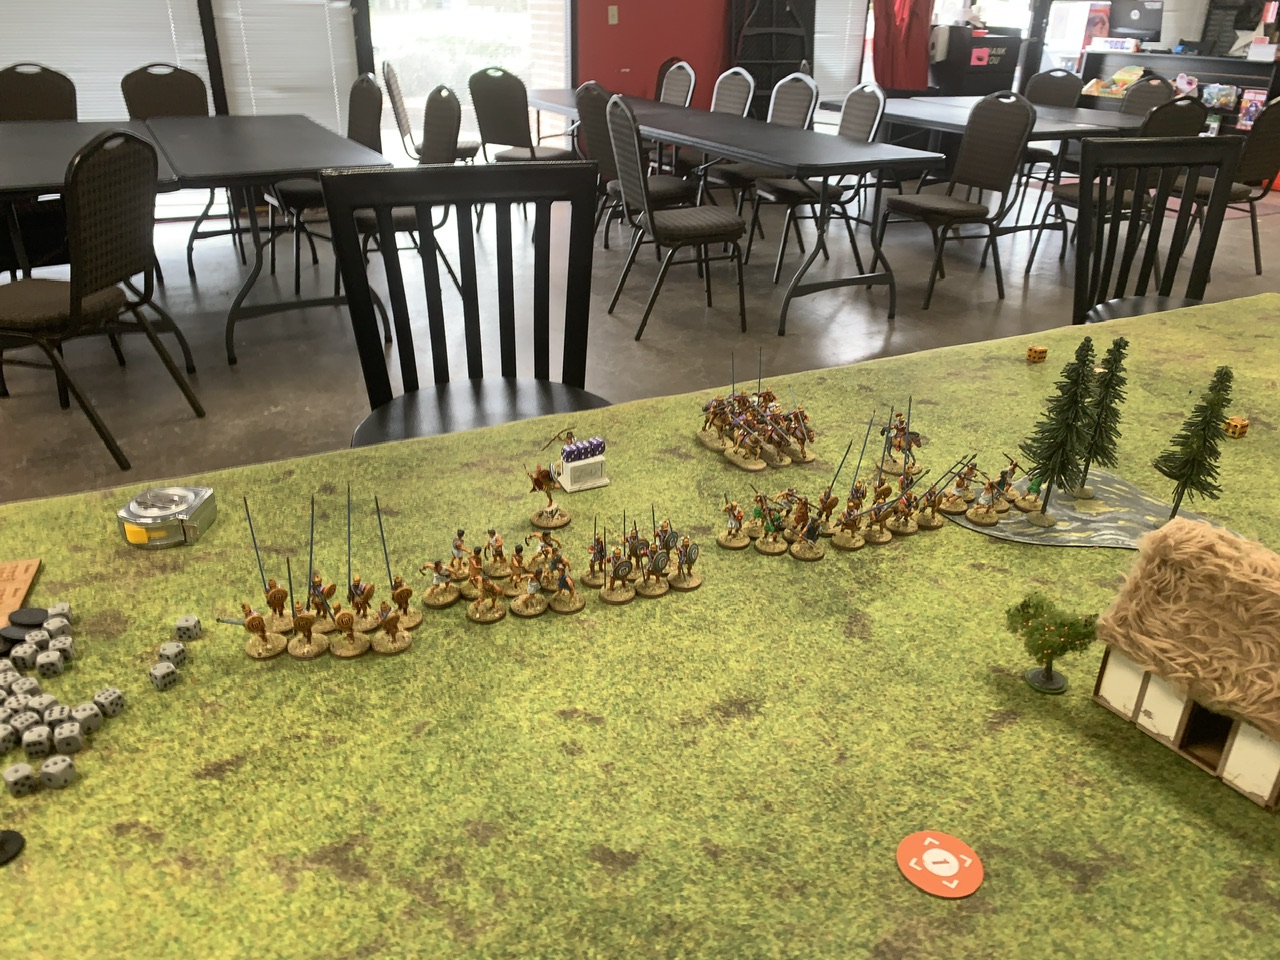 My deployment left to right. Pikemen, slingers, veteran Hoplites, javelin men, pikemen and in the forest on the far right, a unit of javelin throwers. Second rank are the two commanders and the cavalry
 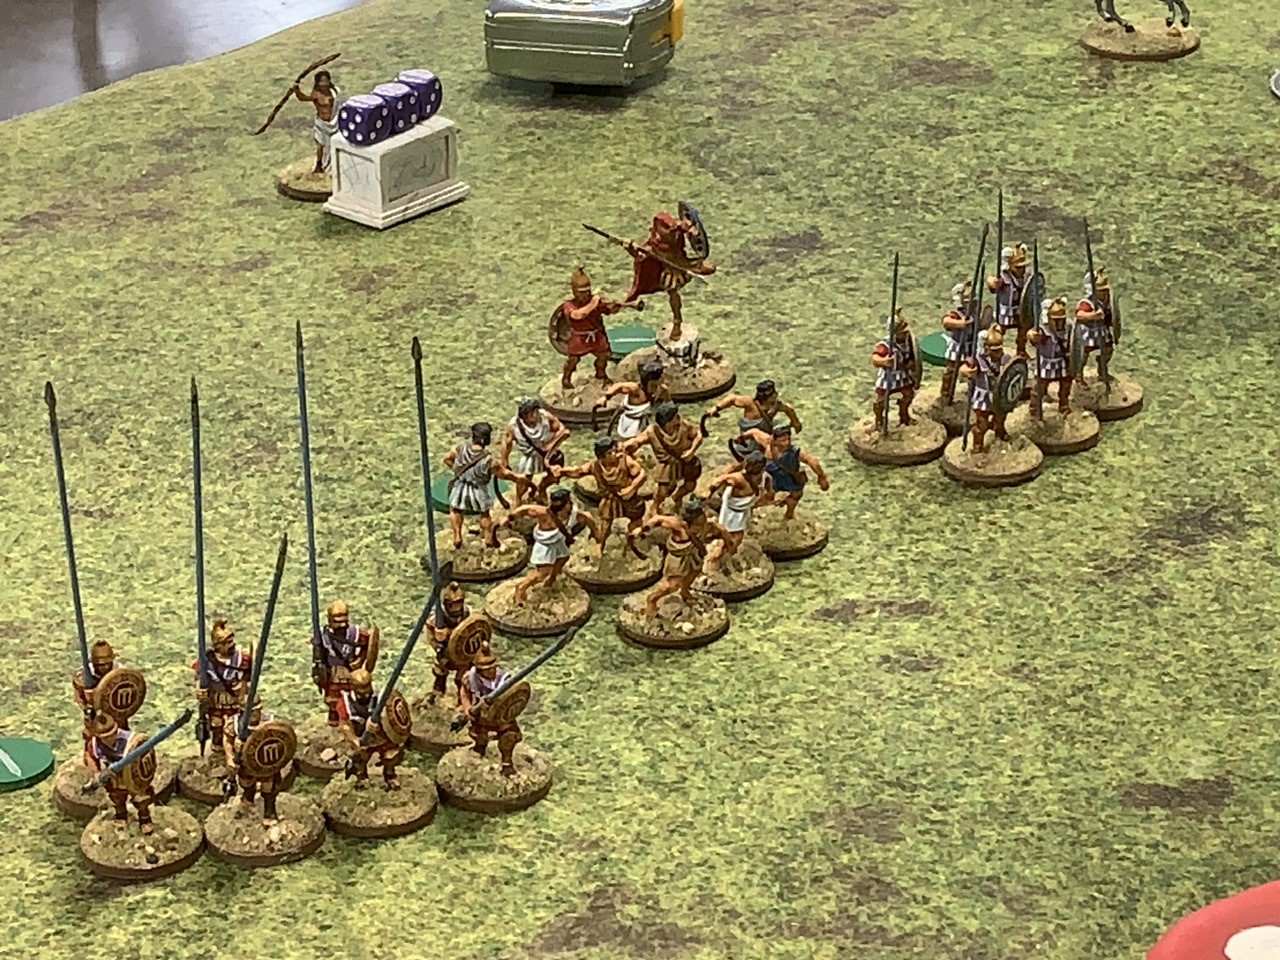 After some initial opening moves I opened up my line to have the pikes secure my flank and then brought the slingers up to threaten the objective and then brought the veterans up as well.
 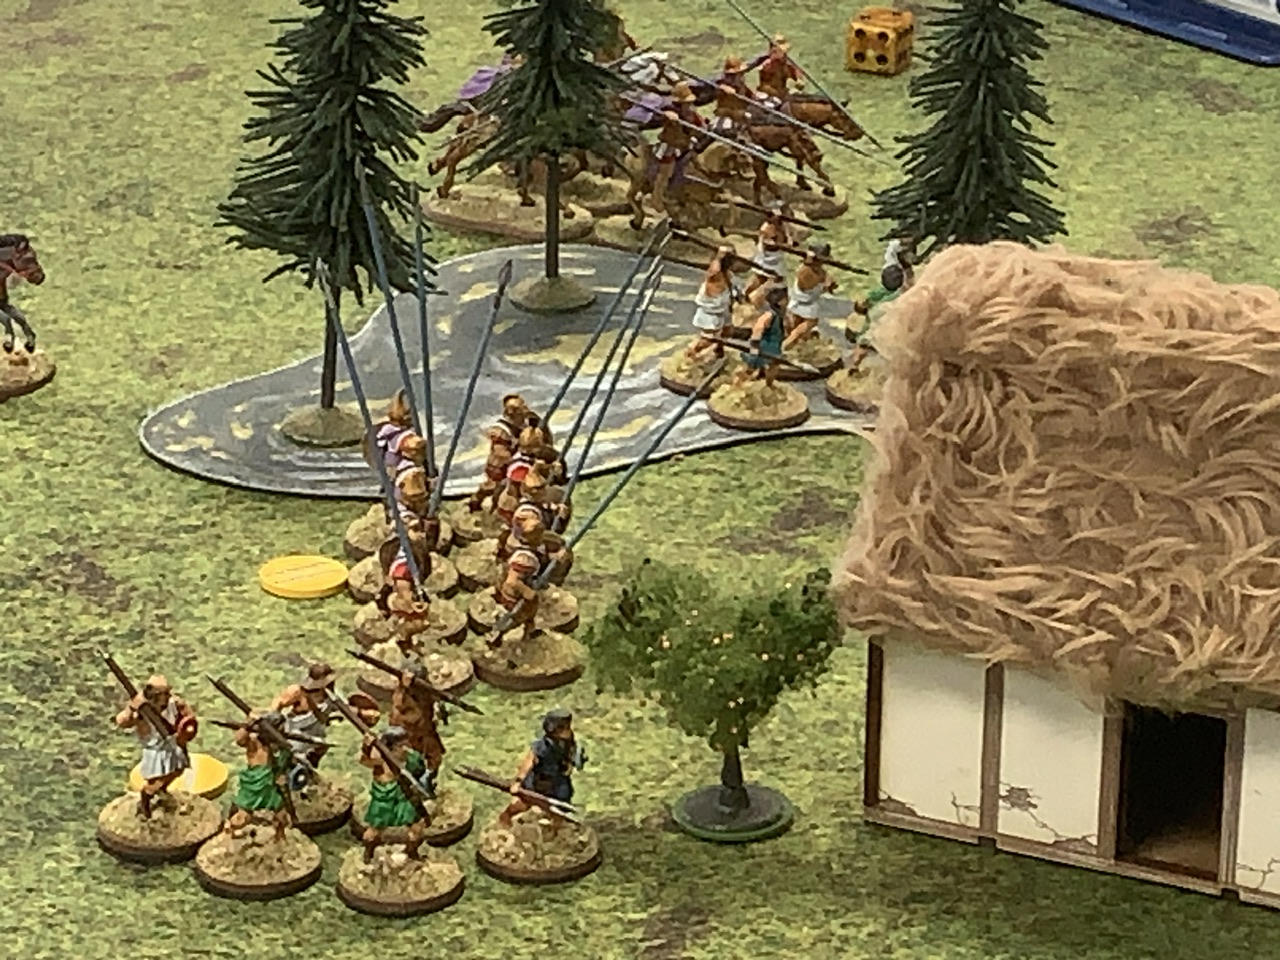 I brought one unit of javelin men around one side of the farmhouse and continued to move the other through the woods I managed to get the pikemen exactly in the center with their left flank anchored by the woods and their right by the farmhouse. The cavalry started a wide flanking move and are in the far side of the woods.
 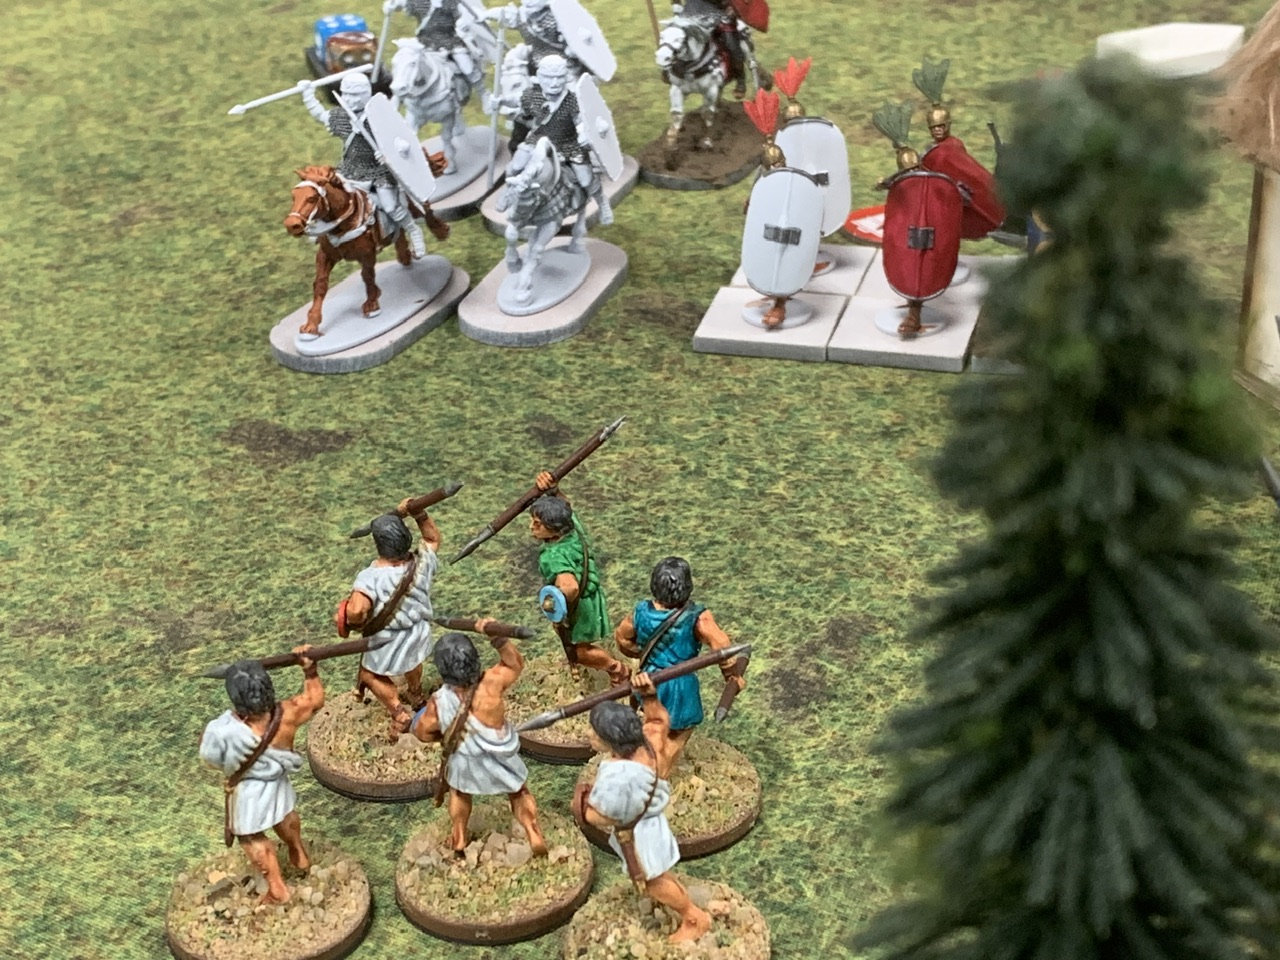 The Roman cavalry and heavy infantry round the corner of the farmhouse. I push out my javelin men and take a few shots at his cavalry. He ignored them.
 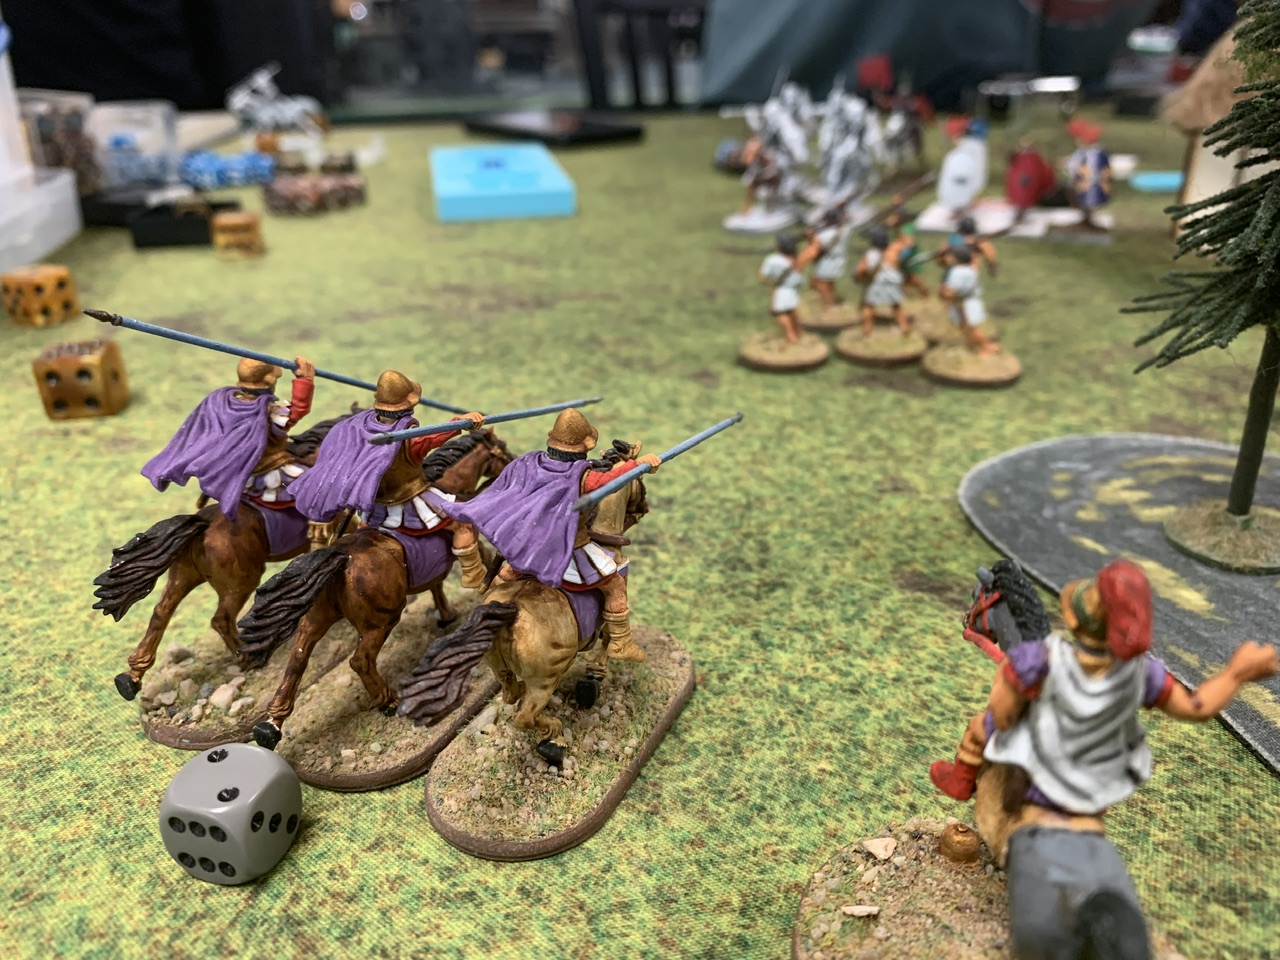 Instead he rushed forward and instead of lobbing javelins at my cavalry, charged them, killing half the unit, then falling back. Their morale held but they still accumulated fatigue.
 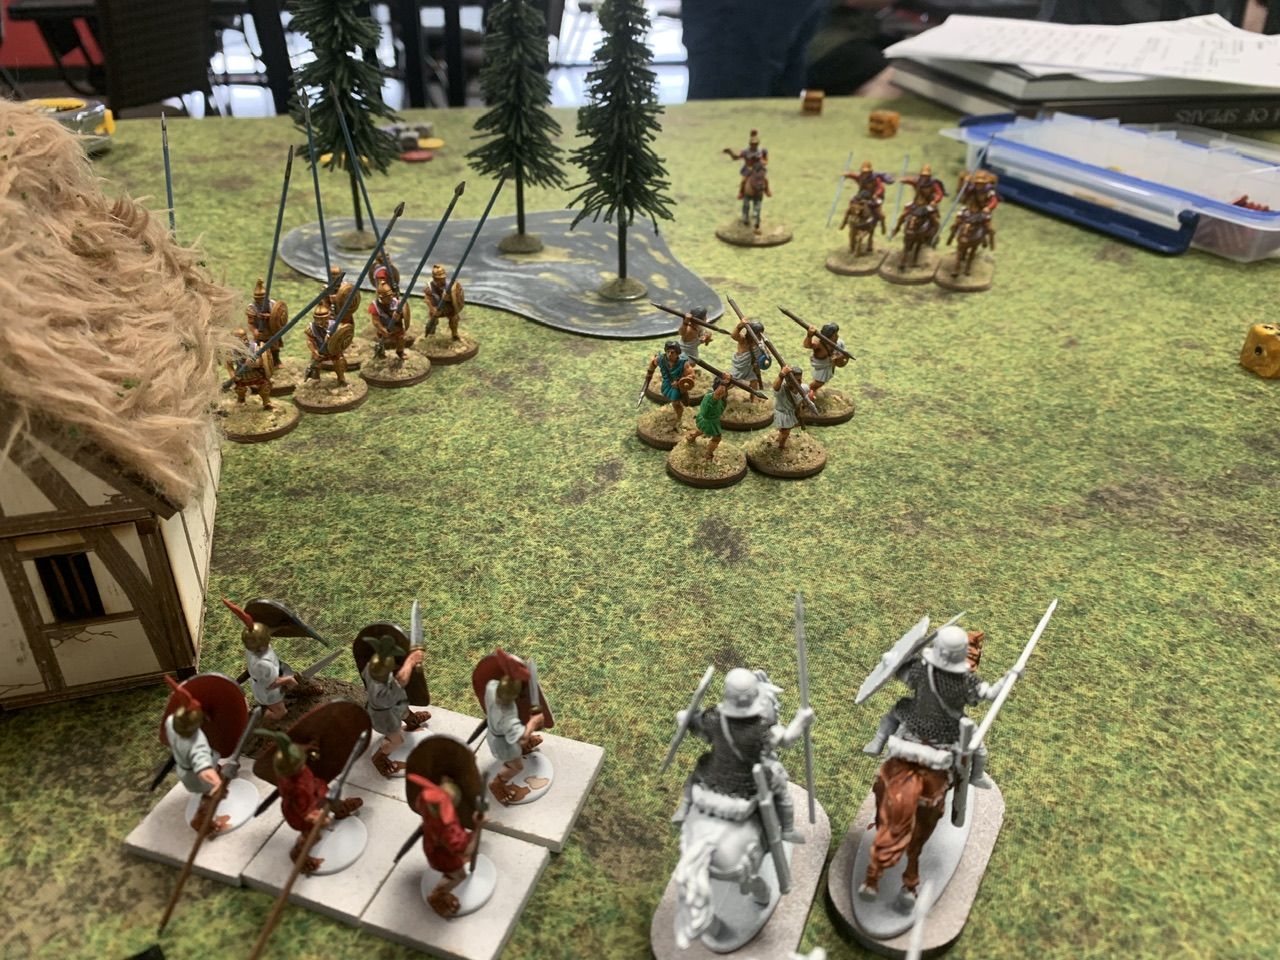 I continued to push the javelin men forward and concentrated on the enemy cavalry
 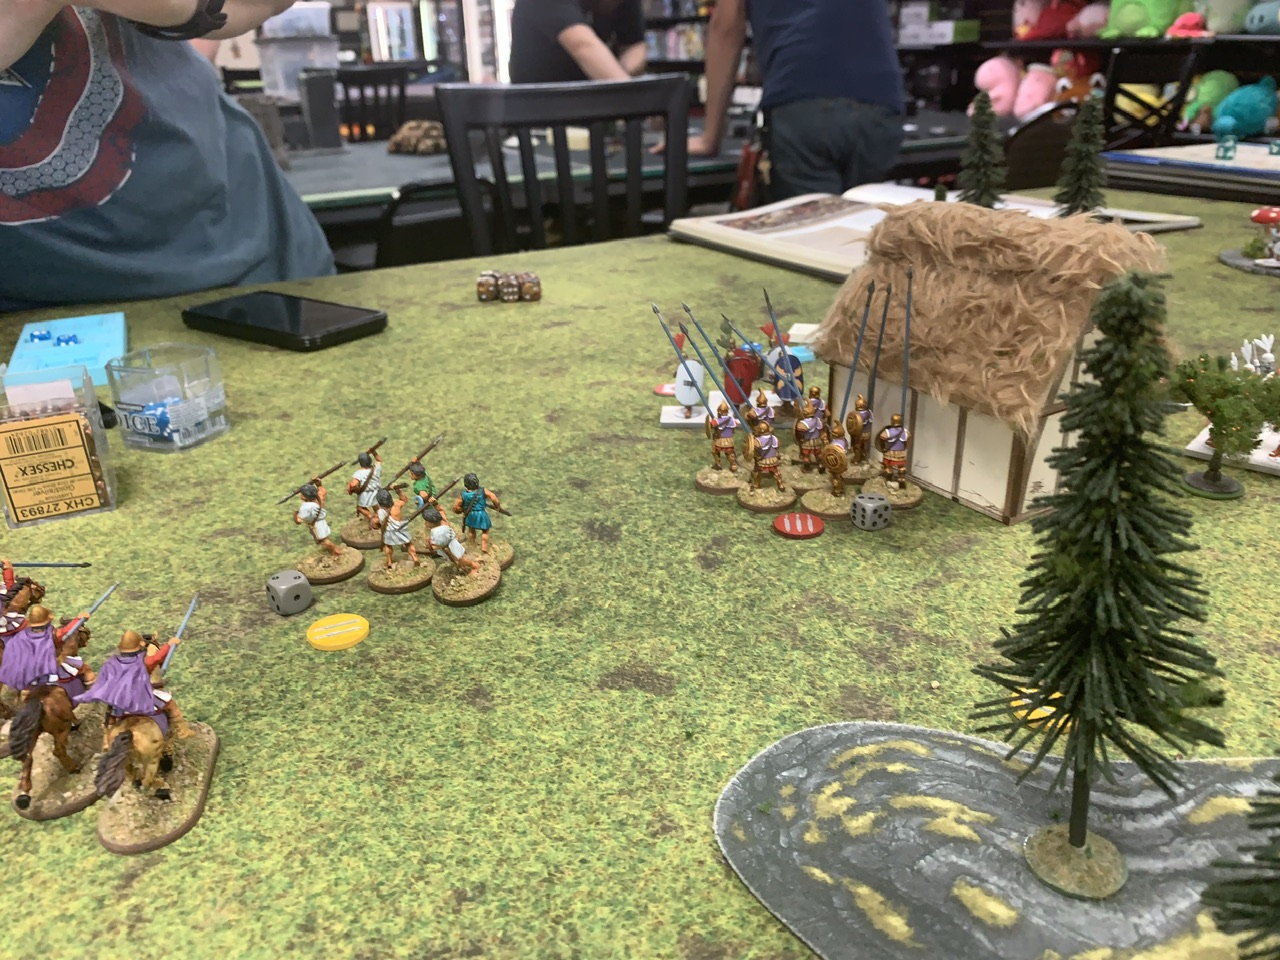 The javelin men eventually shoot the Roman cavy off the board and the pikemen move up to engage the Roman infantry. A back and forth fight between the Pezhetairoi and the Roman infantry leads to mutual exhaustion but little else. The Hetairoi recover their fatigue and eventually move off unhindered for the enemy backfield.


Leave a Reply