Necromunda: Hive War (a Painting Challenge)
Recommendations: 18
About the Project
I purchased the box set of Necromunda: Hive War a year ago and until now it's been sat on the shelf. So, although this ISN'T a Spring Clean Challenge, it is the inspiration for me to record my attempts at using different and more complex painting techniques. I'm an average painter, more interested in getting figures on the table so this will be "interesting" to say the least!
Related Game: Necromunda
Related Company: Games Workshop
Related Genre: Science Fiction
This Project is Active
Escher gang update
So, I completely forgot to post any updates of my painting the Escher gang figures! To project my inner Bart Simpson, “D’oh!”
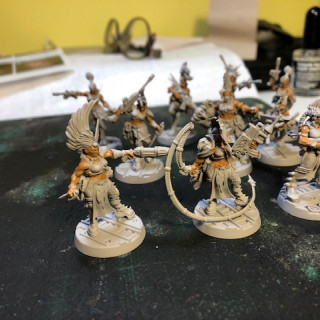
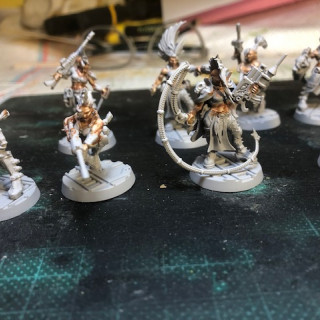
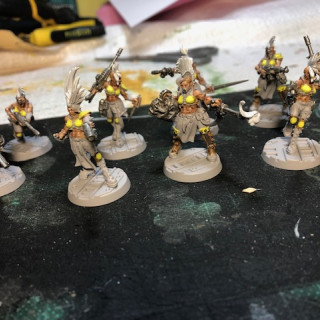
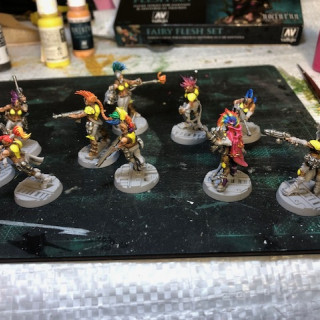
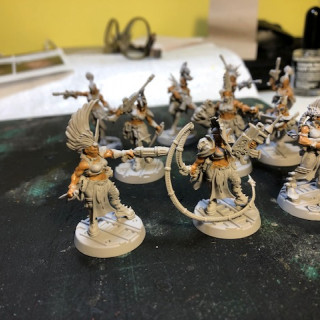
So where am I now. I completed the flesh following some ideas from the Vallejo box set of Fairy Flesh paints, but using the ones designated for “normal” flesh, and then washed them with the Vallejo Flesh wash. They ended up slightly darker than I expected, but overall I think they’re in keeping with the dark theme of the overall Necromunda concept.
The method was a base of “Base Flesh”74.004 followed by several layers of highlights starting with “Natural Flesh” 74.006 and a 50/50 mix of Natural Flesh and Highlight Skin 74.008. Touches of Highlight skin on its own were added and once dry a wash of “Flesh Wash” 73.204 was the final step.
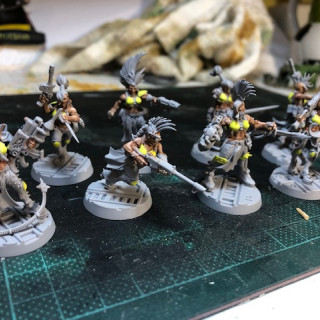
I started on the rest of the figures by applying several layers of Lemon Yellow 70.952 to the chest and back armor.
It then took me quite a while to think how I wanted the rest of the figures to look. I wanted a complete contrast to the Delaque’s grim/dark look.
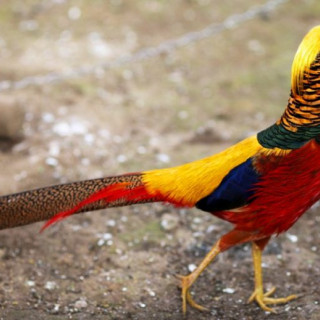
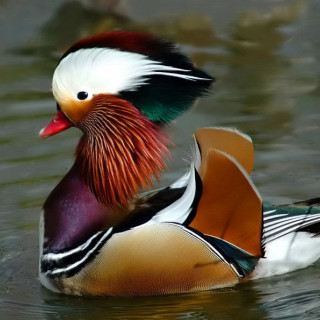
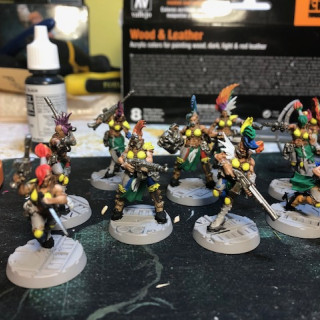
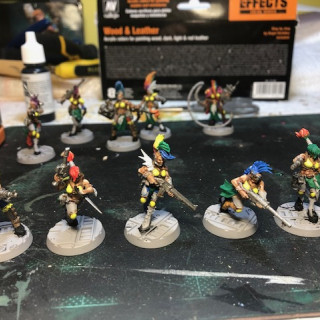
So I Googled exotic plumage and came up with a number of wild looking tropical birds. The juxtaposition of the colored feathers is really quite amazing, and so this was to become my theme for the gang.
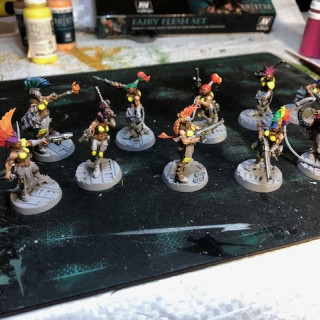
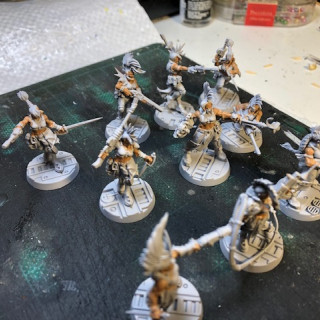
Lots of primary colors for their hair as a starter. So I began with painting all the hair in white to make a light base for the vibrancy of the colors to follow.
Then I just mixed some paints and went in as unconventionally as I could.
The range of colors used were all from the Vallejo range:
Lemon Yellow; Ultramarine Blue 72.022; Royal Purple 70.810; Royal Blue 70.809; Deep Green 70.970; Dark Vermillion 70.947; and a couple of Foundry pants which I used to highlight the Jacket of the Leader after a base coat of dark Vermilion, Wine Stain 17B and 17C.
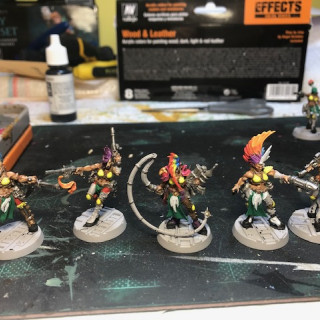
On the larger hair styles, I “wet blended” some of the paints as an experiment (I’ve not done this before”, and overall I think they came out well. I am enjoying my personal challenge, but it is far more time than I usually spend, so I might continue this with small skirmish teams, but it’s not something I’ll do for my big armies.
At this stage I was also painting leather on different parts of their outfits, and touching up small details where paint had over slipped.
I also painted all the gun/metal parts with Vallejo Gunmetal 72.054 and will come back to these later for highlighting.
So where I am now is to finish painting the rest of their general clothes/armour and pinpoint the little extra things that will hopefully “pop” the figures.
So, till next time, Happy Gaming
The Escher gang
If the Delaque are dark Steampunks, the Escher are “Hippy punks” in my imagination. (I guess seeing both these in my life helps in the comparison).
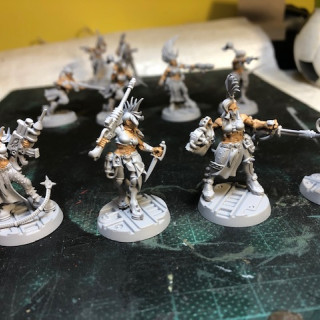
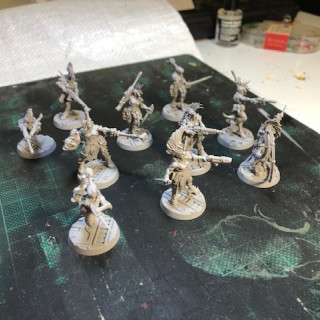
So, just a brief start. The figures were constructed according to the examples in the box. No kit bashing this time. Color scheme to be finalized but I think their “armor” such as it is, will be the yellow as the box art, but hair color and the other armor/leggings/loin cloths are up for grabs.
Today not much done. Base coated grey (Vallejo hobby paint spray can) and the flesh started with two thin coats of Base Flesh 74.004.
I plan to finish the flesh in full before moving on to the rest. As a guide I’m following the example in the Vallejo paint set “Fairy flesh set” as presented by Nocturna Models.
Happy gaming
Blocking in the other colors
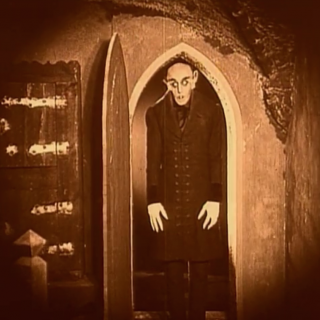
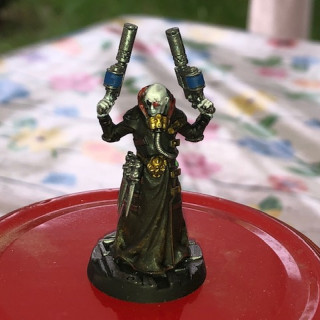
The Delaque figures remind me of a cross between Steampunk and Nosferatu and I wanted to keep the additional colors on patches and other elements a muted as possible.
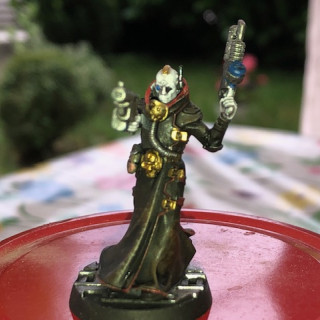
I used Vallejo Dark Vermillion 70.947 on these coat patches (for want of a better word) and was delighted that when dry they were dull but still a noticeable color.
The brass fittings on the belt and inhalator were Vallejo 70.801, and all other metal parts were also Vallejo, Gunmetal 72.054.
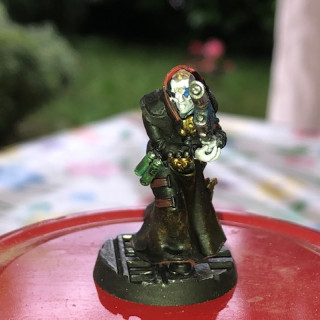
The container of the respirators I used Bright Green from the Foundry range 25C and other points of color were randomly selected with what I had on hand.
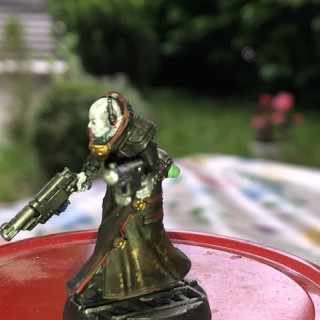
I kept to a degree of uniformity by having all the weapon highlights the same Vallejo Royal Blue 70.809
The leather belts and other leather pieces were complete in a similar way to the overall coat using Chocolate Brown and Flat Earth highlights overpainted in a wash of Smoke.
At this point I also painted the coat linings in the same Dark Vermillion and the buckles in Brass.
The head and hands received several coats of white to prepare them for the only Contrast pint I will use. It’s an odd one and I don’t really know why I bought it, but I think it looks OK. Contrast paint Dreadful Visage.
The entire model (excluding the flesh was coated in Nuln Oil to darken it all down. I think this worked OK.
The flesh received two coats of Dreadful Visage and highlighted with White. The other colors were also highlighted over the Nuln Oil wash using their original colors. I don’t think they need an additional highlight. The bases I kept simple with a black base coat and silver highlights picking out the raised features of the base.
I may tone them down with some form of “rust” paint, but at the moment I’m not sure. I plan to do the same with the bases for the Esher gang so that there is some continuity between them. But that’s a decision for another time.
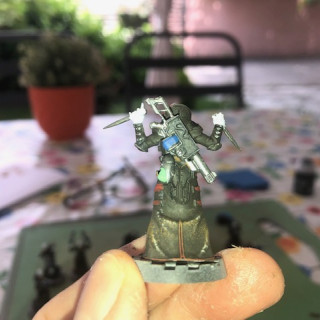
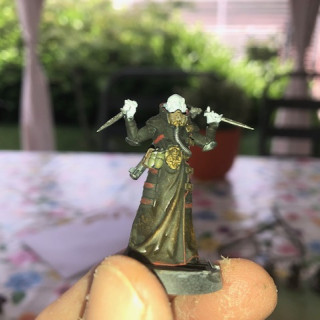
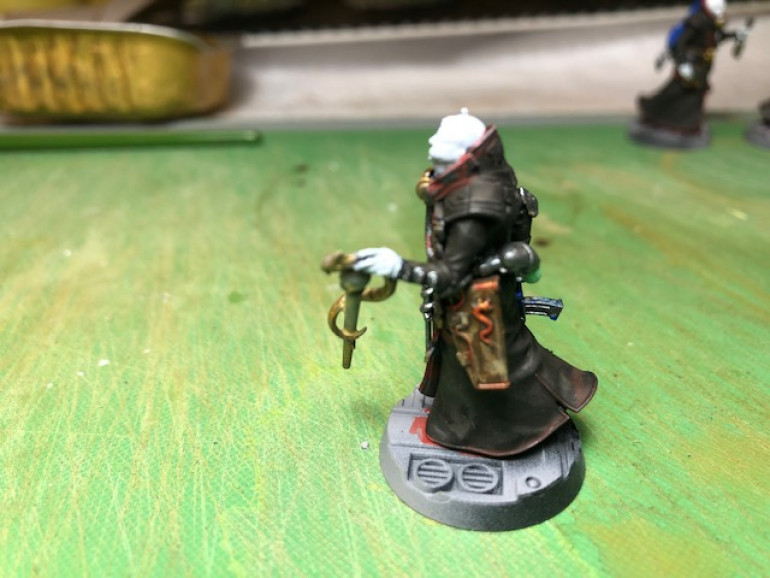
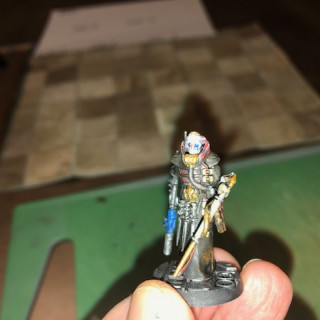
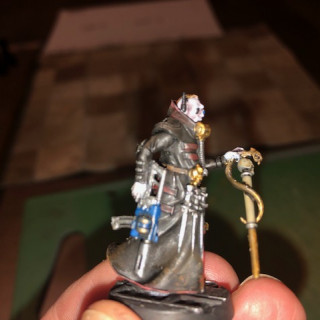
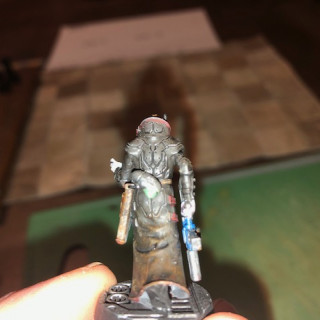
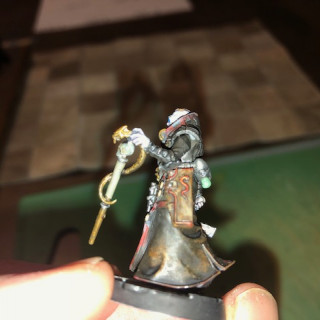
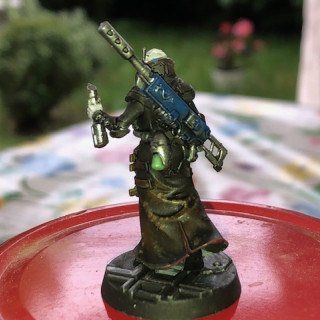
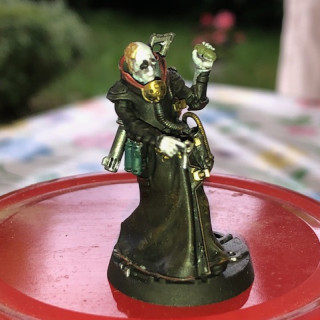
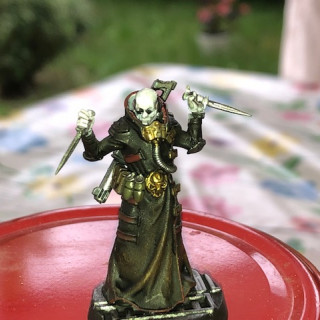
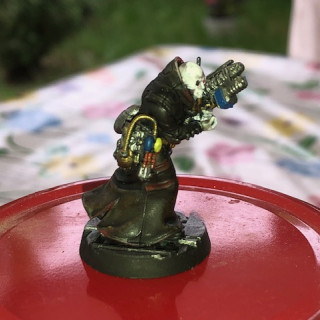
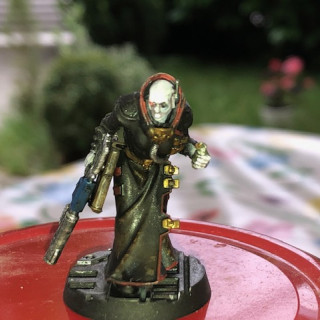
Other accoutrements were similarly treated and a few pictures of the Gang leader follow.
The pictures are not great (I was using my mobile camera quite close) but I hope they can be seen.
Lessons learned so far:
- Don’t over work yourself. I found after a long time painting I got a bit sloppy and had to redo previous work. Take a break every hour.
- Clean the brushes regularly. By this I don’t just mean watching them, but actually taking time to use proper brush soap and get right into the bristles.
- Keep a good point on your brushes. It seems obvious but on more than one occasion the brush started ‘flaying’ and mistakes were made.
- Take your time. No need to “speed paint” as this approach is the exact opposite.
- This works for Heroes, Leaders, Special figures. It’s not something I’ll do for mass combat units. But games Like Necromunda with a limited gang numbers does lend itself to a more measured painting approach.
Next up is something completely different, the wildly colorful Esher gang with LOTS of flesh. So I want to think more carefully about how to achieve a nice flesh finish.
Happy gaming
I took some individual pictures. Hope they show up better
Basic ideas
I like the two gangs in this set as they have the look of two completely opposite paint schemes. The all female gang (Esher) and the secretive Delaque present themselves as a vibrant “Punk” paint scheme and a contrastingly dark and ominous one.
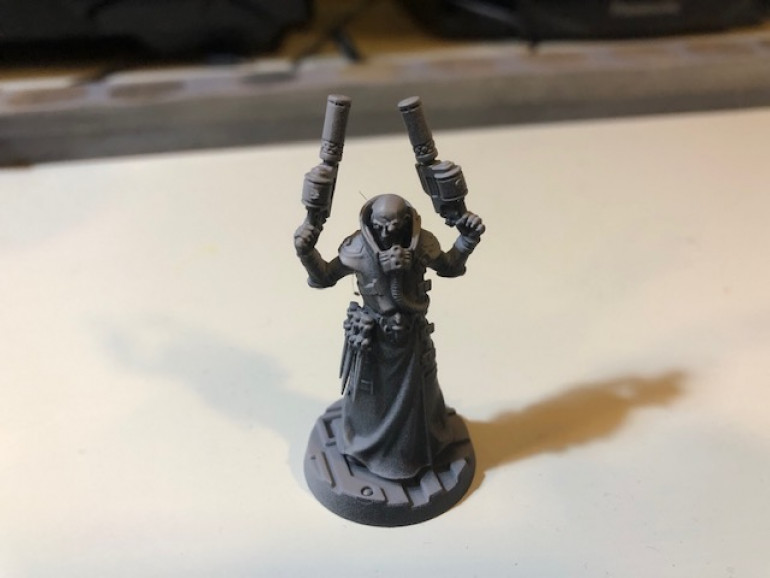
So I started with the Delaque gang and built the ten models simply as described in the suggested scheme given in the box set. (I followed the same plan for the Esher gang).
Once assembled I undercoated the Delaque in Black and highlighted them with a grey pray paint directly from above. I wanted their long coats be to a dark leather look and so limited the contrast. The Esher had a single all over grey primer.
I was also inspired to paint these long leather coats in as dark a color as possible, ideally black. However, I think it would be easier to have it dark brown, but with a Nuln Oil wash to darken the leather.
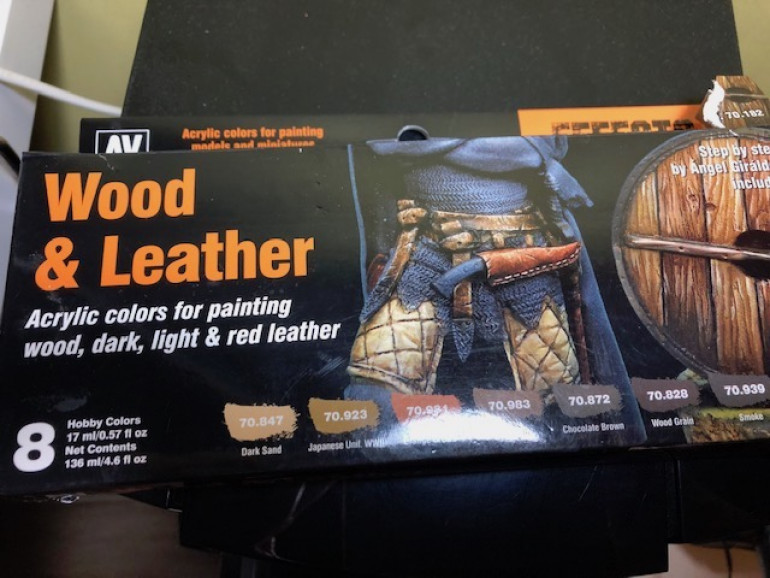 This Vallejo paint set includes some suggested paint scheme by Angel Giralhez which I'll partly follow
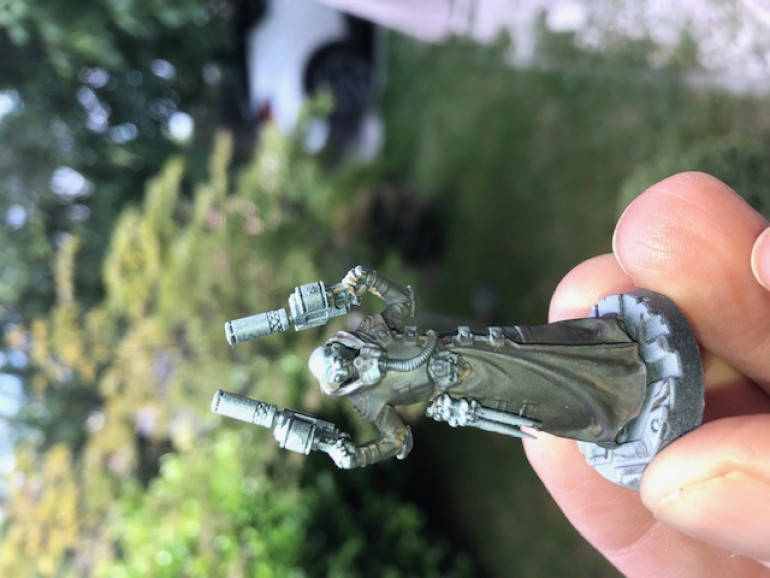
For the long leather coat I painted the entire coat in a 50/50 mix of Chocolate Brown and Black from the paint set. This was followed by using a piece of sponge to stipple some “damage” marks at various places with “Flat Earth” on the larger areas.
The next step was trying to “crosshatch” the highest folds with Dark Sand. I must admit at this point I was wondering where this was going! But once all this was dry a wash of “Smoke” was brushed over all the lower portions of the figure. I think it looks OK and did the same approach for the other models.
Note: I recorded this process to that I can replicate the scheme if I purchase additional figures.
A couple of photos show the finished look.
At this point I still think it’s was too “Red/Brown” but as I intend to coat the entire model in Nuln Oil I hope this will darken down the Leather as well as “griming up” the other colors.


