SAGA Challenge
Week 9a -Walls, Fences and Fatigue markers
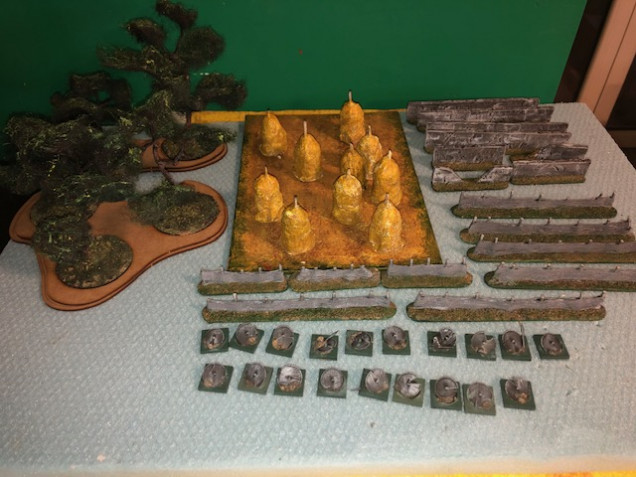
Update on the remaining terrain pieces.
I haven’t done anything remarkably different to others, but here are pictures of the process for the different terrain features.
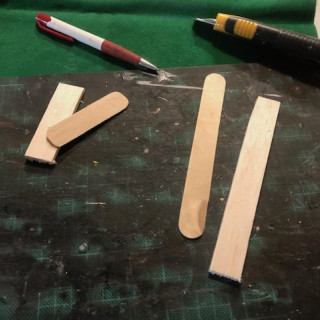
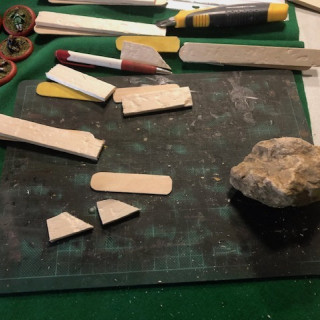
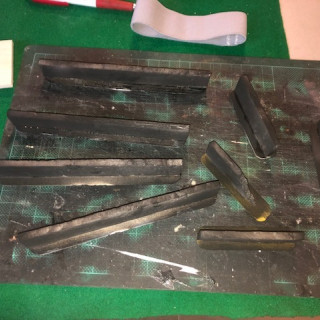
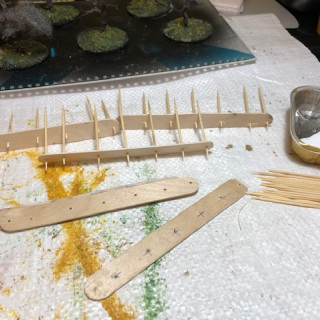
Walls were made by using balsa wood, 5mm thick and 20mm high stuck down on “tongue depressors” or art sticks, depending on where you are. These are about 6″ in length. I cut some in half and rounds the edges with sand paper (I did the same for the fences).
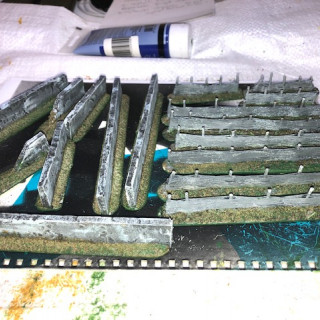
The balsa was “textured” by rolling a rock on the wood. As it’s so soft, it leaves an impression. On reflection, I think the result is more like concrete than stones, but it will have to do (although It is an interesting possibility fr other games such as Bolt Action or Necromunda, where concrete might predominate?)
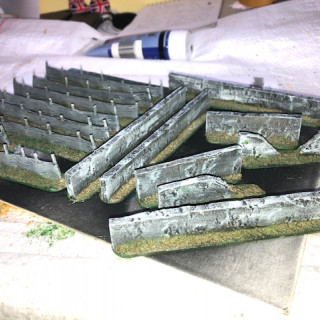
I added a mix of PvA and sand to the bases for both texture and strength. As an aside, I have some small sand which I previously colored with green paint, and this the added to the base provides an “instant” grass look, which I later highlighted with another green acrylic paint. I think it looks OK, but comments welcome.
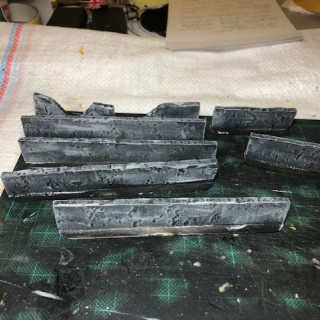
Painting the walls was straight forward: based in black then a series of grey/white dry brushing. I also tried placing some brick shapes in paint with a flat brush. Again, bot 100% happy, but it is what it is, at least for now.
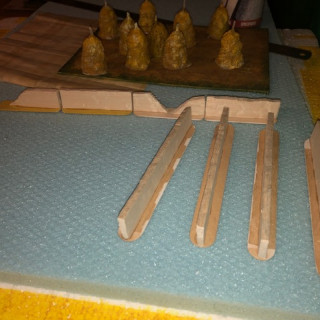
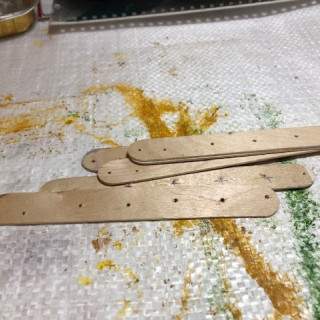
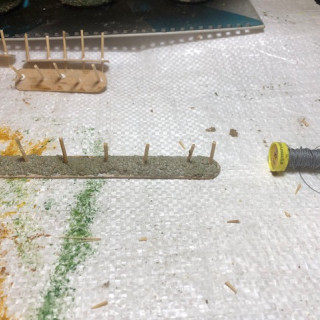
The wattle fences were made using the same 6″ art sticks. I drilled small holes every 1′ but on reflection I think the look would be better if the were every 20mm (about 3/4″).
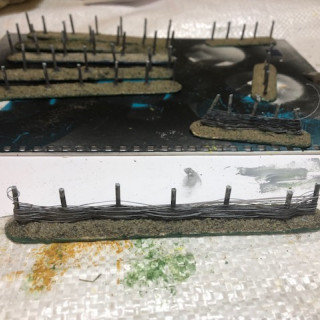
Tooth picks were glued into these holes and once dry, cut off about half way. The wattle is actually cotton yarn. Note that this isn’t the normal thread, but is thinker and I think used for crochet work or maybe tapestry work. This can usually be found at any haberdashery. I chose a grey as this is a good neutral base color.
Important note: the uprights need to be an ODD number otherwise the weaving doesn’t work. Periodically I would ‘fix’ the weave with superglue (I also dropped superglue on the knot when starting the process with the yarn. I find starting in the middle hides the knot better than starting at one end. Loose thread can be snipped off later.
Once complete and dry, a grey paint is applied and can be highlighted with a lighter grey for emphasis.
The ground work is the same as with the walls.
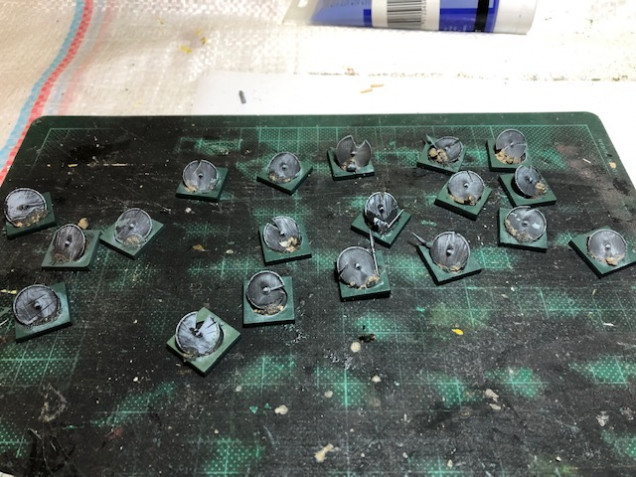
The fatigue markers was made with Mantic small square bases, a dollop of glue/sand and a radon shield with sometimes a weapon stuck down.
A black primer followed by a white dry brush finishes the job and the base painted a green. decided that these represent fallen warriors and I wasn’t about to start painting all the shield fronts!
So, I think that’ll do for now with the smaller terrain pieces, next on the agenda is a couple of Dark Age buildings.




Leave a Reply