Marvel Crisis Protocol by Lawnor
Corporate Art
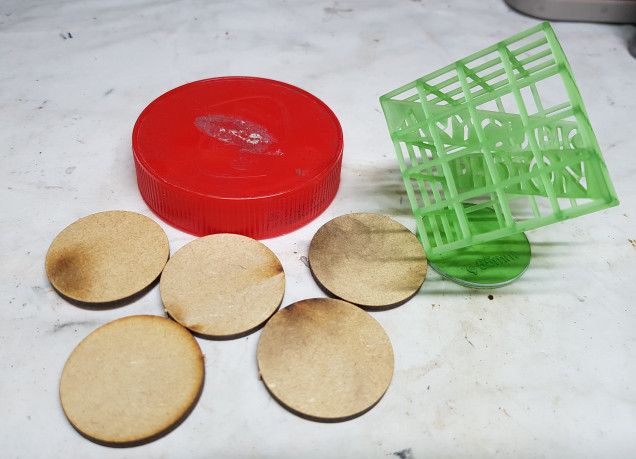
Work has begun on the Corporate sculpture idea. Here’s my parts. I had a variety of jar lids already saved up. I use them as hobby holders. I worked out which one to use by scaling them up against the minis. This one means the planter will be about bottom height, making it perfect for leaning against or sitting on. Not too high for people to comfortably look at the flowers on, and not so low people would casually walk all over it.
The lid comes from a jar of Biscoff spread (Try some. It’s delicious. Don’t bother with a sandwich. All you want is the jar and a spoon).
The discs are not bases. They’re “doughnut holes” from a paint rack. They’re about 36mm across, so too big for most bases, but not far off. I saved a load a few years back, figuring they’d be useful for something.
The sculpture itself is the default test print that came with my Anycubic Photon 3D printer. It had 35mm sculpted on it’s base, but I filed that down very carefully. The piece itself is fragile at it’s join. I broke a beam, but it’s been reinforced with superglue. Any resultant bumpiness can be treated as welds that would very likely be there in real life for the same reason.
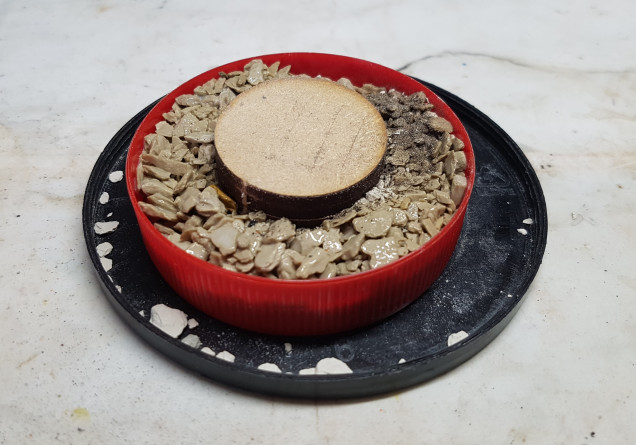
The discs were scratched, and then glued together with superglue. The middle of the lid had a bump on it so I didn’t feel superglue would be thick enough to hold it in place. I put a healthy amount of PVA on the bottom of the disc stack and glued it to the inside of the cap. I then put a ring of PVA around that to help hold it in place. A sprinkling of dirt was added to this to help it dry in shape.
I thought about how to fill the cap up and decided to fill it with dry clean kitty litter. I keep a large pot as a source of rocks. Once I had a good depth of it I mixed up a cup of PVA and water and poured it over the rocks and let it soak through them, and left it overnight to dry.
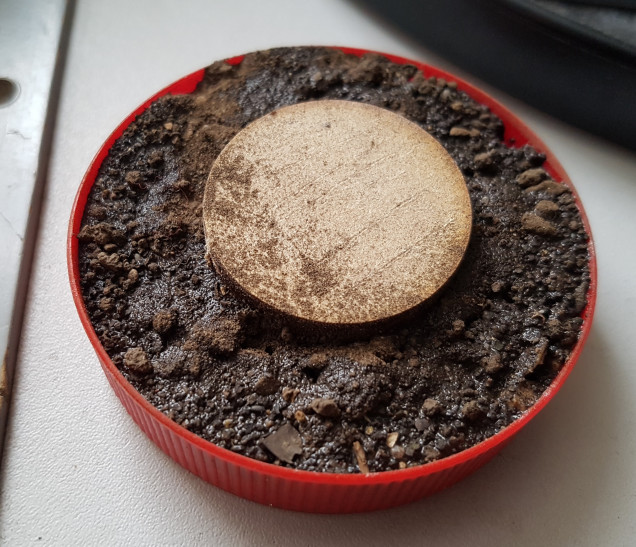
The next morning I applied another layer of PVA and water, but a little thicker this time. I then sprinkled some dirt over it and left it to dry. It was dry by the afternoon, but the whole thing is spongy. Maybe it always will be? I’m leaving it another day, and then I’ll apply another coat of glue and dirt to help level it off and fill the gaps that have appeared. Once I’m happy with the appearance I’ll seal it all in with another coat of dilute PVA. Hopefully it’ll be more solid by then. Once good thing about it’s currently flexibility is that it allowed be to level the plinth. It was slightly wonky.
If PVA drying times cooperate, I imagine I’ll have this piece finished this weekend as a side project around what I’m really working on.
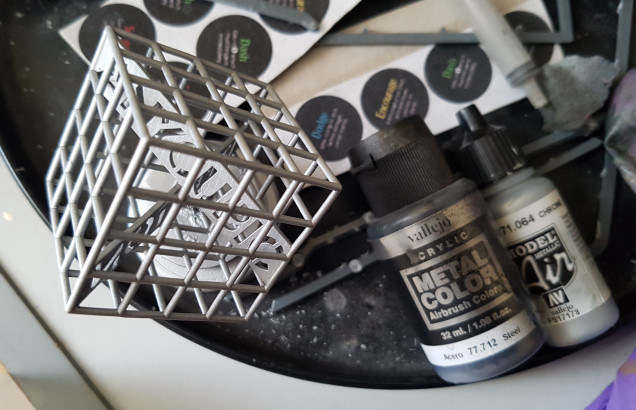
I had the airbrush out so I primed and painted the cube. It was primed black, and then base coated with Vallejo 77.712 Steel, and then zenithally highlighted with VMA 71.064 Chrome. I think my pot is showing its age. This stuff is usually the brightest shiniest metal I know of. It’s come out a little flat here. Oh well. This is meant to be a quick and dirty low effort piece of terrain so I’ll go with it. Maybe it’ll get a gloss or satin finish and that might help? Why haven’t they invented metallic finish varnish yet?
It’s getting no further painting than this. I really don’t want to even think about painting inside that cube. Maybe I’ll weather the base part a smidge?


Leave a Reply