Mantic Frost Giant
Recommendations: 186
About the Project
I've been asked to paint the Frost Giant from Kings of War. And I'm rather excited about it.
Related Game: Kings of War
Related Company: Mantic Games
Related Genre: Fantasy
This Project is Active
Saturday's done and so is he
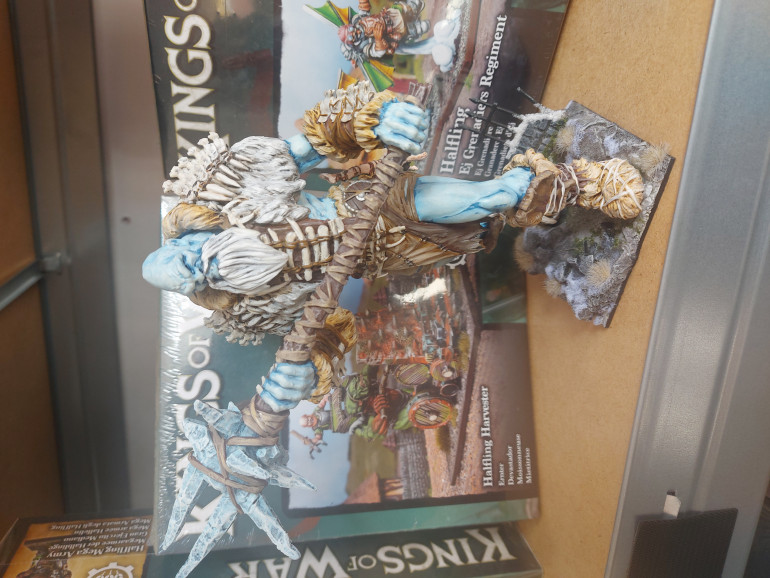
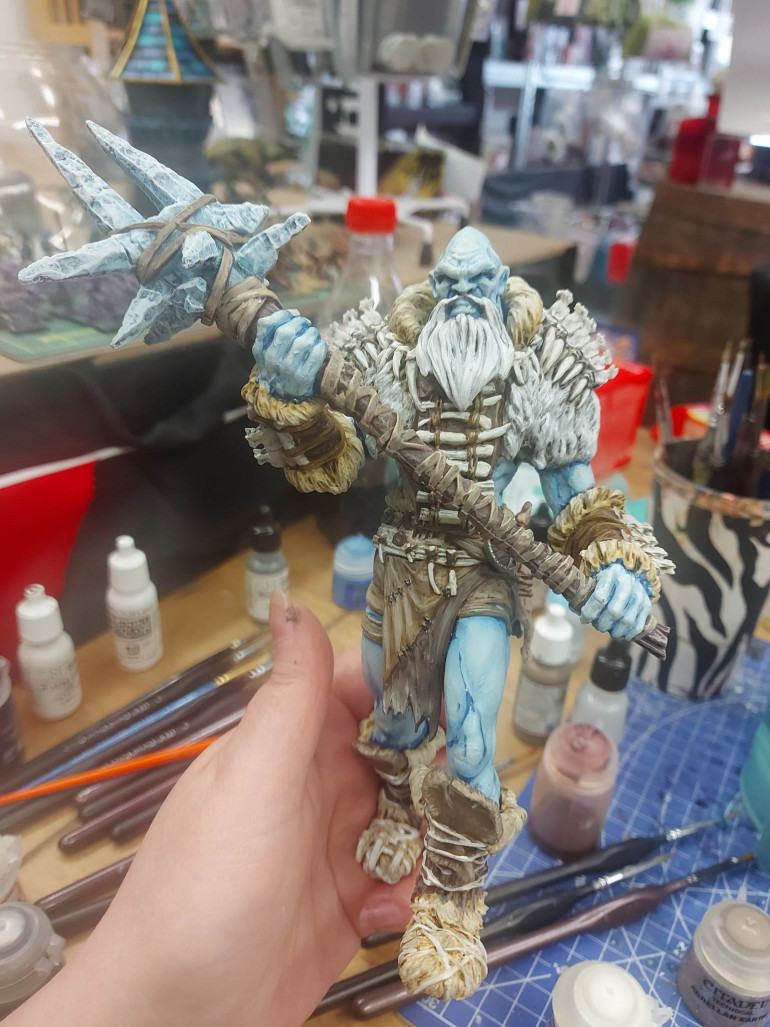
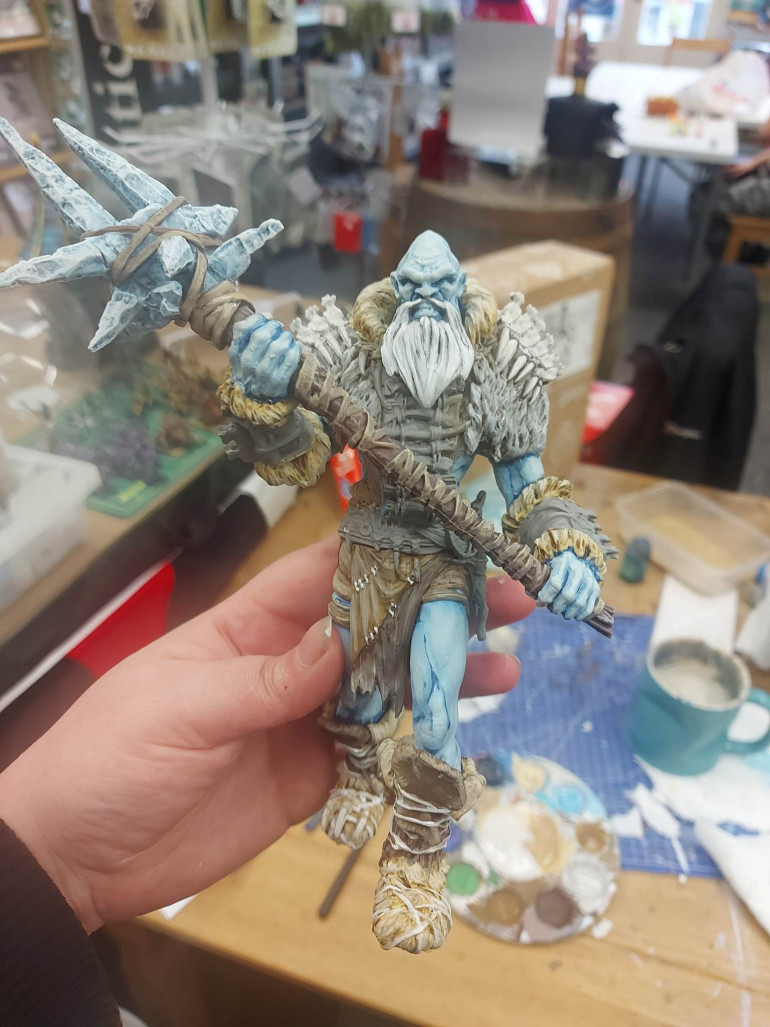
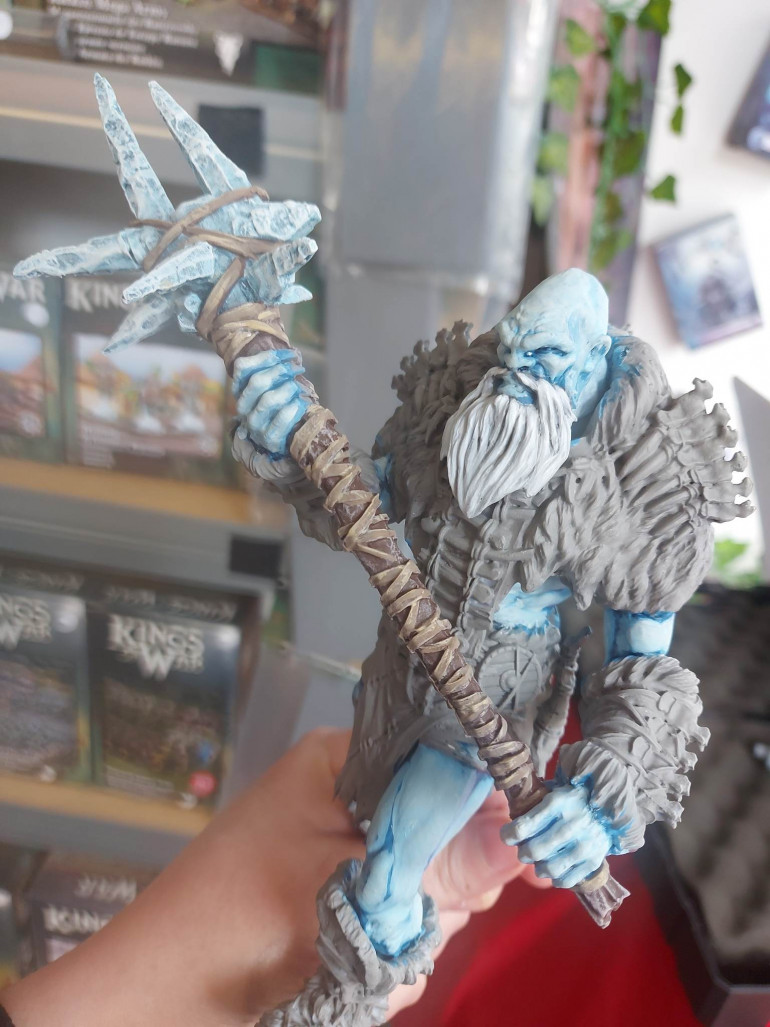
Today, despite the shop being pretty busy, I managed to finish the giant! It was a day of details and fiddly bits, such as his front panel and the snazzy bone and fur accessory on his back. I also completed the base, and left him overnight for the glue to dry. Hopefully he’ll still be upright in the morning. . .
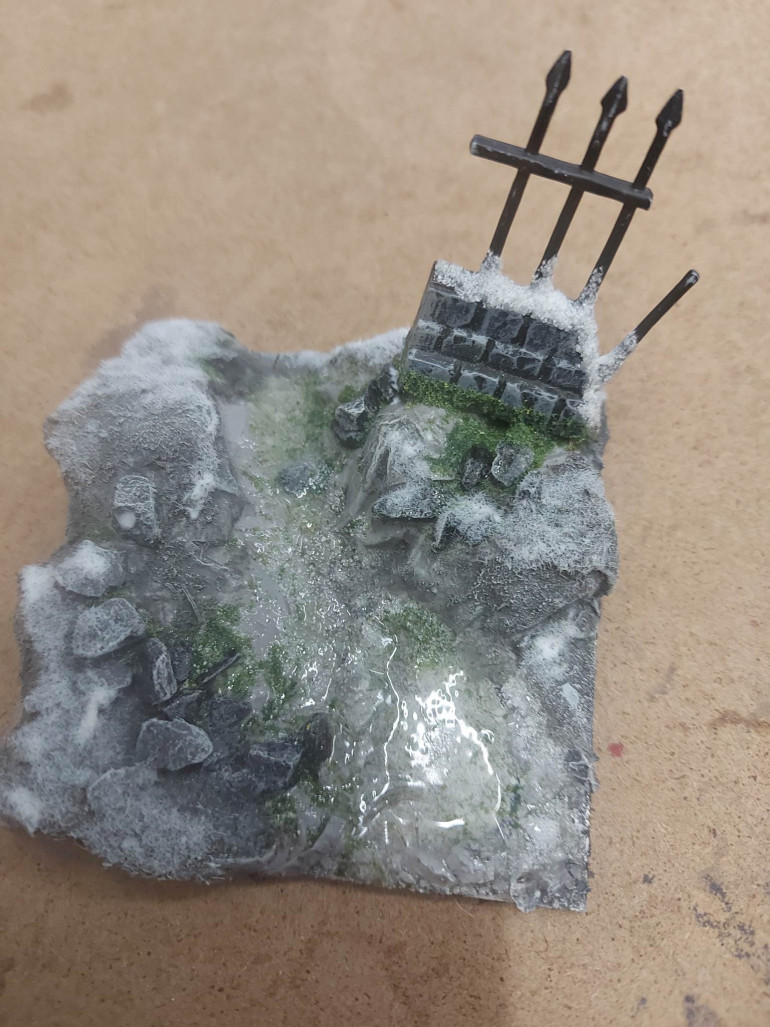
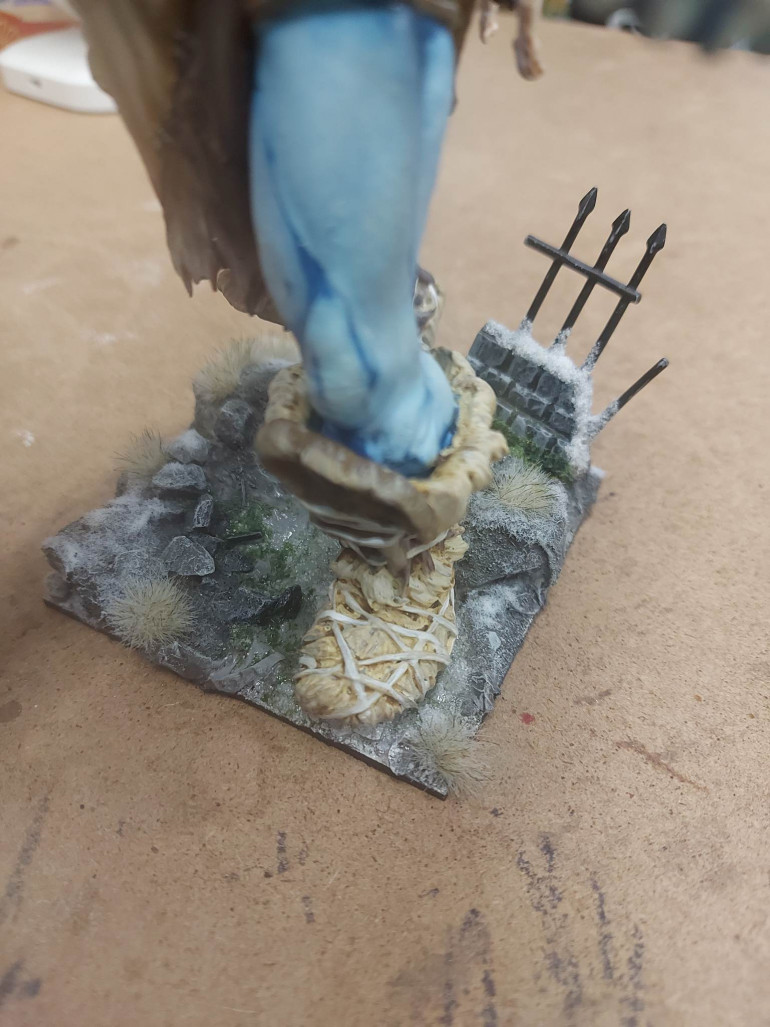
For the base, I added texture with some grit over the rocks, and then painted it all in grey. Once dry, I drybrushed it in a lighter grey, followed by a white, and then added a little bit of snow flock in certain areas. I filled the riverbed with clear water effect to make it look like ice, and added a couple of frosty tufts to finish the whole thing off.
On the big boy himself, I picked out some more detail on the bones, painted his gauntlets, and his back piece and belt. I spent some time making sure things were as tidy as they could be, and then I called him done. Today’s session was fuleled by Coke and mint imperials, with a soundtrack of 90s Nu Metal.
Friday is Fur Day!
After a good start yesterday, I was keen to tackle some more giant today. The first section I looked at was the fur trim on his boots, arm bracers, belt, and collar. I left his chest piece for now, as I wanted that to be a different colour. For the fur trim, I followed this method:
- base coat of MSP Bones Rich Leather
- layer of Vallejo Dark Sand
- layer of Dark Sand and Citadel Wraithbone
- highlights of Wraithbone
For the main part of his boots I used a base coat of MSP Bones Nut Brown with a highlight in a mix of Nut Brown and White, followed by a tiny bit of Dark Sand, and then I picked out the laces in Wraithbone, with a highlight of White.
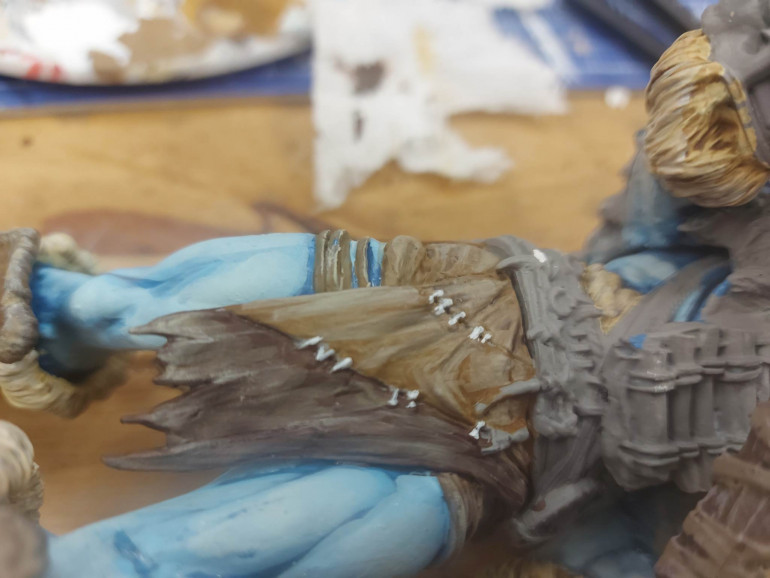
For his kilt/skirt/loincloth, I loved the way the parts were stitched together and wanted to make it look like obvious patchwork. I painted each section in a different shade from:
- Rich Leather
- Nut Brown
- Dark Sand
- Mix of Dark Sand and Agrellan Earth
This was followed by 2 highlights on each section, made by mixing small amounts of white into the base colours, and a very small final white highlight on each section. I picked out the stitching in white, too, for contrast.
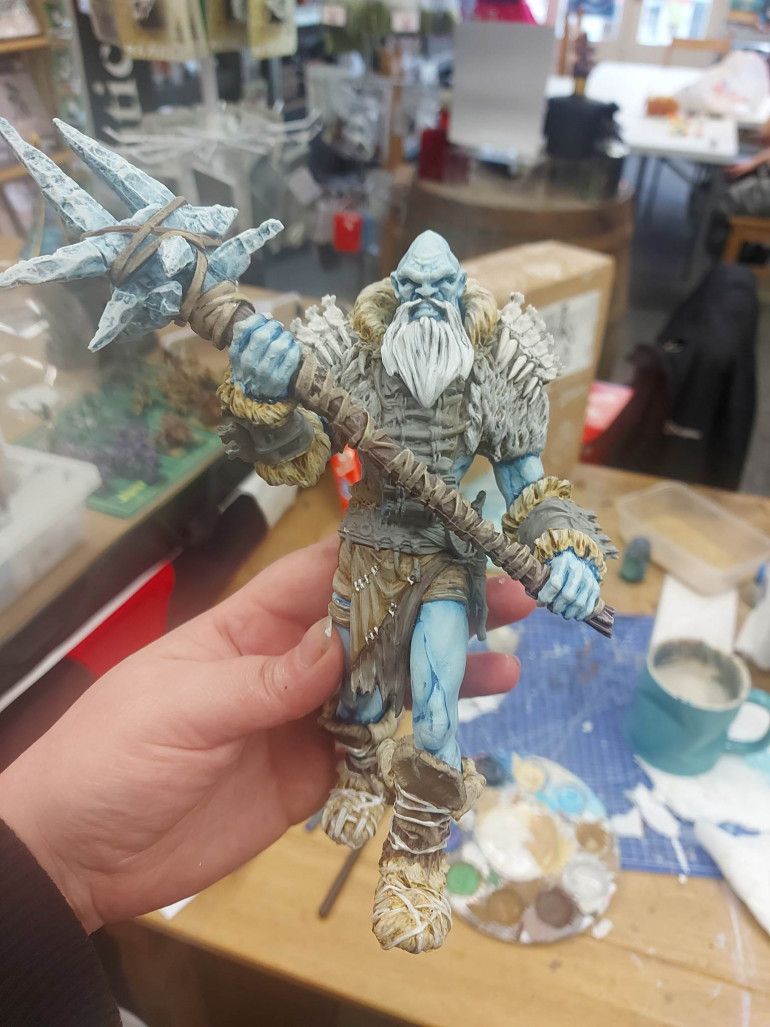
For the chestpiece, I started with a base coat of Nut Brown, followed by 3 shades of grey getting progressively lighter. I picked out the bones in Citadel Ushabti Bone, with white highlight.
There’s still a lot of work to be done, but I’m happy with today’s progress. The session was accompanied by the musical offerings of Greatest Hits Radio, and fueled by cups of tea and a couple of those really yummy caramel wafer biscuit things in the shiny wrappers.
Thursday Sum Up
Today, I painted mainly to a soundtrack of Peyton Parrish, and mostly drank cups of tea, with a jammy Wagon Wheel as a mid-afternoon treat.
Overall, I’m really happy with what I got done, and I can’t wait to work on him more tomorrow. For now, though, goodnight sweet giant.
Base Begun
A gorgeous model like this deserves an equally gorgeous base.
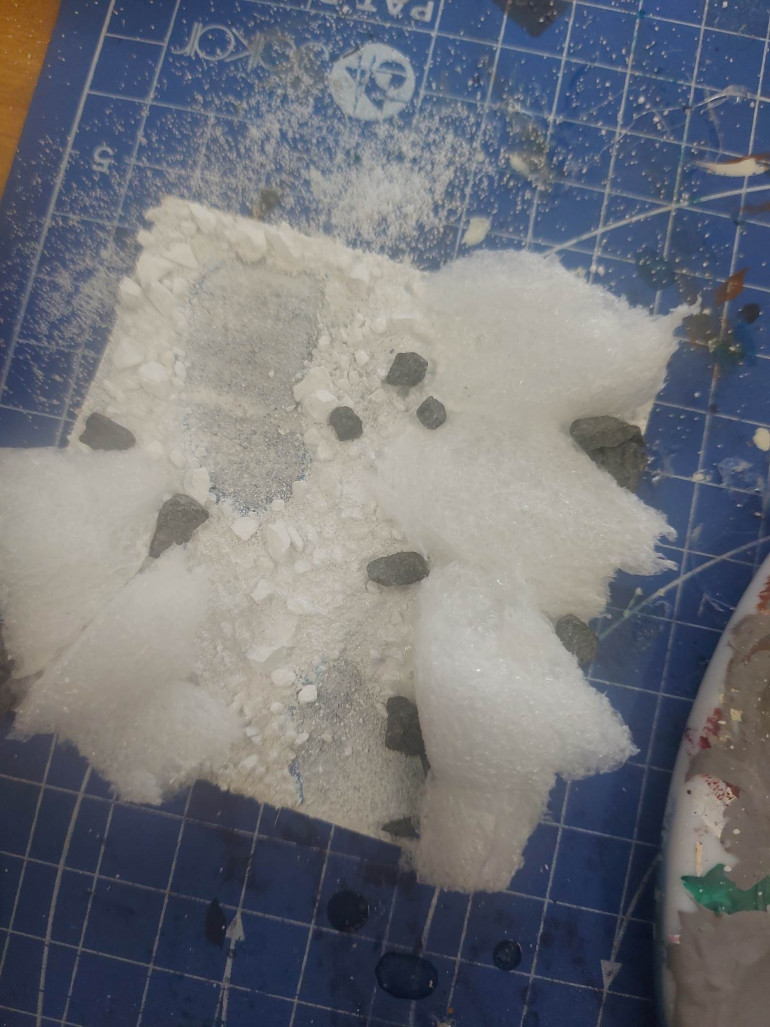
- I started by coating the whole thing in white, and dropping on some snow flock whilst it was still wet.
- I placed the giant on the base where I wanted him to stand and drew around his feet, so I know where to avoid with raised terrain.
- I built up the sides using torn off pieces of some kind of foamy stuff that one of the 3D printers had come packed in. As this is bumpy and porous, I also added a couple of layers of paper mache over the top, to ensure I’ll be able to paint it.
- I filled in any gaps with smaller stones, and threw down some coarser snow in the middle where he’ll be walking between the rocky banks. I’m planning on using some clear water effect to create like a frozen river he’s striding down.
Cool Stick/Club Thing
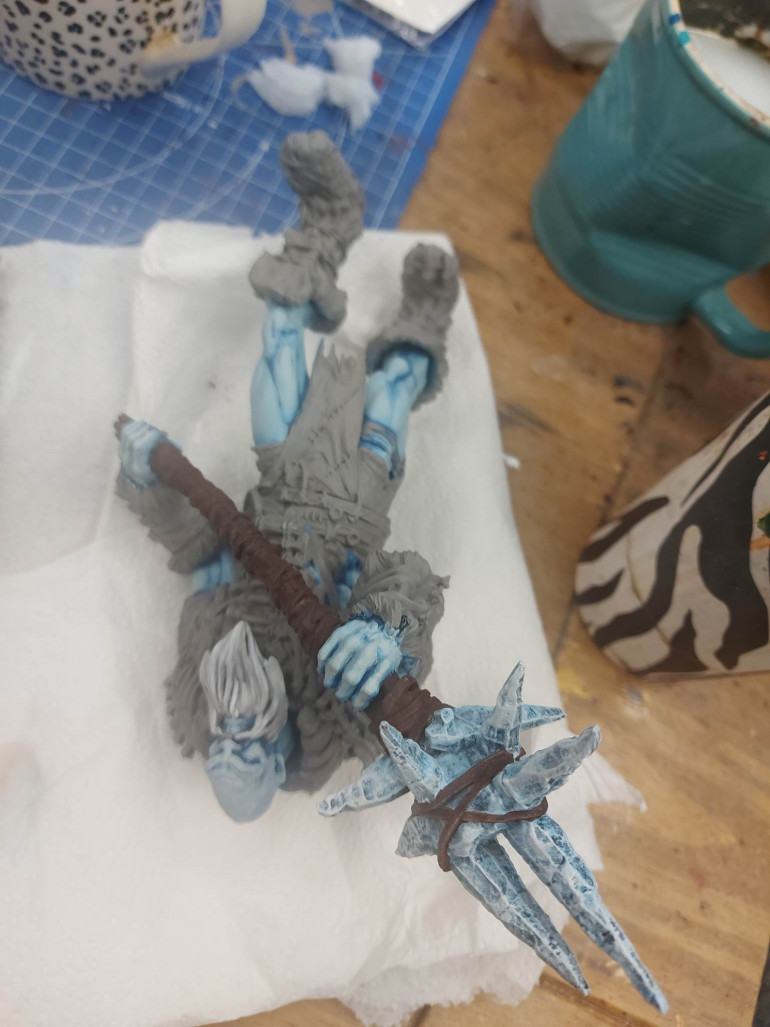
I don’t know what you’d call the weapon really. Its a great big clump of icy death on a stick. Anyway, here’s how I painted it.
- I sloshed a load of Blue Tone Army Painter Shade directly over the grey undercoat (OK, I swear this is the last time I use a wash on this model!).
- This was followed up with a heavy drybrush of Sky Blue Vallejo.
- Another heavy drybrush with a bit of Undead Flesh mixed into the Sky Blue.
- Finished with (you guessed it) a heavy drybrush of pure white, with extra highlights on the edges. Simple, but effective.
For the stick he wields it on:
- Base coated the whole thing, straps and all, with MSP Bones Nut Brown. It’s a gorgeous, rich brown that gives a great base for wood or leather.
- Next up I mixed some white into the Nut Brown and drybrushed the whole thing. This did pick up the straps a lot, but I dug it in to hit the stick too, as that’s where I wanted to see it.
- For the straps, I picked them out using Citadel Technical Agrellan Earth. I wanted that kind of worn, cracked effect for them, and this worked perfectly.
- After that, I used a little Vallejo Dark Sand to edge highlight them, just to add definition and distinguish them a bit more from the stick underneath.
- Hah! No inkwash!
Face Fuzz
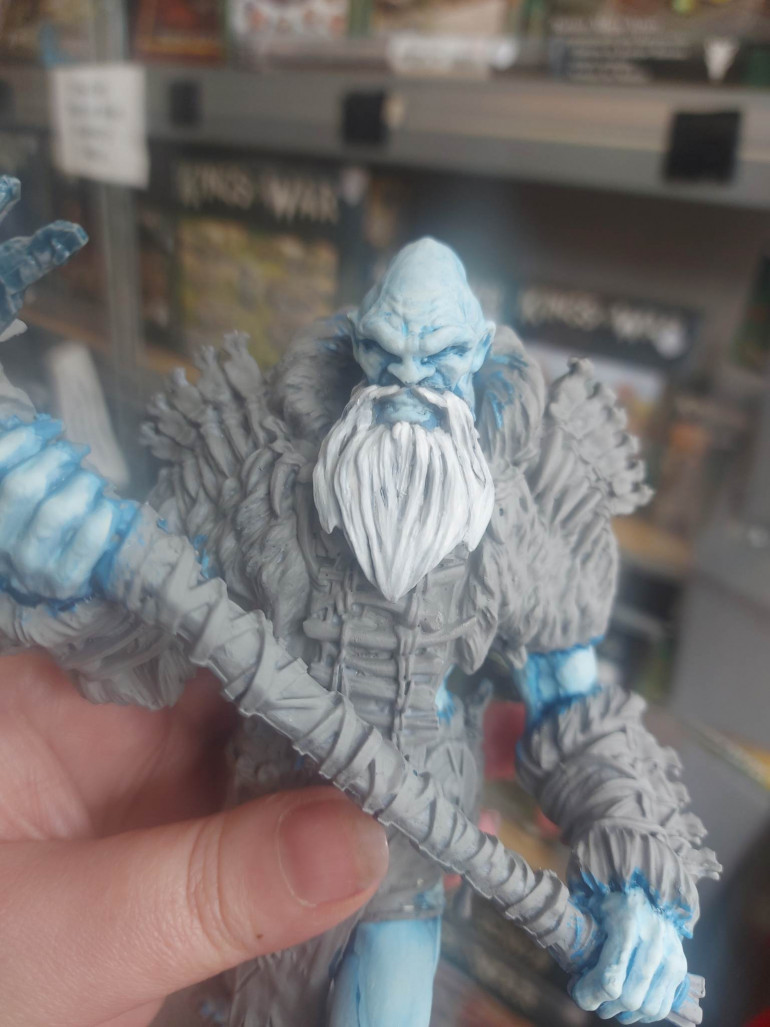
Now for his epic beard!
Oh, and apologies for the terrible photo quality. I got superglue on my lens ages ago and its never been the same since.
- For this, I utilised his grey undercoat, and simply added a layer of Nulin Oil over the top (I know, I know, I said no ink washes, but this is the last one, I promise).
- When dry, I layered with a mid-grey, followed by a light grey.
- I then took Vallejo White and really picked out the strands.
Blue Beginnings
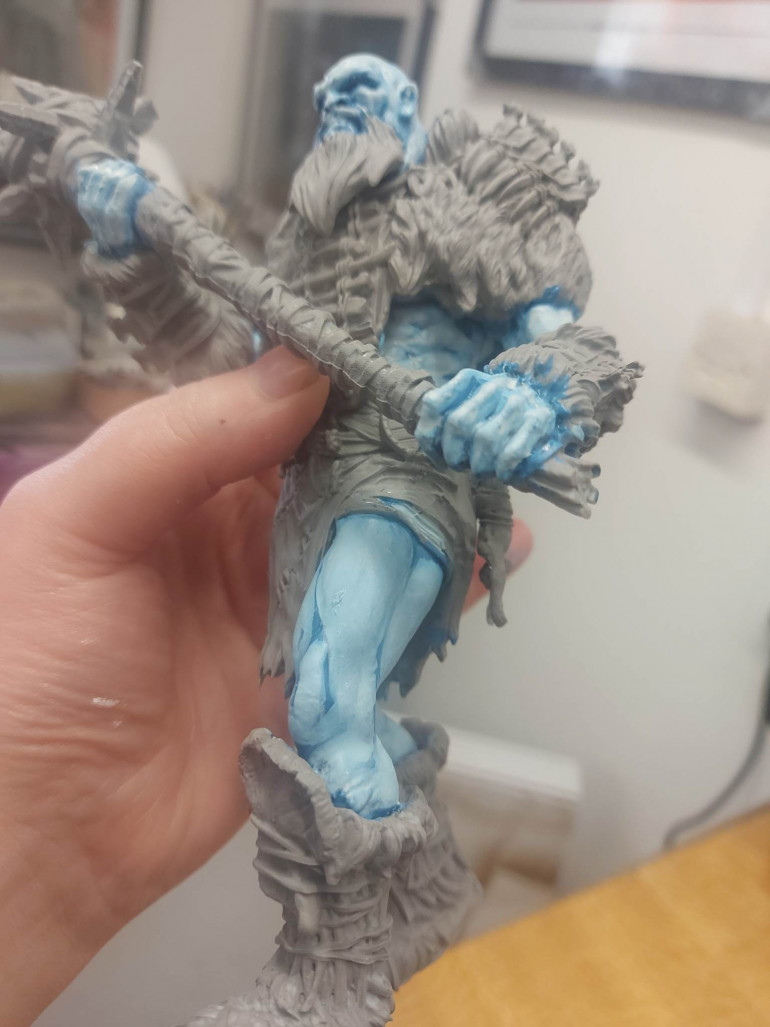
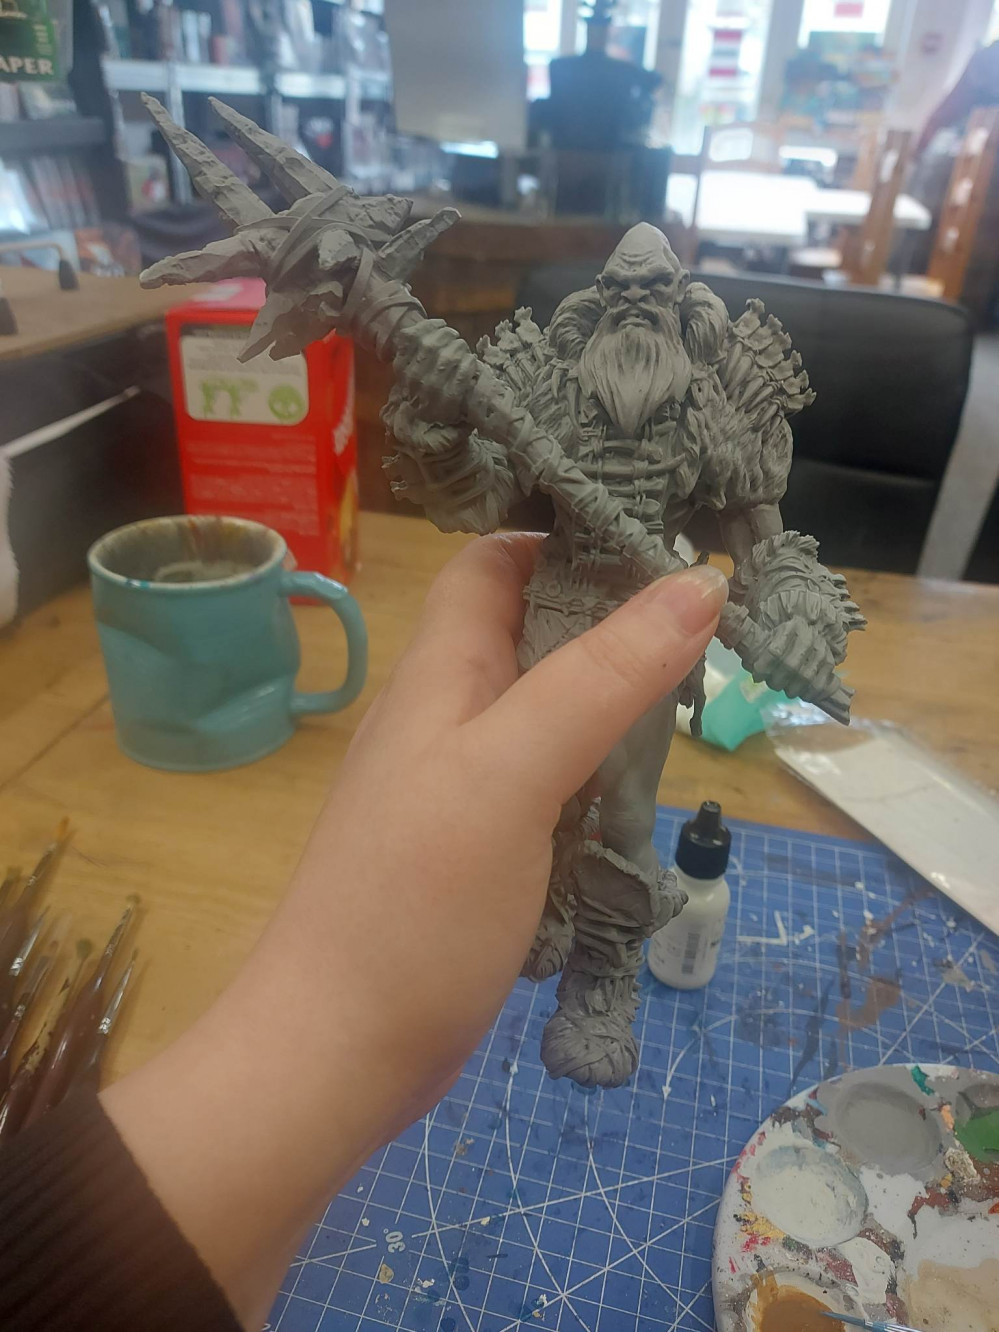
When I was asked to paint the frost giant, I was really pleased. I’ve been eyeing it up for a while, but I already have a Trident Realms army that I need to finish, so I’d been holding off buying any project pieces lately. They wanted the frost giant on the cover of Vollo’s Guide to Monsters book as reference, and I was more than happy to go with the blue tinged skin/white beard combo in all its Alpha Papa Smurf glory. I made a start on him today.
I always use a grey undercoat, as close in colour to the original plastic/resin as possible. For me, I find this colour lets me see all the detail on the model a lot more clearly than, say, black. It also gives a nice, fresh finish to my colours, and I do like my colours.
- First step was getting a nice blue base coat on his skin. I know a lot of people do skin/faces last, but I’ve always done them first. I used Citadel Hoeth Blue, and got a nice even coat of that down.
- I decided I wanted to use as little ink wash on this model as possible, to challenge myself to develop my skills in layering/glazes etc, but I did use a light wash of Army Painter blue shade on his skin here.
- Next up I mixed a glaze from Vallejo Sky Blue, and the Hoeth Blue and picked out the large flat areas of muscle. There were quite a lot. Frost Giant does not skip leg day.
- Now, I added some MSP Bones Undead Flesh to the glaze and did another pass, applying to a smaller area this time.
- Once more, with slightly more Undead Flesh, on a slightly smaller area.
- I finished off with the tiniest drybrush of pure white just on the absolute most raised areas. You can barely see it, but I know it’s there.


