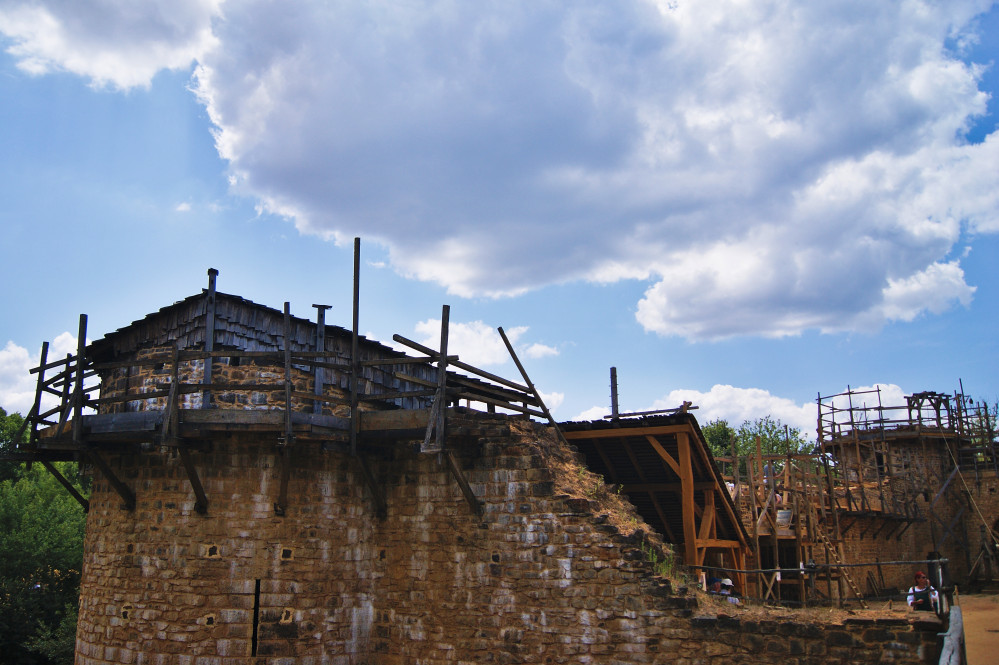
Under construction
Recommendations: 360
About the Project
A little place to document my terrain building madness.
Related Genre: General
This Project is Active
American Horror
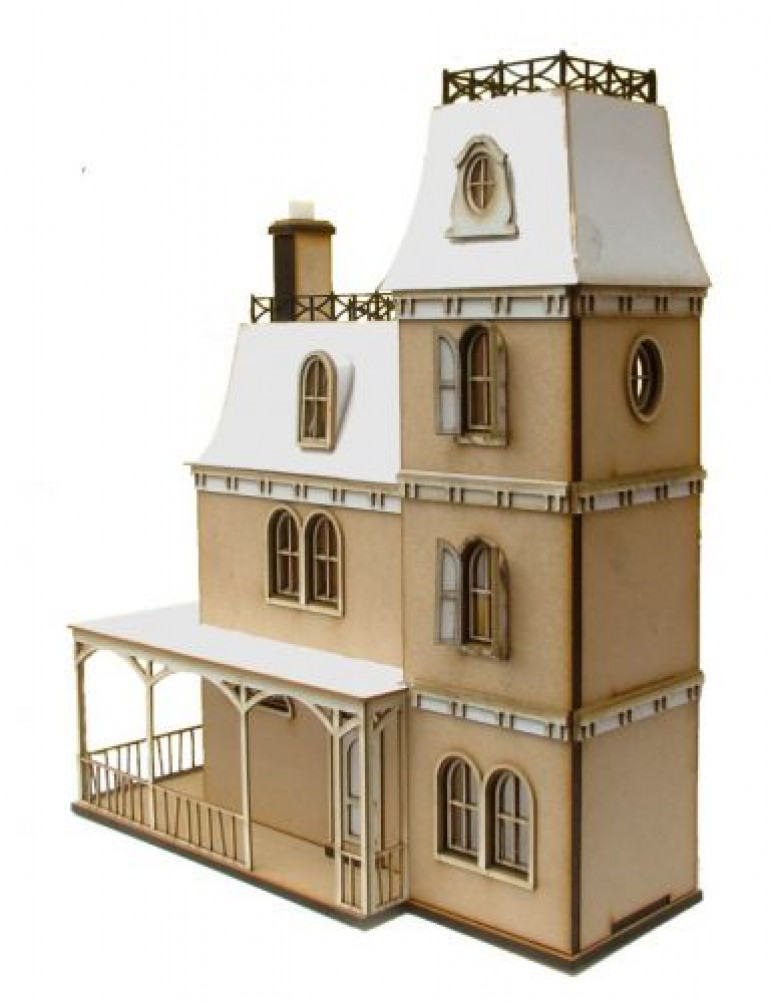
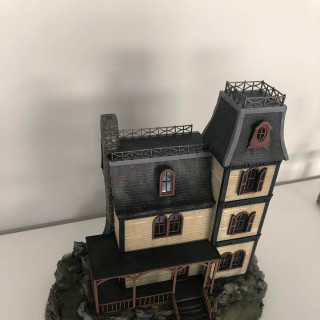
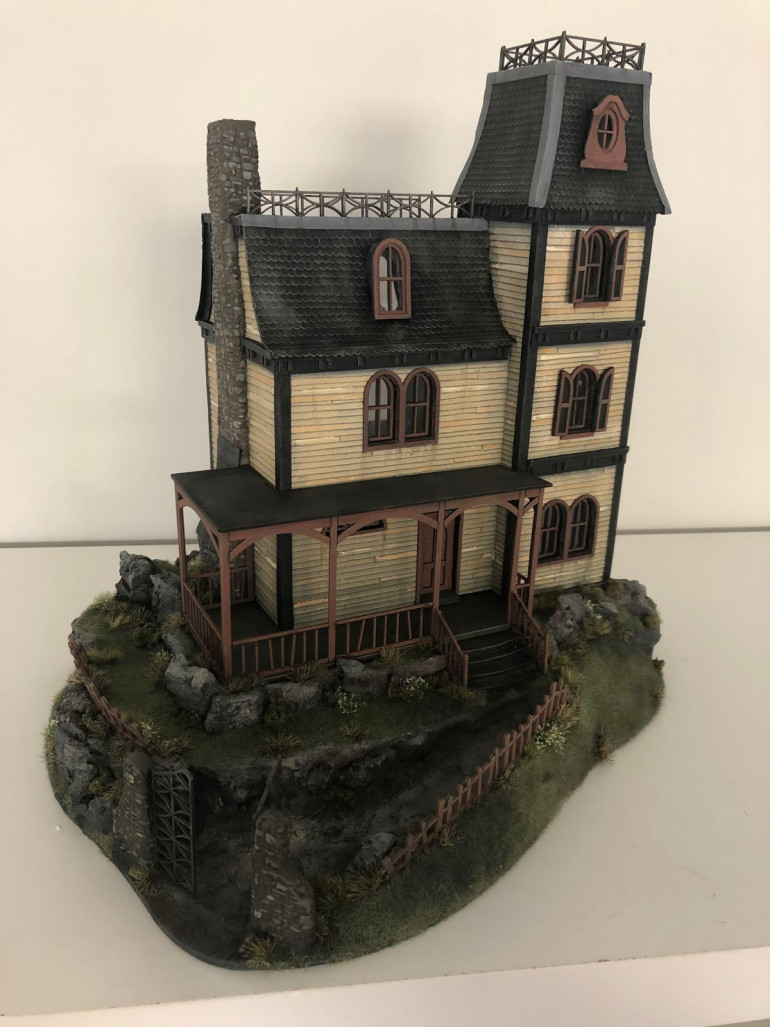
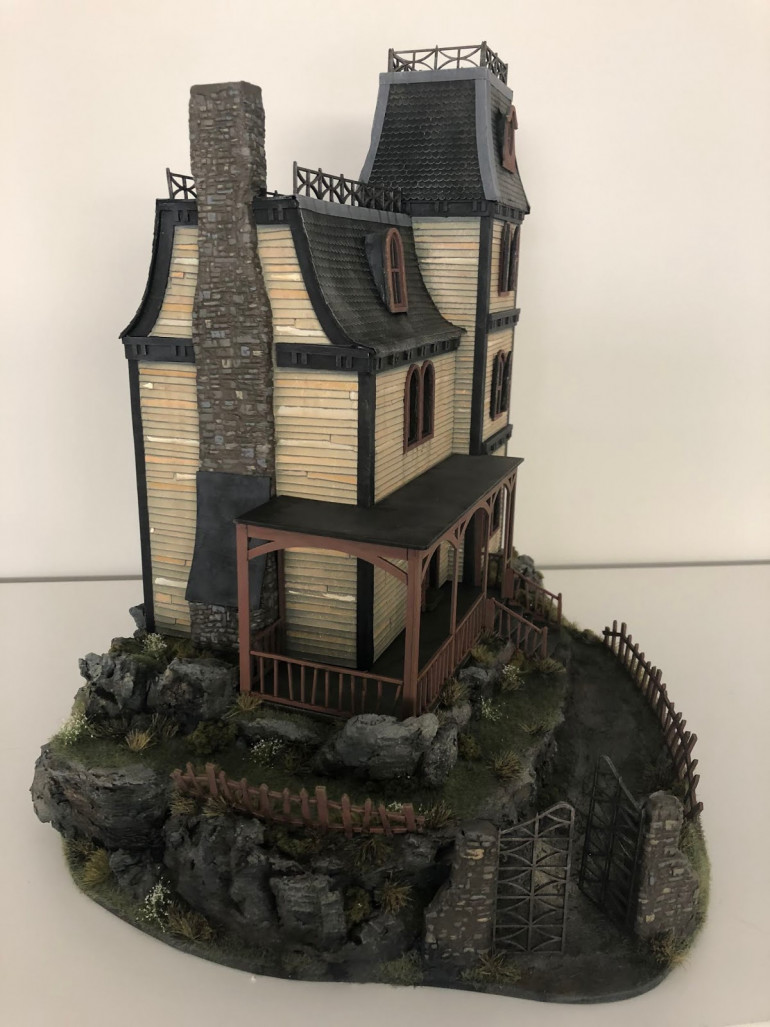
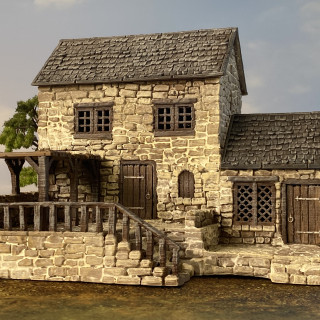
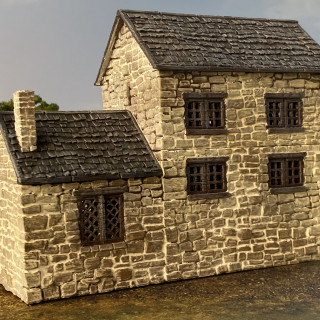
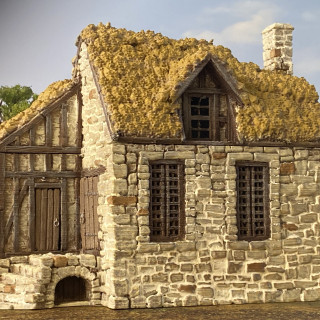
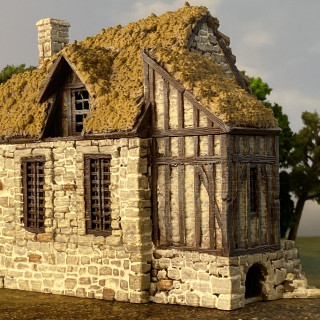
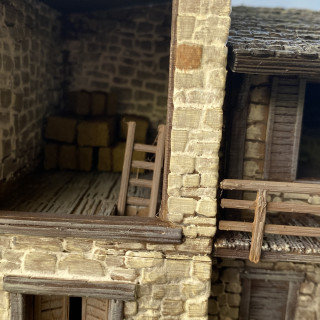
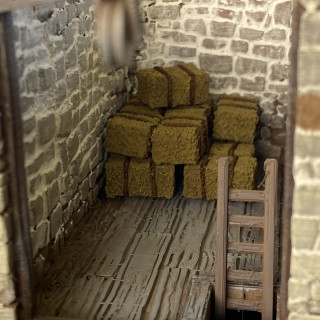
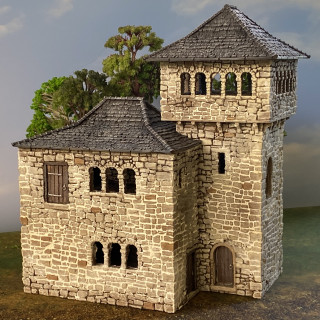
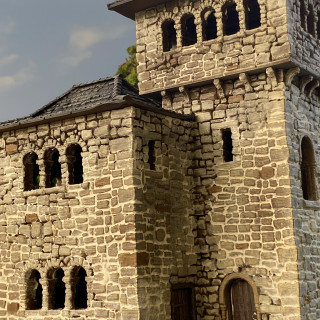
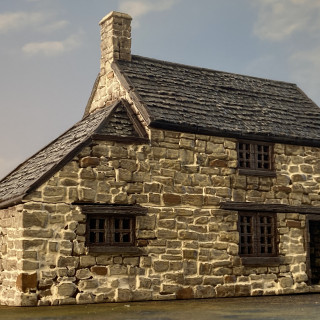
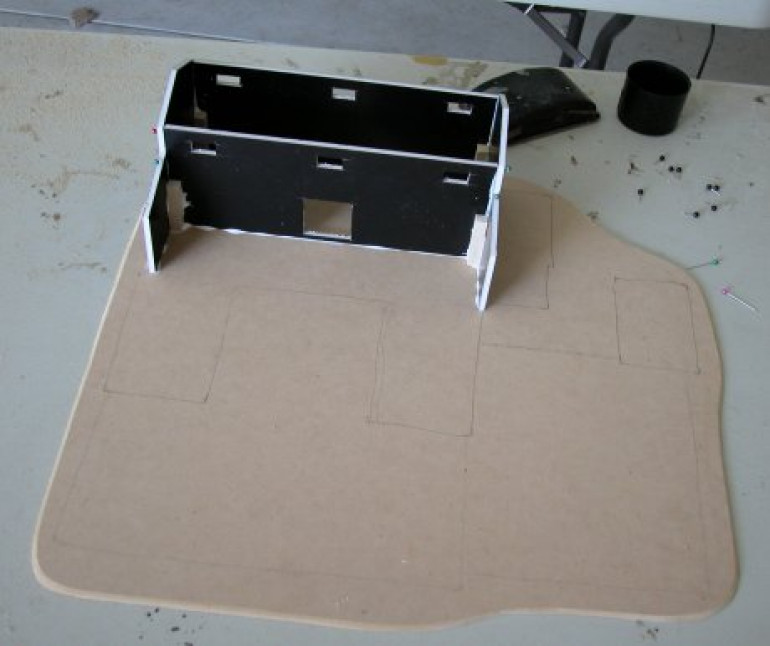
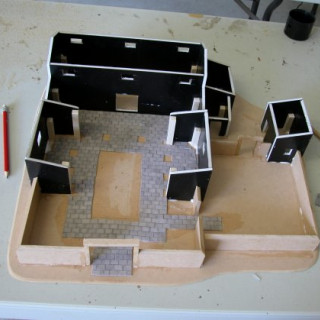
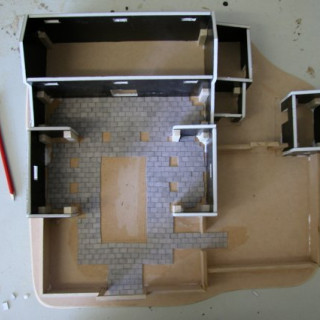
Having been collecting a fair few figures for a Gothic Horror setting I couldn’t resist getting my hands on the lovely Ravens Perch model by Petite Properties.
This kit is a mixture of laser-cut cardboard and MDF. Extra detailing can be added if required.
The panelling on the walls was done with double sided sticky tape and thin card. The chimney was made from air drying clay. I used DAS modelling clay. I used the same clay to make the pillars for the gate leading up to the house.
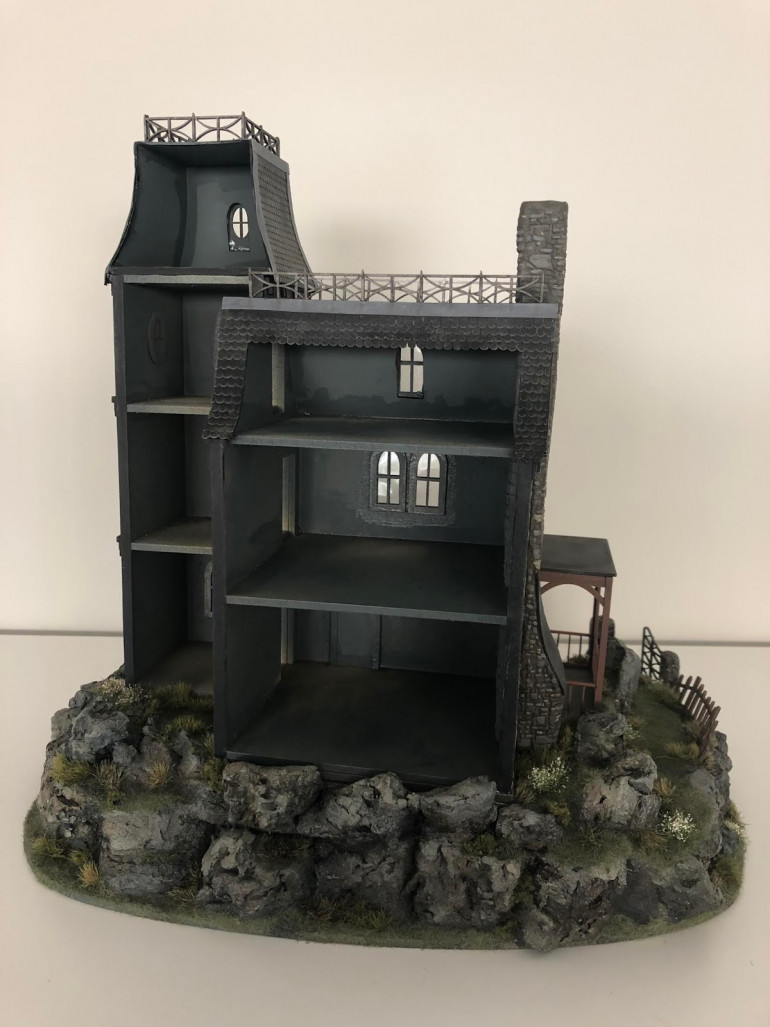
The rear of the house is open, and I left mine a dark colour. I did consider adding a back to the model but decided against it. My games using this will be skirmish level and I imagine that any back I make would spend most its time off to one side anyway.
All in all, I am very happy with this kit. The instructions are easy to follow, and it forms a good structure to add detailing to without much effort.
I guess my investigators of the occult will have to travel to the New World at some point.
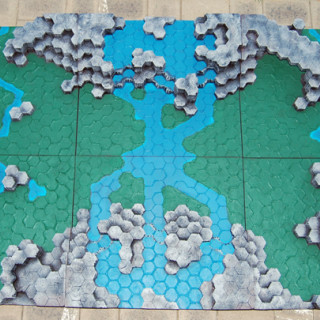
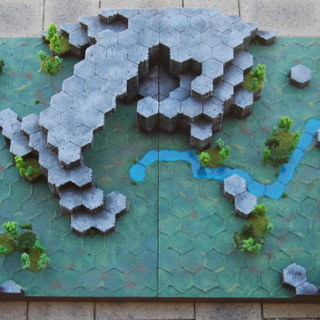
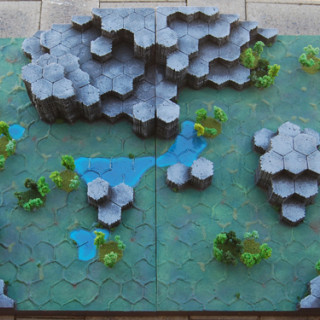
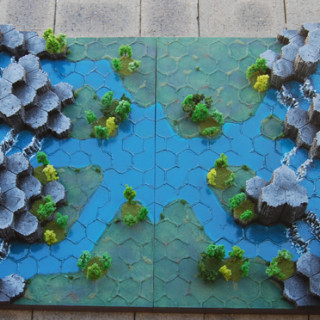
Battletech Recon Tournament Boards
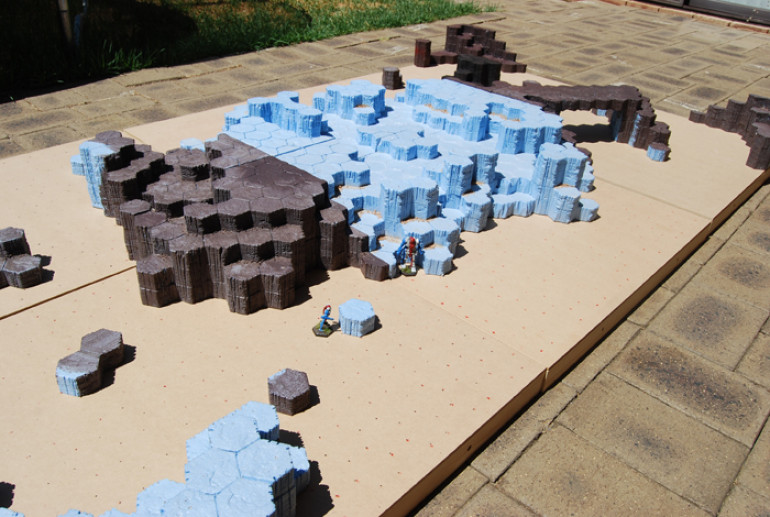
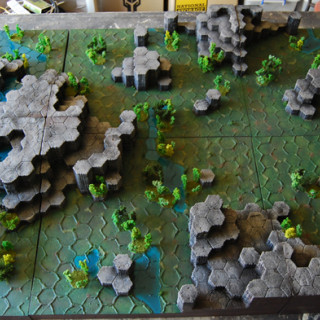
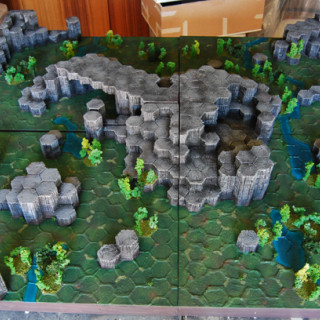
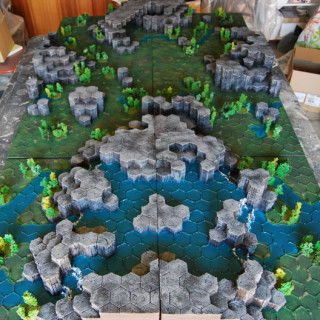
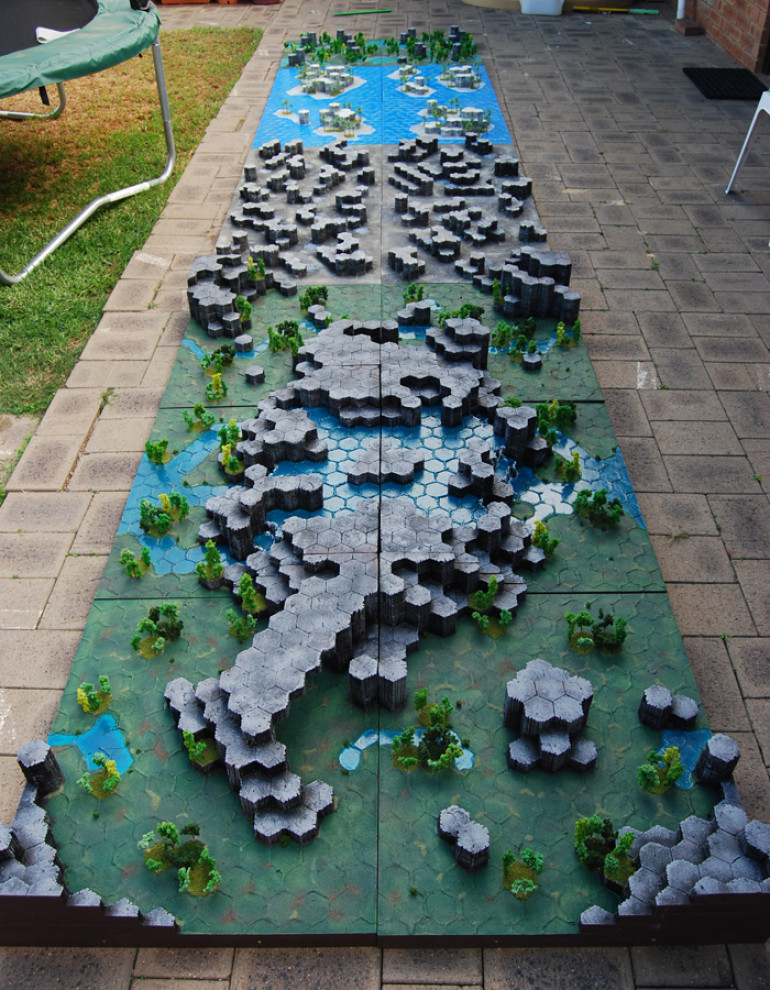
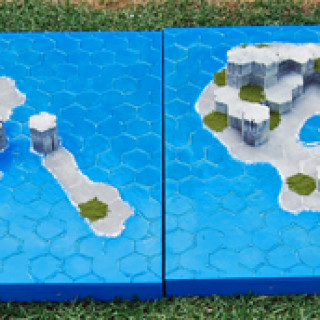
I have been meaning to add these images for a while now and just recently decided it was about time to rebuild my boards for BattleTech. With that in mind, I will share my current boards which are now a number of years old.
Now I have to admit that I can’t take full credit for these as the idea for them comes well and truly from the mind of a rather talented builder on the Terragenesis website.
But as they say, mimicry is the highest form of flattery here is my little journey into hex terrain.
These boards were to be used in my RECON events. For those of you who don’t know the tournament format, it’s based on Light and Medium classed Mechs and individual mission objectives.
Each game is only set to last 8 rounds so with that in mind the Boards would be smaller than the regular BattleTech map sheets.
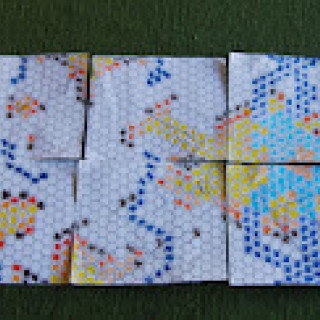
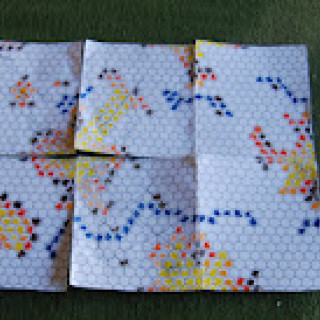
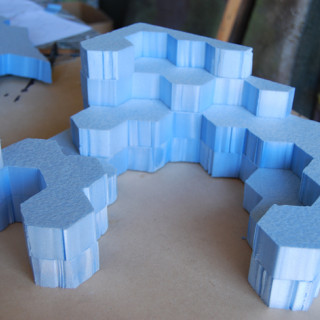
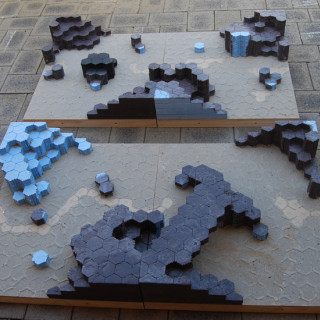
I began by mapping out the terrain features on hex paper. The intention was that each battlefield would consist of two boards that could be swapped and twisted around to make multiple different layouts.
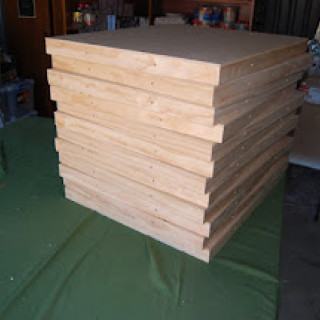
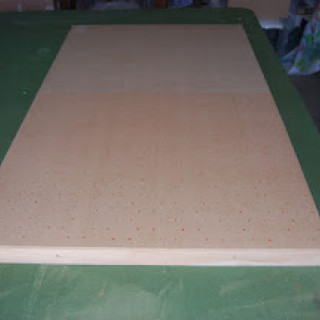
A whole load of wooden terrain boards cut to size.
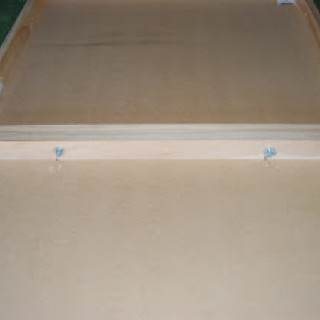
Beneath each board were holes so that they could be bolted together to form larger boards.
Next, I used a homemade stencil to mark out all the points for all the hexes for each terrain board.
A quick visit to a Foam sales shop and I had a big pile of thick XPS polystyrene.
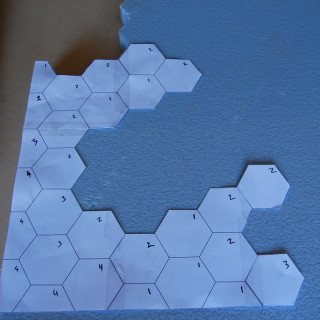
I printed out sheets of hex paper. Each hex is big enough so that a Mech could comfortably sit on it and still have room for some trees to be added to the outside of each hex should they be needed.
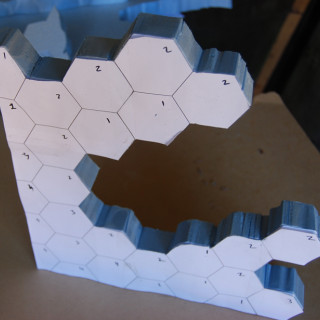
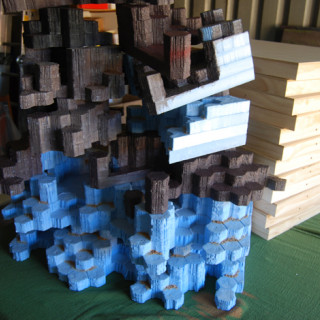
Once I had the lowest part of a hill mapped out, I began cutting the polystyrene with a table-mounted hot wire cutter.
Once cut out I cut away the hexes that would only appear on the lower section and repeated the process.
I kept doing this until I had the finished hill.
Eventually, I ended up with a huge bile of chopped polystyrene pieces.
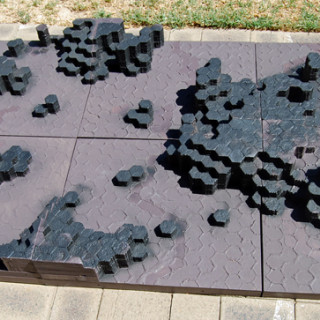
I carved the sides to give a rougher look and used a hot knife to mark out all the hexes on the surfaces.
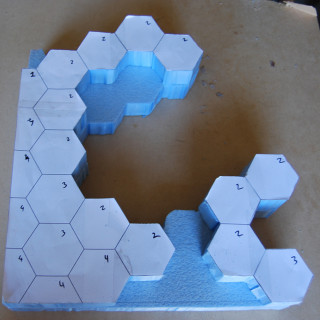
I then glued the hills to the wooden boards following my pre-drawn plans making sure that they could be moved around to make different setups.
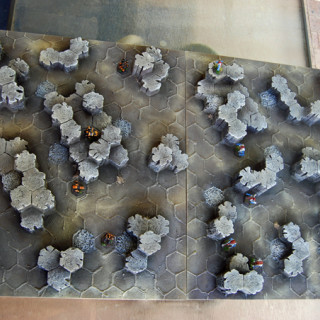
Once the first six were assembled I ended up with this.
All the polystyrene needed to be undercoated. I used PVA glue and mixed in some brown paint so that I could see where I had covered with PVA and what I had missed. It’s important to seal the foam this way if you intend to use spray paint on it.
I then used a hot glue gun to roughly mark out the hexes on the wood surface. I also marked out where the small waterways and lakes would go. Next, I covered all the land areas with sand.
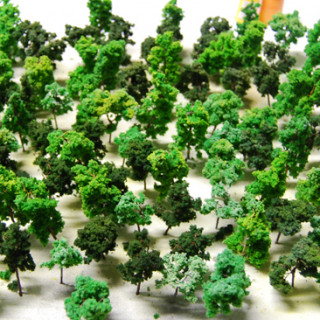
I ordered around 1000 trees from eBay. Yes, that’s one thousand trees, it’s not a typo.
The trees were a little bright, so I gave them a dusting of spray paint. I did them in batches so I could vary the colours a little.
The bases were then painted brown, and the hills were painted black.
Next, I used regular house paint from the local DIY store to start adding some colour.
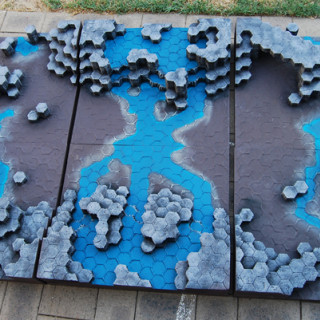
The hills and backs of the waterways were drybrushed in a couple of shades of grey, no not 50 of them.
The water was then painted in a nice bright blue. I know water is not really a bright blue, but I figured a nice bright colour would make the tables pop a little at the event.
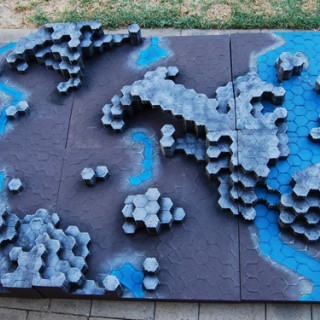
After that came the ground. A nice green colour.
I then used foliage scatter to mark out the hexes that would be woods. and dry brushed the green to break up the flat colour a bit.
Trees were planted into holes drilled into the boards leaving space so that figures could still be positioned among them, and the waterfalls had a white drybrush to simulate water spray.
Small Demo Game Tables
Now I really love small scale skirmish games, the sort of game that can be played on your average kitchen table. Better still a game where only a handful of models are on either side.
With so many awesome games out there these days it can be hard to persuade people to try things outside of what they normally play. It can be a huge investment in time to sit down and try a new game and there is nothing more annoying then being stuck playing a 2-hour introduction game to a system that just doesn’t grab you.
So I set about making some very small demo tables.
The idea of these tables is just to showcase the basic rules of my chosen skirmish games. Ideally each intro lasting less than 30 minutes. Much less in fact.
The games I had in mind were, Dark Age, Wrath of Kings and Eden, of course these little boards could also be used for other post apocalypse type settings.
I decided on round tables.
I thought that given these are to be used to welcome new players a round table is less confrontational. It gives less of a feel that you are facing off against someone sat opposite you.
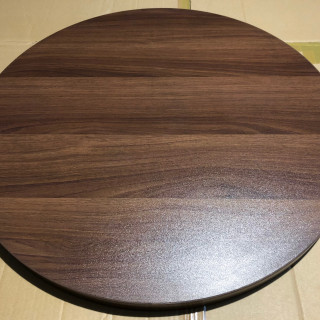
I found some nice round bar tabletops 60 cm across.
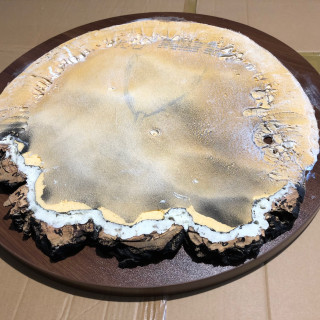
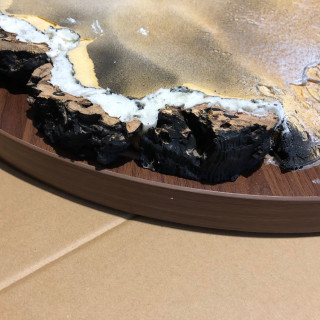
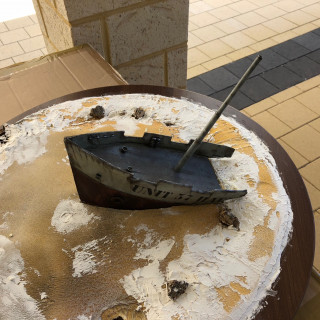
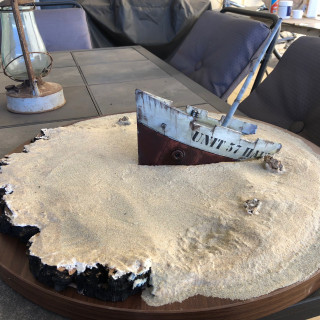
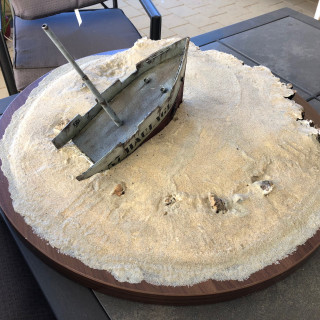
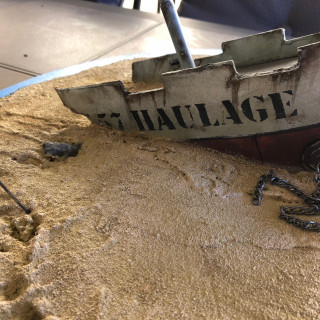
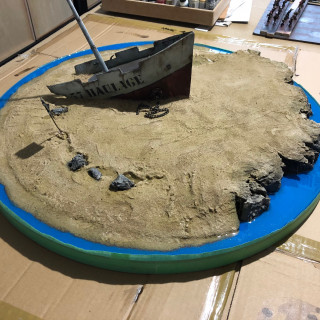
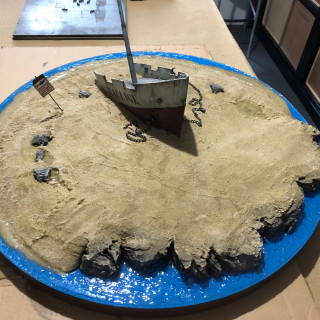
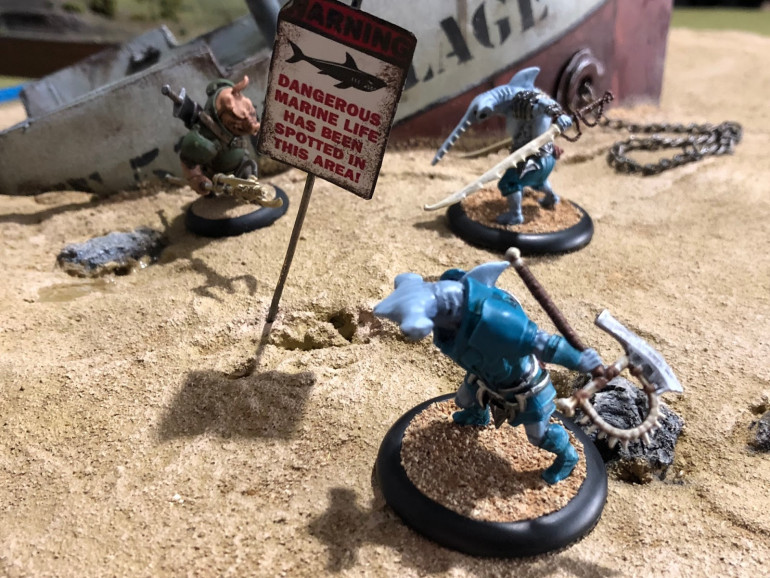
For my first table I had in mind to do a shipwreck on a beach. Not your normal wooden ship but something a little more substantial. I used high density foam to make an island shape.
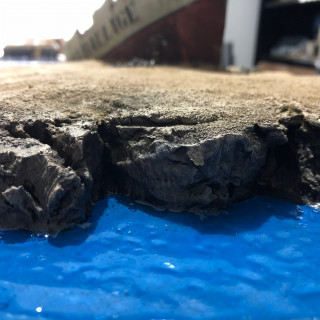
Cork bark was used to make a rough cliff on one side with the rest of the island gently sloping down. I repeatedly tested figures on the surface to make sure they could stand up okay and that no part was too steep.
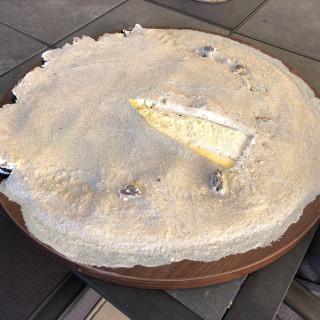
I cut out a section of the island to insert my proposed section of ship and covered the entire island with sand. I used filler to smooth off sections that were a little rough and added some cork bark as rocks.
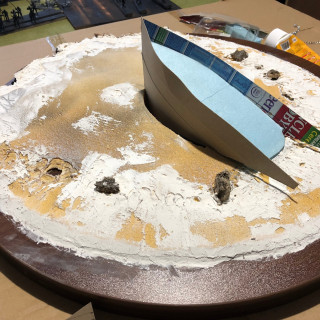
The section of ship was built from cereal packets wrapped around a polystyrene core.
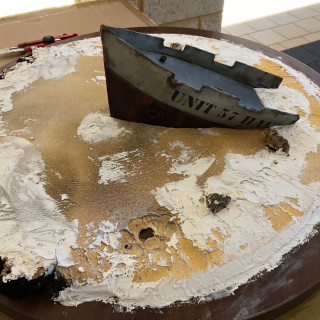
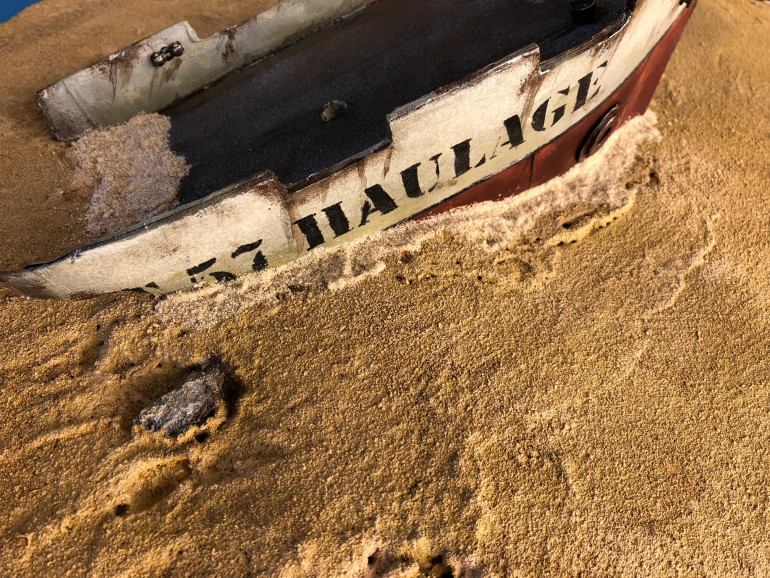
I painted the ship up to look weathered. I added text to the ship using a stencil that I printed off. This ship is ‘Unit 57 Haulage’.
I glued sandpaper to the deck to give a nonslip surface for figures to stand on and then added some small jet pack exhausts I found on an old toy.
I added more plastic components from my bits box and made a simple mast from plastic tubing.
The whole island was then covered in sand.
I painted the sand in regular household paint.
Then I made a simple sign from copper sheet and a copper wire. The sign is a decal I printed off at home. This was weathered to look old.
I added streaks of weathering to the ship and glued it in place.
Next, I added some chains.
I masked off the rocks and painted them, so they stood out better from the sand. I also painted the blue around the island. It’s quite bright and not a colour I would normally do water, but I figured it was eye catching.
I added sand to hide the join where the ship met the island.
I decided that the sign looked better on the opposite side.
An anchor was added to one of the chains.
I masked off the entire board and poured resin over the water area.
Using ultra clear two-part glue I dabbed the water area to create an uneven surface.
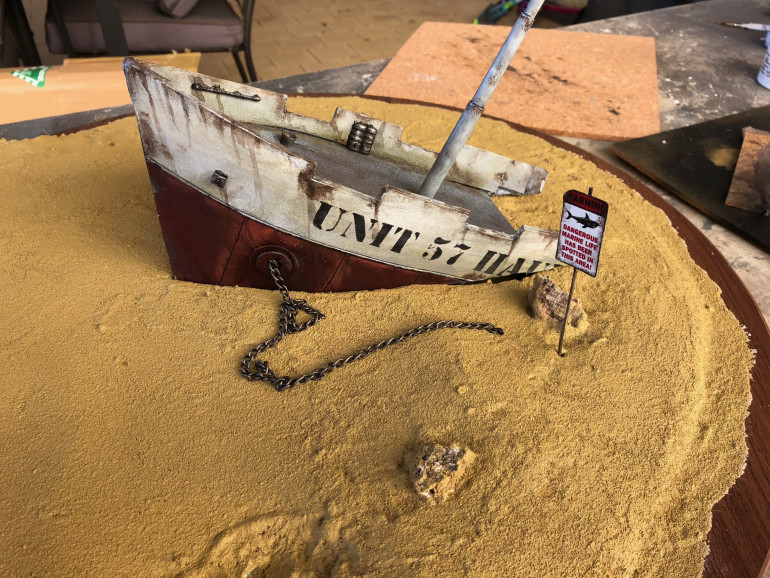 I painted the sand in regular household paint. Then I made a simple sign from copper sheet and a copper wire. The sign is a decal I printed off at home. This was weathered to look old. I added streaks of weathering to the ship and glued it in place. Next I added some chains.
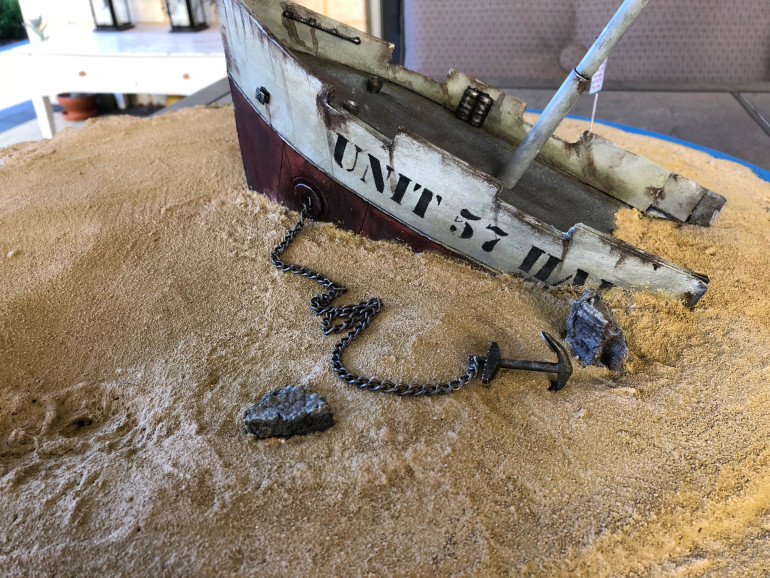 I decided that the sign looked better on the opposite side and added an anchor to one of the chains.
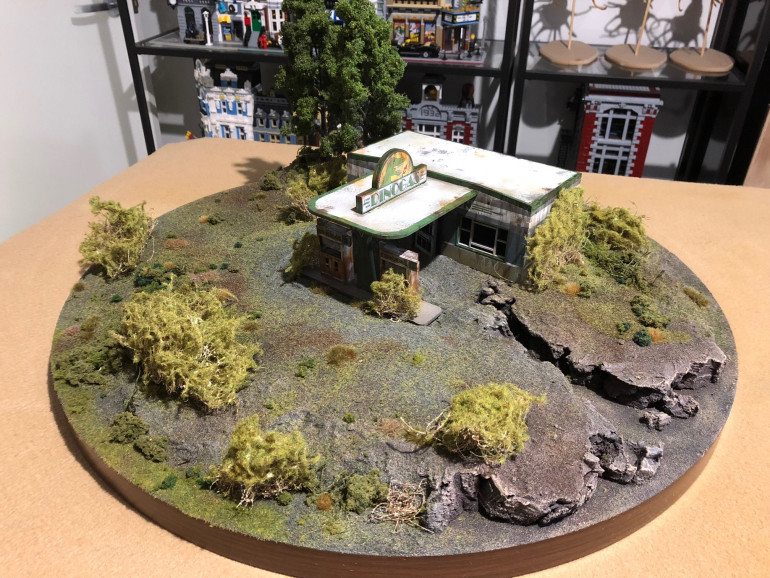
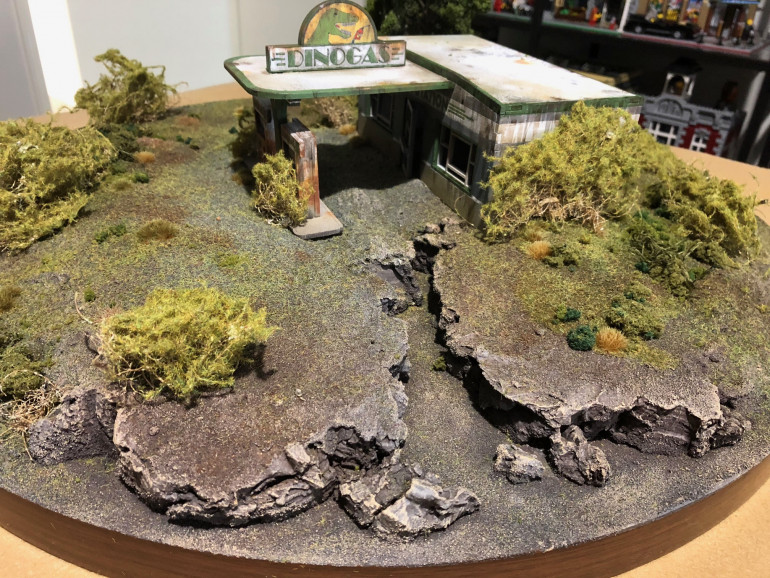
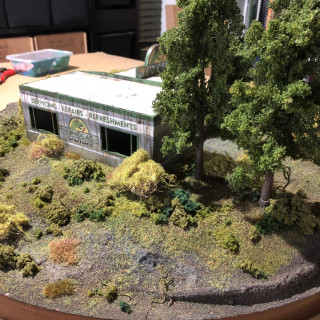
After the Island board was finished, I moved on to a second tabletop. This time an old, abandoned petrol station. I pretty much used the same techniques just changing colours.
Future City
Thank you so much for the Golden Button. Very unexpected but very appreciated.
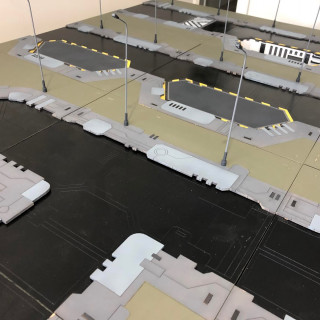
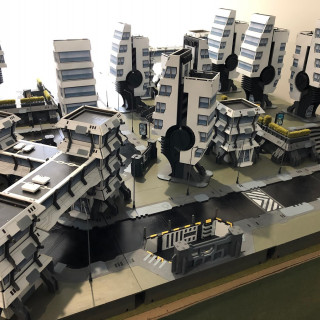
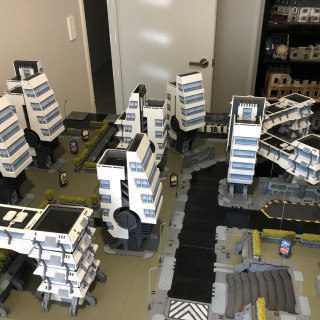
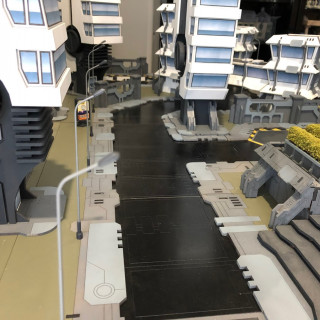
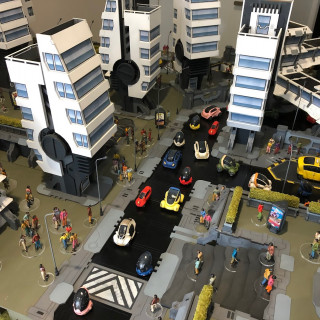
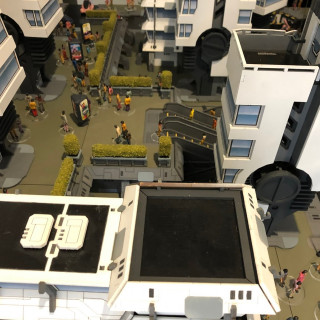
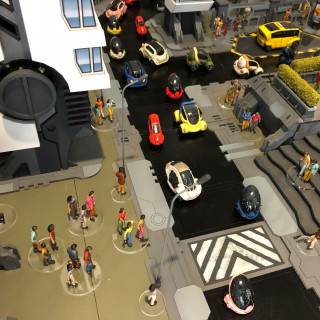
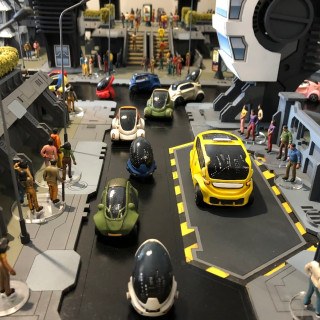
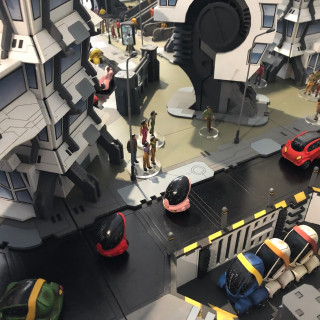
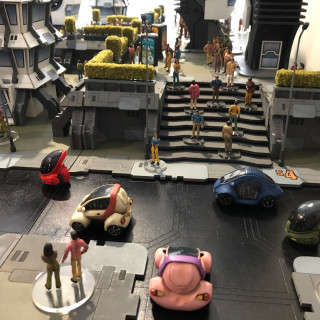
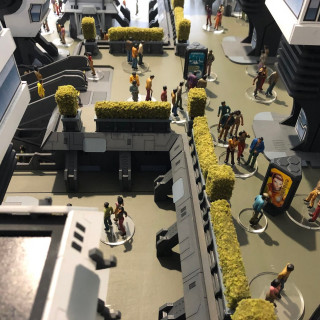
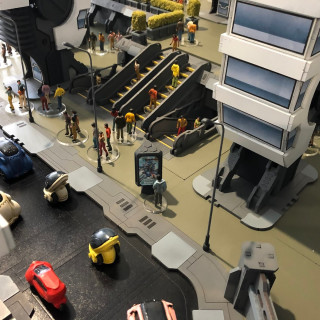
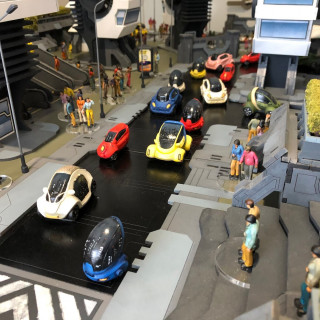
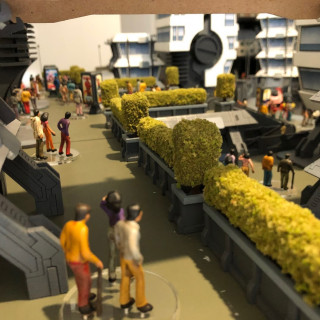
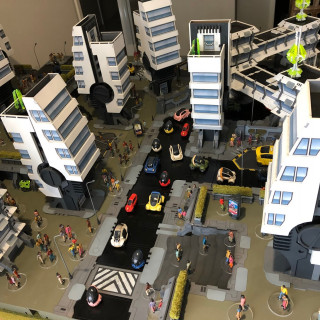
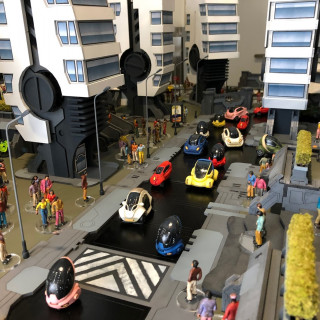
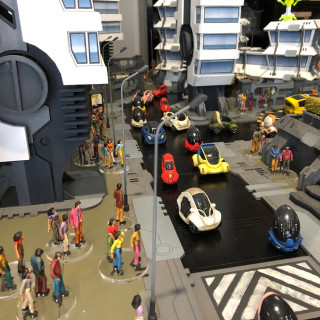
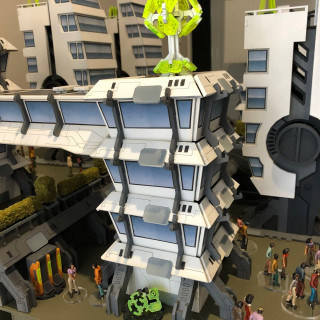
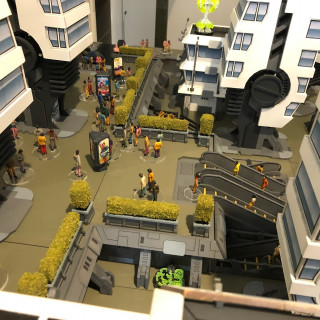
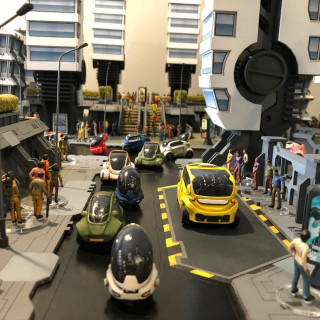
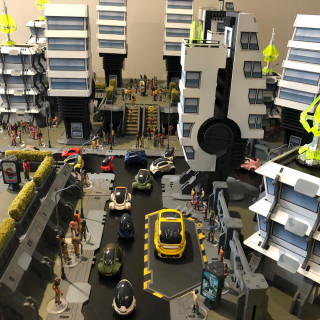
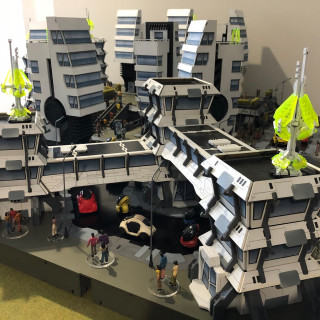
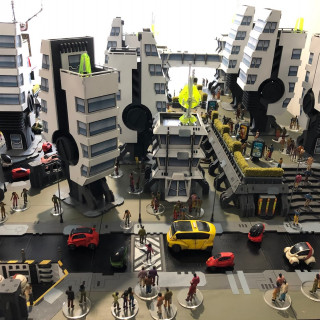
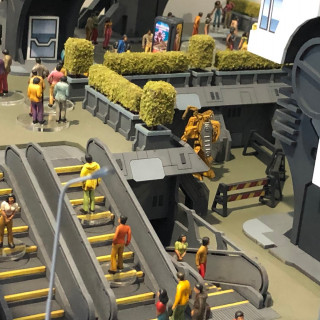
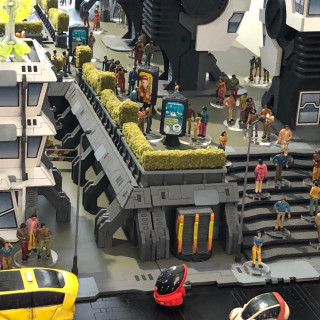
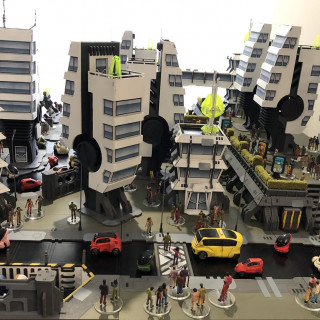
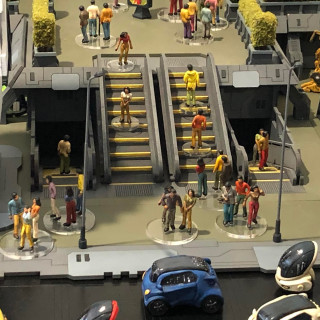
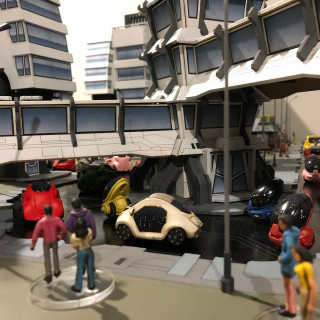
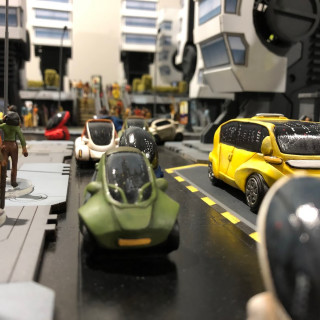
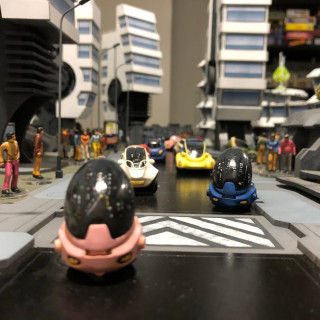
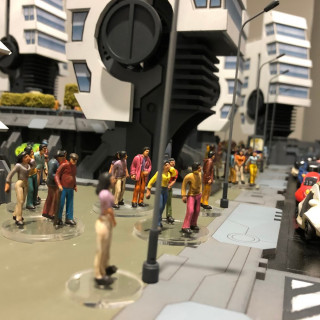
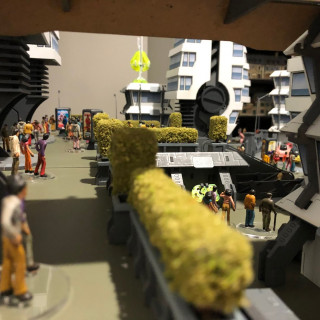
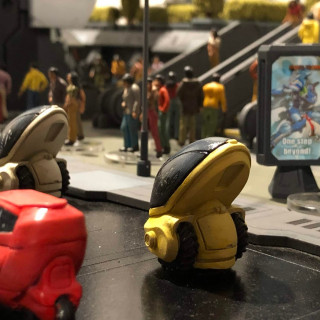
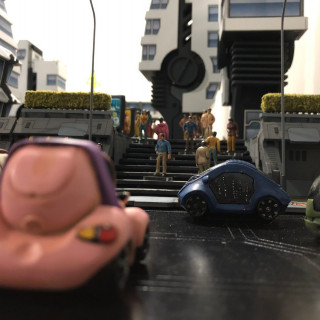
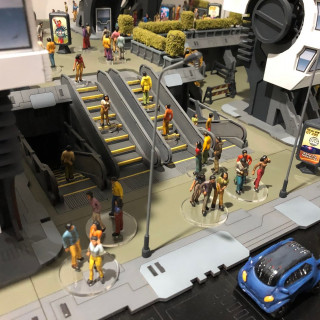
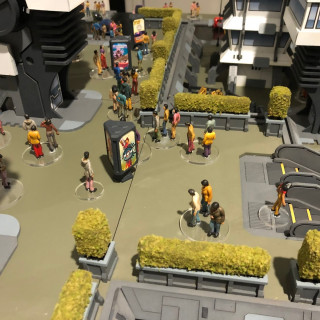
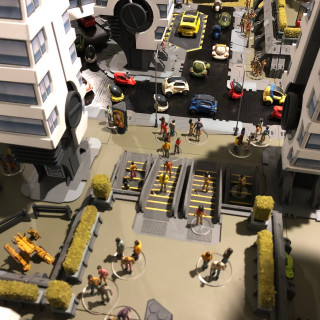
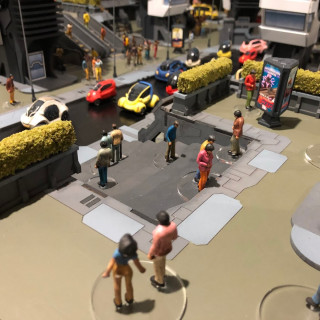
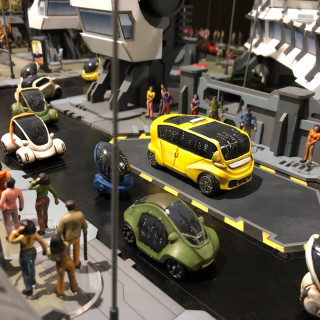
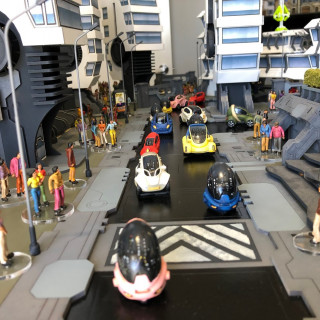
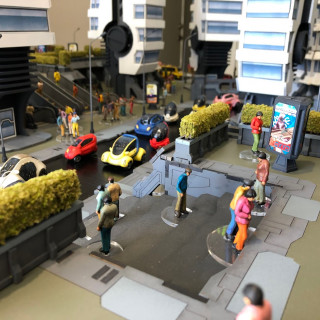
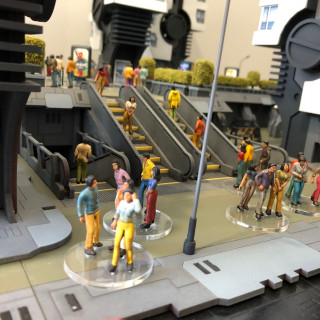
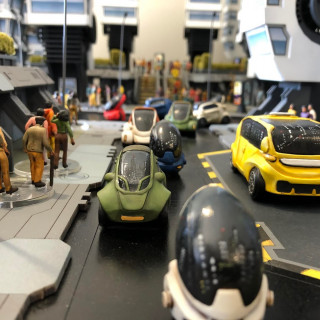
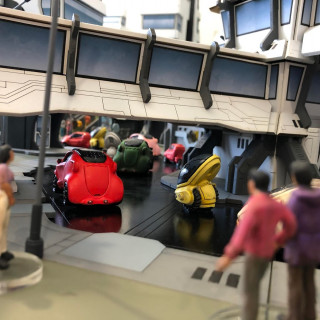
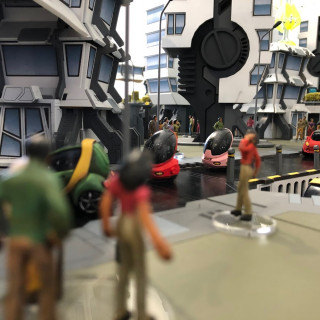
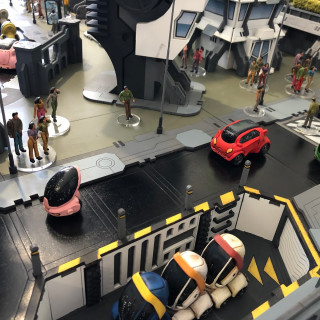
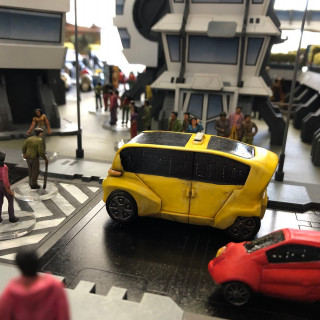
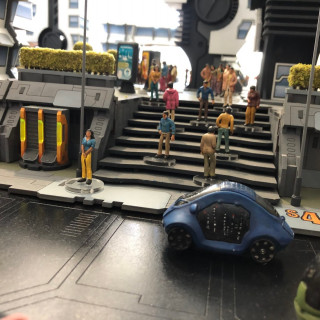
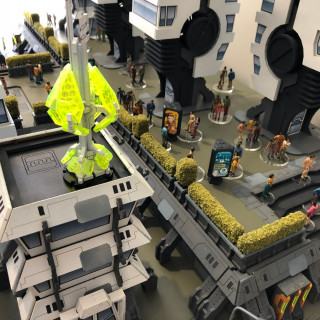
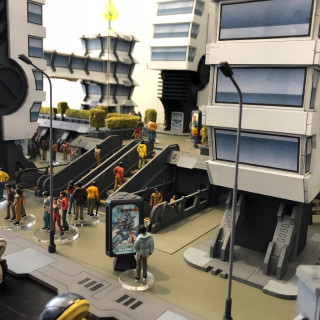
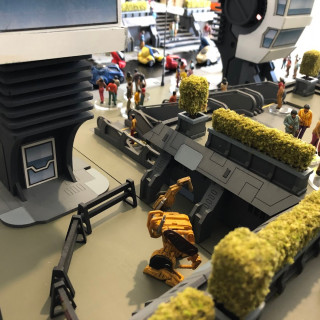
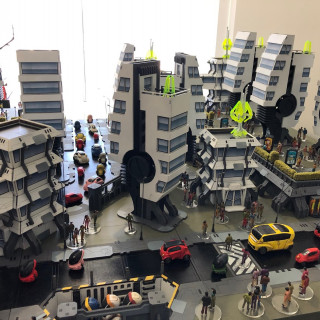
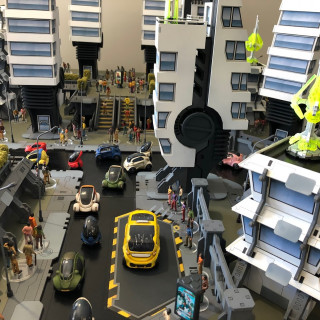
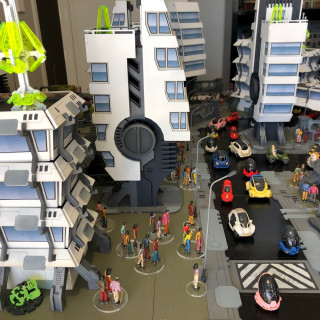
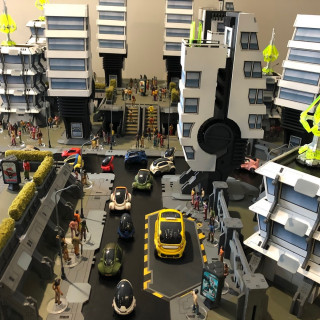
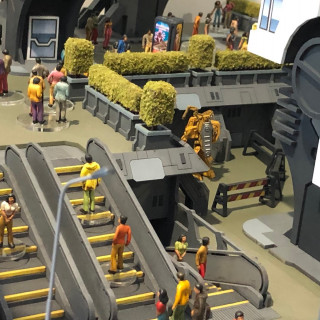
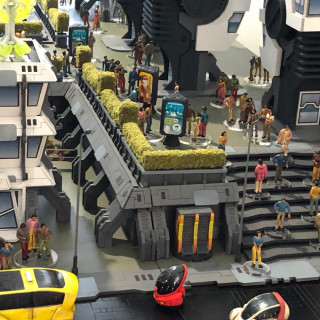
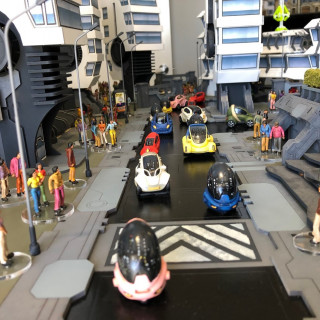
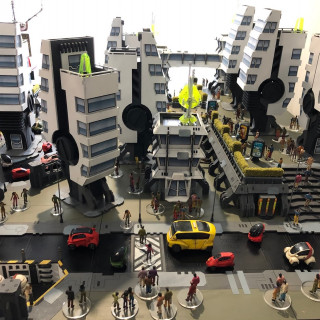
My Futuristic City Terrain which is a mixture of MDF kits, Resin Vehicles and cheap train layout civilians.
The buildings and terrain were all painted with spray cans. I used masking tape to tape of areas where needed and for the most part spray painted everything before assembling it.
I used a very limited palette and went with white buildings because they I wanted a bright futuristic feel and not the normal dark gothic look that is popular in games like Warhammer 40K
This terrain was built with Judge Dredd and Infinity in mind, so a comic book style seemed to fit the bill.
It’s all modular so can be moved around as you please. The street lighting is all attached by magnets.
I haven’t gone into how each bit was assembled because they were literally built just following the instructions in each pack.
I painted lines and dots on the vehicle windows to simulate the city reflecting in them. I then gave them a high gloss varnish to add to the reflective feel.
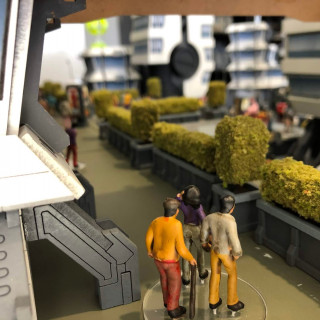
A small assortment of scatter pieces adds extra colour to the layout but really, it’s the civilian models that bring the city layout to life.
Lighthouse
Lighthouse
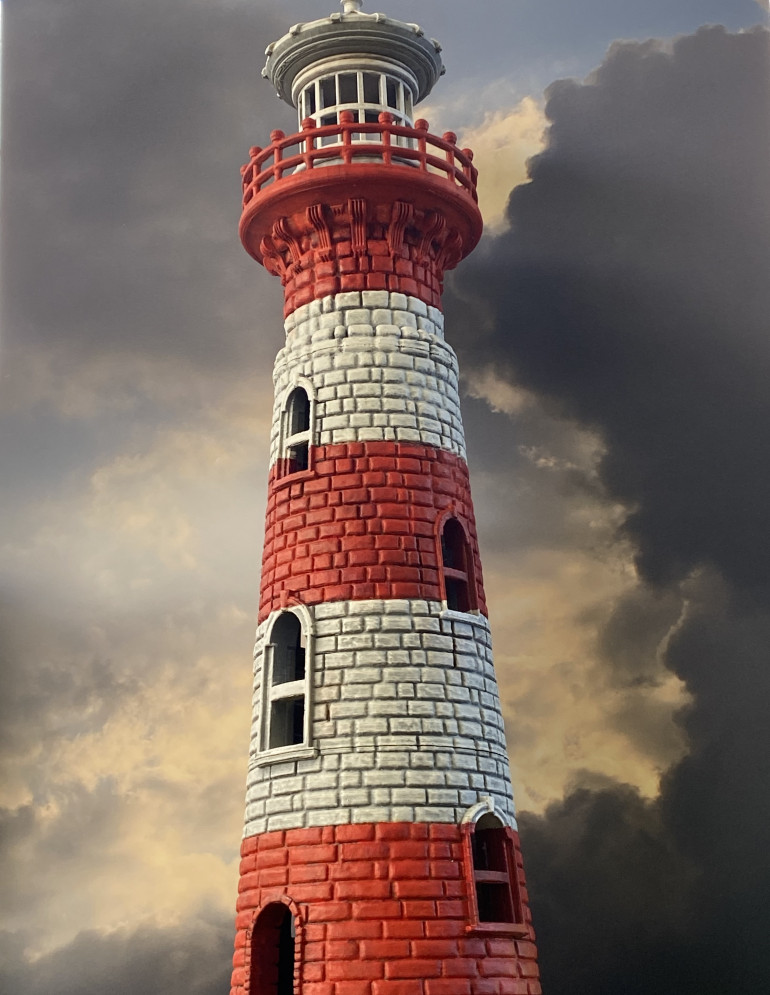
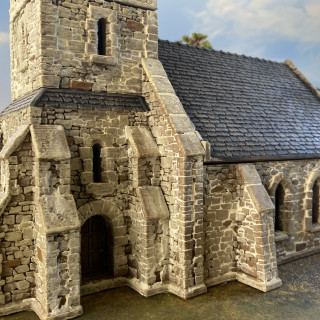
I have no idea why I felt like I needed a lighthouse in my terrain collection. Maybe it could come in hand for some Victorian scenarios, or Possibly for Fallout. Who knows, but I do like the model.
King and Country
King and Country
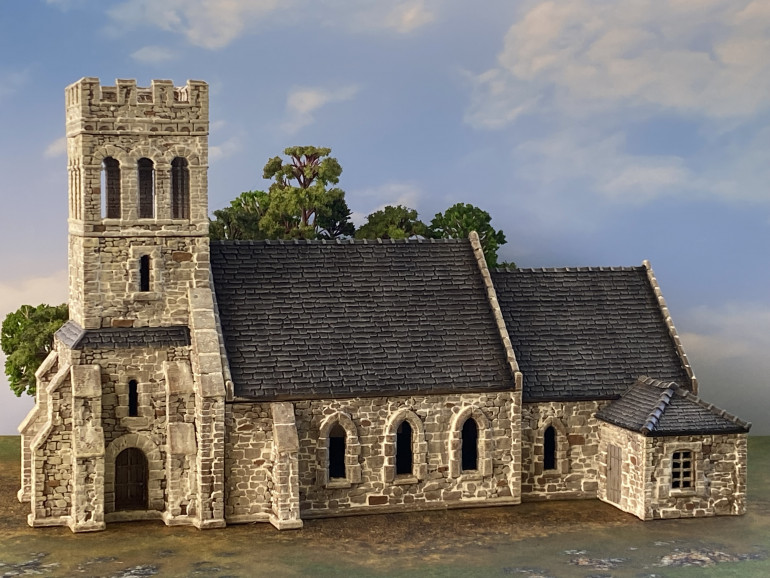
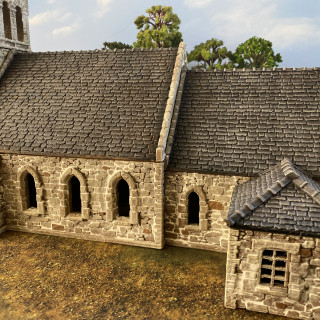
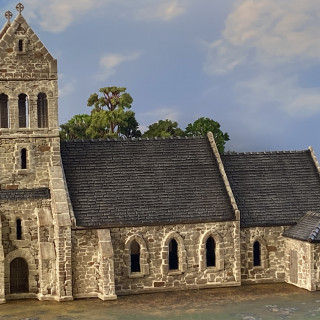
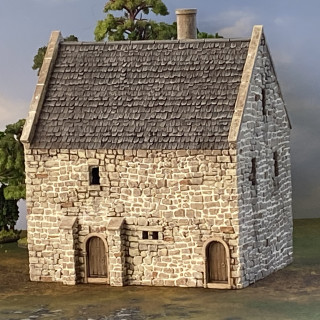
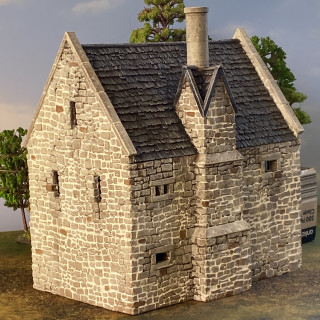
First, I used Army Painter Leather Brown spray to undercoat the entire model.
Then I dry brushed the model with a light sand colour.
Once the paint was dry, I smeared on regular Polyfilla with my finger and then before it was fully dry I used a wet cloth to wipe away the excess leaving filler in the recesses.
Once that was dry, I picked out a few random stones in Leather Brown and a very dark, almost black.
Then I used a light grey wash in streaks down the walls to simulate weathering.
I painted the stonework around the windows in a rawhide colour and dry brushed over that with an off white.
Doors and woodwork were just painted in whatever browns I laid my hands on and dry brushed with a brown/grey.
I do still have some finishing off to do, and a few repairs to make, but overall I am pretty happy with how these are turning out.
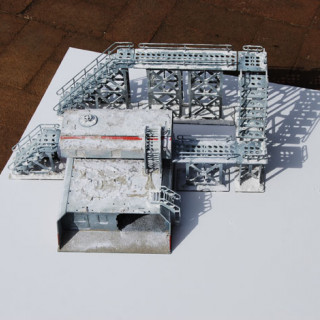
Frozen Outpost
Frozen Outpost
Once more a delve into builds of the past.
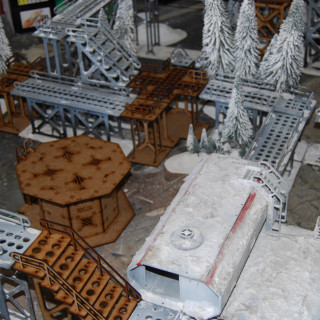
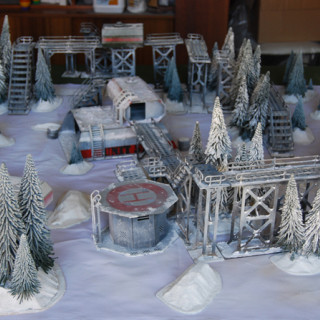
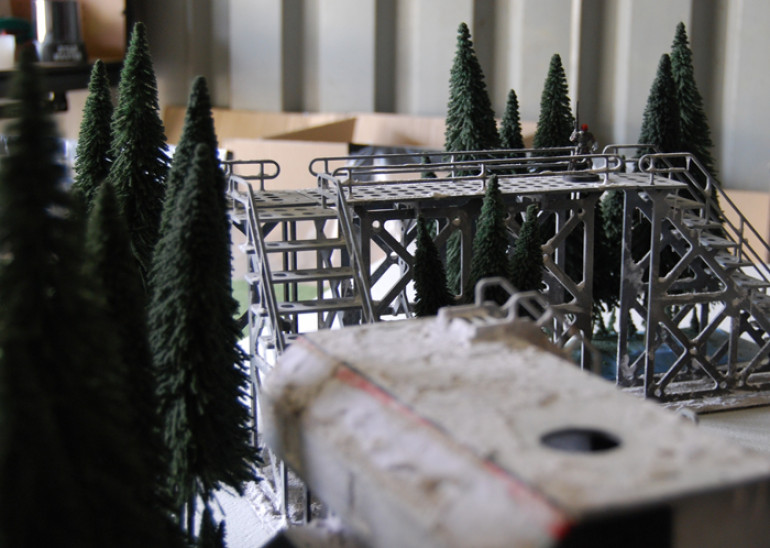
It seemed to me that just about every infinity table out there seems to consist of either shipping containers or full-on urban settings. Not that there is anything wrong with that and I too have a full-on city set up, which I will post pictures of too. However, I wanted to do something a little different and include more natural elements.
So, after watching ‘The Thing’ and looking forward to its board game release I opted for a snow covered outpost. Not Full-on arctic conditions but more like how I imagine places like Canada would look. Apologises to any Canadians as I have never been to your country, I just have this image of large trees and white snow in my mind.
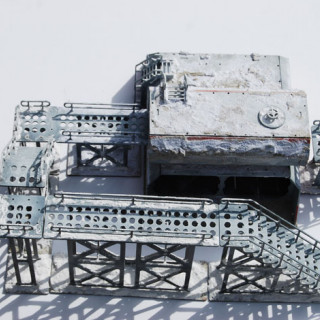
I ordered a bunch of terrain from sarissa precicion to build my proposed outpost / research facility.
I really like the sarissa stuff and have used it as a basic shell for other terrain builds and will continue to do so in the future. It goes together really well, and the delivery time is excellent.
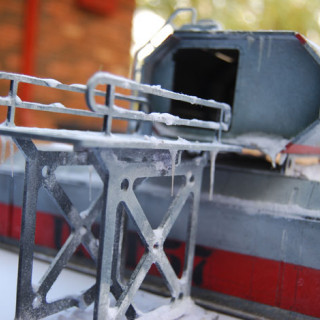
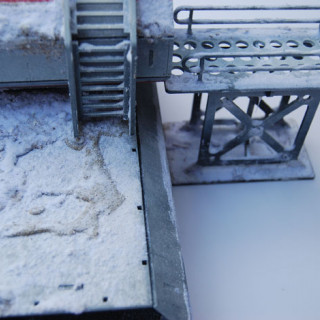
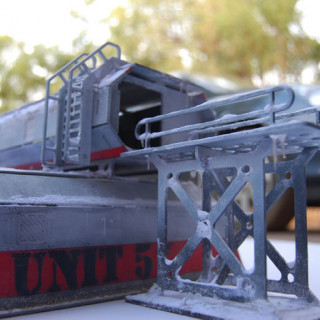
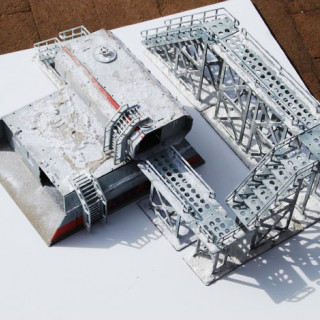
I knocked up a quick test piece to see if I was happy with my snow and ice theme. Of course, I had to add ‘Unit 57′ somewhere.
For the snow I used a mixture of PVA and plaster.
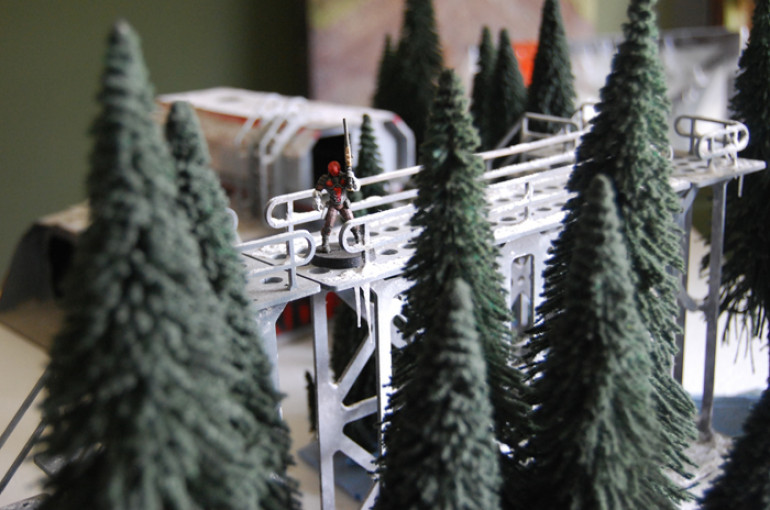
The red stripe was to add a bit of colour and I rather like the contrast between red and green (the green will come from the trees).
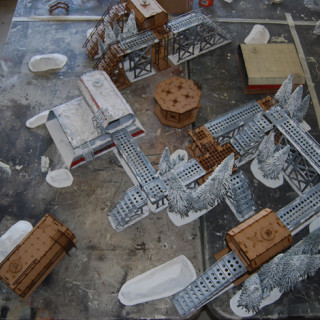
Next, I marked out a quick 4′ x 4’ area on my work table to see if I had enough bits to make it look busy enough. I added some simple snow drifts to add variety. It became apparent very quickly that I needed more trees. A lot more.
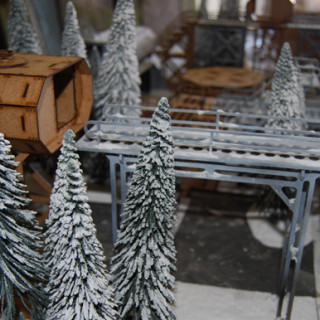
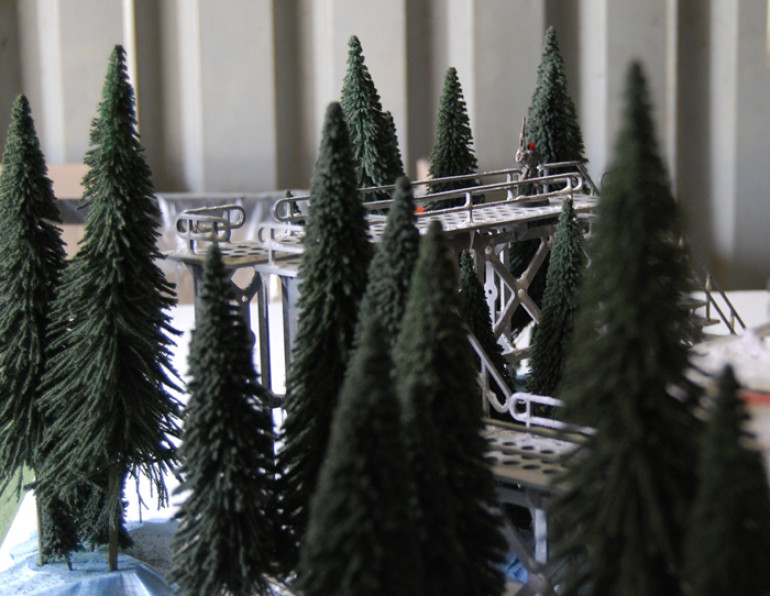
I was happy with the height of the trees as it helped break up fire corridors from the highest points on the table.
I used a simple white cloth to lay out the elements I had finished on.
Overall, I was pretty happy with the layout and love the contrast between the snow and the trees. It’s a fun layout to play on but does has one minor drawback. The white plaster powder does come off slightly if you rub the terrain so I probably should have put a bit more thought into how I was going to tackle that. Also, I am not sure that I want to base figures up on snow textured bases, so it does really limit its use somewhat. However, it was fun to do.
Roman Villa
Roman Villa
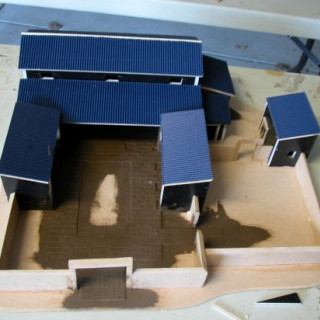
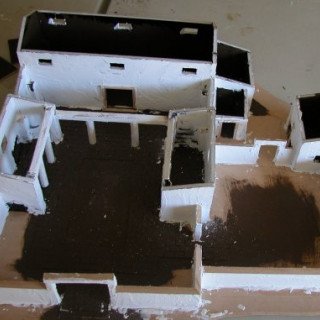
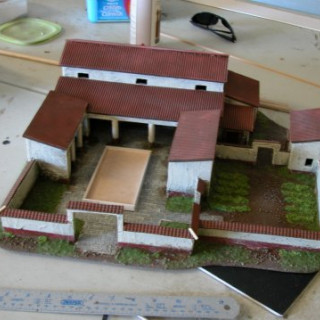
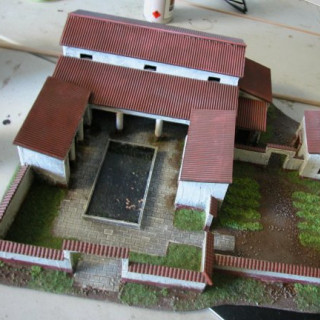
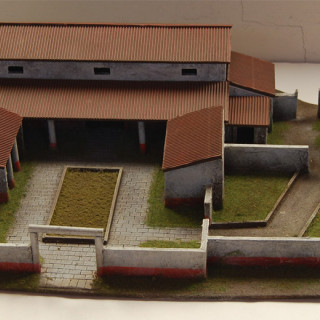
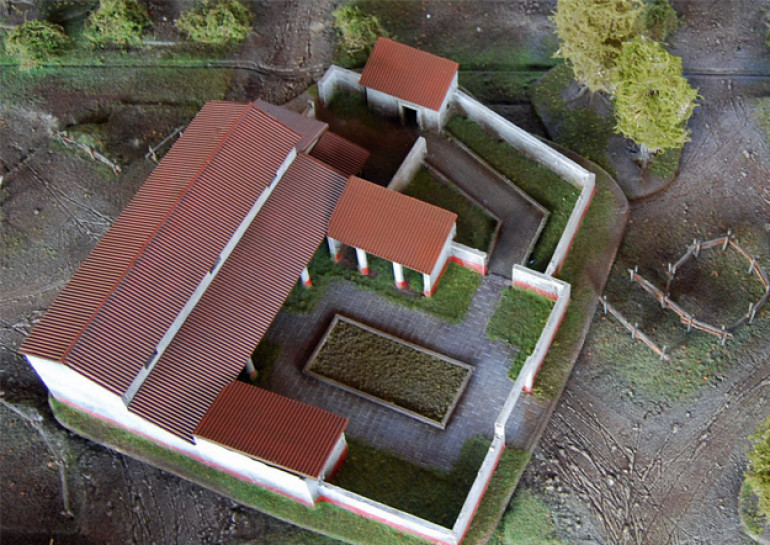
A very simple Roman building I made when Gangs of Rome First came out. Oh how time flies by.
For this you will just need some 5mm thick foam-core, MDF for the base, some card and other easily available scraps. These buildings are heavily inspired by the Touching History series of books that are now sadly long out of production.
First up cut out a base of MDF and using Foam-core make the structure of the main building. I found it easier to quickly sketch out the footprint of the entire building and then use that to measure out the lengths of each piece.
Once the basic structure was finished, I used cardboard pre-cut paving tiles, available from model railway stockists, to create the paved areas of the courtyard.
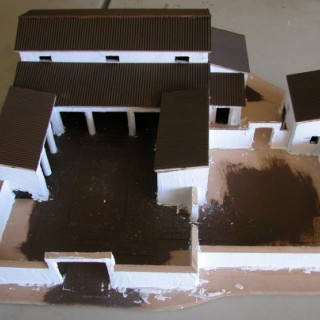
Next, I used PVA mixed with brown paint to seal the paving down and made the roofs by gluing corrugated cardboard to pieces of MDF cut to size. The join in the main roof was covered with a barbecue skewer.
The walls were plastered with poly-filla.
The roofs were undercoated brown, and the walls undercoated white.
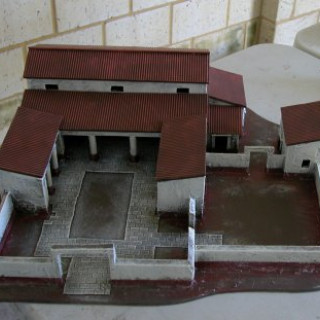
The roofs were then dry-brushed with terracotta paint and the walls weathered up.
A red stripe was added to the bottom of the walls and the paving was painted.
The base was flocked, and an insert created for the central courtyard area.
A water feature was created for the central area.
Which of course can be changed out to a garden area and a completely different side garden.
All up this was a very simple build, and the same process can be used to create all kinds of buildings.
Junk Town
Junk Town
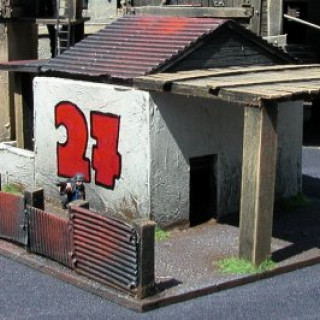
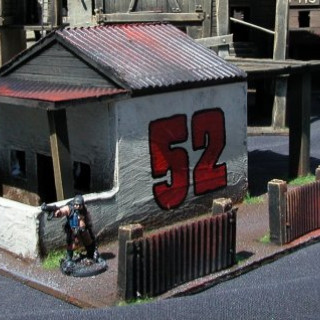
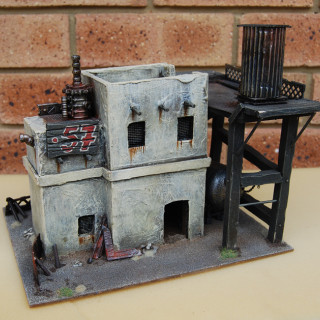
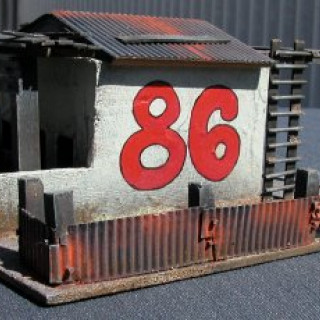
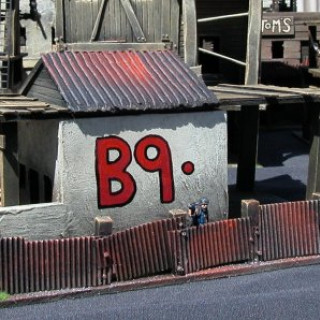
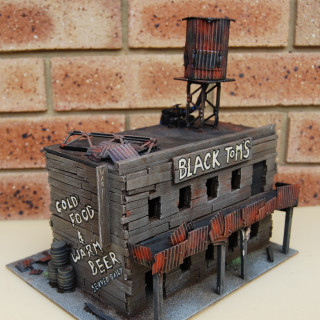
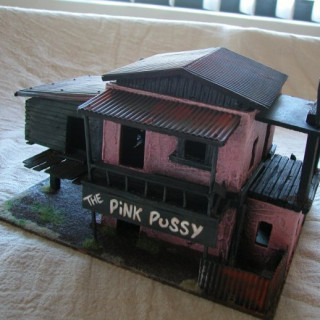
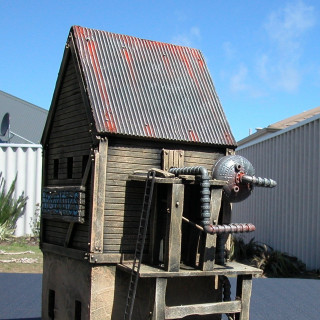
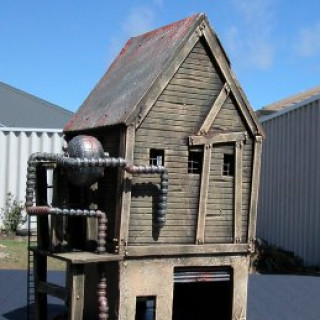
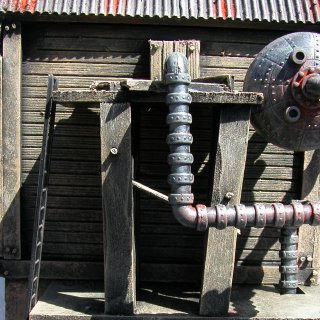
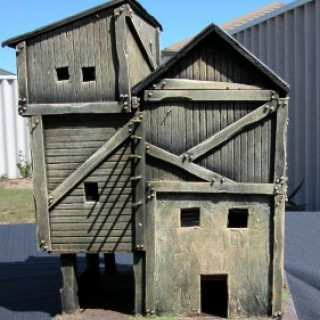
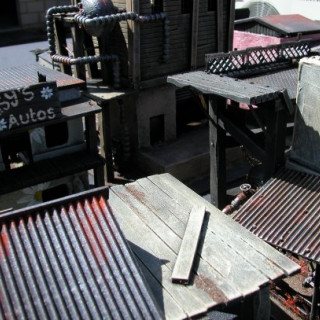
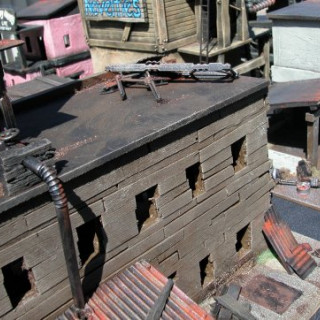
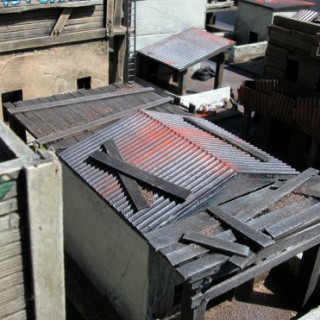
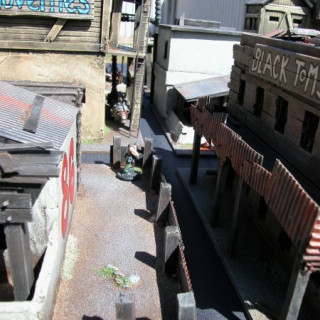
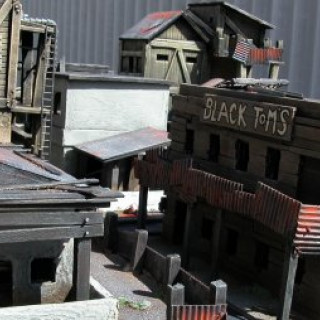
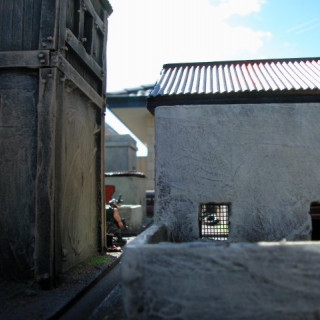
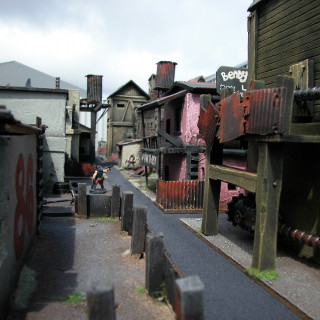
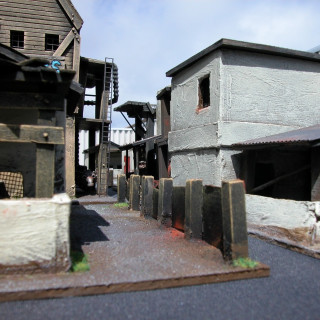
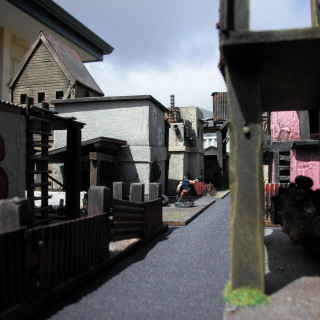
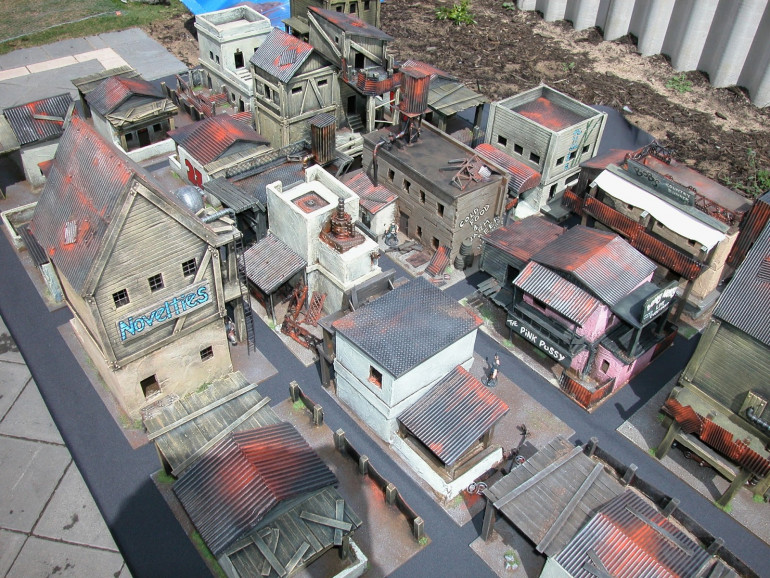
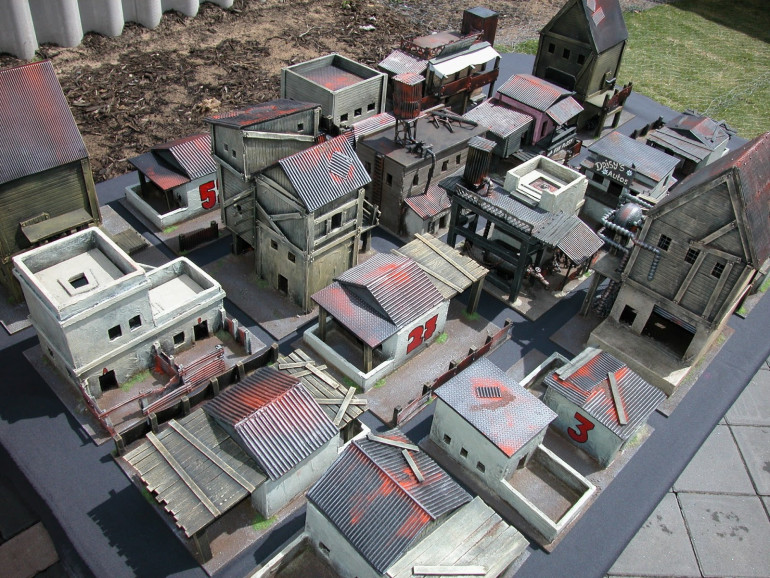
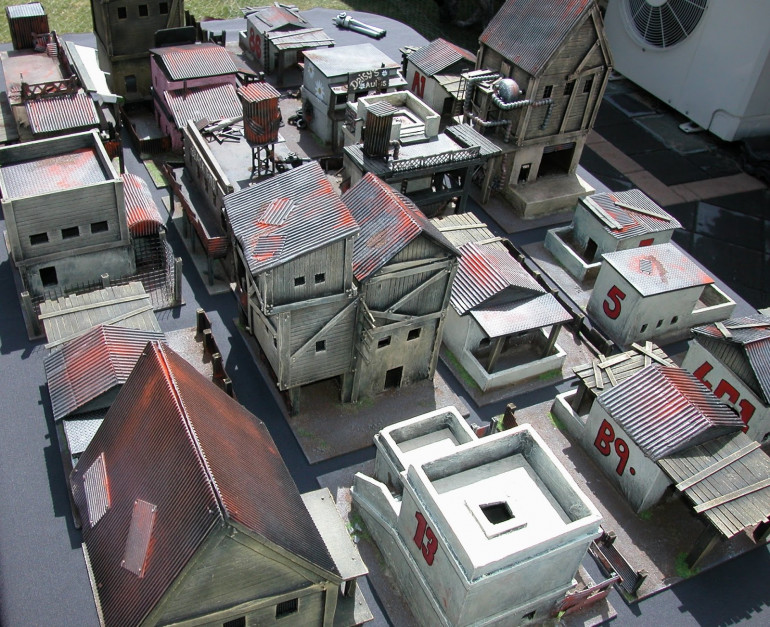
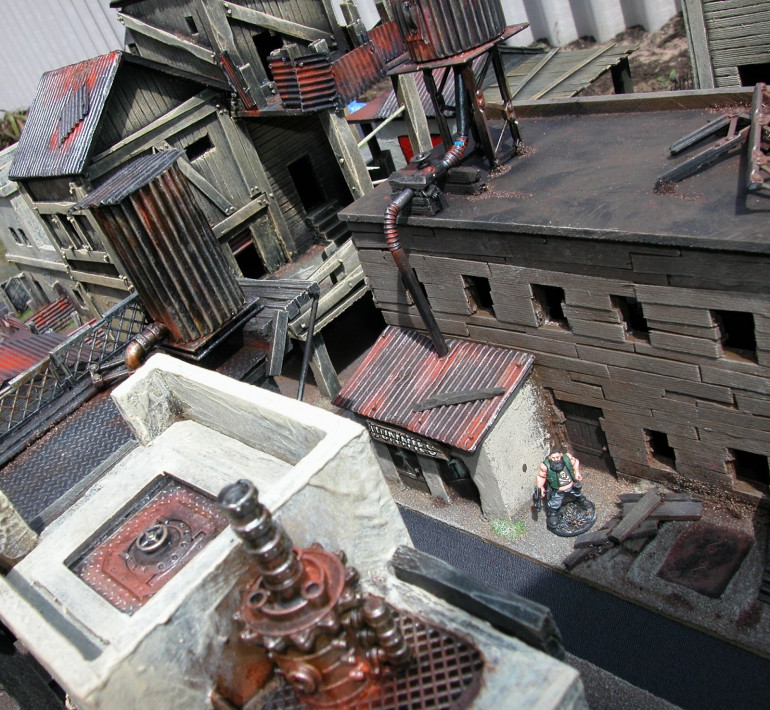
Having done a large amount of scratch-building and having a great friend who owns a picture framing company I invariable have lots of Foam-core scraps lying around just looking at me and begging to be given new life.
Hence, Junk Town was born.
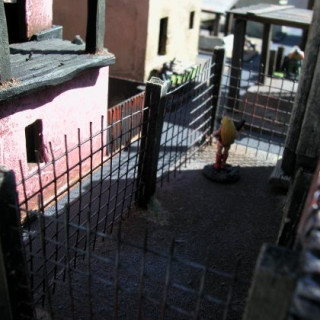
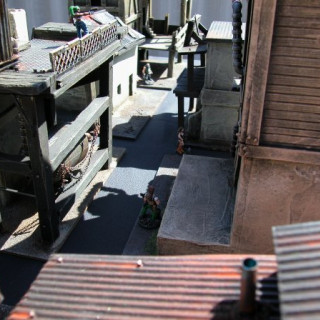
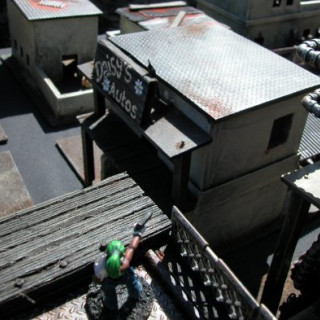
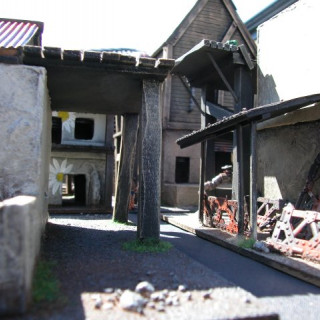
I guess these were just built on a whim and desire to use up some odds and ends and maybe have a use in good old fashioned Necromunda / Post Apocalypse style skirmish games.
Of course, being for skirmish games all the buildings come apart with removable roofs and layers. In some cases, the wooden platforms can also be removed to mix things up a little.
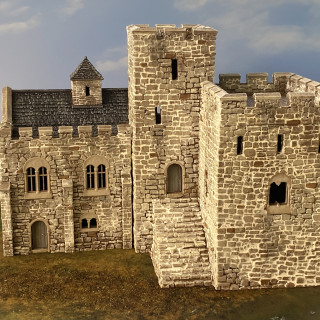
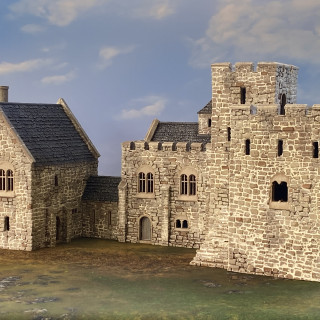
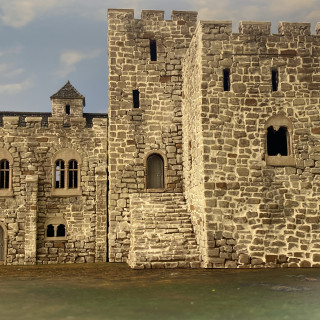
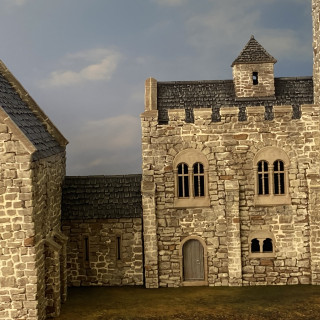
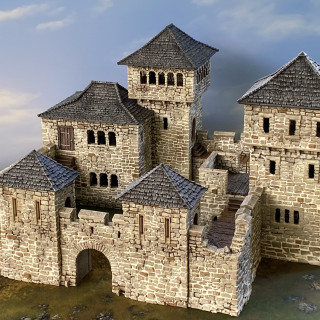
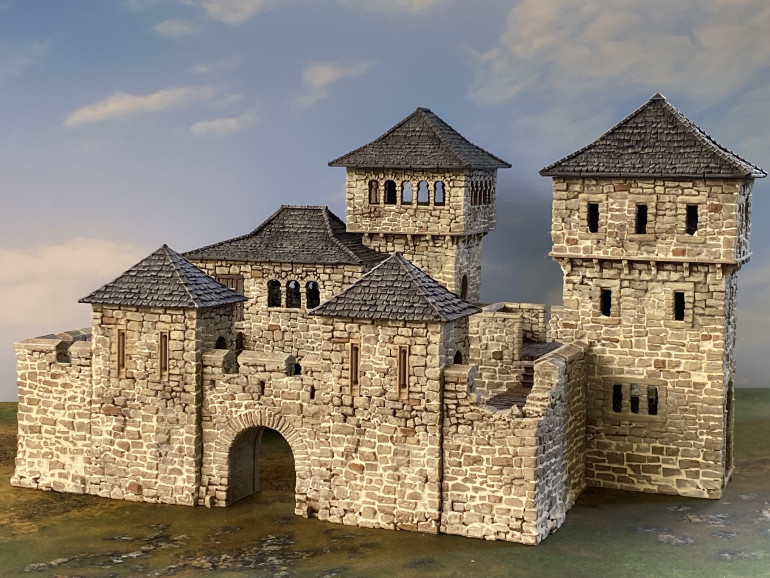
Crusader Castle
Crusader Castle.
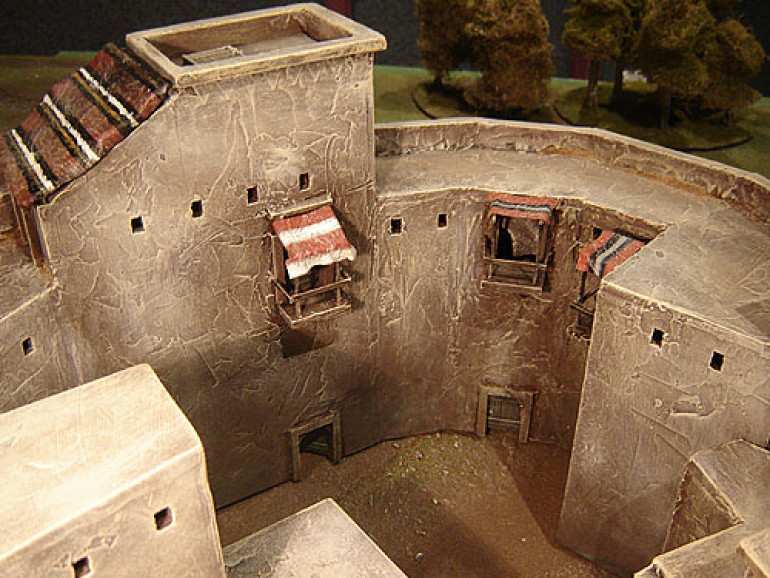
Another older build and also another Castle Build, something a little more substantial this time.
So, the plans for this castle I had found on the internet some years ago and saved. I can’t for the life of me remember where they originally came from or what the castle was used for.
Again, I used foam-core covered in filler for the structure. This time I sanded the walls a lot because I wanted a nice smooth texture, especially on the corners.
For the most part the roofs are attached and there is no access to the interior of the towers. I have found that although having access is a nice feature it rarely sees any use in the games we play. If we ever decide to place figures inside a tower, we can use an abstract way to represent it and remove the figures from the gaming table.
Having said that there are a couple of roofs that come off and I have added a little detail inside by way of shelves and trinkets.
I made the main gates lockable and of course fully functional. The entrance to the gate will have two options. An earth and rock bank and an alternative wooden scaffolding structure. These would be interchangeable to allow a slight variation to the building.
The whole model was then painted up in a very light sandstone colour.
Motte and Bailey
Motte and Bailey
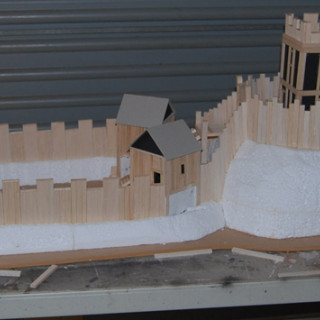
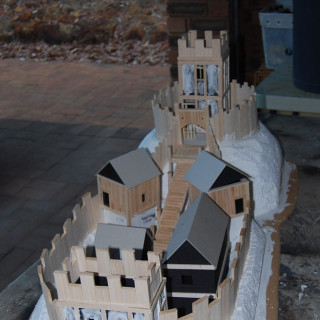
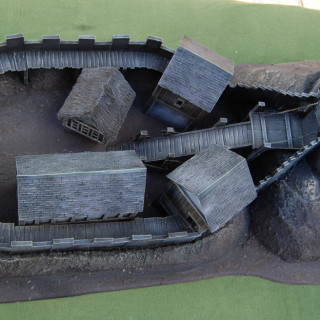
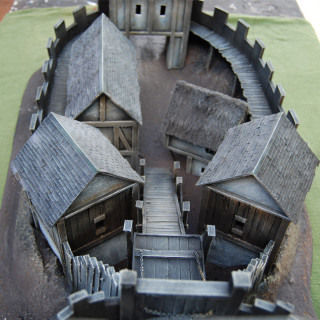
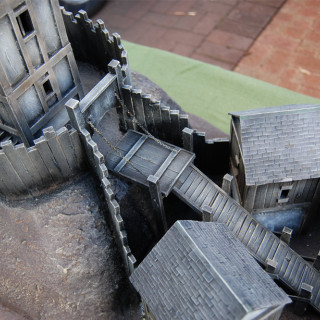
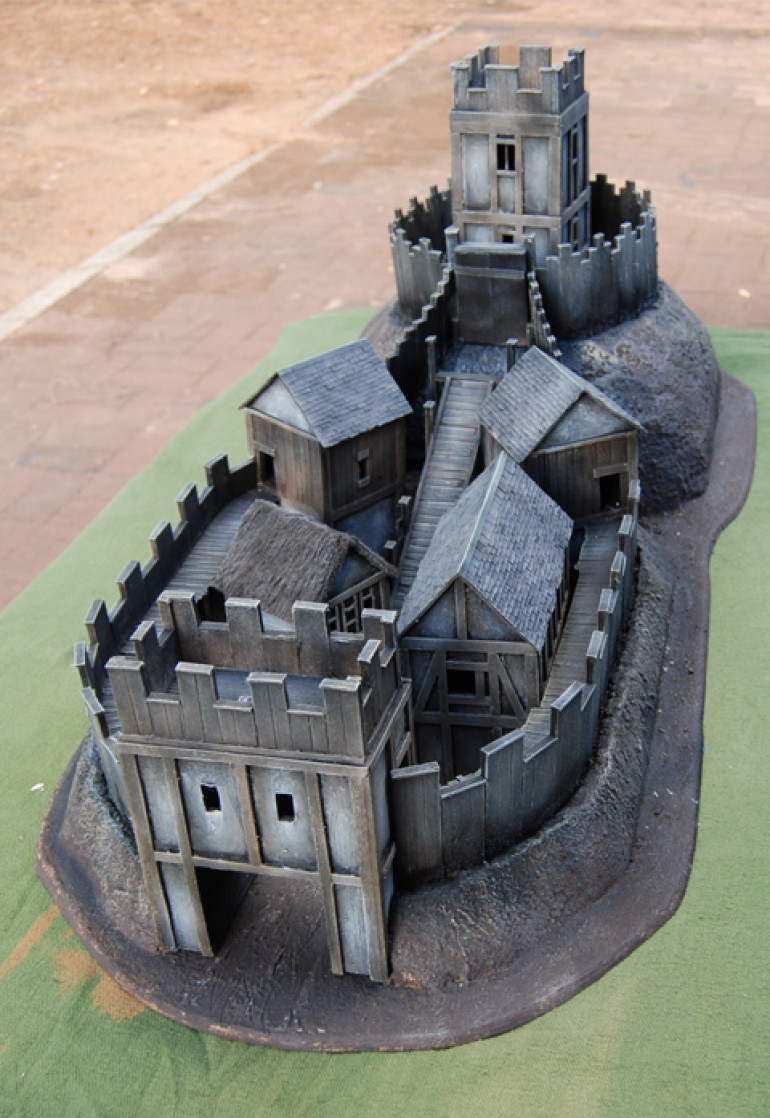
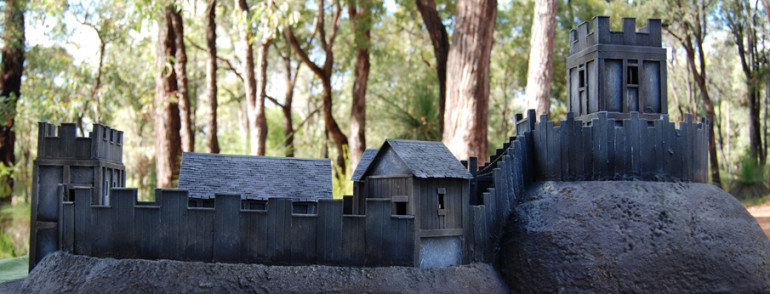
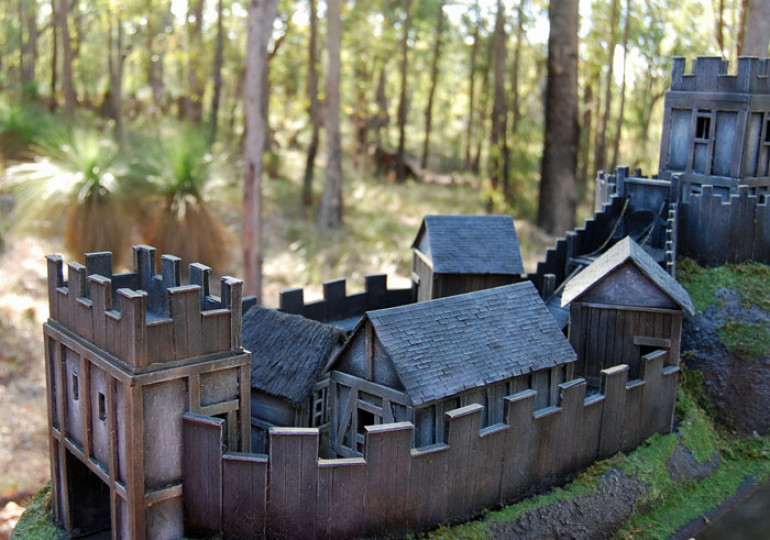
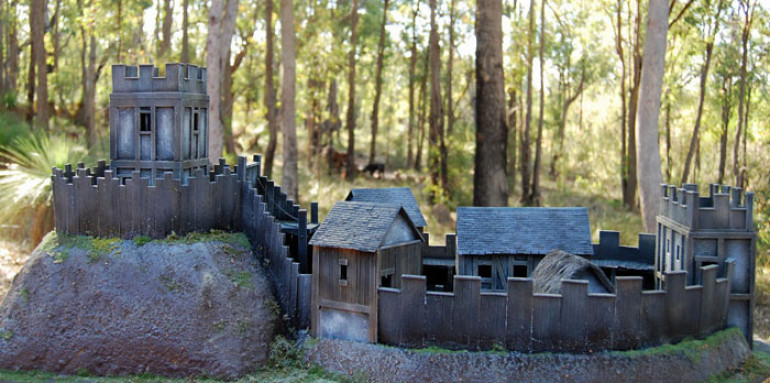
Another blast from the past. I made this a long time ago now, but figured it was worth cataloguing here.
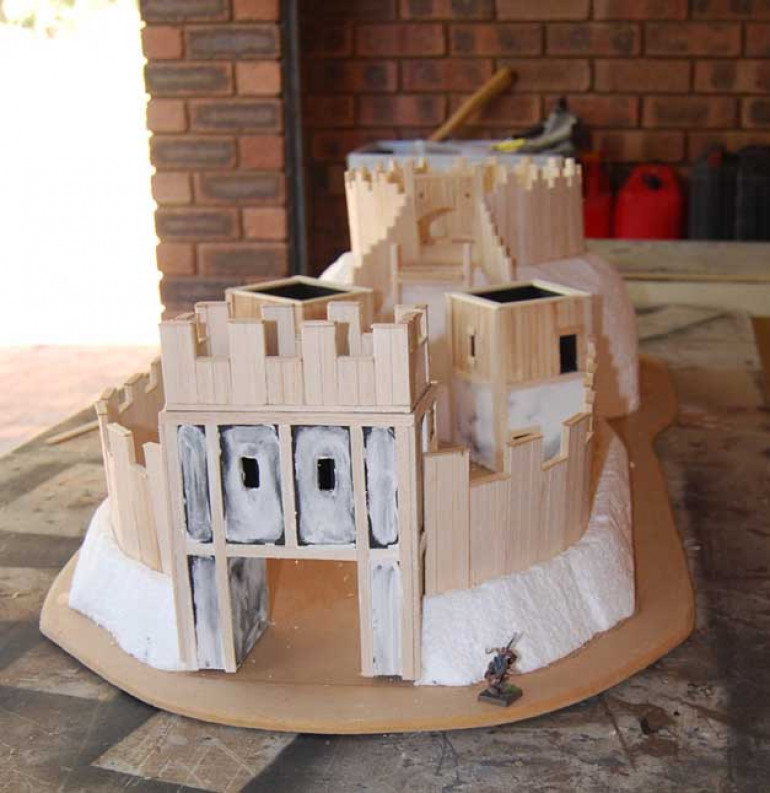
I have a fondness for castles and was asked by a friend if I could build a Motte and Bailey for the Dark Ages. Never one to shy away from a challenge I jumped at the chance.
First up the basic shape was drawn onto a piece of MDF and straight away I could see this was going to be a big build. (28mm figure shown at the front for scale purposes)
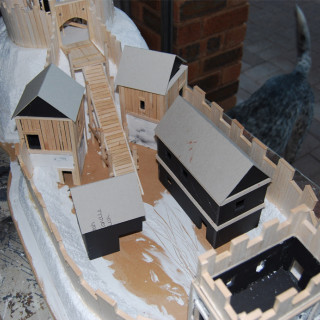
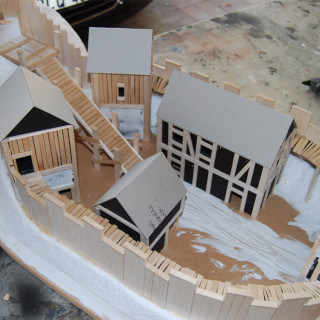
The main structures were built from foam-core and again the wood panels were added with balsa and stirrers, just like when building Sandringham. Between the panels I used normal surface filler to create a more interesting texture.
I used high density polystyrene foam to create the earthworks and a mixture of Balsa wood and Coffee stirring sticks to build up the wooden sections.
I kept all the buildings removable so that they could also be used as individual towers if desired.
Roof shingles were individually cut and attached. It’s a long and boring task but I find the finished result looks nicer than tiles made from long strips.
I used normal household paint from the local hardware store.
I deliberately left off the foliage so that it could be added to match the foliage used on the rest of the table.
The castle has a working drawbridge and removable buildings. The main tower also comes apart to allow access to the interior.
The whole model is huge and really dominates the tabletop. I’m still not convinced with how practical castles are on the average wargames table, but they sure are fun to build.
Bretonnian Army Display Board
Bretonnian Display Board
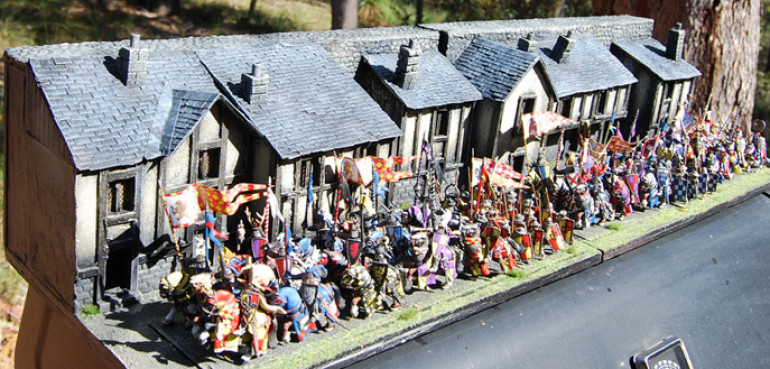
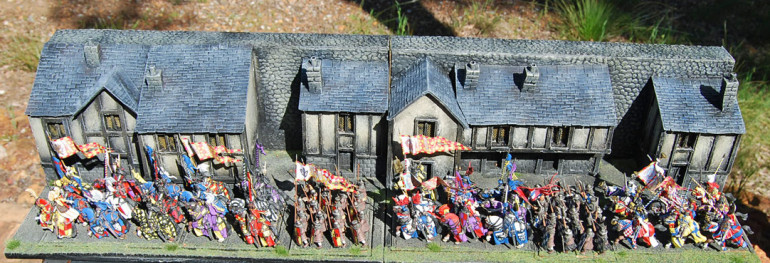
The idea of this display board was to try to maximise the ‘best’ side of the Bretonnian models. For these I think the best angle to view them at is actually from the side where you can get a better view of the shields, barding and banners.
So with that in mind I opted for a long thing display board in separate parts that would join together to make one scene.
I imagined the Army marching through a town in all its splendour with pennants and banners blowing in the wind. The bright colours of the Army contrasting with the drab colours of the Peasants houses and of course the hint of a castle wall.
 I used my normal method of foam-core to construct the basic shapes and balsa wood to add details. Filler mas wiped over the foam-core to create texture.
 After under-coating in a dark chocolate brown I used creams and off-white paint from the local hardware shop to dry-brush the model. The wooden beams were painted with black ink from an Art store.


