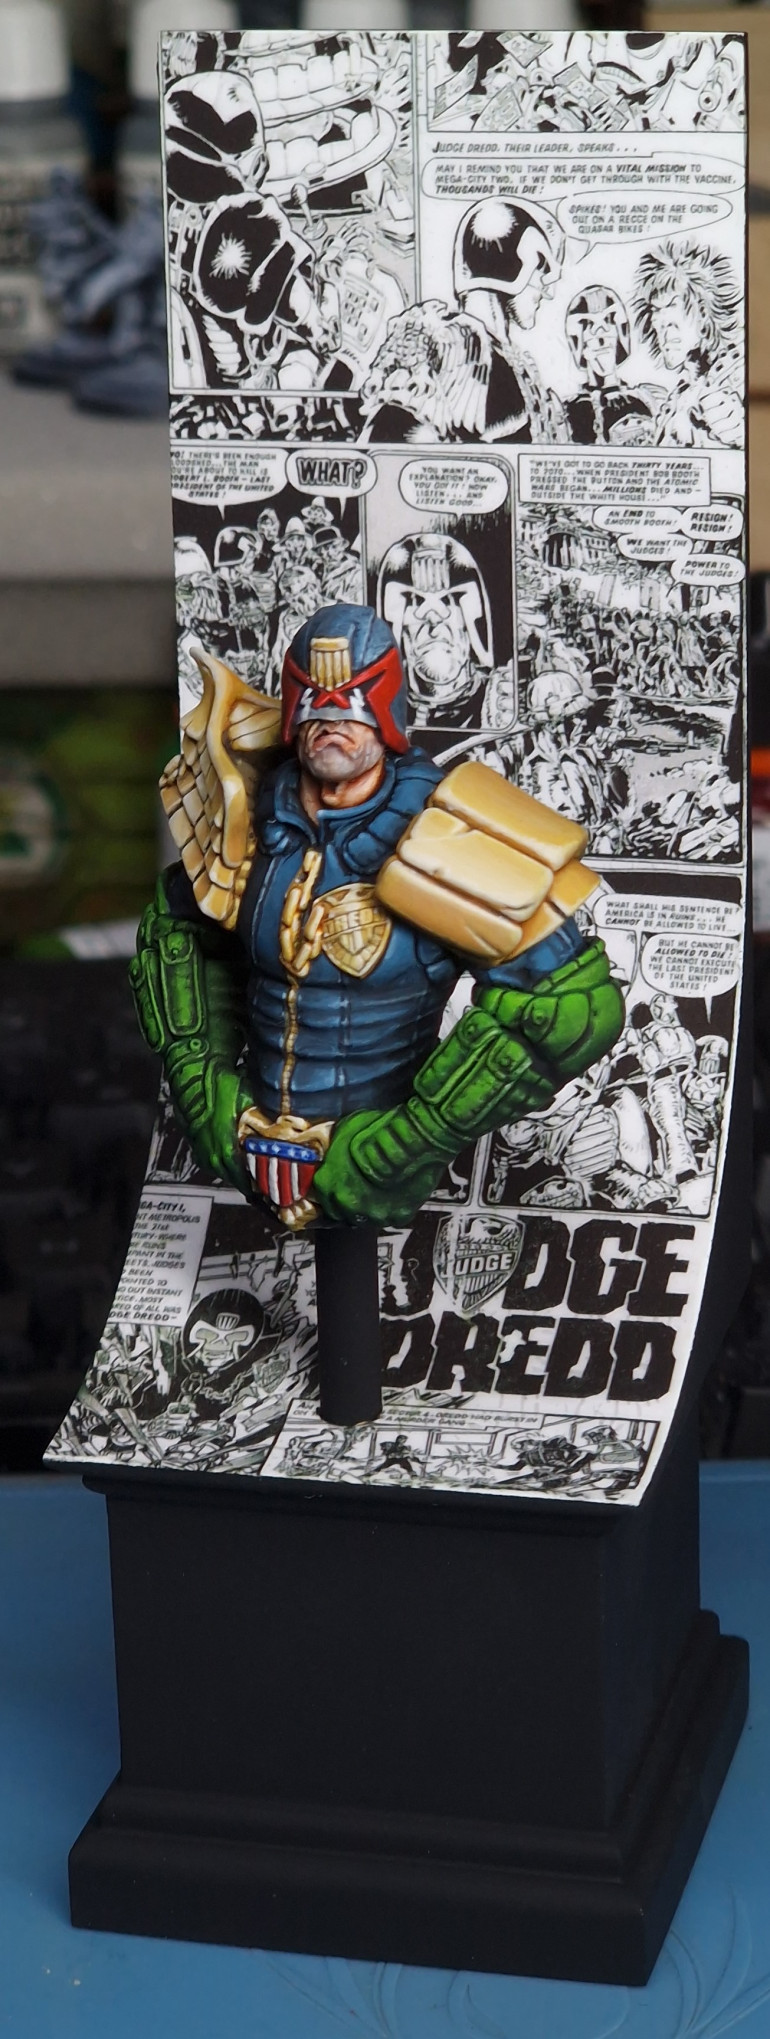
Busty Dredd
Recommendations: 157
About the Project
About my first completed bust. Started many but set out to actually call one finished.
Related Genre: Post-Apocalyptic
This Project is Completed
Simple beginings
So I have started about 15 busts or larger scale models, none have been finished. For someone who prides himself in finishing in record time. This is a problem.
So I found this model a month earlier while struggling with another bust. it wasn’t going well but I was powering through, so dismissed this. After going back to that bust for the 5th time I took the decision to abandon it and bin it, it just wasn’t fun anymore. leaving my hopes of finishing a bust in ruins.
The problem is it takes to long for me to paint a bust. This allows time for hate or dislike to grow. So I thought the limited pallet of Dredd may be perfect and pulled the model back out, supported then printed it on Friday morning.
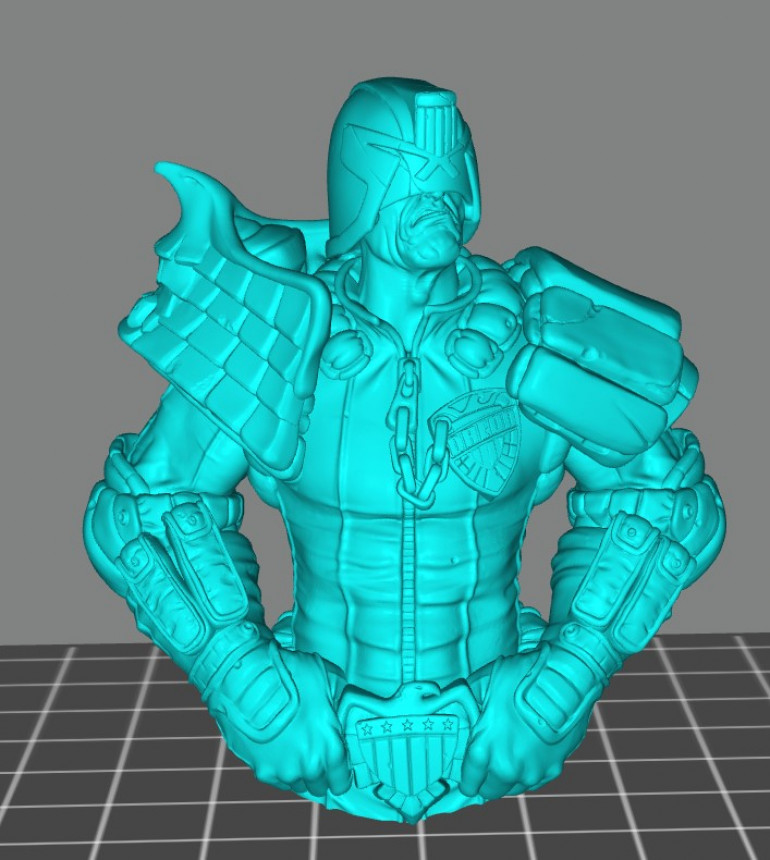
https://www.myminifactory.com/object/3d-print-judge-dredd-bust-fan-art-130127
Before I printed this I took off the pre made base in Mesh Mixer. I just didn’t like it, more of a me than an it thing. I just by tilted it, split it then fixing the hole, shrank it then supported this in the slicer.
The sculpt is not accurate to any Judge Dredd I knew I looked at some old books and then I realised that no two Dredds were really the same, even within the same book, it’s actually part of the charm. The only commonality seem to be the lower jaw and the badge and that was about right.
Clean-up and prep
I used a hair dryer and removed the supports and done some clean-up with a knife.
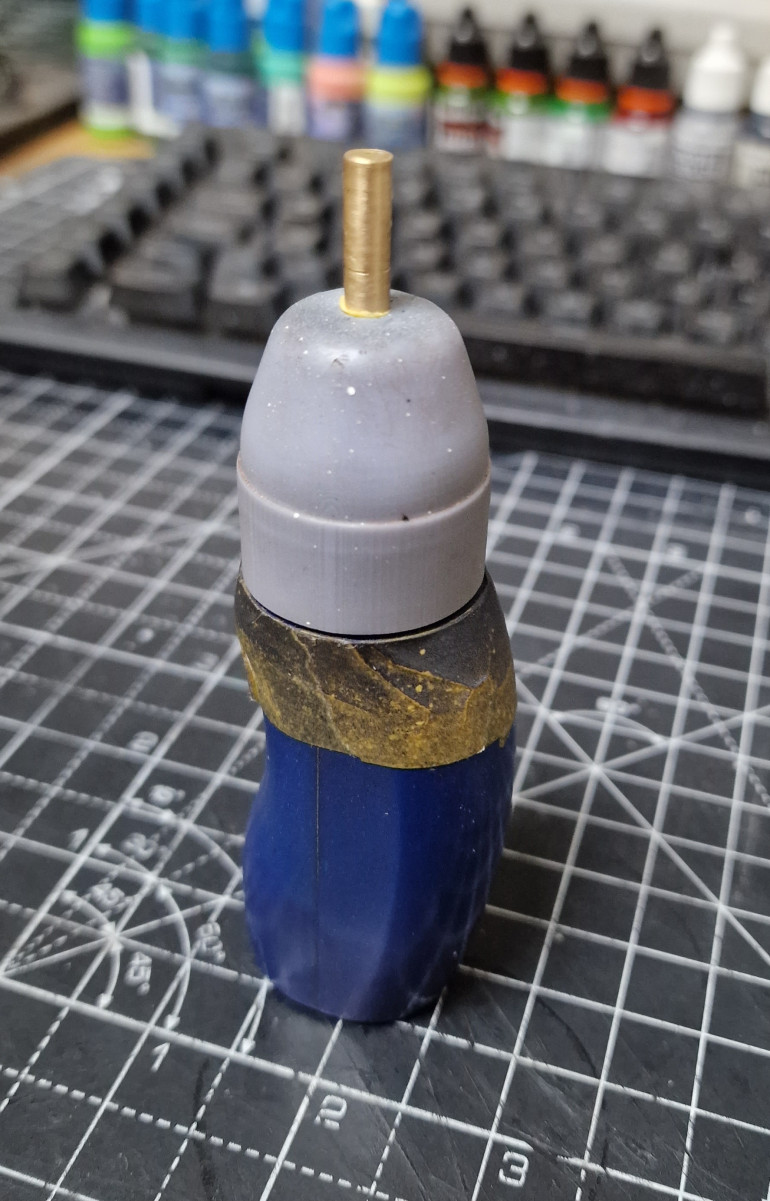
I had made a 3d printed bust holder that first on my painting handle. It uses a 5mm brass rod to connect to the bust which I chopped down using my drill as a poor mans laith. So drilled a 5mm hole in the bottom of the bust.
It all worked and I was ready to begin.
I know it’s phallic AF, this is not lost on me but was of necessity rather than design.
I primed in black then white in a zenith but very strong on the white as It’s a comic book I wanted the colours to pop more without loads of layers.
The painting
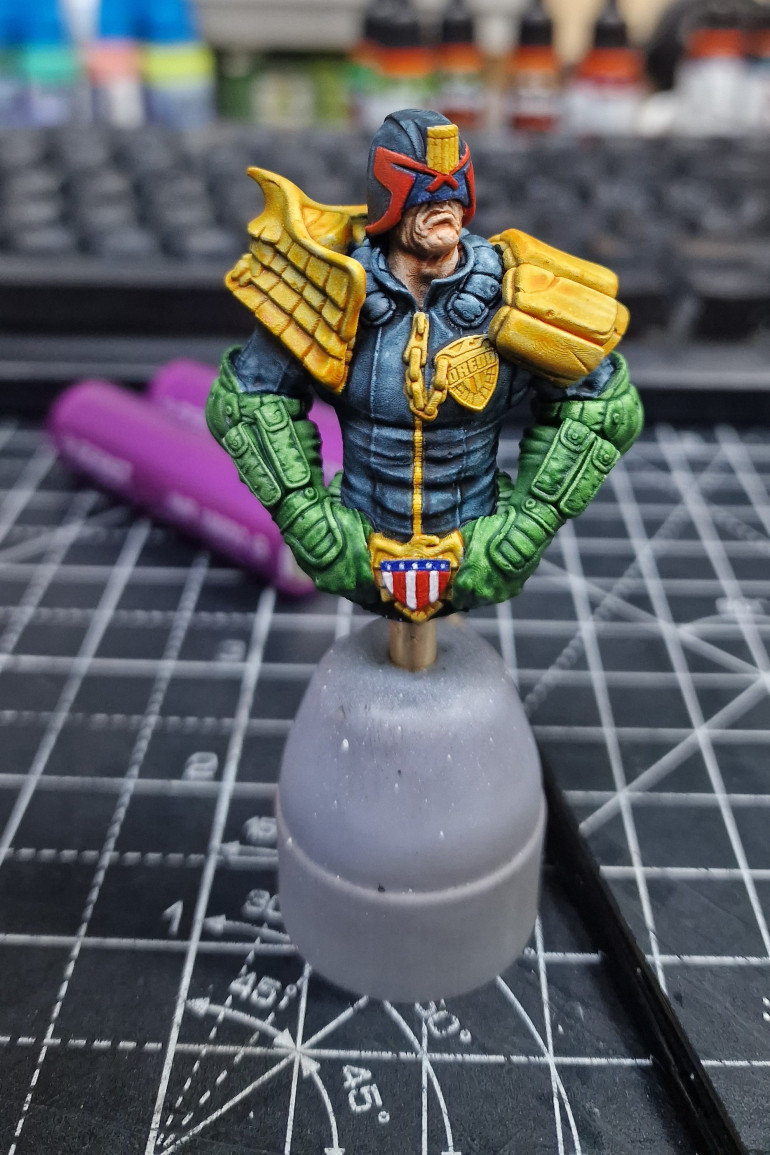
So I have been experimenting with painting using contrast paints in particular the Xpress Color <- both words spelled wrong, don’t get me started.
I have found I dislike them for end game but they do actually fit one of my existing paint processes. That’s of base coating the entire model before painting further. I do this to make sure I am picking out the right things and the focus is in the right place.
This is similar to slap chop but I don’t slap or chop (every part is painted over and shades adjusted), but I’m not kink shaming here. Paint how you want with what you want as long as you enjoy it. If you stop enjoying it, put it in the bin. (or have a tantrum and set fire to it and post the video online)
This is actually much faster for me and looks better than using thinned down paint to do the same thing. Only thing is it’s difficult as hell to control this type of paint without just using it as a glaze. who would have thought when you flood a brush it would balloon and lose it’s razor sharp tip…
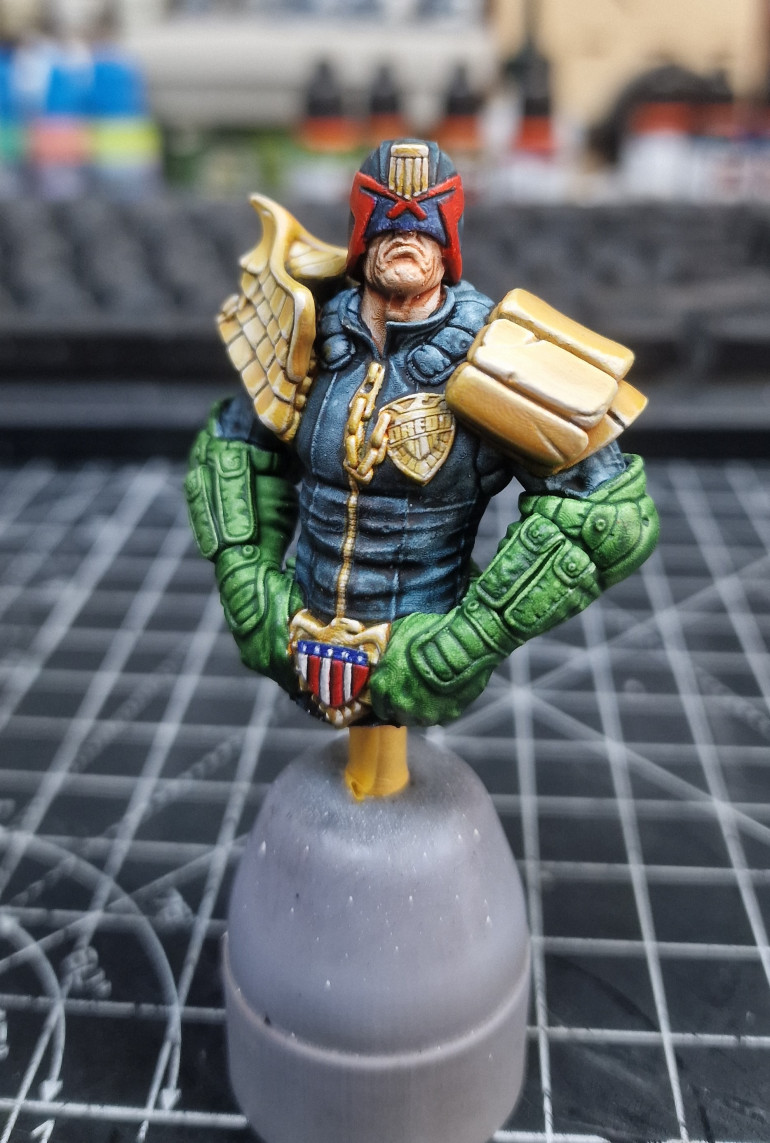
Overall I think this could make me happy. it looks comic booky and has a cell shaded look. This was the first time when I thought I would actually finish this. This was the one it was about to happen for the first time and it was going to be beautiful.
So What did I do?
Start to worry about how it’s going to look when done..
This was high risk. Other busts have suffered the same fate. The bin was growling in the background hungry for more busty goodness. So what did I do? (I will ask again for you) I started working on the display. The bin was now grinning with delight.
The arch enemy enters, the plinth.
So I am guessing you don’t know me. Most people don’t, I got side tacked here and wanted to know the percentage of people who actually “know” me. I based this on a very generous 100 people so 0.00000125% of the “potential you” know me. So you now know me a little more.
Back on track. I hate Plinths. who the fk wants a wedding cake of a miniature. If you like them I am not saying your a bad person. Just more likely to be a bad person.
But how to display a bust? I looked at pawns I could drill their basic little heads out and ram a rod down it? I could make some wavy bit of pretensions avant-garde metal.
The more I thought about it the mode these options were all plinths. So I just embraced it. This was highly likely to end up in the grinning bin. So I was looking for close to free options.
I found these. Potentially made by the devil themself. https://www.myminifactory.com/object/3d-print-free-display-pillars-set-249452
I thought I don’t want a “non” background. So opted for an option with space.
To fill it I thought about:
- Free handing some ally in Mega City One.
- A brick background with some graffiti on it.
- Colour blotches
- Sterile white
- Deep black
- The Comic itself
Like your keys the last time you lost them. It was the last place I looked.
This gave me problems how to tie it into the background. So looked for a page with Dredd in the middle so his head could “pop out” I also wanted the logo on a page so found this.
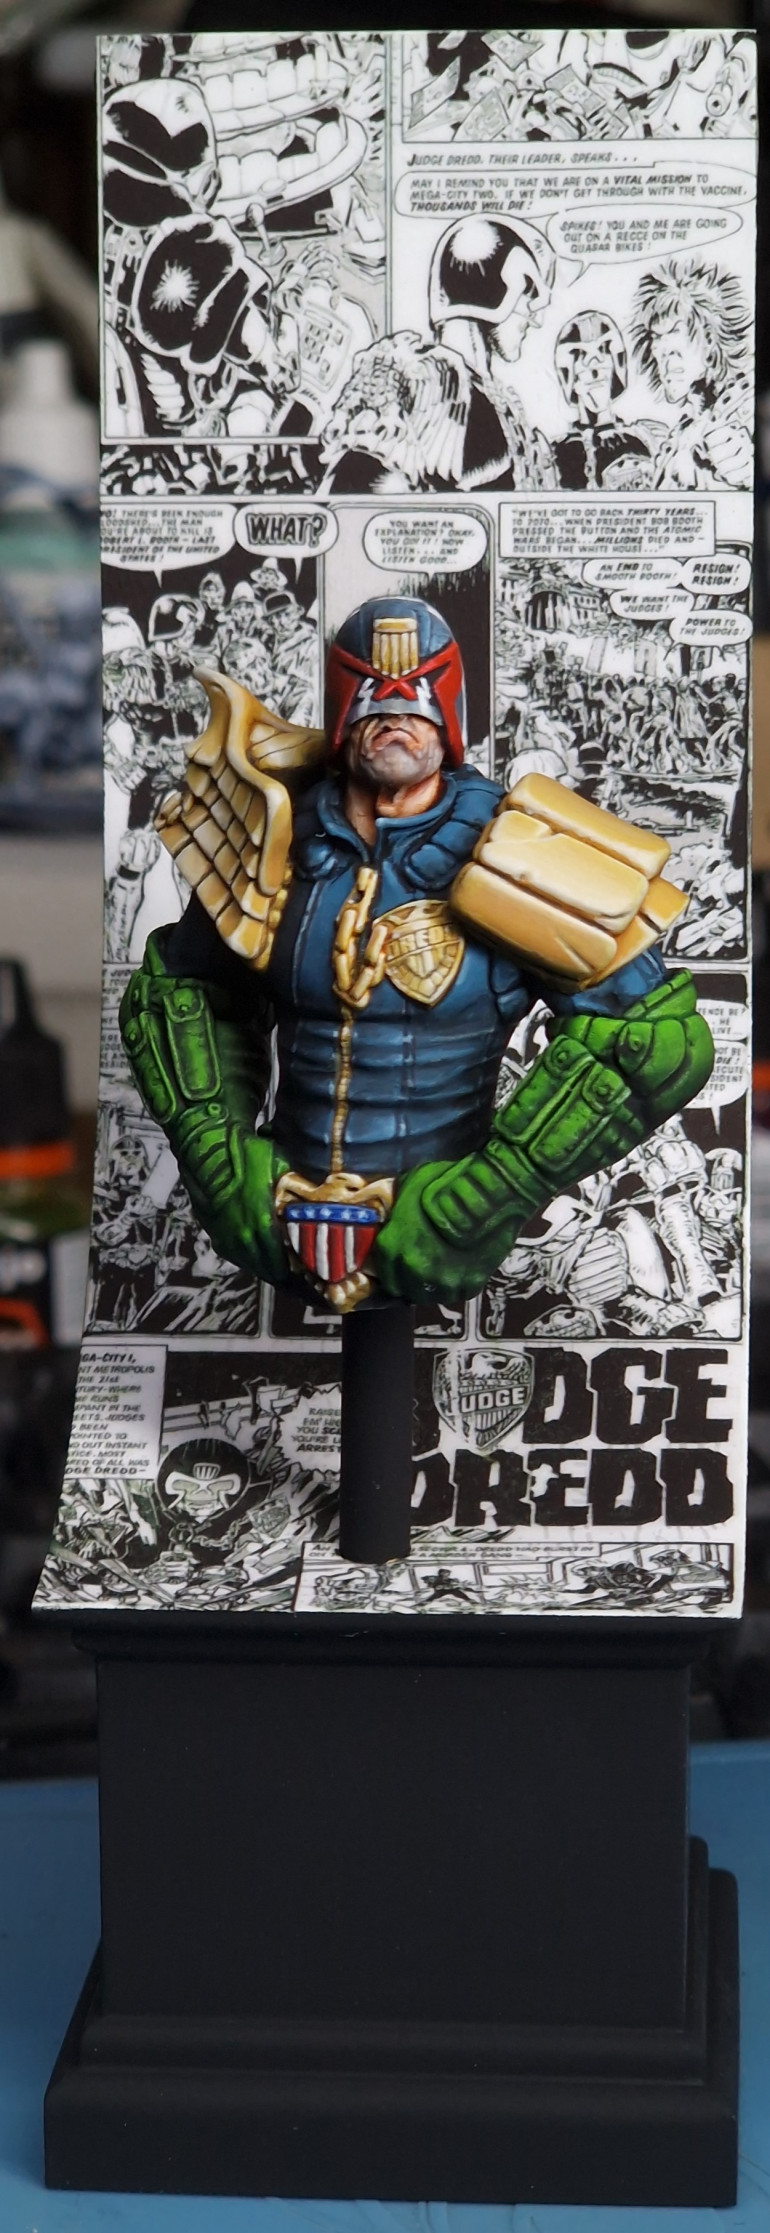
I put it all together. Sized the plinth to be 60mm wide and matched the comic to be the same. I also made sure that I had 3 separate comics with 3 Dredd’s looking different, this should throw off any dread button counters and pre prepare my “well actually” response. I then printed it on transfer paper. (which was very old). After printing I placed two coats of clear gloss spray varnish on it.
Yeah sorry It was 2am by this point and everything was printing. I went to bed and took no photo’s, but hey I stopped you from looking at a plinth.
I woke next morning drilled then sanded the plinth primed and painted it black on everywhere but the curved slope, which was white. (you can see it at the end).
I then moved the massive (in comparison to all other transfers I have done before over to the slope and tried to get out the bubbles. White was impossible due to how fragile the massive old transfer paper I used.
To avoid the bin I just accepted some of the finer bubbles and cut off the excess and glossed it.
With this out of my system, I went back to painting, I couldn’t lose momentum or it was doomed to be binned.
Painting Round 2
So going back to the bust, no longer distracted by the glitz and glamour of the Plinths and sunning the bin. I started to paint.
I took each colour block in turn.
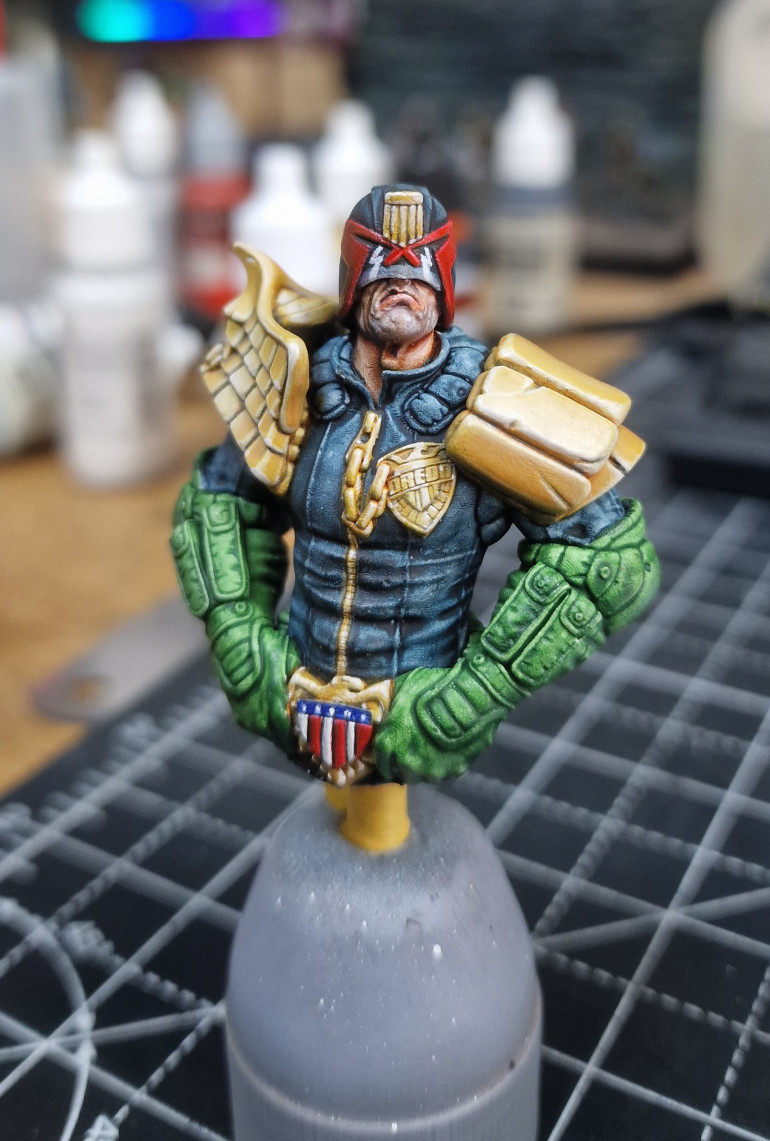
I started with the yellow/ gold. I painted this in thin layers. I went for more yellow than gold. mainly because of the fact that all edges were curved and I didn’t want to lose myself in this.
I used black, ochre brown, yellow ochre and silver grey mixed to paint this.
I then moved onto details.
I used some of the express paint and added red for the lips. greys for the stubble. and white to highlight the skin and black got the shades. I used a blue grey for the see-through section and added some flesh tones to outline a weak nose you could barely see through it.
I outlined the rims on red and used black and red inks to keep this super red on the right and shaded on the left. Overall I am happy with the results but could have spent more time. But I needed finished not perfect here.
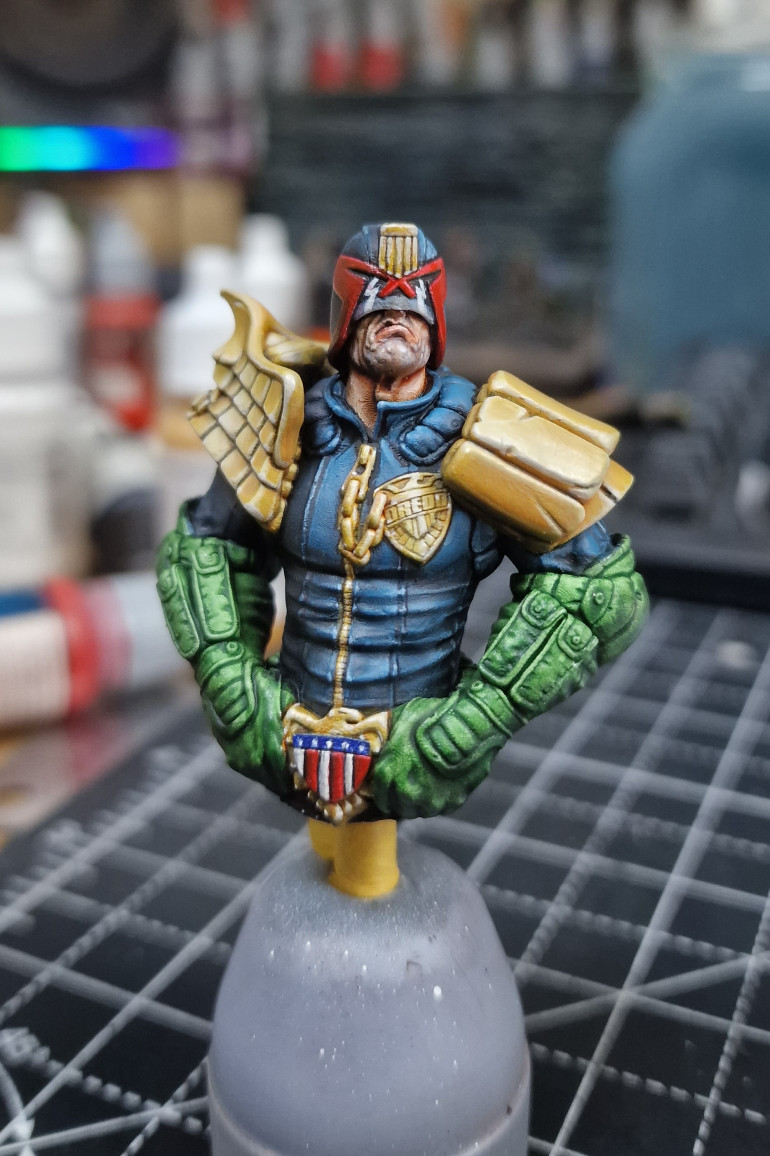
I like the jacket but it was very desaturated. so I went in with periscopes by Vallejo to boost the saturation and set the light a bit more to be darker on the left. I added greys and blacks to this to paint it and tried to add some bright spots to make it look a little like some future rubber. Again very far from perfect but Done was the goal.
I will probably just jump to the finish here. I have typed enough. So will finish the green chat in a sec.
The finish line
I went back for the Green. I completely changed the tone of this added more green and black. The green gloves that Dredd wares in most of the comics do grab attention away and I needed to focus the viewer up to his pretty face. I used Slimer green and Goblin flesh from Scale colour and black. Keeping this very high contrast but pushing the colour to the top to shout look up. I think it works.
I then mounted this lining up the face to the face on the comic in the background. It actually looks like the speech bubble is coming out of him. The Judge Dredd logo however was partially covered. Which I am ok with as it was planned at 2am when I was tired. Still a little sore about this. More planning would have avoided this, but would it have gotten finished if I was certain to get the logo right? Who knows.
So After all this, it was done. Am I happy? No. Am I pleased? Yes. I finished a bust. It’s far from perfect but I think I could spend an eternity painting a bust.
In hindsight I would have printed all components slightly bigger by about 5 – 6 mm. I would have just made his belt buckle all gold, sorted out the logo to be seen. Used new transfer paper and decal fix under it to avoid bubbles. Spent less time on the back.
I do think on the black and white comic it pops like a Champaign cork. It’s super graphic which from a teenager wishing to be an artist (still cant do much without weeks of work) drew me to Judge Dredd. That and a guy with a chain saw cutting peoples genitals off before Dredd stopped him.
I think the model of the story is bin something your not having fun with, life is to short. Remember, finished not perfect. Don’t just feed the bin and lastly don’t chop peoples genitals off with a chainsaw, but that’s stolen from Dredd himself.


