


![How To Paint Moonstone’s Nanny | Goblin King Games [7 Days Early Access]](https://images.beastsofwar.com/2024/12/3CU-Gobin-King-Games-Moonstone-Shades-Nanny-coverimage-225-127.jpg)


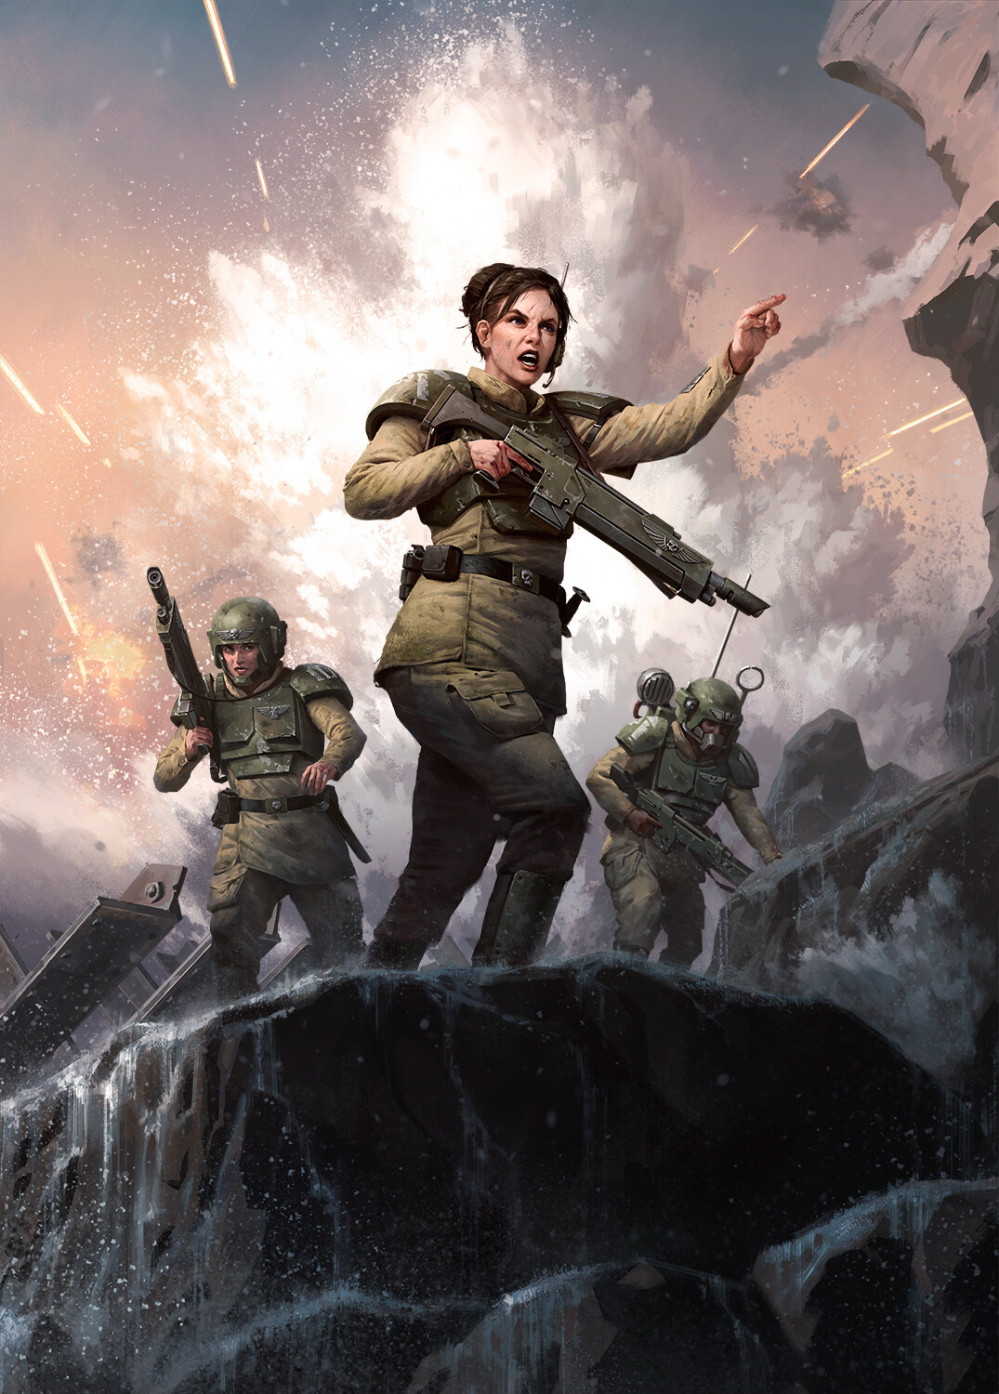
Cadian 101st and Friends


Infantry Build: Part the Second
So, the next step is to add to the base bodies I had at the end of Part the First and complete them (or as close as I can for now, but more on that at the end).
With the constant quest for variety I decided to start with the “obvious” choices i.e. the things were there wasn’t a lot in the way of choice or some build options I hadn’t already used yet making them a shoo in.
So I went gathered up these and set about making them up.
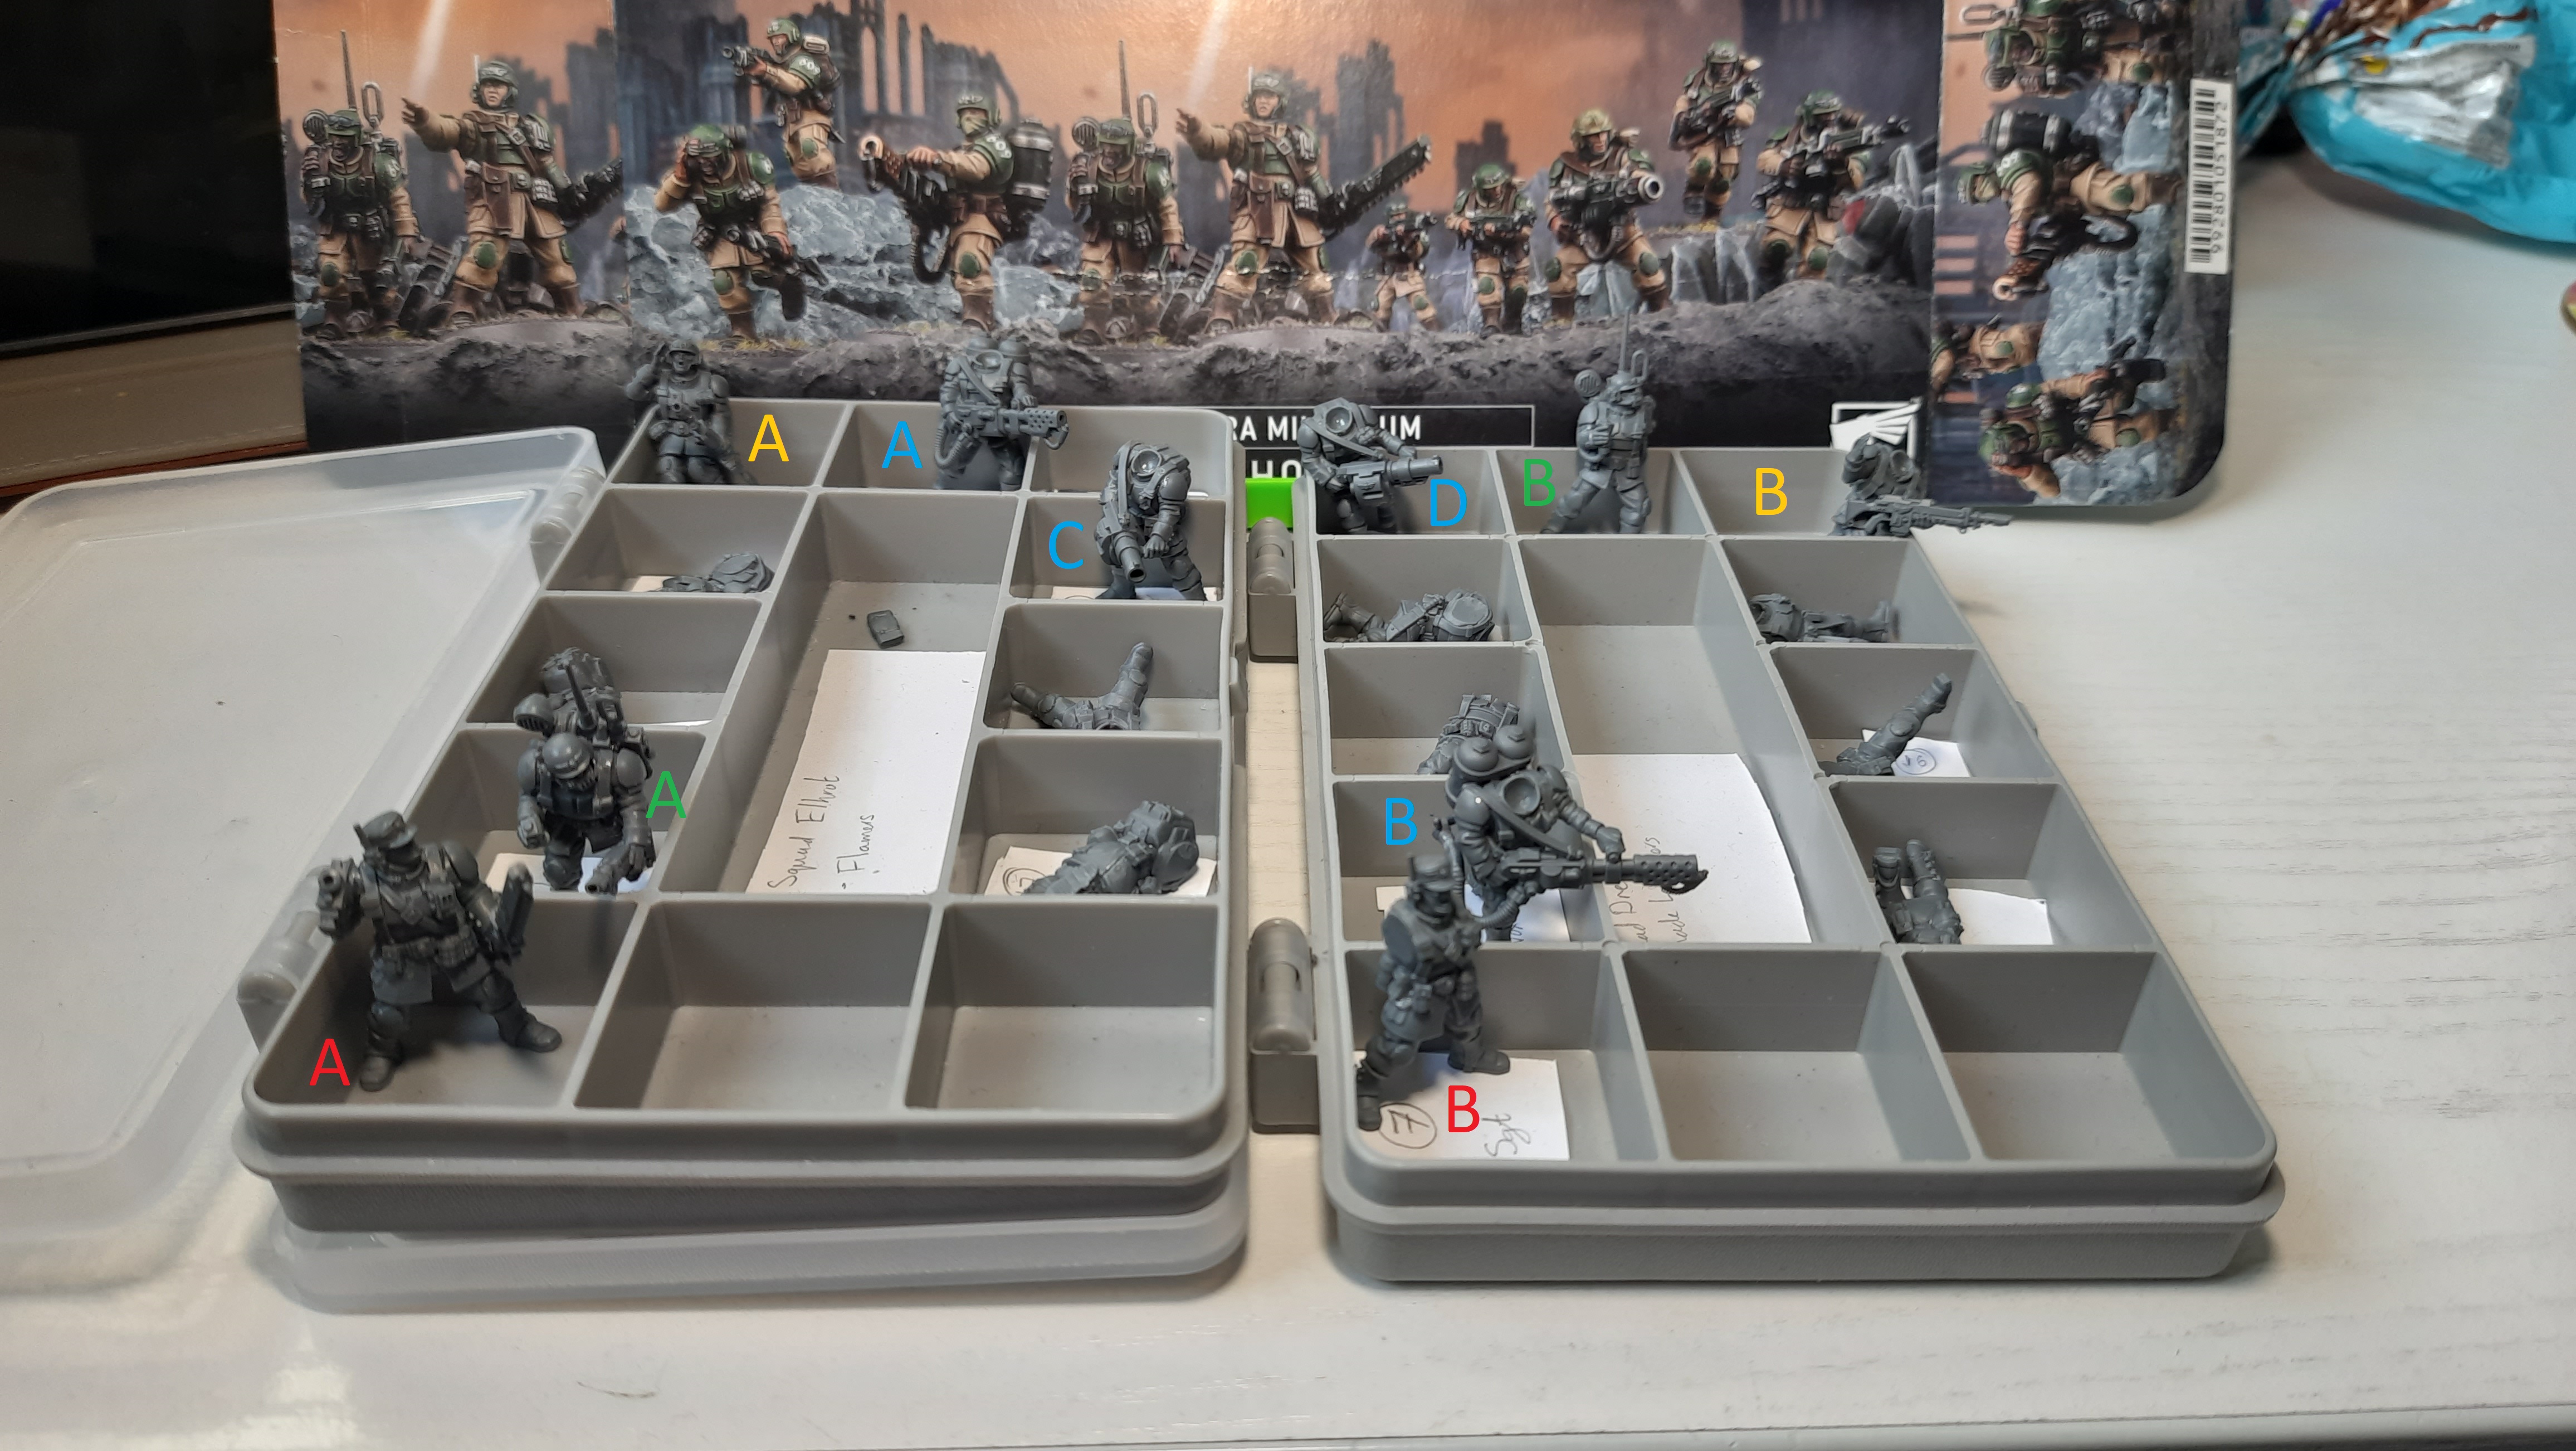 All the models with bits that were "obvious"
Sergeants (Red)
If you recall from my previous entry, one of these squads is being geared for closer range and the other for longer. The Sergeant for the former (A) gets a chainsword and a bolt pistol whilst the latter (B) will be getting a “Drum-fed” Autogun. I put that in quotes as there is an option on the coming upgrade sprue that is a belt fed model variant so, with the only autogun in the kit already being in use with another sergeant, I’m waiting on this alternative.
Heads were easy as there are four across the kit and I only want three, through I did decide the one with the lho stick like thing in his mouth definitely had to lead the squad with the flamers.
Vox (Green)
Vox operatives, because every guard infantry squad continues to need them really. They’re free and quadruples the range of Regimental Orders from Command Squads with a Master Vox. A is complete and B is awaiting an alternative arm (again, the upgrade kit for some more variety). These two where simple, as were the heads. Vox ops have a mouth piece that I like so they all get the same head.
Special Weapons (Blue)
These are the special weapons for the squads. I got into much more detail in my previous post but in short: A is a Flamer using the default Flamer build, B is a Flamer but using the Vox body (i.e. one of the only other bodies with no back pack sculpted on), C is the default Grenade Launcher build and D is the the Grenade Launcher arms on another body that I found they would fit on.
Some of this was a little hodge podge at times, Flamer B in particular. This only just fit such that both the arms and the fuel tank had to have their contact points doused in plastic glue and the whole thing squished down until they fused together. It’s dried in place nicely but it definitely felt a little touch and go getting all three pieces in place at once.
I put off the heads on these as I had an idea I wanted to look into. I did figure this out but I have some other photos so I’ll pick this up later.
Other (Orange)
These were just the last two build options that I discovered I hadn’t used in either of my previous two squads so I went ahead and made these ones up in the first instance. I couldn’t resist putting a shouting head with that raised arm on A so I found one I hadn’t used elsewhere before and stuck that on.
So, now it’s time to add the rest of the arms. I wish I had taken more photos of this process but it’s been a manic week at work and home so I did most of this by lamplight in bed. I did get a few of some key points and I’ll do my best to describe as I go along.
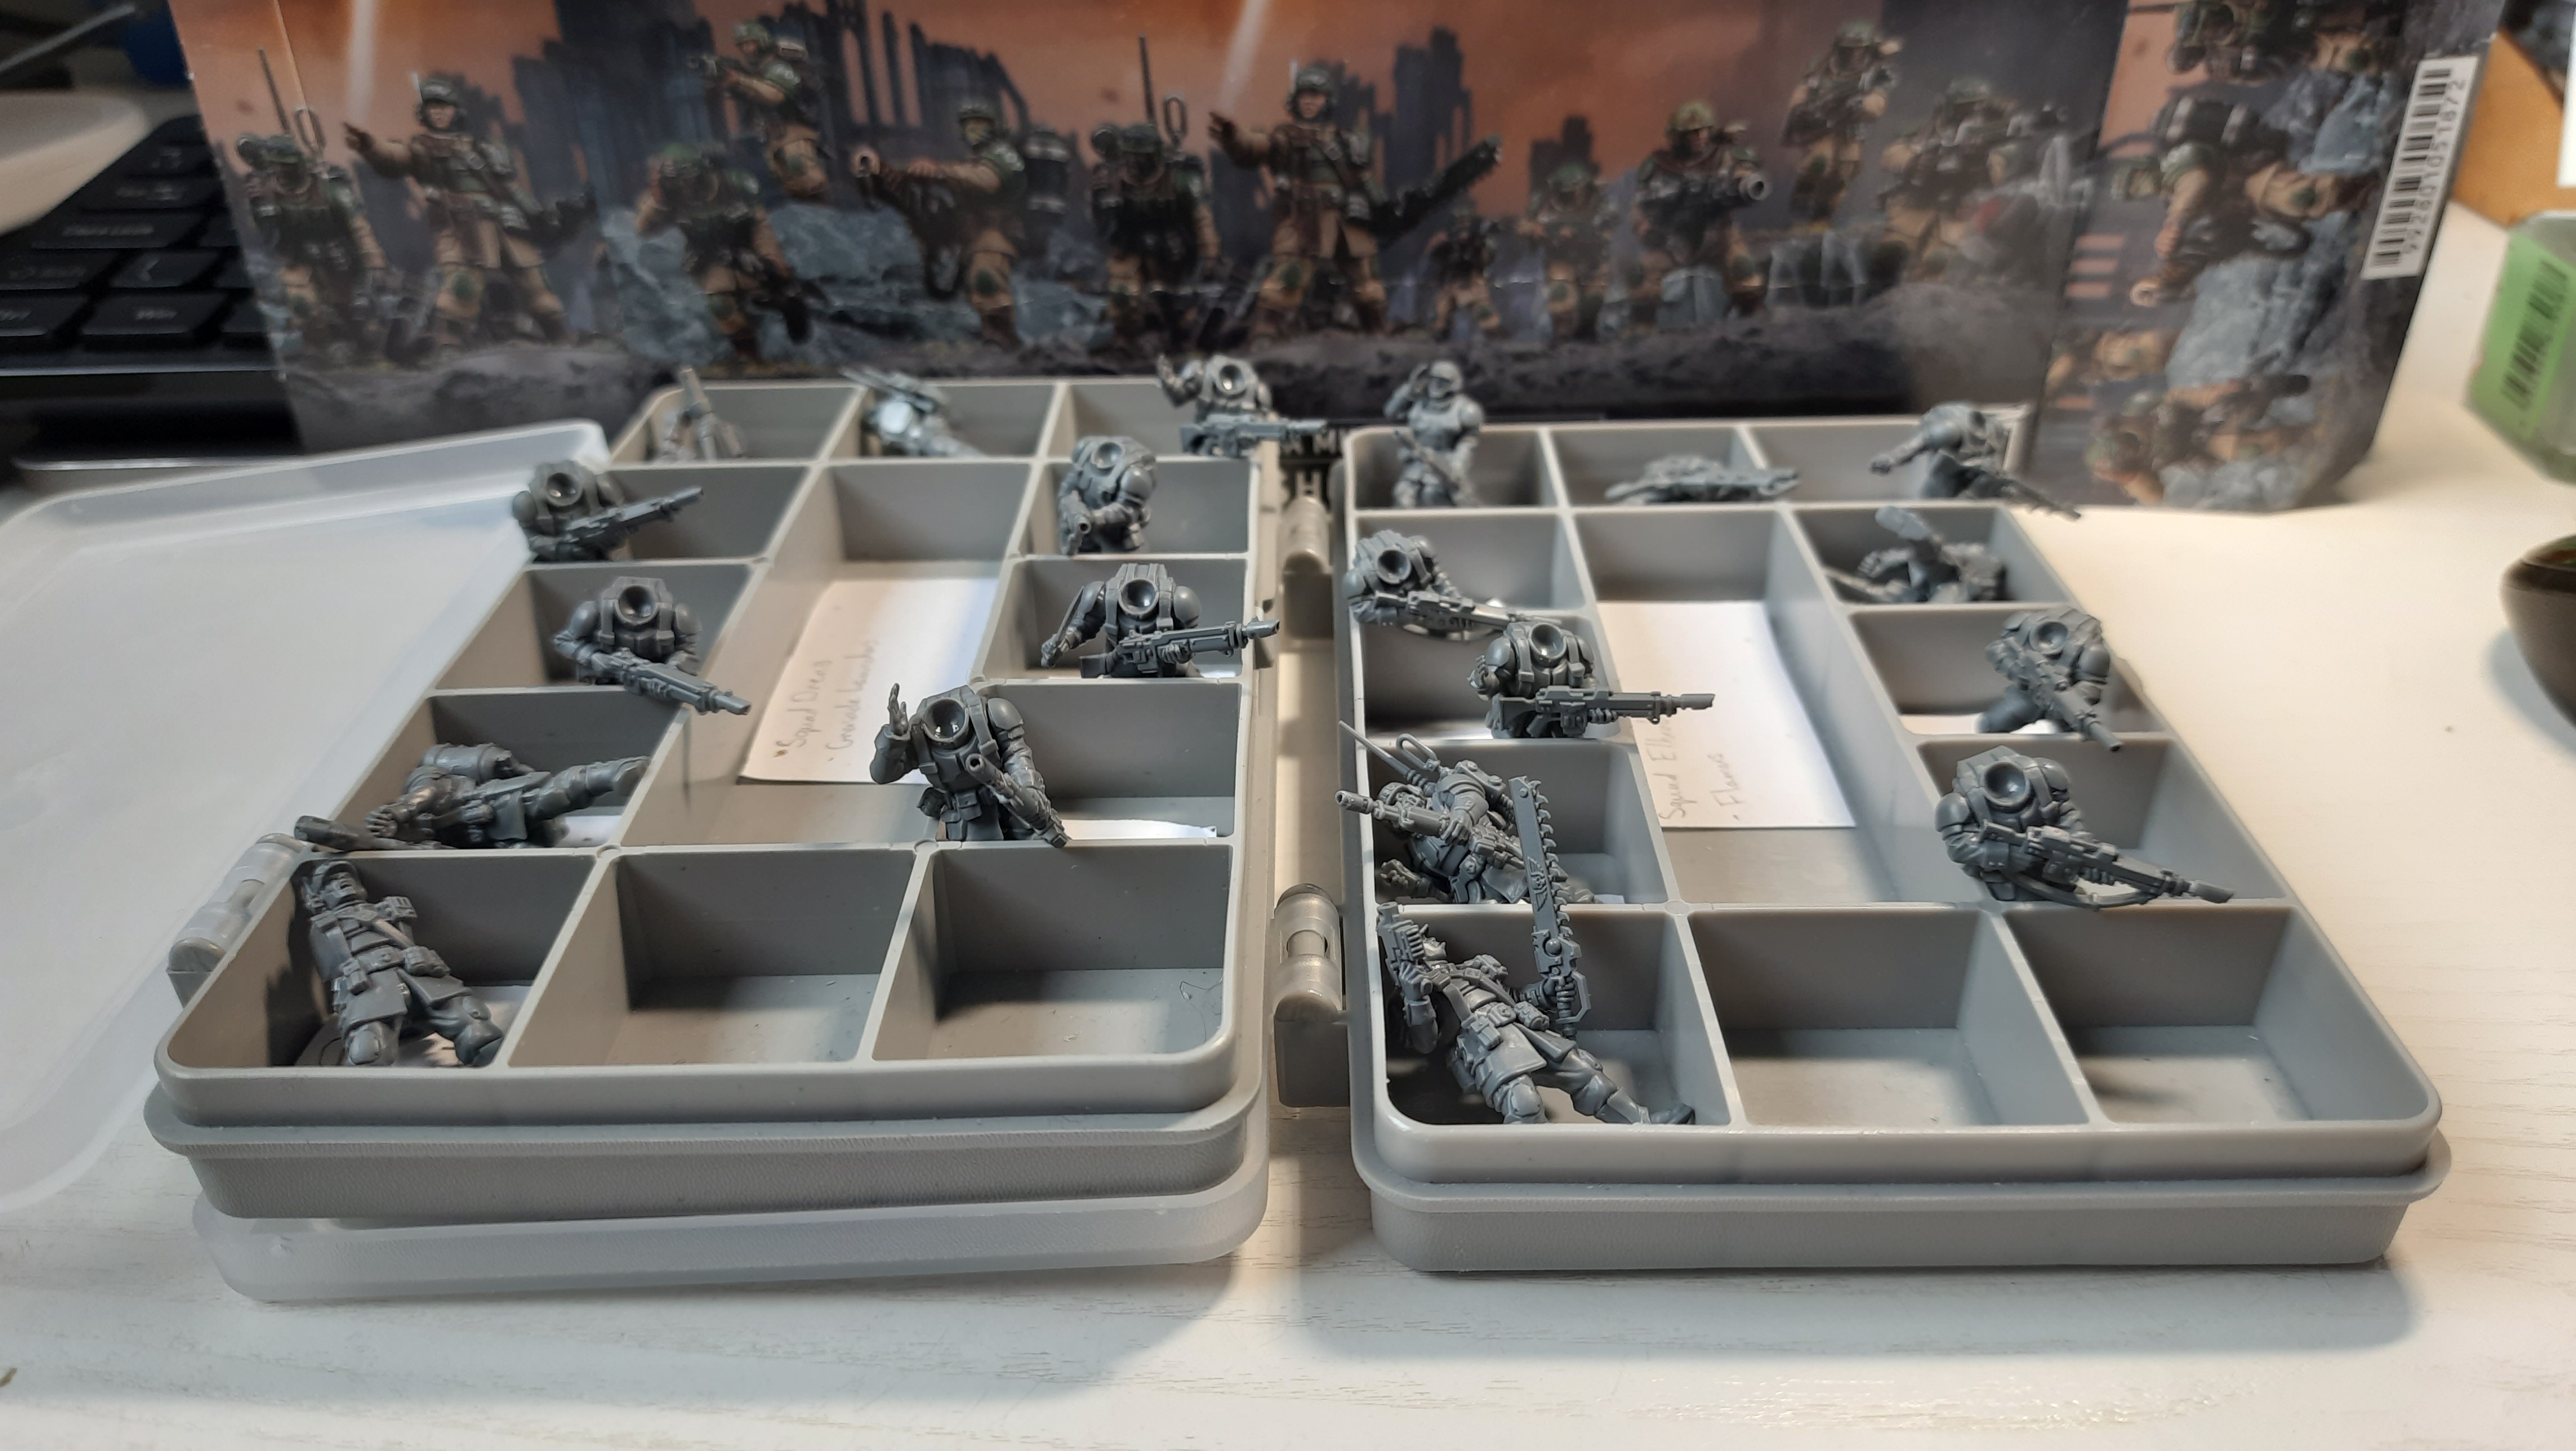 The lasguns all done, read on to learn how
So the aim of this was to find arms that fit with bodies that I hadn’t matched them before. I noticed that I had 8 bodies that still needed arms and eight lasgun build options that I had only used once before in other squads. A fortuitous occurrence so it became a matter of cleaning up these sets and matching them up. I decided I wanted to dry fit all of these first as, after the experience of the Flamer troop that only just fit, I didn’t want to get most of the way through and end up with a set of arms that just did not fit around it’s assigned body.
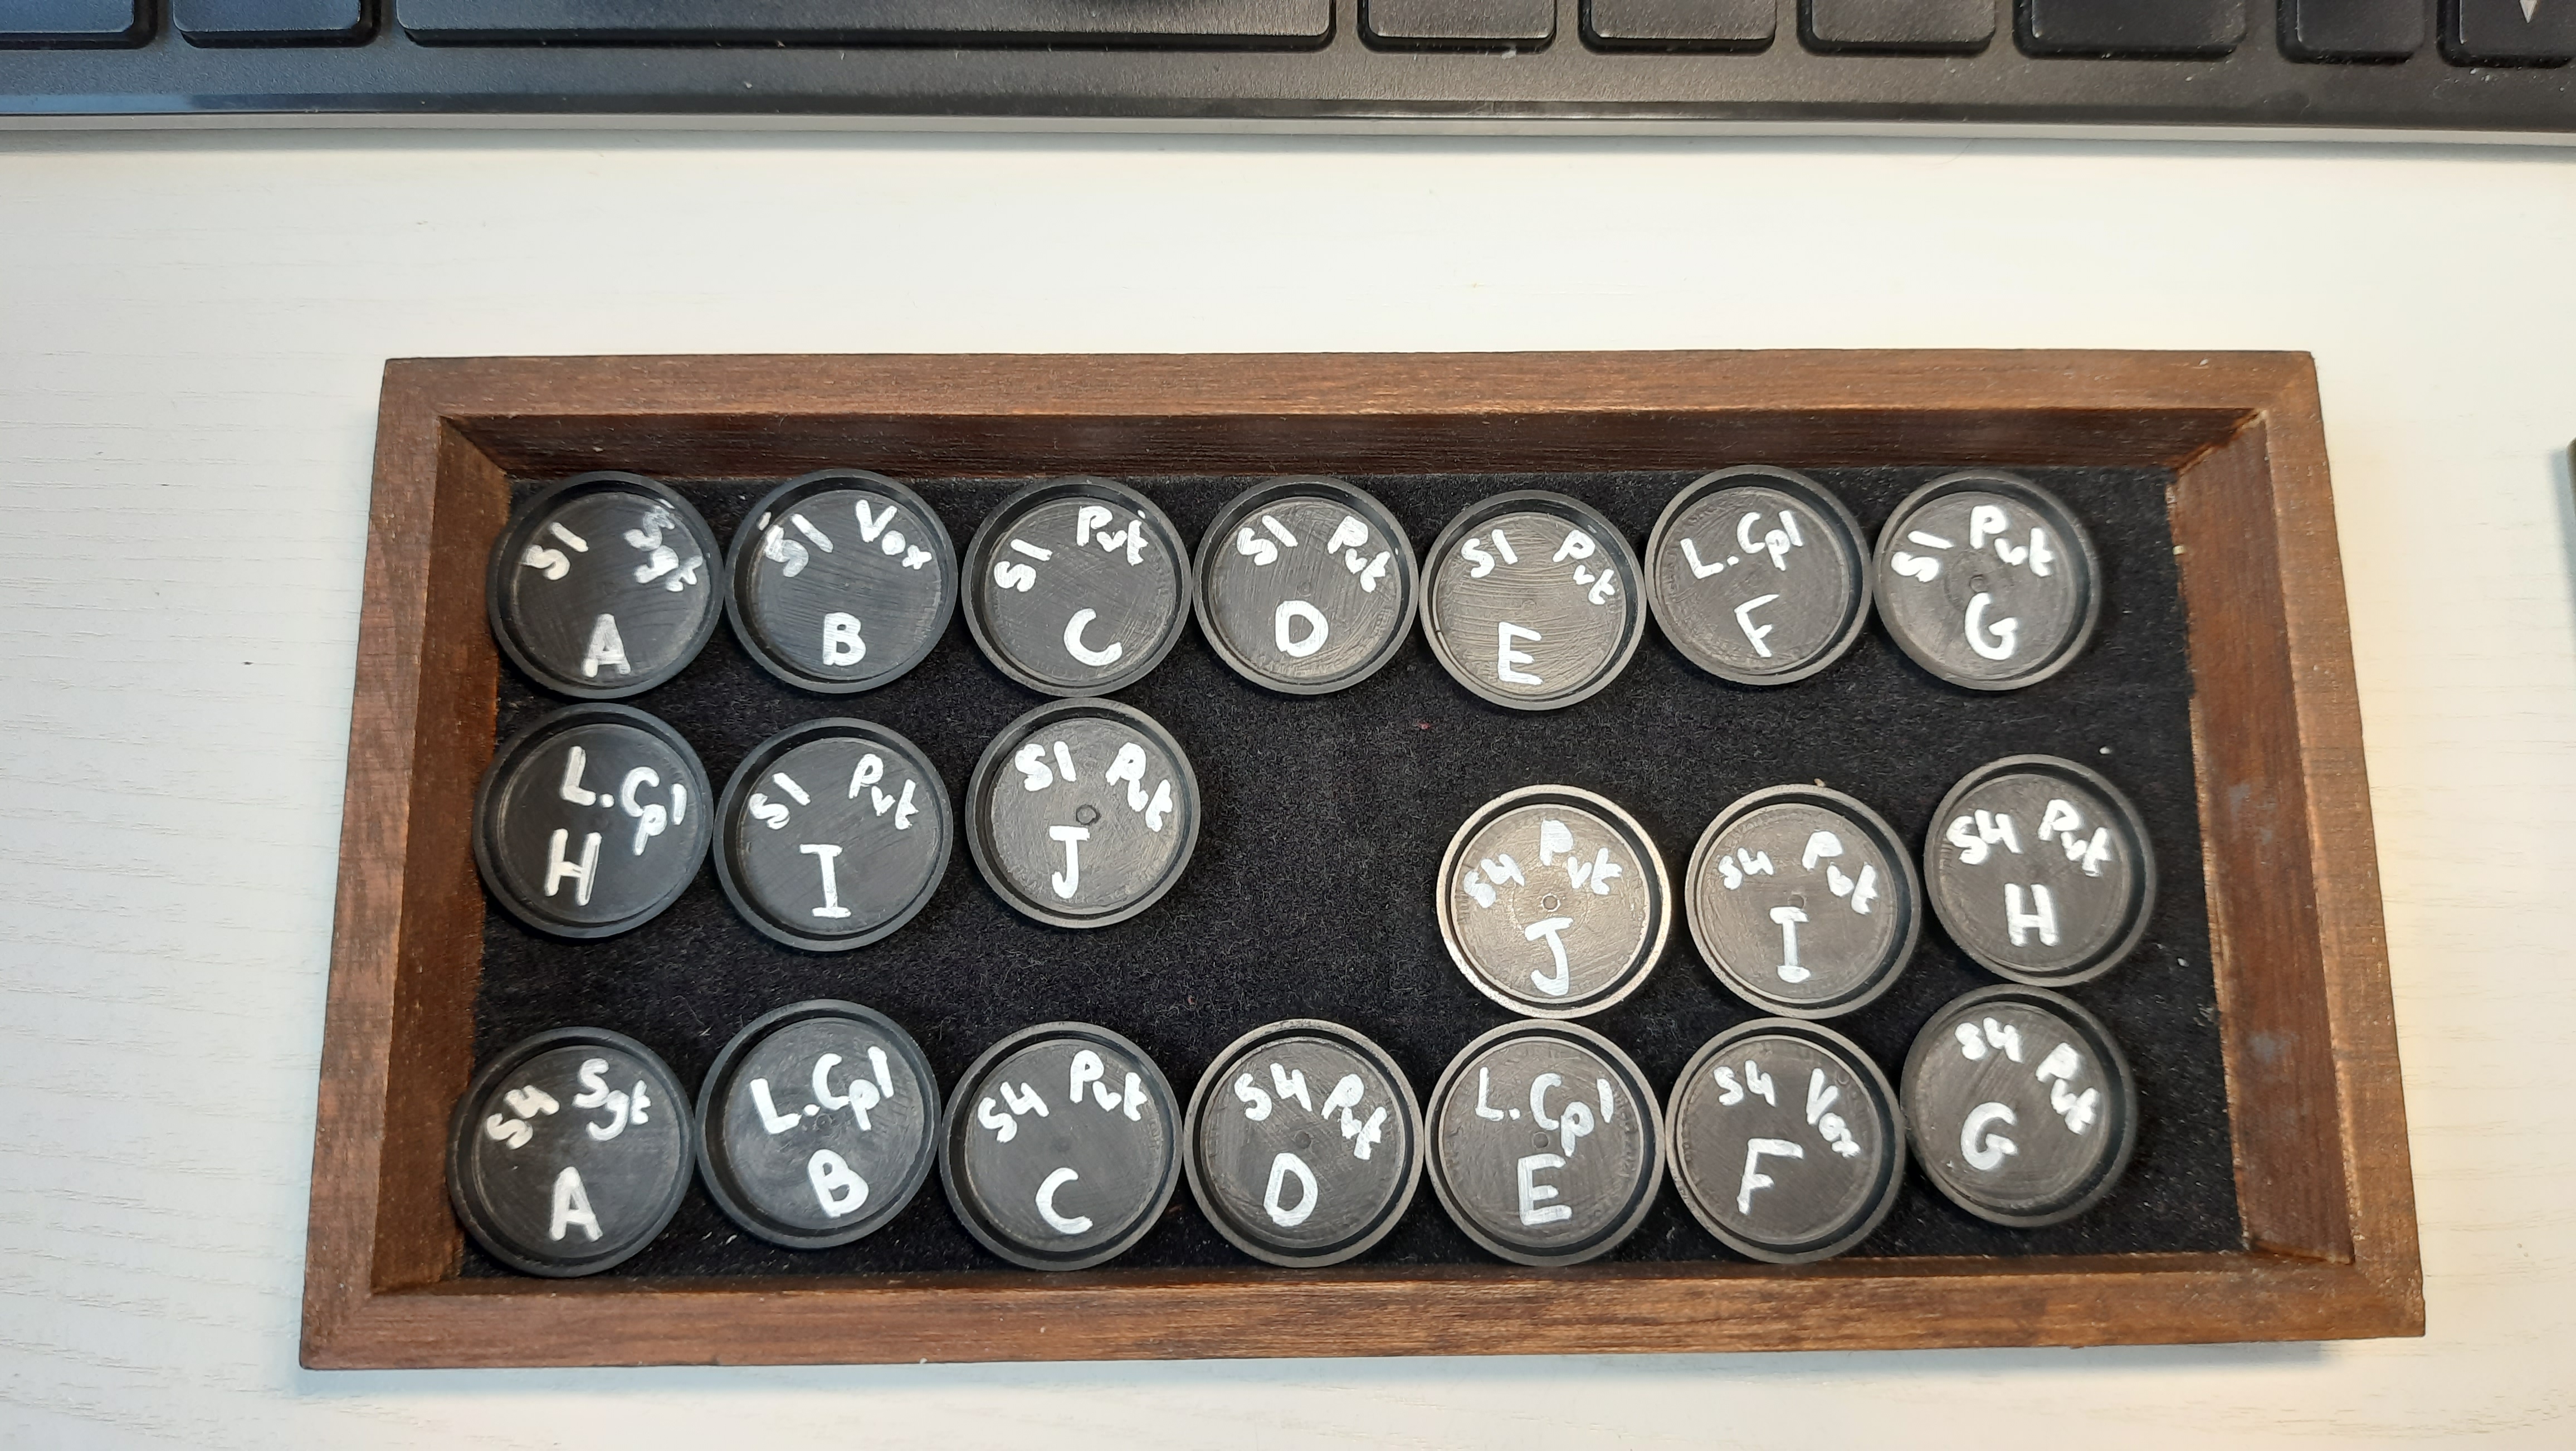
 I used this to layout my bits for dry fitting
I laid out these sets on this diagram: the number refers to model on the Cadia Stands Instruction booklet I have been using and A/B refers to the first and second options for each of these respectively. I then set about dry fitting each body model (and a label for it) against each set until I had everything matched up and was happy with the variance. These then got glued into place before I moved onto the last of the heads I currently have.
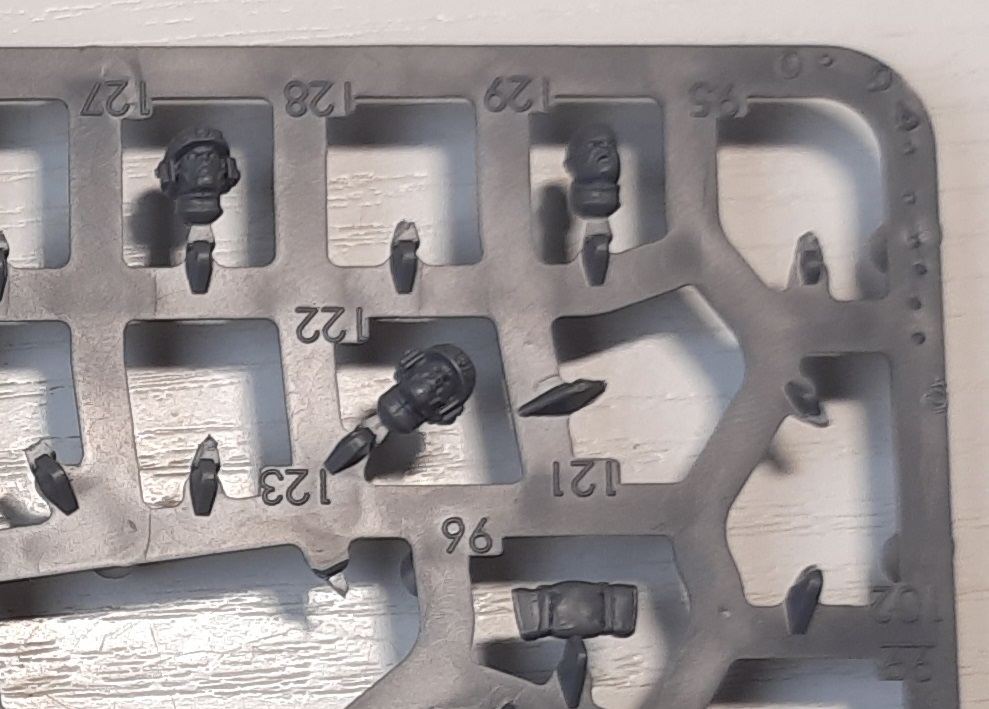
Next was the heads.
Much like the arms, I wanted to go through and make sure I had utilised every basic options to keep that all important variance up. Again, like the arms I went to my notes on which heads I had already used and worked out which I hadn’t. This turned out to be a little cluster in one of the corners of the sprue (see the first photo below). I clipped these, cleaned them and more or less dotted them around more or less at random: the only real constraint I gave myself was making sure that the Grenade Launcher squad has two more heads than the Flamer squad because….
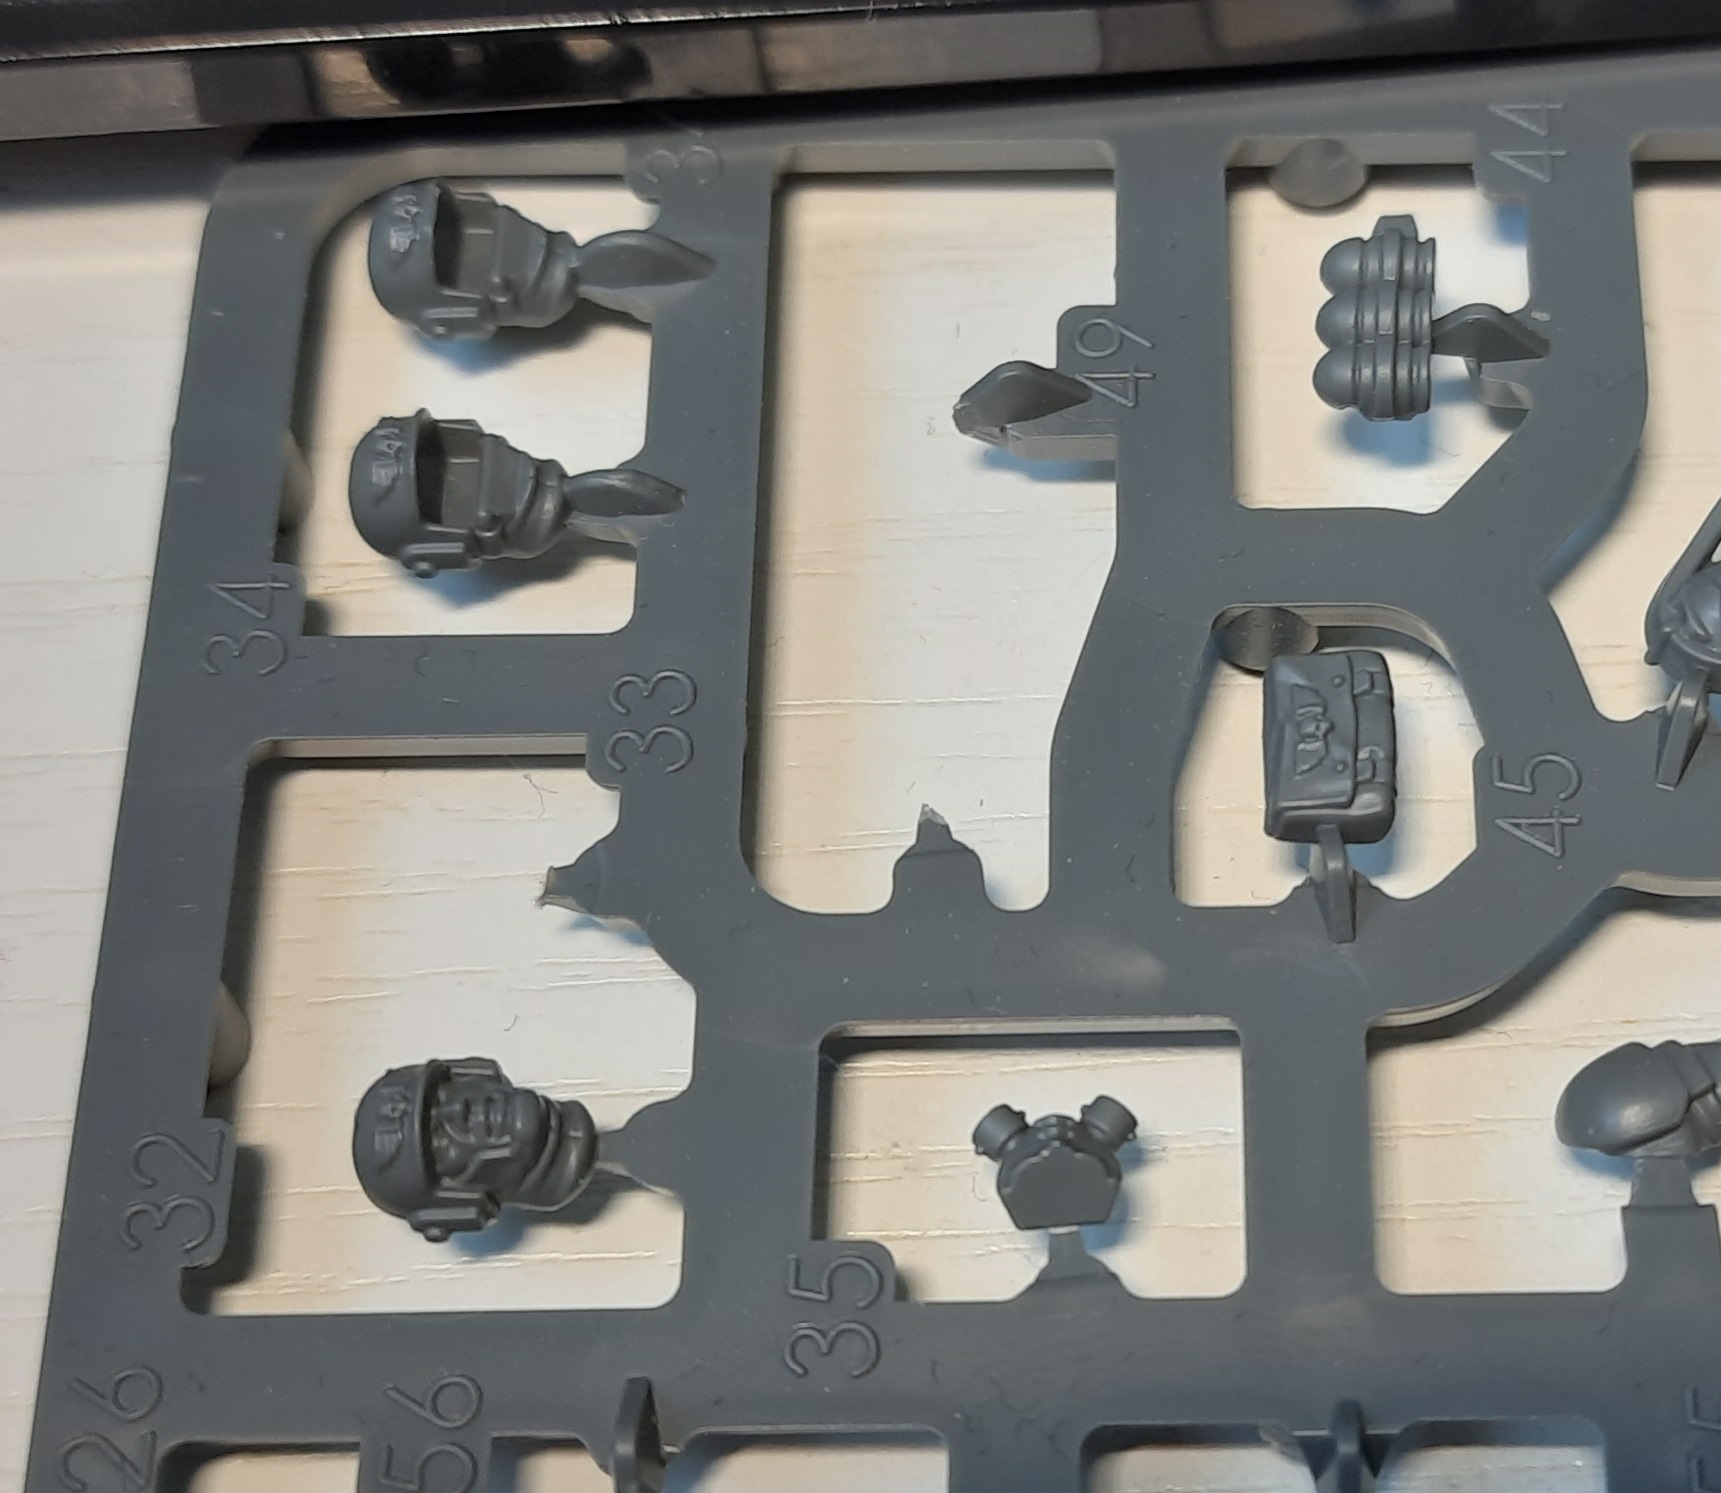
Whilst the Infantry Squad only had options that I would describe as “normal helmeted heads” or “bare heads”, I had noticed whilst working on my first Command Squad sprue that there are some full face gas masks (see the second photo below, they’re in two pieces: helmet and mask). I couldn’t resist the aesthetic of fully masked flamer troops so these also got cleaned up and glued in place.
Once I had these all assembled, I moved onto attaching the bases. I have mentioned that I like to label my bases, just because I like things organised. I had previously sanded these down but now it was time to write them up.
My system is fairly straight forward (or at least I like to think so). Upper left is what squad they are apart of (S1 through S4), upper right is their role (Sgt for Sergeants, Vox for Vox and Pvt for lasgun Privates) and bottom is the Model it is built off of. The exception is what I have called L. Cpl (Lance Corporals) who carry the special weapons. These didn’t get squad numbers as I expect they’ll be more fluid from game to game.
Each model then gets stuck down to it’s respective base.
 My bases all labelled up
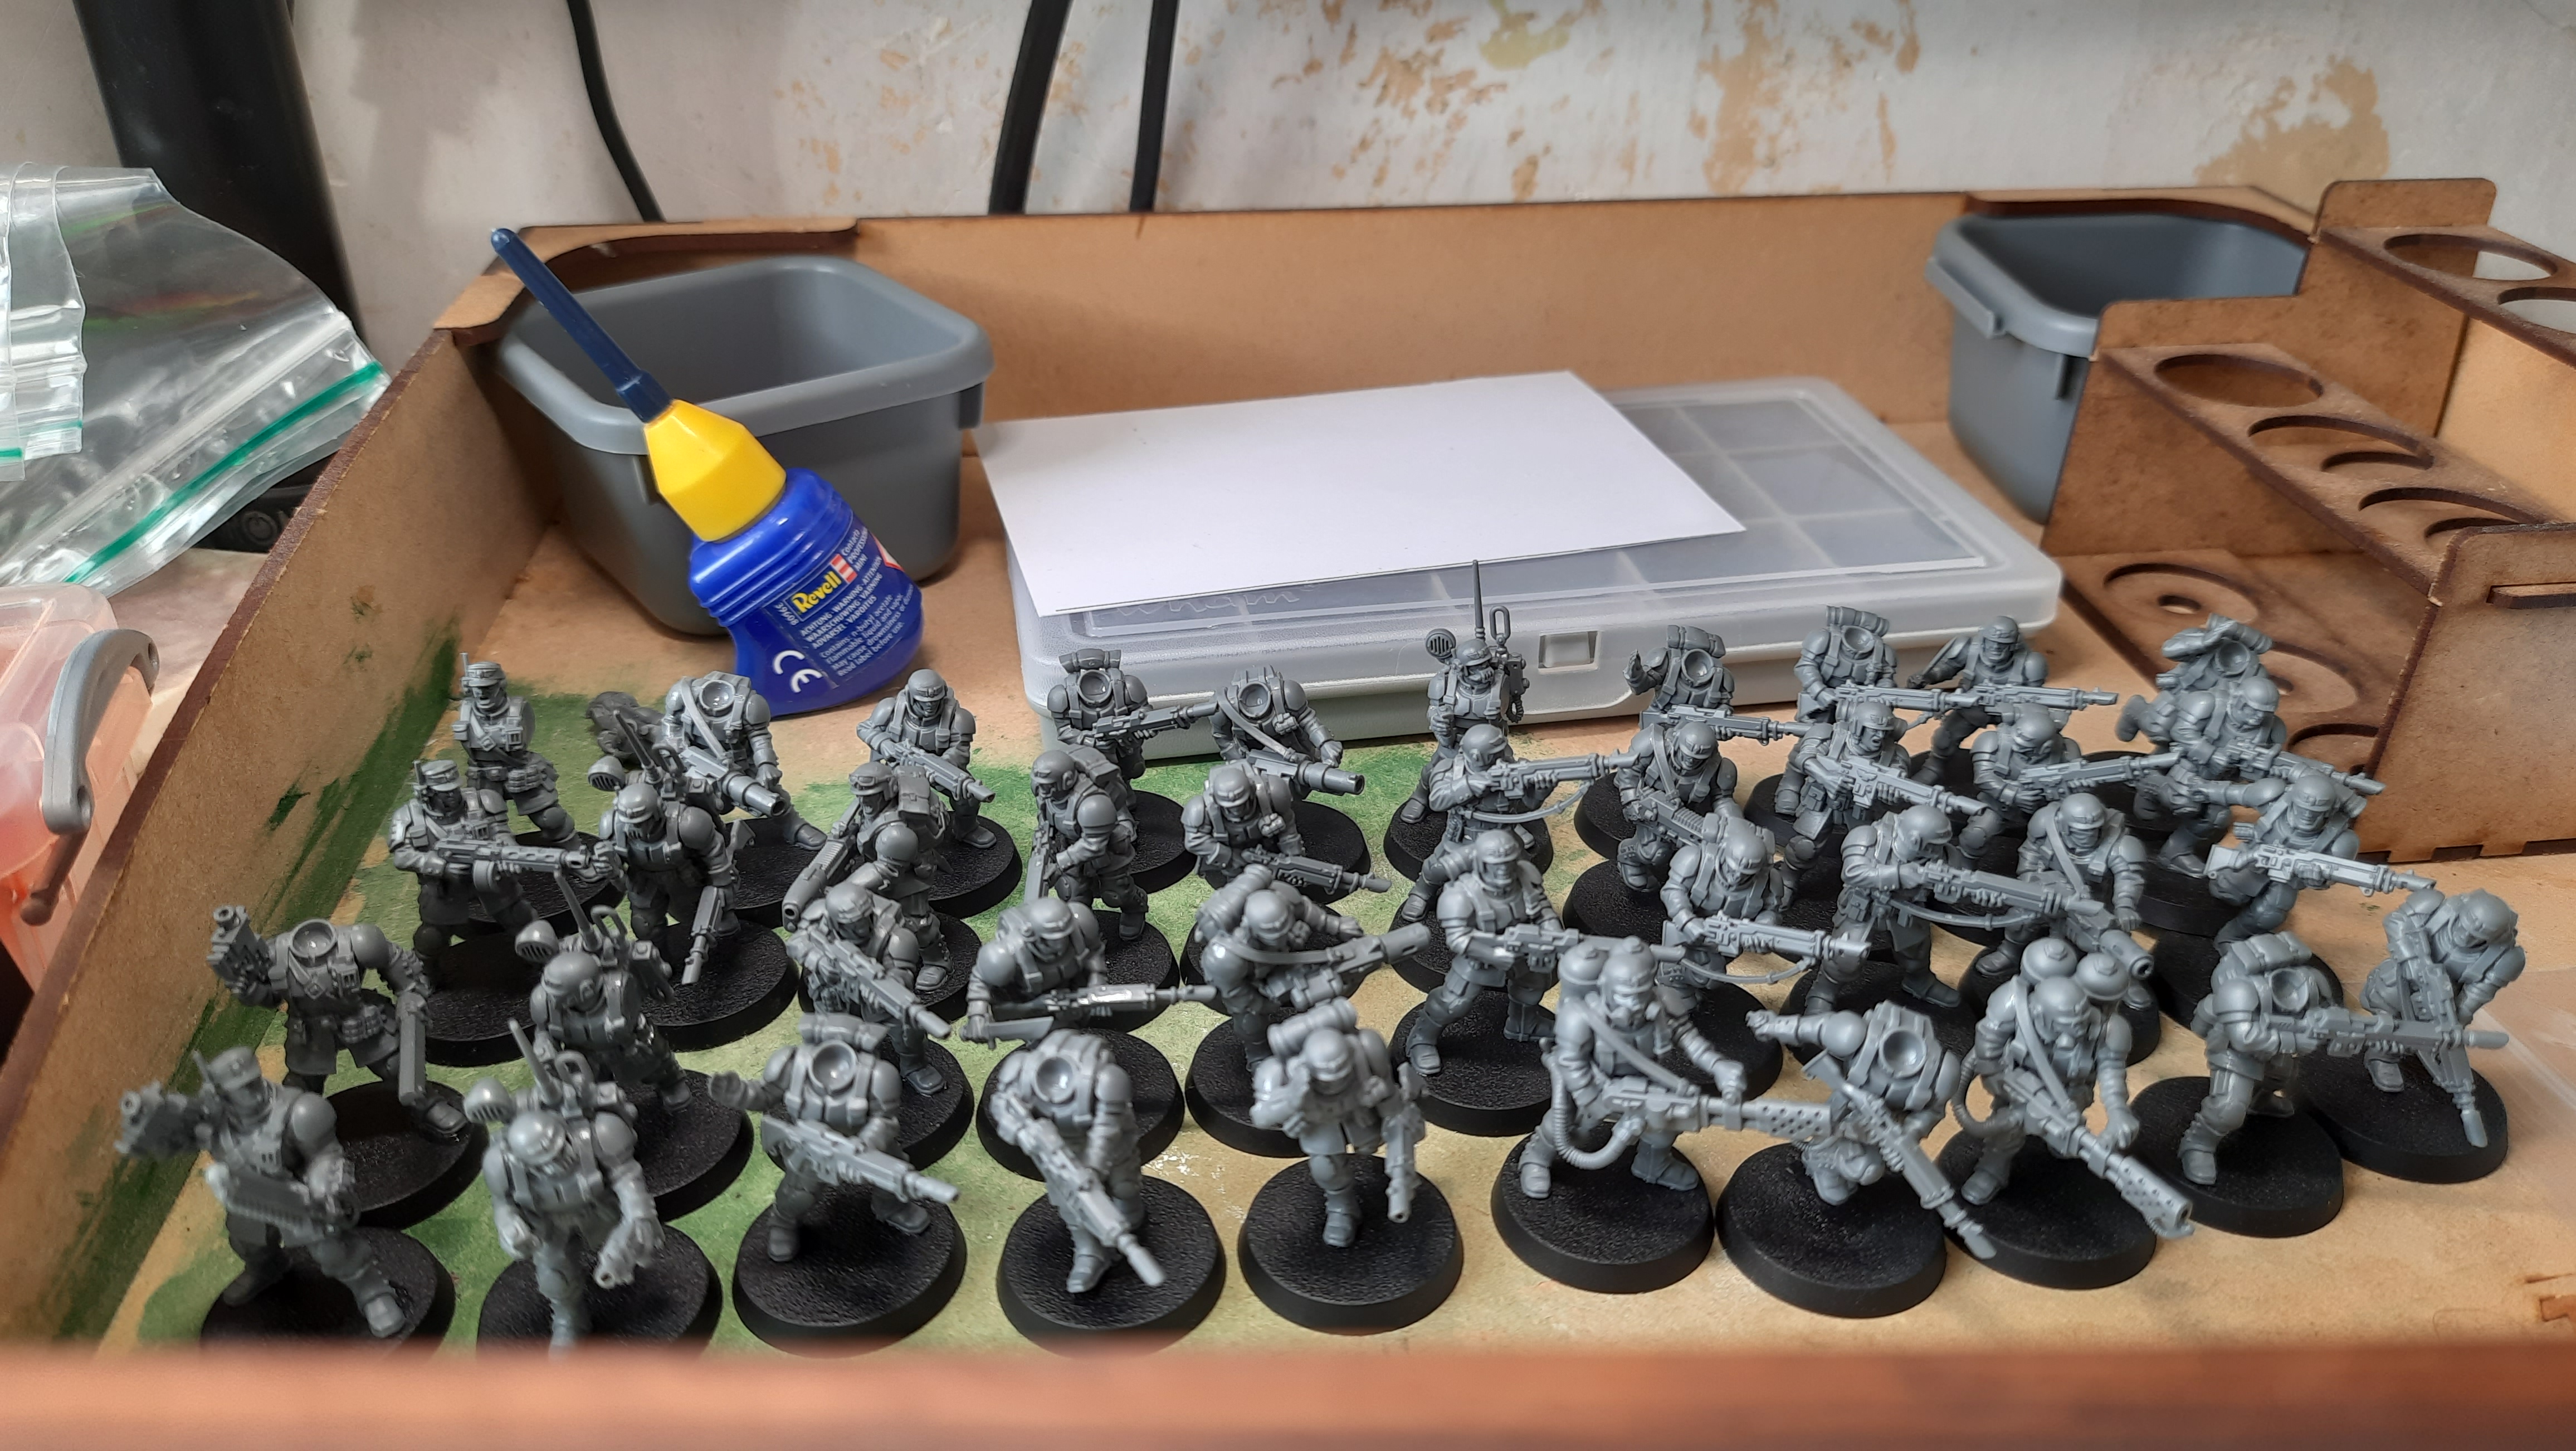 Infantry Done! For now...
So that’s the Infantry done for now. Those missing arms and heads are waiting for that upgrade kit I’ve been talking about (on order to store.ontabletop.com *schwing*). I’ll return to these when that box arrives and these can truly be finished off but in the mean time, I’ll be turning to my other Command Squad and building what I can in this. I think this is about two and half models till my next order arrives but progress is progress so we shall soldier on.
Until then.


Leave a Reply