


Cadian 101st and Friends


 Where I got to writing the first couple of posts
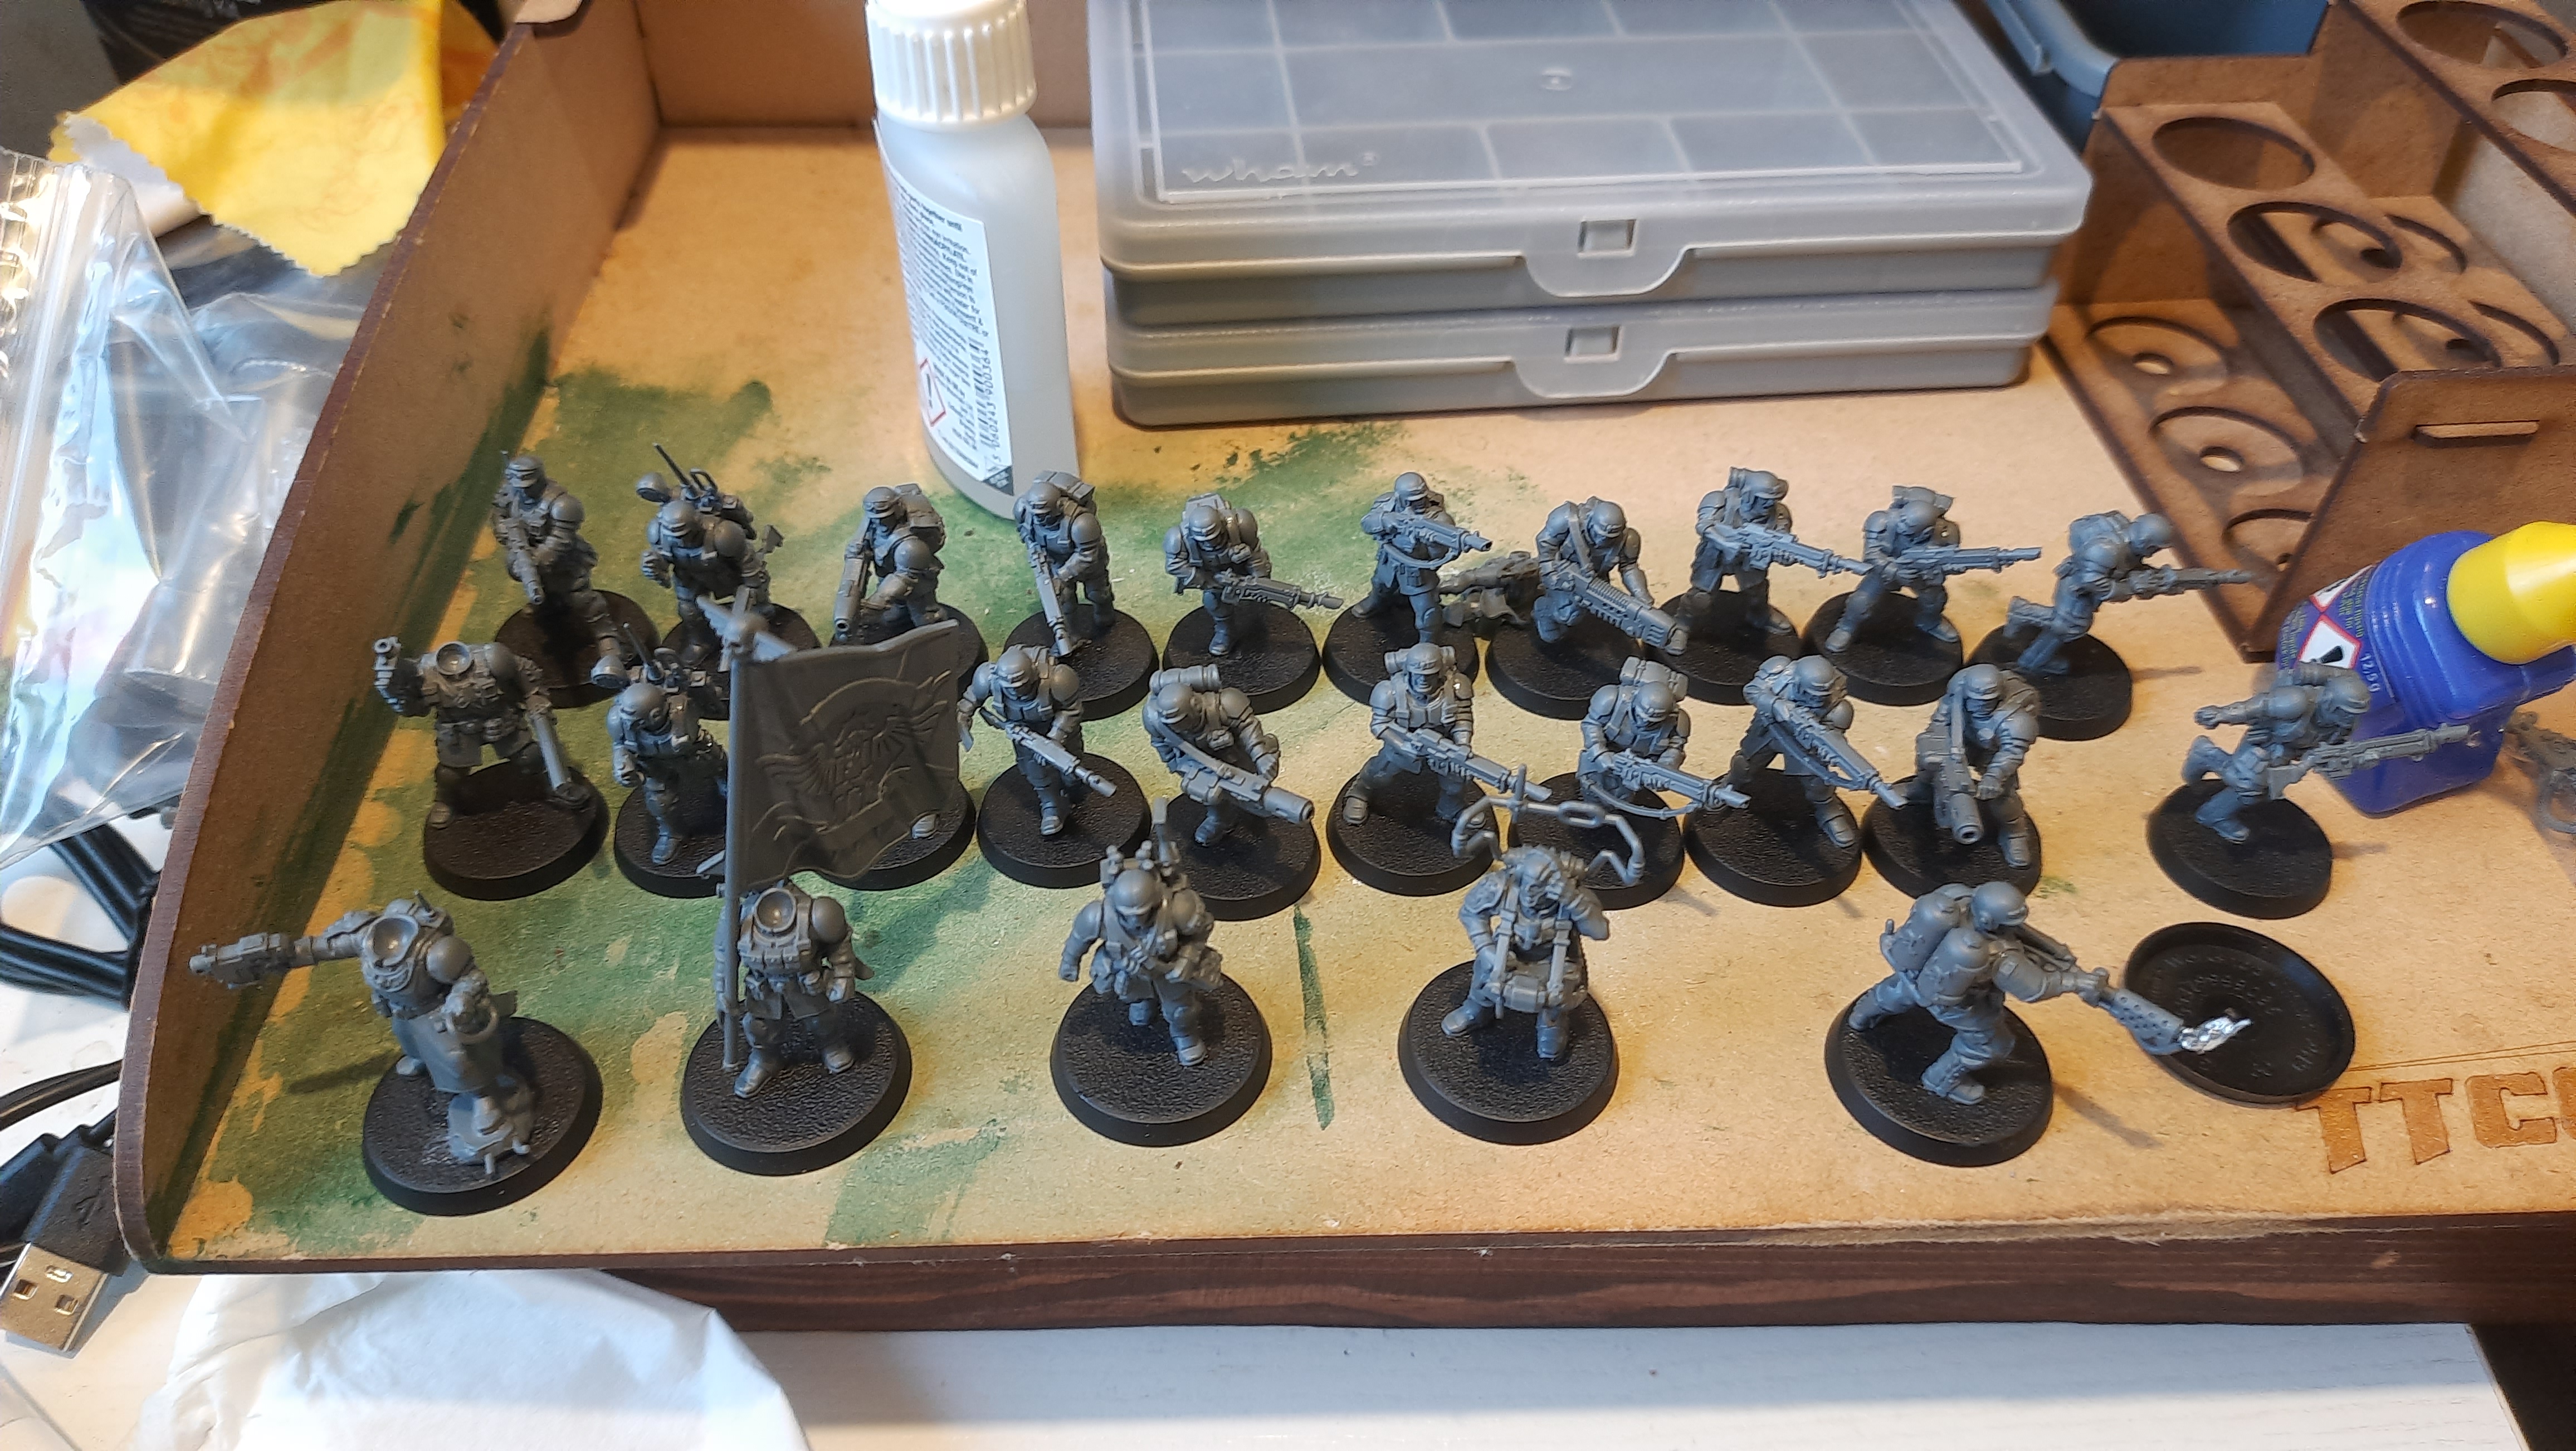
So, this is the infantry that I built out of the Cadia Stands box itself (almost, a few missing pieces but we’ll come back to that). I had an idea how I wanted to build these as I have a system I generally use for putting Kill Teams together.
Most GW 40K kits let you build X models and each model has a number of variants (in Kill Team, this would be one of two specialists or a choice between a specialist or your given basic unit) and the new Cadian Infantry are much the same.
The 10 models in the kit are the Sergeant and 9 infantry with each of the 9 being a choice between one trooper and either a trooper with differently posed arms or a specialist (Vox or special weapon). Seeing as my system worked in the past I decided to carry on as I knew how so first set let’s begin walking through I manage to break these units down and get them built.
I begin with the things that don’t really involve any decision making. In the Cadian Shock Troopers this comes down to the bodies. All of the bodies are four part mono-pose sets (right leg, left leg, torso back and torso front) with the available variety coming from different arms and heads. It’s not the most variety I’ve ever seen in a kit but I have to say with all the special weapons and equipment that goes into a squad you really need to line them up to easily see the repetition.
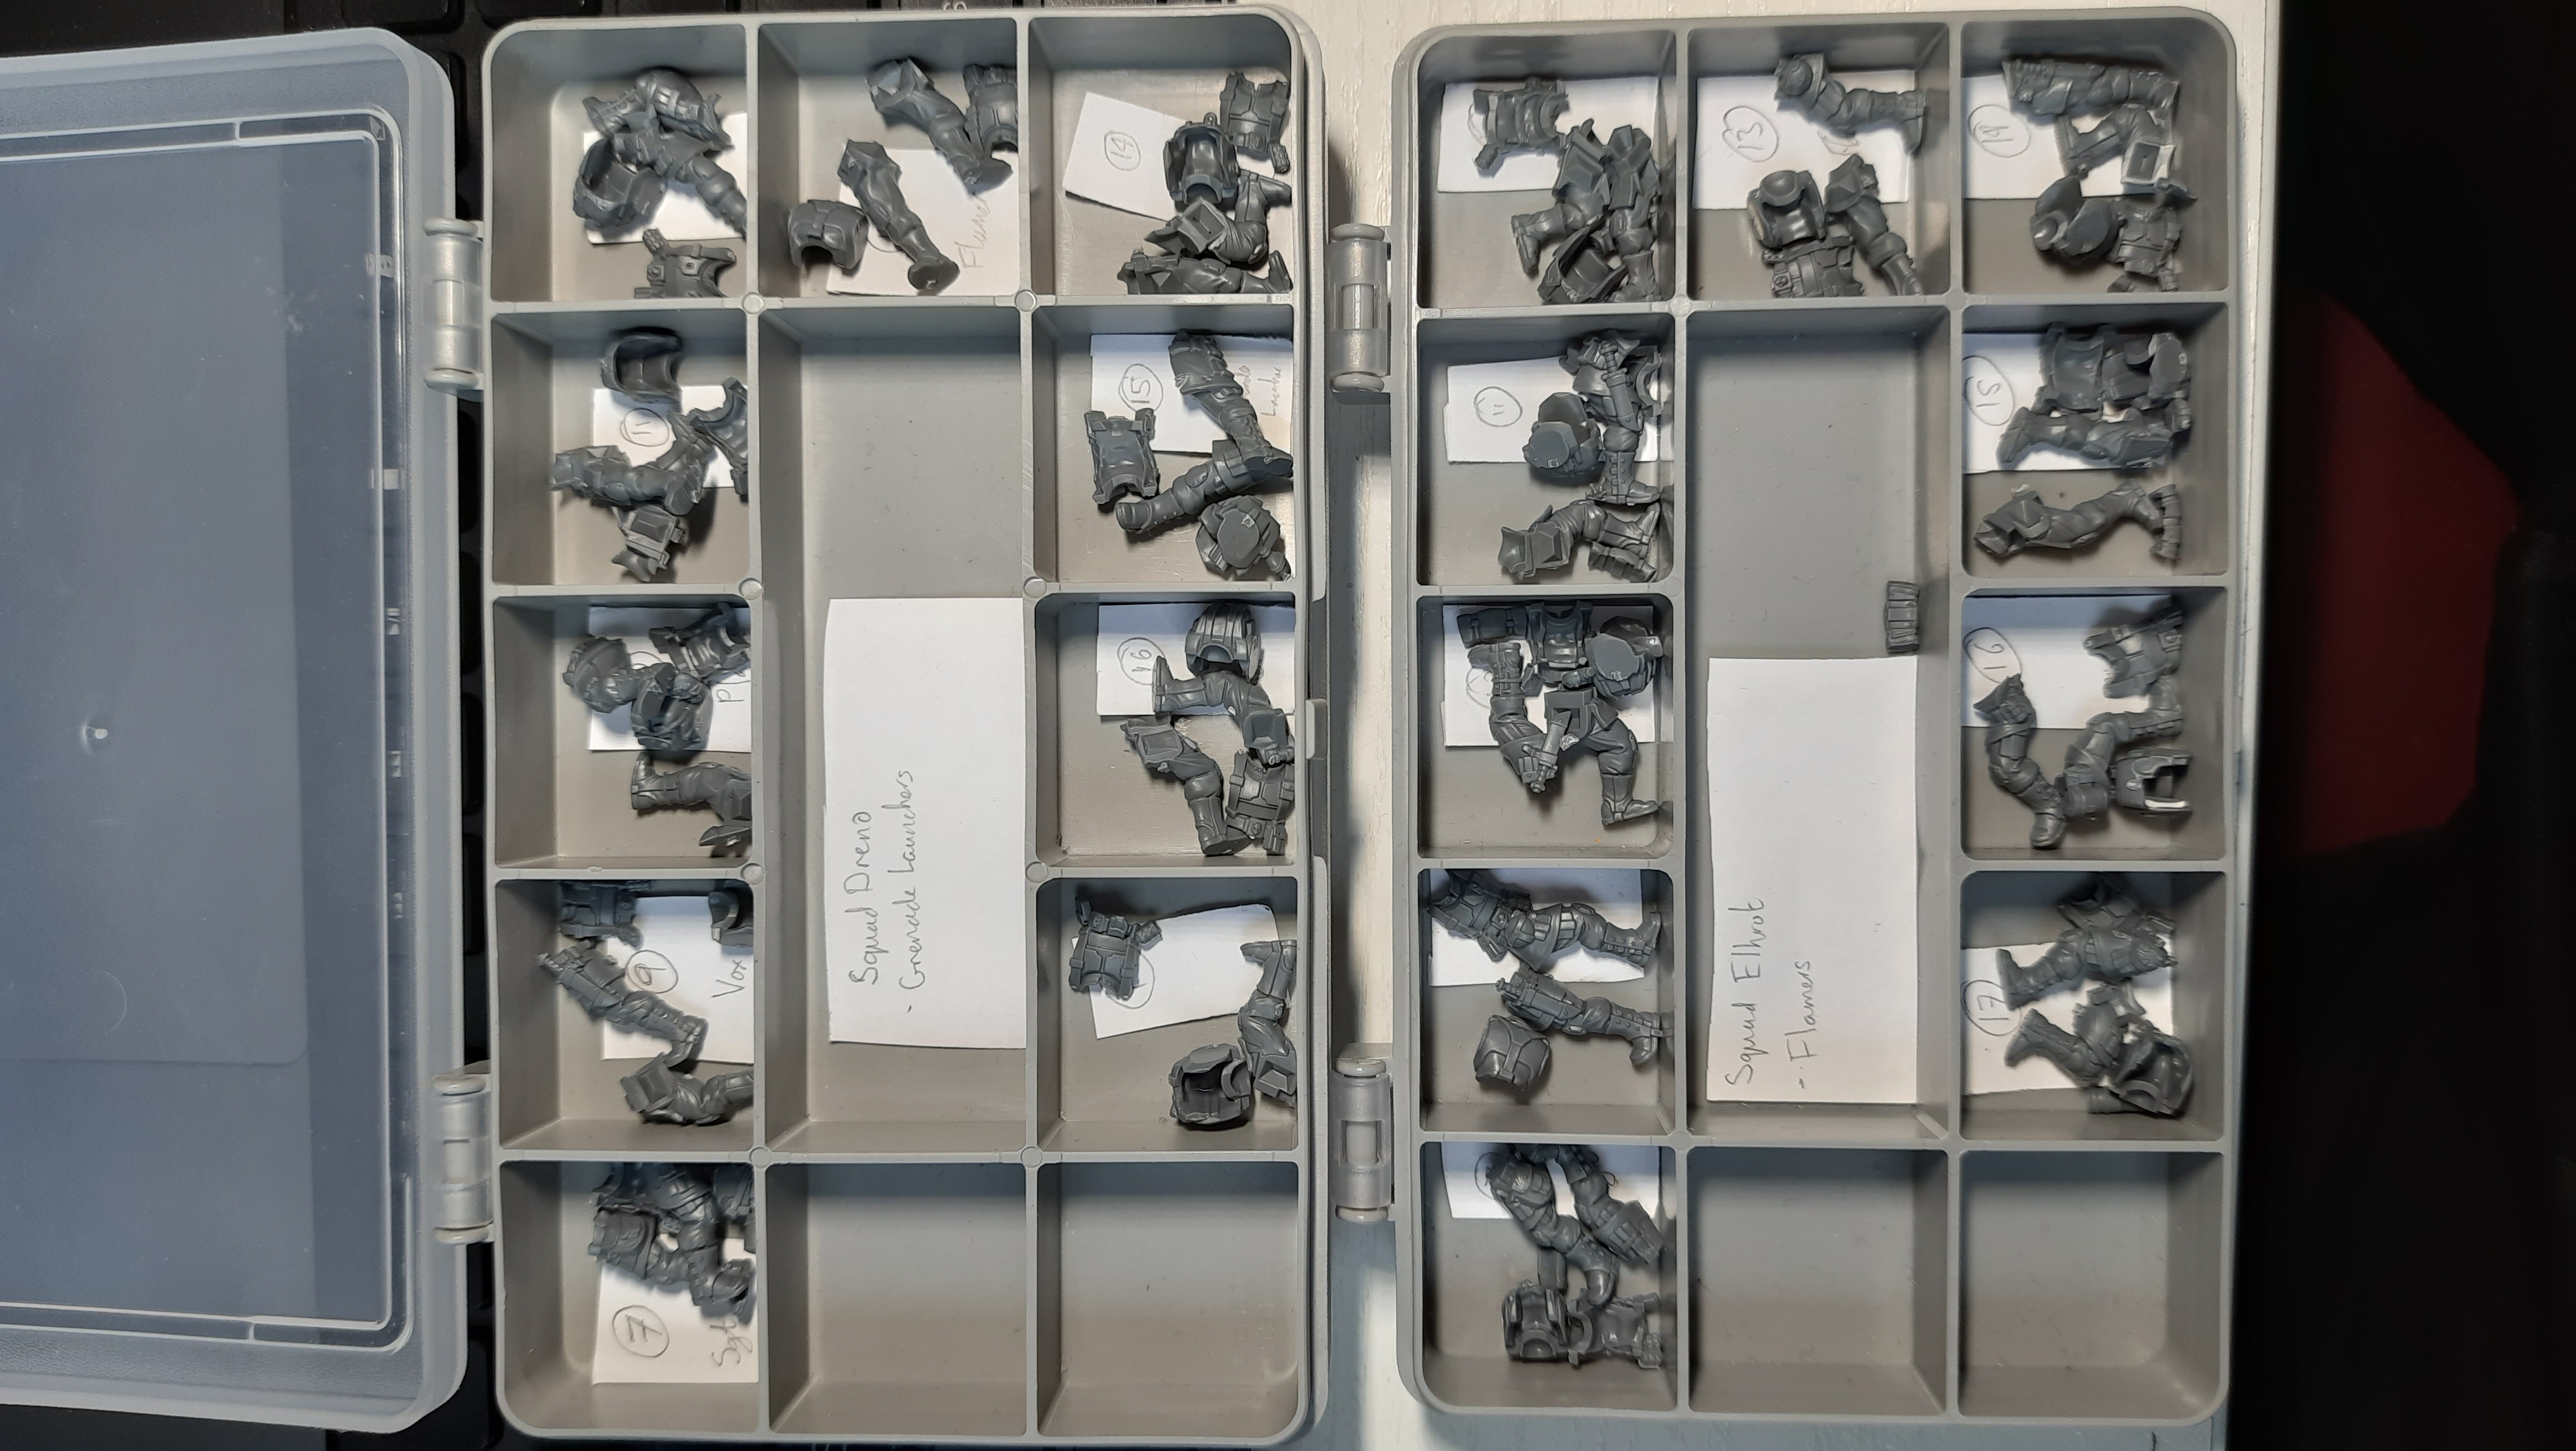
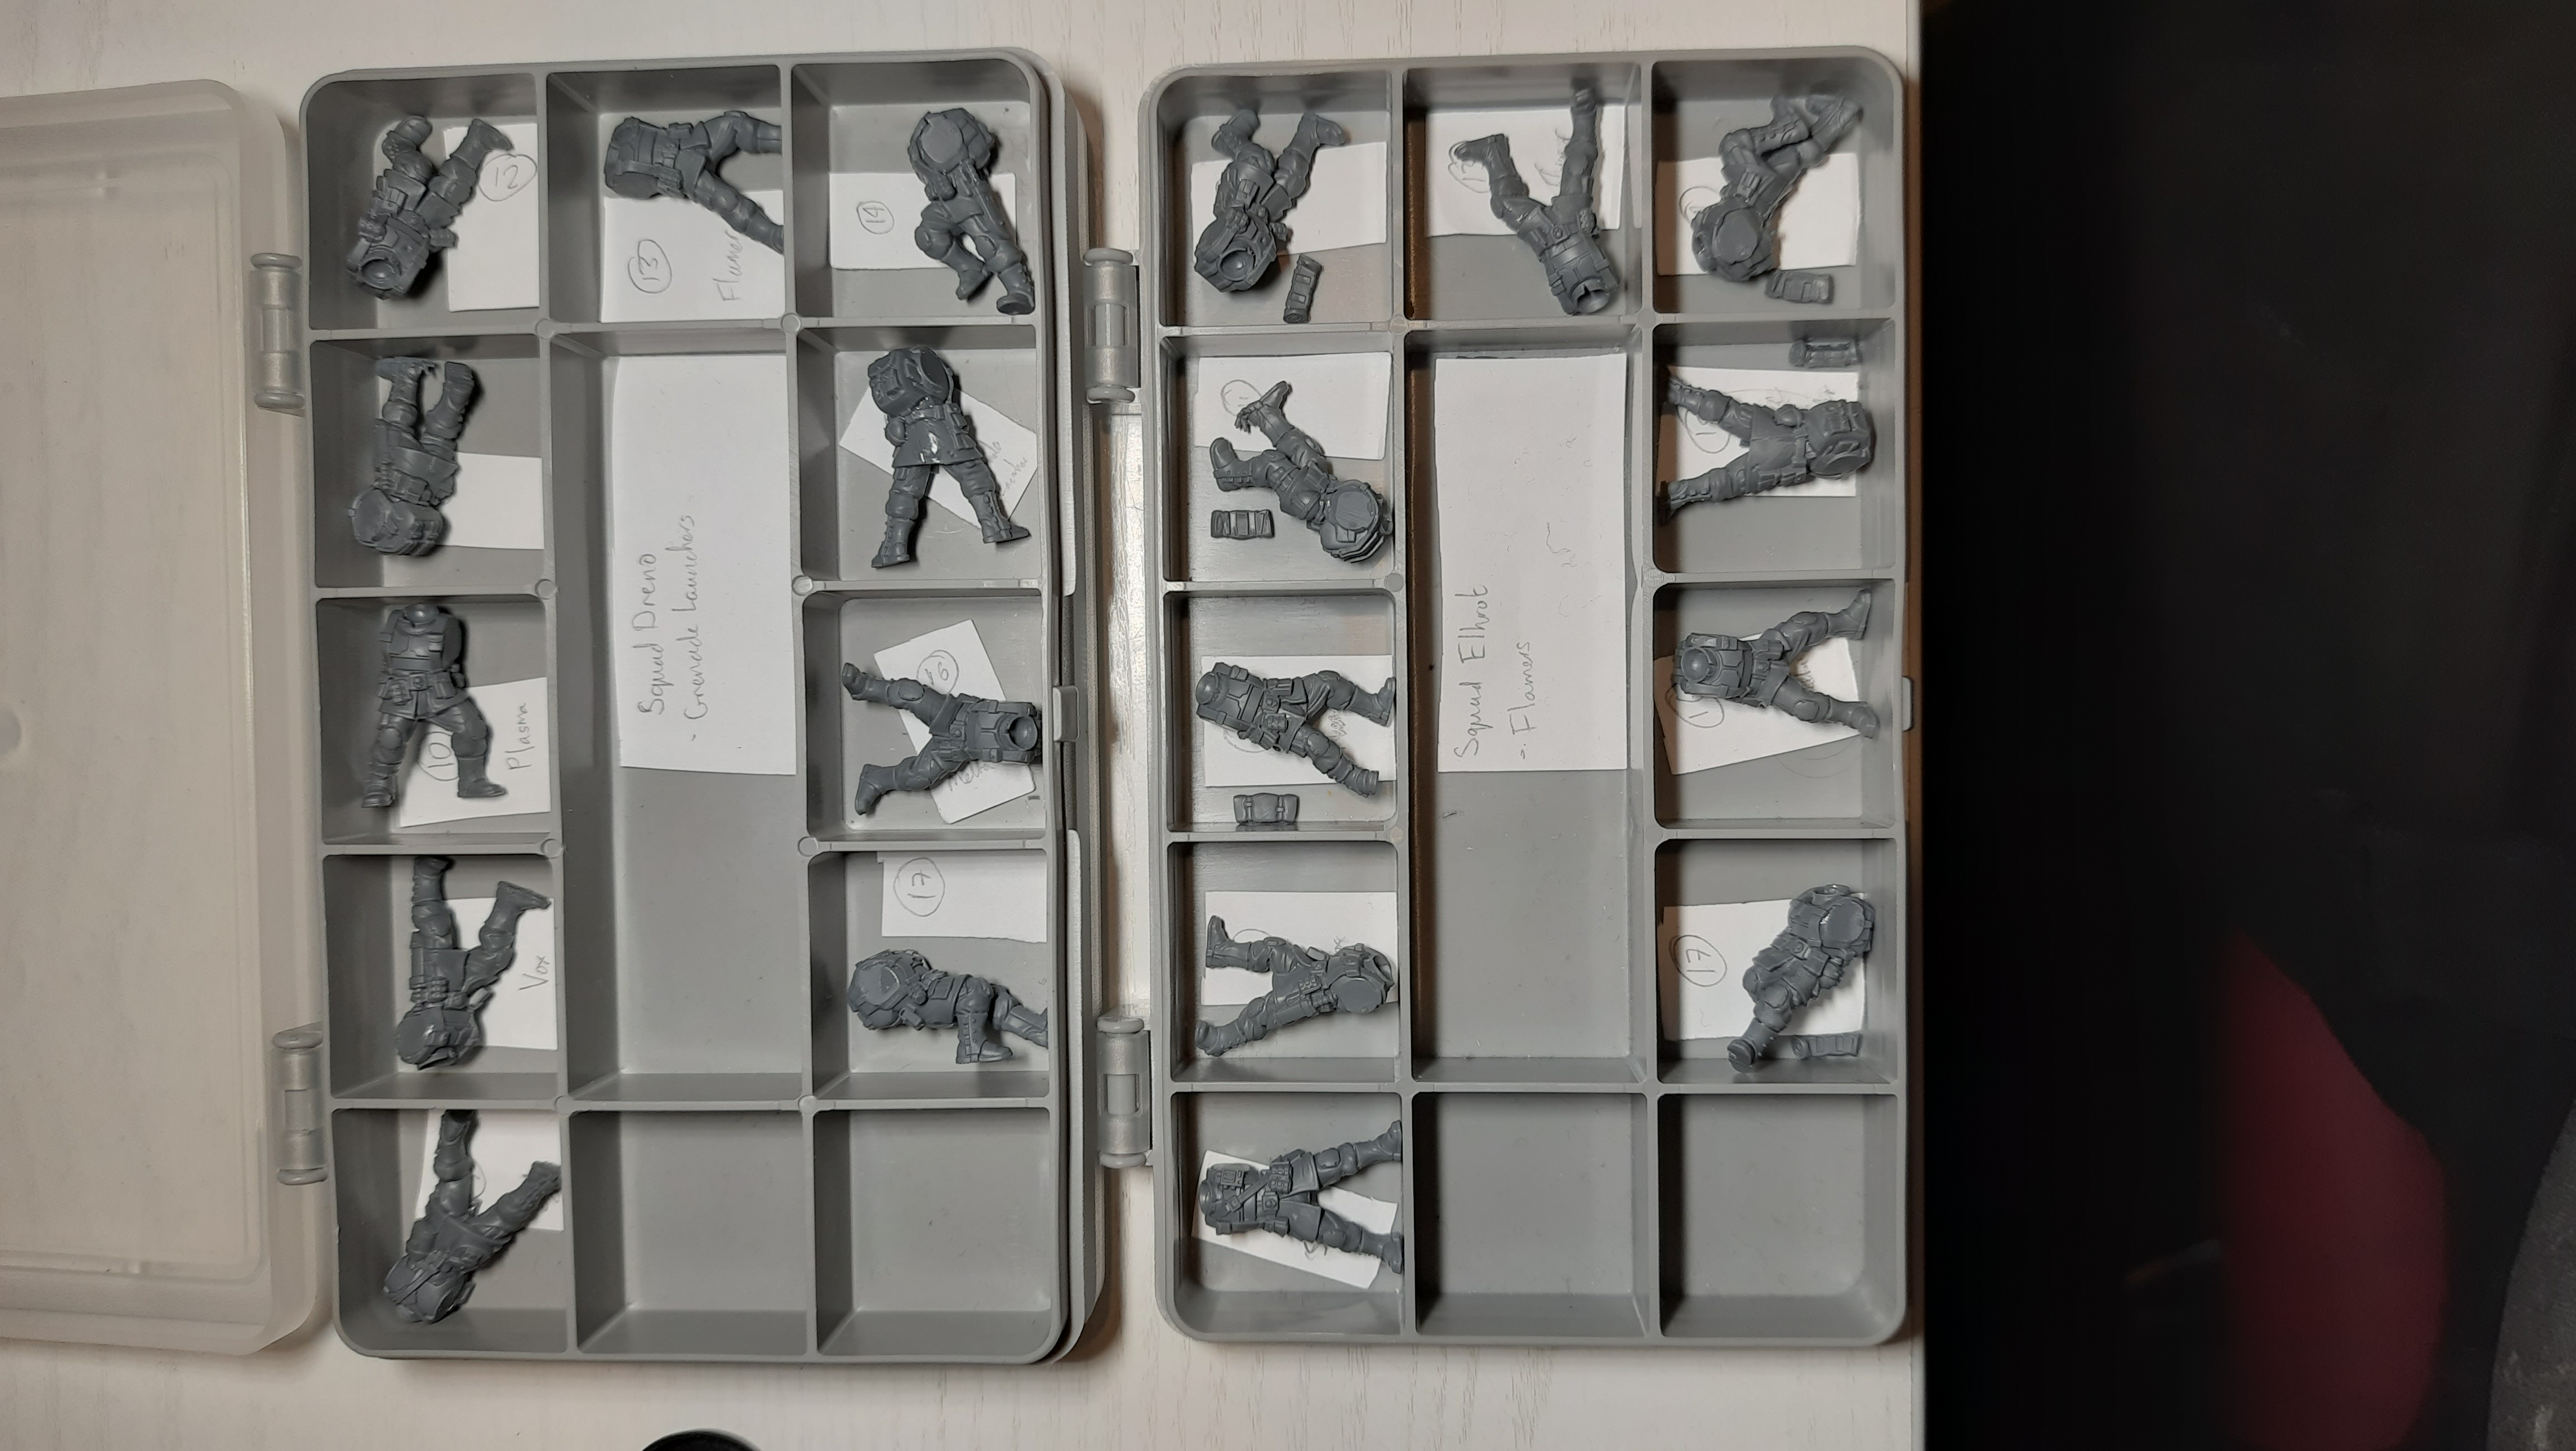
These get dropped into these nifty little sectioned boxes I have from a brand called Wham (12 small slots and 1 larger one through the middle, great for breaking down squads with some space for extra bits or larger things like standards or particularly long weapons).
Then it’s simply a case of cleaning the pieces and gluing them per the instructions. So far, so straight forward.
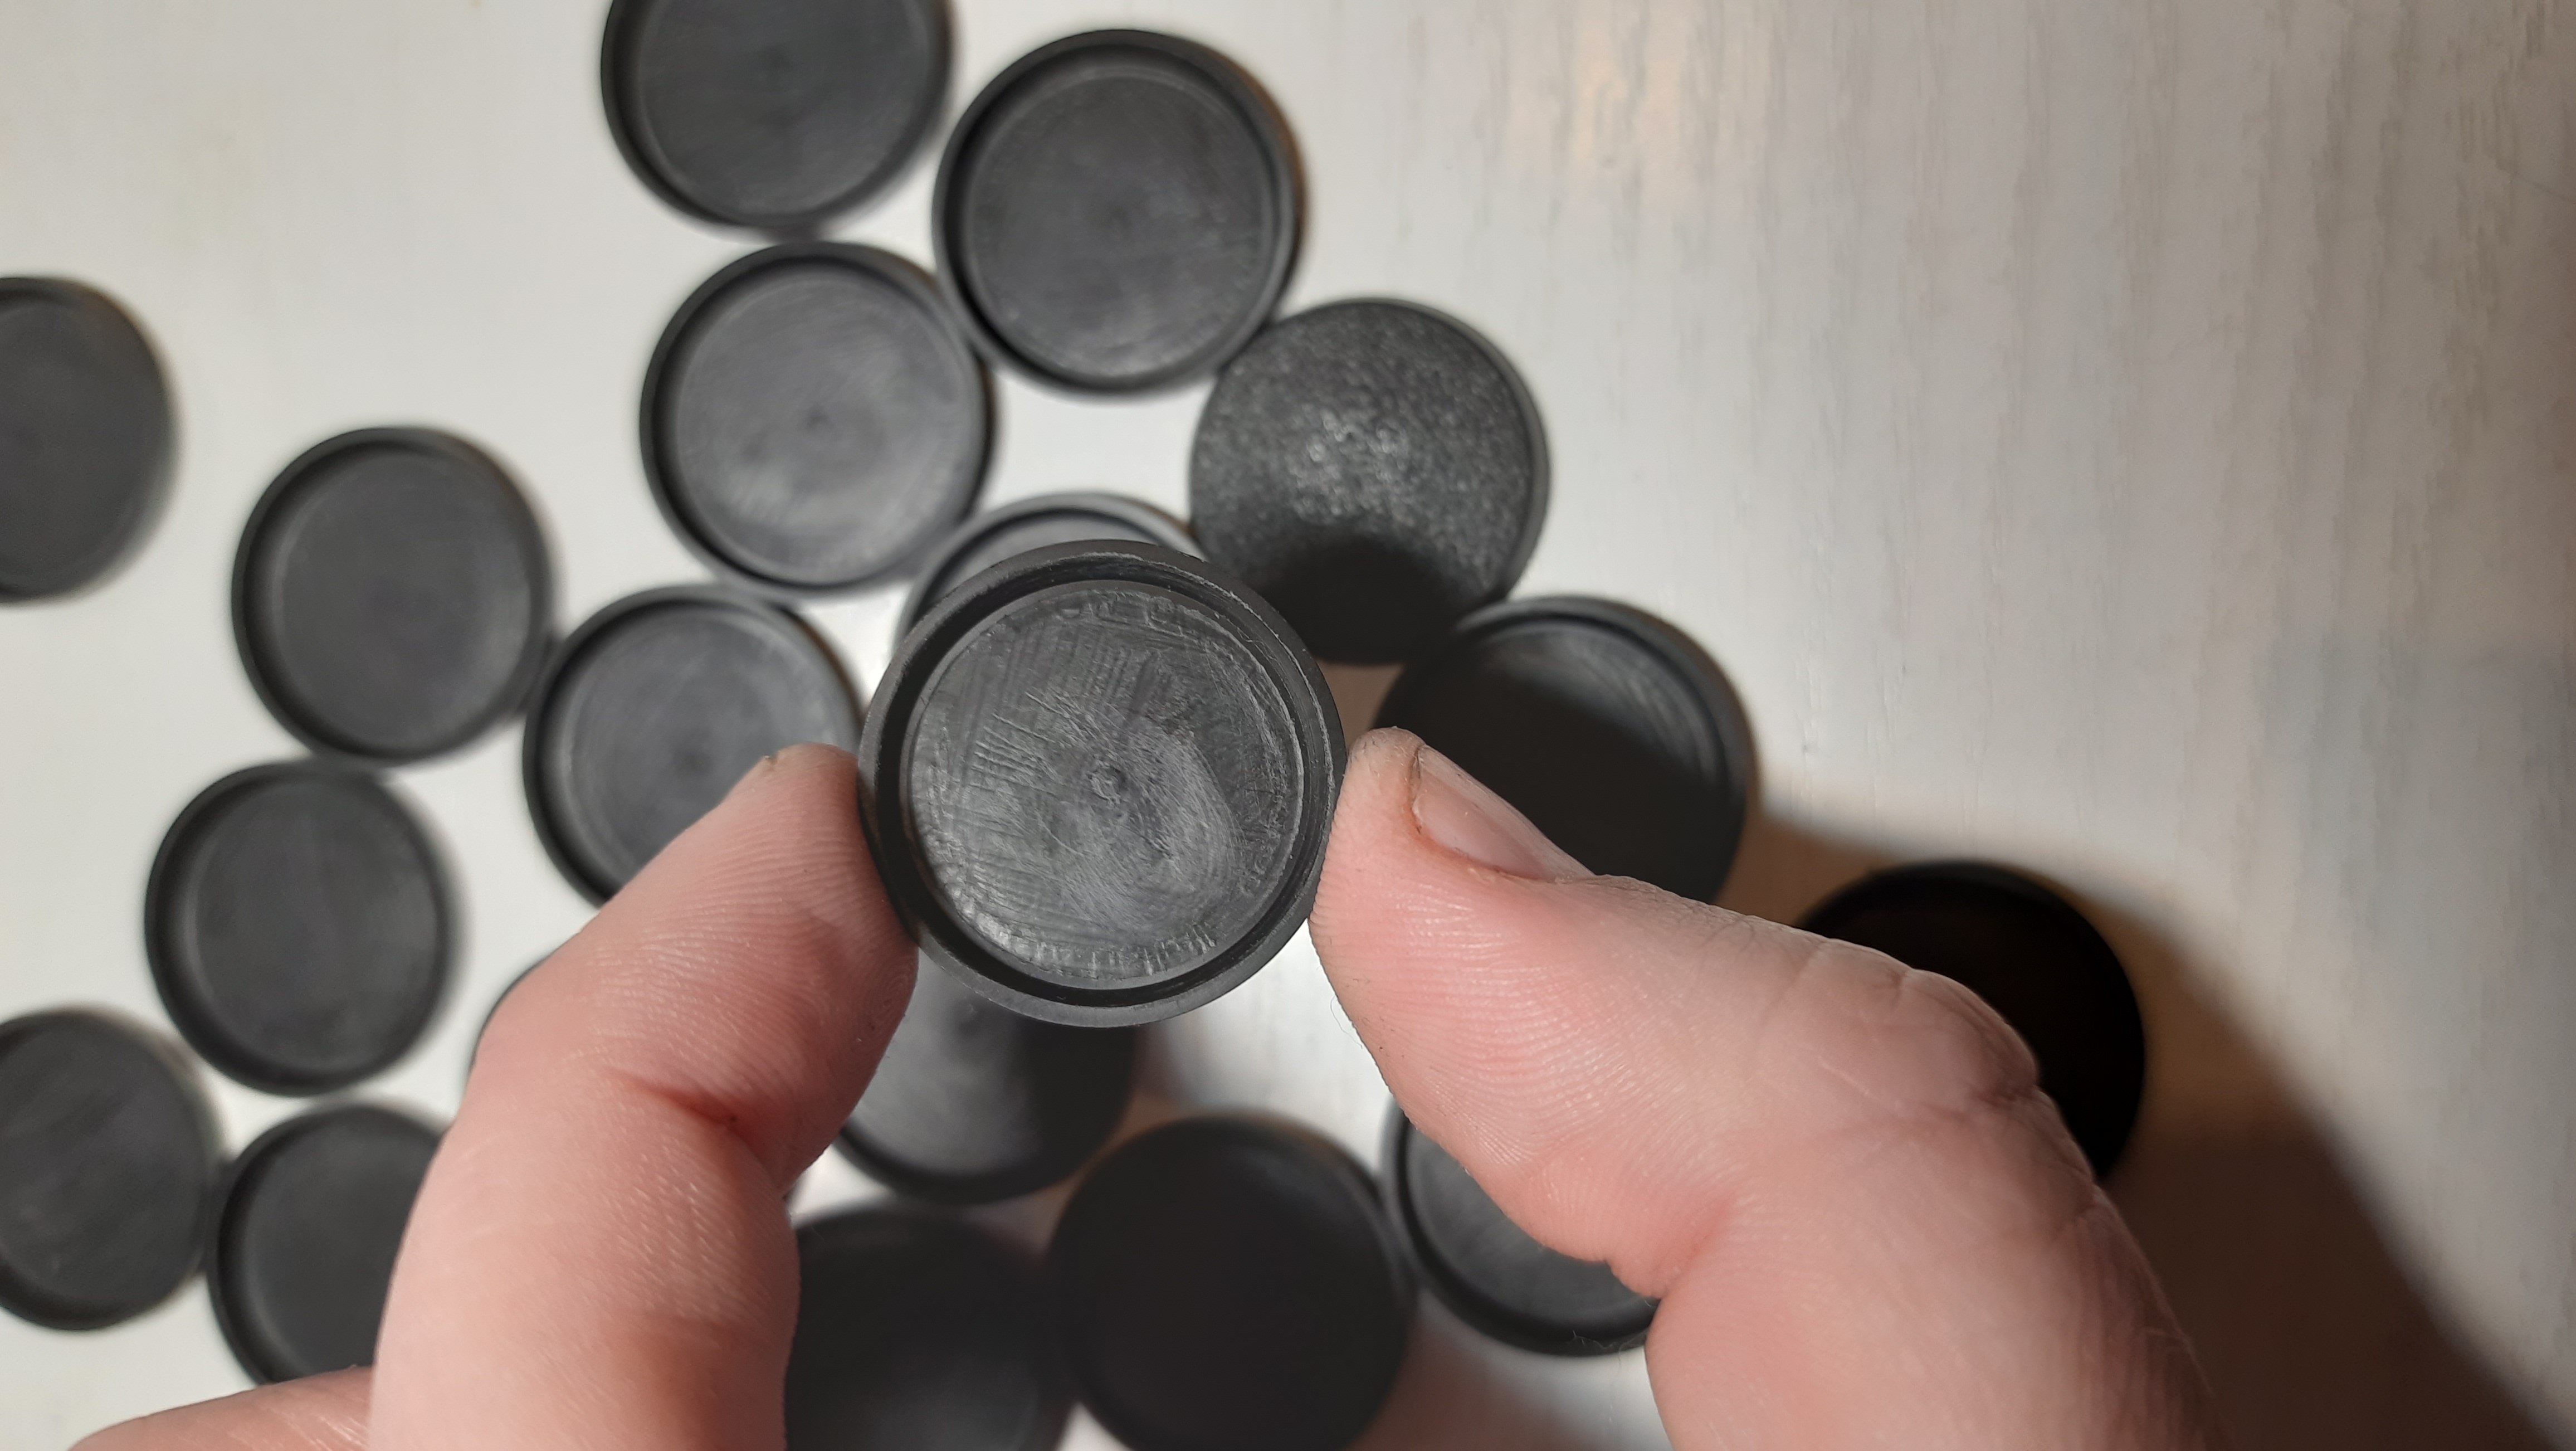
The other thing I have been doing, which I don’t for Kill Team, is to take a bit of sand paper and my mould line tool and just scrape down the moulded writing that GW has on the underside of these bases. This is just because I like to put some basic identification markings on the under side of the base. This is just broad info like which “squad” this is from (1 through 4), just because I like to know that I can keep them together once I go through the trouble of sprinkling variety through each squad.
Is this worth the time? Does it make any appreciable difference? Probably not, but it’s something to do whilst watching TV and I like to keep my proverbial ducks in a row and it makes my brain give me the happy juice. These will get marked once each model is otherwise assembled and I am sticking them down to their bases.
Next Steps
Next I turn to the simple decisions: the troopers that aren’t just carrying lasguns. Picking lasgun arms will be an exercise in picking a set that’ll fit with the model such that we avoid that repetition but the other squad members are want for a little more: namely special weapons and Vox. This is all because of backpacks.
No really.
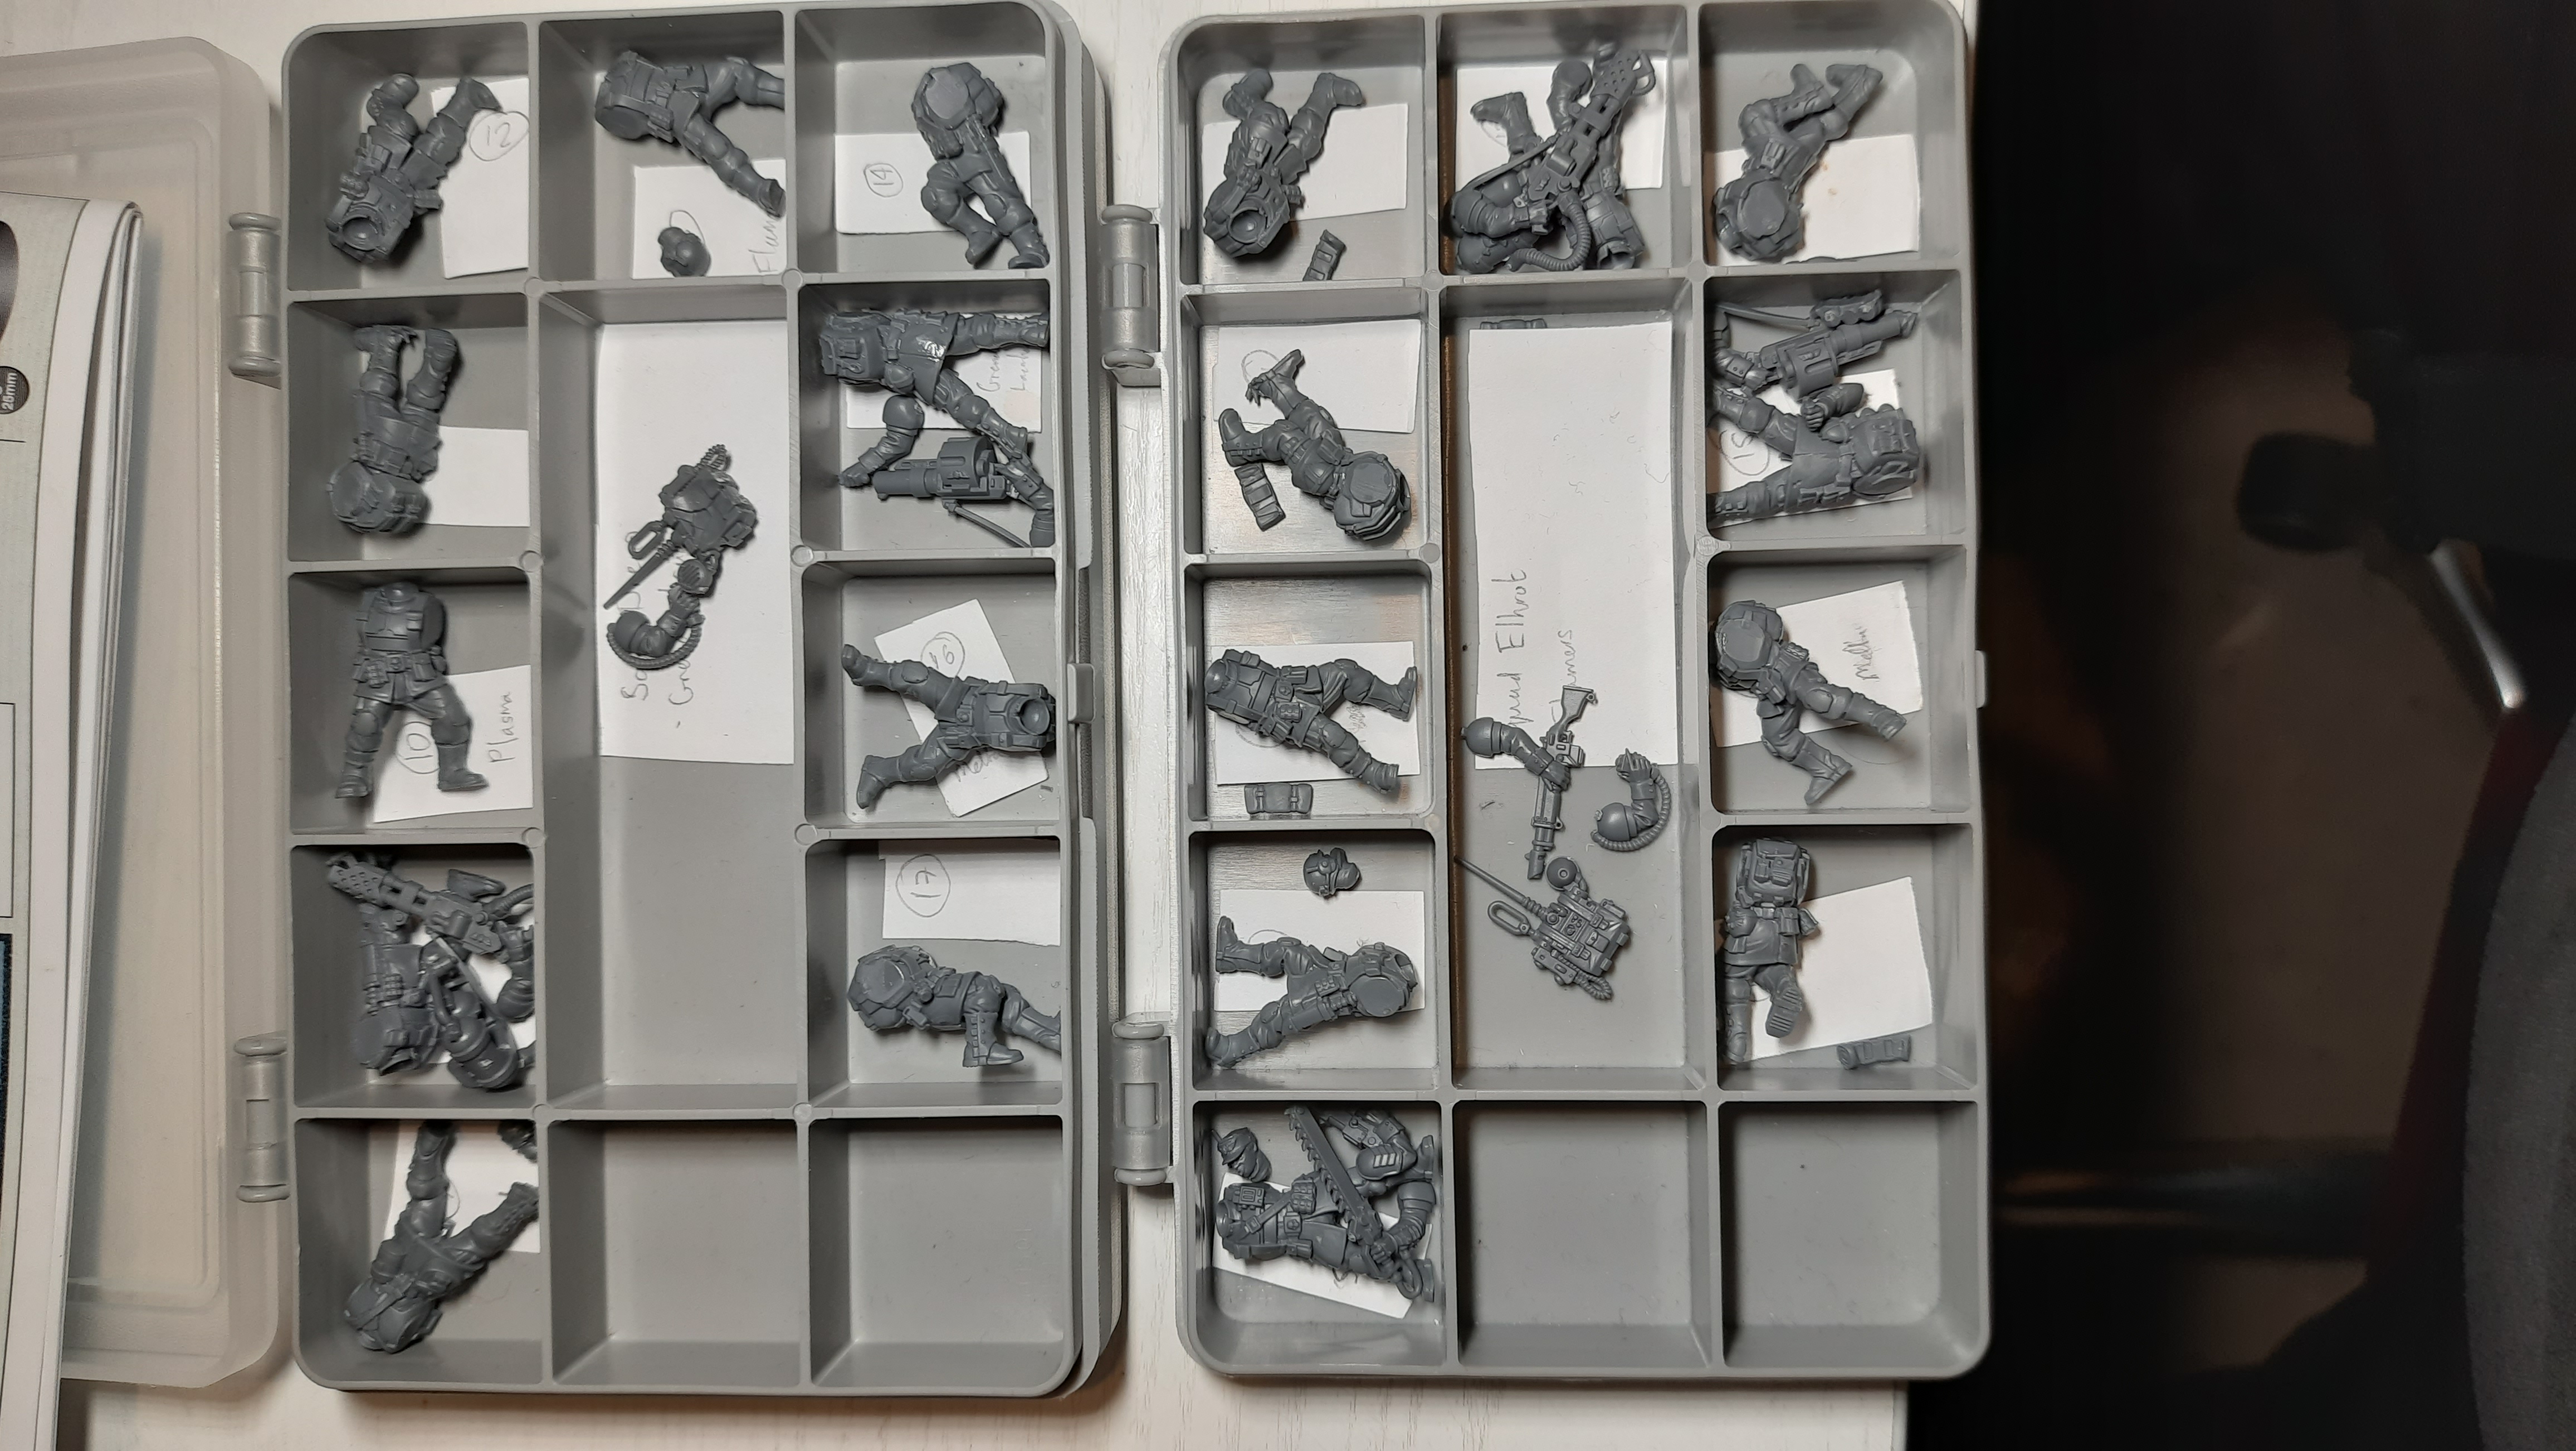
So, most of the sculpts have backpacks moulded into the back half of the torso to make a single piece, rather than a separate piece to be attached. Not all of them however as there are expectations. Namely the first, second and sixth bodies counting clockwise from the top left corner in the photos above. These are the Sergeant, the Vox operator and the model that can make the Flamer Trooper by default. And so we come to our first problem. We want variety and we have three bodies to create four troopers. If you recall I am getting on with making four squads that each carry two of the four available special weapons (flamer, melta, plasma gun and grenade) and then I can make the odd swap around if I want to make some changes. This wasn’t a problem with the squads I already built, melta and plasma guns are just arm sets, so I just spread them around different bodies. What are we to do here?
Well, the first model is the Sergeant. This one is moulded with some nice details like orders pouch style satchel and a small Vox unit. Fine, I’ll accept that. This leaves us with two bodies for three models. My solution comes from building multiple squads. Across the two squads we have can pull these bodies for Vox and Flamers twice, giving us four bodies for four models (each squads Vox and the two Flamers). I’ll simply make one Vox using the default Flamer body and one Flamer using the default Vox body. I can then make one Grenade Launcher trooper in each using different bodies and then these squads can swap a trooper.
With enough different heads and accessories, I should be able to cover enough similarities for these duplications to hide in the mass of bodies.
 The next bits to clean and glue
So far, this has been the most difficult part of these kits. The mono-pose bodies are very nice with much less of the fiddly-ness of the previous kit. For example: every body has a bayonet modelled on somewhere at the belt and variety of canteens, pouches and grenades so we avoid the painstaking clipping cleaning and attempting to fit the chunky bits around the waist without them being all wonky and getting glue everywhere. It does however mean that you lose an element of that variance we so often look for in multiple squads.
Perhaps it’s enough to say that, after four units I am unlikely to want more of the Cadian Shock Trooper kit in my army. Perhaps I’ll look to the likes of the Kriegers from the Veteran Guardsmen kit or even go further afield (Anvil Industries? Wargames Atlantic?) and run some other regiments pegged to the most appropriate stat card from the Codex.
So, time to get on and sort those options already picked. When I return: filling out the lasguns and the heads.
Coming back to that thing
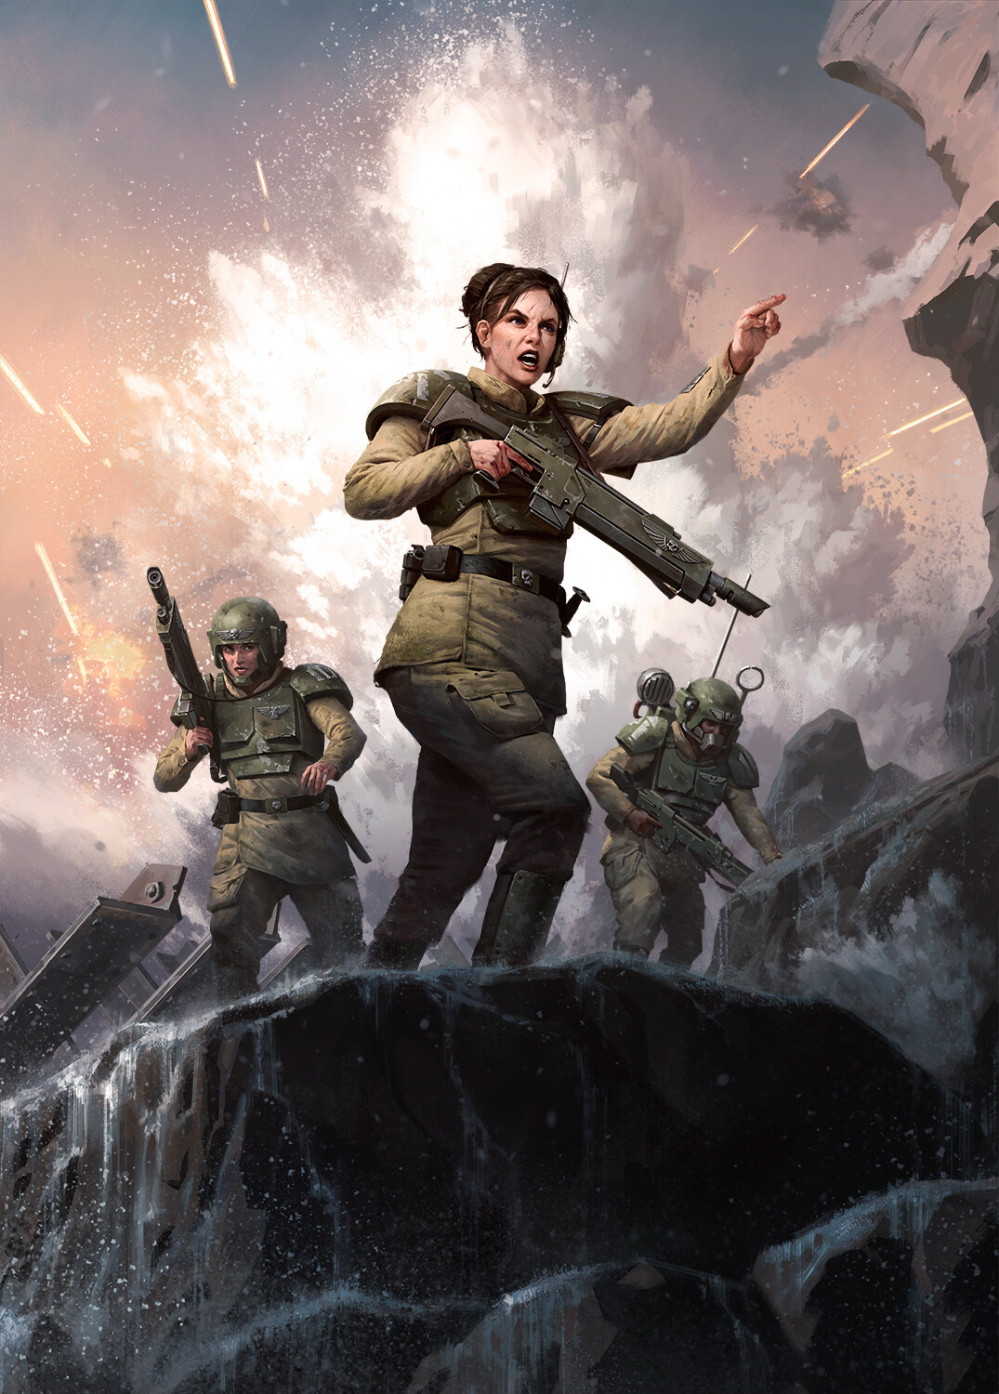
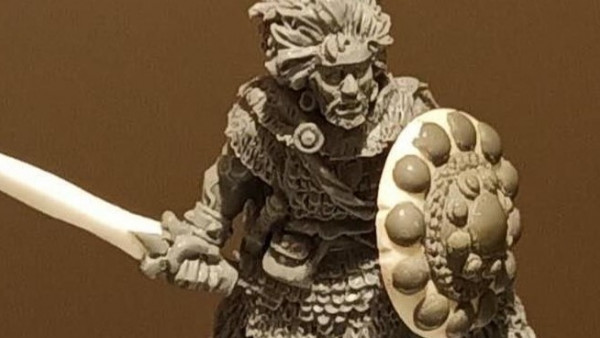
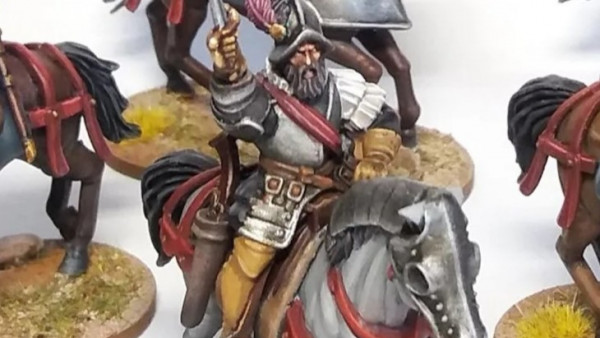
I said we’d come back to this. Yes, some of the heads and arms are missing from the models in the very first picture. This is because I am either holding out from some alternative I saw in the coming Cadian Upgrade Kit that has been announced or I am searching for alternative pieces to represent a specific character. The most obvious of which is my Commander of the Command Squad at the front.
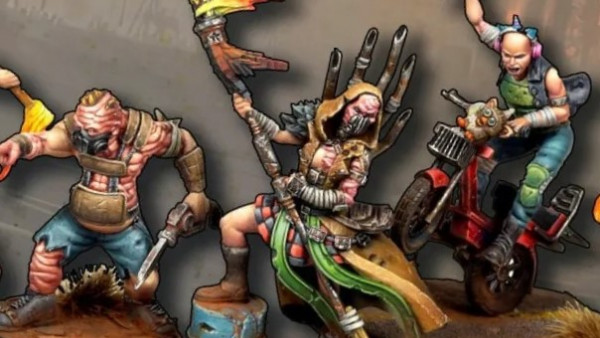
See that project picture at the top of the project? That’s wasn’t chosen at random. That a Arminka Lesk from the cover of the novel Traitor Rock, when she was still a Sergeant. By the end of said novel she has been field promoted to Lieutenant, hence the new uniform, but I’m looking around for a head that better represents her tied back hair.


Leave a Reply