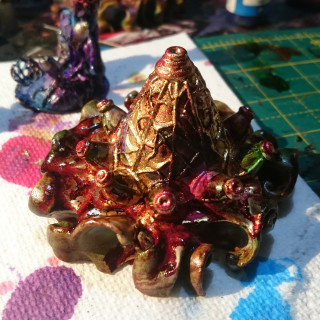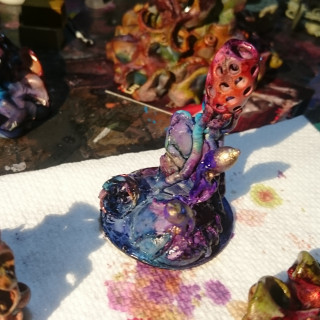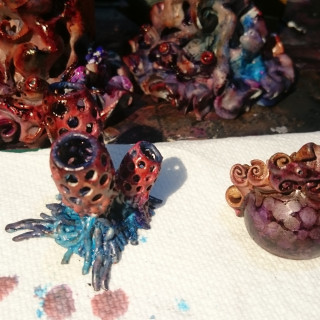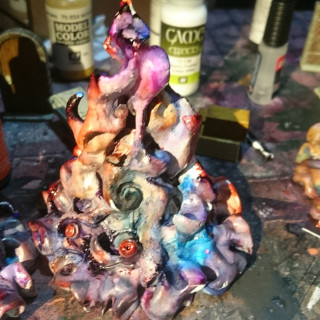
A Scattering of Terrain
Recommendations: 312
About the Project
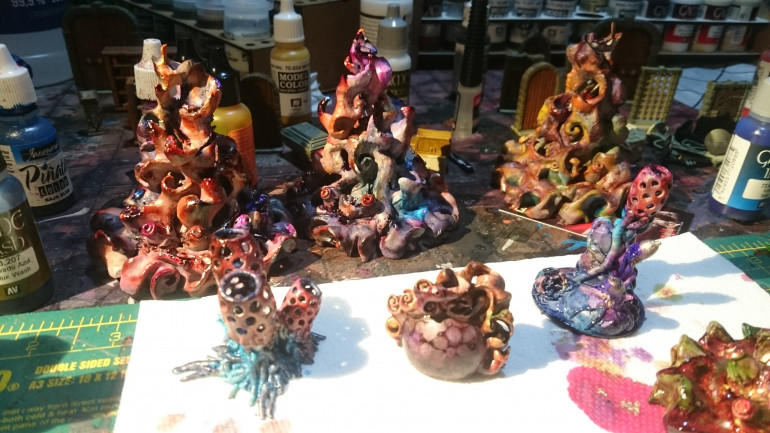
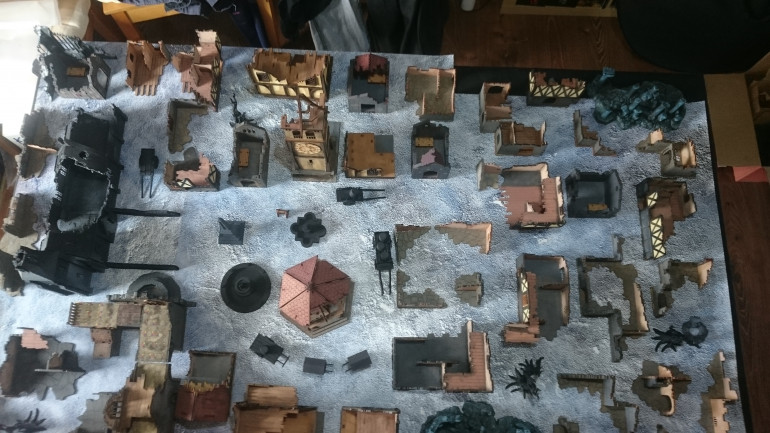
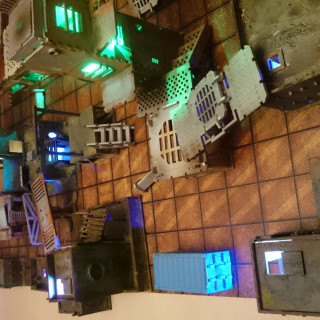
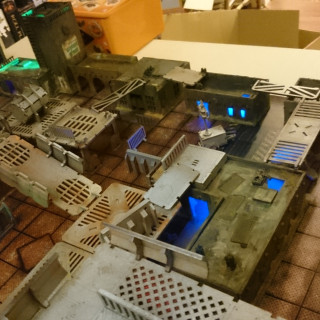
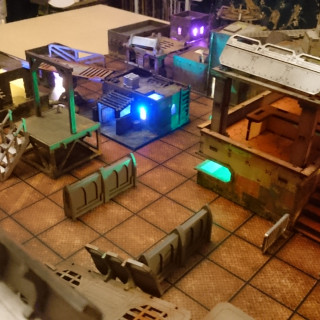
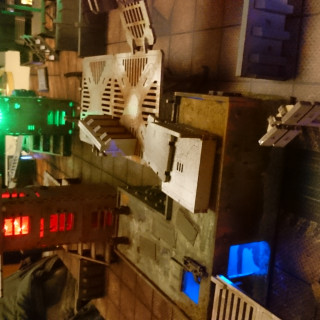
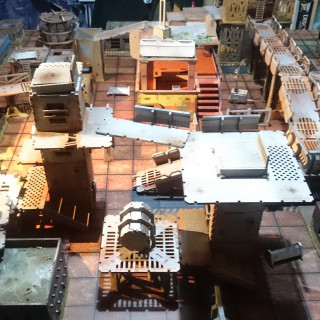
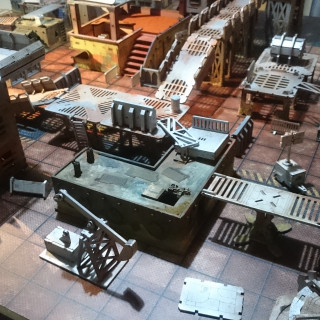
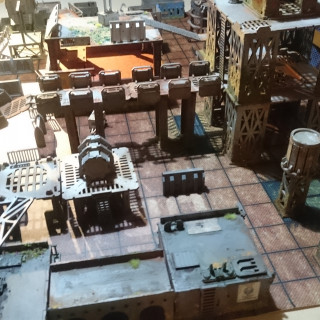
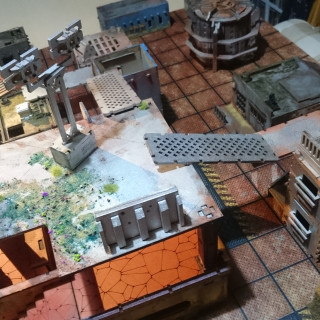
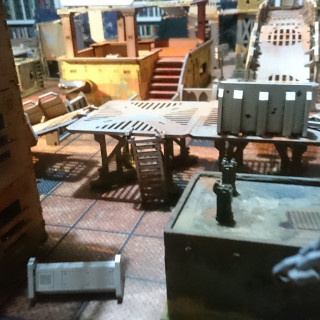
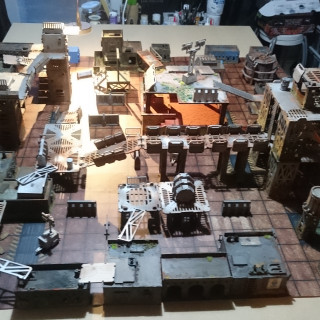
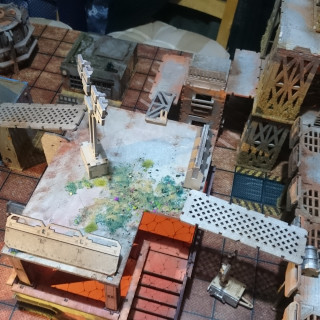
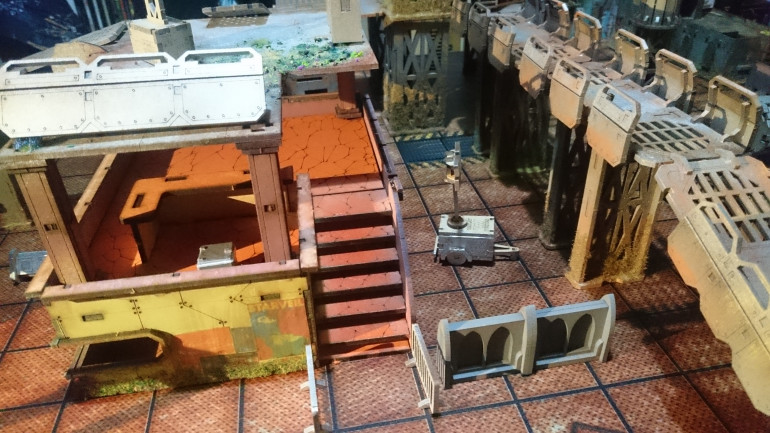
In which I show pictures of terrain I have cobbled together, painted , printed and or purchased - obviously mdf kits will be featured and therefore expletives are nigh inevitable. I have attempted to gather a wide-ish cross section of biomes, this first foray features mostly Stargrave and Frostgrave applicable items.
Related Game: Frostgrave
Related Genre: General
This Project is Active
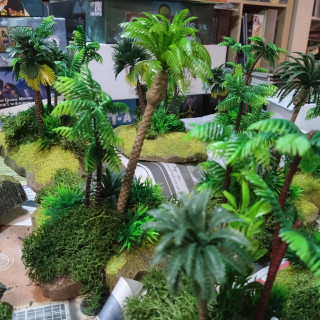
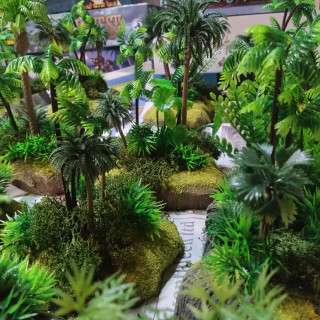
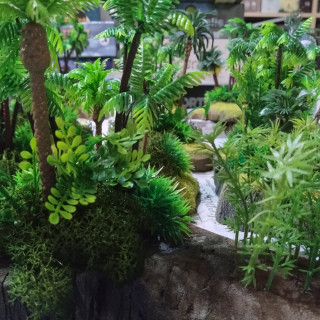
Welcome to the Jungle part 2
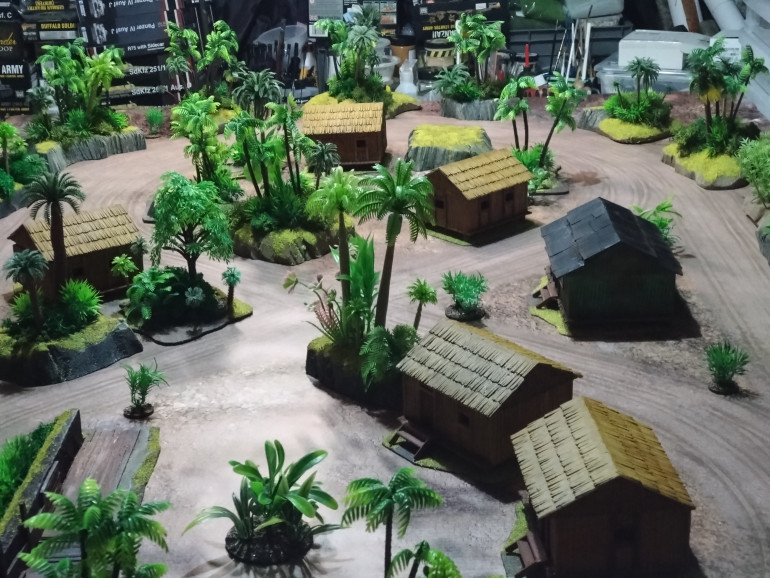
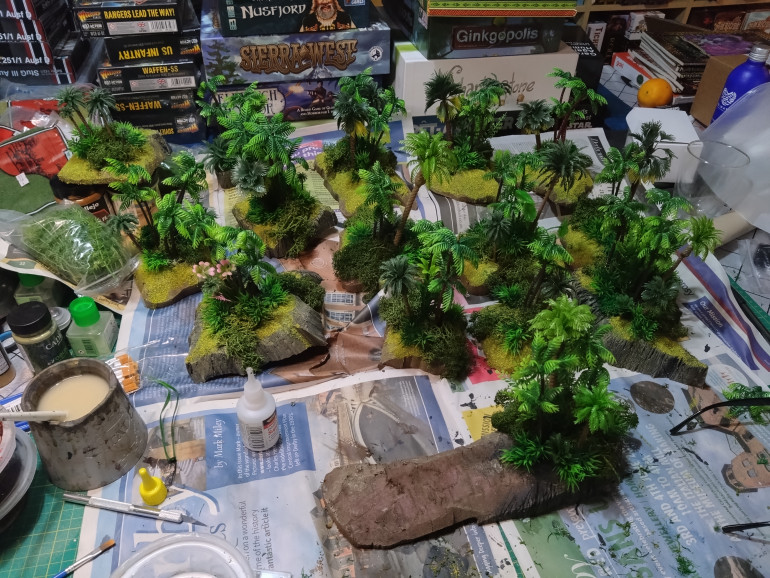
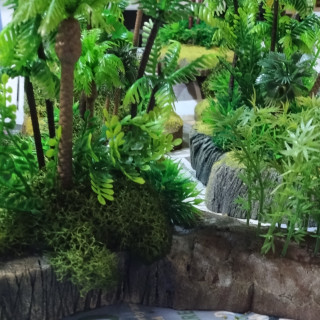
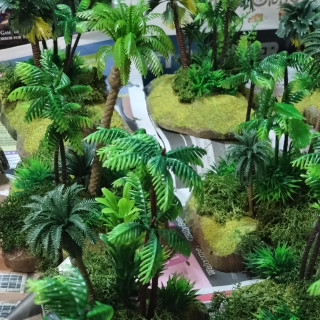
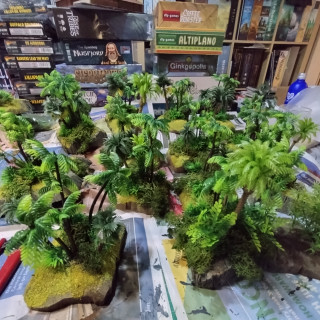
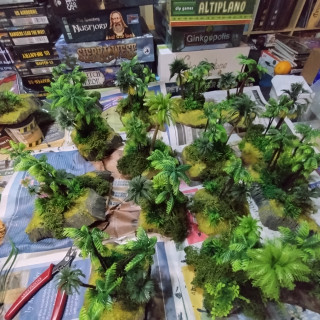
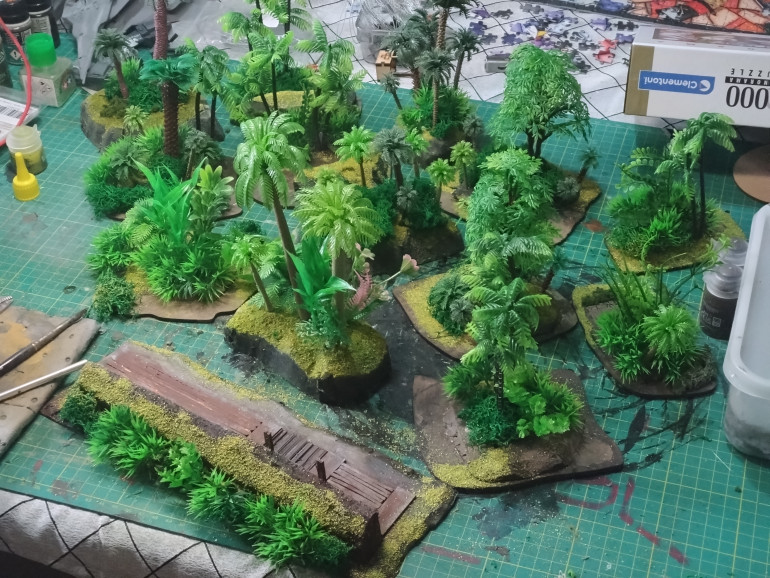
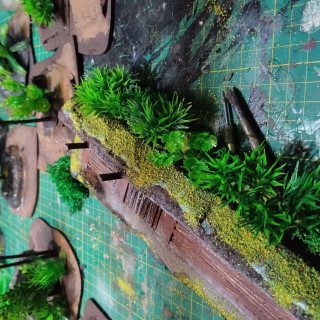
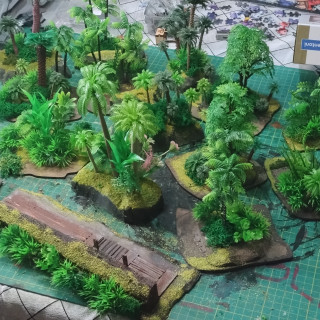
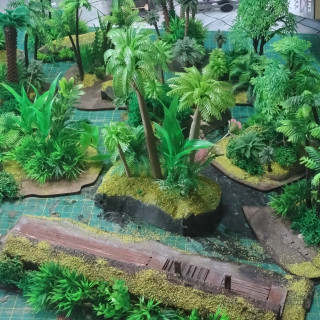
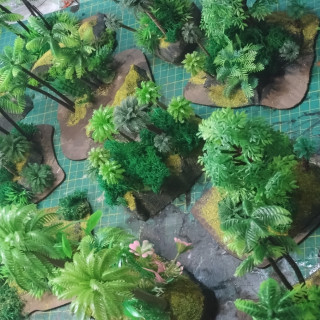
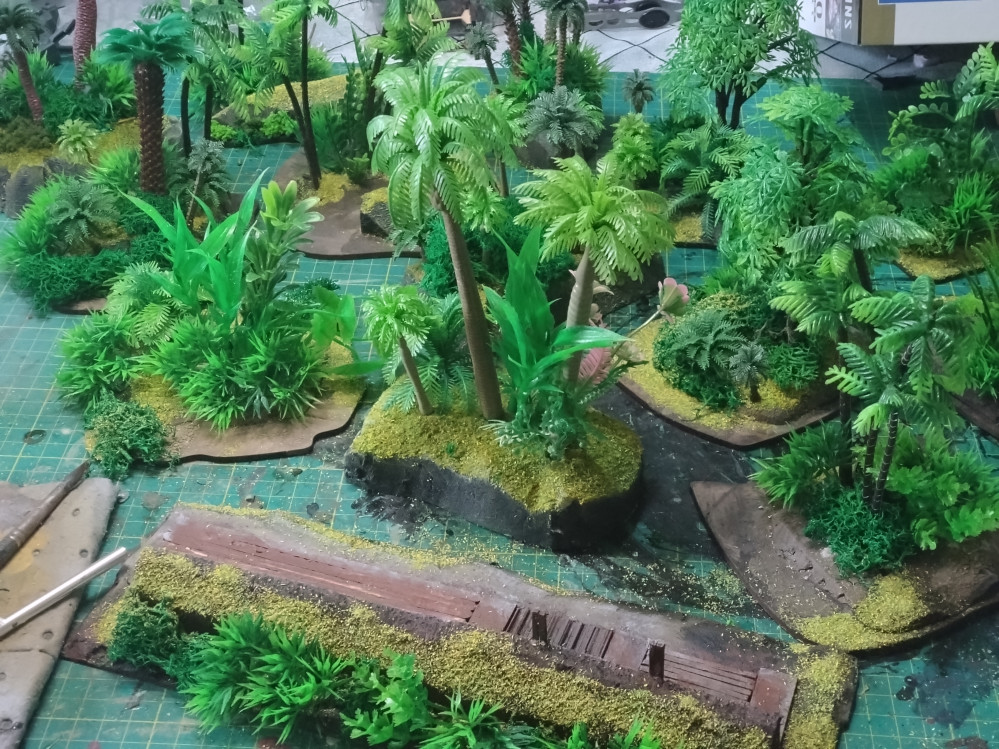
After visiting Britcon and seeing all the amazing jungle tables I was inspired to make some more terrain. Jungle terrain is so easy and fun to make, heck I may even start making-to-sell.
It’s easy enough to put together, if you have all the ingredients, you could comfortably bang out enough to cover a 4×4 in a weekend.
Ingredients used in this batch:
3omm XPS foam
Plastic palm trees
Aquarium grass
A few aquarium plants
Some dyed reindeer moss
Some fine summer flock
PVA glue
Green stuff
Basing glue (watered down pva does the trick as well)
IPA (the clear stuff, not the delicious beverage)
Brown/Black/White acrylic paint (use the school style stuff, not your nice paints)
Texture paint (optional, my earlier build had to visible flat mdf bases that I needed to give a bit more surface interest, alternately I could of grouted and painted, but I am style learning how to handle grout).
An OLFA knife
A lot of superglue
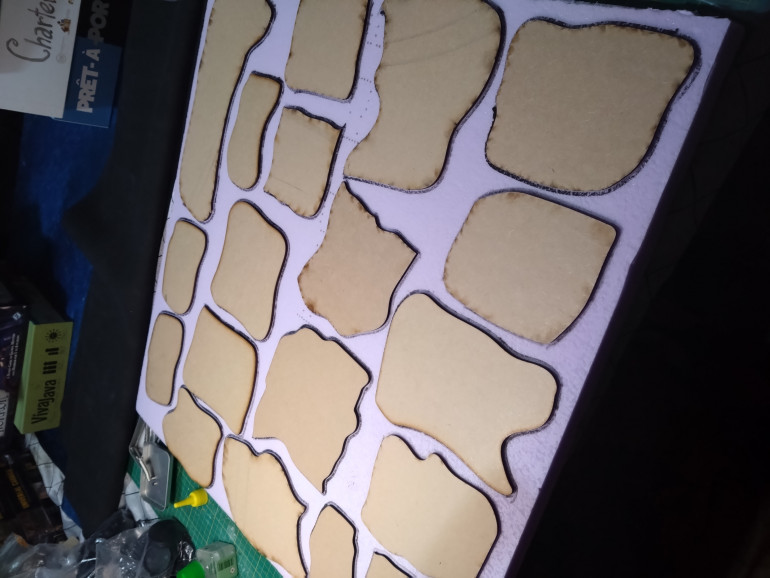
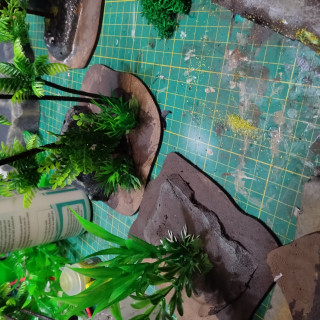
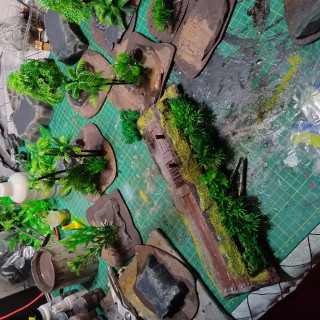
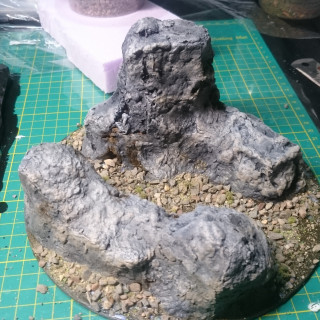
Rather than use the mdf bases themselves I used them as stencils. 30mm XPS is chunky enough to sit on its own. Once I had drawn out the shapes, obviously if you don’t have bases then freehand works just fine. Next I used a hot wire cutter to chop out the shapes. If you’re doing rocky outcrops as opposed to mounds of earth then use the opportunity with the cutter to work in some more jagged textures . Once you have cut out your shapes then I’d recommend clearing the excess away, as the next step gets messy.
At this stage I had to make a decision on whether a piece was going to be a mound or a rockier outcrop.
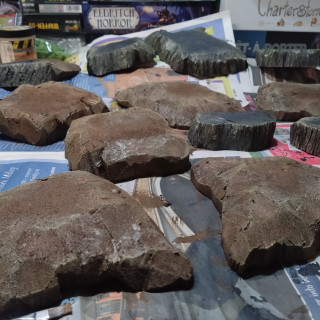
For mounds, I careful smoothed the pieces down using the OLFA as a peeler almost.
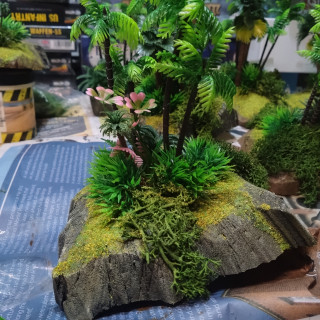
For rocks I used the same knife ,but used scoring along the sides and to round out the top a little I basically walloped the edge with the knife to create a more broken edge.
Health and Safety: Please be careful when twatting things with a big knife. You’re welcome.
Next up, paint. I used grey on the outcrops, and a mixture of a light mud texture paint (AK or Vallejo) and dark brown cheap acrylic paint. This is a good time to consider the colour of the mats and tables you plan to play these pieces on, if you can get the colours pretty similar then it will fool your eyes and bring the table together better.
Mixed into the paint was some PVA glue, this is gives a more protective layer and if for any reason you want to have at your creation with a rattlecan further down the line.
I then did a little drybrush over the top. You can really go to town at this point with textures and brushes. I might do a separate chapter on a deluxe model, if there’s interest.
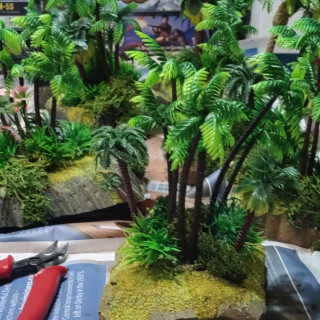
I hadn’t taken any pictures of building the pieces up from here as it’s a quick process. Firstly I super glued and used a bit of green stuff to attach the palm trees. Next I take the aquarium grass and attach it with some green stuff, the grass is the small spike bushes, next I add any other aquarium plants, the bases tend to look crappy on these so I will hide them in the middle of the palm tree. Then finally I glue on the reindeer moss, this covers a lot of sins, don’t be afraid to rip this stuff up to get the shape you need. Hobby shops tend to charge a lot for this stuff, you can pick up cheap bags but your colour choice is usually limited. In this instance I got a couple of bags from Temu as they were decent shades.
Of course you can always dye your own.
That should all dry pretty quickly. Next step is get some flock on it, I used a basic summer meadow flock. Doing the flock at this juncture basically means you use less. Once that is on I drop some IPA on it, which helps keep it in pace. If you have come up with your own fancy flock blend , please note at this juncture colours can run onto other things.
Once all that has dried of a bit I blast the whole thing with matt varnish, ne because it adds a bit more protection and two, it can reduce the sheen of your plastic plants.
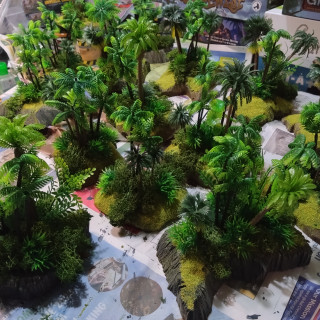
So there you go, fast and easy jungle terrain. There’s loads more you could do to it , but for a quick weekend project it’s not a bad result.
Welcome to the Jungle
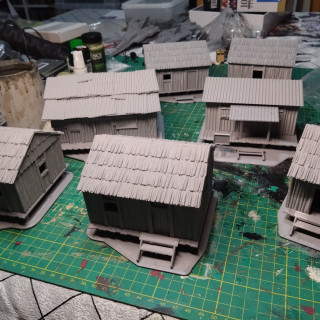
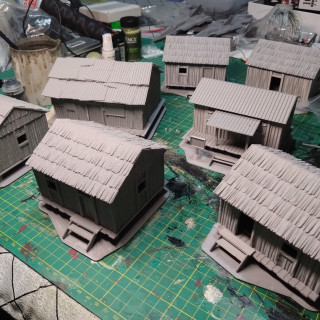
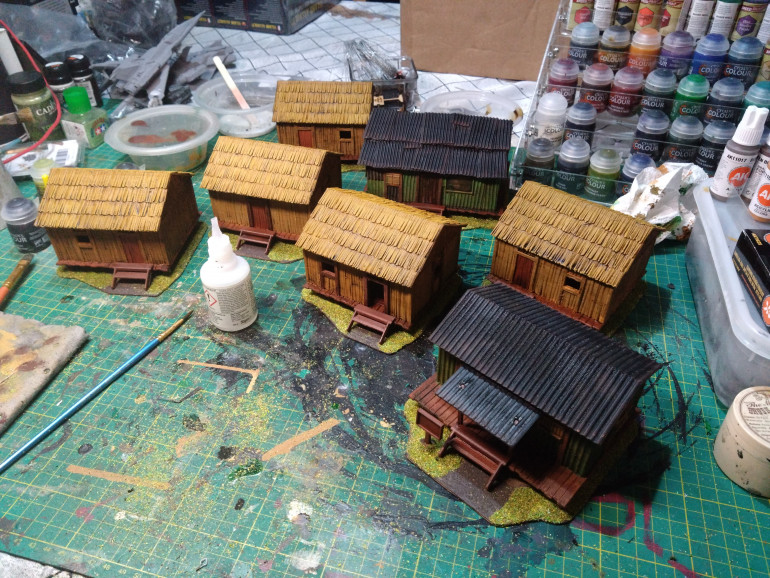
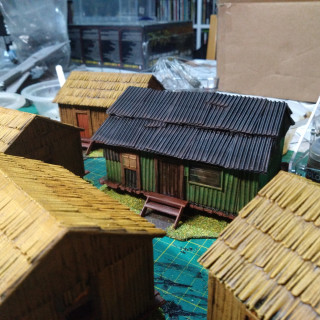
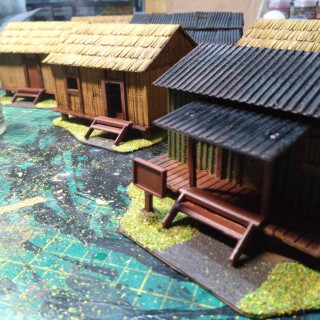
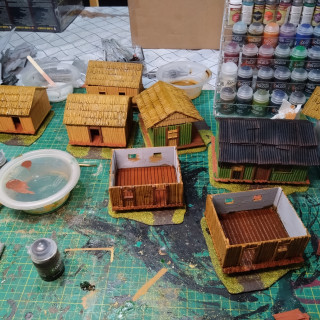
I wanted some jungle scenery for Bolt Action and Pulp adventures. I ordered some 3D printed huts from Mardev on Etsy. That should give me plenty of building. Then I went a bit mad on Temu and bought a bunch of aquarium plants and decorations.
I used wooden bases and hard foam to make outcrops to stick things to. some of the shallower pieces I used foam board. On a few of the larger pieces, rather than use up the wood board I used it as a stencil and cut the shape out in foam with a hot wire cutter.
I then painted over it with mod podge over the faom to seal it , then used some Stirland mud and some of the brown variant of Mordant earth for some dried out and cracked patches of mud
Carnevale-ish
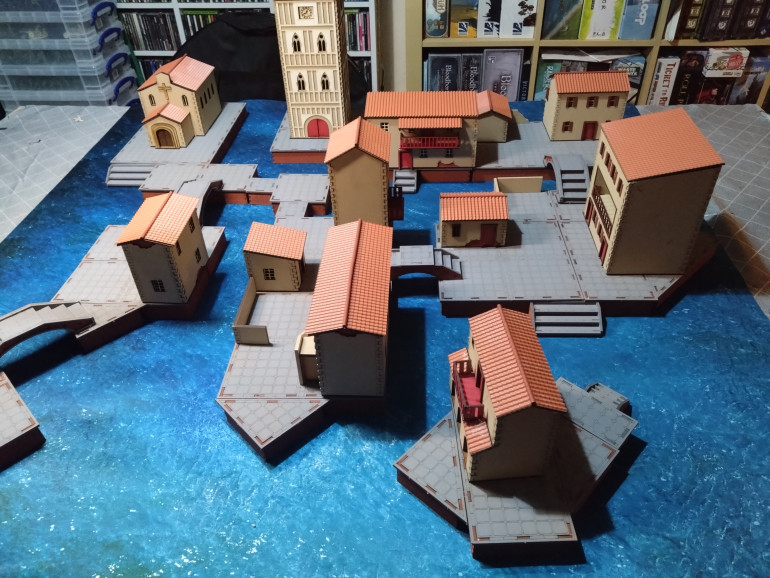
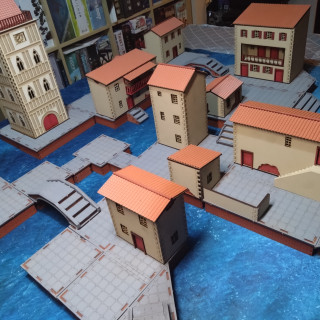
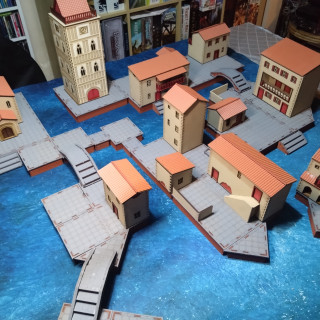
A few of my friends have got into Carnevale and we’ve started assembling terrain for it. I picked up the bases set from TT at UKGE but I wanted building with a bit more utility, so I picked up a Mediterranean village set from Empires at War, easy build and pre-painted. This way I could use them as a less fancy section of Venice or as Bolt Action terrain (all Normandy , all the time can get a bit wearing)
I intend to re-visit and add a little more texture and character to the bases, but for a quick set up this took about a week to assemble.
Hedges and fences
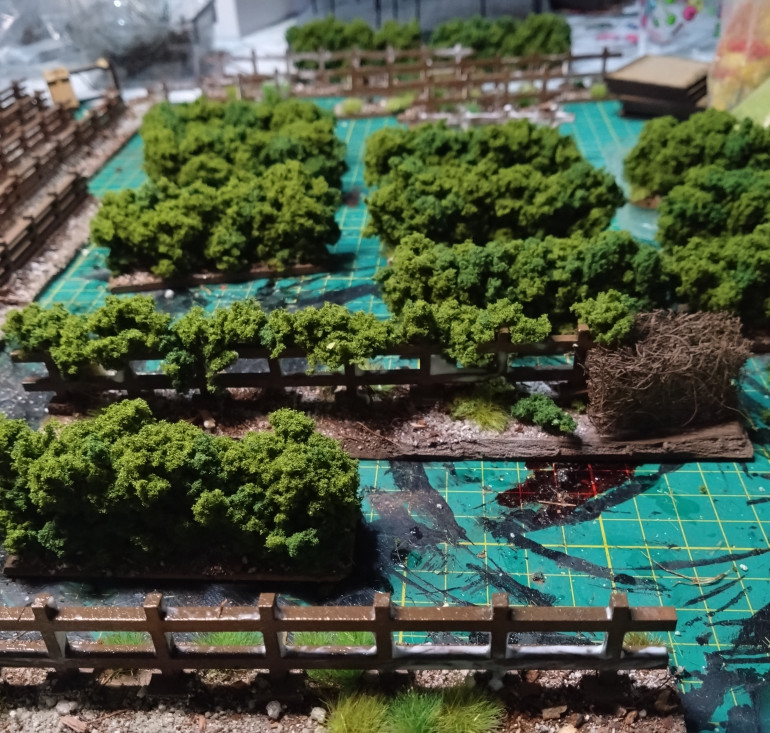
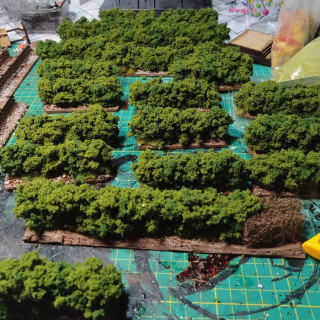
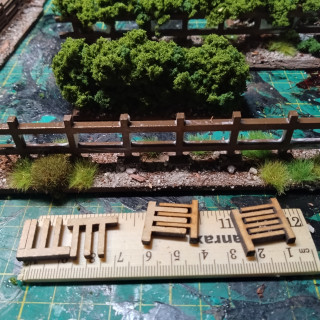
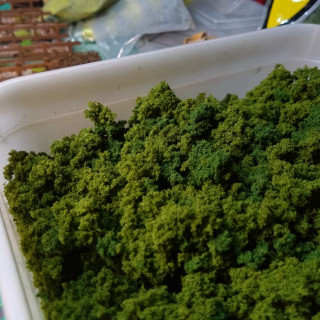
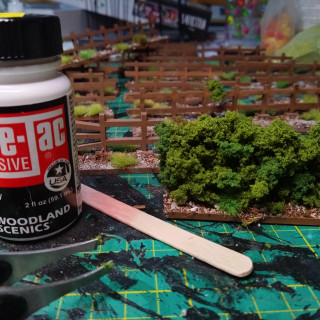
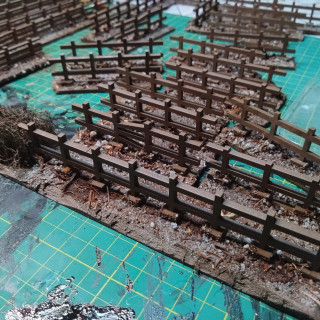
I wanted to make some terrain that would work across multiple games, I already have bocage and stone walls, but I wanted some fences for a winter map and some hedges. I purchased some mdf fence kits, some clump foliage and a pack of wooden rulers.
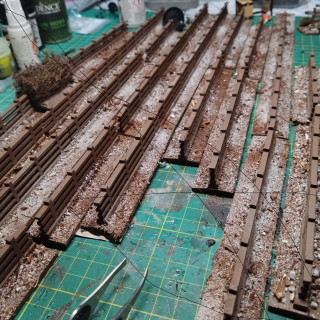
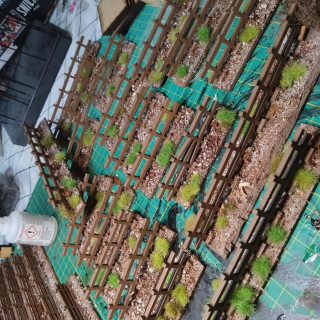
Having assembled the fences I glued them to sections of the rulers, they were easy to cut down to size, heck the measurements are already on them. Once built I gave them as blast with an army painter primer which covered all the markings on the rulers. I then added a bit of basing material to quickly add some texture to the bases.
Once the bases were dry I added tacky glue to the fences, never used the stuff before, so I didn’t know you’re meant to wait a wee while before you start sticking things to it. The first attempt looked terrible, but once I sussed out where I was going wrong all was well. I was surprised how quickly these are to make. It’s definitely on my possible make-to -sell list.
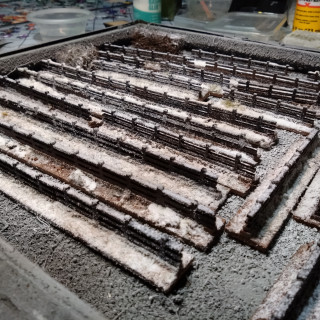
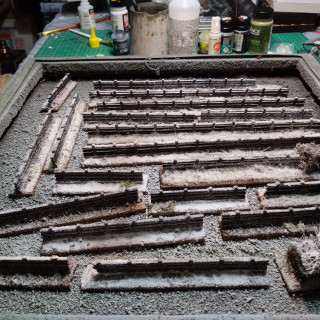
Winter fences
I am currently working on a winter table, keeping it simple, a few rural buildings, some fox holes/dugouts , trees and fences. Going for something that could pass for Russia or the Ardennes . I wanted some snowy fences, not done a lot of snowy terrain before, so I wasn’t sure how this was going to go.
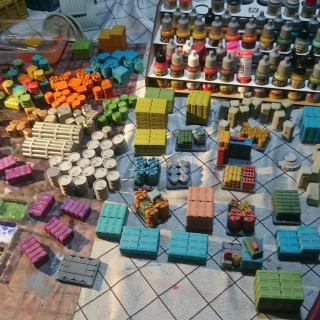
A scattering of terrain
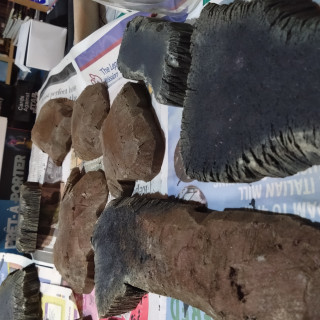
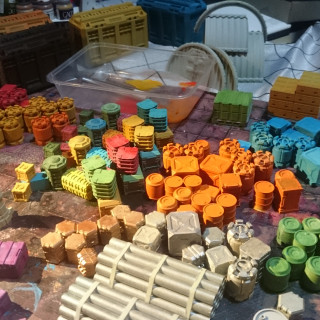
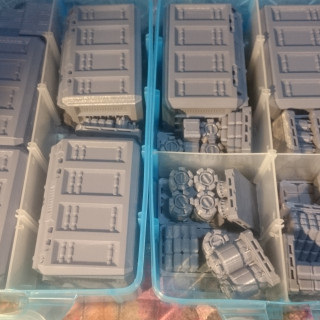
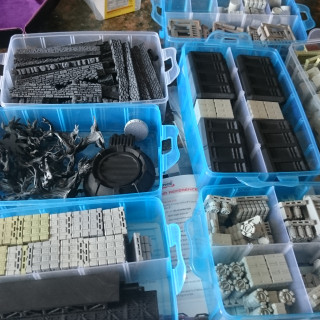
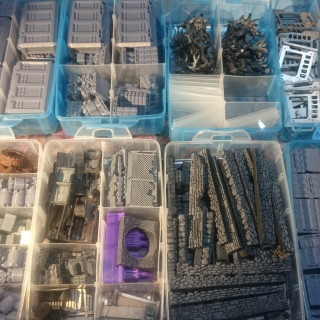
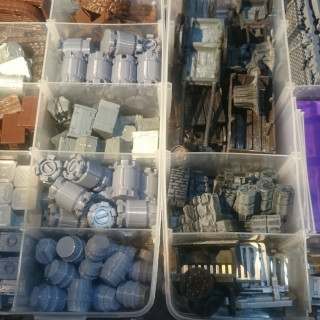
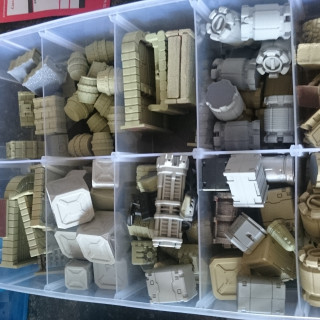
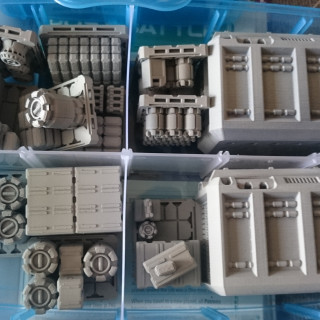
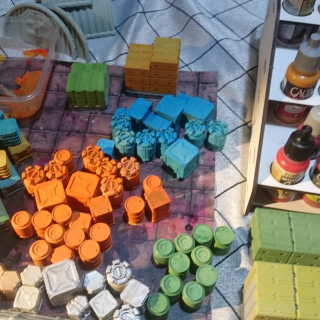
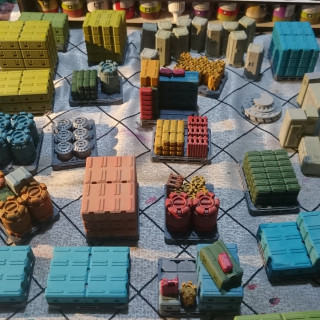
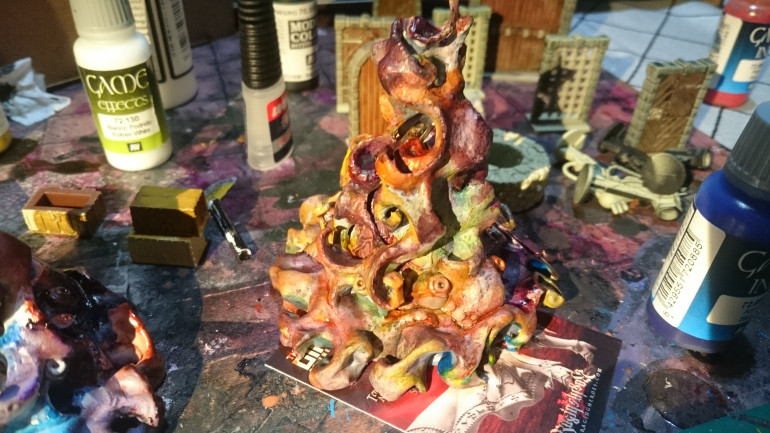
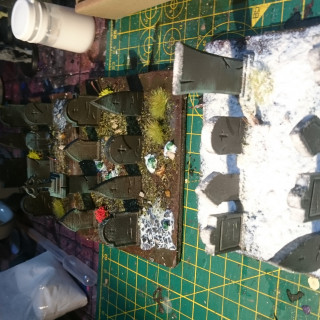
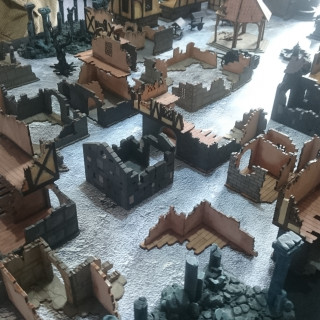
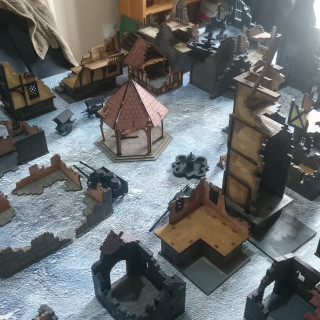
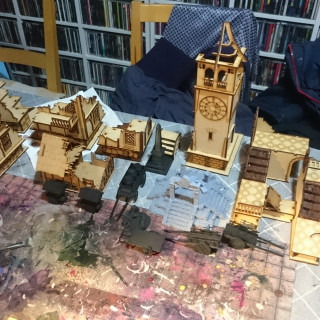
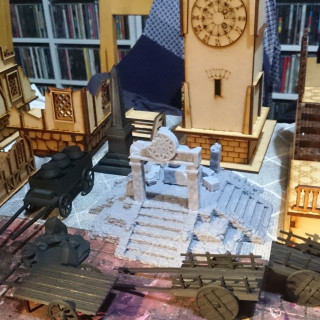
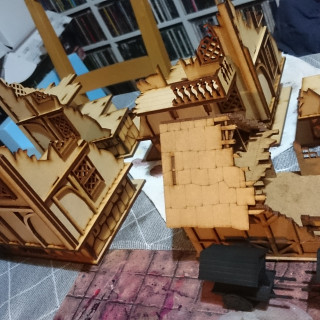
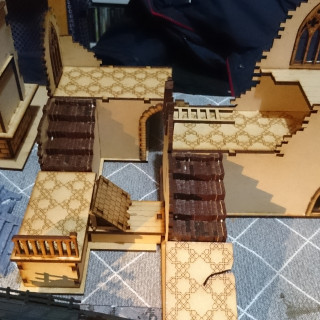
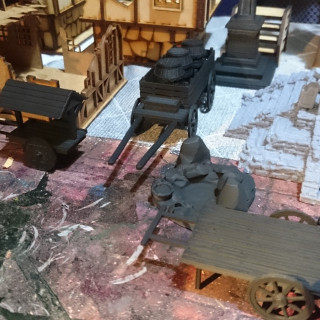
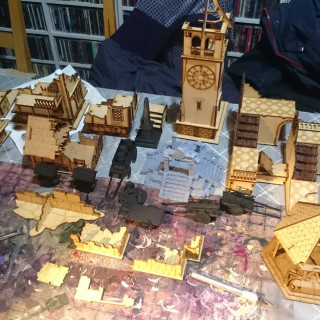
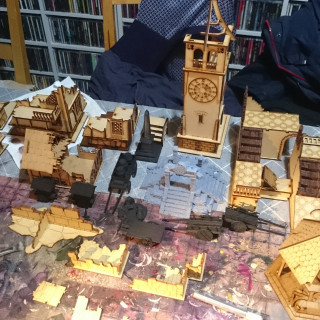
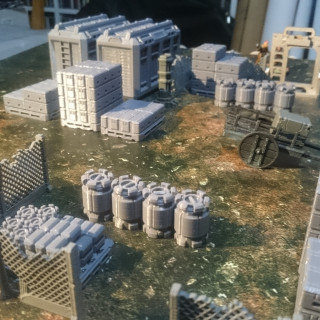
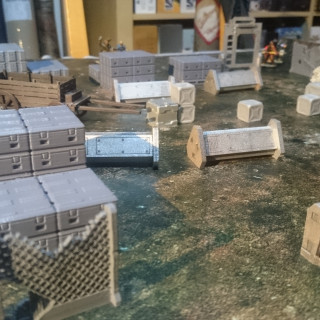
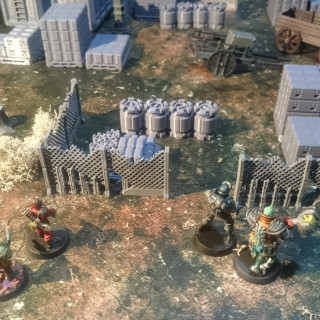
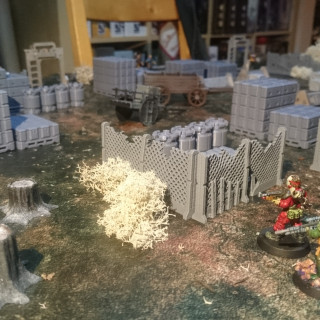
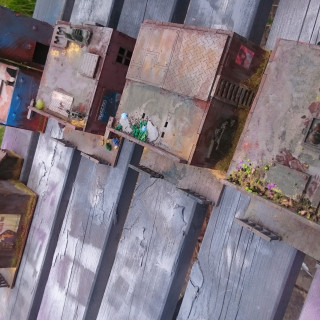
Here are some WIP pictures of some of my acquired scatter terrain elements. I plan to do a separate project on my scatter terrain addiction. I definitely have a problem!
Grave Matters
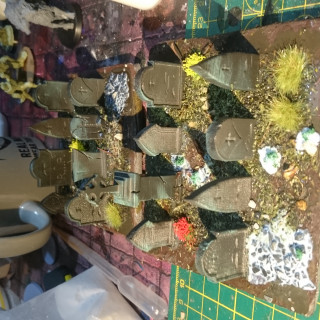
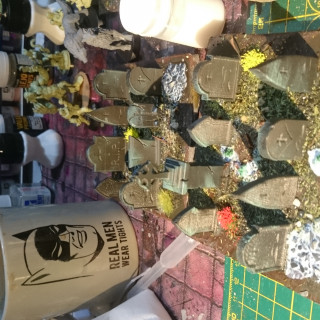
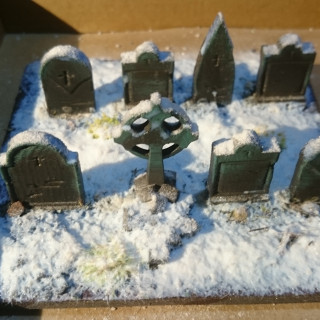
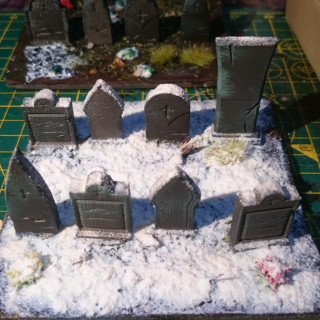
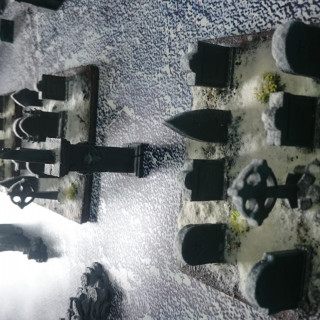
I started on some graves, individal graves seemed like a faff, so I decided on tiles.
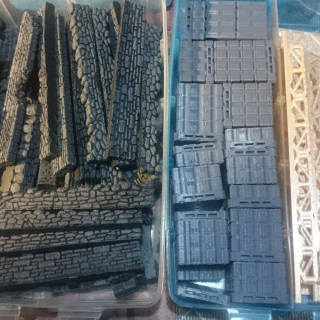
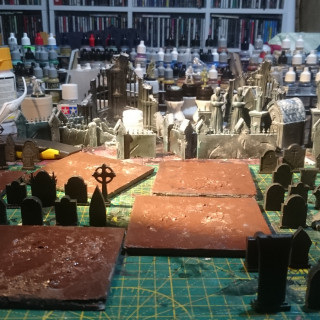
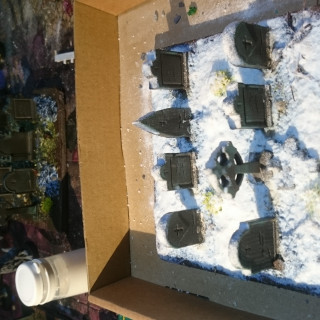
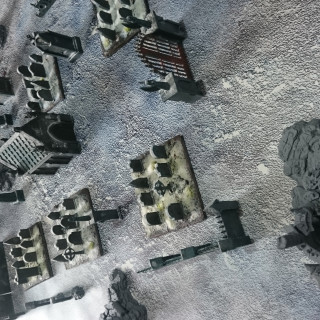
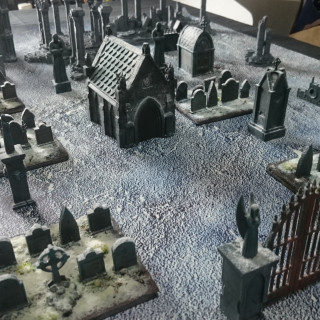
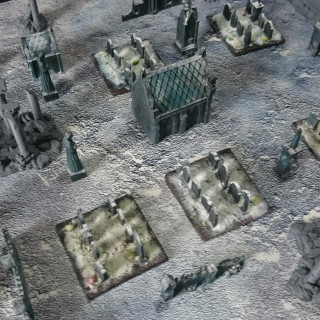
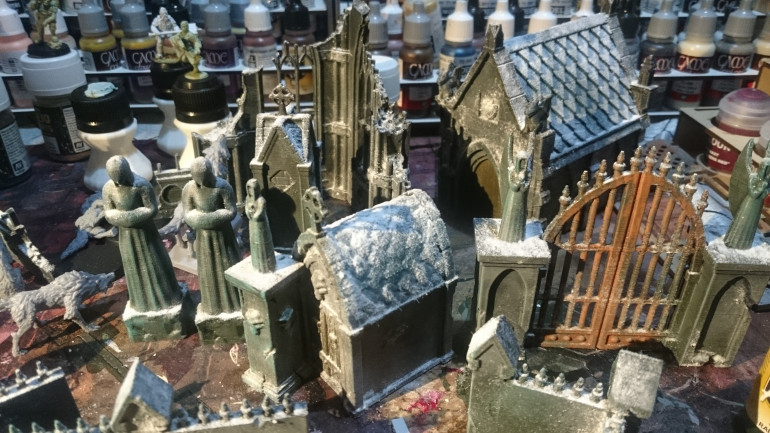 I then acquired a few more scatter elements and grave them the same vert de gris treatment as some of the stone ruins, and then it was just a case of trial layouts on the table
So that’s basically where I am up to with this project, I am intending on going back and reworking the ruins at some point, more snow and rubble and all that good stuff…but I have an mdf mountain to wade through first plus whatever I end up 3d printing over the course of the year.
A Grave? With Frost On?
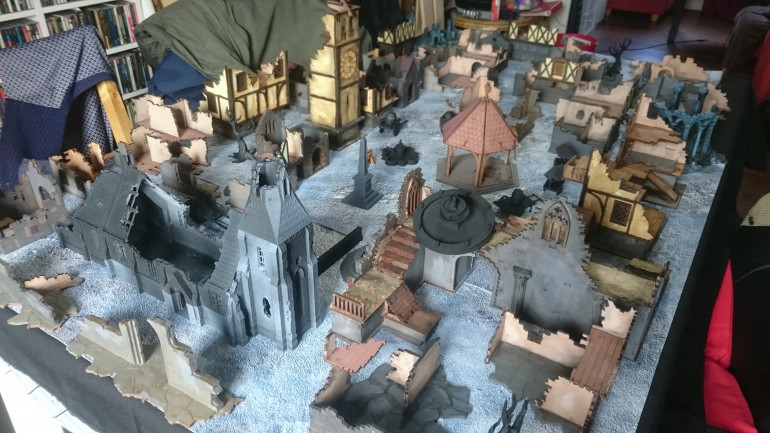
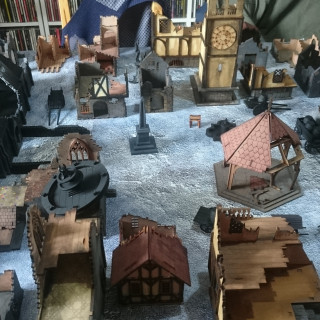
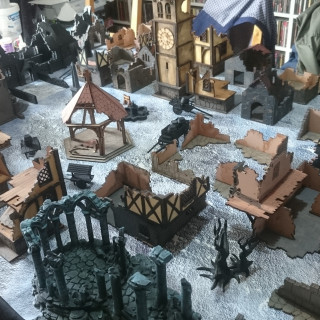
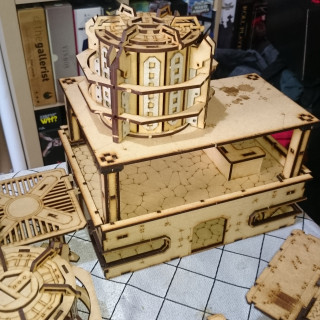
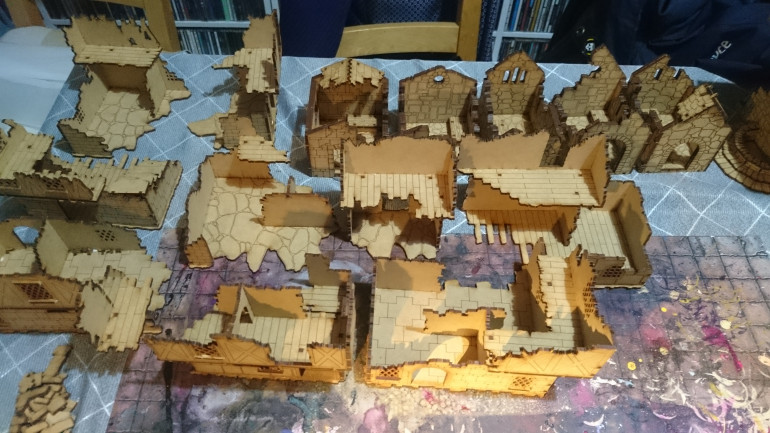 And so, heartily sick of MDF as I was after the Stargrave town, I picked up Frostgrave and started building a ruined town, with hindsight I would have added a lot more of the paint pre -assembly, and cleaning the MDF really does make a difference.
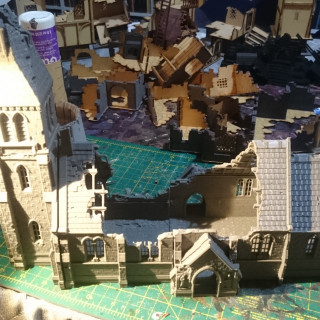
I splashed out on a 3d printed church ruin, I went for a dark green base and a Vert de Gris drybrush, I wanted to give the feel of stone that had been cold and wet for a long long time. I then decided I needed a graveyard to go with this. Making the cemetery was an awful lot of fun. Now that I have resin and fdm printers I would love to make a whole 6×4 cemetery to fight in .
Light it up!
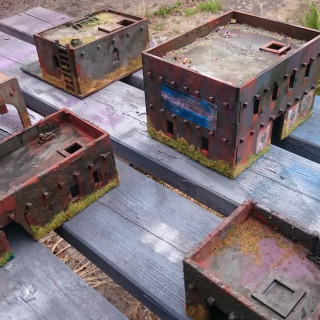
Stargrave run down mining colony pt 2
A Slight Diversion
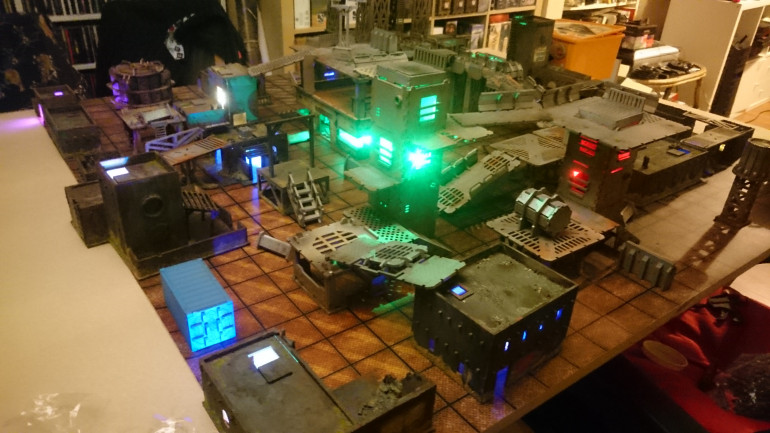
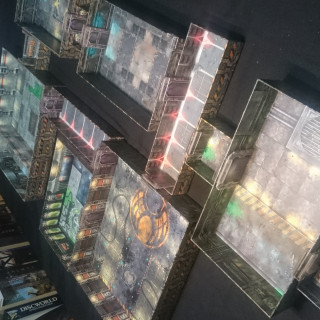
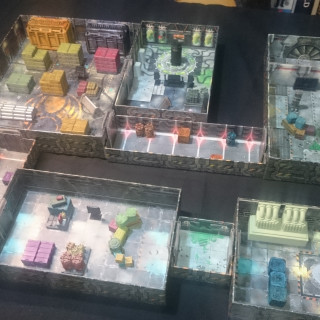
So, in the course of building my industrial town I was pleasantly distracted by the Grinning Gargoyle ‘facility ‘ boxset. My smaller pieces of terrain had grown in number and I had slapped some paint on some of them. Turned out to be a really good set and covered a goodly portion of a 6×4 table.
Back to the build
Stargrave run down mining colony
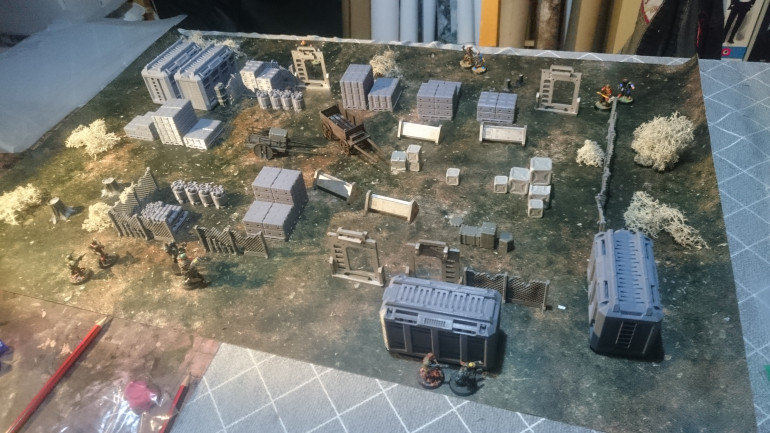 Early days, putting together a 5 Parsecs table, one of the rare occasions I actually played the game before I had painted everything .It felt like a decent start
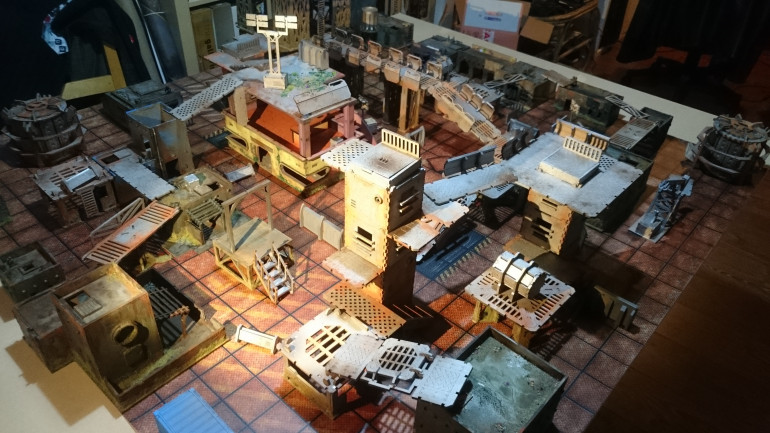
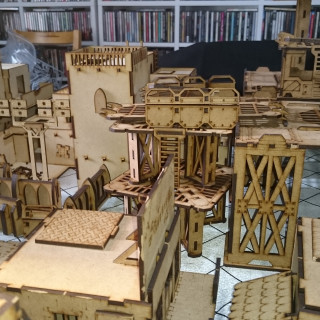
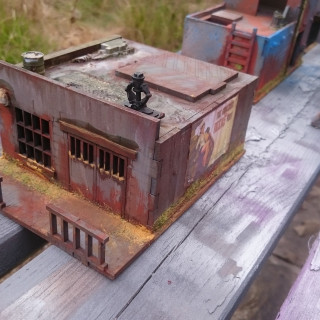
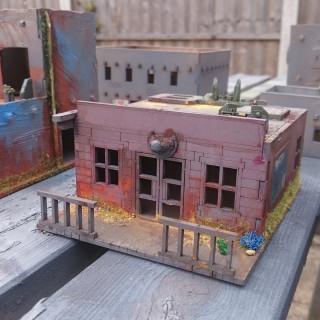
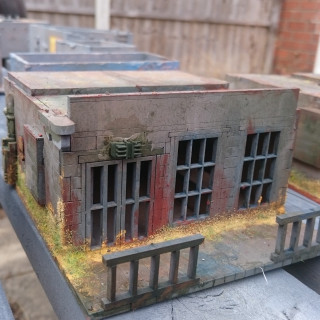
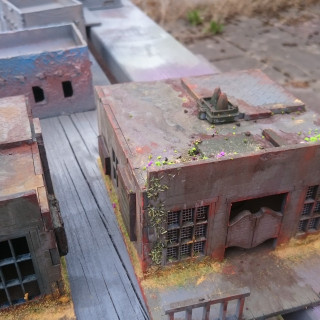
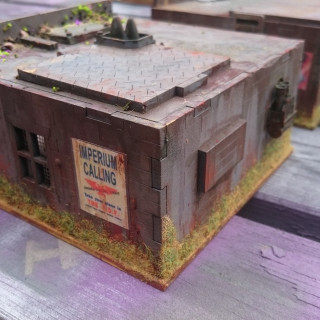
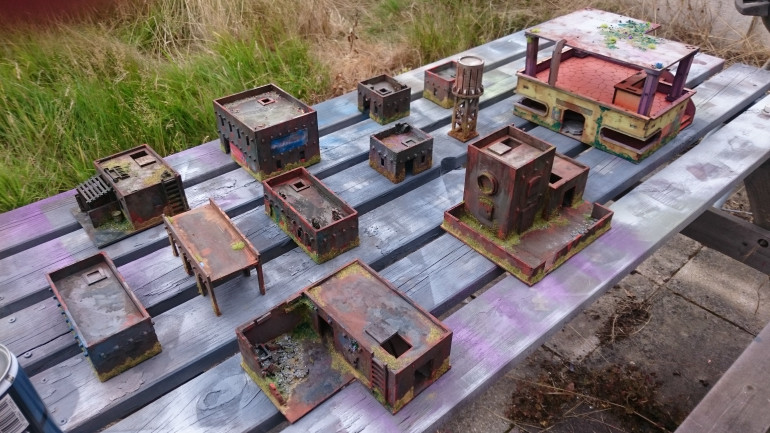
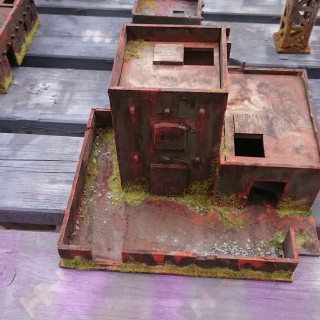
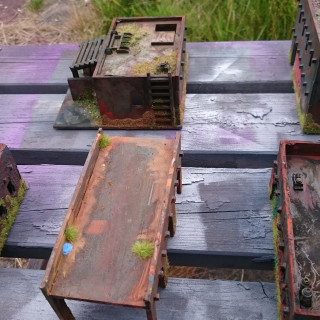
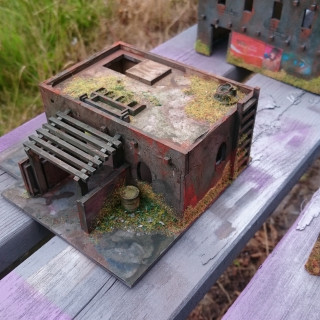
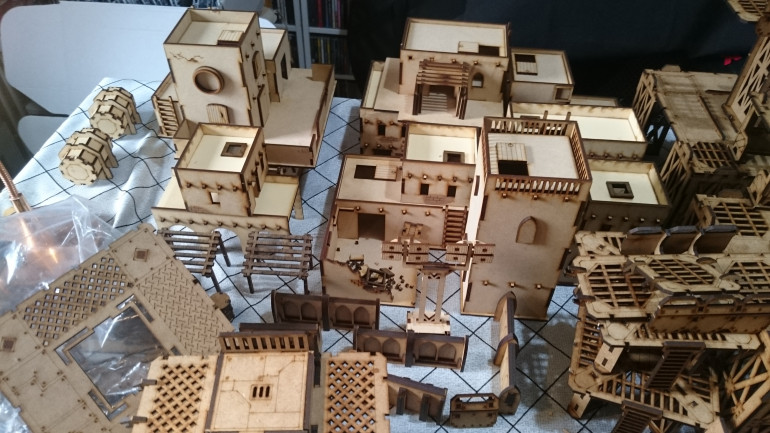 I decided a couple more buildings were required. I had always like the aesthetic co-opted by GW in their Necromunda franchise, but obviously their prices were....their prices. Therefore I made thoroughly nice Ebay vendor the Troll Trader 100 quid richer instead and then found a few other bits on also on Ebay. Four weeks later and upwards of 1500 manly swears later I had a table full of stuff to paint.
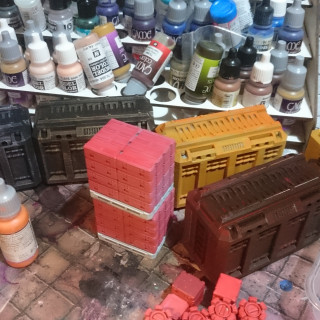
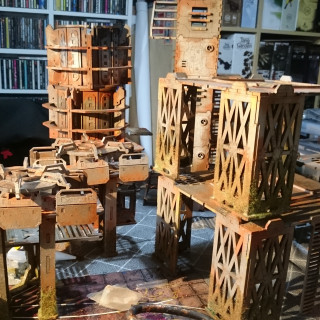
 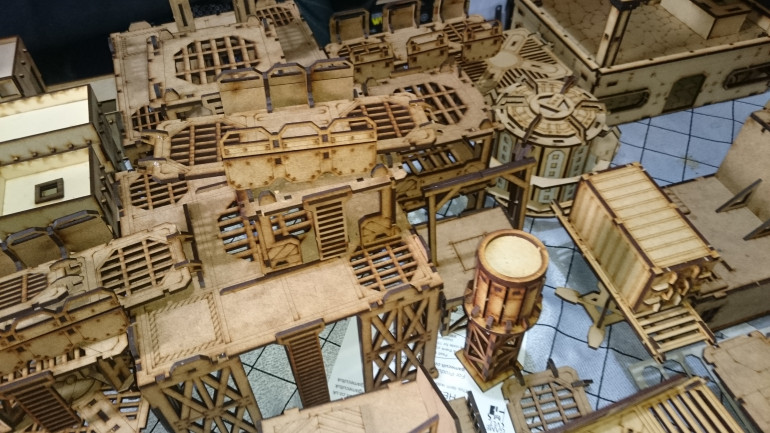 I wanted a fast and dirty way of getting colour on all these bit, so I opted for rattle cans from the local car accessories emporium, silver and a reddish rust brown. From a psychological point of view turning a sea of mdf into something coloured and with a bit of tonal interest was a massive boost to my motivation. as a sufferer of anxiety/depression it can be hard to find your get up and go at times. I will touch on that more over the course of my projects. Maybe it will strike a chord with someone (assuming folks read these).
Shiney
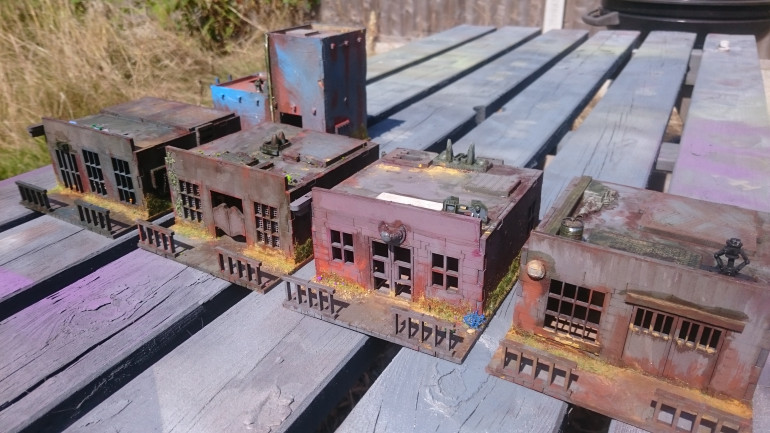 Along with the sci fi terrain I bought some Wild West buildings to convert, I definitely had Firefly at the back of my mind when creating my sci fi terrain. For my first go at really detailing mdf kits I was surprised and pleased with how they turned out.
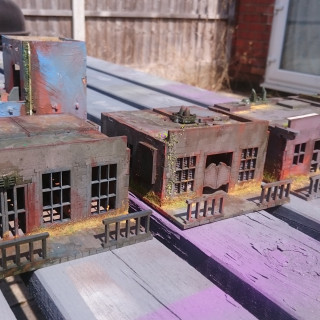
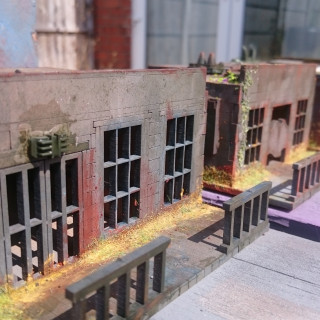
So after the spray painting I set about the pieces with Vallejo pigment powder (as left over from Gaslands, I have used these so much of the years). gave everything a run down and rusty feel. but then added a little flock for a kind of mossy effect. I figured that this stuff was a pain for the colonists, like anything that stands still for a week has this stuff start growing on it.


