Bob's Black Bulls 11th Armoured Division.
Operation Cheltenham! 1st moves continues
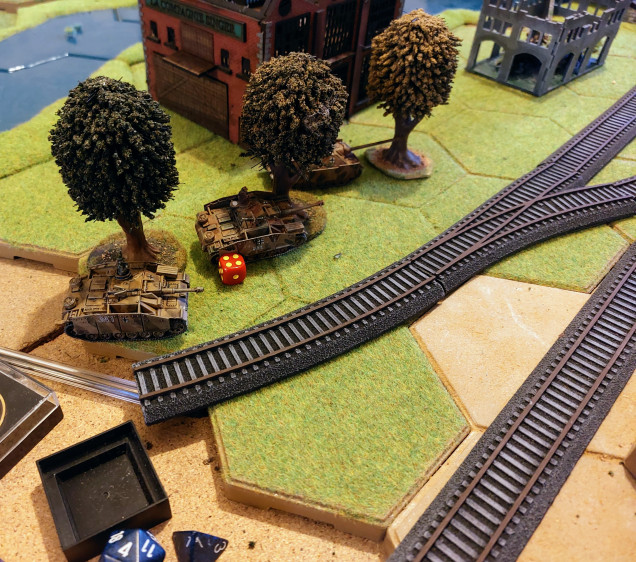
The AEC was destroyed outright, both the Daimlers had to bail out and completely destroyed by Geman armored units arriving on both flanks. The armoured cars had hoped to be able to reach the top of the Bridge with a tactical move I order to fire on the Hornisses but dropped short.
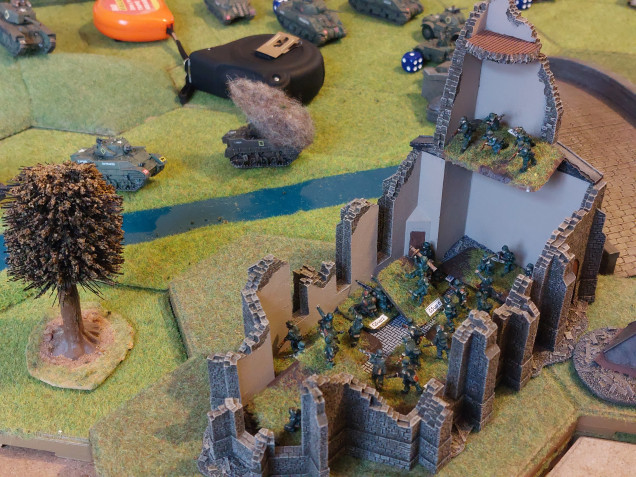
In the meantime the Guards recon troop on the right flank had attempted to scout the Church of the Fallen Madonna and had lost Stuart to well placed PanzerShrek team in Church.
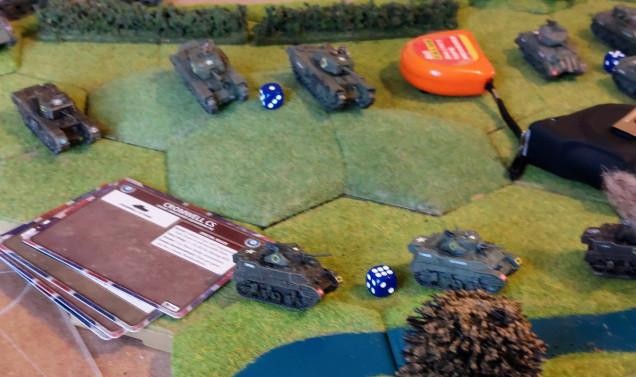
A troop of Churchills was quickly ( well as quickly as Churchill’s can sent in support , who quickly put the chuch under fire including one Churchill CS.
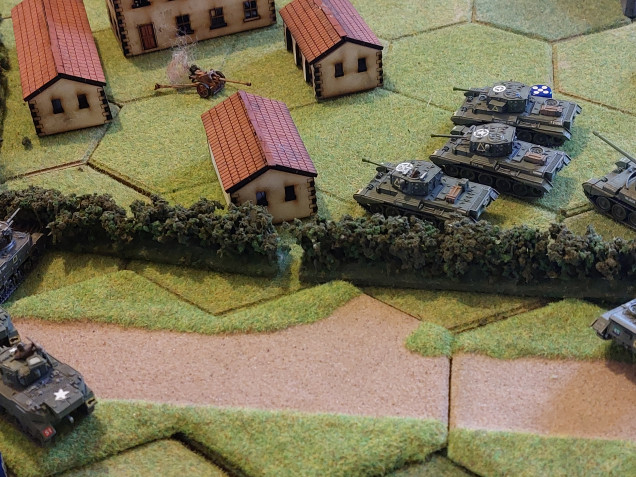
In the meantime the 1st Troop of 15th/18th Hussars attached the central farm buildings , suprising a pak 40 which had changing its facing from the bridge, it managed a snap shot at the approaching tanks but blasted to oblivion by thr returning fire.
We allowed revealed Geman units reaction or opportunity fire o a skill role ans a -1 to the too hit role.
All being well the 2nd part of Operation Cheltenham will continue on 29th Jan.
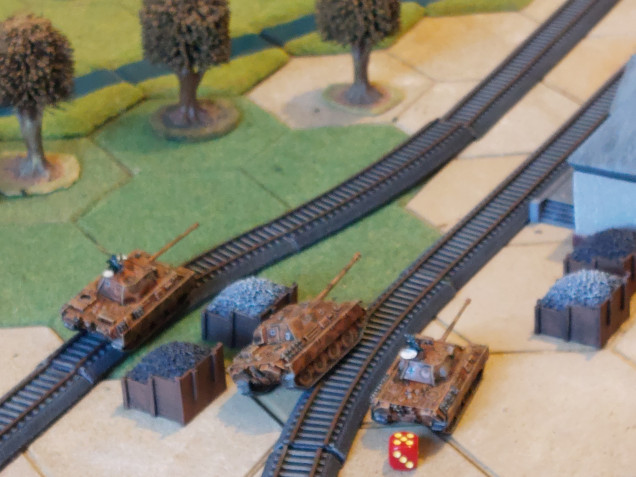
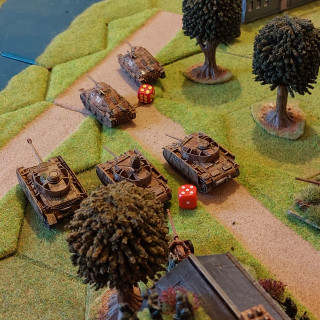
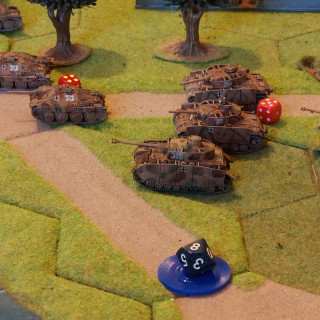
At this point the remaining dice were drawn, which allowed sone Jockeying of British units but allowed German Reinforcements to arrive. Pre Game we had maneuvered German deployment markes in similar manner to those used in The Lardies ‘Chain of Command’ Infantry and guns could deply within 8″ of marker, preferably in any available co er, and vehicles at the nearest table edge.


![TerrainFest 2024 Begins! Build Terrain With OnTableTop & Win A £300 Prize! [Extended!]](https://images.beastsofwar.com/2024/10/TerrainFEST-2024-Social-Media-Post-Square-225-127.jpg)









Leave a Reply