Dude City
Recommendations: 158
About the Project
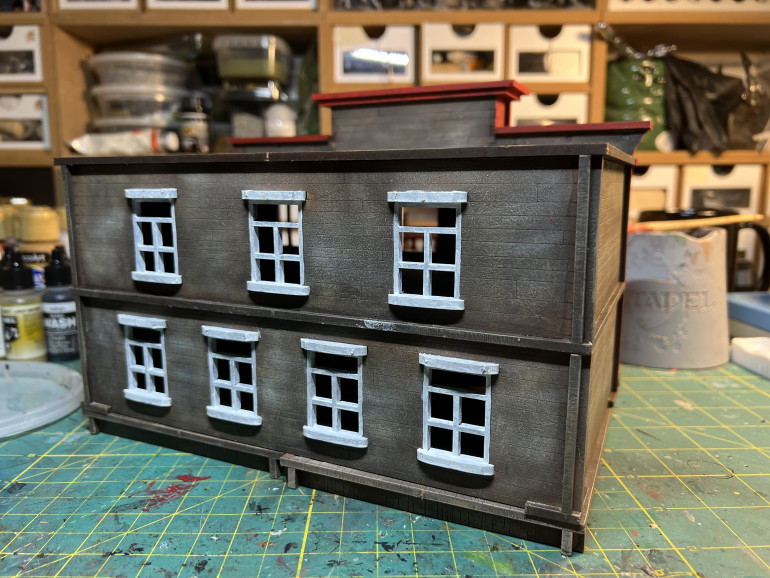
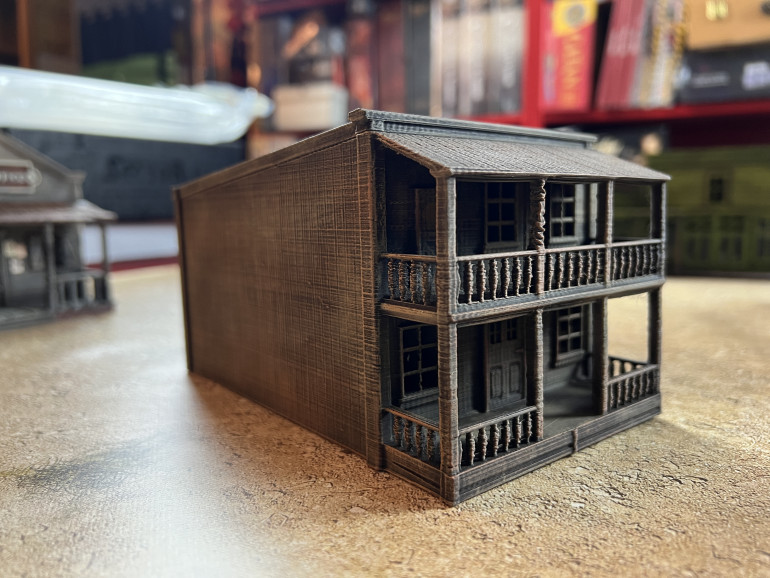
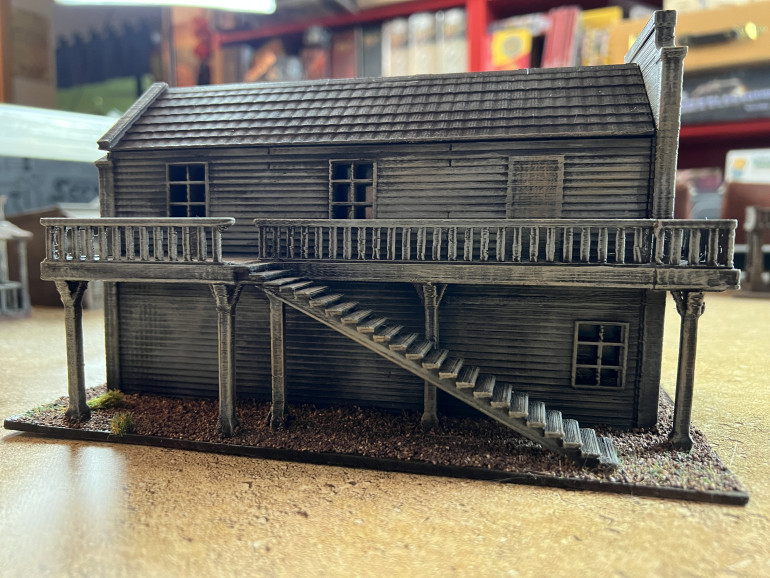
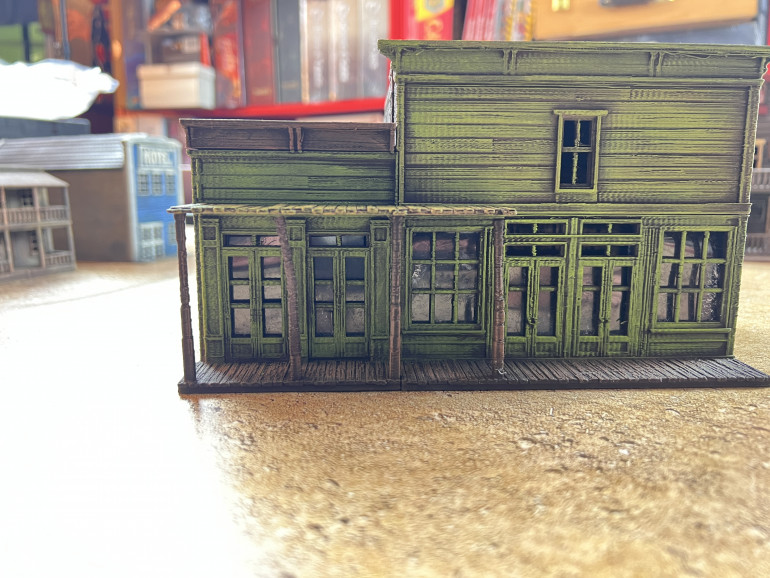
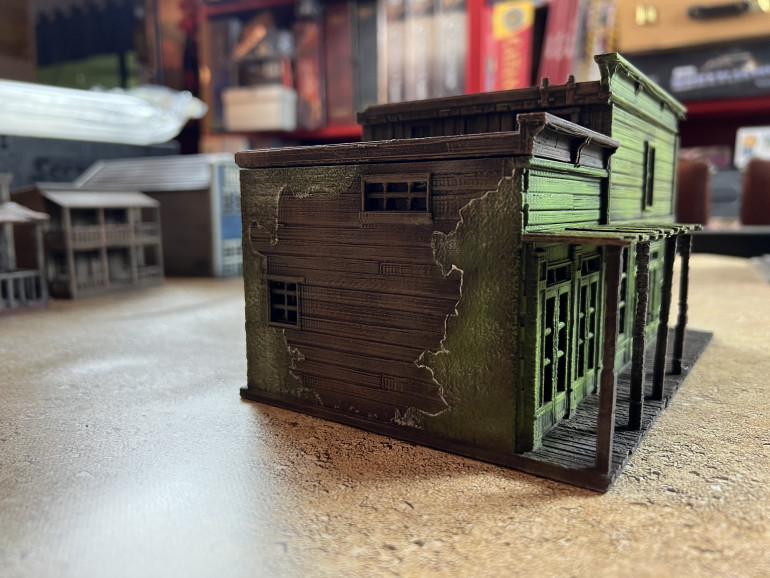
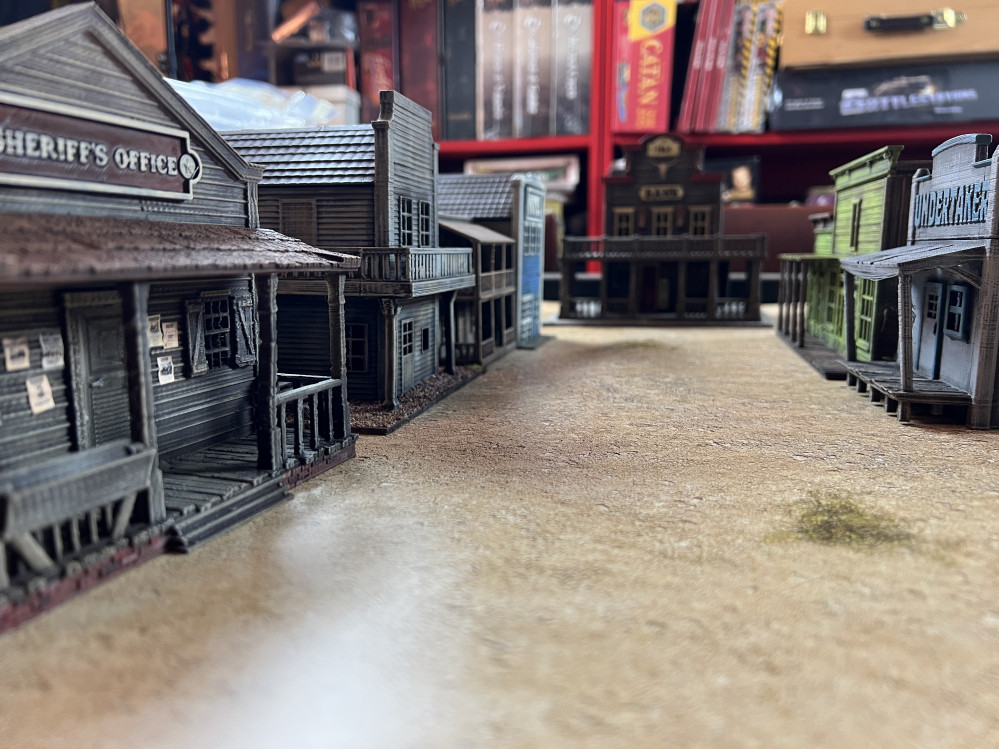
This project has been percolating for many a year in my heart as I have always had a fondness for the old West. As far as I can remember, I spent many hours play fighting with friends, dressed as the typical Hollywood cowboys, ridding a mechanical horse and brandishing a wide variety of toy Colts, Winchesters and Bowie knifes. And then there were all these plastic cowboys, outlaws and lawmen (Airfix were my favorite), Sioux and Apaches Indians and cavalrymen, constantly warring over a small wood and carboard Western town and hardboard cavalry fort. This project is the spiritual descendant of my childhood daydreams, Le Gaming Dude Western playground, 'Dude City'.
Related Game: Fistful Of Lead
Related Genre: Western
Related Contest: TerrainFest 2023
This Project is Active
Rail Line and Station
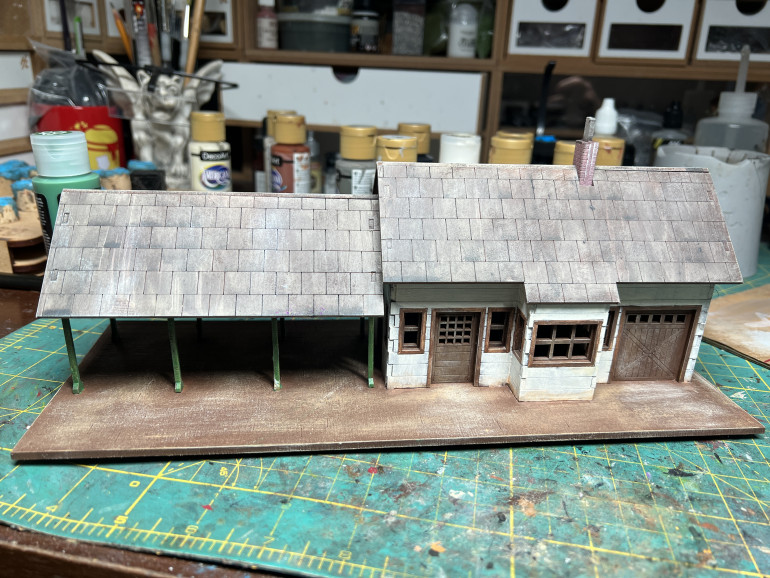
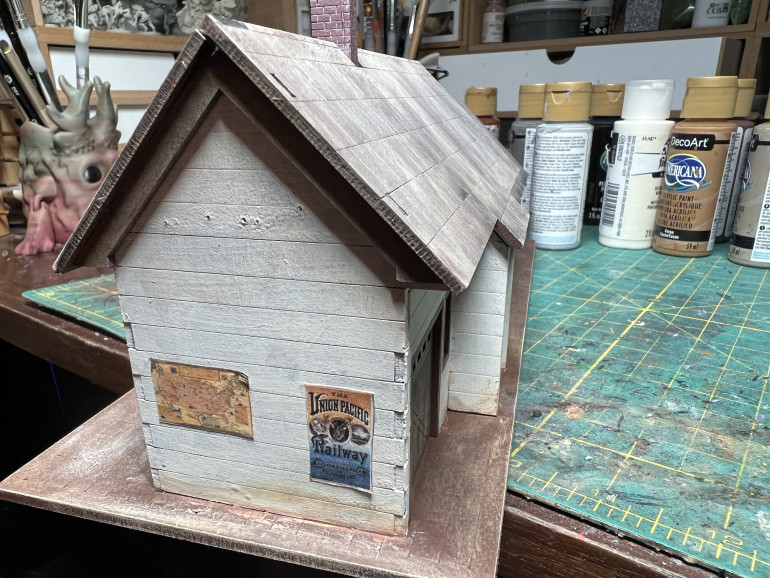
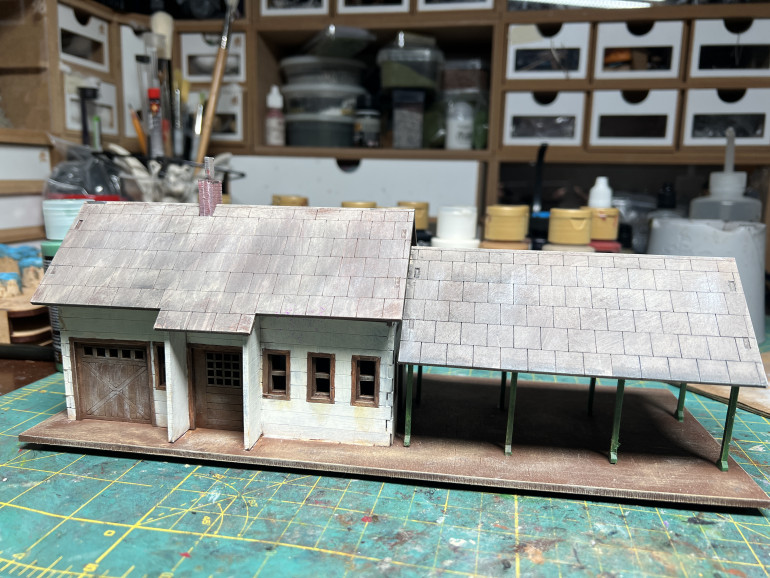
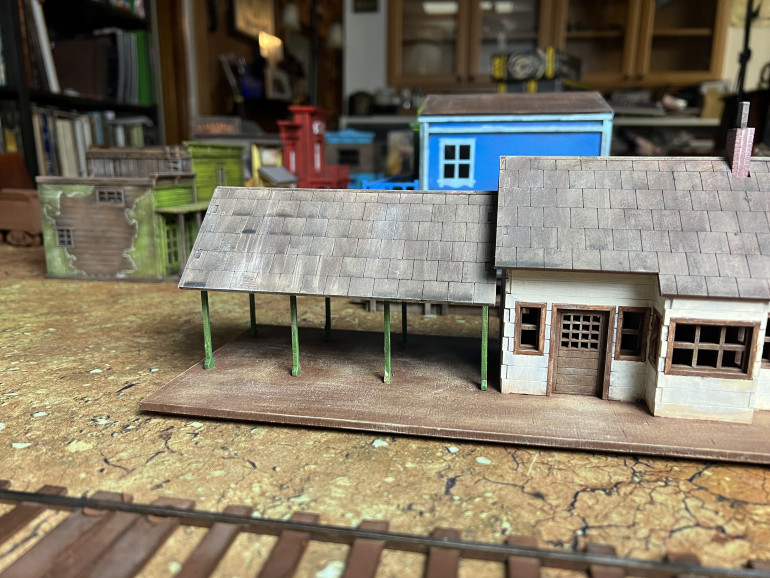
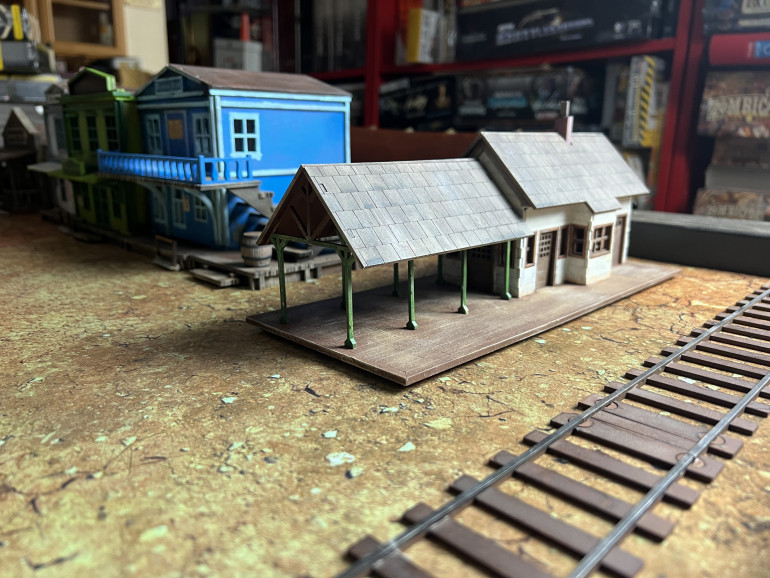
I received the Sarissa train station and rail set last year for the holidays and am finally getting to adding a rail line to Dude City.
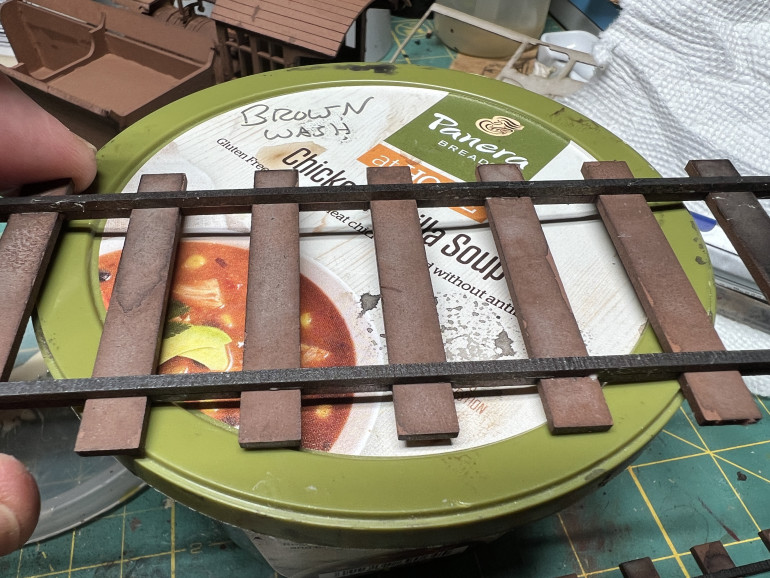 The rail were easy to build. I suggest, as usual, sealing and priming them separately them before assembly . Brown craft paint was added to the railroad ties and black primer was applied to the rails proper.
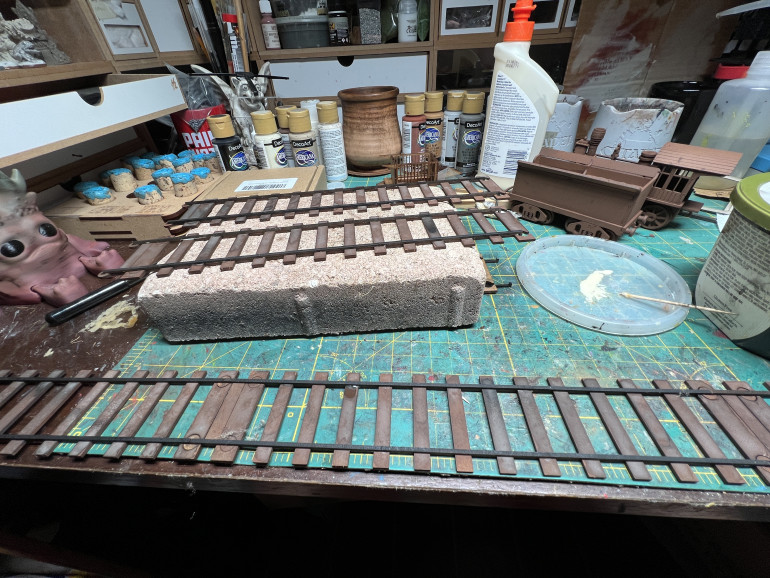 Gluing the rails together was easy. I would advise gluing 3 feet of straight rail and keeping the rest loose so s to adapt to different tables variations.
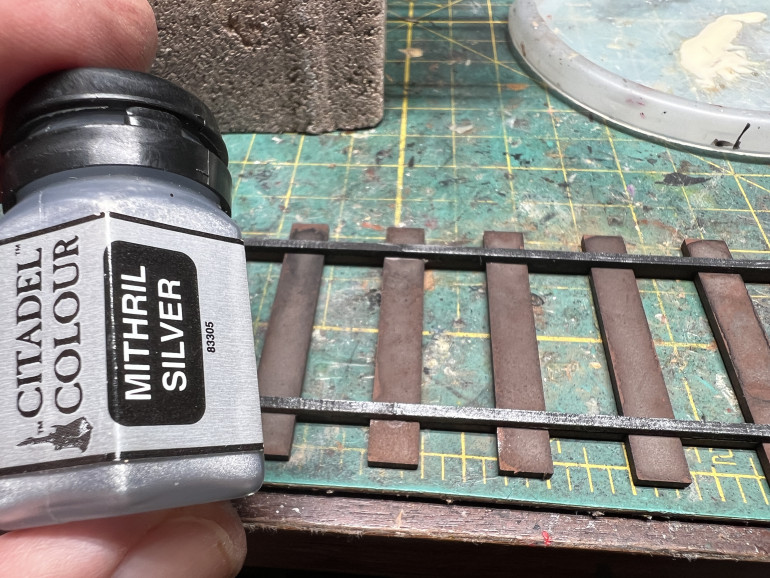 Finallyu, drybrush the rails with metallic color to create a metal shine at teh top, before your varnish them.
Laundry Shop
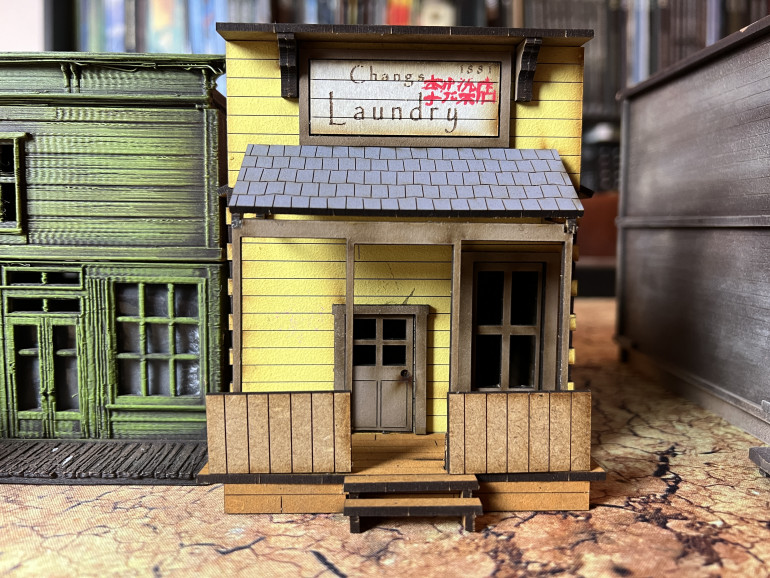
I have had the laundry shop on my shelves for a while, wishing to add it to Dude City both for diversity and as a faction home base for some of the Weird West games (and also Warhammer Historical).
The model came pre-painted and I looked forward to an easy build which was not to be.
Note: I used the extra boards to mask the bottom of the porch due to my breaking 3 out of 4 of these supports during assembly. In the end, I like this look better anyway.
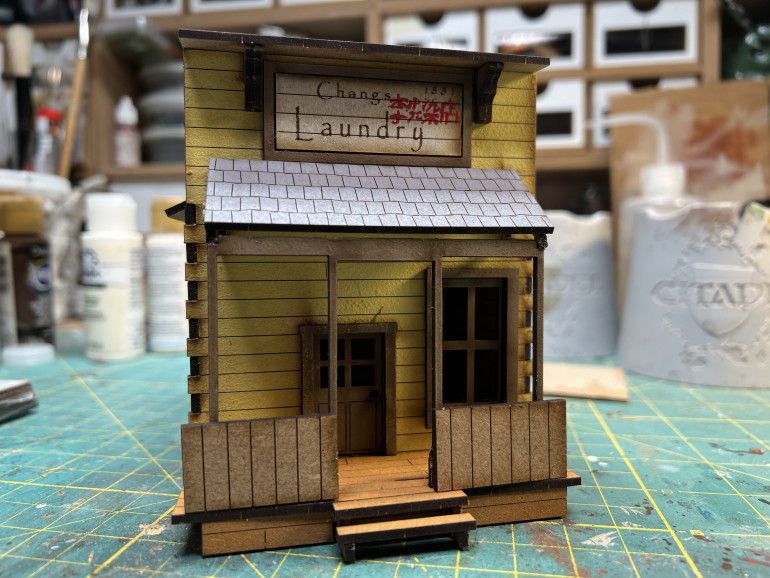 I do not recall how I stumbled upon the 'Empires at War' model but it prove to be quite a finicky kit to build, in part due to the abysmal instructions.
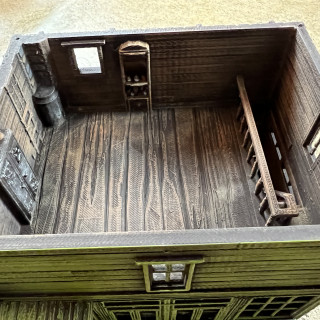
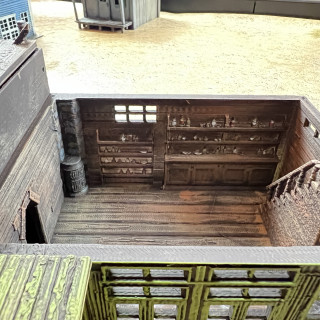
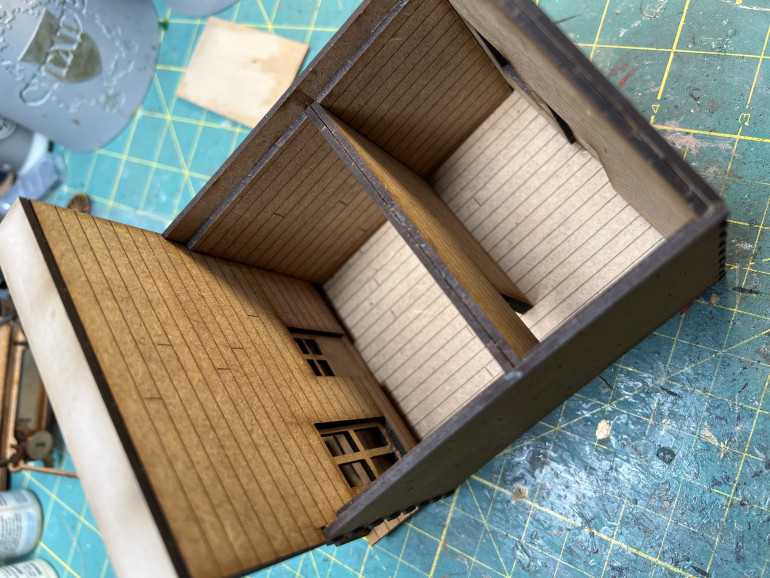 The inside of the model is also detailed, which is a nice touch (although double walls were a bit much).
Stable and Corral
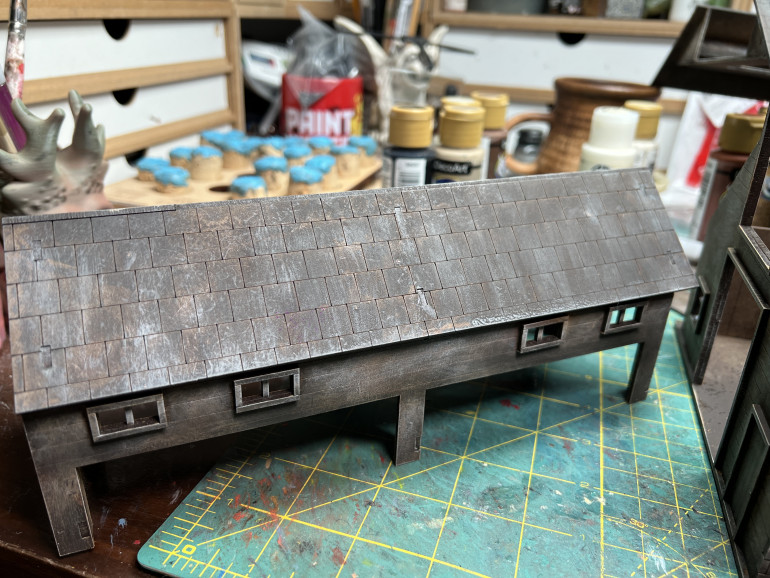
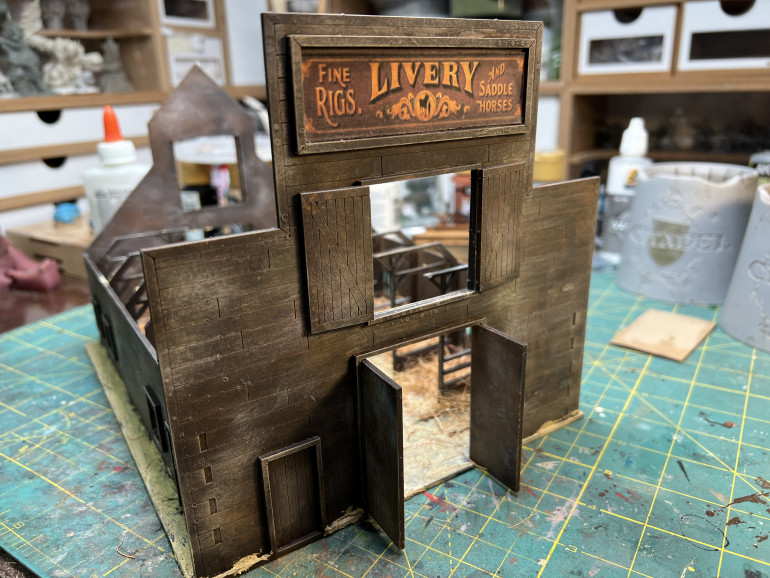
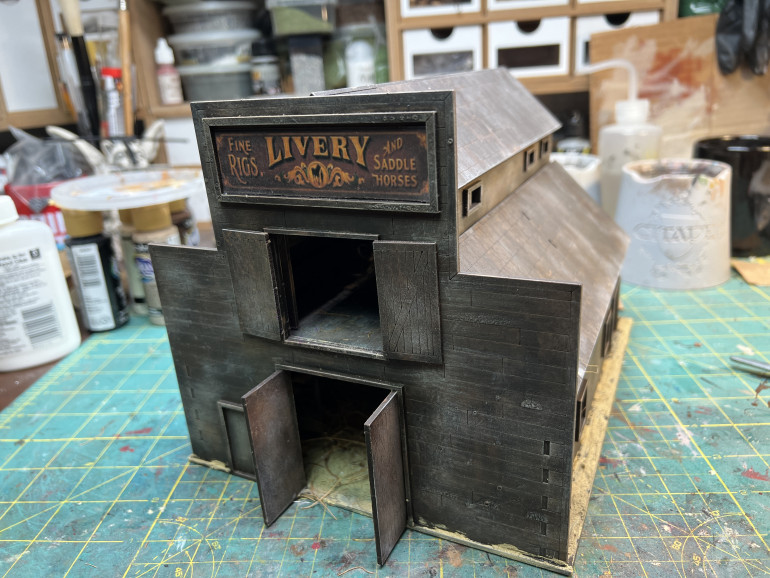
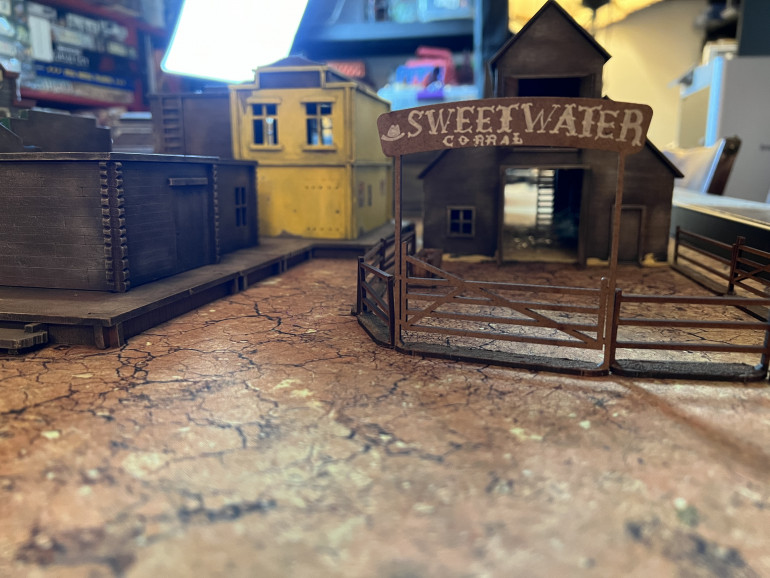
On the firsts week of October, I decided to add a long need stable and corral to Dude City.
For the stable, I chose a Sarissa Precision kit that I had on my shelves from last Christmas, along with a corral kit I picked up at the same time.
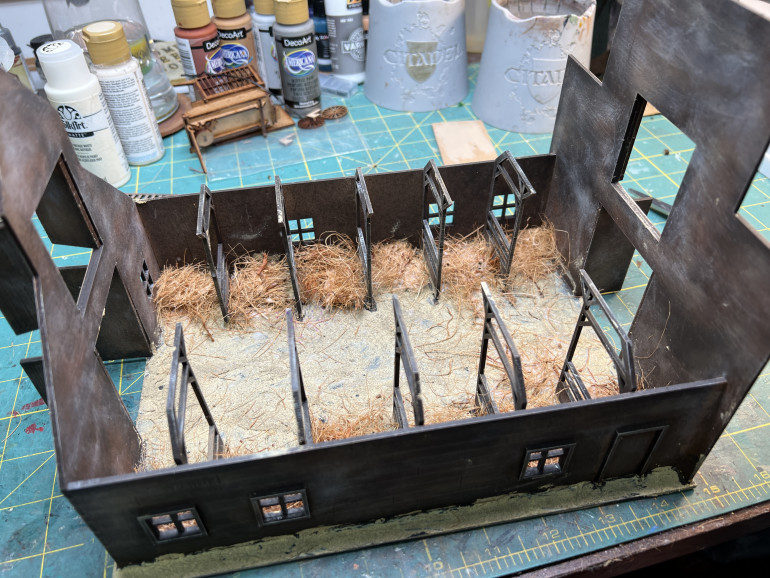
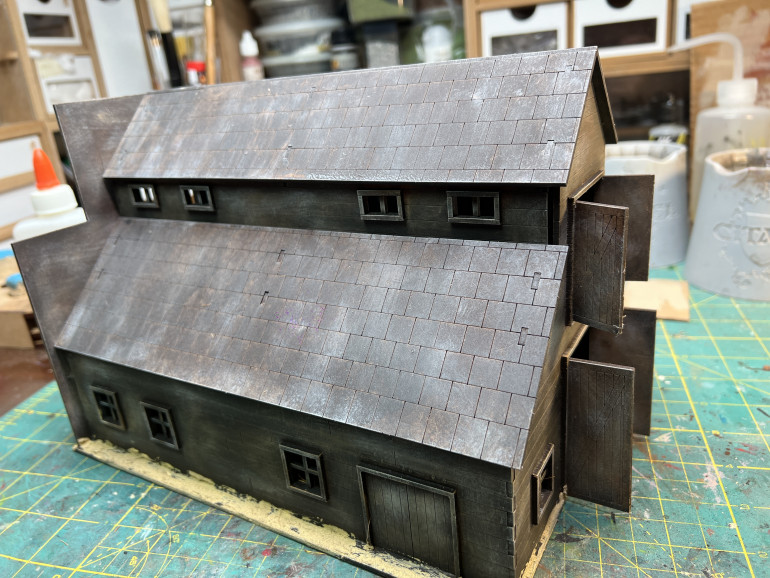
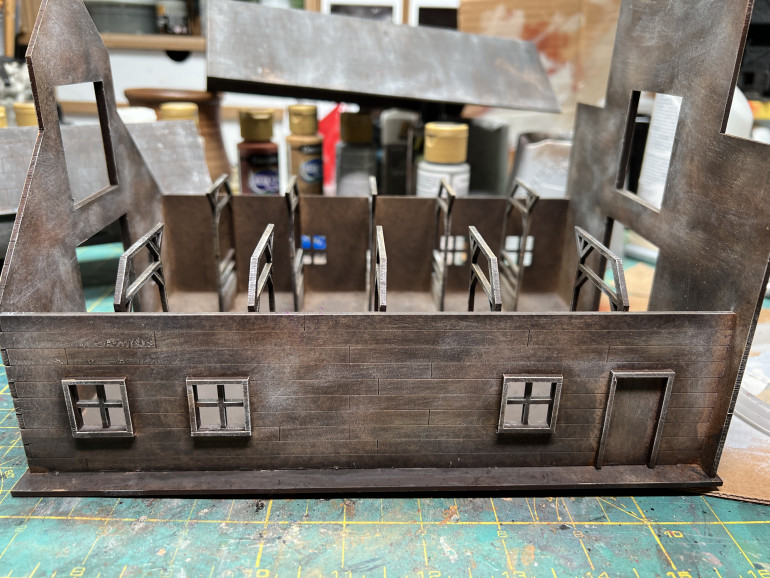
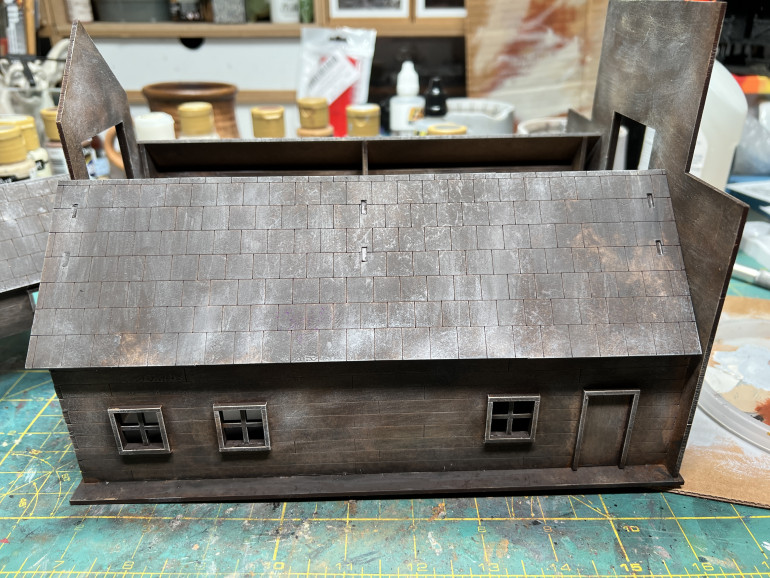
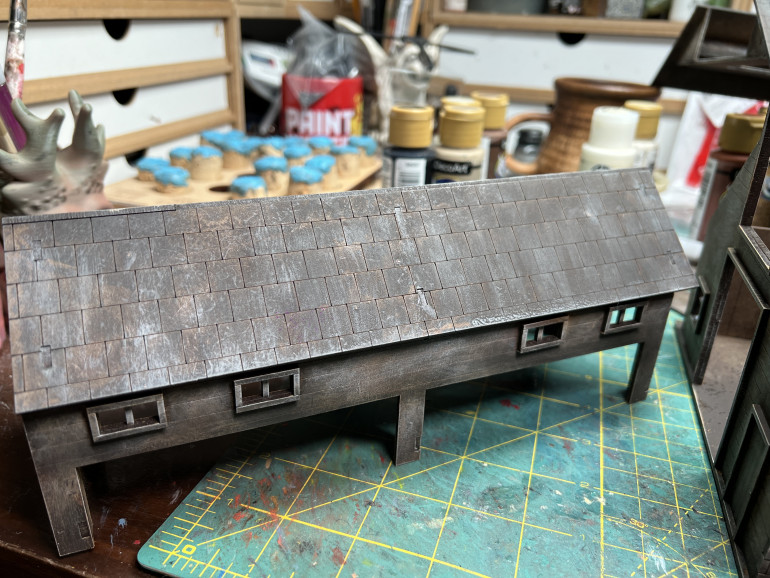
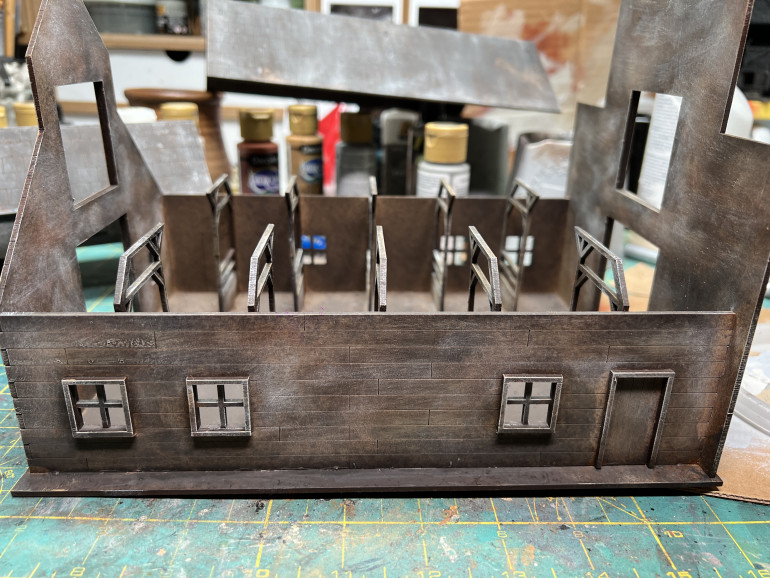 The model was easy to assemble, although quite involved and was soon ready to paint. Note that the stable comes in three main pieces that can be removed to be used for 'indoor' gaming. Of these, only the top level is a little tight to handle.
 The model was easy to assemble, although quite involved and was soon ready to paint. Note that the stable comes in three main pieces that can be removed to be used for 'indoor' gaming. Of these, only the top level is a little tight to handle.
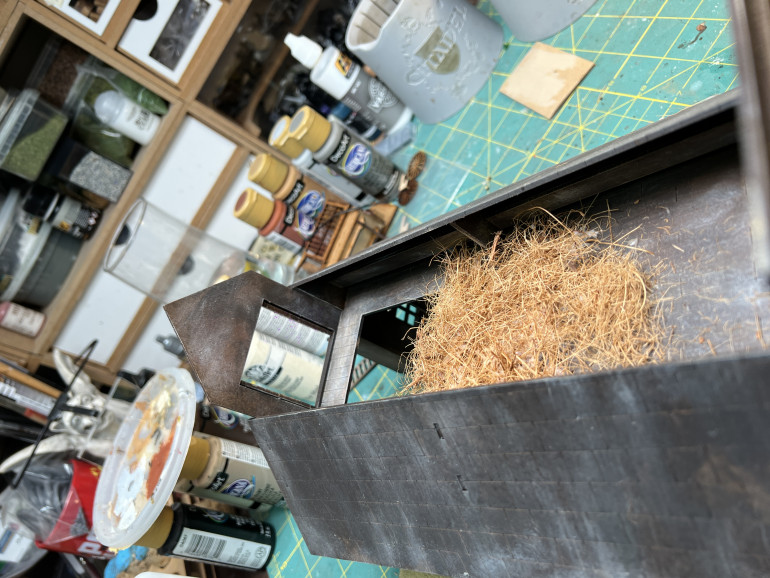
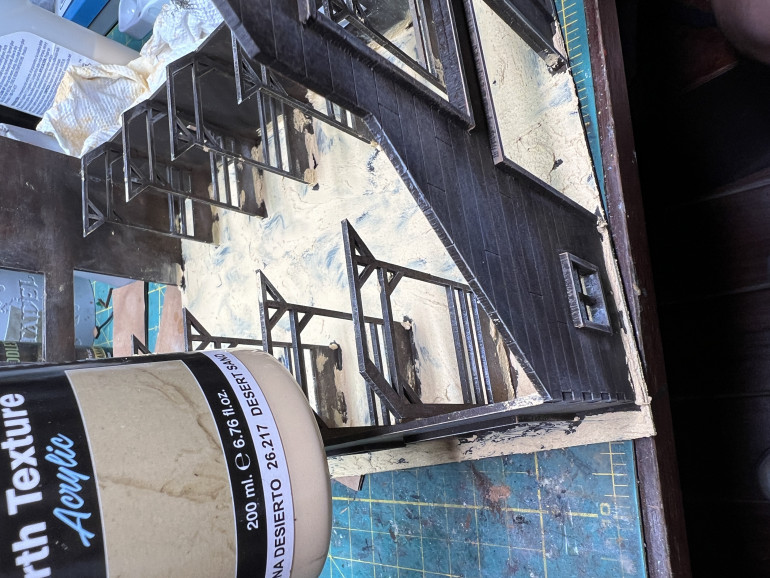 The ground floor is mainly occupied by stalls. I painted it using the same paints and techniques presented in the previous entry, with the addition of Vallejo sand texture on the ground, washed with home made (read 'cheap') brown wash once it dried.
Stable, Corral and Laundry SHop
On the firsts week of October, I decided to add a long need stable and corral to Dude City, along with a laundry shop to keep our protagonist clothes looking sharp.
For the stable, I chose a Sarissa Precision kit that I had on my shelves from last Christmas, along with a corral kit I picked up at the same time.
The model was easy to assemble, although quite involved and was soon ready to paint. Note that the stable comes in three main pieces that can be removed to be used for ‘indoor’ gaming. Of these, only the top level is a little tight to handle.
Dude City Reborn - Phase 2
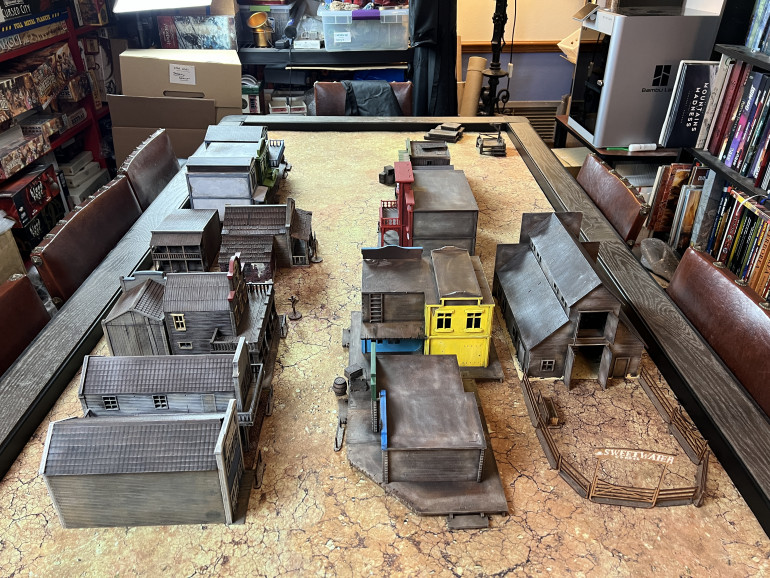
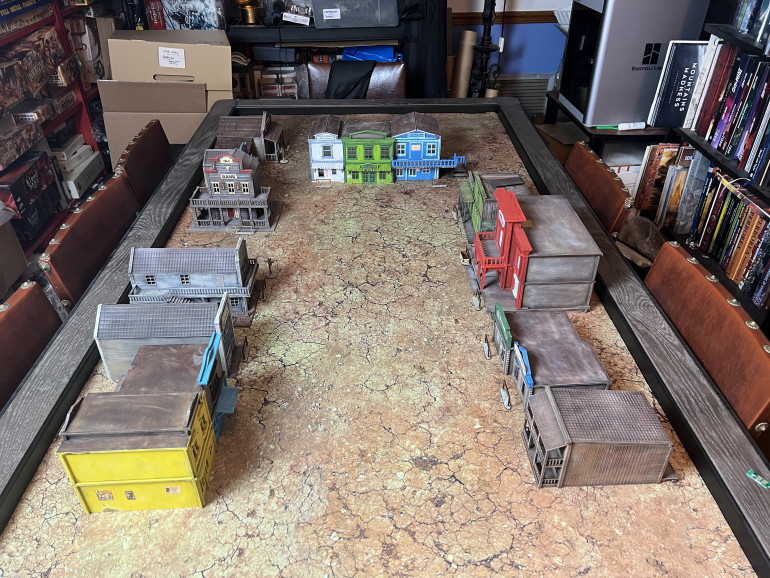
Dude City has been dormant for a year, under a tarp in the game room. Thanks to Terrain Fest, I seized the opportunity to revive this project, expand it and finally give it the action it so direly need. I folded the tarp on a lower shelf and took inventory of the current buildings. Many more have been languishing on the shelves waiting to be assembled and painted and will increase the seize of the board significantly, adding side streets and point os interest.
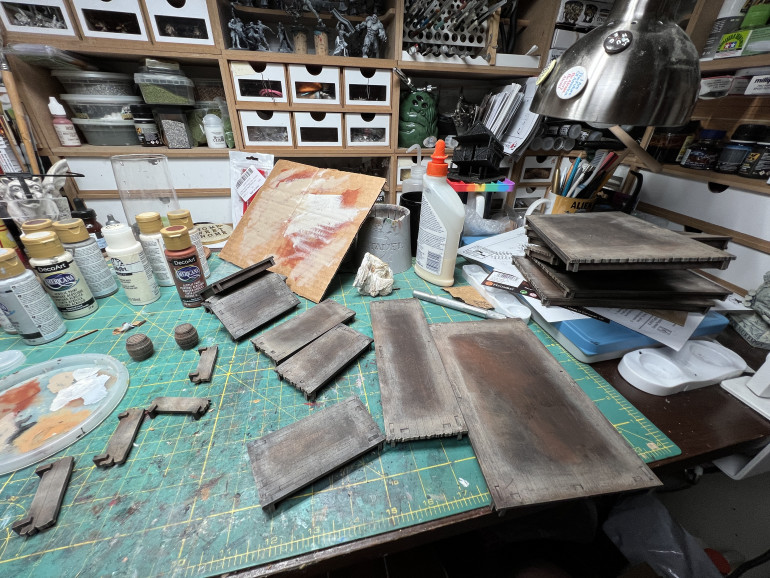 I then decided to handle the 'boring' stuff fist and assemble/paint a series of boardwalks (TT Combat) that had been lying on the floor of the studio since last year.
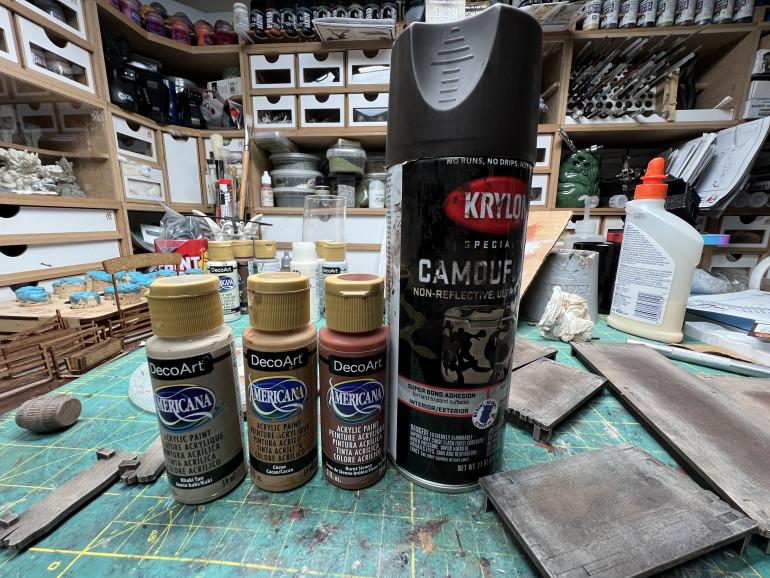 The boardwalk was primed with dark brown camo paint and progressively highlighted with craft paint. I brush the lighter paint with a cheap large drybrush and then whipe/spread it with a paper towel, which I found to be the easisest way to apply this weathering to such large flat surfaces. Note that I do not bother weathering the center of these boards as buildings will be sitting there!
Outlaw Posse
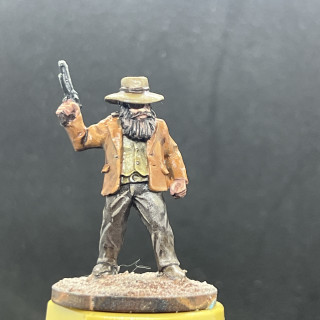
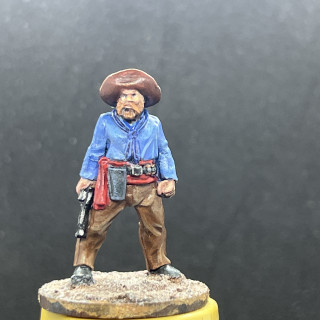
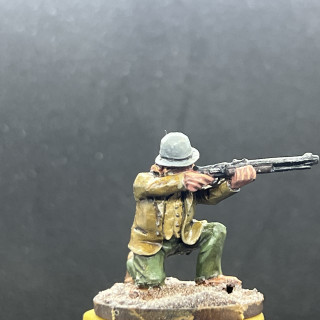
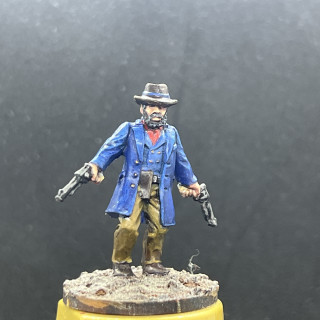
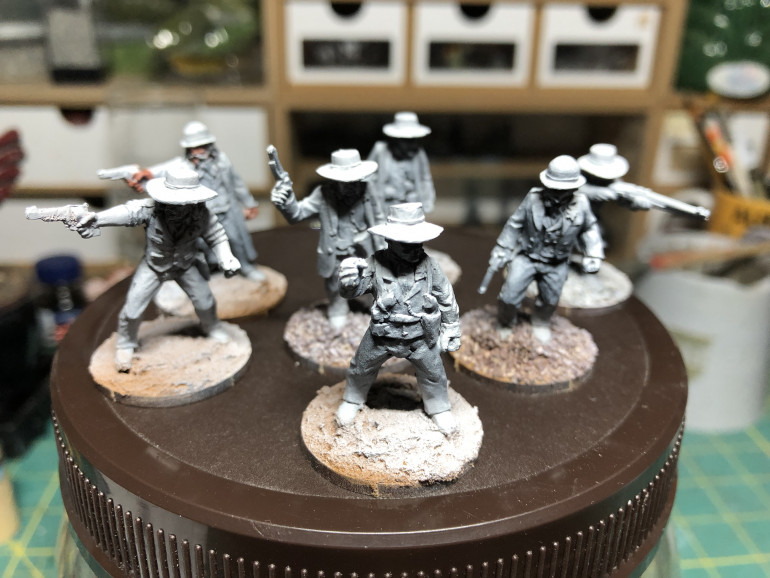
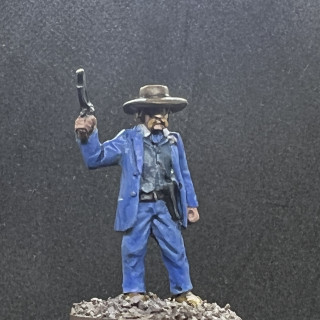
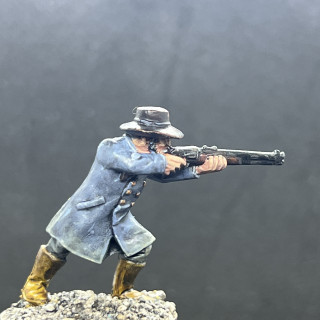
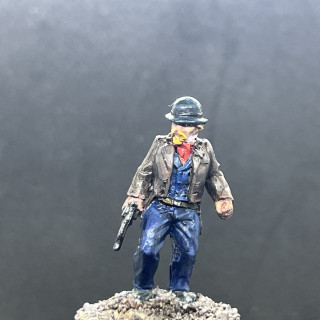
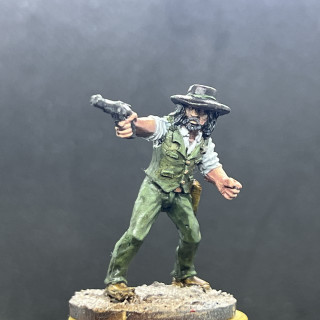
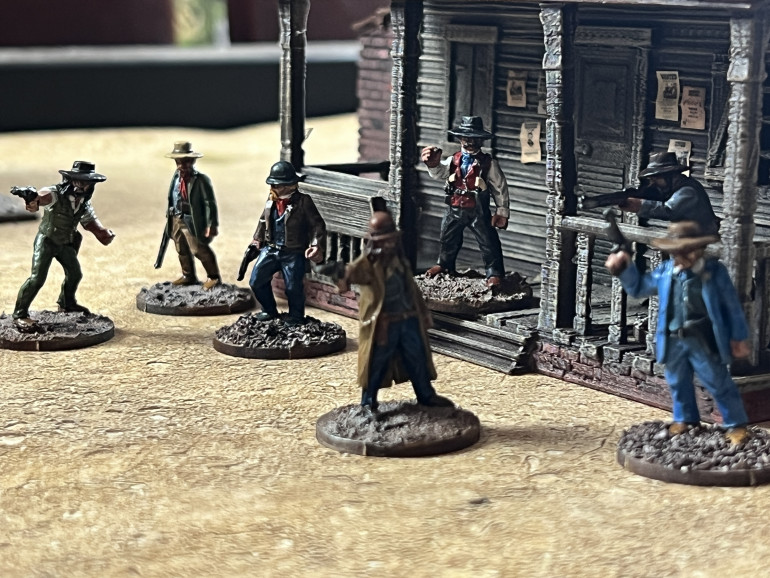
Following the introduction of the lawmen, and in prevision of an initial battle report for Fistful of Lead, it was necessary to paint a few outlaws to bring their dastardly antics into town. Miniatures come from the Outlaws by Great Escape Games (creators of Dead Man’s Hand).
Dude City has a Grand Hotel
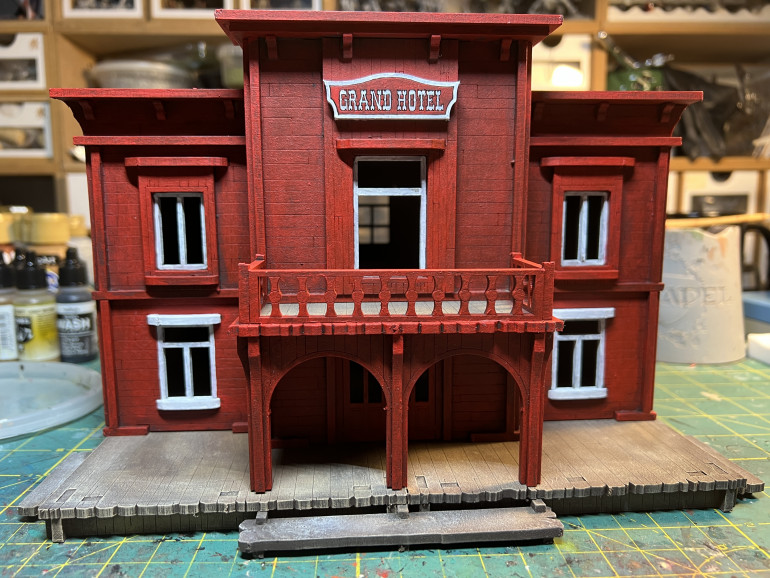
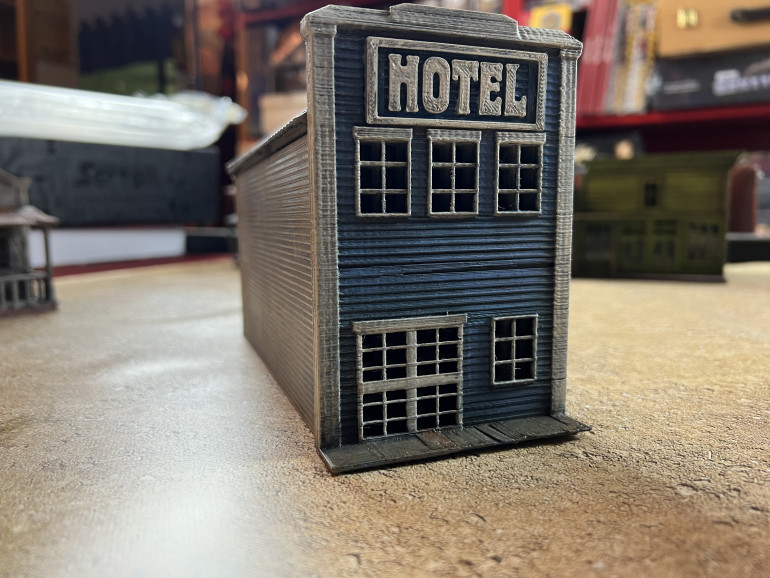
I just completed the assembly of the Grand hotel (from TTCombat ). Dude City has now 2 hotels for visitors to choose from.
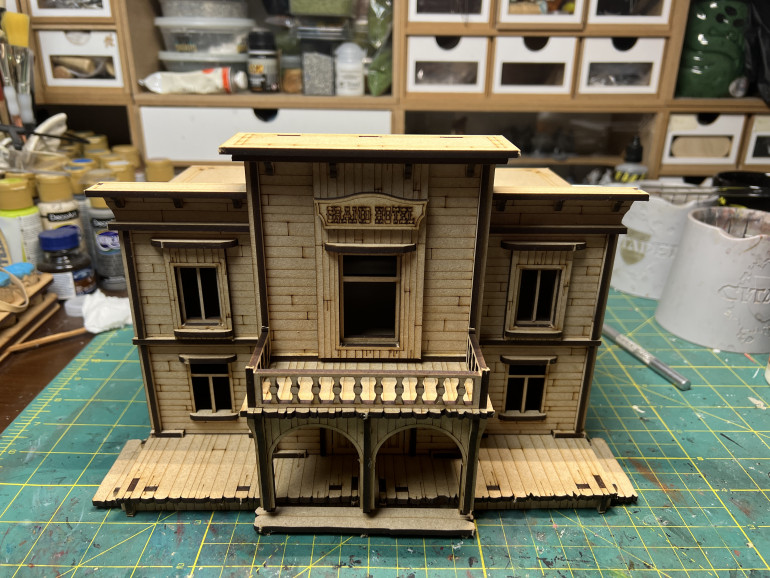 The hotel is not difficult to assemble, despite the absence of pieces numbering and the end result is quite nice.
Dude City Gets Some Lawmen
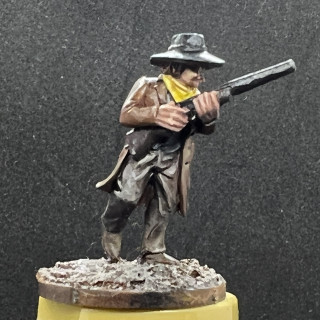
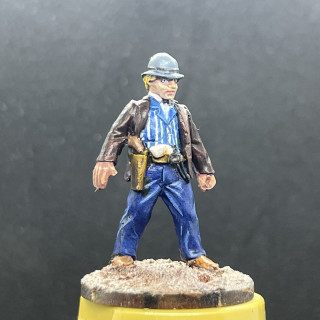
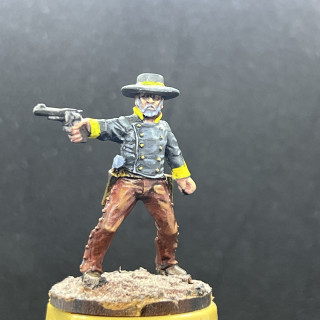
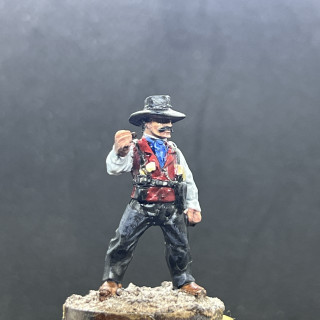
I started my posses by painting a group of lawmen from Great Escape Games’ Dead Man’s Hand. They were rather easy to paint and some of them have very nice poses. Being metal, I had to ensure that two thick layers of varnish were applied to the miniatures (one gloss, one mat) to prevent chipping during pay handling.
Next, the outlaws…
Wild West Buildings Painting Tip
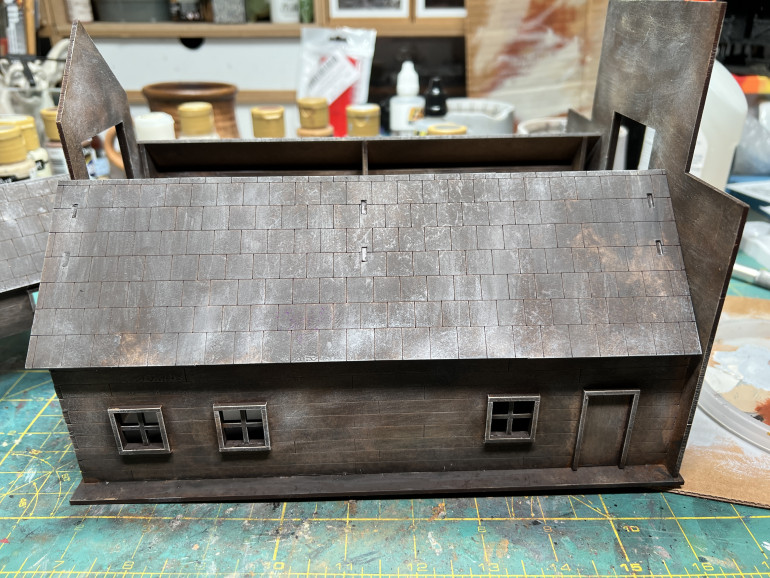
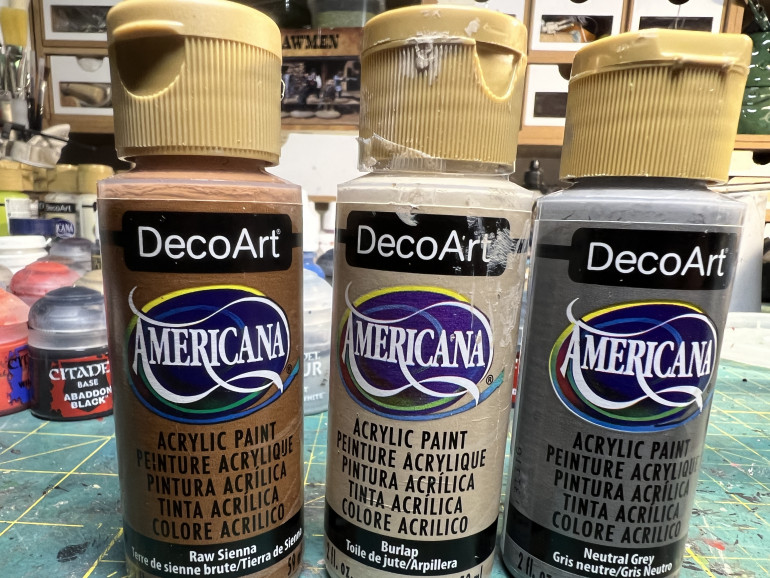
As I would rather not use hobby acrylic paint to cover my Wild West buildings, given their cost, I decided to go the craft paint route and propose below my main formulae. As a bae, all building are spray painted dark brown (I chose one of the dark brown camo paints as I love their mat aspect).
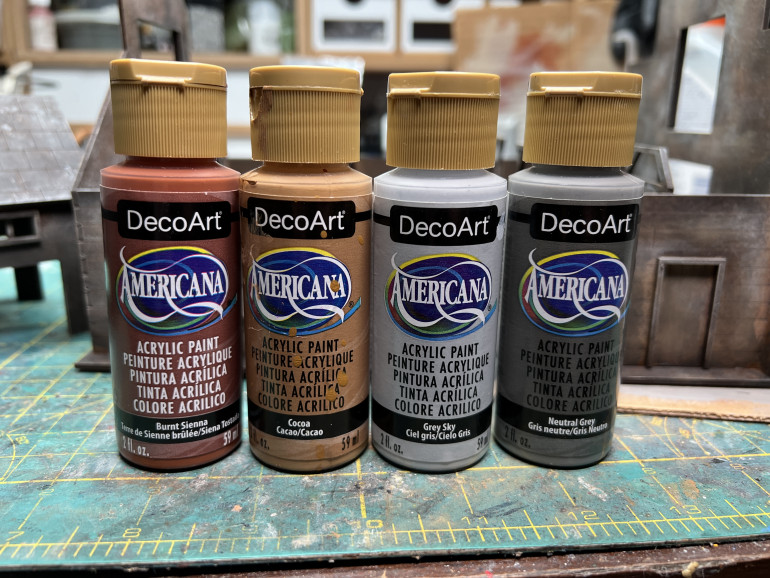
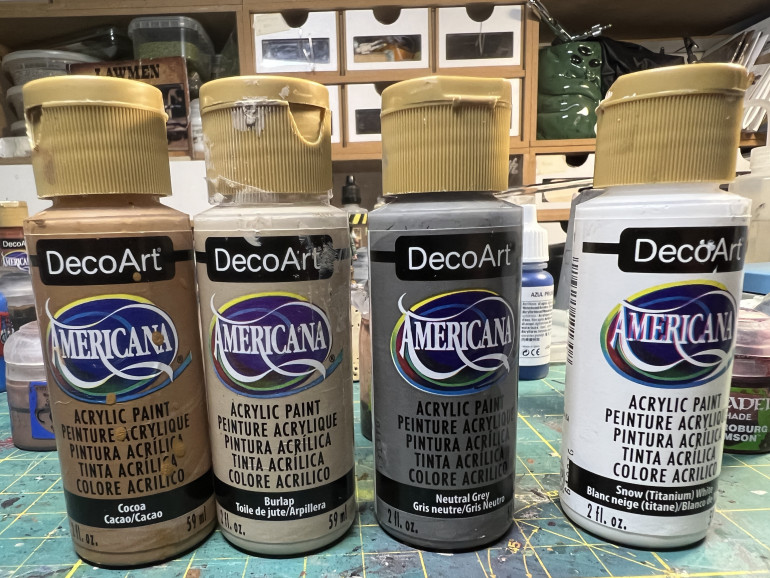 Colors selected for brown town buildings. Use added white to vary tone. Dry-brush all layers on the building, accentuating the weathering wherever it is most exposed to elements.
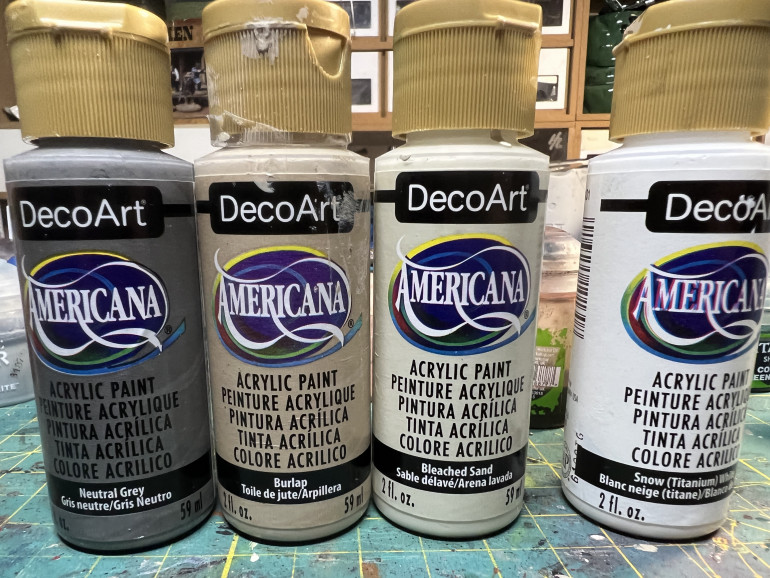 For older buildings, I start with a grey layer which I bring back over the brownish layers with added white.
As a wash, I use a home made brown wash which I learned to design thanks to Black Magic Craft – https://www.youtube.com/watch?v=I5U7UFFuX-Q&ab_channel=BlackMagicCraft
First Street - 3D Printed at High Noon
The first few buildings come from Digital Taxidermy, a 3D file source I ahve used before for SciFi and modern. Find them at https://www.digitaltaxidermy.co.uk/
WARNING: As an afterthought, it appears that the Digital Taxidermy building may be at a different scale than the Printable Scenery buildings (so much for my reading the descriptive files and side notes!). Once I figure it out and moving forward, I will correct the proportions of my printed buildings.
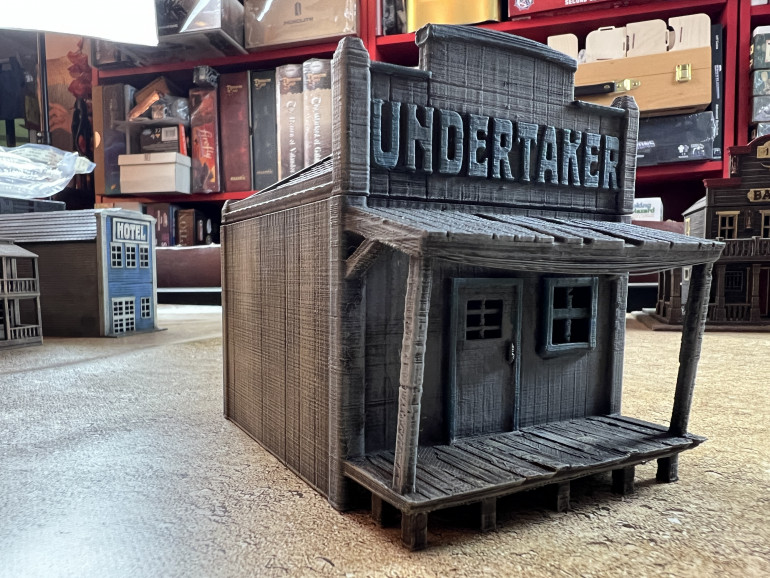 Every wild west town needs and undertaker and this one is very small and easy to paint. I went with a sober grey and light blue scheme.
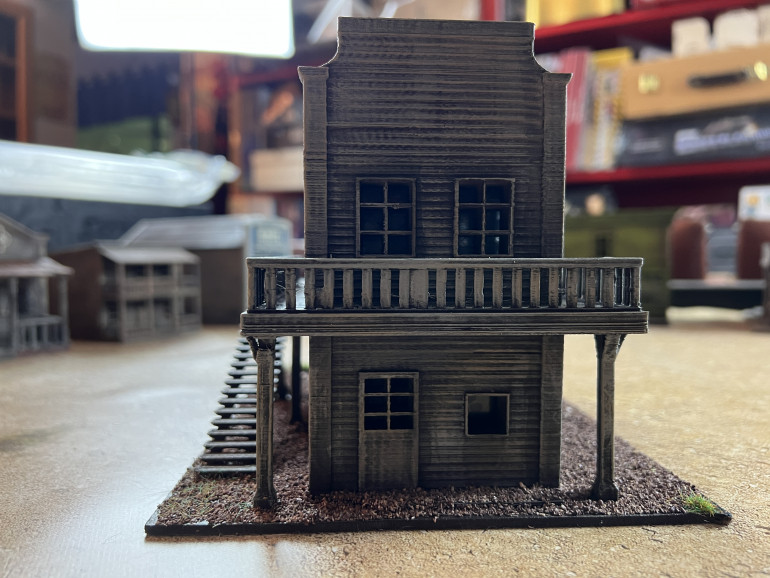 I close this phase of DT printing with another 2 story building, this one quite interesting and a ;little harder to put together. I added an mdf board for support due to the existence of support columns.
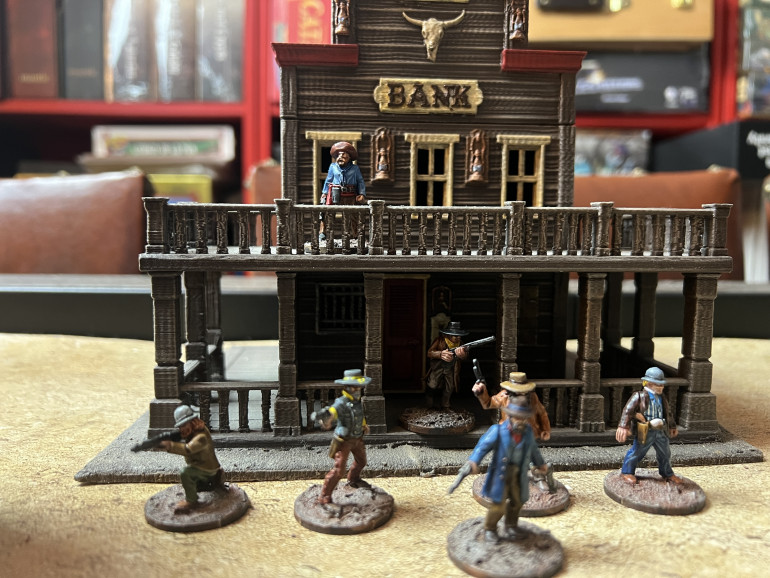
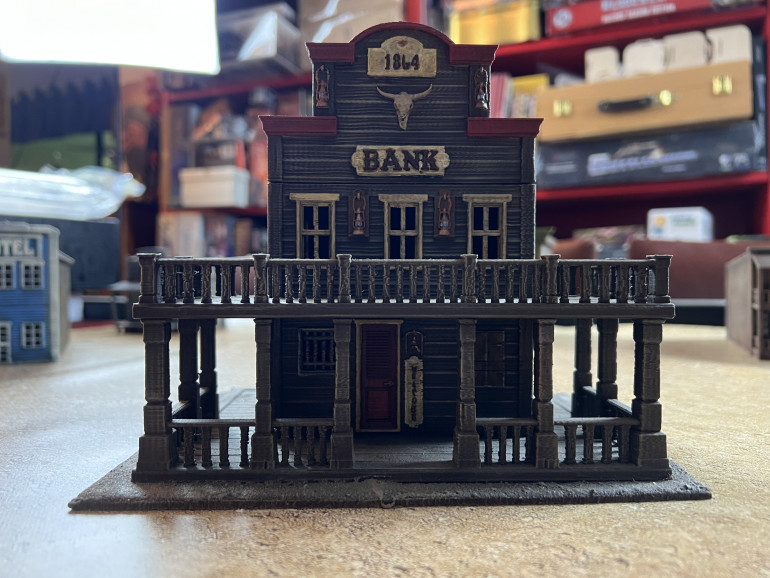 Next, I picked a few Printable Scenery models. I have long loved the quality of their files and you can find them at https://www.printablescenery.com/ . One of my oldest #d printed models was this bank, a fruit of my early drive to create Dude City.
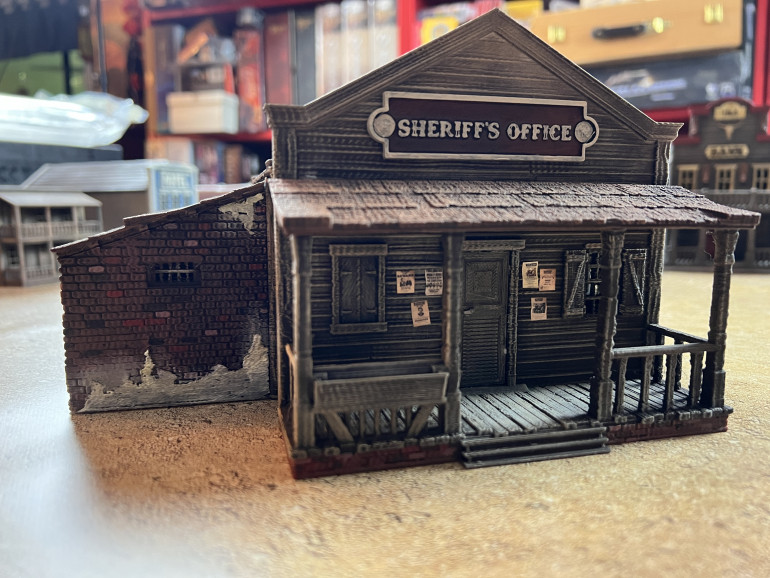 I love the Sheriff's Office and printed/cut and glued a few wanted posters near the door for added flair.
 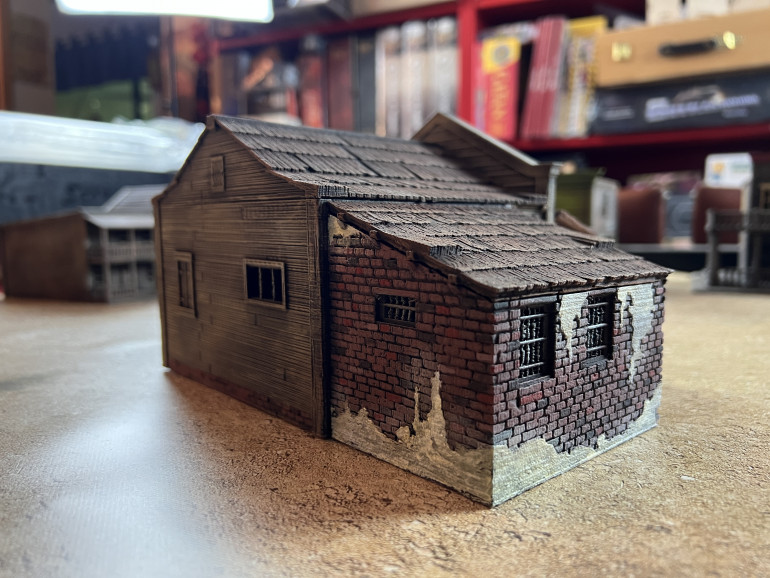 The jail has a fair amount of cracked plaster over the bricks, which I quickly treated with craft white paint and dry brushed white paint, covered with a sepia wash. For bricks painting details, see my MCP project.


