Hunting in the Darkness - KD:M
19 Sep 22: Another portcullis... a carefully crafted mistake!
Using the previous pieces as practice, I began to build another item.
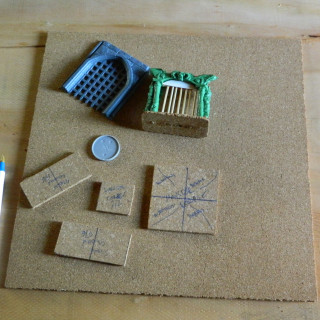
Cork tile, a left-over plastic portcullis and a few other bits and pieces went into the making.
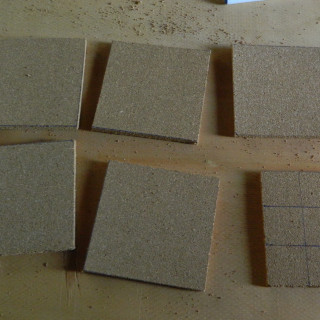
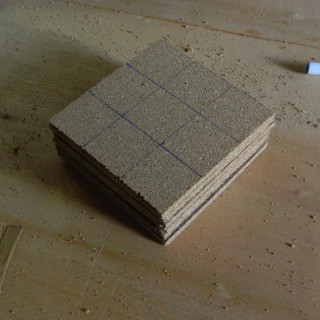
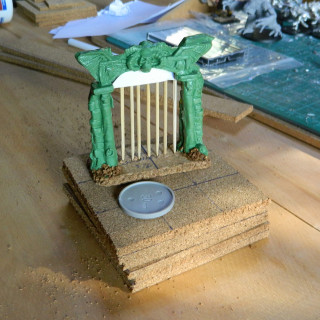
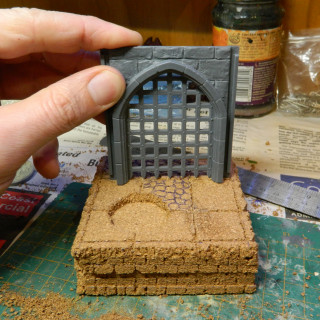
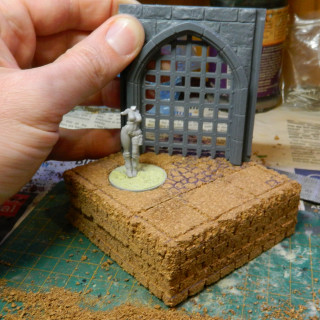
I cut a single 5mm thick cork tile into 90mm x 90mm squares. Stacking them up gave me a 30mm high plinth. I used the previously constructed portcullis to check the spacing.
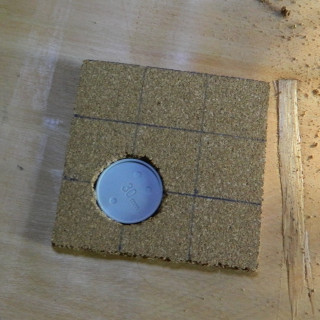
In order to make a KD mini look like it is “in” the scene, I cut a hole in the top-most layer to fit the standard 30mm base. That way it can be hidden in the base, rather than having the mini stand “on” the scene.
I glued the layers together with PVA and skewered a couple of cocktail sticks through to bind each layer together. I left it dry overnight. Then the carving began…
20 Sep 22: Hand-carving bricks and stones... ugh.
In retrospect, it would have been easier to carve the bricks in the sides of the cork before assembling the layers. Oh well.
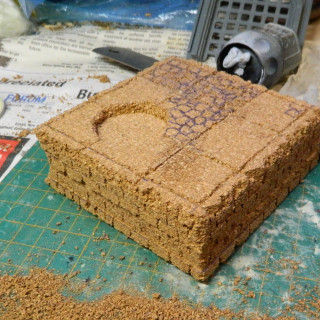
The bricks are 10mm, offset on every other level of course. The top is divided into 30mm squares and then carved into a cobblestone type texture.
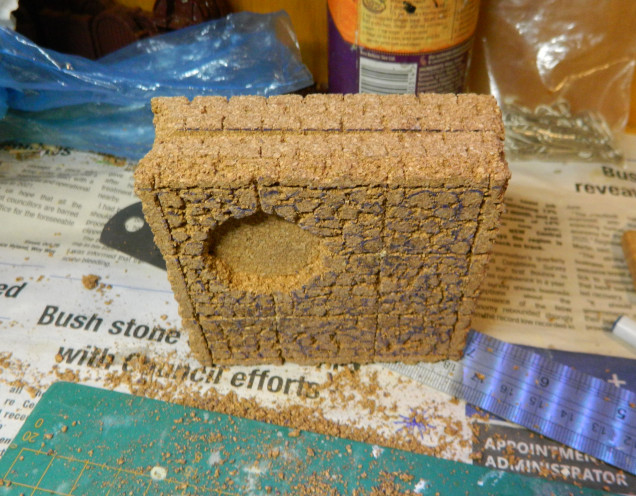 After the evening's carving. All four sides and the top done. Also, some weathering to the corners. More to come.
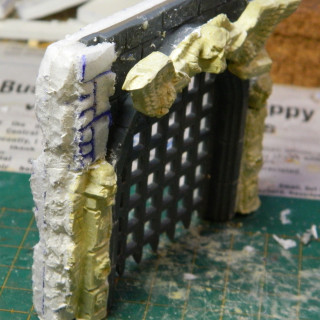
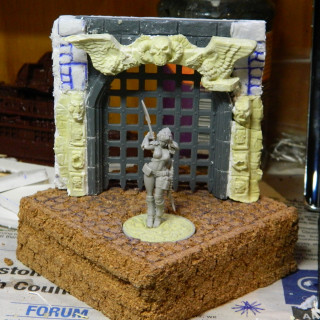
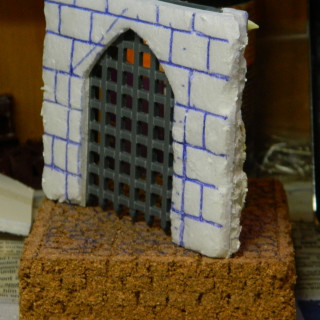
 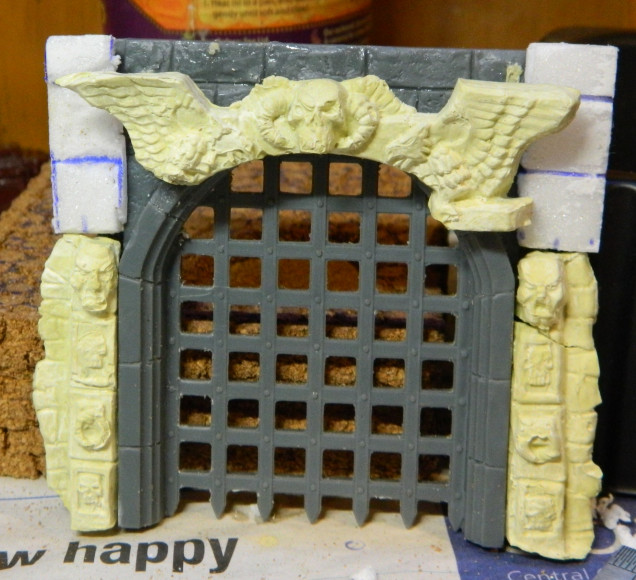 22 Sep 22: Putting the pieces together. A plastic portcullis from the Renedra Tower set, WHQ door mold using Milliput this time and foamboard to finish it off front and back.
23 Sep 22: Building, checking, tweaking
The wall continues to fill out. Quite literally, I suppose, as I am using a tube of wall filler to cover the gaps along the edges and in between the various components of the wall. There’s a gap along the top that needs covering, which will have cork tile bricks over it. Given that the piece will be intended to be viewed from all sides, I also went and cut in the rear side of the portcullis bars. They were otherwise flat with no detail as this side isn’t meant to be seen in the original model.
The wall is now wider than originally anticipated though and has to go on an angle to fit properly. But now the edges look unfinished, so I want to cover them with something… which will make the wall wider again.




Leave a Reply